Once commonplace structures for every family, today they're becoming the highlight of any garden. Before installing a well, consider its primary purpose, location, and sketch it out.
Nowadays, a well is often installed on a property as a decorative element and isn't intended to provide a water source. However, even such a structure can be quite useful. For example, it can conceal unsightly utility lines or conceal small garden tools.
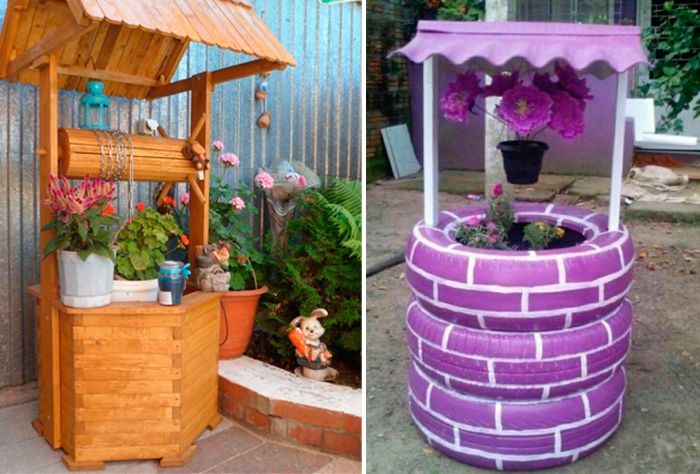
Types of decorative wells
Most construction companies offer pre-fabricated wells for sale. But with a little effort, you can build one yourself, without breaking the bank.
A well can look like a small tower with a gable roof or even be uncovered. In any case, it should be designed to complement the style of your landscape:
- Country (classic wooden house with a garden). This plot would be ideally complemented by a stylized well-house with patterns.
- Oriental style. A well with a red-tiled roof would be perfect here. The corners can be raised.
- Modern. Here, we recommend building the well from the same materials used for the house's cladding. This will ensure optimal integration with the overall landscape.
Selection of materials
The most common material is wood. Besides being easy to work with, it's also durable and affordable.
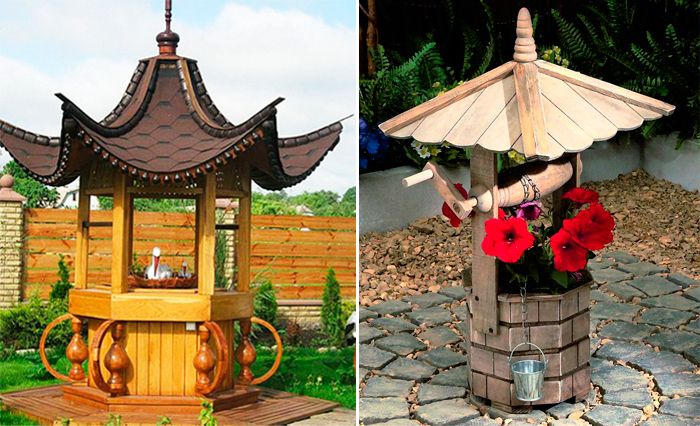
For the outer part of the well, you can use planks or untreated materials, such as timber and branches. This well will fit seamlessly into almost any landscape.
A concrete ring can serve as the foundation for a stone well—the inner part. Decorative stone or brick can be used for the exterior. This will create a medieval-style structure. If this option seems boring, get creative and try bright colors.
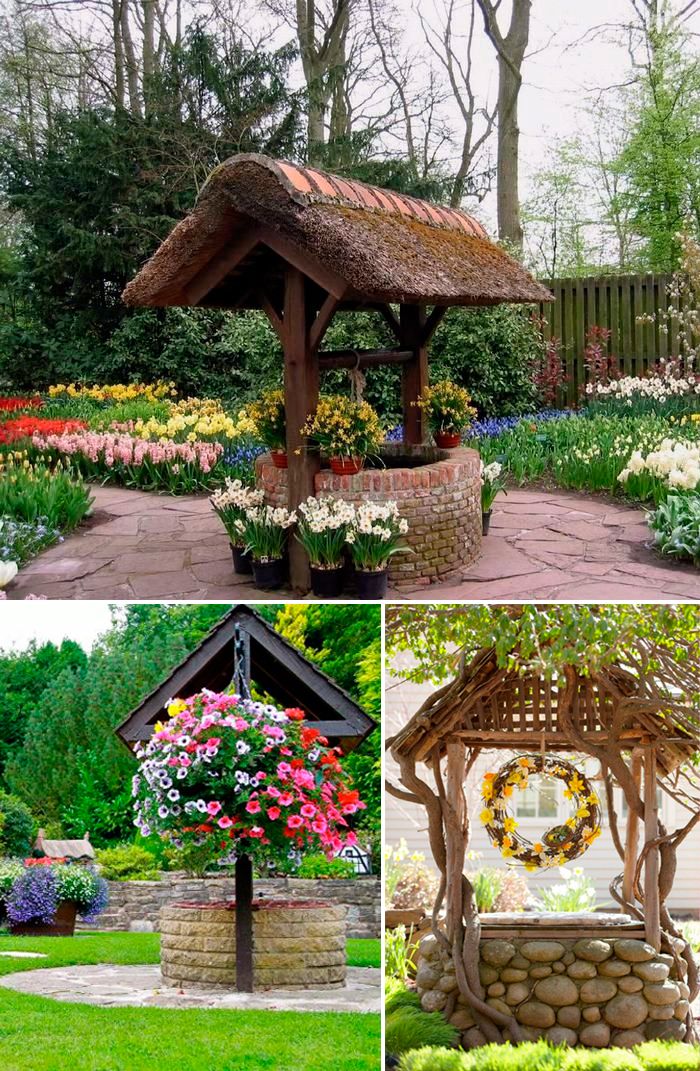
You can use virtually any roofing material you deem suitable: from tiles and metal to wood and thatch. The main criteria when choosing a roofing material are durability and resistance to winter frosts.
Even the most unusual items can be useful in this project. For example, a well can be formed by stacking car tires. Or an old wine barrel. All you need to do is add small details (a handle, a chain, etc.) and decorate it if desired.
Of course, when decorating a well, you should rely solely on your own feelings and imagination. For some, wooden elements will be sufficient, others will want to place ceramic figures near the well, and for others, even colored stencils will not be enough.
Instructions
Before building a well, we recommend sketching out your vision for the future structure. Only then should you begin work.
A stationary well is installed as follows:
- The posts are dug into the ground (the number needed depends on the structure's shape), first driven into pipe sections of the required diameter (a hole about 30 cm deep is dug into the ground). To protect the well from damage, all components should be coated with a protective compound, and the pipes should be painted.
- Liquid bitumen is poured into the prepared holes. After it has soaked into the soil, the holes are filled 50% with cement mortar. Only then are the pipe supports installed. These will later serve as the well's support. The holes are then filled to the top with mortar. If the pipe recesses are too wide, the excess space is first filled with crushed stone, and only then with mortar.
- To ensure the pipes are level, use a level. Then leave the structure for a few days to allow the mortar to harden. Once it has set, insert the beams into the pipes.
- After this, the frame is covered with boards on the outside. They can be installed horizontally or vertically. In the former case, you'll only need to secure the posts. In the latter case, you'll need to secure a pair of horizontal beams on each side before beginning the vertical cladding.
The roof base is constructed separately and later installed on the finished base. The roof can be solid or have multiple openings, with one or more slopes, depending on the shape you've chosen for the well. The easiest to implement technically is a double-slope roof. This can be implemented in interesting ways, for example, by making the roof overhangs of different sizes. To create a triangular roof, you'll first need to prepare the gable. Then, sheathe the structure with the integrated roofing material.
The final stage is finishing the well in terms of decoration: handles, chains and buckets.