Making metal, stone, and wooden garden statues yourself can be quite challenging. Buying or ordering them can be quite expensive. However, there's an alternative: plaster garden crafts.
Several methods for preparing gypsum mortar
The solution hardens quickly after preparation. This is both an advantage and a disadvantage. The advantage: it reduces the time needed to create the craft; the disadvantage: you might not have enough time to complete the piece. Another disadvantage: fragility. Extreme care must be taken when transporting the figurine to avoid breaking it.
When making plaster sculptures, it's crucial to prepare the solution correctly. There are many methods, but let's look at the most popular ones.
- Add gypsum to water in a ratio of 7 to 10. Mix thoroughly and add 2 tablespoons of PVA glue. This will make the mixture more elastic.
- Mix gypsum with water (6 to 10 parts). After mixing, add 1 part slaked lime. This will make the mixture more flexible, and the sculptures will be harder and stronger after drying.
A more complex process step by step:
- Dilute 1-2 jars of gouache in water.
- Stir thoroughly until the paint is completely dissolved.
- Pour gypsum into the colored water, stirring gradually (10 to 6 or 10 to 7).
- Mix until smooth, like pancake batter. Watch carefully to avoid any bubbles.
- Gypsum is added to water, not the other way around. This helps prevent dust.
Step-by-step process of making plaster products
Before mixing the plaster solution, you need to prepare everything for creating the products.
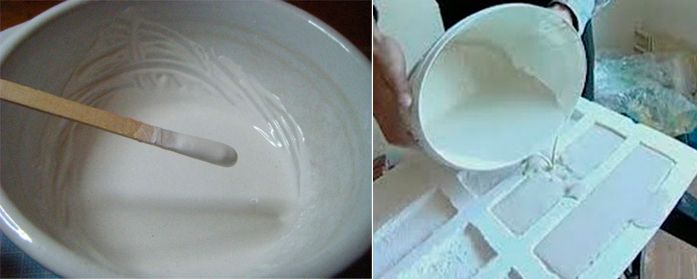
Pouring into the mold:
- Using a brush dipped in sunflower oil, water and soap solution (1:2:5), go over the inner area of the mold.
- Pour in the gypsum solution slowly to avoid air bubbles.
- Place foam or plastic balls in the center to save plaster. They shouldn't be too close to the mold, otherwise they will be visible when the figure hardens.
- Pour a layer of gypsum mortar on top of the balls.
- All actions are performed first with one half of the form, then with the other.
- Remove excess mortar from the edges with a spatula.
- Leave to dry for at least 24 hours.
- Once the plaster has completely hardened, remove the figure from the mold. If it's silicone, bend the edges and gradually remove it from the object. When the mold is firm, you can turn it over on a flat surface, tap it lightly, and slowly lift it up.
Most often, sculptures are created from two molds (one is poured for the front, the other for the back). After pouring, they need to be secured together:
- Sand the smooth inner surface of the half to remove dust. This will ensure a more secure bond.
- Apply glue in dots to the middle, around the perimeter and into the remaining empty spaces.
- Connect the parts evenly, press them tightly against each other and fix them in this position until dry.
The next important step is painting the piece. This is a great way to express your creativity and artistic abilities. For decorating, you'll need:
- paints;
- brushes;
- varnish;
- PVA glue or construction primer.
Step by step actions:
- Cover the entire piece with a 1:1 mixture of water and glue. Alternatively, apply 2-3 coats of warm drying oil.
- After the primer has dried, paint the sculpture. If the figure is larger than 0.5 m, you can use a spray can or a spray gun for speed and convenience.
- After the paint has dried, decorate the piece with whatever materials are at hand, such as buttons, beads, shells, pine cones, small stones, etc. Attach them with outdoor glue (such as Titan). Remove any excess with a napkin.
- Coat the entire surface with a clear, non-water-based varnish. The packaging should be labeled "for exterior use."
- Leave the craft to dry until the smell of varnish has completely disappeared.
The product should be dried outdoors or in a well-ventilated room.
Plaster Crafts for the Garden: DIY Ideas
Figure ideas:
- animals: turtle, cat, frog, and others;
- fairy tale characters (a great option for a playground);
- various buildings: a castle, a hut, a house for a gnome, etc.;
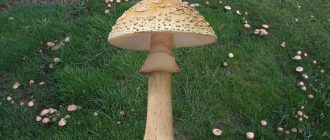
- plants: flowers, mushrooms, etc.
Crafts from plaster and bottles
If you have no experience making plaster products for your yard, it's best to practice on simpler options first.
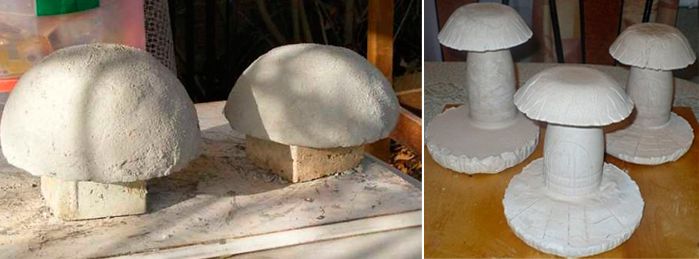
For example, on mushrooms made from plastic bottles and plaster:
- Cut off the neck of a plastic bottle.
- Cover the inner walls with a mixture of vegetable oil, soap solution and water (1:2:7).
- To save plaster, place a smaller bottle inside and press it down with a press.
- Pour the plaster solution inside.
- After 30 minutes, cut off the protruding plastic.
Making a hat step by step:
- Take a cup of a suitable shape. Cover it with plastic wrap to prevent creases from forming.
- Pour gypsum solution inside.
- Before the mixture hardens, insert the leg.
- After 40 minutes, remove the finished element.
Creating the foundation:
- Take a large cup or deep plate and cover it with cellophane.
- Pour plaster inside.
- Wrap the leg in plastic and place it inside.
- Remove the product from the mold after it has hardened and leave it in a warm place for 2 days.
The final step is decorating the composition. To do this, you'll need to tap into your creativity. You can decorate the mushroom with nail polish or waterproof paint, add volume to the images with a knife, glue on embellishments, and so on.
Flower beds made of cement and plaster
Plaster sculptures are very attractive, but they are fragile. For more durable sculptures, it's better to use cement. The mixture is made with sand in a 1:3 ratio, with enough water added to give the mixture the consistency of play dough.
Hand
A flower bed in the shape of hands, as if holding flowers, will look very unusual.
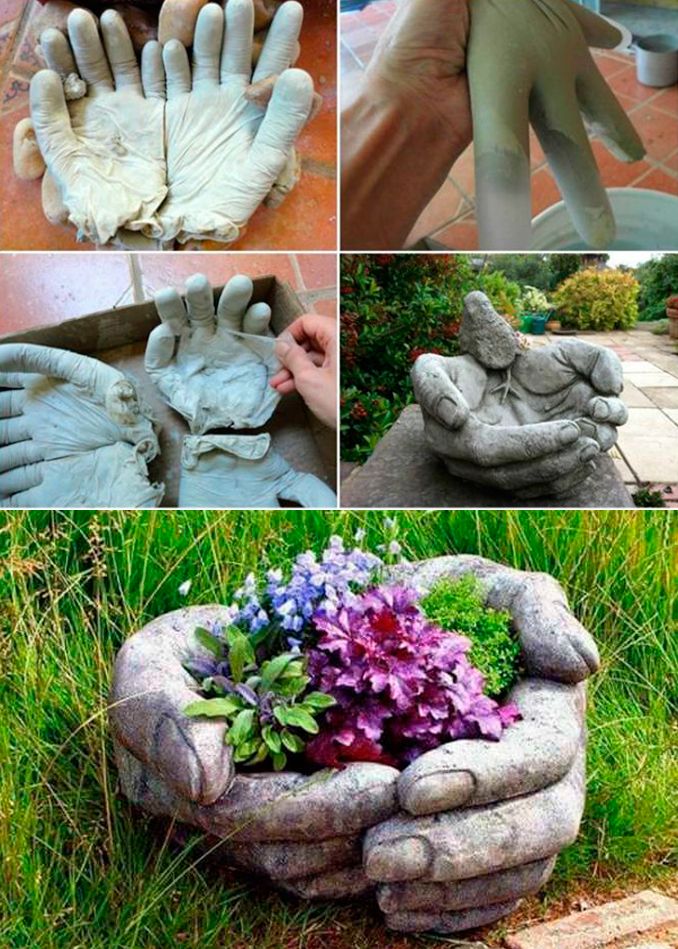
You will need:
- rubber gloves;
- concrete solution (1:3);
- putty;
- sandpaper;
- deep container.
Step by step process:
- Pour the solution into the gloves.
- Place them in a container in a suitable position.
- Leave until it hardens (cement dries in about 2-3 days).
- Cut the gloves and remove them.
- Apply putty, wait a few hours, and sand the surface.
The piece can be reinforced with wire. Then fill the flowerbed with soil and plant the plants.
Frame sculptures
You can make artificial boulders for your dacha.
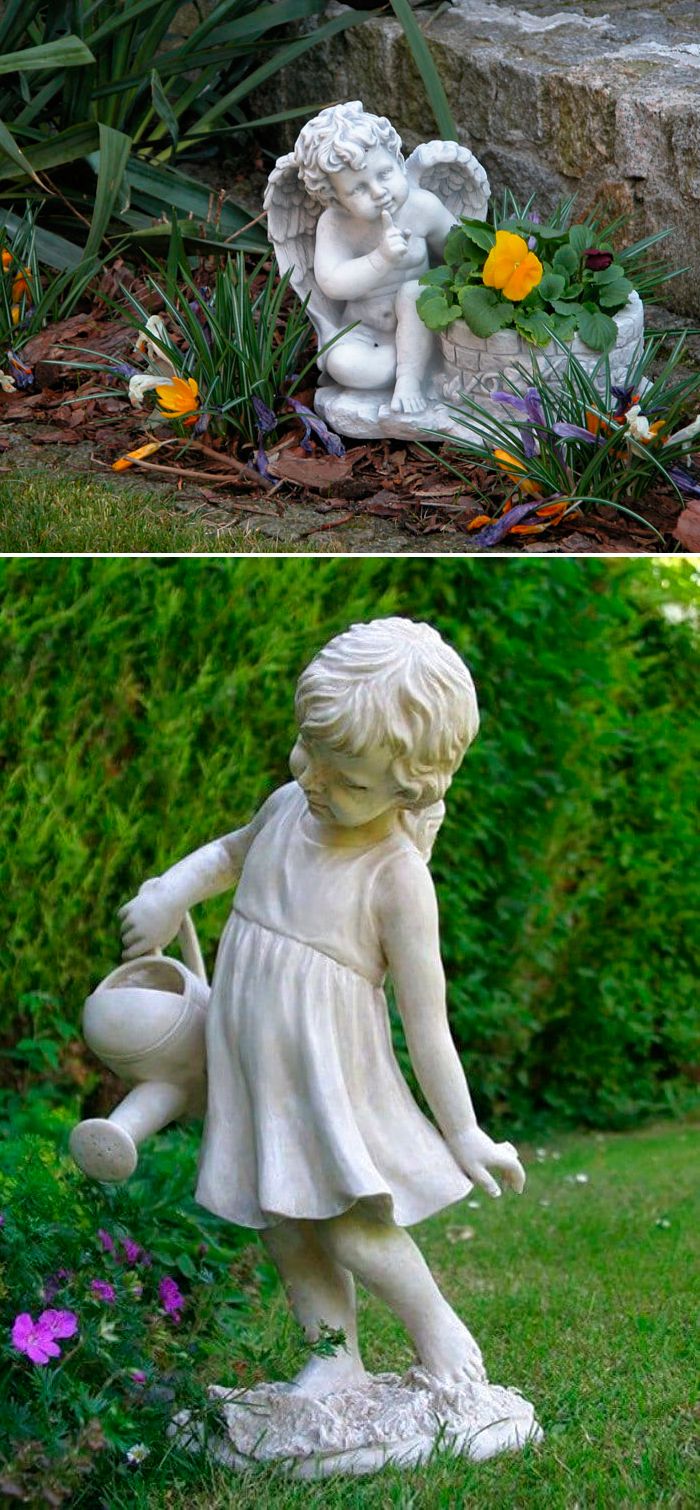
Step by step actions:
- Form a frame out of lightweight material. You can use masking tape, rolled up paper, etc.
- Wrap it with plaster mesh.
- Apply the solution thinly. No need to smooth it out to achieve the most natural shape.
- Cover with plastic wrap until dry.
You can also create complex figures for your garden, such as an angel, a dog, or any other sculpture. You just need to use your imagination. To create a sculpture, fill the frame with mortar, and use construction mesh to create a hollow structure.
Various ideas
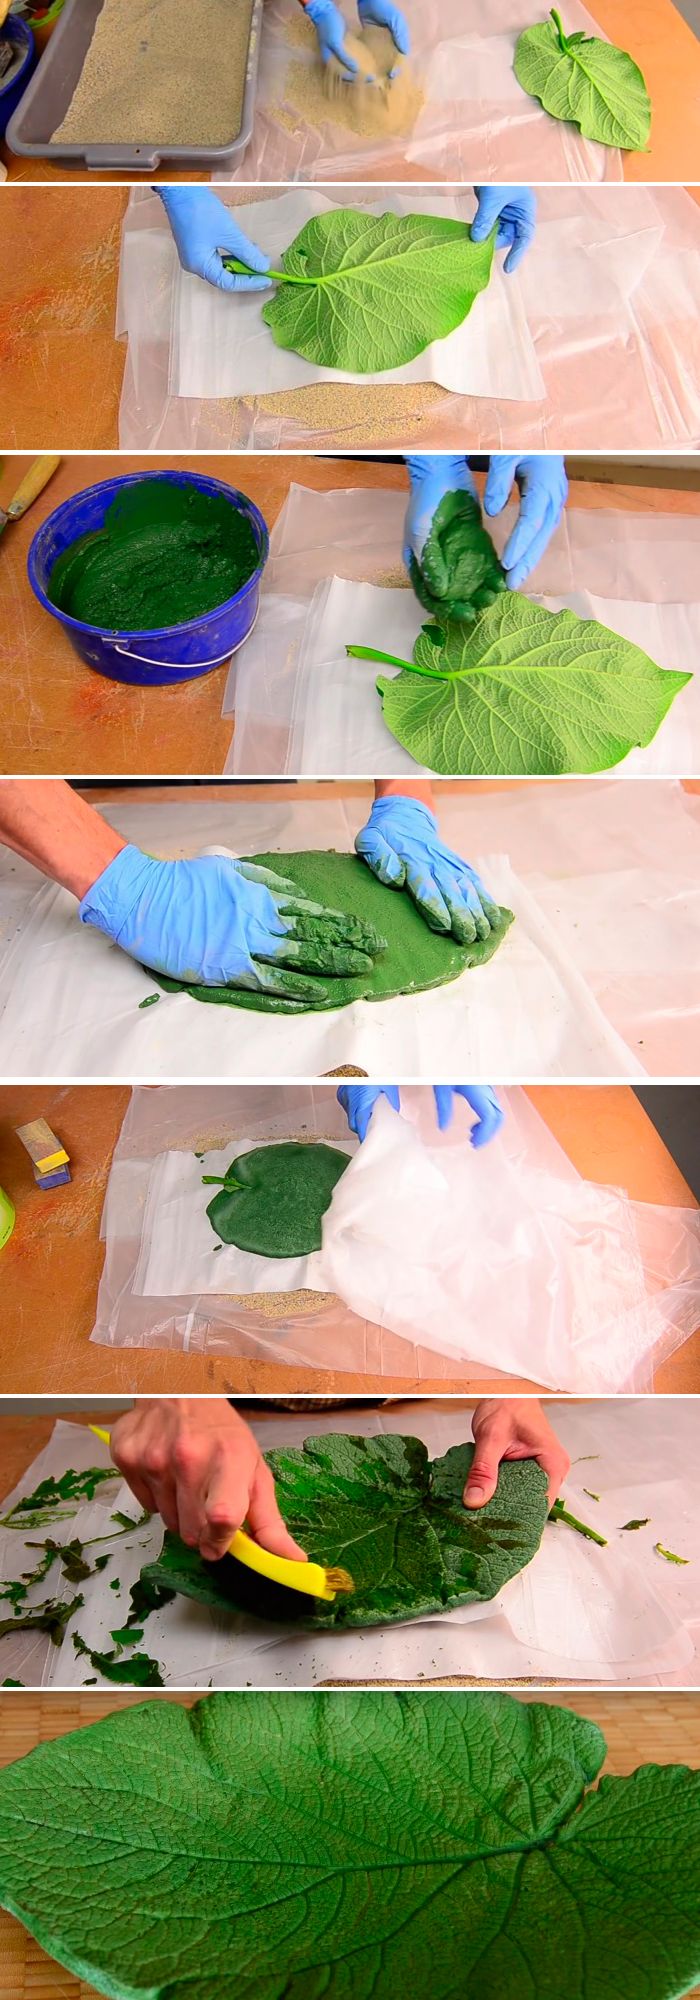
Burdock-shaped drinking bowls made from durable cement and gypsum look very creative in landscape design:
- Make a hill of wet sand on the polyethylene.
- Cover the mound with polyethylene and secure it with stones.
- Place the burdock without holes.
- Cover with cement or plaster (approximately 2 cm for the central area and 1 cm for the sides).
- Place a metal pipe in the center of the sheet and fill it with cement.
- Wait until dry.
- Prime and paint.
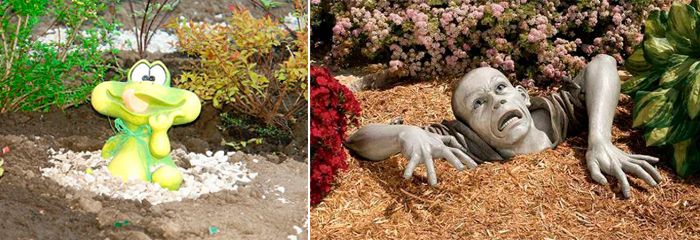
You can create "sinking" figures, meaning these sculptures "emerge" from the ground. A turtle, mushroom, flowerpot, or other items decorated with mosaics would also look attractive. All these cement ideas can be brought to life using plaster.
Making your own jewelry is easy. Even someone who considers themselves lacking in imagination can use these ideas as a starting point. The key is to set aside the time to bring them to life.