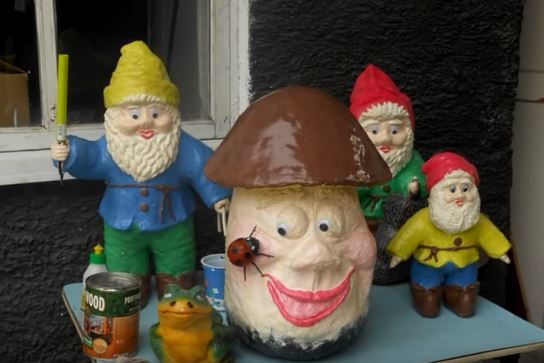
Decorating garden plots with various figurines is trendy these days. For example, a garden gnome looks very attractive in a clump of plants, in a flowerbed, or next to benches. It will not only complement the landscape design but also create positive energy. You can buy a sculpture or make one yourself.
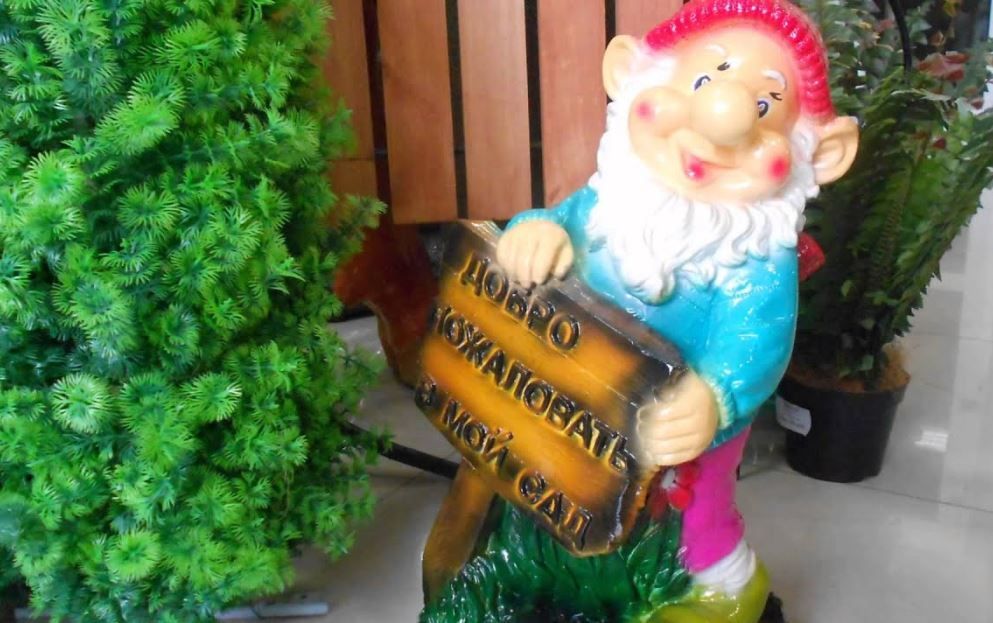
Decorative gnomes in landscape design
These garden decorations look appropriate alongside flower beds, wooden benches, stone paths, and wicker fences. The most important thing is that the garden gnome fits into the surrounding style:
- classic design - figures in one or several colors;
- romantic - pink or burgundy;
- country, Provence - wooden;
- Art Nouveau - metal, marble, concrete, wood.
If you install figures that don't match the style in the wrong place, they will ruin the whole look.
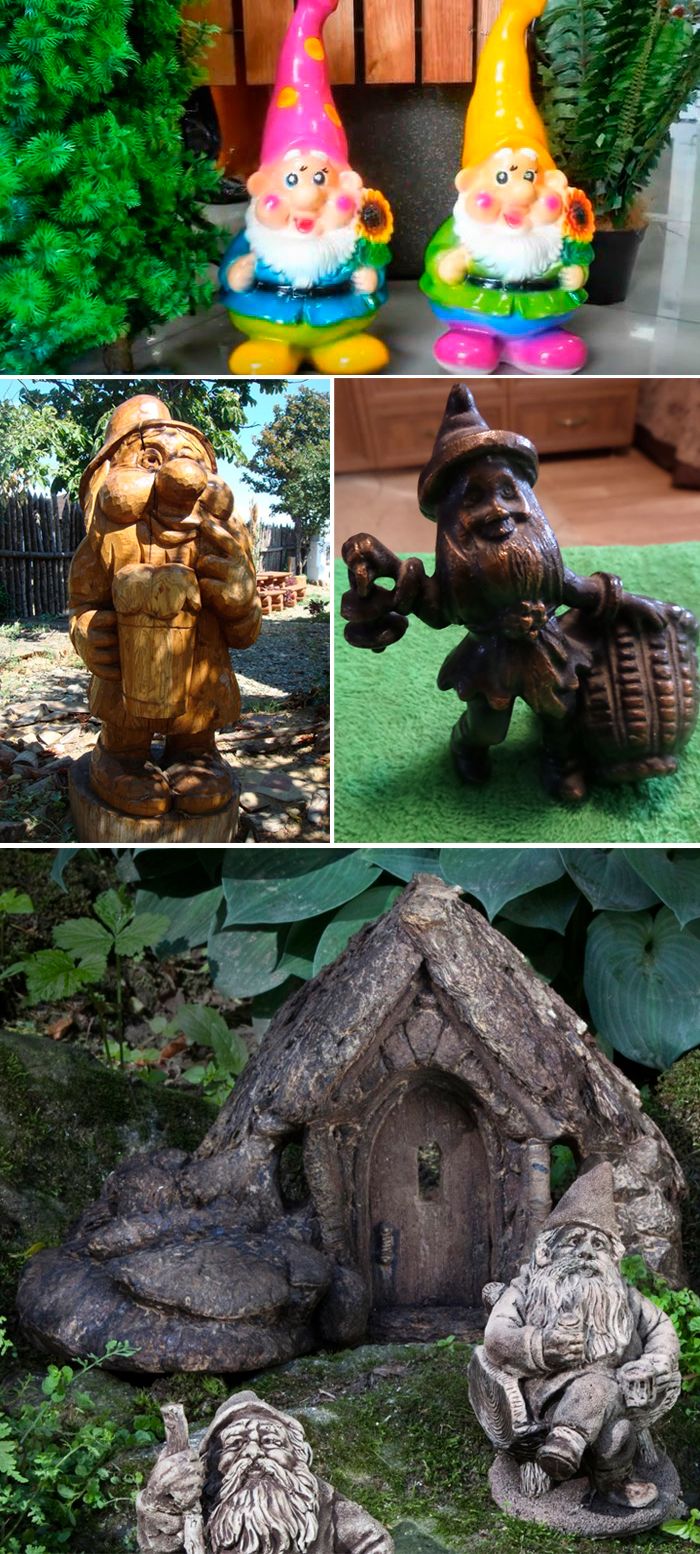
When designing a landscape, keep in mind that gnomes should be made of the same material as the objects they are placed near. Sculptures in recreation areas, near a pond, or fountain look especially attractive.
Gnomes made of plaster
Garden gnomes made of plaster can withstand frost, precipitation, and sunlight. However, they are very fragile. To prevent them from falling and breaking, they should be placed away from people and protected from the wind.
You can make plaster sculptures yourself. To do this, you'll need:
- gypsum;
- glue;
- waterproof paints and brushes;
- varnish;
- plaster molds or rubber baking molds.
Step by step process:
- Dilute the plaster according to the instructions on the package.
- Mix thoroughly, add glue for elasticity (the component should make up 1% of the total volume of the solution).
- When the figure is larger than 0.5 m, a frame made of reinforced pipes and a protrusion for fixing to the surface is required.
- First, pour the solution halfway into the mold and wait for it to set. Tap it to prevent bubbles.
- Pour the second part. Level it, tap it, and leave it to dry (preferably in the sun outdoors).
- Remove from the mold, paint with paints, and varnish on top.
For decoration, you can use various materials at hand: broken glass, etc.
Papier-mâché garden figures
How to make a papier-mâché gnome step by step:
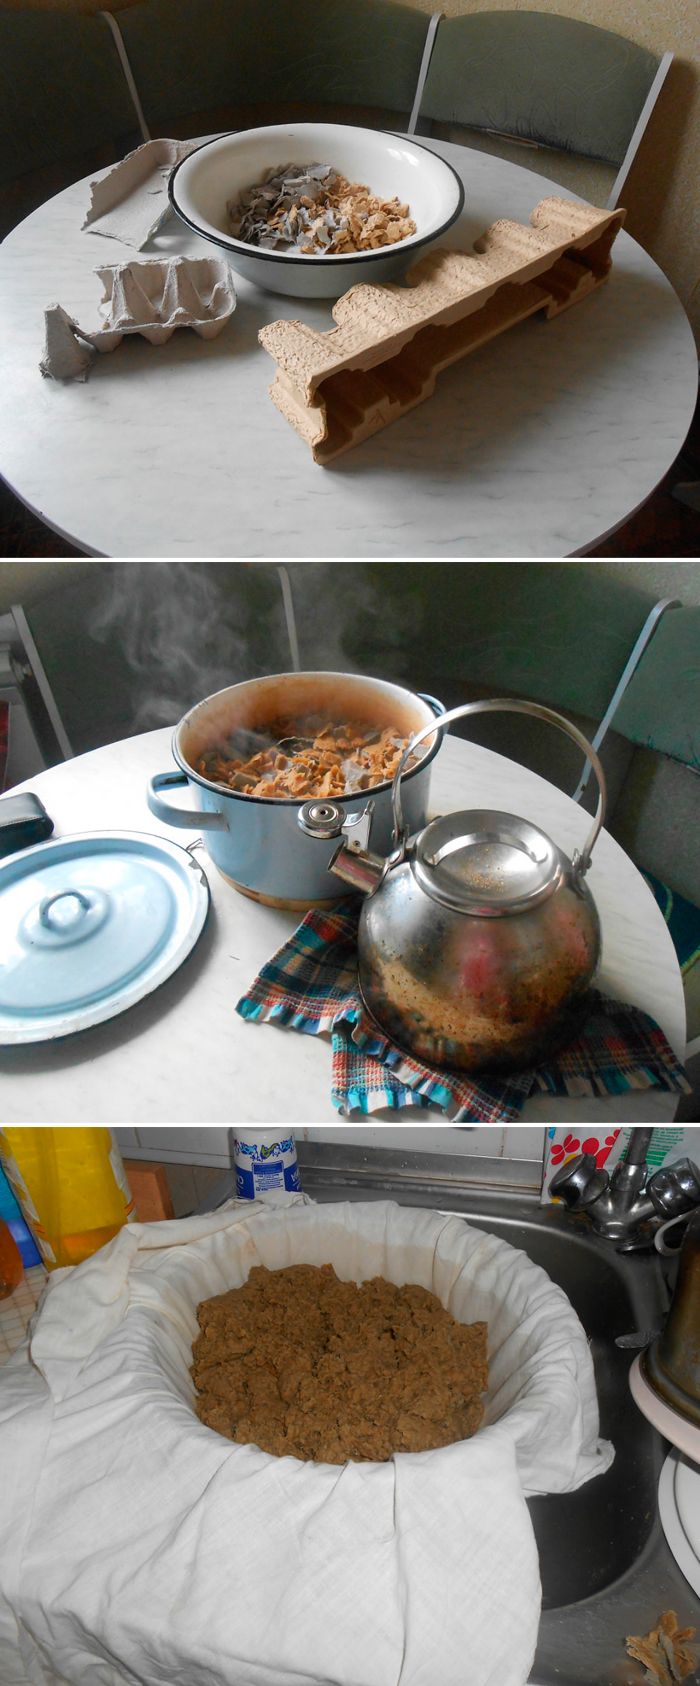
- Place the material (egg cells) in a container, fill to the brim with boiling water and leave for 24 hours.
- Drain the water and grind until it reaches a dough-like consistency. If the mixture is too runny, place it in cheesecloth and hang it for a few hours to allow the remaining liquid to drain.
- Add a little PVA glue to make it more flexible.
To make the body, use a plastic bottle filled with sand and a ball for the head. Cover the structure with the prepared mixture, applying it in thin layers and letting each one dry.
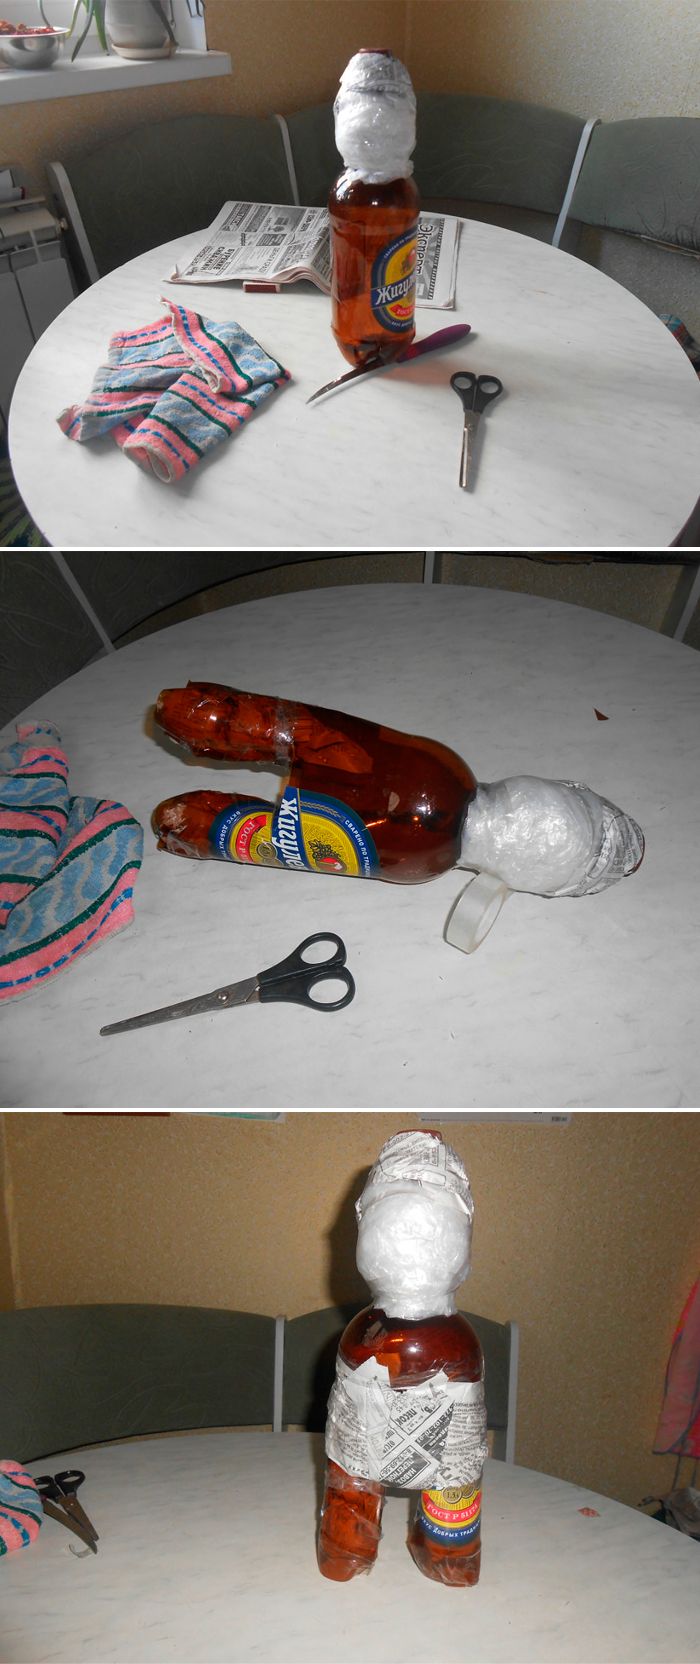
- Fasten with wire or glue.
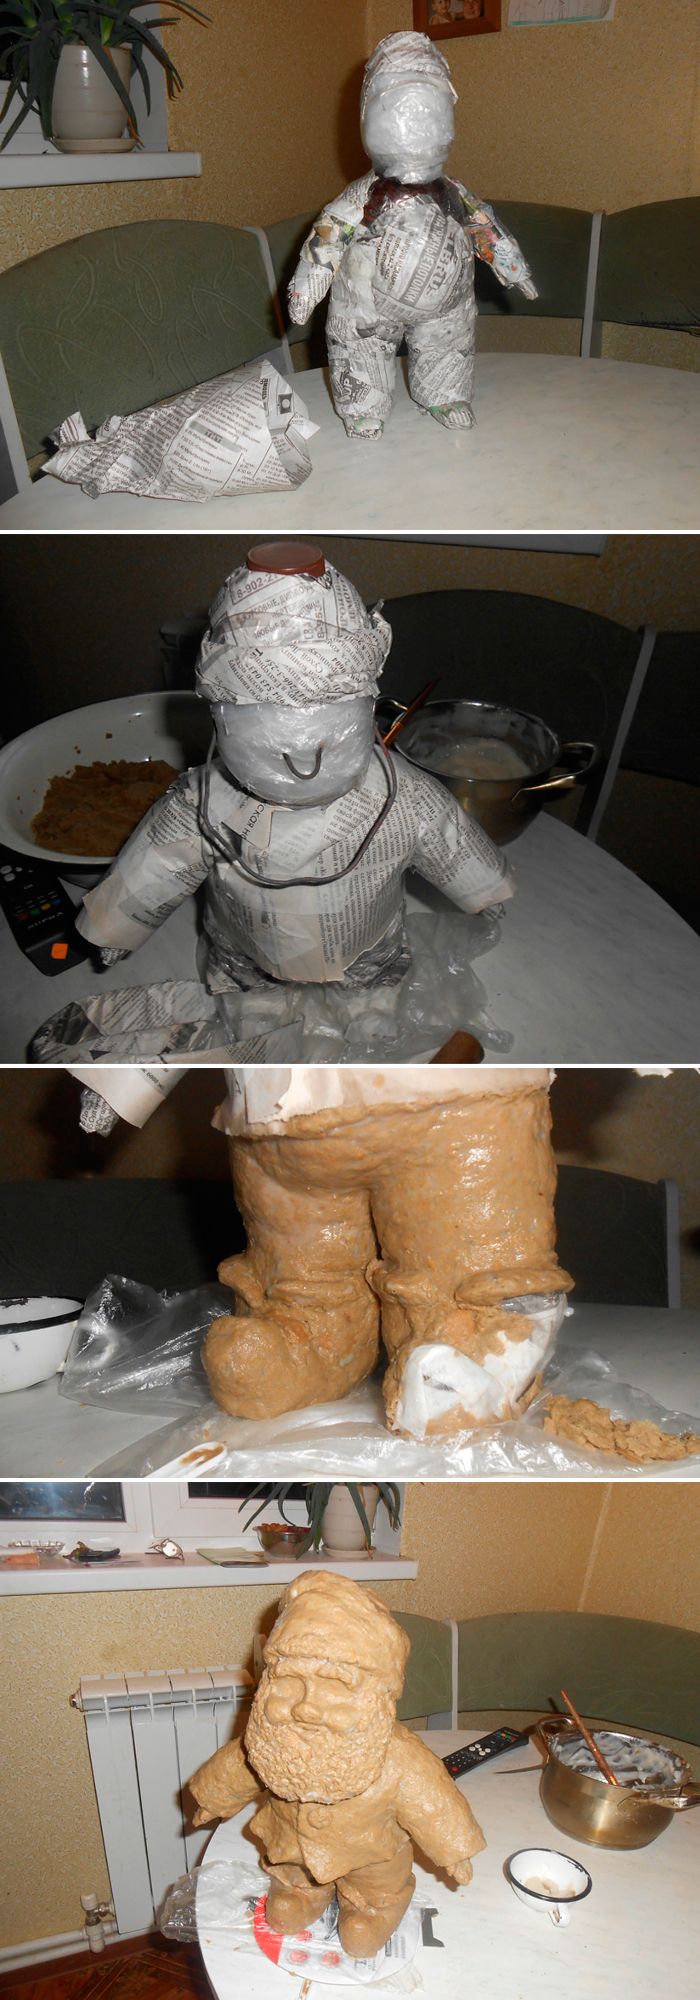
- Create the face and beard. For the eyes, you can use a tennis ball cut in half or beads.
- Make a hat.
- Create the shirt hem by 1/3 of the way down. It's best to make it wavy for added impact.
- Draw a vertical groove through the remaining bottom part. This will be the pants.
- The arms can be made directly onto the figure or separately, attaching them to the body at the end. For the palms, use rubber gloves: pour foam into them and let them harden.
- The soles of the shoes are made of foam, and the shoes are made of the main material.
- Dry the finished figure and sand it with sandpaper.
- Protect from precipitation with a moisture-resistant primer, putty and prime again.
- Paint the figure and cover with yacht varnish.
To make the gnome even more attractive, you can place a solar-powered lantern in its hand. This will also provide an additional source of illumination.
Fabric gnomes
Making a gnome out of fabric is not difficult if you have at least a little sewing experience.
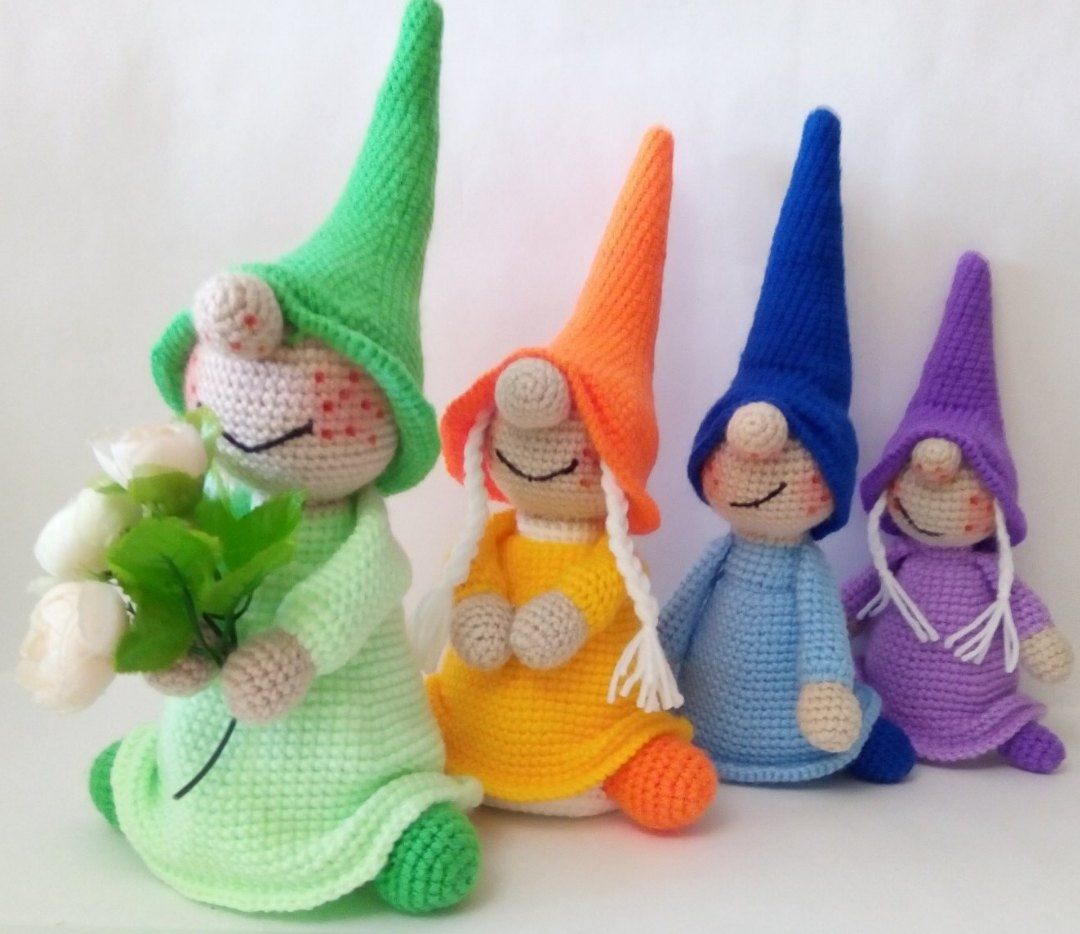
Step-by-step instructions:
- Find a suitable pattern.
- Transfer it onto a piece of cardboard or fabric (flesh-colored for the head and palms, printed colorful chintz for the body with a shirt, striped or plain cloth for the pants, fur or wool for the vest).
- Cut out the pieces, leaving 0.5 cm seam allowances.
- Sew the back along the line previously marked with crosses.
- Sew the darts of the front and connect it to the back.
- inside out and stuff with synthetic padding.
- Cut out and sew the pants, put them on top.
- Make a belt from ribbon or tape.
- Connect the palms to the sleeves, stuff with synthetic padding and sew to the body.
- Sew boots from leather or faux leather. Insert cardboard insoles for stability.
- Fill the shoes loosely with synthetic padding, put them on your feet, and sew them on invisibly with threads that match the fabric.
- Cut out the head from pink material and stuff it with stuffing.
- For the nose, cut out a circle, fill it with synthetic padding, and make a ball.
- Draw the mouth or eyes with markers or embroider.
- Sew on a headdress (for example, a cap made of stuffed calico). Decorate it with a pom-pom or bell, and embroider.
- Connect the head to the body.
- Sew a vest and put it on top.
When decorating your property with a cloth gnome, keep in mind that it will need to be brought inside or covered during precipitation. Fabric fades quickly in the sun, so it's best to place the figure in the shade or only display it for holidays (such as Halloween or Christmas).
Gnomes made of wood, metal, stone
Making figures from these materials yourself is impossible without certain skills and specialized tools. However, wooden, metal, and stone gnomes are always available for purchase in stores or custom-made. These sculptures make excellent yard decorations. They look very presentable and expensive. Furthermore, gnomes made of wood, stone, and metal are durable.
Fairytale houses for gnomes and other fairytale characters
You can make fun fairytale houses from any materials you have on hand, as long as you use your imagination. For example:
- The facade is made of plasterboard sheets, glued together with construction adhesive. For security, you can nail them in place or use furniture staples. Cover the plasterboard sheets with cement or clay. Decorate the top with broken brick, small stones, and ceramics.
- Make the roof out of cardboard folded in half. Cover it with concrete mortar, making sure to create a tiled effect.
- Make opening doors and windows out of cardboard.
- Decorate the house with a bell on the door, various figurines, and miniature flower pots.
The home of a gnome or other cartoon character would look harmonious next to a flower bed, the thick trunk of an old tree, ponds, surrounded by pots of climbing plants, etc.
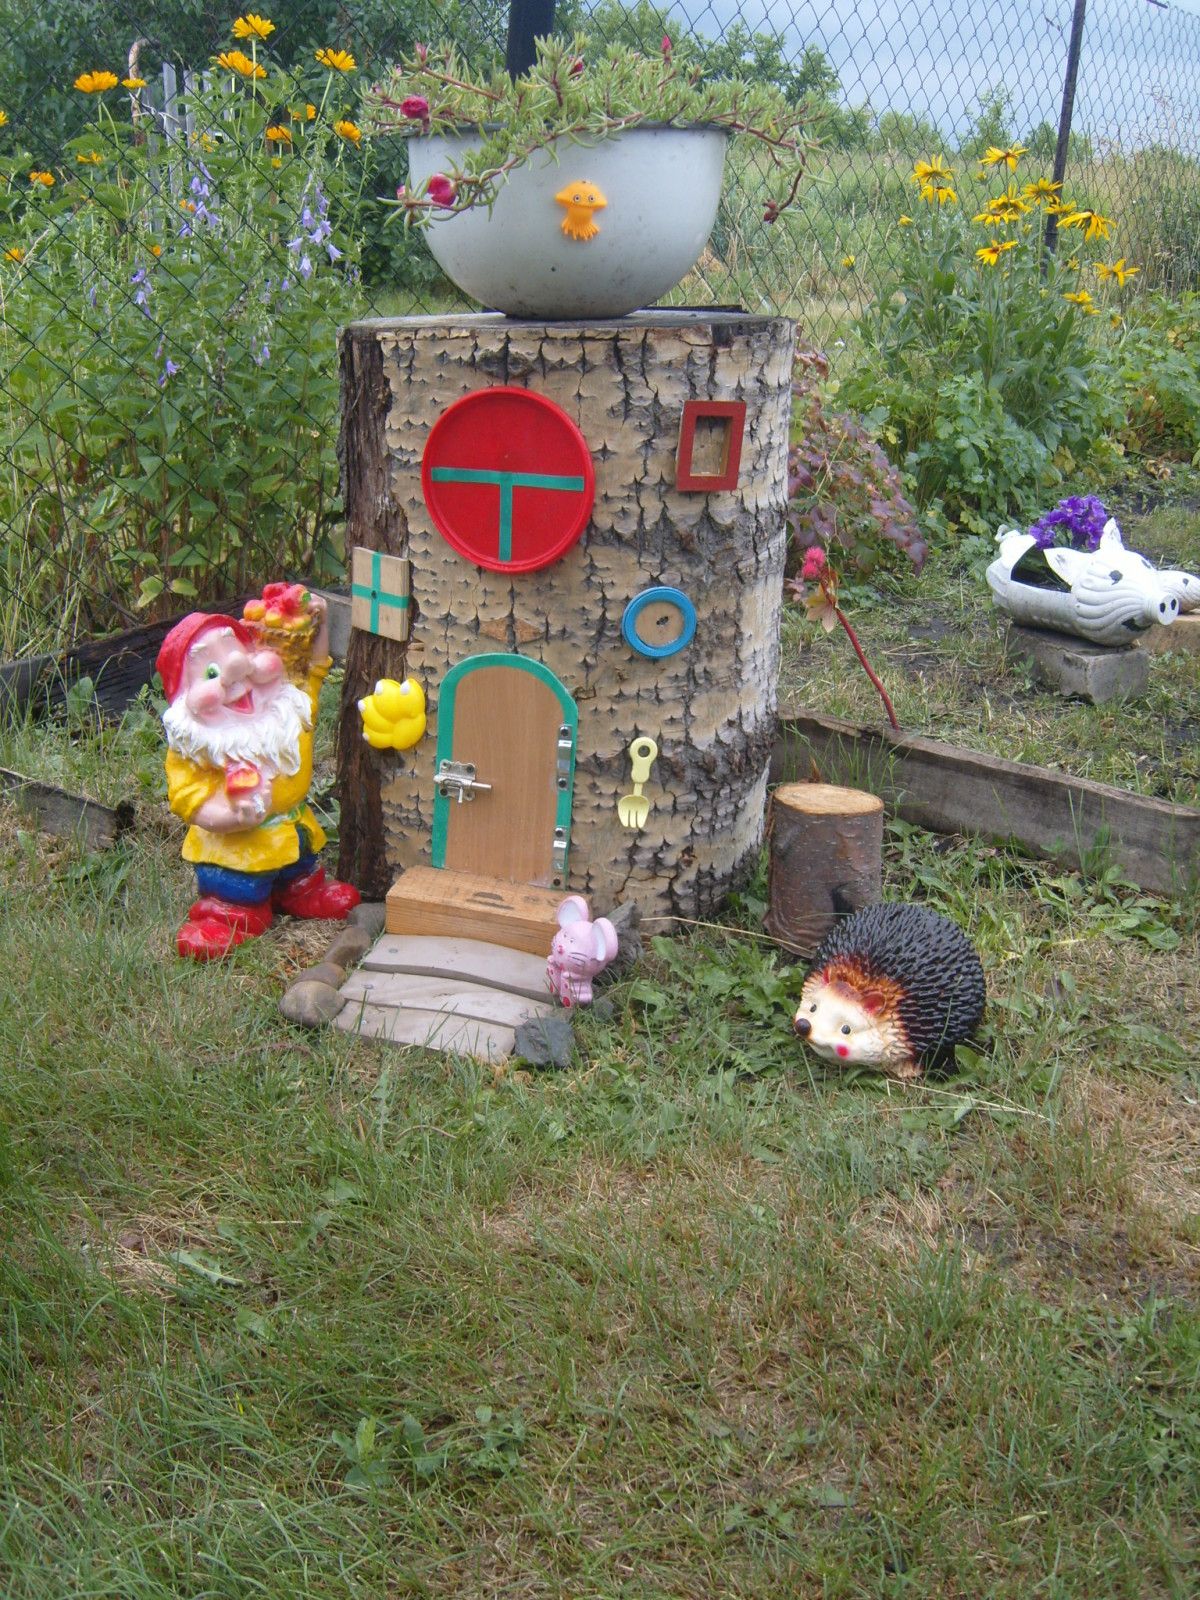
Making garden gnomes and their houses yourself is easy; the key is to use your imagination and set aside time. A self-made figure will add a touch of exclusivity to your property. You can be sure no one else will have one like it. The most important thing is to position decorative sculptures appropriately so they blend harmoniously into the landscape and don't seem out of place. Sometimes, you don't need to make them the centerpiece; it's better to place them off to the side or among bushes.