Oyster mushrooms are delicious and healthy mushrooms that are relatively easy and inexpensive to grow at home. Many mushroom growers turn this process into a profitable business. In this article, we'll explain how to grow oyster mushrooms at home or in your garden, and discuss how to turn this process into a business.
Content
- 1 What conditions are needed for oyster mushrooms to grow?
- 2 Rules for selecting oyster mushroom mycelium
- 3 How to grow oyster mushroom mycelium at home
- 4 Substrate for oyster mushrooms
- 5 Methods for growing oyster mushrooms at home
- 6 Caring for oyster mushrooms
- 7 Harvesting oyster mushrooms at home
- 8 Growing Oyster Mushrooms as a Business Project: Step-by-Step
- 9 How to register an oyster mushroom growing business
- 10 Reviews of oyster mushroom cultivation
What conditions are needed for oyster mushrooms to grow?
| Parameter | Conditions during growth | Conditions for the presence of mushrooms |
| Temperature °C | +18…+24 °C | +10…+12 °C |
| Humidity | 70% | 90% |
| Substrate | The substrate must be disinfected, warm and moist. | The substrate should be regularly sprayed and inspected for mold. |
| Ventilation | Ventilation is not required. | Regular ventilation. |
| Lighting | Complete darkness. | Additional illumination with diffused light for 8-10 hours. |
Rules for selecting oyster mushroom mycelium
The success of oyster mushroom cultivation depends directly on high-quality mycelium. It's best to purchase it from trusted vendors, as only industrial conditions can ensure absolute sterility.
Indicators of high-quality mycelium include:
- Sterility – the product must be in a sealed package equipped with special biofilters.
- Number of reseedings – seed material from other manufacturers should not be used.
- The variety or strain must be common and well known, suitable for home cultivation.
How to grow oyster mushroom mycelium at home
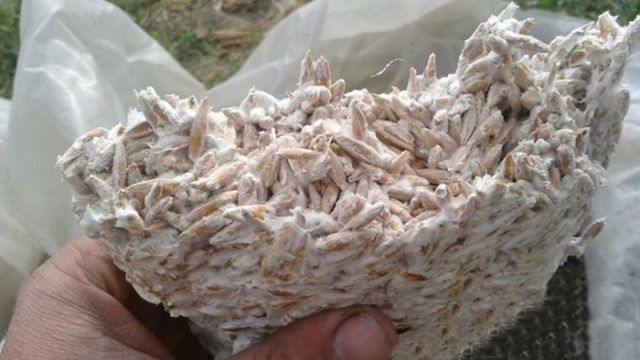
The easiest way is to buy ready-made mycelium in a specialty store, but if you have the time and desire, you can make it yourself.

The advantage of self-grown mycelium
Growing mycelium at home has a number of advantages:
- The method is inexpensive.
- Possibility to regulate production volumes.
- Full quality control of the product.
- Using cardboard
Mycelium can be easily grown using ordinary cardboard. It should be colorless, without patterns or coloring pigments. Using cardboard eliminates the risk of bacterial growth, and the cost is minimal.
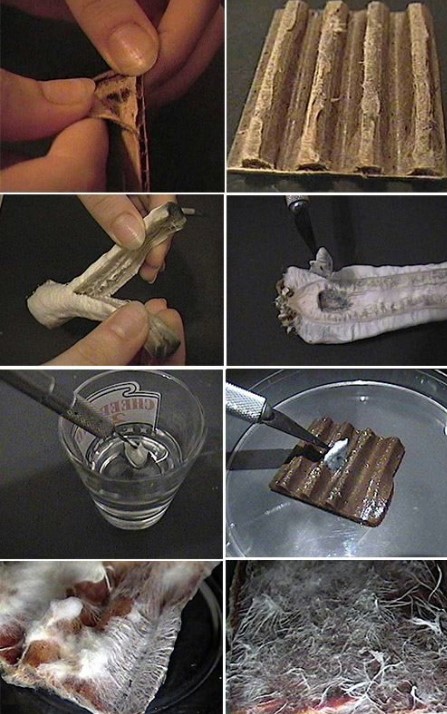
The preparation steps are as follows:
- A sheet of cardboard is crushed and poured with boiling water for 60 minutes.
- The stem and cap of the cherry are carefully separated into fibers using a disinfected sharp knife.
- The cardboard is squeezed out and mixed with the seeding substrate.
- Take a cut-off piece of a plastic bottle with a hole in the bottom and disinfect it.
- The resulting mixture is placed in a container, after which it is covered with cling film and stored in a warm place, out of reach of direct sunlight.
- It is necessary to water the future mycelium daily using a spray bottle and ventilate the greenhouse for 5-10 minutes.
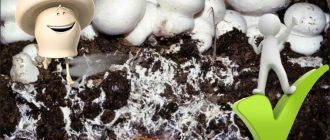
- After a few months, with proper care, the cardboard will become covered with a white fluffy coating.
Grain mycelium
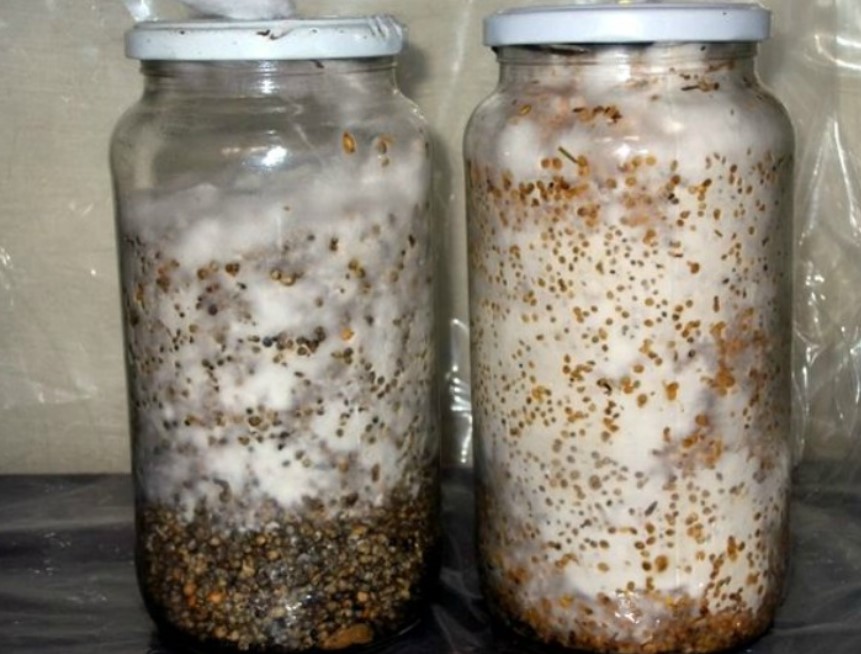
To prepare grain mycelium you will need:
- ripe oyster mushrooms;
- 500 ml jars;
- wheat, rye or millet grains.
The preparation procedure is as follows:
- The grain is poured with water and left overnight.
- In the morning it is washed and boiled for 15 minutes.
- The finished grain is dried in a colander.
- Place the grain in a jar, then add 1 tablespoon of gypsum and chalk.
- Cover the jars with a lid and leave to sterilize for 4 hours.
- After the jars have cooled, the grain is transferred to a bag in a 5 cm layer, finely chopped oyster mushrooms are placed there, and the same layer of grain is placed on top again.
- Once the bag is full, tie it up, place it in another bag, and make a small cut. Cover the cut with a cotton pad taped to the bag, and store it in a warm, but dimly lit place.
- In just three days, movement will be noticeable, and by the end of the second week, the mycelium will be completely ready.
Mycelium on sticks
Growing mycelium on sticks is one of the easiest ways to obtain high-quality mycelium.
- In the garden, cut sticks up to 20 cm long. It is best to take poplar, birch, and aspen.
- The sticks should be boiled for 30 minutes. Then drain the water and cool under a germicidal lamp.
- Next, the oyster mushroom is cut in half, and the fibers with spores are carefully separated from the stem using sterilized tweezers.
- The sticks are placed in bags (it is most convenient to use a zip-lock bag), the mushroom parts are added to them, everything is carefully closed and put away in a warm, dark place.
- If necessary, you can open the bag and spray the planting a little if the sticks dry out.
- After a month, mycelium will form on the sticks.
Substrate for oyster mushrooms
The easiest way is to purchase a ready-made substrate for oyster mushrooms. But if this isn't available, it's quite possible to prepare it yourself:
- Wheat and barley straw, sunflower husks, and buckwheat husks are crushed so that the particle size does not exceed 10 cm.
- Boil the substrate for 2 hours to destroy pathogenic organisms.
- Dry to 70% humidity.
- Before planting, add fresh yeast at a rate of 35 g per 10 kg of substrate.
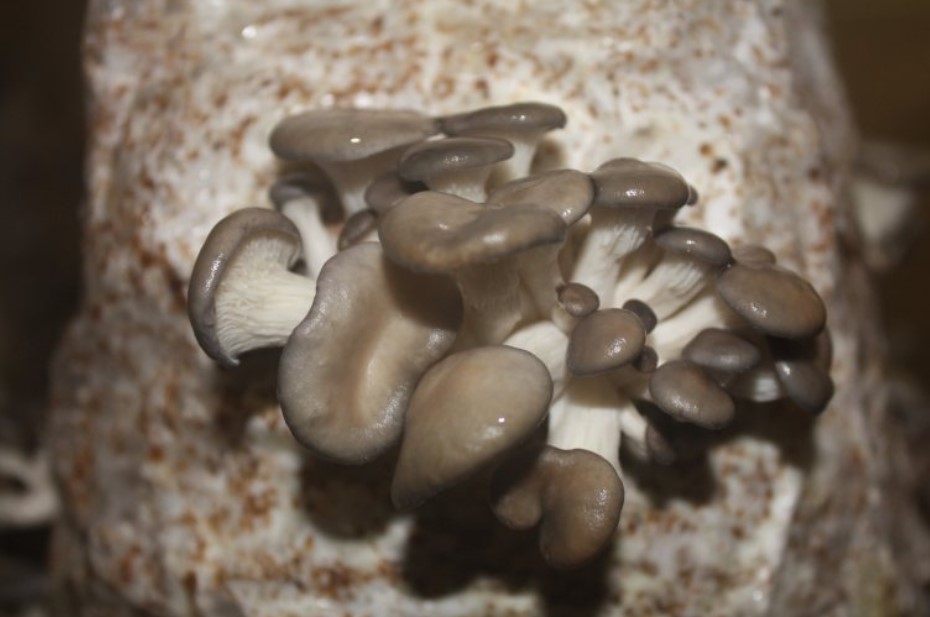
Methods for growing oyster mushrooms at home
There are several ways to grow oyster mushrooms at home: in greenhouses, in garden beds, in basements, and others. We'll cover all of them below.
Extensive and intensive methods of growing oyster mushrooms
Oyster mushrooms are grown in two main ways:
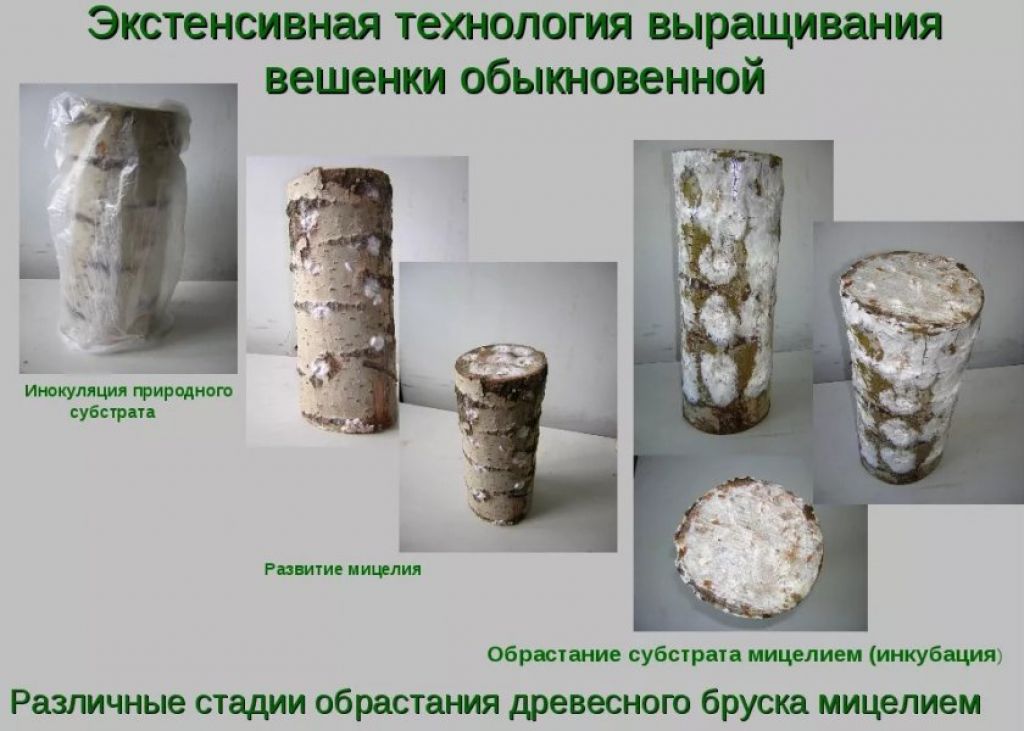
- Extensive. This method involves using natural materials, such as tree stumps. It's suitable for seasonal cultivation; the yield isn't very high, but mushrooms grow every season.
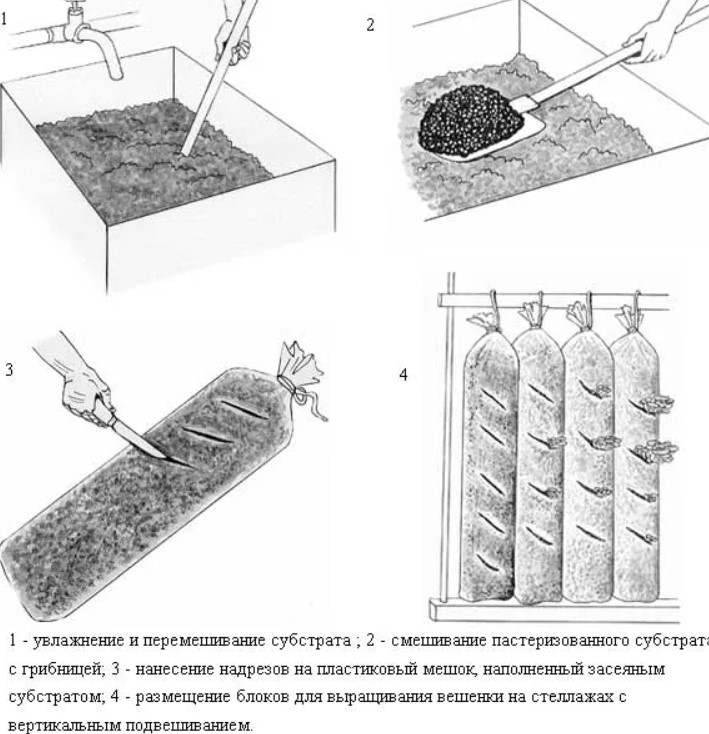
- Intensive. More expensive, but yields much higher. This involves growing mushrooms on special substrates in a cellar, basement, or equipped greenhouse. It can be done in a small space.
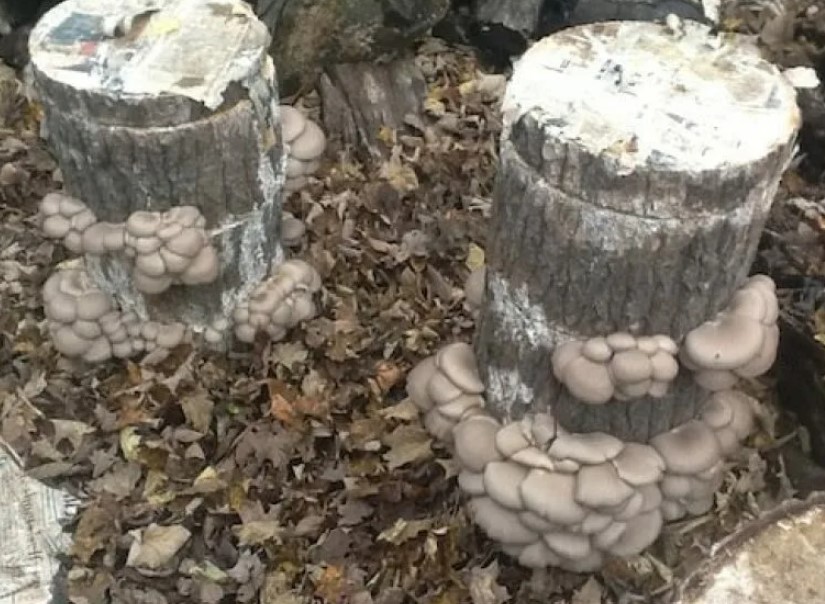
How to grow oyster mushrooms on tree stumps
- The stumps can be made from parts of deciduous trees: birch, beech, bird cherry, linden, alder, hazel, willow, etc. Several different species can be used, if the site's size allows. The difference is that on softwood, oyster mushrooms will appear earlier, but there will be fewer of them. On hardwood, the opposite is true – mushrooms are abundant, but they appear later.
- It is better to take large, freshly cut stumps with a diameter of at least 30 cm and a height of up to 40 cm.
- Once the threat of frost has passed, you can begin planting.
- The stumps are spaced 30 cm apart. The location chosen for them is the wettest and shaded area on the property.
- A trench up to 25 cm deep is dug and filled with sawdust and straw. The stumps are placed in the trench and covered with a 15 cm layer of soil.
- The trench is covered with polyethylene on top; it must be regularly lifted and the soil moistened.
- To speed up the mycelium formation process, you can make cuts in the stumps and insert spore-infected sticks into them. Then cover these cuts with sawdust and place a tree cut no more than 3 cm high on top. Typically, mycelium is simply added to the cuts.
- After approximately 45 days, a white coating should appear at the sites where the mycelium was sown, indicating that the mycelium formation process is proceeding normally.
- In the fall, the film can be removed, and in September, with proper preparation, the first harvest can already be collected.
Rules for growing oyster mushrooms in a greenhouse
Oyster mushrooms grow well in a greenhouse, even coexisting well with cucumbers. However, a greenhouse is most often used for winter cultivation of oyster mushrooms.
In the fall, stumps are harvested, which are then dug into the ground and lightly covered with sawdust.
The surface of the wood is drilled and mycelium or spore rods are placed into the holes arranged in a checkerboard pattern.
The plantings are covered with film.
The temperature inside should be between 13 and 16 degrees Celsius, but to ensure rapid mushroom growth, it should be lowered to 2 degrees Celsius for a couple of days, then returned to normal. A harvest can be obtained in as little as 2-3 months, after which all equipment can be removed from the greenhouse, making way for vegetables.
How to grow oyster mushrooms in a basement
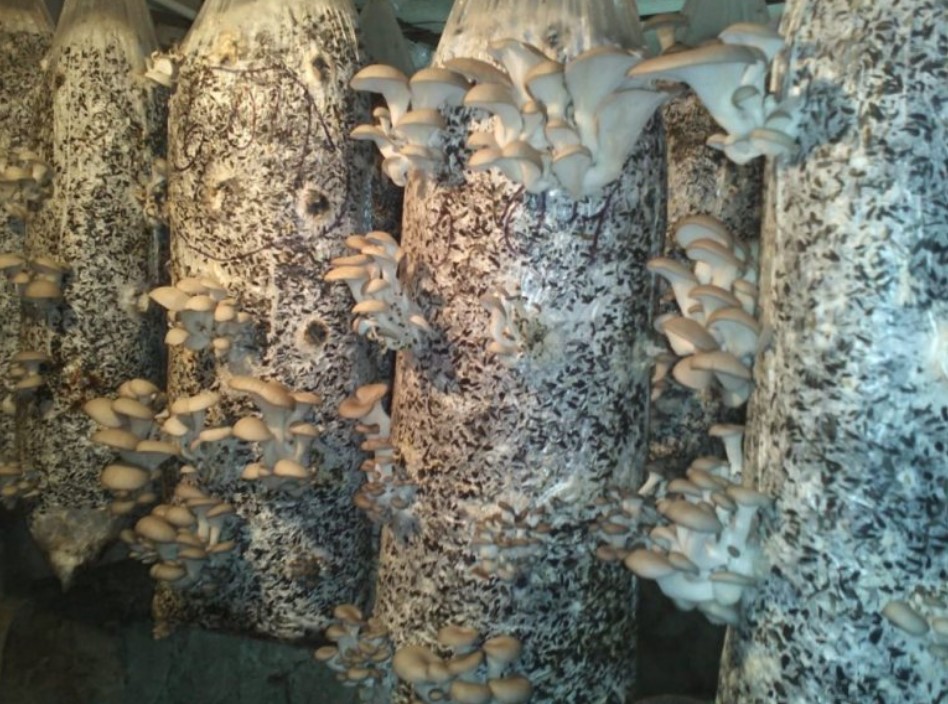
In the basement, oyster mushrooms are grown in bags that hang from the ceiling or are placed on shelves. To harvest, several important conditions must be met:
- Disinfect the room with copper sulfate and lime.
- Maintain humidity at 70% using a humidifier or misting.
- Add lighting.
- Ensure good ventilation.
- Maintain the temperature in the range from +20 to +30 degrees.
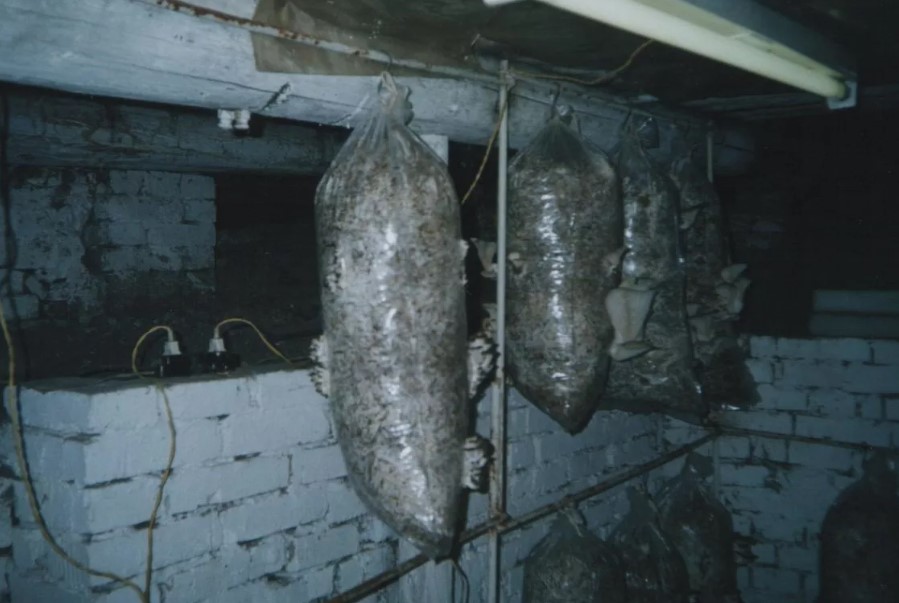
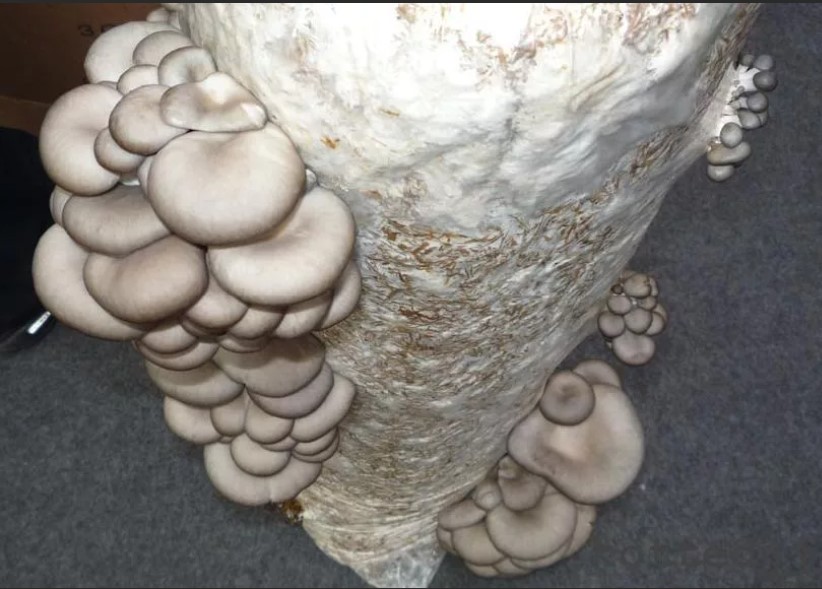
How to grow oyster mushrooms in bags
Purchased bags must be disinfected with a 1% chlorine solution, as the mycelium is highly susceptible to all pathogens. The room where the mycelium will grow must also be thoroughly disinfected.
It is important to carry out the work of populating the mycelium wearing a protective mask and gloves.
Add the mycelium to the prepared substrate and mix thoroughly. Don't be alarmed; the mycelium will no longer be white—this is normal.
A 35 cm wide bag will require about 300 g of mycelium. For each liter of bag, no more than 500 g of substrate is needed. Then, tie the bags and hang them up. You can arrange the bags on shelves, as long as they stay securely in place.
Next, holes are made in the bags in a checkerboard pattern through which mature oyster mushrooms will emerge.
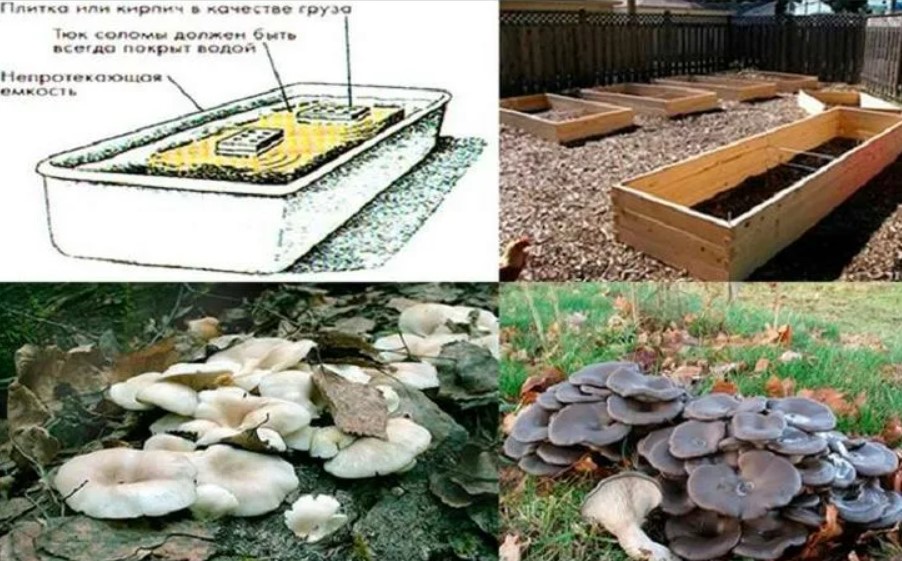
Growing oyster mushrooms in a garden bed
To grow oyster mushrooms in your garden, you need to build a bed 20 cm deep and up to 1 meter long. On top, you need to construct a formwork measuring 30 x 100 x 20 cm, which will be removed after the mycelium is planted. It is filled with a special substrate:
- The straw is poured with warm water and fermented for three weeks to destroy pathogenic organisms.
- 3% of the total amount of chalk and no more than 1% of urea are added to the finished straw.
- The purpose of the formwork is to create compressed blocks into which the mycelium will be planted. Straw is placed into the formwork openings, then the wooden form is removed, and the remaining space is filled with soil.
- The mycelium is planted at a depth of 4 cm. The structure is covered with film and boards, but at the end of September, the bed should be covered with a canopy to protect it from direct sunlight.
- Regular watering is necessary, then the first harvest can be collected already at the beginning of October.
Caring for oyster mushrooms
Caring for oyster mushrooms is not difficult even for a beginner.
On the stumps
Caring for oyster mushrooms growing on stumps at your dacha is straightforward. The key to good mushroom growth is regular watering of the soil around the stump until fruiting has ceased.
Mushrooms cannot tolerate heat; if the air is too hot, the mycelium dies.
During the winter, stumps can be covered with spruce branches if the temperature drops to critical levels in winter.
Indoors
- After the oyster mushrooms appear, they need to be provided with additional lighting for 8-10 hours using a lamp with diffused light.
- Mushrooms require high humidity, so the bags need to be watered regularly.
- The room is ventilated to maintain the required level of humidity and temperature.
- Mushrooms are checked daily for diseases.
If diseases are detected, the following methods of combating them will help:
- Spraying with Biospot.
- Dilution of oxytetracycline and streptocycline drugs.
- Treatment of plantings with water containing chlorine (20 mg per 1 l).
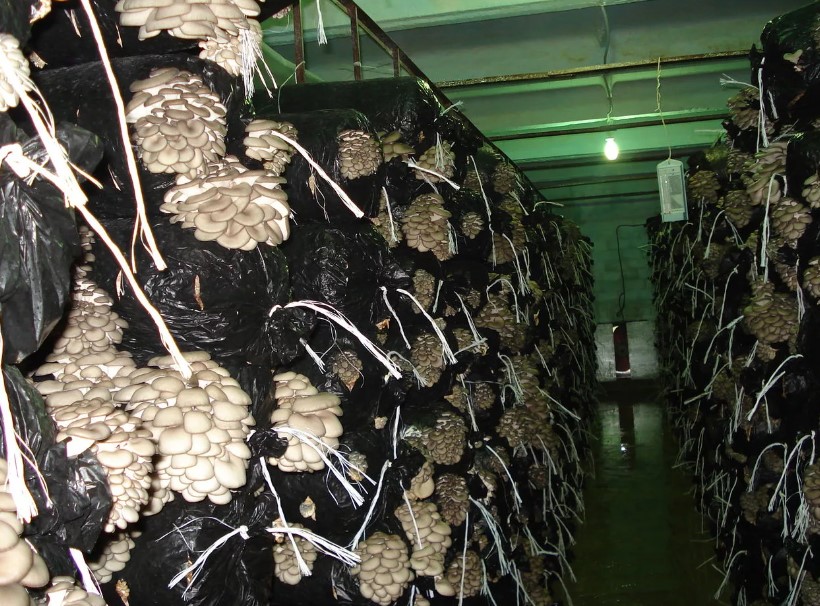
Harvesting oyster mushrooms at home
Oyster mushrooms are relatively easy to grow and can be grown at home. The key is to know a few tricks that will help you reap a bountiful harvest of these delicious and healthy mushrooms.
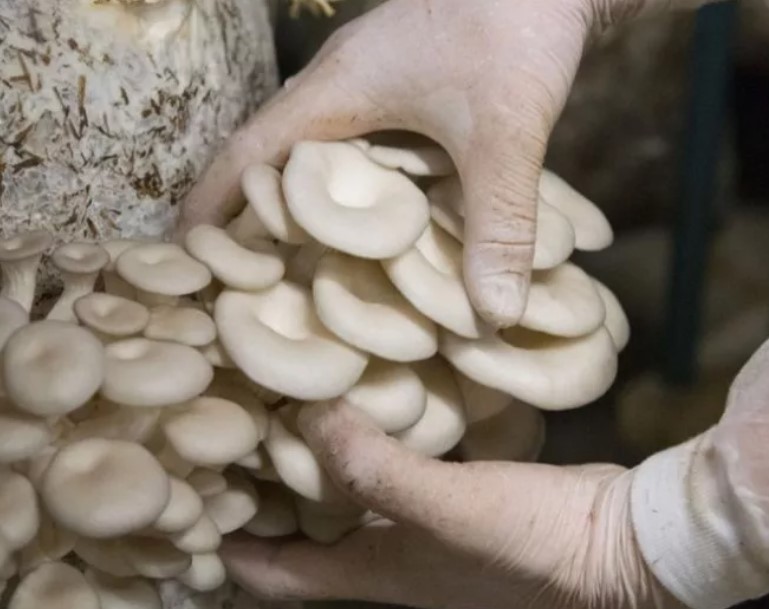
Read the article to learn about different types of oyster mushrooms, including those that can be grown at home.Oyster mushrooms: 12 types with photos and descriptions, where they grow, when to pick them, calorie content, and how to cook them.
Growing Oyster Mushrooms as a Business Project: Step-by-Step
Oyster mushrooms have long been grown on an industrial scale not only by large enterprises, but also by small private farms.
Sales markets
Before you begin growing oyster mushrooms, you need to figure out how and where the grown mushrooms will go. There are several optimal options:
- Food markets. They exist in almost every city, and you can offer sales to existing vendors. You can also rent a space and sell mushrooms yourself.
- Restaurants and cafes. Many chefs use private farms to purchase meat, mushrooms, and herbs; good and reliable suppliers are in demand.
- Stores. It's hard to get into chain stores with a small supply of mushrooms, but small retail shops can easily sell the goods.
- Processing plants. Some large companies purchase mushroom raw materials in bulk for processing into seasonings, semi-finished products, and other goods.
Production planning
Oyster mushroom production doesn't require enormous investment. A minimal investment is all that's needed: a small space, mycelium, special soil, equipment, and patience.
At the very beginning, you can try growing a small amount of oyster mushrooms, trying your hand at something new. 5,000 rubles will be enough if you have a suitable basement. You'll need to purchase the following supplies:
- 10 bags of 12 kg – 100 rubles;
- 1 ton of substrate, which includes corn stalks, sawdust, straw) - 2000 rubles;
- 8 kg of mycelium – 500 rubles;
- bars for making shelving – 2000 rubles.
Once things get going, you can expand production or simplify it a bit, for example, by purchasing special mushroom briquettes for growing. A larger refrigeration unit may be needed for storing the mushrooms later.
Important! The initial investment pays off within approximately 10 months of running the business.
Profitability
If cultivation techniques are followed, each bag can yield up to 4 kg of mushrooms at a time. A small basement can accommodate up to 10 such bags. Considering that a kilogram of oyster mushrooms sells for 130 rubles, each bag can bring in up to 500 rubles in income. And considering that large farms can produce hundreds of bags, the profits can be substantial.
How to register an oyster mushroom growing business
Many retail outlets and food service establishments, even small ones, work only with official suppliers who have all the necessary permits. Therefore, oyster mushroom growing businesses must be properly registered.
The best option is to become a sole proprietor and open your own business. To do this, you'll need the following documents:
- Passport.
- Application for registration of individual entrepreneur.
- Copy of individual tax identification number.
- Receipt for payment of state duty.
Next, you must annually file an income tax return and deduct 6% of your profits under the simplified tax system.
To sell mushrooms with impunity, you will need to obtain the following documents:
- Declaration of conformity with GOST, confirming the compliance of oyster mushrooms with the required quality and safety standards.
- Phytosanitary certification, without which it is impossible to prove that mushrooms comply with existing sanitary standards.
- A radiological report confirming the absence of radioactive elements and heavy metals in mushrooms.
Reviews of oyster mushroom cultivation
My husband and I have been growing oyster mushrooms for a long time. At first, we grew them for ourselves, and then we started growing them for sale. Everyone seems to think it's easy and straightforward—maybe if you have everything mechanized. But when you grow them at home, it's not so simple; the labor is very hard and doesn't always pay off. Not everyone probably knows that there are a huge variety of oyster mushrooms. We tried several and settled on one. The variety is called "China"—and that's the name, not because it was produced in China, as many people think. This variety has a distinct flavor and keeps better than other varieties. It's suitable for frying, pickling, and any other cooking. If you follow all the growing instructions, your mycelium will reward you with a harvest in as little as 25 days. Incidentally, there have been no reported cases of oyster mushroom poisoning. So, eat them to your heart's content.
There are various ways to grow mushrooms. They can be grown on seed husks, sawdust, straw, or tree stumps. However, keep in mind that not all wood species are suitable. Tree stumps also require a longer growing season (sow in the spring, and you won't harvest until the fall), as the mushroom mycelium needs time to infect the mycelium with spores. And, of course, abundant watering, warmth, and light are essential.
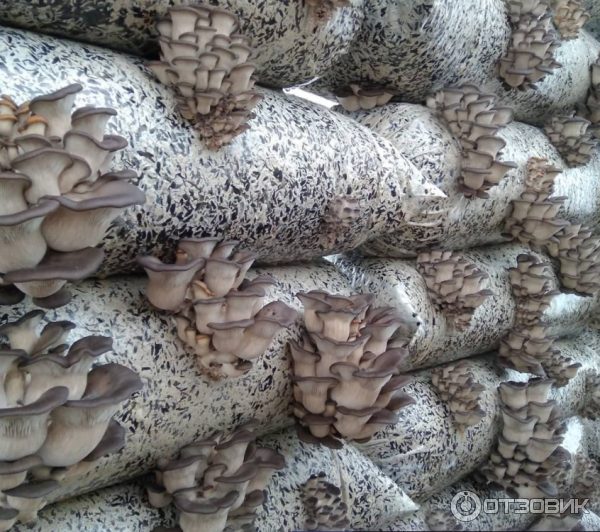
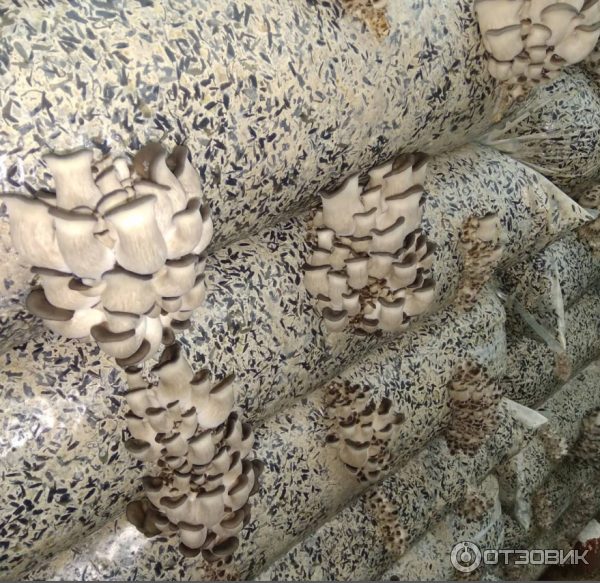
I tried growing it four or five years ago... It sold well fresh at the market, I wouldn't say there was a line, but there were plenty of fans.
You need a decent-sized room, the temperature and humidity are very important, ventilation is a must (I inhaled spores from overripe mushrooms and had to seek medical help...), and all this can be done year-round, if you take it seriously.
You'll have to work hard with them, prepare the substrate, I grew them on sunflower seed husks, and you need to steam them before planting...
No flies or other insects should be allowed near...
This is just for general information, so that you have at least a rough idea...
Moreover, the used substrate also needs to be put somewhere (it can be mixed into animal feed, into humus for soil fertilization, etc.), there will be a lot of it...
High-quality mycelium must be readily available (constantly) to avoid interruptions...
To grow mycelium yourself, you'll need a laboratory and professional expertise, so you'll have to buy it...
These are just some of the “interesting” moments in the “game” called “growing oyster mushrooms”.