Champignons are one of the most popular mushrooms for home cultivation. Mycelium can be purchased at any specialty store, but to avoid unnecessary expenses, you can make it yourself at home. To do this, you need to follow the proper technique and be careful when working with it, and your mycelium will be just as good as store-bought. This article will explain how.
Content
- 1 What does champignon mycelium look like?
- 2 Methods for obtaining champignon mycelium
- 3 Preparing a site for growing champignon mycelium at home
- 4 Preparing a container for growing champignon mycelium at home
- 5 Nutrient medium for growing champignon mycelium
- 6 Sowing mycelium or champignon spores into a nutrient medium
- 7 Further propagation of champignon mycelium
What does champignon mycelium look like?
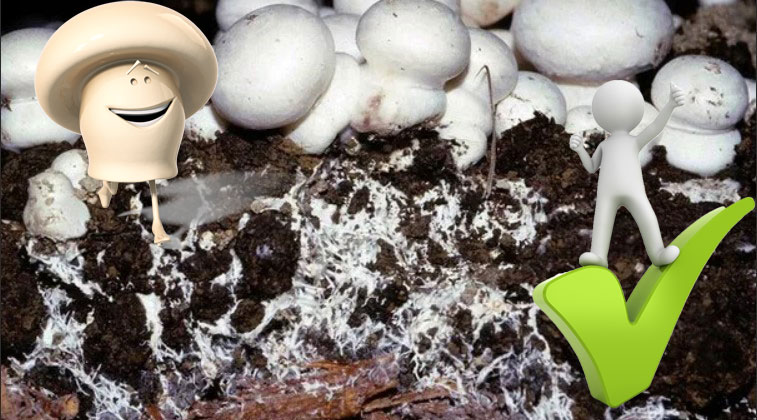
Mushroom mycelium is grown in a special substrate and appears as a fluffy white film that completely covers the substrate. In high-quality mycelium, thin white threads are clearly visible—the part of the mycelium that is usually hidden underground and is responsible for nutrition and reproduction.
Methods for obtaining champignon mycelium
There are two main methods for producing mycelium: tissue culture and spore culture. The latter is more complex and requires special sterility and care; it is most often used in laboratory settings.
Spore
French scientists are considered the pioneers of the spore method for producing mycelium. If you place a mature cap face down on a clean sheet of paper, after a while you'll notice diverging lines. These are the spores. However, they quickly die in the air, and they are also highly susceptible to pathogenic microorganisms in the environment. Therefore, in laboratories, spores are sown under sterile conditions directly into a Petri dish. After the mycelium begins to germinate, it is inoculated into a specialized substrate.
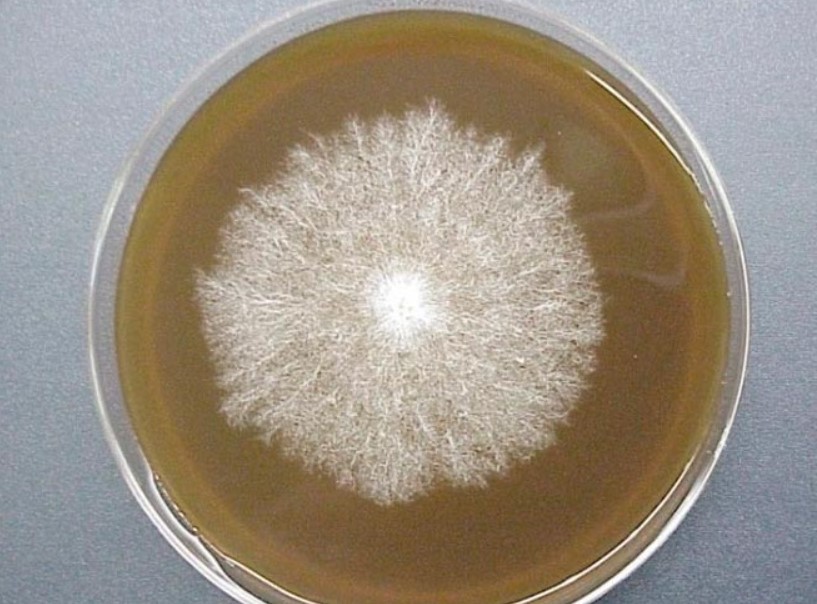
A way to produce champignon spores at home
To obtain champignon spores at home, we will need the following equipment:
- sharp knife;
- cellophane bag;
- iron lid;
- syringe;
- distilled water;
- toothpick;
- 50g stack;
- alcohol for disinfection.
Before starting work, disinfect the table and all equipment to prevent bacterial contamination. The bag is disinfected from the outside and then turned inside out. It will be used to store the container with the spores.
The next step is to take the mushroom and carefully remove the stem with a knife, trimming the curled edges of the cap. This entire process is also done with trained hands.
The cap is placed on the lid, gill-side down, and pressed lightly. Then the entire structure is packed into a bag, tied tightly, and stored in a dark place for 2-4 days.
After the allotted time, an imprint of the fungus spores should appear on the lids, similar to rusty-brown streaks.
Using a syringe, pour a small amount of water into a shot glass that has been previously wiped with alcohol. Carefully place the spores in the glass and scrape them off with a toothpick.
Next, draw water and spores into the syringe, attach the needle, and cap the syringe. The spore suspension is ready. It can be immediately placed in the growing medium or stored in the refrigerator.
Did you recognize the champignons in the video? Yes, it is. Royal champignons.
Fabric
This is one of the first methods of obtaining mycelium, which was widely used before the discovery of the spore method.
This method involves placing a piece of mushroom tissue in a sterile nutrient medium. It's best to take material from the center of the fruiting body, as bacteria may be present on the surface. This method is more convenient for growing mushrooms at home, but the yield from this type of mycelium will be slightly lower.
Preparing a site for growing champignon mycelium at home
The most important requirement for a home mycelium cultivation environment is absolute sterility. Everything from clothing to dishes and the room itself must be disinfected. The table where the work will be done should be covered with glass and disinfected with alcohol.
Preparing a container for growing champignon mycelium at home
The container for growing mycelium must be heat-resistant so that it can be well sterilized.
At home, use test tubes with screw-on lids and glass jars with a hole in the center of the lid. All of these can be sterilized in an autoclave or pressure cooker if other suitable equipment is unavailable.
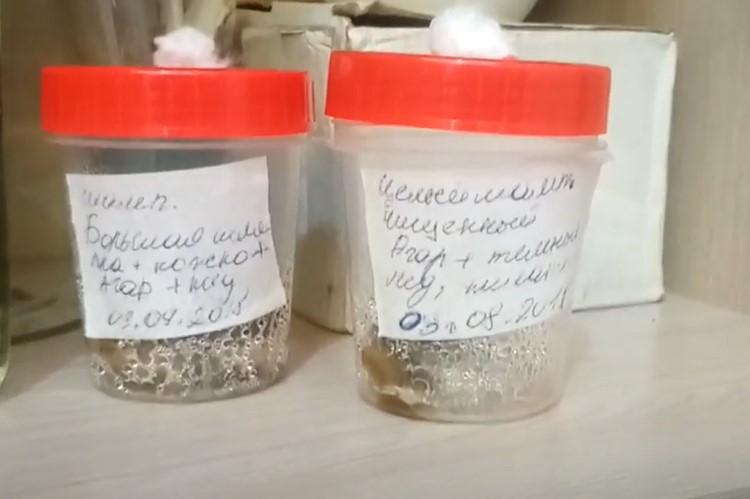
For industrial production, large polyethylene bags are used, with a special filter material glued to the inside to prevent bacteria from penetrating. Small holes are punched in the bags to allow air circulation.
Nutrient medium for growing champignon mycelium
For preparing a nutrient medium at home, it's best to use agar, a substance synthesized from white algae. It allows foreign microorganisms to be seen on the surface and easily removed. Typically, carrot, oat, glucose-potato, or wort agar are used for mycelium cultivation.
Wort agar
Cooking technology:
- Add 20 g of agar to 1 liter of beer wort at room temperature and mix.
- Place the container on low heat and cook until a uniform consistency is achieved.
- Sterilize the test tubes and fill them with agar using a sterile funnel.
- Cover with a cotton pad and sterilize for 30 minutes at 101 degrees.
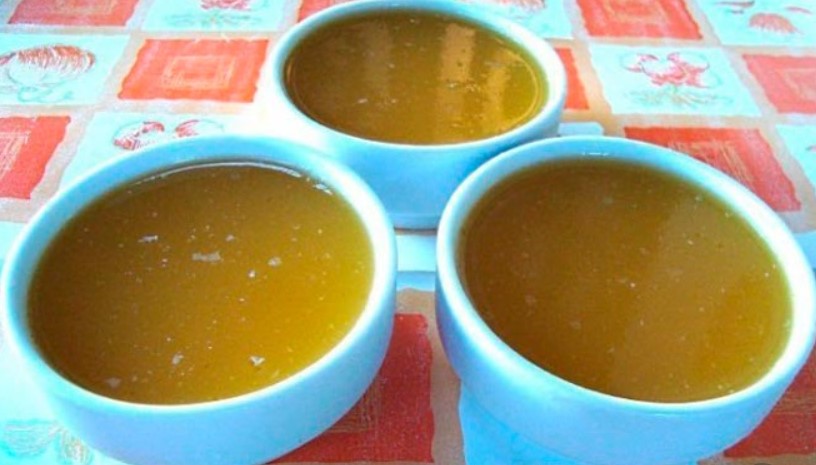
To increase the surface area of the nutrient medium, the test tubes can be tilted after preparation, but the agar should not reach the lid by a couple of centimeters.
Oatmeal agar
Oatmeal agar is prepared as follows:
- 30 g of oat flour is mixed with 15 g of agar.
- The powder is diluted in 970 ml of water.
- The container is placed on low heat and the mixture is cooked for 60 minutes, stirring regularly.
- Scald the gauze with boiling water, fold it in several layers and strain the decoction through it.
- Fill a sterile container with agar, tilting it at a slight angle.
Carrot agar
To prepare carrot agar, prepare 400 ml of carrot extract. Mix 2 parts grated carrot with 5 parts water and boil for 30 minutes, then strain.
Next, mix the carrot extract, 600 ml of water, and 15% agar. Boil the mixture for 30 minutes, stirring constantly, then strain through sterile cheesecloth.
Sowing mycelium or champignon spores into a nutrient medium
Once the agar in the test tube has solidified, you can begin inoculating the mushroom spores. To do this, cut a small piece from the mushroom stem with a sharp, sterile blade. You can also use tweezers or a special steel needle with a curved tip. Dip the resulting tissue in a hydrogen peroxide solution for 1 second to disinfect it. Then, quickly place it in a test tube, which is quickly sealed with a sterile lid. To avoid contamination, all steps should be performed over a burner flame.
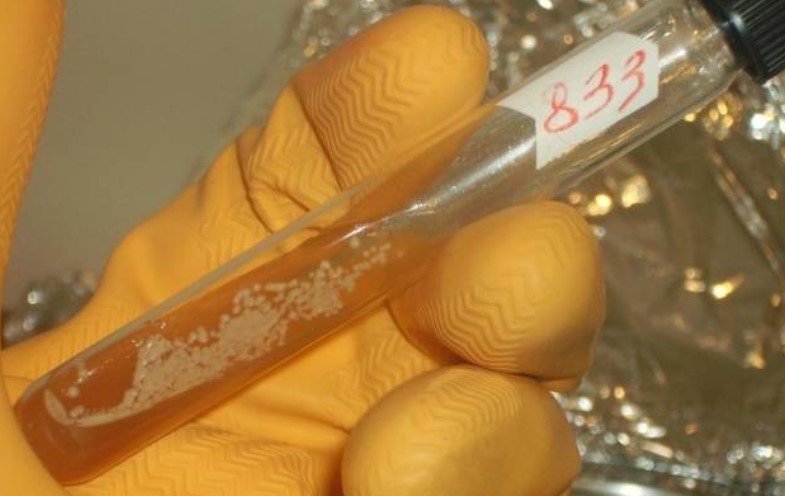
After planting the spores, the test tubes are placed in a warm, dark place for two weeks. During this time, if the planting instructions are followed, the mycelium will fill the culture medium in the test tube. This substrate is called a stock culture. At a constant temperature, it can be stored for a long time and used for transplanting into a new culture medium.
Further propagation of champignon mycelium
So, using agar and spores, we obtained a stock material, which we then use to propagate mycelium at home. The procedure will be as follows:
- Sterile three-liter jars are filled 2/3 full with substrate, in which a depression is made for the mother culture.
- The jar is sealed with a tight-fitting metal lid, previously sterilized. A hole should be made in the lid, which is tightly sealed with a sterile stopper.
- Prepared jars are placed in an autoclave with a pressure of 2 atmospheres and sterilized for 2 hours.
- After sterilization, they are placed in a disinfected room to cool.
- When the temperature reaches 24 degrees, you can begin adding the parent material.
On compost
There are many ways to cook compost for champignons, but the classic compost is considered to be one made from horse manure, bird droppings and straw.
- Before placing the compost in jars, it needs to be slightly warmed up to a temperature of 24 degrees.
- Fill the container 2/3 full, close it with a lid with a hole into which a cork is inserted.
- Sterilize the containers in an autoclave, then add the seeding from the test tubes.
- Close the lid tightly and put it in a dark place.
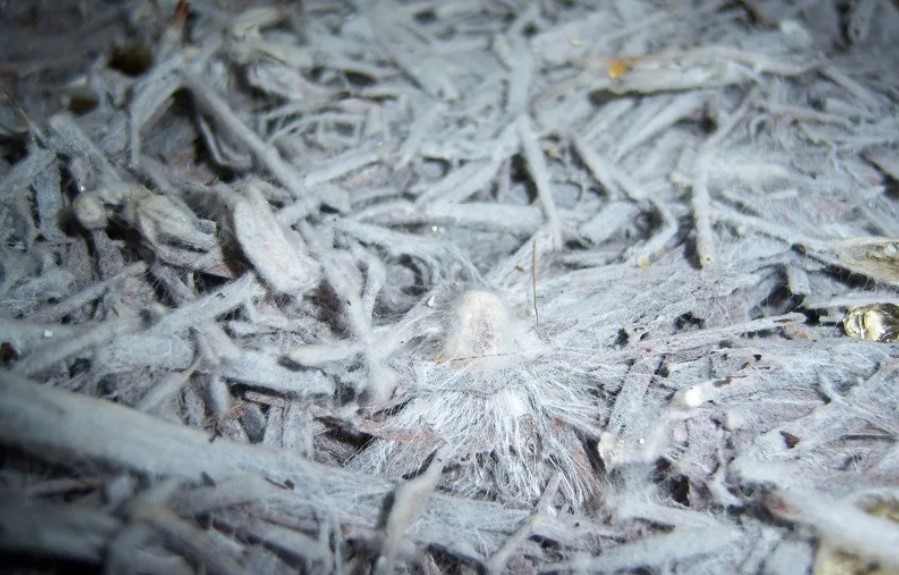
Such mycelium will not be characterized by high yields and a long shelf life.
How to grow mushrooms yourself Read on our website.
On the grain
For grain mycelium, oats or wheat are most often used, but rye or barley will also work.
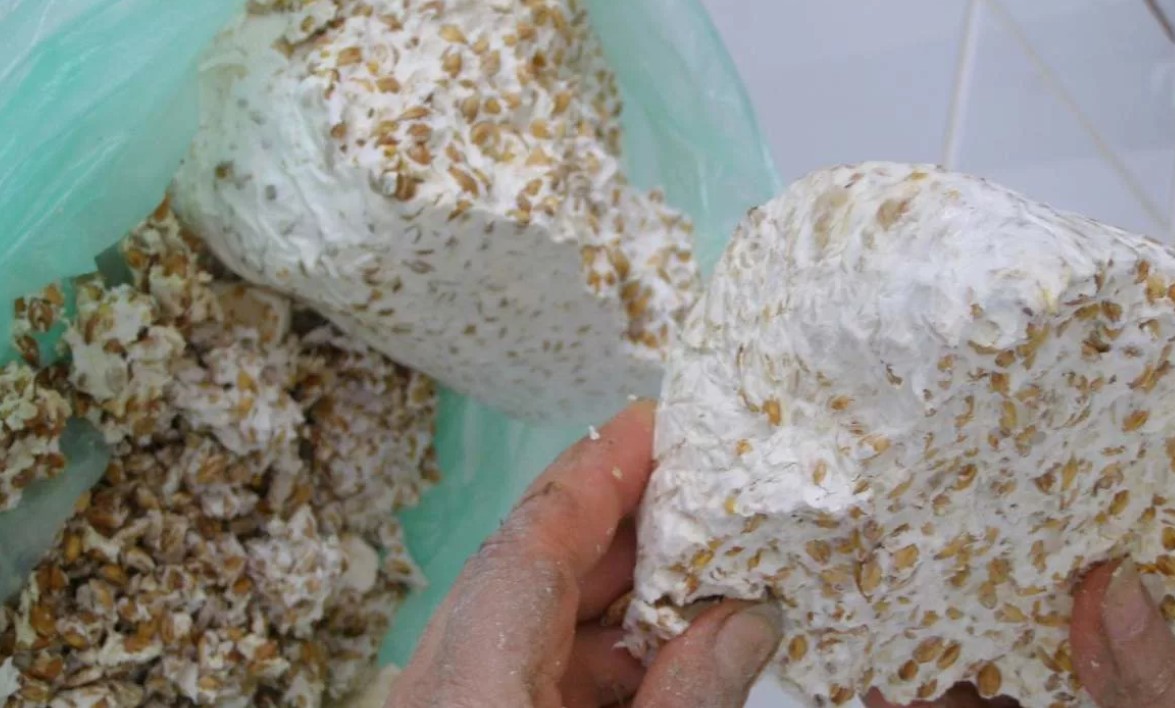
The procedure is carried out in the following stages:
- Pour water over the grain in a ratio of 2:3, add hydrogen peroxide (1:10), and simmer for 30 minutes. The grain should not fall apart; it should be soft but still retain its firm structure.
- Drain the water, add a little gypsum and chalk to the grain to regulate the acidity level, place everything on a metal mesh and place it on a wooden box with a fan attached above it.
- When the grain is dry, it is transferred to a jar, filling it 2/3 of its volume, sterilized using an autoclave, the mother culture is added and placed in a place with 60% humidity and a temperature of 24 degrees.
- If green or brown spots appear in the jar during storage, it must be sterilized again for 2 hours.
- To prevent the grains from sticking together and to ensure normal mycelium development, the jar is shaken periodically.
- The prepared mycelium can be packaged in sterile bags, where it can be stored for up to 2 months at a temperature of 0-2 degrees.
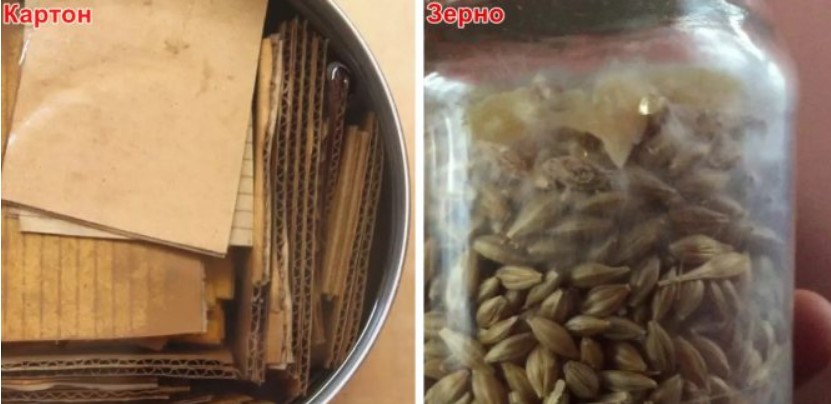
On cardboard
Using cardboard for growing mycelium has a number of advantages:
- Saves time and labor costs.
- The risk of exposure to pathogenic microorganisms is reduced.
- Cardboard holds moisture well.
- The corrugated structure ensures the necessary air circulation.
- The material is inexpensive and accessible.
- There is no need to sterilize the material.
Stages of growing mycelium on cardboard:
- Cut the cardboard into small pieces, soak them in boiled water at room temperature for an hour and a half and place them in a plastic container with holes in the bottom.
- Separate the mushroom into fibers using a sterile blade.
- Peel off the top of the cardboard, revealing the corrugated surface.
- After dipping the mushroom pieces in hydrogen peroxide, quickly place them on cardboard and cover with the removed layer of paper, lightly compacting to remove excess air.
- Cover the container with a bag or film.
- Remove the cover daily to ventilate the mycelium.
- To prevent the cardboard from drying out, it needs to be periodically moistened with warm water.
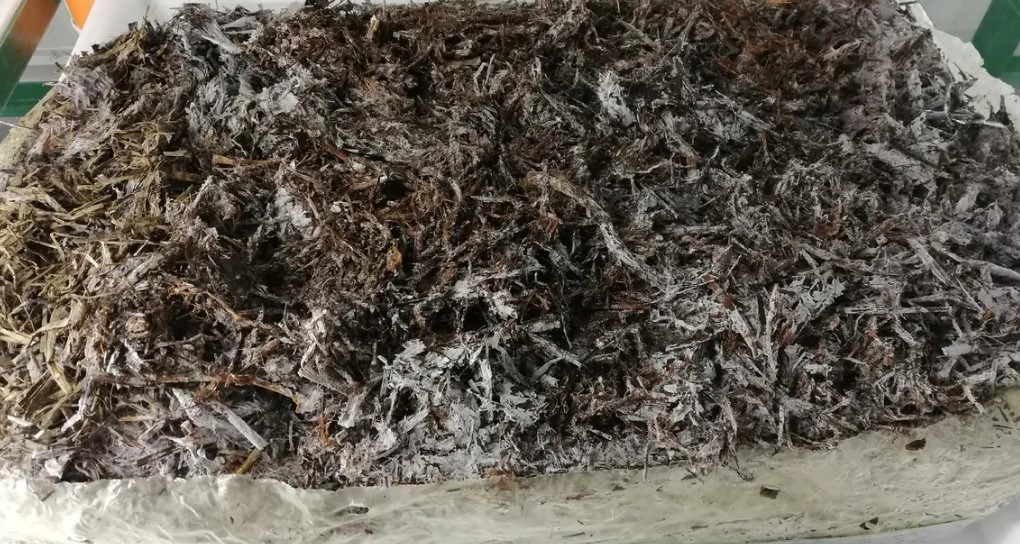
- Place the container in a dark place and leave it there until the entire cardboard surface is covered with white fluff—the growing mycelium. This can take up to three months.
This mycelium can be used for planting mycelium, or it can be planted on the next sheet of cardboard to increase the volume of the material.
Ah, you know that grow champignons in a greenhouse at your dacha It's not that difficult.