Lately, more and more people are choosing to farm their own gardens rather than buy vegetables from the store. Therefore, the question of proper fertilizing of plants is quite pressing. Of course, you can find a variety of universal products in specialty stores that will help your plants grow strong and produce abundant fruit. However, many experienced gardeners still prefer a time-tested remedy: wood ash. But what's so good about the ash left over from burning plants? What are its advantages, are there any disadvantages, and how to properly fertilize tomatoes and peppers with ash? We'll cover all this in detail.
Content
- 1 The composition of ash and the role of each element in growing
- 2 Types of ash and the content of the main elements in them
- 3 How to get ash for fertilizer
- 4 Fertilizing tomatoes with ash and methods of its application
- 5 Application of ash at different stages of tomato growth
- 6 How to properly feed tomatoes with ash
- 7 Ash for tomato diseases
- 8 Protecting tomatoes from pests using ash
- 9 When ash cannot be used
- 10 Fertilizing peppers with ash: pros and cons
- 11 Applying ash at different stages of pepper development
The composition of ash and the role of each element in growing
When we talk about ash, we mean the residue left behind after burning trees and plants—that is, organic matter. It contains many elements essential for peppers and tomatoes. Let's look at each element separately.
Calcium and the role of its salts
Ash contains the highest concentration of calcium and its various salts. This element has a beneficial effect on plant growth and is responsible for balanced nutrition.
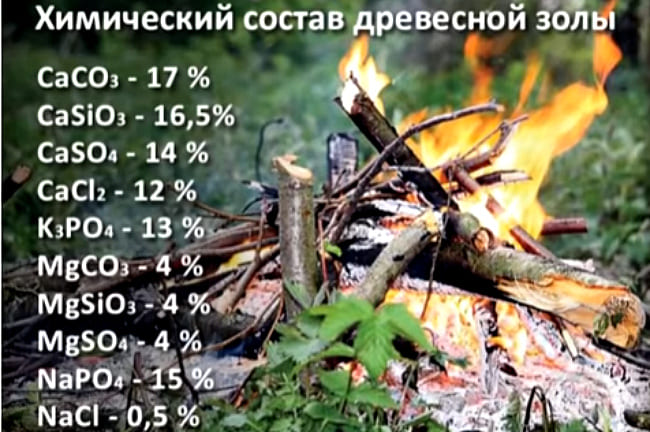
No less useful are calcium salts, which are represented in ash in four main types:
- Calcium carbonate. Responsible for balancing the biochemical processes occurring in plant cells. Improves the permeability of minerals into the plant. Accelerates fruit growth and ripening, increasing yields.
- Calcium silicate. It combines with pectin, allowing nutrient molecules to adhere tightly to each other and reach the roots and ovaries in full. It helps roots synthesize the maximum amount of nutrients from the soil. It improves the absorption of micronutrients and enhances the flavor of harvested tomatoes.
- Calcium sulfate. A key element in industrial fertilizers, it's an essential component of superphosphate. The concentration of this element in commercial fertilizers is certainly higher, and its effect is more active than that of ash. However, when added to the soil with ash, its beneficial properties are more prolonged than intensive. It accelerates plant growth and promotes the formation of healthy leaves and flowers.
- Calcium chloride. Tomatoes require only a small amount. It plays a vital role in photosynthesis and enzyme production. It also helps convert ammonium nitrate, which is present in all types of soil, into nitrate. It prevents rot and disinfects the soil. Excess calcium chloride can cause plant diseases or even death.
Potassium and phosphorus
Ash contains much less potassium and phosphorus than calcium. However, even this low concentration is sufficient to provide crops with the required amount of these micronutrients.
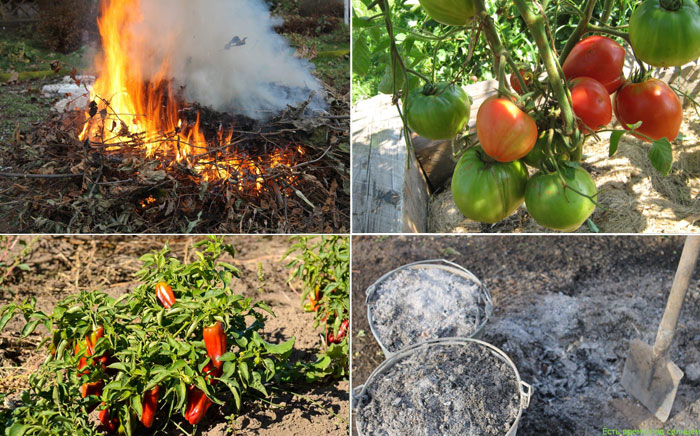
They actively participate in metabolic processes, ensuring the penetration and absorption of important microelements from the soil. Potassium stimulates flowering and fruiting, while phosphorus improves plant root nutrition. In ash, these elements are represented by two types of compounds:
- Potassium orthophosphate. Regulates water balance. Promotes the removal of ammonia from the roots and upper parts of plants, which reduces vegetation.
- Sodium orthophosphate. Essential for many delicate tomato varieties as it ensures normal growth and development. It is the only available activator of several enzymes that cannot be affected by other substances.
Magnesium
Ash contains three magnesium compounds, which are essential for normal plant growth. Magnesium is one of the main components of chlorophyll and plays a vital role in photosynthesis. It directly contributes to the production of the necessary energy. It activates the formation of carbohydrates, which in turn form starch and cellulose.
With a magnesium deficiency, crops wither, flowering begins very late, and fruits ripen poorly.
Types of ash and the content of the main elements in them
Ash composition can vary depending on the organic materials used to obtain it. We've prepared a table that clearly shows which plants need to be burned to produce ash with the desired biochemical characteristics. It provides approximate average concentrations of the three main elements.
| Percentage content (%) | |||
| Organics | Calcium | Potassium | Phosphorus |
| Coniferous trees | 35 | 6 | 2 |
| Deciduous trees | 30 | 10 | 3 |
| Straw of cereal crops | 4-8 | 15 | 6 |
| Peat | 20 | 1 | 1.5 |
| Buckwheat straw | 18 | 33 | 2 |
| Sunflower stalks | 19 | 38 | 2 |
In no case should it contain any admixture of household waste, as this could lead to the death of the plantings.
How to get ash for fertilizer
As mentioned above, to produce good ash, you must burn only plant-based materials. Straw and dry branches left over from gardening can be used. Larger logs are also suitable, but they will burn longer, meaning more time is required to produce ash. Sunflower stalks and ferns are the best materials for producing nutritious ash, while peat produces less effective ash.
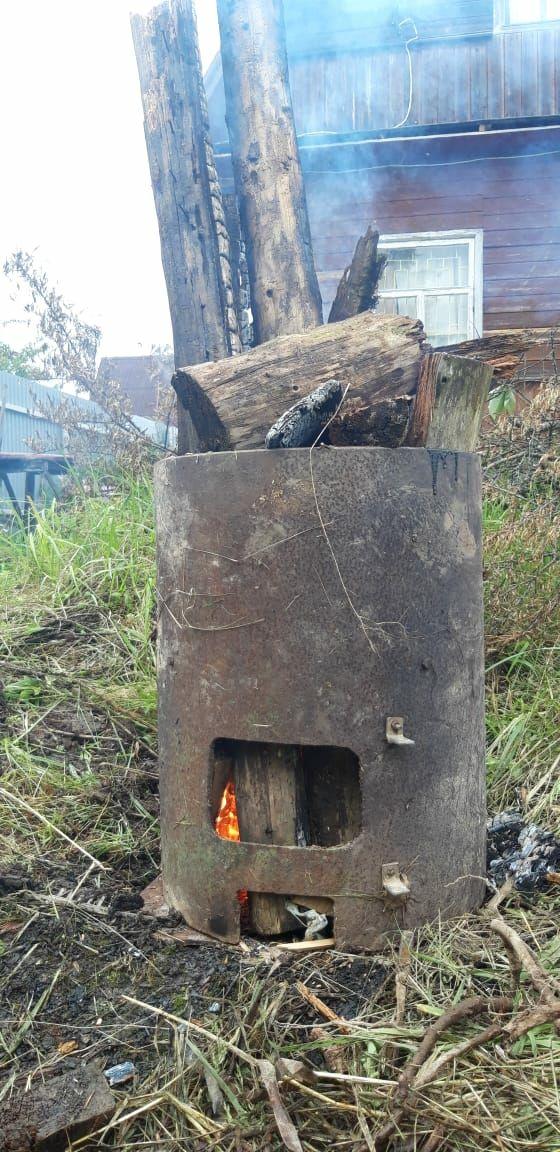
Experienced gardeners offer several tips for obtaining ash for fertilizing seedlings:
- To start a fire, it's best to use a large enamel barrel. This will prevent the flames from spreading throughout the area and make it easier to collect the resulting fertilizer.
- It's best to prepare for burning vegetation in advance. To do this, collect dry fallen leaves and branches in bags throughout the year.
- The burning container used should be protected from moisture. Not only will it take longer for the material to ignite, but most of the nutrients will evaporate along with the liquid.
- The resulting ash should be sifted through a sieve to ensure only fine particles remain. These dissolve better in water and provide more intensive soil nutrition.
- The remaining ash can be packed into thick plastic bags or airtight containers and stored in a dry, dark place. This way, it will last up to six months without losing its beneficial properties.
Important! The resulting ash is not always suitable for use. Sometimes it may have a distinct reddish tint, which occurs due to excess iron production. Using this product as a fertilizer is strictly not recommended. It can cause irreparable damage to plants.
Fertilizing tomatoes with ash and methods of its application
Fertilizing tomatoes with ash has a long history, but today this type of fertilizer remains one of the most popular among gardeners. As early as the 19th century, the products of organic combustion were studied, and scientists were able to determine the approximate composition of the microelements found in wood ash. It contains calcium carbonate, calcium sulfate, calcium silicate, calcium chloride, potassium, and sodium orthophosphate in almost equal proportions. It also contains magnesium silicate, magnesium chloride, and magnesium carbonate in slightly smaller quantities. Sodium chloride rounds out the list. Almost all of these substances can have a beneficial effect on soil composition and improve plant health. Incidentally, ash can also be used for growing tomatoes on the balcony.
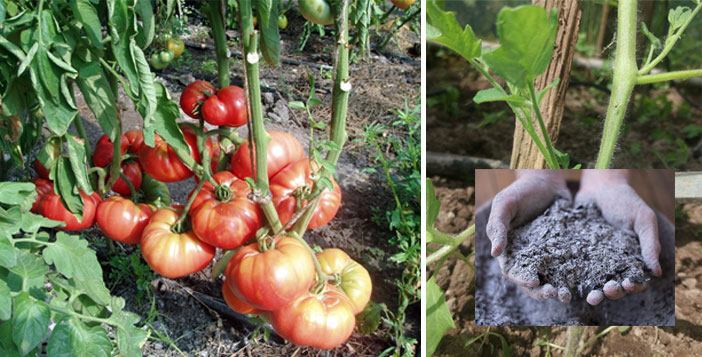
Important! Only use ash from plant residues for fertilizing tomatoes. Do not mix it with paper or other household waste that could end up in the fire. Harmful combustion products will eventually end up in the fruit, if they don't cause the death of the plant first.
Ash is an excellent fertilizer for tomatoes. It can be used either in dry form, dug into the soil, or mixed into a solution for spraying and watering.
Dry ash
Tomatoes prefer loose soil that allows air to circulate easily and moisture to penetrate easily. If the soil is too heavy and aeration is poor, adding dry ash is an excellent solution.
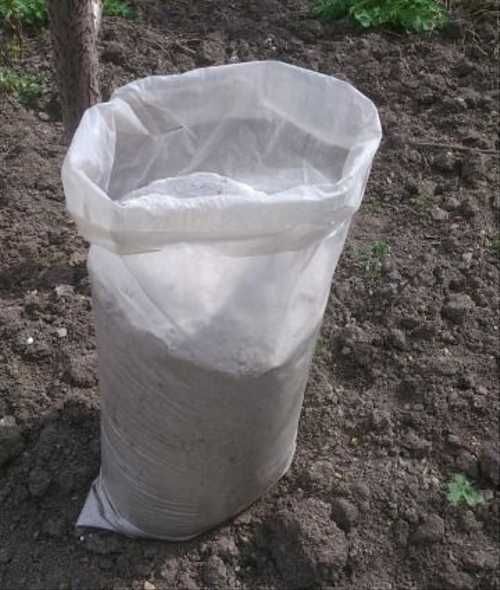
This procedure only needs to be performed once every two years. The table below provides approximate proportions for different types of soil.
| Soil type | Amount of ash, g | Coverage area, sq.m. |
| Loam | 800 | 1 |
| Light sandy | 200 | 1 |
| Peat | 500 | 1 |
Add 200 g of dry powder per 1 square meter.
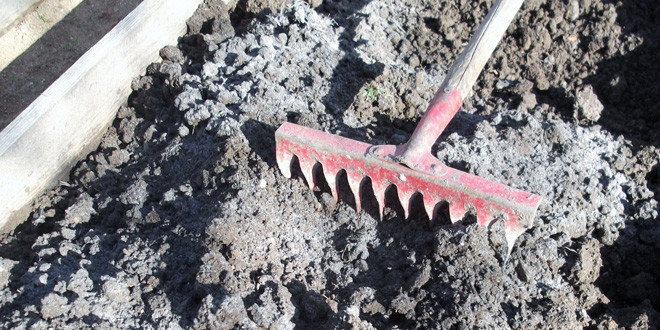
The procedure is carried out once every 2 years, observing the following proportions:
- On heavy soils and loams – 800 g per 1 sq./m;
- For light plants – 200 g per 1 sq.m or 2 tbsp per root per hole;
- For peat 500 g per 1 sq.m.
- In sandy soil, you can also add fertilizer to the hole immediately before planting at a rate of 2 tablespoons per plant.
This fertilizer will effectively prevent the growth of pathogenic bacteria and pests, and will also provide the garden with essential nutrients. So, this is an important aspect of tomato care.
Solutions and infusions on ash
The ash solution can be either watered or sprayed onto the plants. This method is typically used during the active growing season.
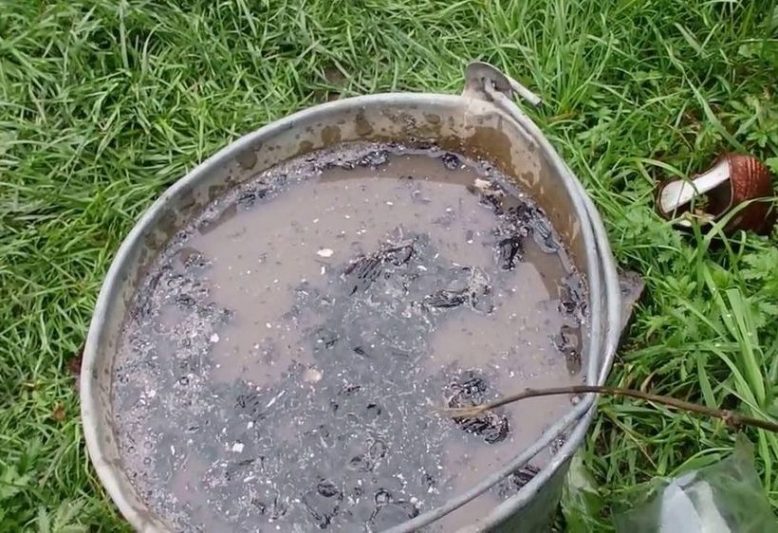
There are several recipes for making ash infusion. We'll tell you about the most common ones, all of which are easy to prepare at home.
- Dissolve 150 g of ash in 10 liters of warm water. Let the mixture sit for about 4 hours. Stirring periodically is recommended for better dissolution. Pour the resulting liquid into the soil at the base of the roots, at a rate of 0.5 liters per planting.
- Dissolve 50 grams of ash in a five-liter jar with warm water. Let the solution sit for about six hours, then add a small amount of liquid soap. This will help the fertilizer adhere to the leaves. Spray the tomato plants with the resulting mixture.
- To obtain a more concentrated substrate, pour 150 g of ash into boiling water and let it steep in a warm place for at least three days, stirring occasionally. Strain the liquid before using it on the tomatoes.
Important! Fertilizing tomatoes with ash is sufficient only twice per season. Fertilizer is applied in June during bud formation, and the second application is done around mid-July, when the first buds appear.
Multicomponent fertilizers with ash
Ash is certainly an excellent all-purpose fertilizer. But when combined with certain other elements, the ash solution becomes even more nutritious and beneficial.
In the table below, we present you with the most popular folk recipes among gardeners and their step-by-step preparation.
| Combination | Quantity of ingredients | Method of preparation | Application |
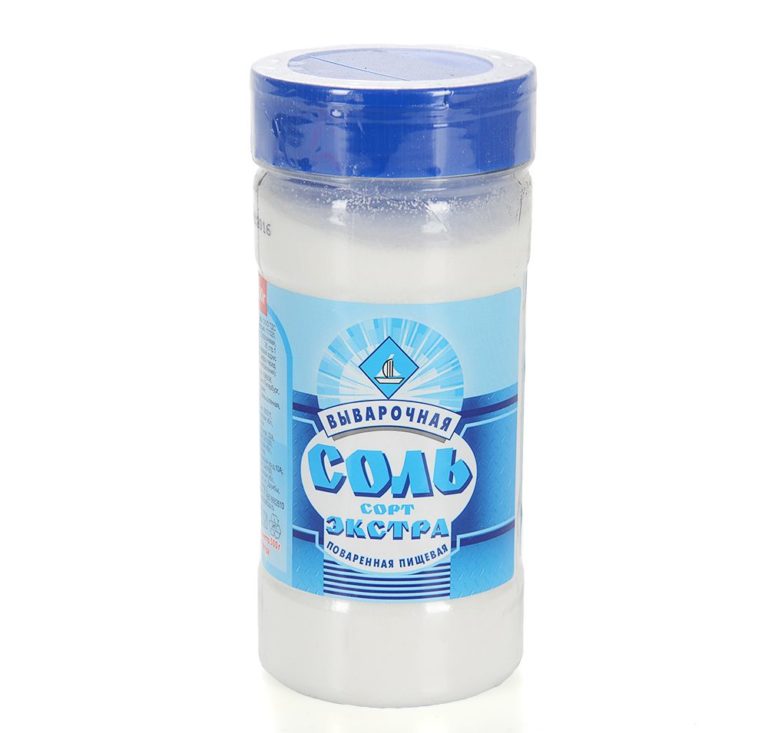
Ash and salt 
|
1 tbsp salt, 1 cup ash, 10 liters of water | Mix all ingredients together and let steep for an hour. | Use for watering the soil, not suitable for spraying. |
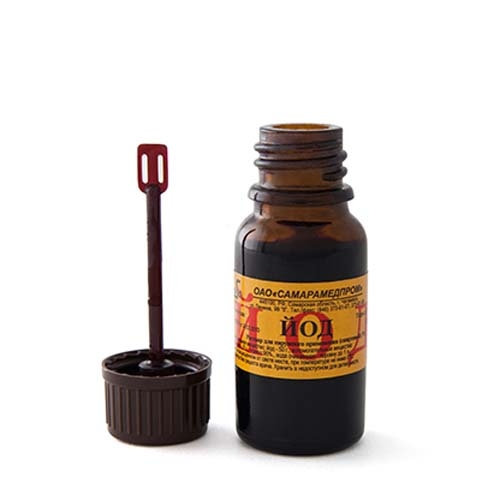
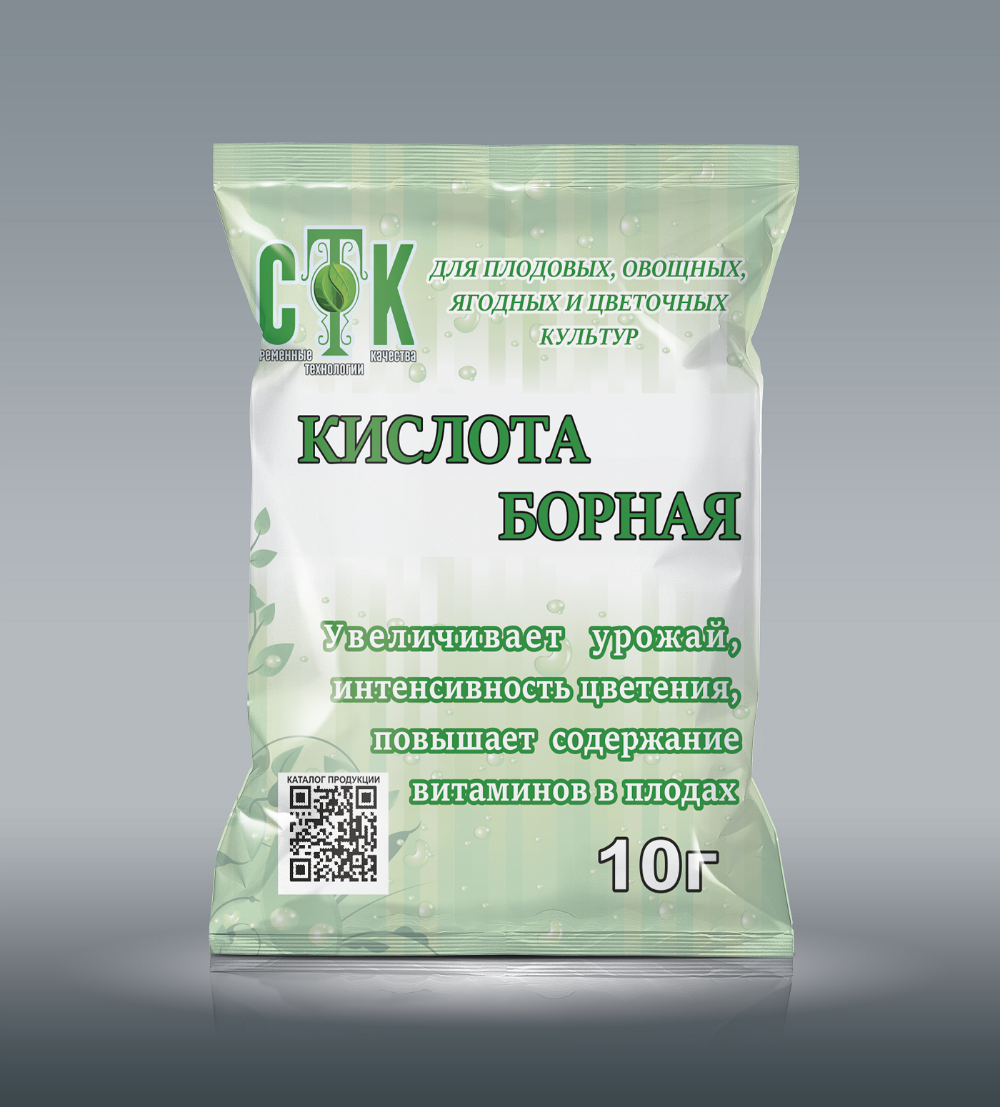
Ash, iodine, boric acid
|
4 liter containers of ash, 10 liters of water, 1 teaspoon of boric acid, 25 drops of medical iodine. | The ash is dissolved in hot water, and after cooling, the remaining ingredients are added to the solution. | Can be used for both root and foliar feeding. |
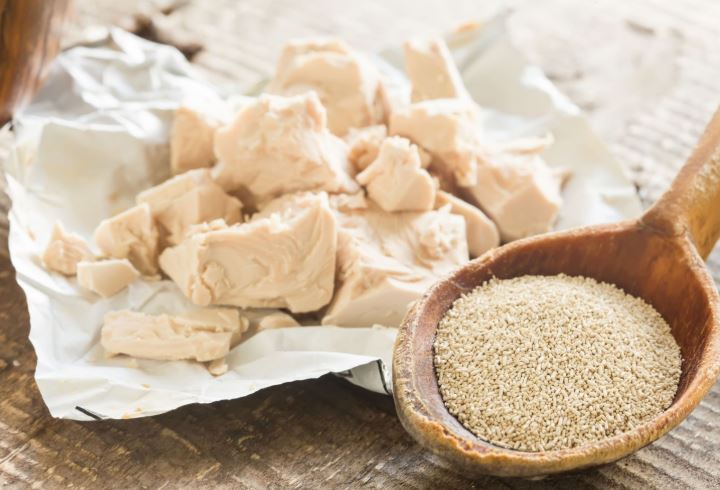
| Ash and yeast
|
10 g yeast, 2 tbsp granulated sugar, 10 l water, 1 tbsp ash. | First, yeast and sugar are dissolved in a small amount of warm water and left in a warm place for 5 days. Ash and water are then added to the resulting substrate, after which it is left to ferment for another 2 days. | This yeast fertilizer is suitable for root feeding in the amount of 0.5 liters per plant. |
| Ash and grass
|
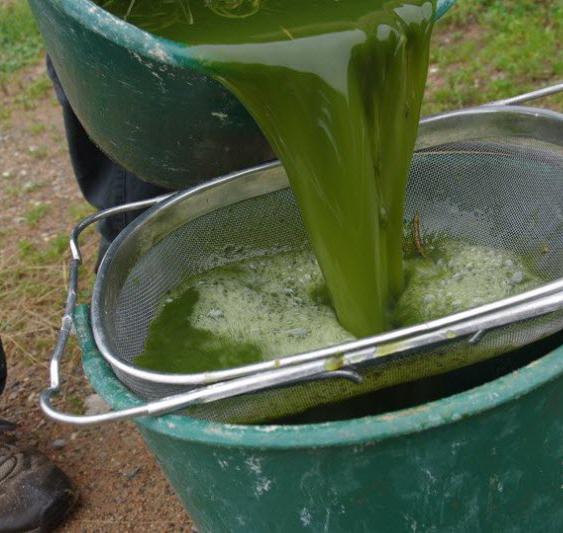
10 liters of water, half a container of chopped herbs (nettle, plantain and burdock), 300 g of ash. | Add the herb to a container of water and let it steep in a warm place for 7 days, stirring regularly. Then add the ash. | When applying root feeding, water the plant at a rate of 0.5 liters of the resulting substrate per bush. |
Application of ash at different stages of tomato growth
When planning tomato fertilization, it's important to consider the plant's growth stage. This will determine the frequency, type, and concentration of treatment.
Seeds
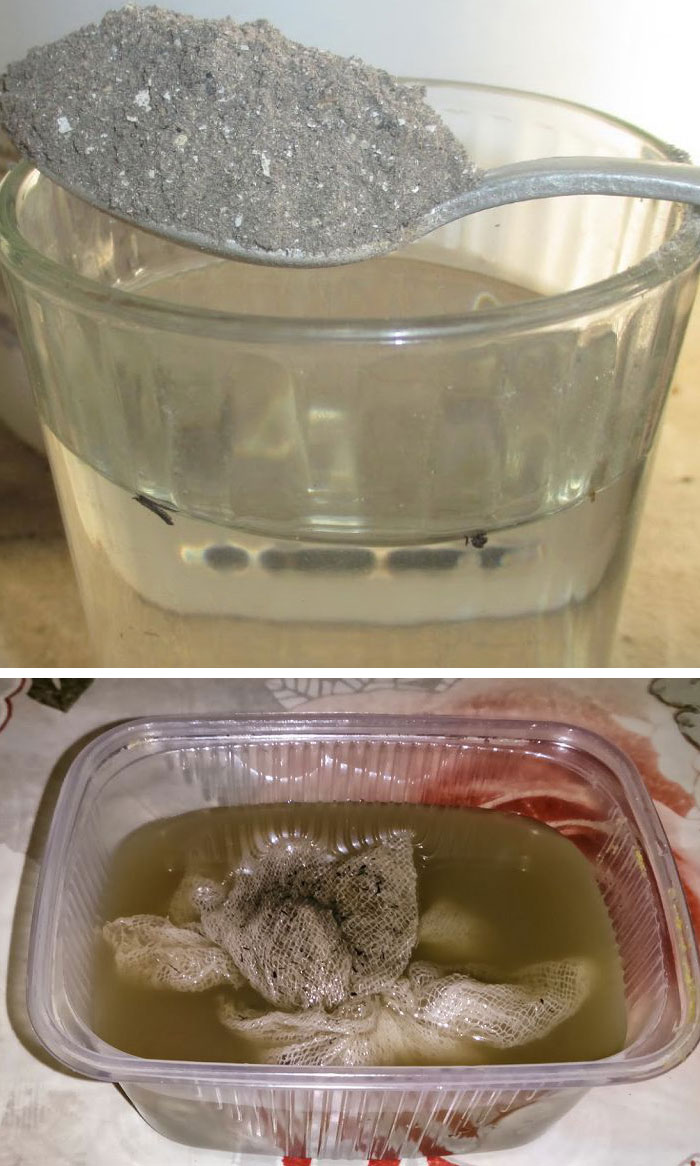
Ash can be used as early as the soil and seed preparation stage. It can be added to the soil before planting, and to improve seed viability, soak them in an ash solution immediately before planting. To prepare the solution, add 1 teaspoon of ash to 1 liter of warm water and let it steep for about 6 hours.
Seedling
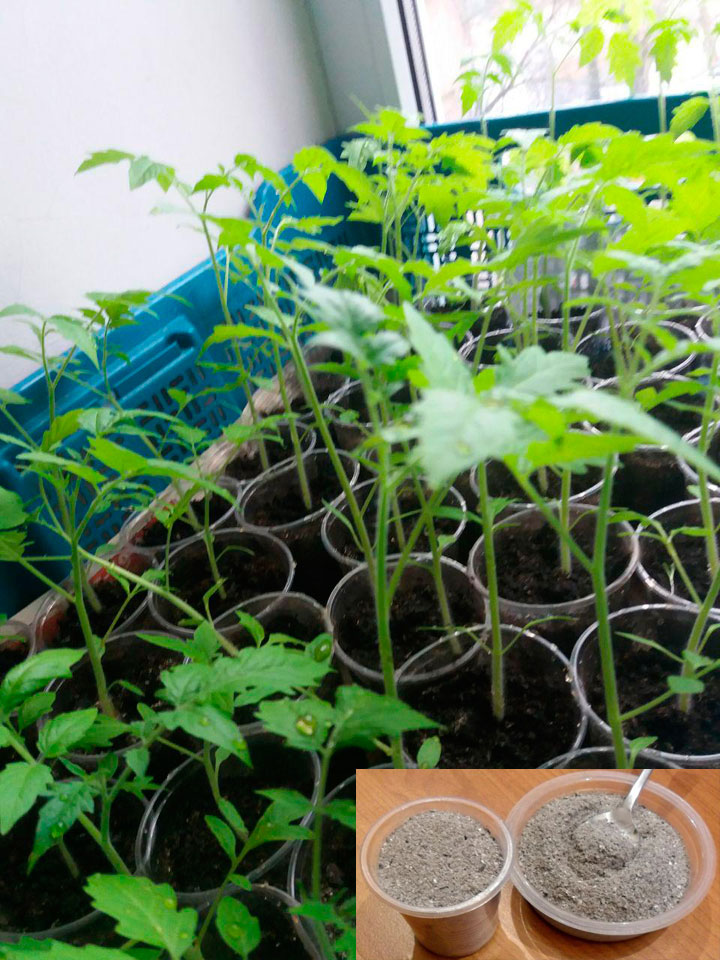
After preparing the holes for planting tomatoes, you can fill them with a small amount of sand and ash mixture. The key is not to overdo it. The delicate roots of young plants can be chemically burned and die if the ash concentration is too high. Soil with a low acidity is especially beneficial. If the pH is above 7, additional alkalization is not recommended. Hobby gardeners typically don't have a device to accurately measure soil pH, so it's best to start adding ash to the soil with minimal amounts or simply sprinkle the planted seedlings with a weak ash solution.
Ash during picking
When transplanting seedlings into individual pots, add 2 tablespoons of dry ash to the bottom of the holes. Before replanting, mix the ash with the soil and add a little water to the hole.
Fertilizing the soil before planting seedlings
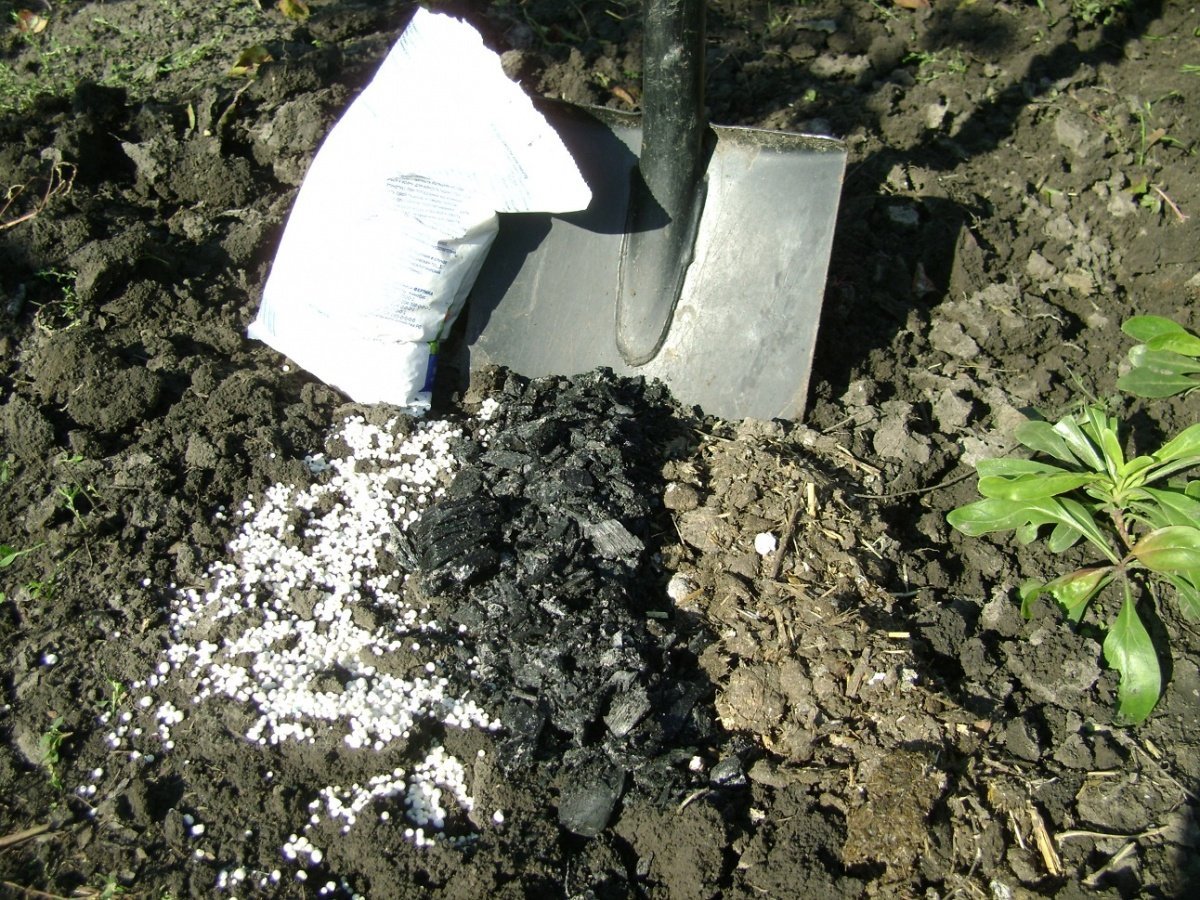
Heavy soil should be prepared for tomato planting as early as fall. Combine the soil with ash and dig thoroughly. If the soil is sandy and light, it's best to postpone fertilizing until the thaw begins, at least two weeks before planting. Otherwise, all the nutrients will simply be washed away with the melting snow. 150-200 grams of dry ash per square meter is sufficient.
After planting the seedlings
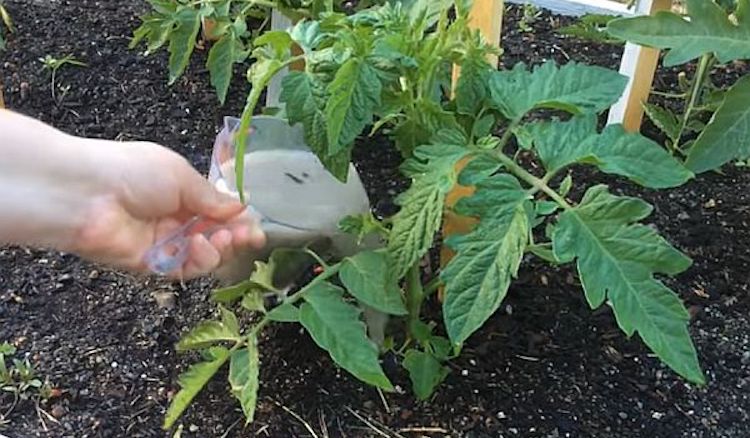
Gardeners recommend applying root and foliar feeding to already planted tomatoes no more than twice a season—in early June and mid-July. It's a good idea to add 20-40 grams of laundry soap to the ash solution. This will add disinfectant properties and ensure the fertilizer adheres to the tomato leaves and stems. To help the soap dissolve, grate it finely and add hot water, stirring constantly. The resulting concentrate is then poured into the ash solution.
During flowering
Prepare the ash fertilizer well in advance of the flowering period, as it takes at least a week for the infusion to fully develop. Dissolve 2-3 cups of ash in 10 liters of water and stir occasionally. When the first flowers appear, pour 0.5 liters of the solution under each bush, every 1-2 weeks, depending on the soil and planting conditions.
During fruiting
During the fruit development period, tomato plants are given foliar feeding. The leaves are sprayed with a solution of sifted ash, which is simmered in liquid for about 20 minutes, then strained and cooled to at least 22 degrees Celsius.
How to properly feed tomatoes with ash
There's no significant difference in the frequency of fertilizing tomatoes planted in open ground or greenhouses. The main indicator of whether fertilizer is needed is the condition of the tomatoes themselves.
In open ground
Gardeners don't recommend combining ash fertilizer with manure and litter. This is because these types of organic matter release nitrogen, which in turn absorbs the calcium present in the ash. Therefore, these fertilizers neutralize each other's beneficial properties. If you do plan to fertilize the soil with animal waste, it's best to do so in the fall and save the addition of plant ash for the spring.
In the greenhouse
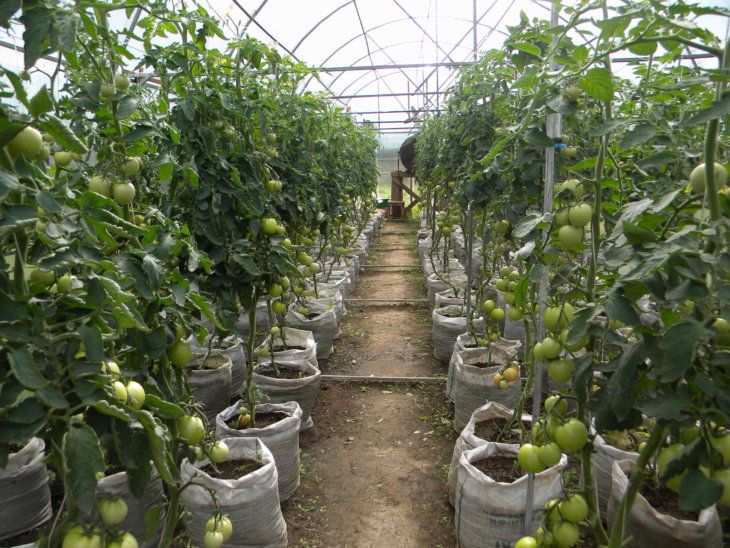
In open ground, tomatoes are exposed to additional moisture from precipitation, which improves the flow of micronutrients from the ash to the roots. In a greenhouse, including one made of polycarbonate, this process must be controlled manually. Therefore, after applying dry ash to the roots, it is necessary to additionally moisten the soil to dissolve the nutrients. To prevent diseases and improve soil quality, it is recommended to alternate ash with other general-purpose fertilizers.
Ash for tomato diseases
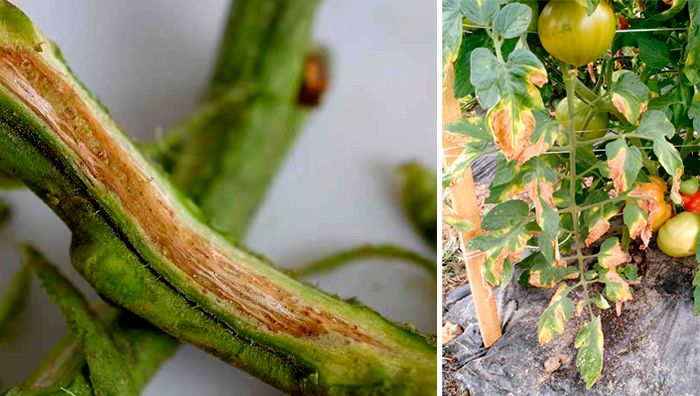
An ash solution helps gardeners get rid of numerous tomato diseases, detected in the early stages. If your plants are starting to wither, it's important to inspect them from all sides to determine the root cause. There may be several underlying causes.
- The appearance of blackleg may be caused by a lack of sunlight. Applying ash around the plant will help raise the soil temperature, accelerating the evaporation of excess moisture.
- When affected by late blight, it's helpful to apply a root dressing. In early June, the soil around the bushes is lightly sprinkled with ash. A second application is performed when the future tomatoes are setting fruit.
- Fungal diseases. Treatment depends on where the tomatoes are grown. If they are planted in a greenhouse, not only the bush itself but also the interior walls should be treated. If the tomatoes are grown outdoors, an ash treatment of the visible parts is sufficient.
- To prevent blossom-end rot in tomatoes, spray the vegetables with an ash extract: 2 tablespoons per liter of water (a glass per bucket).
Experienced gardeners recommend using ash made from burning oak or maple branches to combat fungus. Other types of ash are generally not very effective.
For treatment, the treatment should be carried out twice a week until the fruits are fully ripe.
Protecting tomatoes from pests using ash
To prevent pests on tomatoes, use an ash solution. Apply it once every two weeks, pouring the solution under the roots of the plants. This treatment will help enhance the plants' defenses.
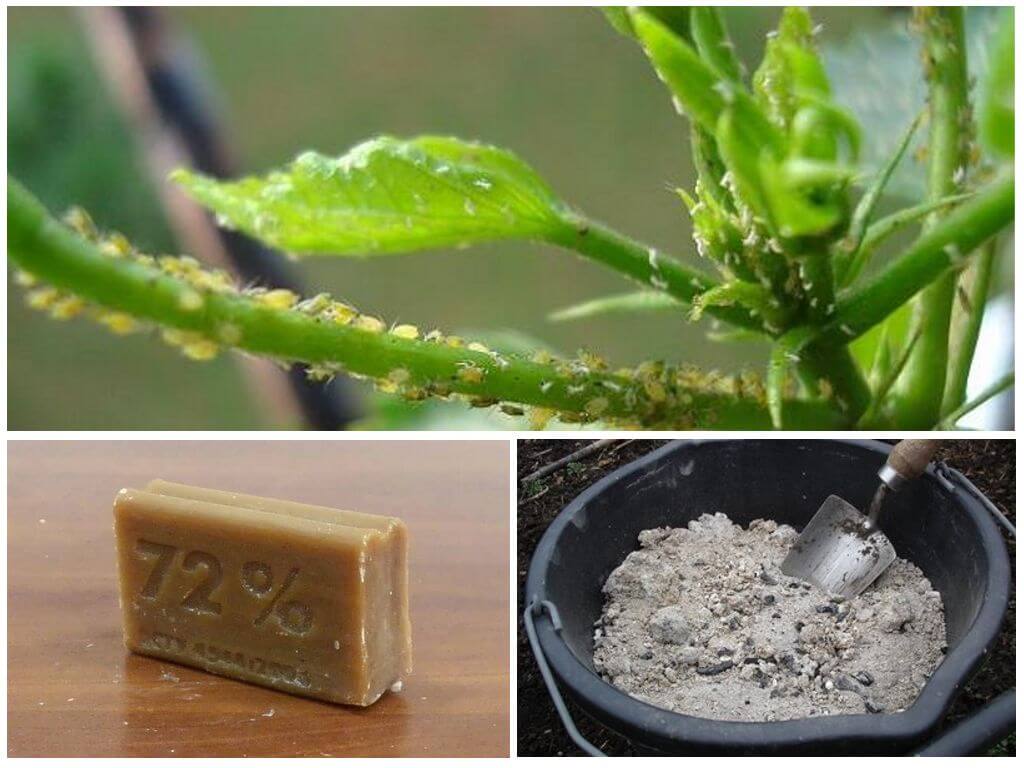
To prepare the nutrient mixture you will need:
- 1 glass of ash;
- 10 liters of water.
The ash is poured into warm water and left to steep in an enamel container for two days. The solution should be stirred at least 2-3 times a day. The resulting mixture is filtered and poured into a sprayer.
Some gardeners prefer a different preparation method. For this, you need:
- 300 g of ash,
- 10 liters of water,
- 50 g of laundry or green garden soap.
First, add two liters of water to the ash and simmer for about 30 minutes. After the mixture has cooled, strain it and add the soap ingredient. If you're using laundry soap, we recommend grating it first to ensure it dissolves better. Then, add water to the resulting concentrate to make up to 10 liters.
The substrate is sprayed onto the plants at a rate of 1.5-2 liters per bush.
These recipes will help against aphids on tomatoes.
To combat caterpillars and slugs, you can sprinkle 10 g of ash around each tomato plant.
When ash cannot be used
Ash is a completely organic and environmentally friendly fertilizer. However, it must be used correctly to avoid harming plants. Many gardeners make common mistakes that adversely affect tomato growth. Below, we'll cover the basic rules for using ash.
- Ash should not be sprinkled on germinating seeds. It should be applied only when the plant has emerged from the soil and the root system is accessible. Foliar applications of ash solution are only used for therapeutic purposes if disease is suspected.
- Don't fertilize tomatoes until they have two true leaves. During this period, plants require nitrogen for normal growth and development, and the potassium and calcium contained in the ash reduce its concentration in the soil.
- Ash should not be added directly to the roots; it should be mixed with soil. Otherwise, your tomatoes risk chemical root burn. After adding the ash-sand mixture, the hole should be watered with at least 1 liter of water before planting the tomato.
- Ash doesn't combine well with other fertilizers. It shouldn't be mixed with manure, compost, or peat. The only elements that increase its effectiveness when combined are urea, saltpeter, and potassium chloride. However, this mixture must be mixed immediately before applying it to the soil.
- Ash and nitrogen should never be applied simultaneously. They neutralize each other's beneficial effects. Gardeners recommend applying nitrogen in the fall and saving the ash for the spring. Incidentally, ammonia is a source of nitrogen, so ash should not be mixed with it.
- Ash should not be mixed with phosphorus-containing fertilizers. The components it contains impede phosphorus's ability to reach the roots and reduce its availability to the plantings.
- Ash fertilizers are not recommended for use on soil that has been limed. This can lead to increased calcium levels in the soil, and excess calcium is detrimental to tomatoes.
- Ash is not used to fertilize highly alkaline soils (pH 7 and above), as this can hinder the plant's ability to absorb nutrients.
Tip! If your milk has gone sour, don't throw it away. Just pour it on your plant; it's an excellent fertilizer.
Fertilizing peppers with ash: pros and cons
The main advantage of ash feeding is its high content of beneficial micro- and macroelements. These have a beneficial effect on pepper growth:
- Calcium, like all its compounds, normalizes metabolic processes at the cellular level and improves the absorption of nutrients. It helps perennials survive the winter by increasing their frost resistance. Calcium also helps annual plants better withstand unexpected night frosts after planting.
- Orthophosphate plays a key role in maintaining water balance in plant cells. If its concentration is too low, ammonia will accumulate in the tissues, which disrupts growth and reduces pepper yield.
- Peppers need magnesium during the bud formation stage. It stimulates their development and helps with flowering.
- Sodium compounds are vital for the normal development of bell peppers. They stimulate plant growth and activate the process of ovary and fruit formation.
- Phosphorus is essential for peppers' root systems. Its presence in the soil improves the absorption of all beneficial micronutrients, resulting in nourished and strong roots.
Thus, we can say that ash is the optimal fertilizer option for peppers, since it contains all the elements that this crop loves.
But this doesn't mean you should apply fertilizer indiscriminately, following the maxim "the more, the better." Excessive ash concentrations in the soil can lead to alkalization, which will have a detrimental effect on the plants, even though peppers prefer slightly acidic soil.
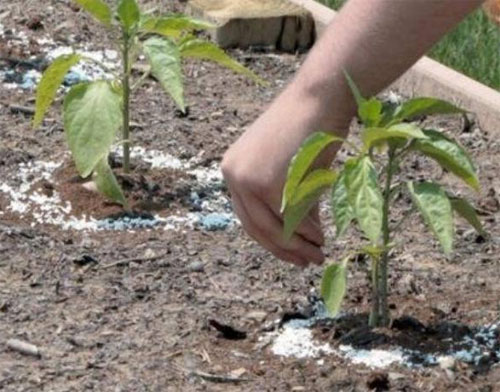
Fertilizers should be applied consistently, only a few times throughout the season. Only ash from burning organic matter should be used. It should not contain any household waste, not even paper. Combining ash with other fertilizers is not recommended; it is a self-sufficient fertilizer. Ash and nitrogen are completely incompatible; intervals between applications should be at least one month.
Applying ash at different stages of pepper development
Please note! We have a separate article on our website. specifically about feeding pepper seedlings with ashThere you will find even more recipes and tips from Top.tomathouse.com.
Before planting peppers, you can mix ash with sand and add the mixture to the prepared holes. Young seedlings can be carefully watered with the ash infusion. It's best not to overdo it; instead, divide the amount in half for two waterings.
If you don't plan to add nitrogen fertilizer to the soil, you can till it in the spring and fall, adding ash. If the soil is light and sandy, there's no need to fertilize it in the fall.
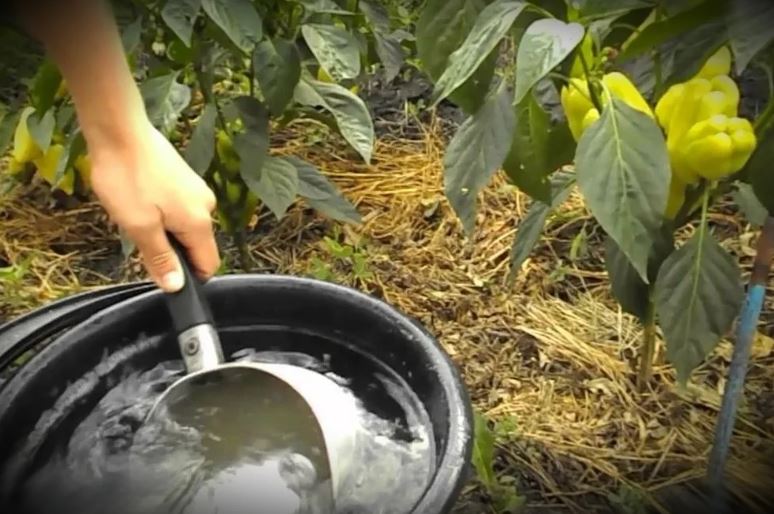
If the weather is rainy and the soil is overly moist, treating the peppers with ash solutions is not recommended. Excess moisture at moderate temperatures can lead to the development of fungal diseases and rot. In this case, it's better to add dry ash to the pepper beds. Conversely, if it's too hot outside, moisture evaporates from the soil very quickly. Dry ash prevents nutrients from reaching the plant roots. Therefore, treating the peppers with an ash solution is essential.
It is useful to add ash to the soil during loosening at a rate of 1 cup of ash per square meter of plantings, if you have not added any fertilizers before.
The rules we'll discuss below work great for sweet (bell) peppers.
Preparatory stage of feeding peppers with ash
When planting peppers, you can use ash as early as the initial soil preparation stage. If your soil isn't specialized store-bought, but regular garden soil, it's a good idea to add a cup of ash per 10 liters of soil. This amount will be sufficient to supply the seeds with nutrients. If this step is completed, you can skip the initial fertilizing of the seedlings.
The first stage of seedling processing
You can begin treating seedlings with ash solution immediately after two full-sized leaves appear. If you're using dry ash, water the soil after applying it, otherwise the nutrients won't reach the roots. It's best to use an ash solution for top dressing at a rate of 1 tablespoon per plant.
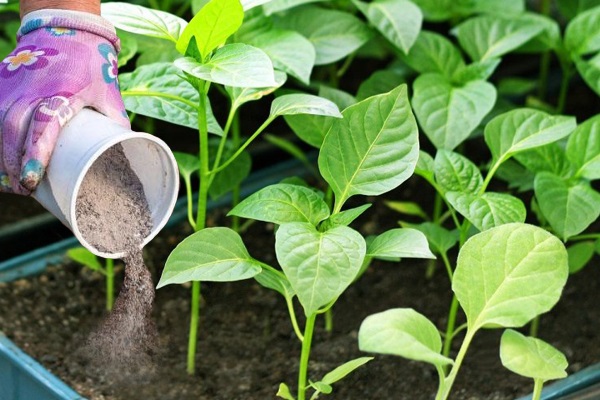
The second stage of seedling processing
The second ash treatment should be carried out no sooner than two weeks after the first. Use the same concentration of ash solution, but water the plants twice. If you applied ash to the soil before planting the peppers, this will be the first and only application after the plants emerge.
Transplanting seedlings
Once it's time to transplant the pepper seedlings into the ground, you can also fertilize the prepared holes with ash. Mix the ash with the soil at a rate of 1 tablespoon per plant. Avoid using pure ash, as it will burn the roots. This fertilizer will help the peppers adapt more quickly and nourish the roots with nutrients.
The first fertilization of peppers with ash in the ground
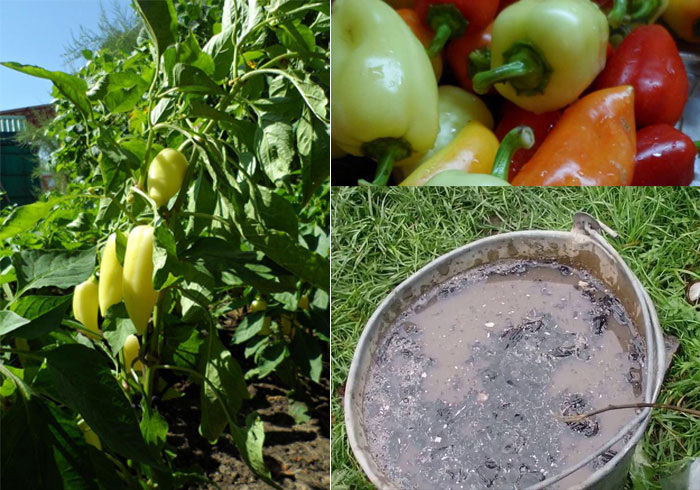
Two weeks after planting the peppers in the ground, you can feed them with ash again. The plants should be well-rooted. If you plan to fertilize the soil with any other fertilizer, it's best not to combine ash with it; it doesn't work well in all combinations. Ash can be added to the soil while loosening the beds, or you can water the roots with a solution.
Further addition of ash
Don't overdo it with ash. Excessive ash in the soil can disrupt aeration and impede nutrient absorption by the roots. It can also cause the soil to become alkaline, which can slow plant growth and reduce yields, as peppers prefer slightly acidic and neutral soils. Therefore, fertilizing peppers with ash should be done no more than 2-3 times after transplanting them outdoors.