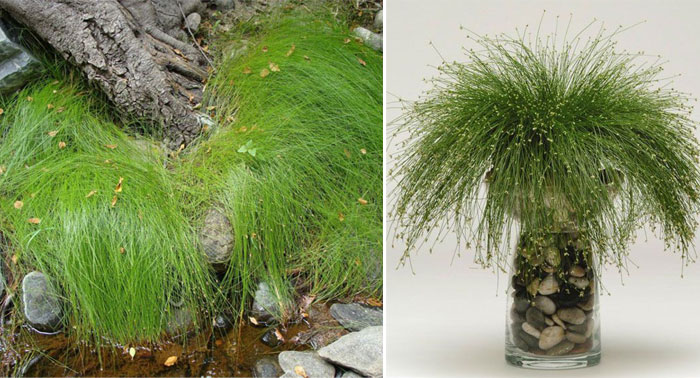
Isolepis has many other, more familiar names among gardeners, including cuckoo's tears, drooping reed, or weeping reed. This plant originated in the warmer parts of Australia and Africa, where it is considered a herbaceous perennial. However, our harsh winters have taken their toll, and when grown outdoors, isolepis has become an annual. Indoors, it can grow for a long time if repotted and divided regularly.
It's distinguished by its long stems, which are very thin but quite dense. They all emerge from a single core and, as they grow, spread out to the sides. The result is a creatively carefree bush, resembling a fountain of green shoots.
Under favorable conditions, when the length of daylight is at least 12 hours, small flowers appear at the ends of the stems, very similar to dew drops.
Content
- 1 Popular types of Isolepis
- 2 The best varieties of isolepis for growing
- 3 Growing Isolepis at home (table)
- 4 Propagation of Isolepis at home
- 5 Isolepis care and disease issues + how to control them
- 6 Using Isolepis in Landscape Design and at Home + 8 Photos
- 7 Real reviews of Isolepsis, tips for growing from seeds
Popular types of Isolepis
There are approximately 77 species of Isolepis in the wild, some of which are even protected and listed in the Red Book of Threatened Species in various regions. Not all species are used for ornamental purposes. The most common are described below.
Please note! In Russian taxonomy, Isolepis is classified as a reed, as are plants of the genera Scirpus and Scoenoplectus (all of which are from the same family, Cyperaceae). Gardeners unfamiliar with the intricacies of botanical descriptions also mistake members of other families for reeds: Phragmites and Typha.
Isolepis cernuas
The plant gets its name from its appearance: shoots vary in length from 10 to 30 cm. Each bush contains up to 50 neat, smooth stems. They are erect when young, but disintegrate as the plant matures. During the flowering period, which lasts about three months, small, spike-shaped inflorescences appear, greenish or white in color. In place of the flowers, triangular seed pods form, containing numerous tiny seeds.
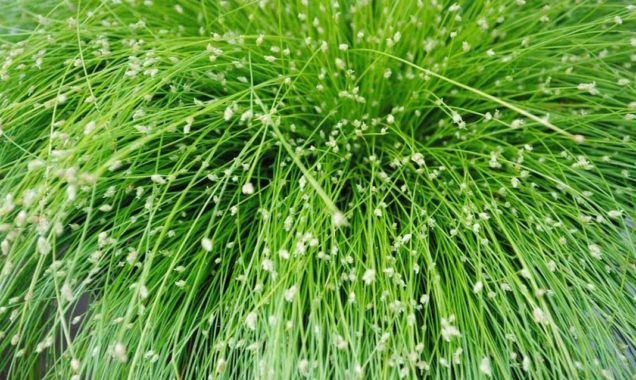
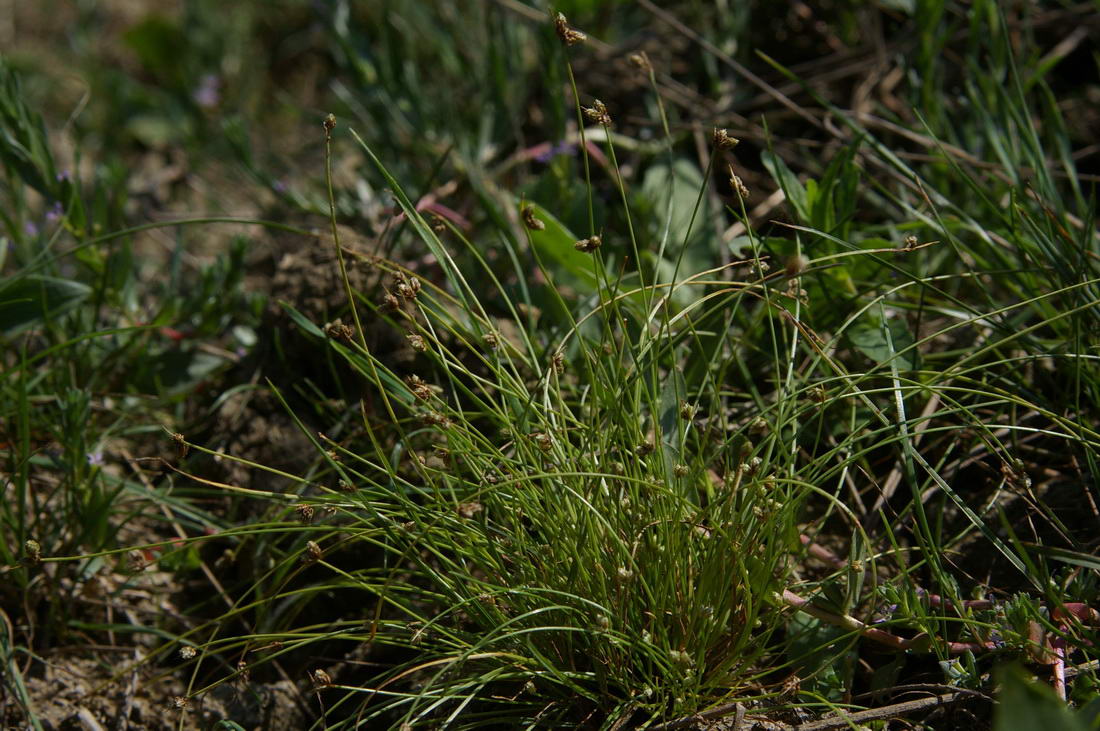
Isolepis setacea
It has narrow leaves and numerous thin stems, gathered in a clump up to 20 cm tall. The inflorescence looks like a cluster of 1-3 spikelets. This species blooms in May and June.
Isolepis fluitans
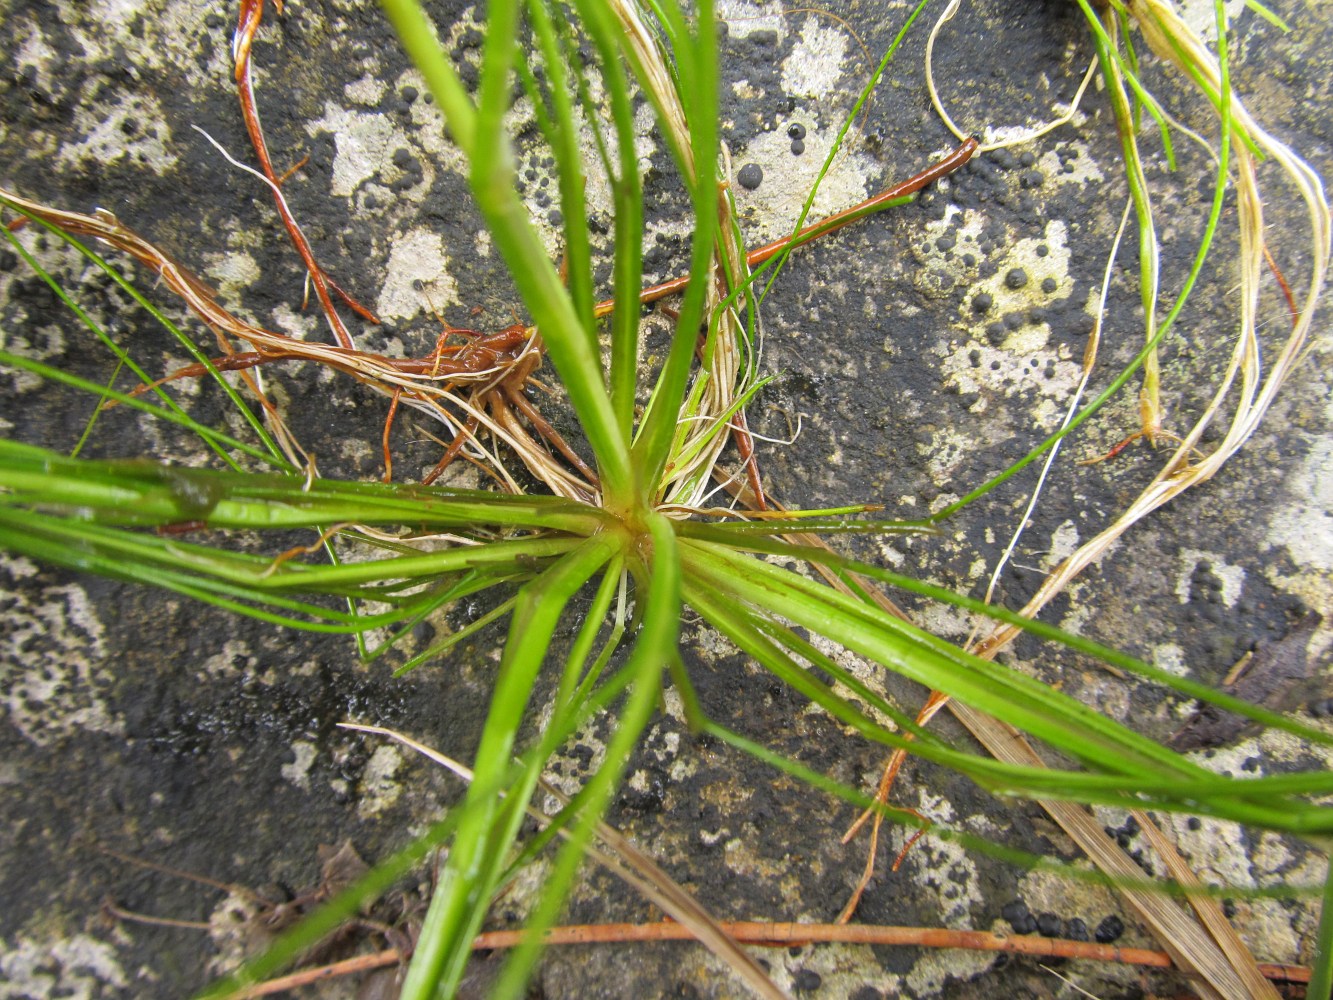
This is a floating herbaceous perennial capable of rooting in soil. A mature plant reaches no more than 10 cm in height. The rhizome is filiform, with numerous fine root hairs. It has green floating roots. The shoots are weak, filiform, leafy, erect or drooping, and gathered in small tufts. The flower forms submerged and emergent stems. The green or brown leaves range from 3 to 25 mm in size and are arranged alternately. The inflorescence is multi-spicate, branched, elliptical, and strongly flattened, 3–5 mm in length. The flowers are spike-shaped, up to 2.8 mm long, straw-colored, with reddish-brown spots. In the wild, floating isolepis blooms from October to February. This species is used in aquariums.
Isolepis prolifera
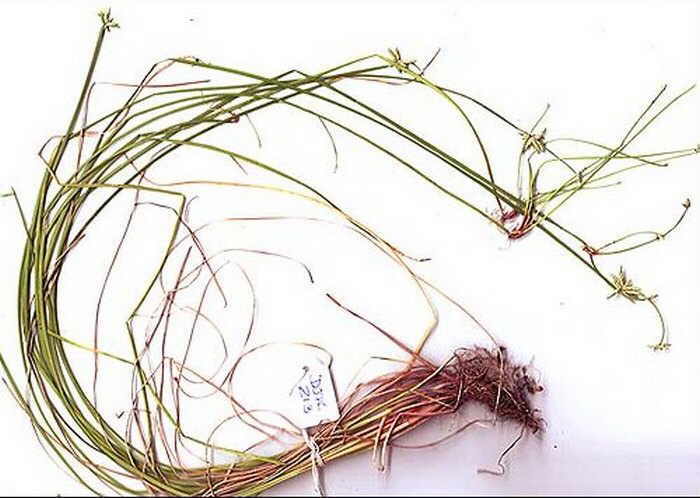
This marsh plant has a weakly developed root system and dense, long, narrow leaves with a pointed tip. It is suitable for growing in terrariums. The mother plant produces a large number of "offspring," which gives it a very unusual appearance.
The best varieties of isolepis for growing
Isolepis Puppet
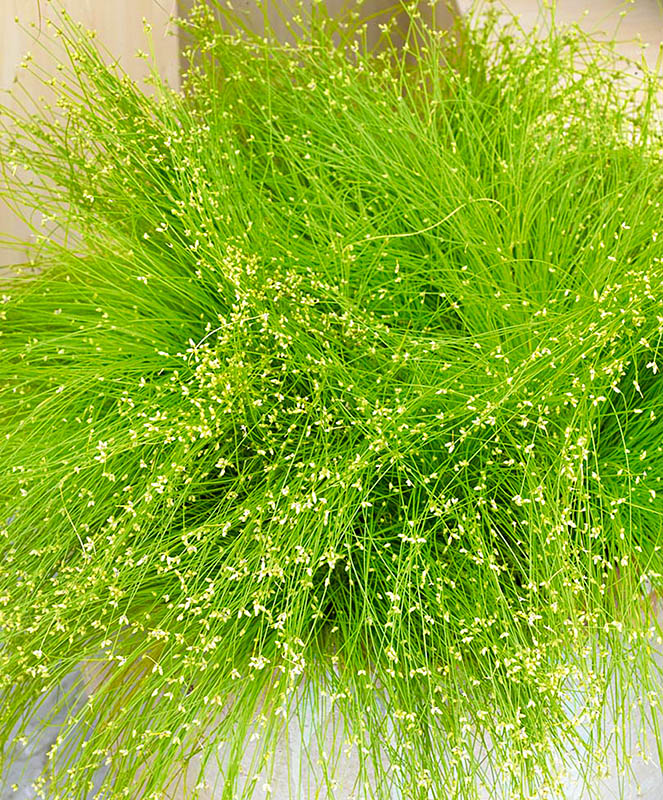
The shoots are medium-tall, densely covered with small leaf blades that resemble light green threads. The flowers are small and golden, and the flowering period lasts three months.
Isolepis Live Wire or Life Wire (Live Wire)
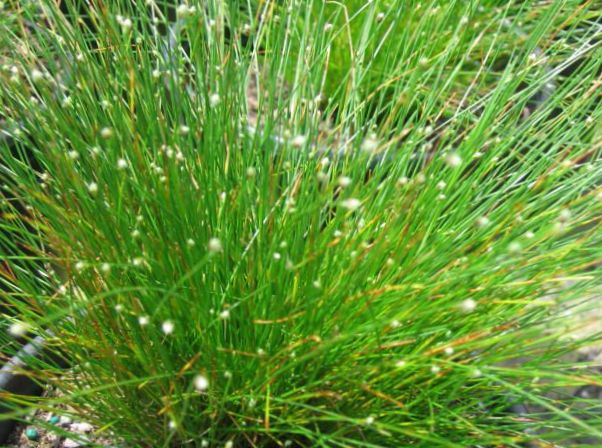
This variety belongs to the drooping variety. It grows from 20 to 30 cm, making it ideal for hanging baskets. Its thin leaf blades give the plant a voluminous and bushy appearance. It can be planted up to 50 cm wide. Flowering lasts up to three months, during which time the ends of the shoots are crowned with golden inflorescences.
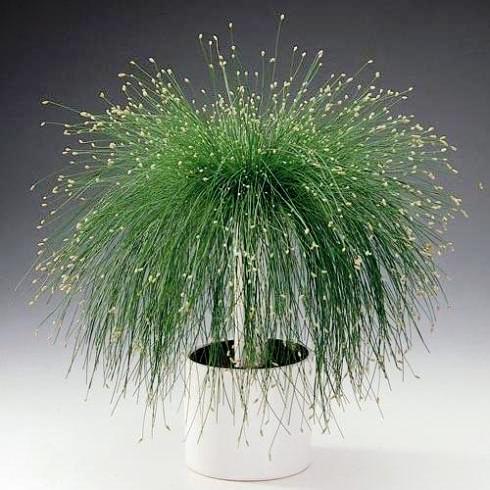
Isolepis Feibe Optics
The threadlike crown grows to 25-30 cm, with thin leaves creating a three-dimensional effect. Flowering lasts 2-3 months, with small, white inflorescences.
Growing Isolepis at home (table)
| Choosing a location | East or west facing location of the plot or house. Mature plants tolerate partial shade; flowering requires up to 12 hours of daylight. Protect from direct sunlight. |
| Soil | You can buy ready-made soil, or you can mix one part sand, one part compost, and two parts soil. The acidity should be above average or neutral. |
| Capacity | It is better to choose a plastic container, wide and not too deep. |
| Transfer | The shoots age quite quickly, so regular replanting is necessary. About every two years, the isolepis is dug up and divided into several clumps, with wilted shoots pruned. |
| Temperature conditions | Isolepis prefers temperatures between 18 and 27°C. It can be moved indoors to temperatures between 13 and 15°C during its dormant period, but this is not necessary. Outdoors, the plant freezes at temperatures between 12 and 13°C. |
| Humidity | Up to 60%. Responds well to spraying. |
| Watering | Isolepis thrives on moisture and requires regular watering, which can be reduced in winter. It's recommended to place a tray filled with water under the pot or periodically immerse the planter in a bowl of water. This procedure is unnecessary in winter, as the plant enters a dormant period. Watering should only be done with settled water; salts and calcium will detract from the Isolepis's aesthetic appeal. |
| Fertilizer | The plant doesn't require a lot of fertilizer; the micronutrients naturally present in the soil are sufficient. To promote crown growth, you can apply a complex palm or ficus fertilizer once a month. It's important that the fertilizer doesn't contain calcium. |
| Dormant period and flowering | Isolepis flowers bloom for three months, with flowers ranging in color from white, yellow, or light green. However, in our climate, they bloom only with adequate light, from spring to late summer/early fall. Then comes a dormant period lasting four to seven months. |
| Trimming | Isolepis shoots dry out quickly and lose their decorative appeal, so they need to be periodically removed from the main plant. When replanting, the stems are also inspected and trimmed. |
Propagation of Isolepis at home
Isolepis reproduces well both by dividing the bush and by seed.
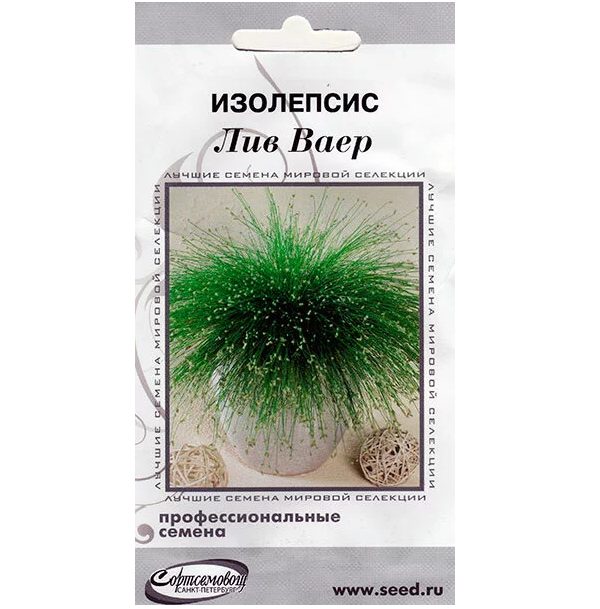
Moreover, you can buy seeds in a store (often professional seeds are called isolepsis) or collect them yourself, provided that the plant has enough light to bloom.
Let's consider the features of each method.
By dividing the bush
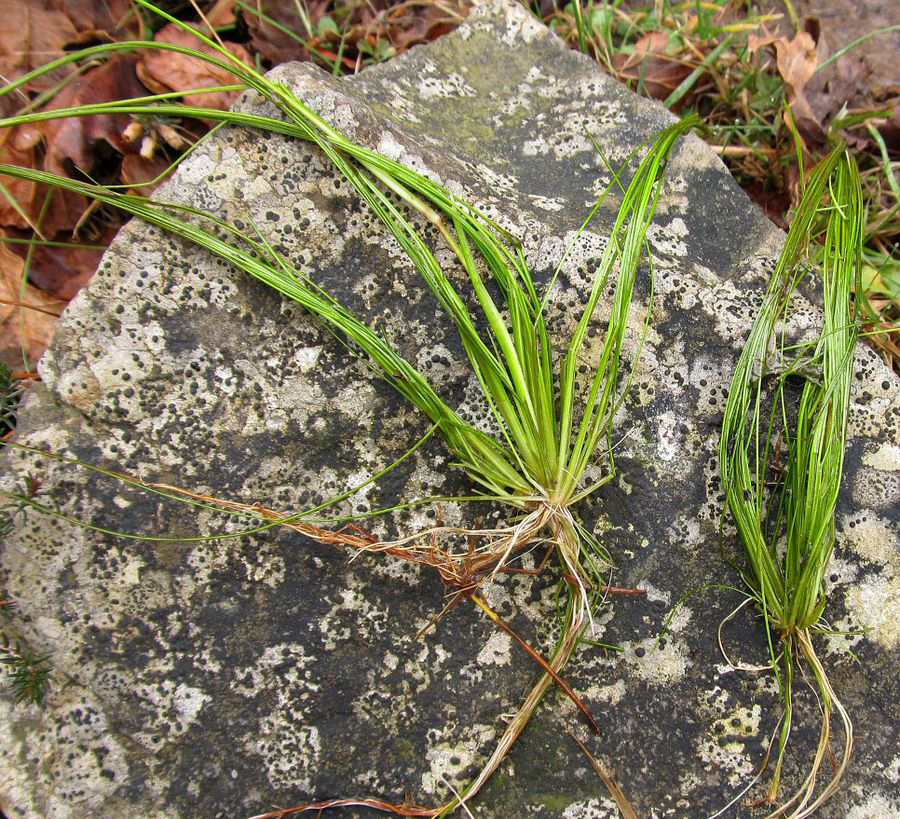
In the spring, the mature bush is taken out of the ground and divided into several parts using sharp pruning shears, removing dried shoots.
It is important that each new plant has a growing point, otherwise it will not be able to develop normally.
A pre-prepared soil mixture is poured into the container, the separated isolepis is planted 5 cm deep, and the roots are covered with a thin layer of soil. After this, watering can begin.
Seeds
Before planting, it's recommended to pre-germinate the seeds by placing them in a napkin and soaking them in water for several days. To speed up germination, add one small crystal of citric acid and place the container in a well-lit area with an air temperature of 18–23°C.
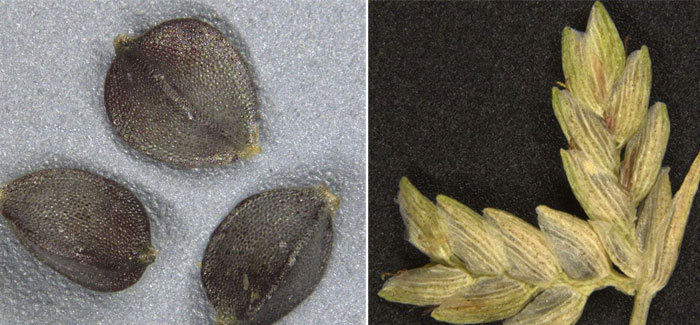
As soon as the seedling sprouts, plant the seeds in prepared soil. It's a good idea to use separate containers for each plant to avoid difficulties during replanting.
You can skip the soaking step and plant the seeds directly in sandy soil. Cover the containers with plastic wrap until the sprouts emerge. After this, transplant the seedlings into individual cups filled with a typical Isolepis potting mix.
Isolepis care and disease issues + how to control them
- Stems are curling, darkening, and drying out—the plant is experiencing a moisture deficiency or is being overexposed to sunlight. It's necessary to increase watering and move the bush from bright sunlight to partial shade.
- Stems are stretching, the turf is sparse, and the color is faded. This indicates that the isolepis is lacking light or nutrients. If the situation persists after moving it to a well-lit location, fertilize it.
- The turf begins to dry out, growth slows down or stops – the plant needs to be replanted.
Among pests, isolepis is most often attacked by aphids or spider mites:
- Spider mites appear in hot weather, covering shoots with a thin web, causing them to wilt and dry out. Insecticides can help get rid of them.
- Aphids feed on plant sap, which adversely affects their growth and appearance. Biotlin, Fitoverm, and Aktara have proven effective in controlling this pest.
Using Isolepis in Landscape Design and at Home + 8 Photos
When it comes to landscape design, isolepis is best suited for areas with high humidity. They look great near a pond, as well as in floor planters next to a pool.
Hanging pots placed in partial shade make a striking addition to gazebos. It's important to avoid direct sunlight, which can adversely affect the decorative qualities of this graceful plant. With the onset of autumn cold weather, isolepis should be moved to a warmer location; they don't tolerate temperatures below 13°C.
Recently, isolepis plants have become increasingly popular in office, winter garden, and apartment decor. They require little maintenance; regular watering and occasional misting are sufficient to maintain their attractive appearance.
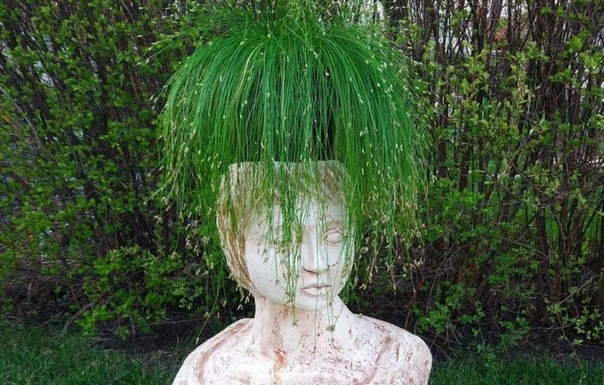
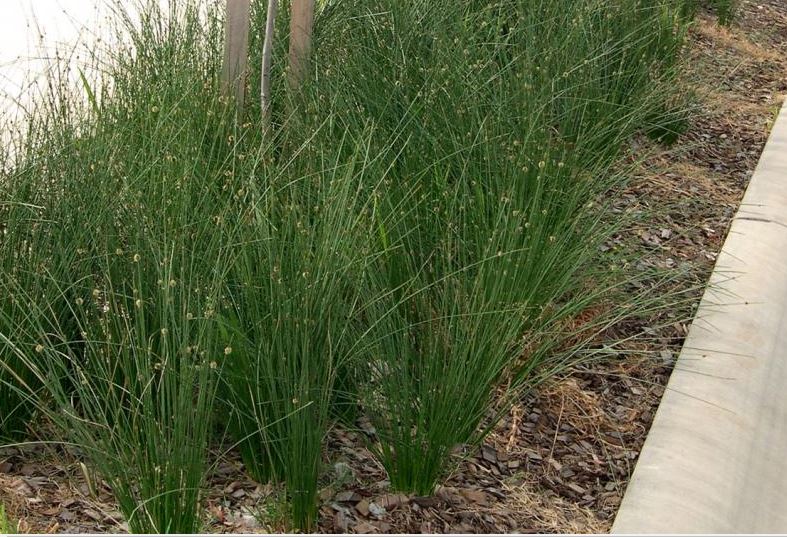
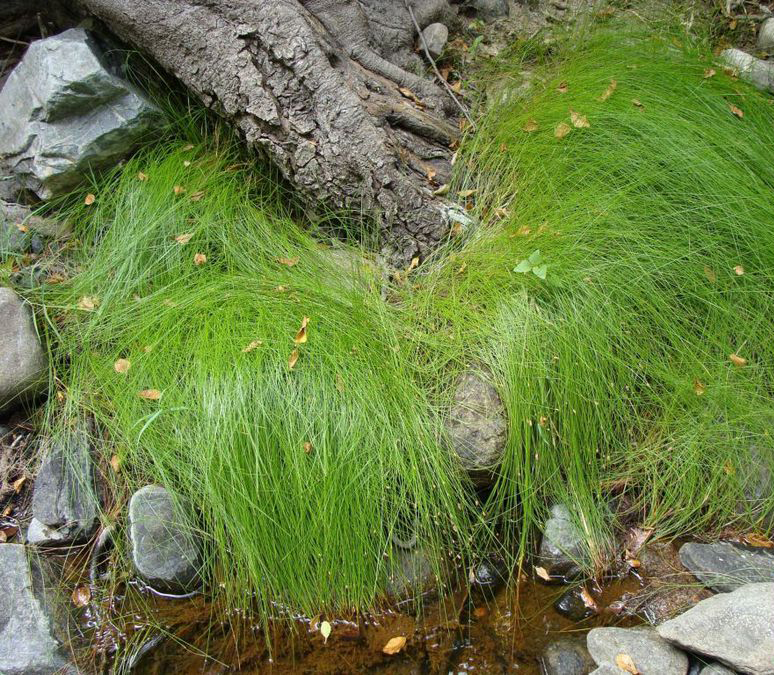
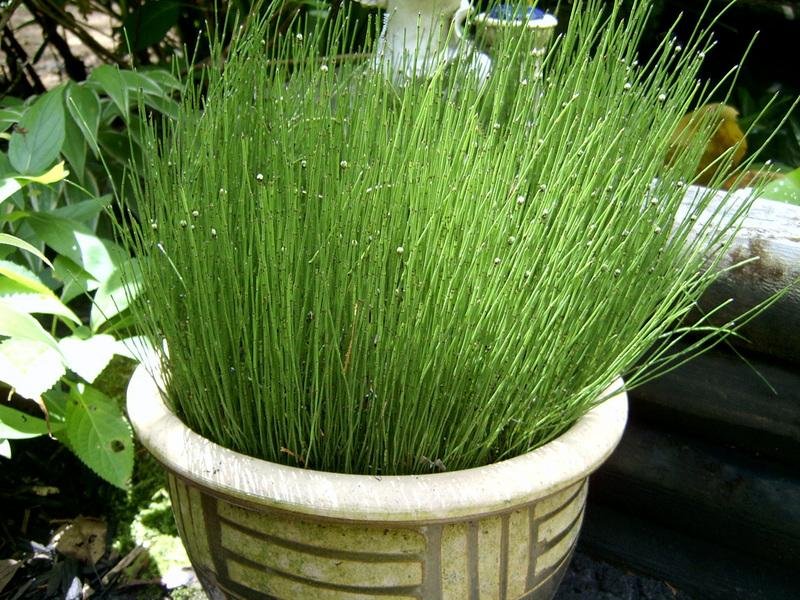
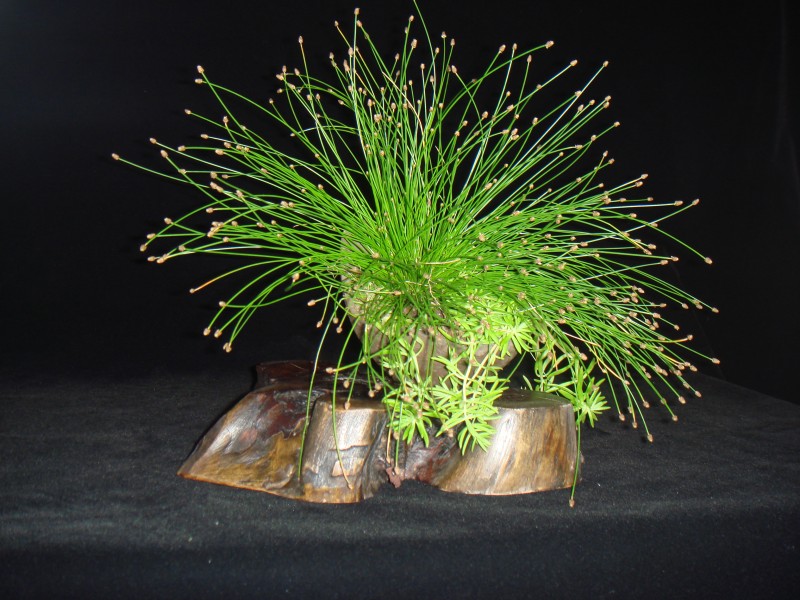
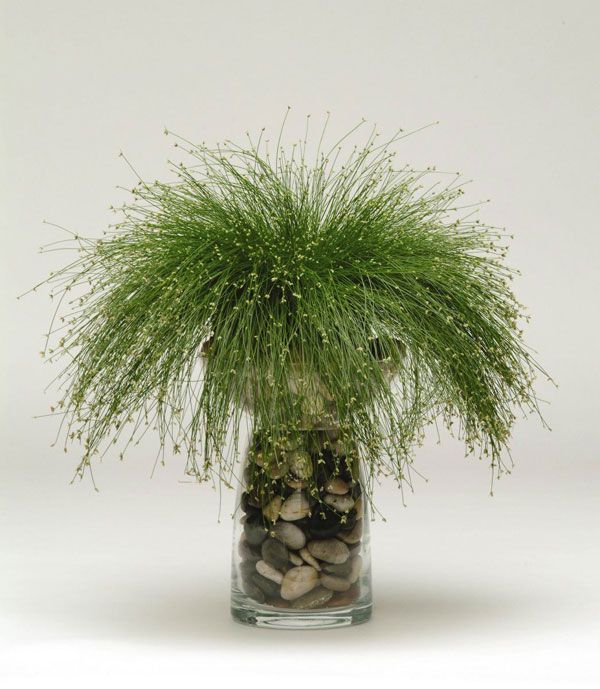
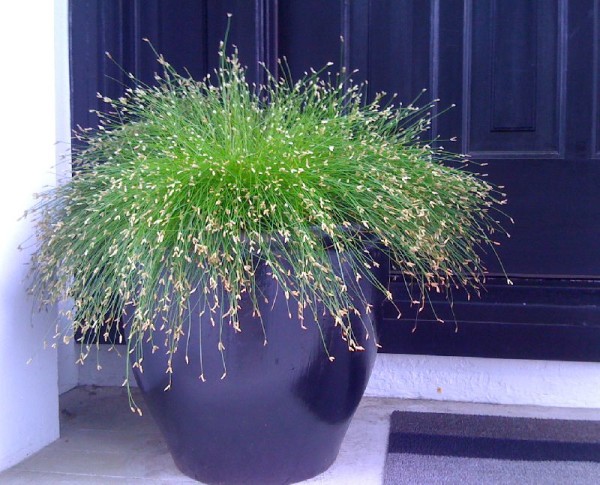
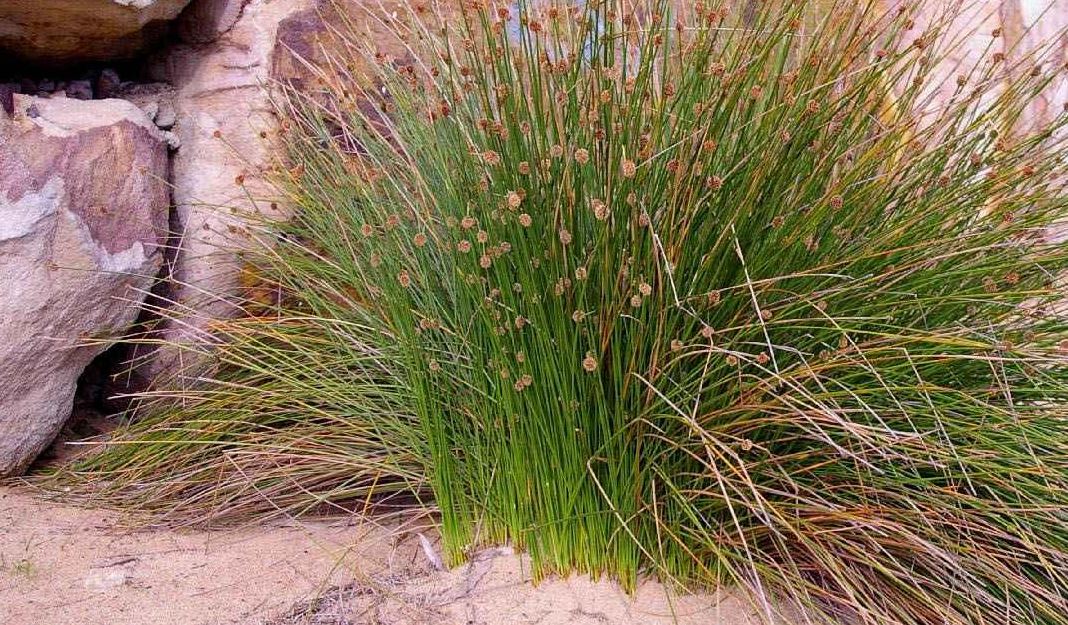
Isolepis plants don't grow very compactly, so they're best placed on separate structures rather than on windowsills. For example, in tall vases, large pieces of furniture, hanging planters, or on special stands. They often make an ideal decorative element for artificial ponds and waterfalls.
Real reviews of Isolepsis, tips for growing from seeds
User Valentina, Yekaterinburg, August 30, 2017
Isolepis is a marsh herbaceous plant that belongs to the sedge family. Its scientific name is Isolepis cernua, sometimes called drooping reed (Scirpus cernuus), and commonly known as cuckoo's tears.
According to various sources, the plant prefers moisture, a west- or east-facing window, partial shade, misting, and slightly acidic soil. It requires division as it grows, pruning of old leaves, etc. I won't go into too much detail; detailed information can be found online.
I bought the seeds… just because I needed to get enough at the store. And since I couldn't find anything useful online about growing them, I decided to help out other silly adventurers like me.
So, I present to you purely my experience of growing.
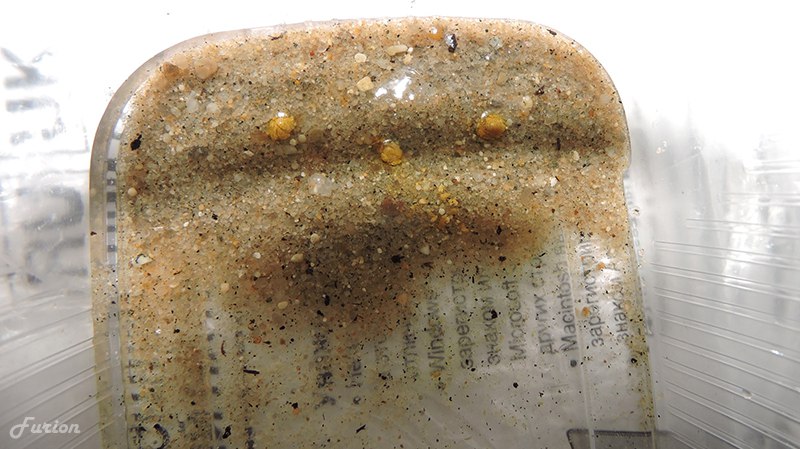
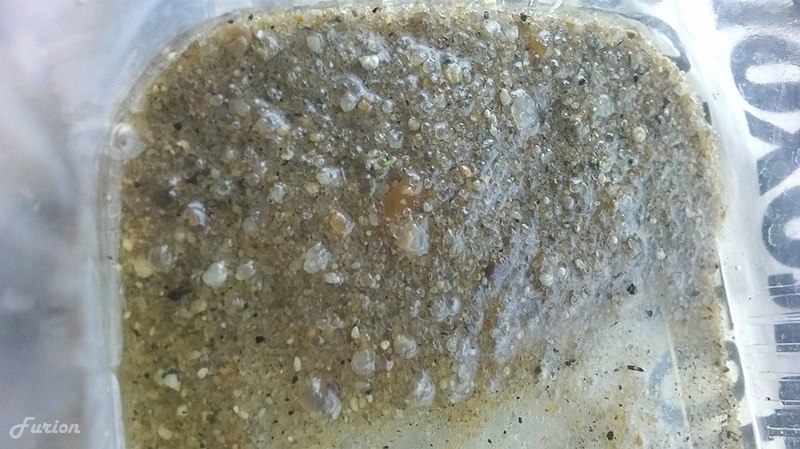
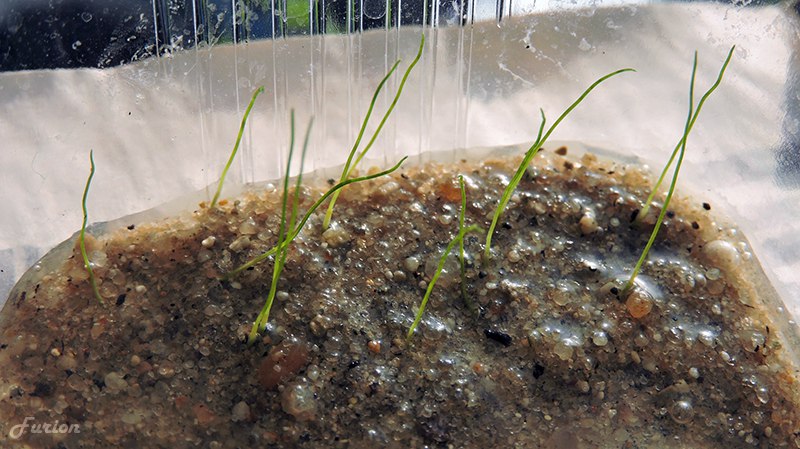
I read online that seeds germinate on damp paper or sand. Since I didn't have any paper on hand, I used what I had: sand. I sprinkled three seeds onto the damp sand. The seed coat immediately dissolved, and I completely lost sight of them—they simply "dispersed" across the sand, vanished! This left me a bit perplexed; I couldn't find anything about this online, either. I decided not to build a greenhouse. The damp sand sat for a while until little bugs began to emerge. First one, then three, and then there were a few more than I thought.
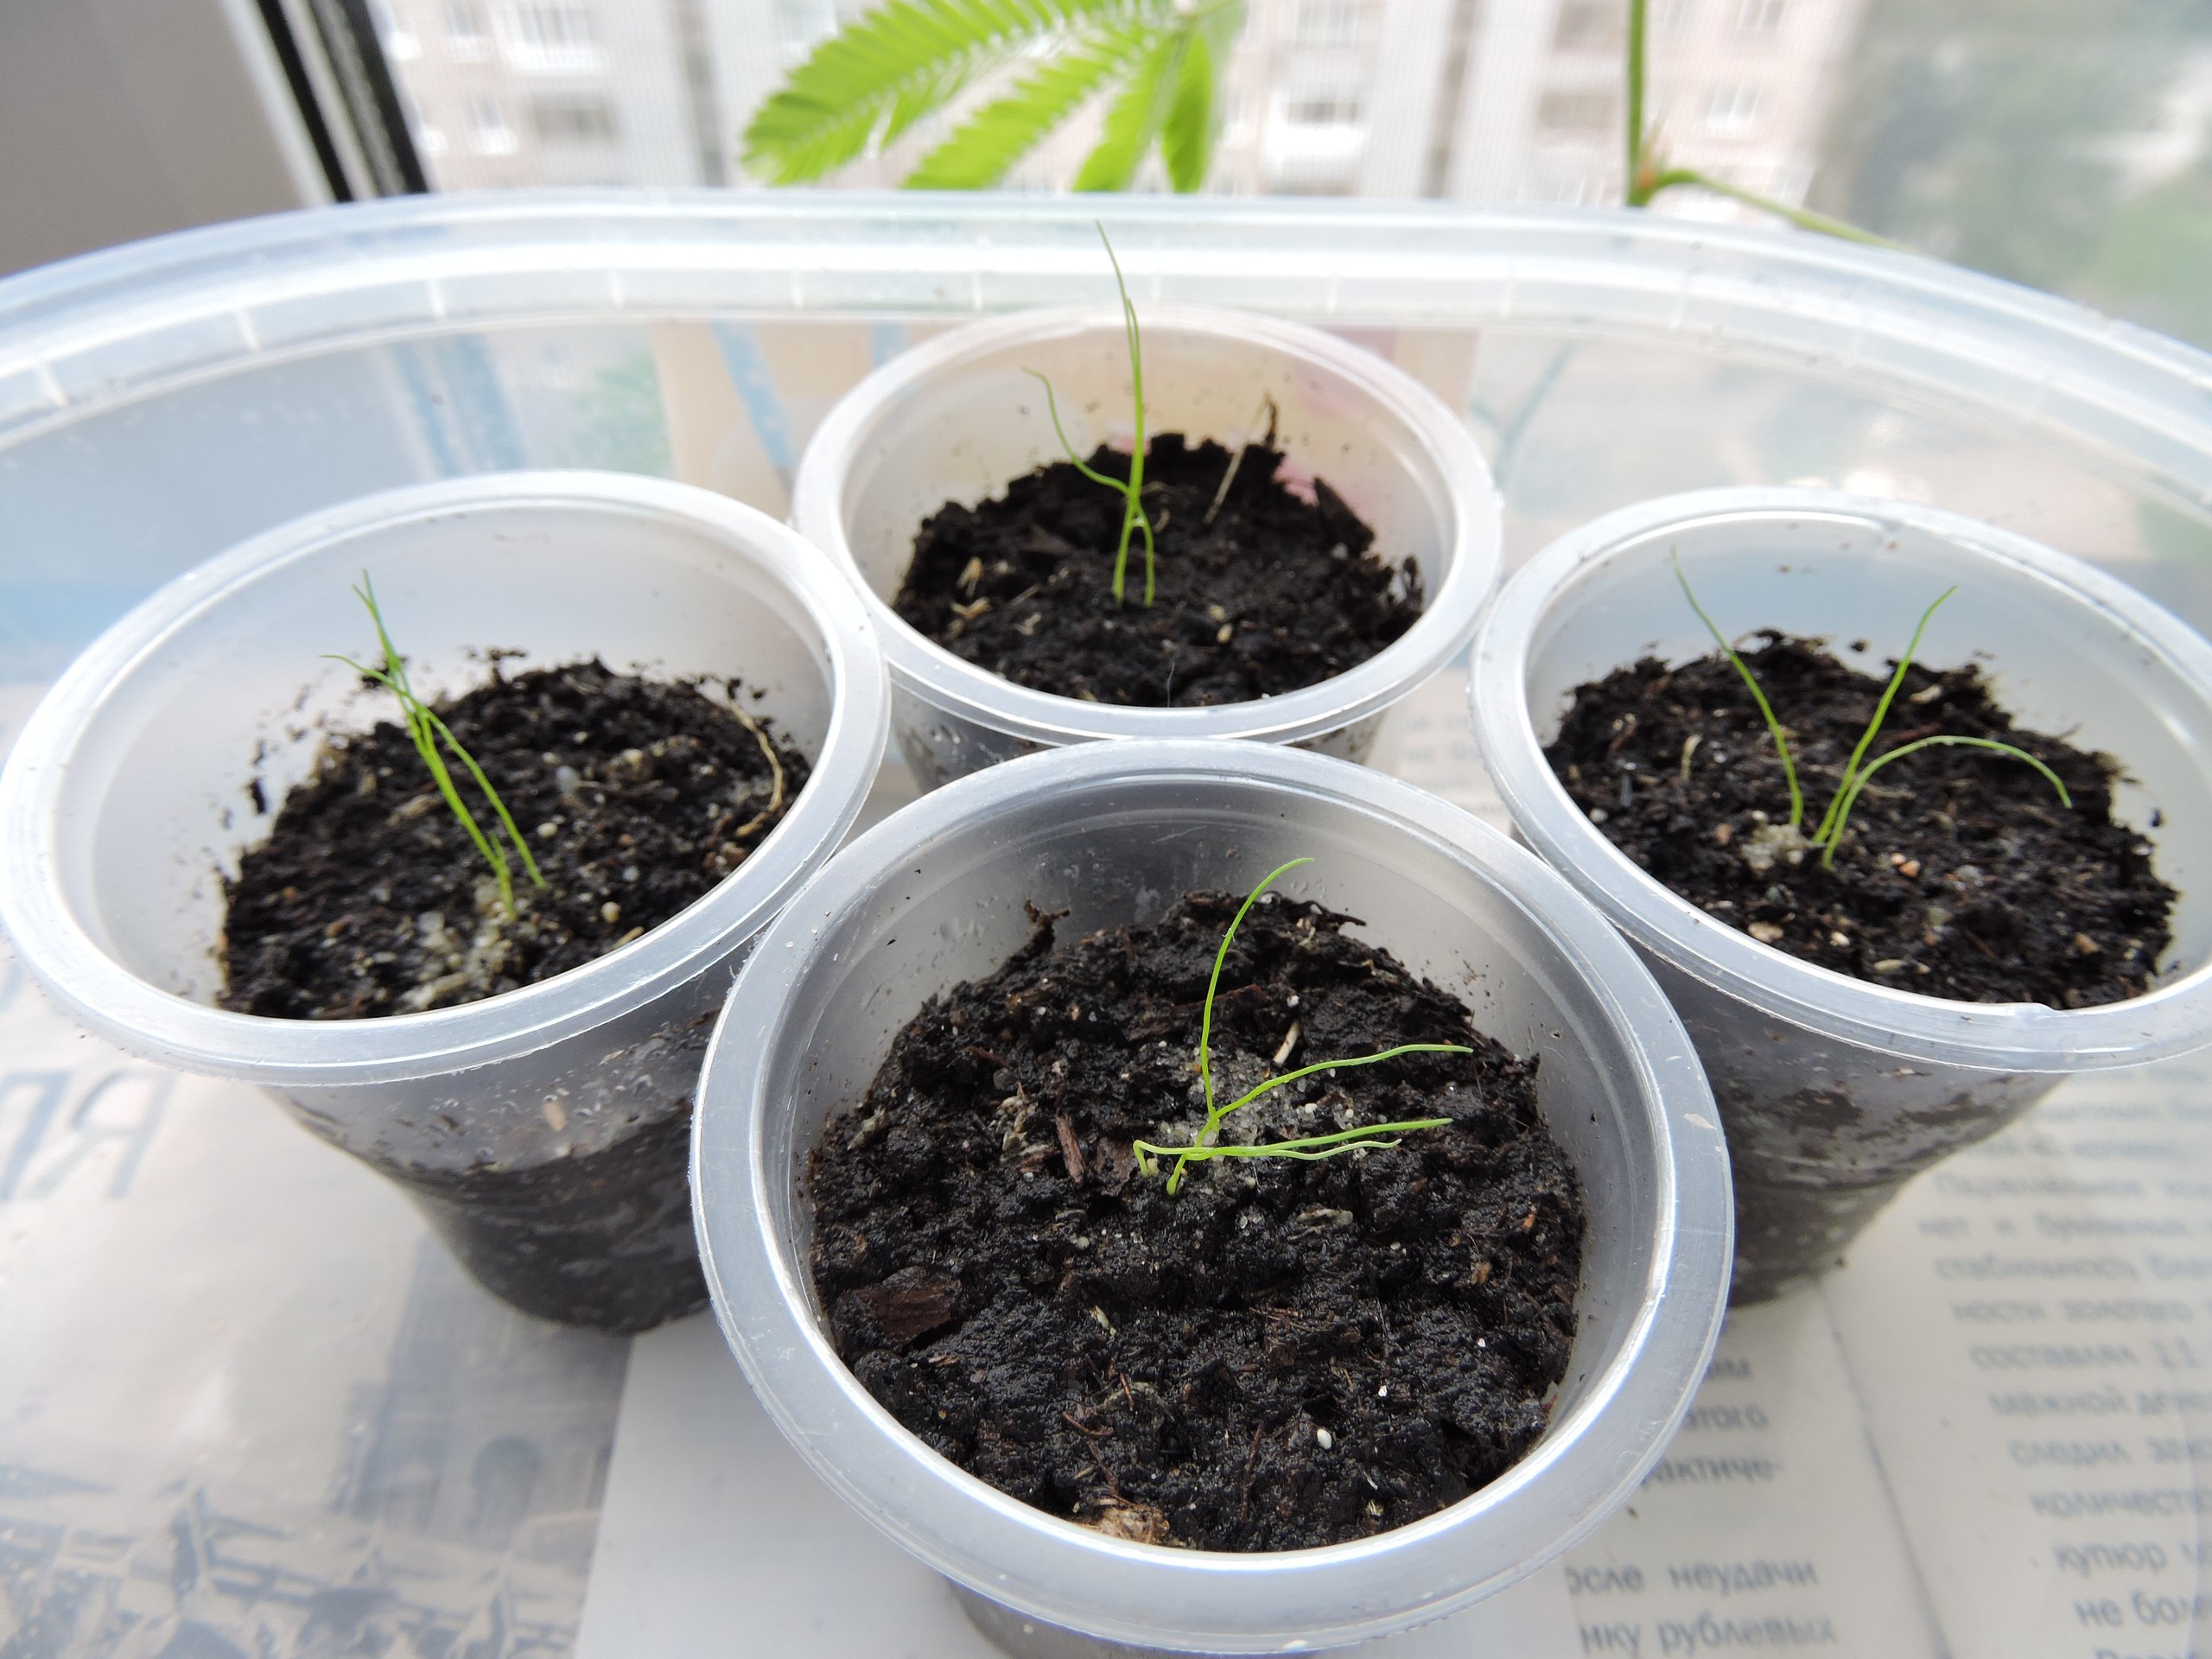
After I decided the roots had grown long enough in the sand to be transplanted into individual jars, I repotted them. There's little information about soil composition online. The main ingredients are peat, leaf mold, and sand. The soil shouldn't be deficient in nutrients. I mixed what I had: soil for ornamental conifers (acidic), a little sand (what was left), some charcoal powder, dry sphagnum moss, and a drop of very fine perlite. I carefully transferred the small sprouts, of which I counted as many as 13, into the damp soil! I placed 3-4 in each cup to keep them grouped together, and I don't need that many anyway. I moved them around with a file, and the roots turned out to be quite small, maybe about 1 cm, no more. They took root and sent out new tiny shoots, and I think everything will be fine. I'll post photos as they grow.
August 17, 2017. Landing
August 20
August 25
August 27. Transplanted
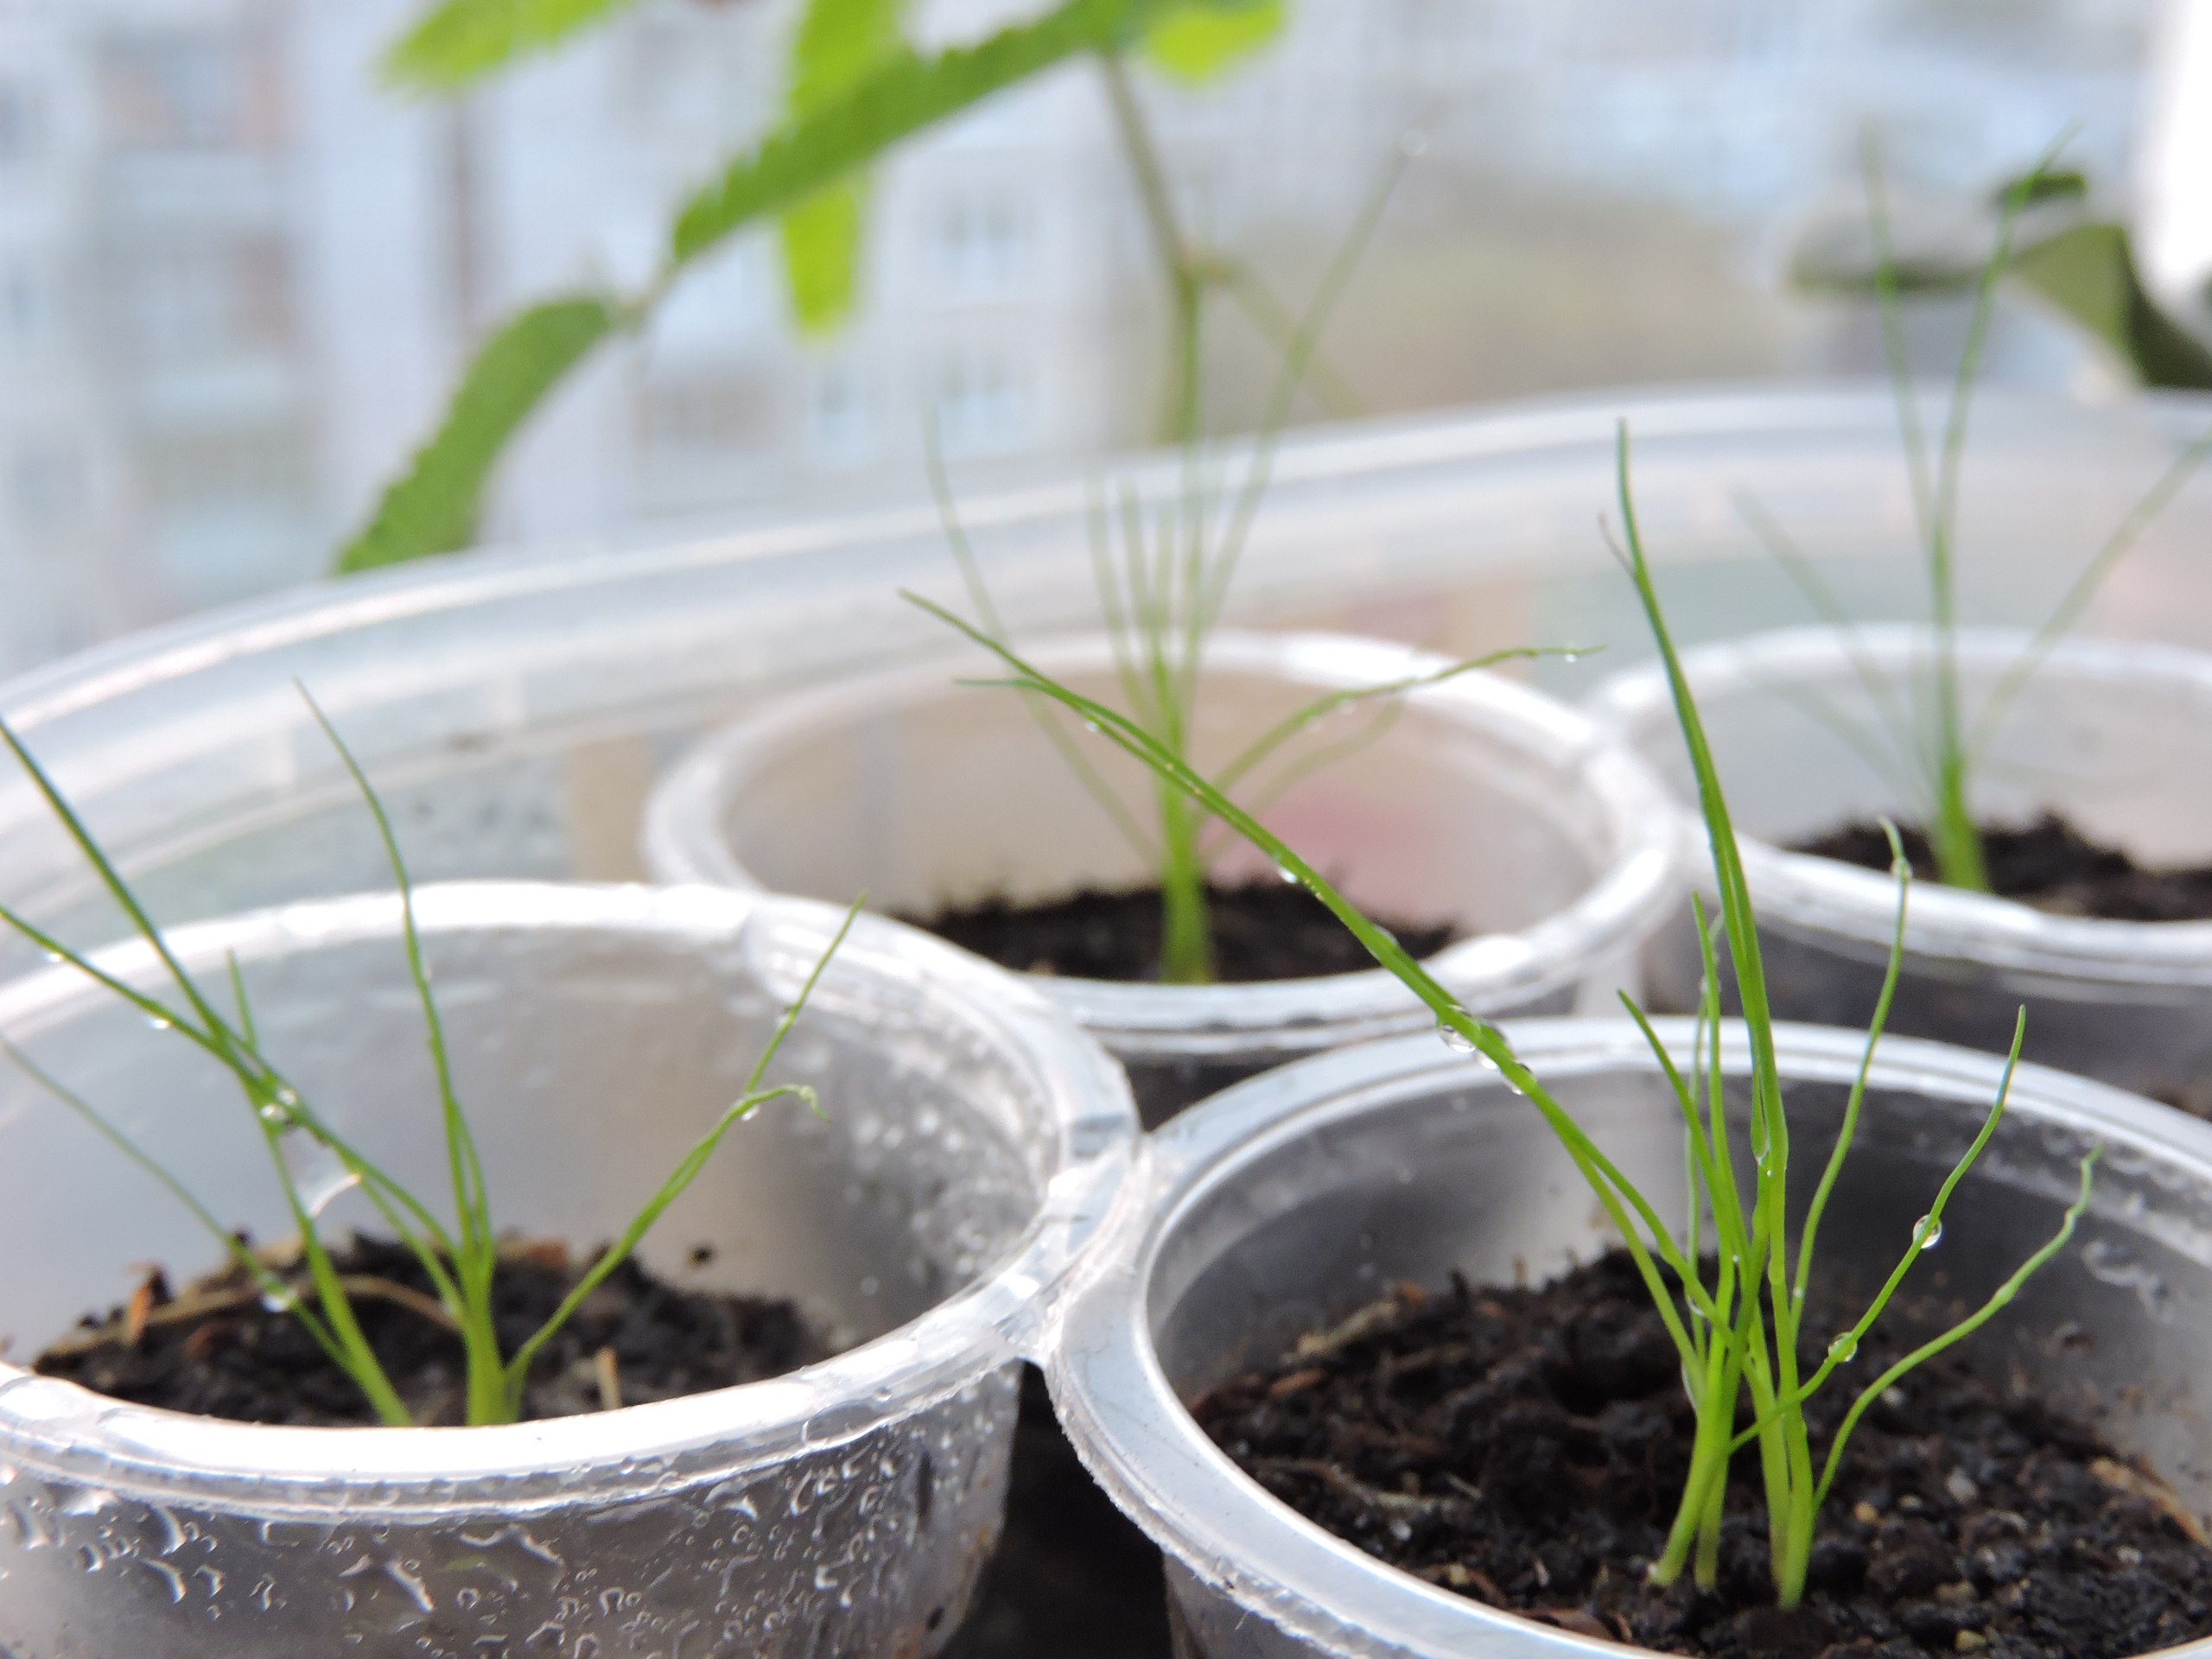
August 28th. More small leaves have appeared, the babies have taken root. And so I'm writing here again. I hope at least some people are interested in seeing what's happening. I'll try not to clutter this thread with photos; the babies are almost two weeks old now.
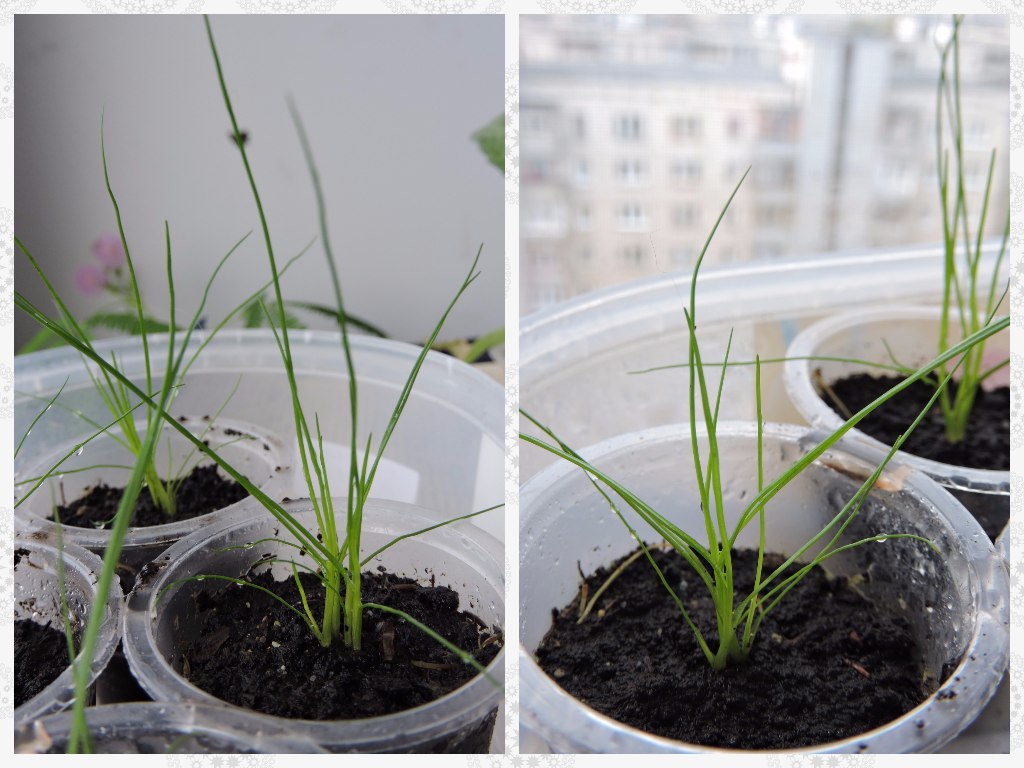
After another 10 days (23 days in total)
hmm, actually, this is about the last photo when they were still alive. It was October 8th... a kitten showed up in the house and ate everything, and what he didn't eat,
I nibbled on it and only one frail bush remained. If anything comes back to life, I'll definitely write.P.S. After turning on the radiators, the ends of my hair started to dry out a lot, despite spraying. I need to do this more often or build something.
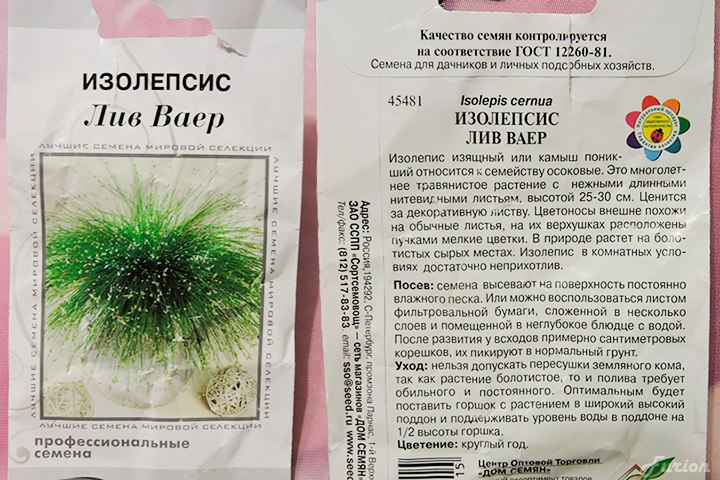
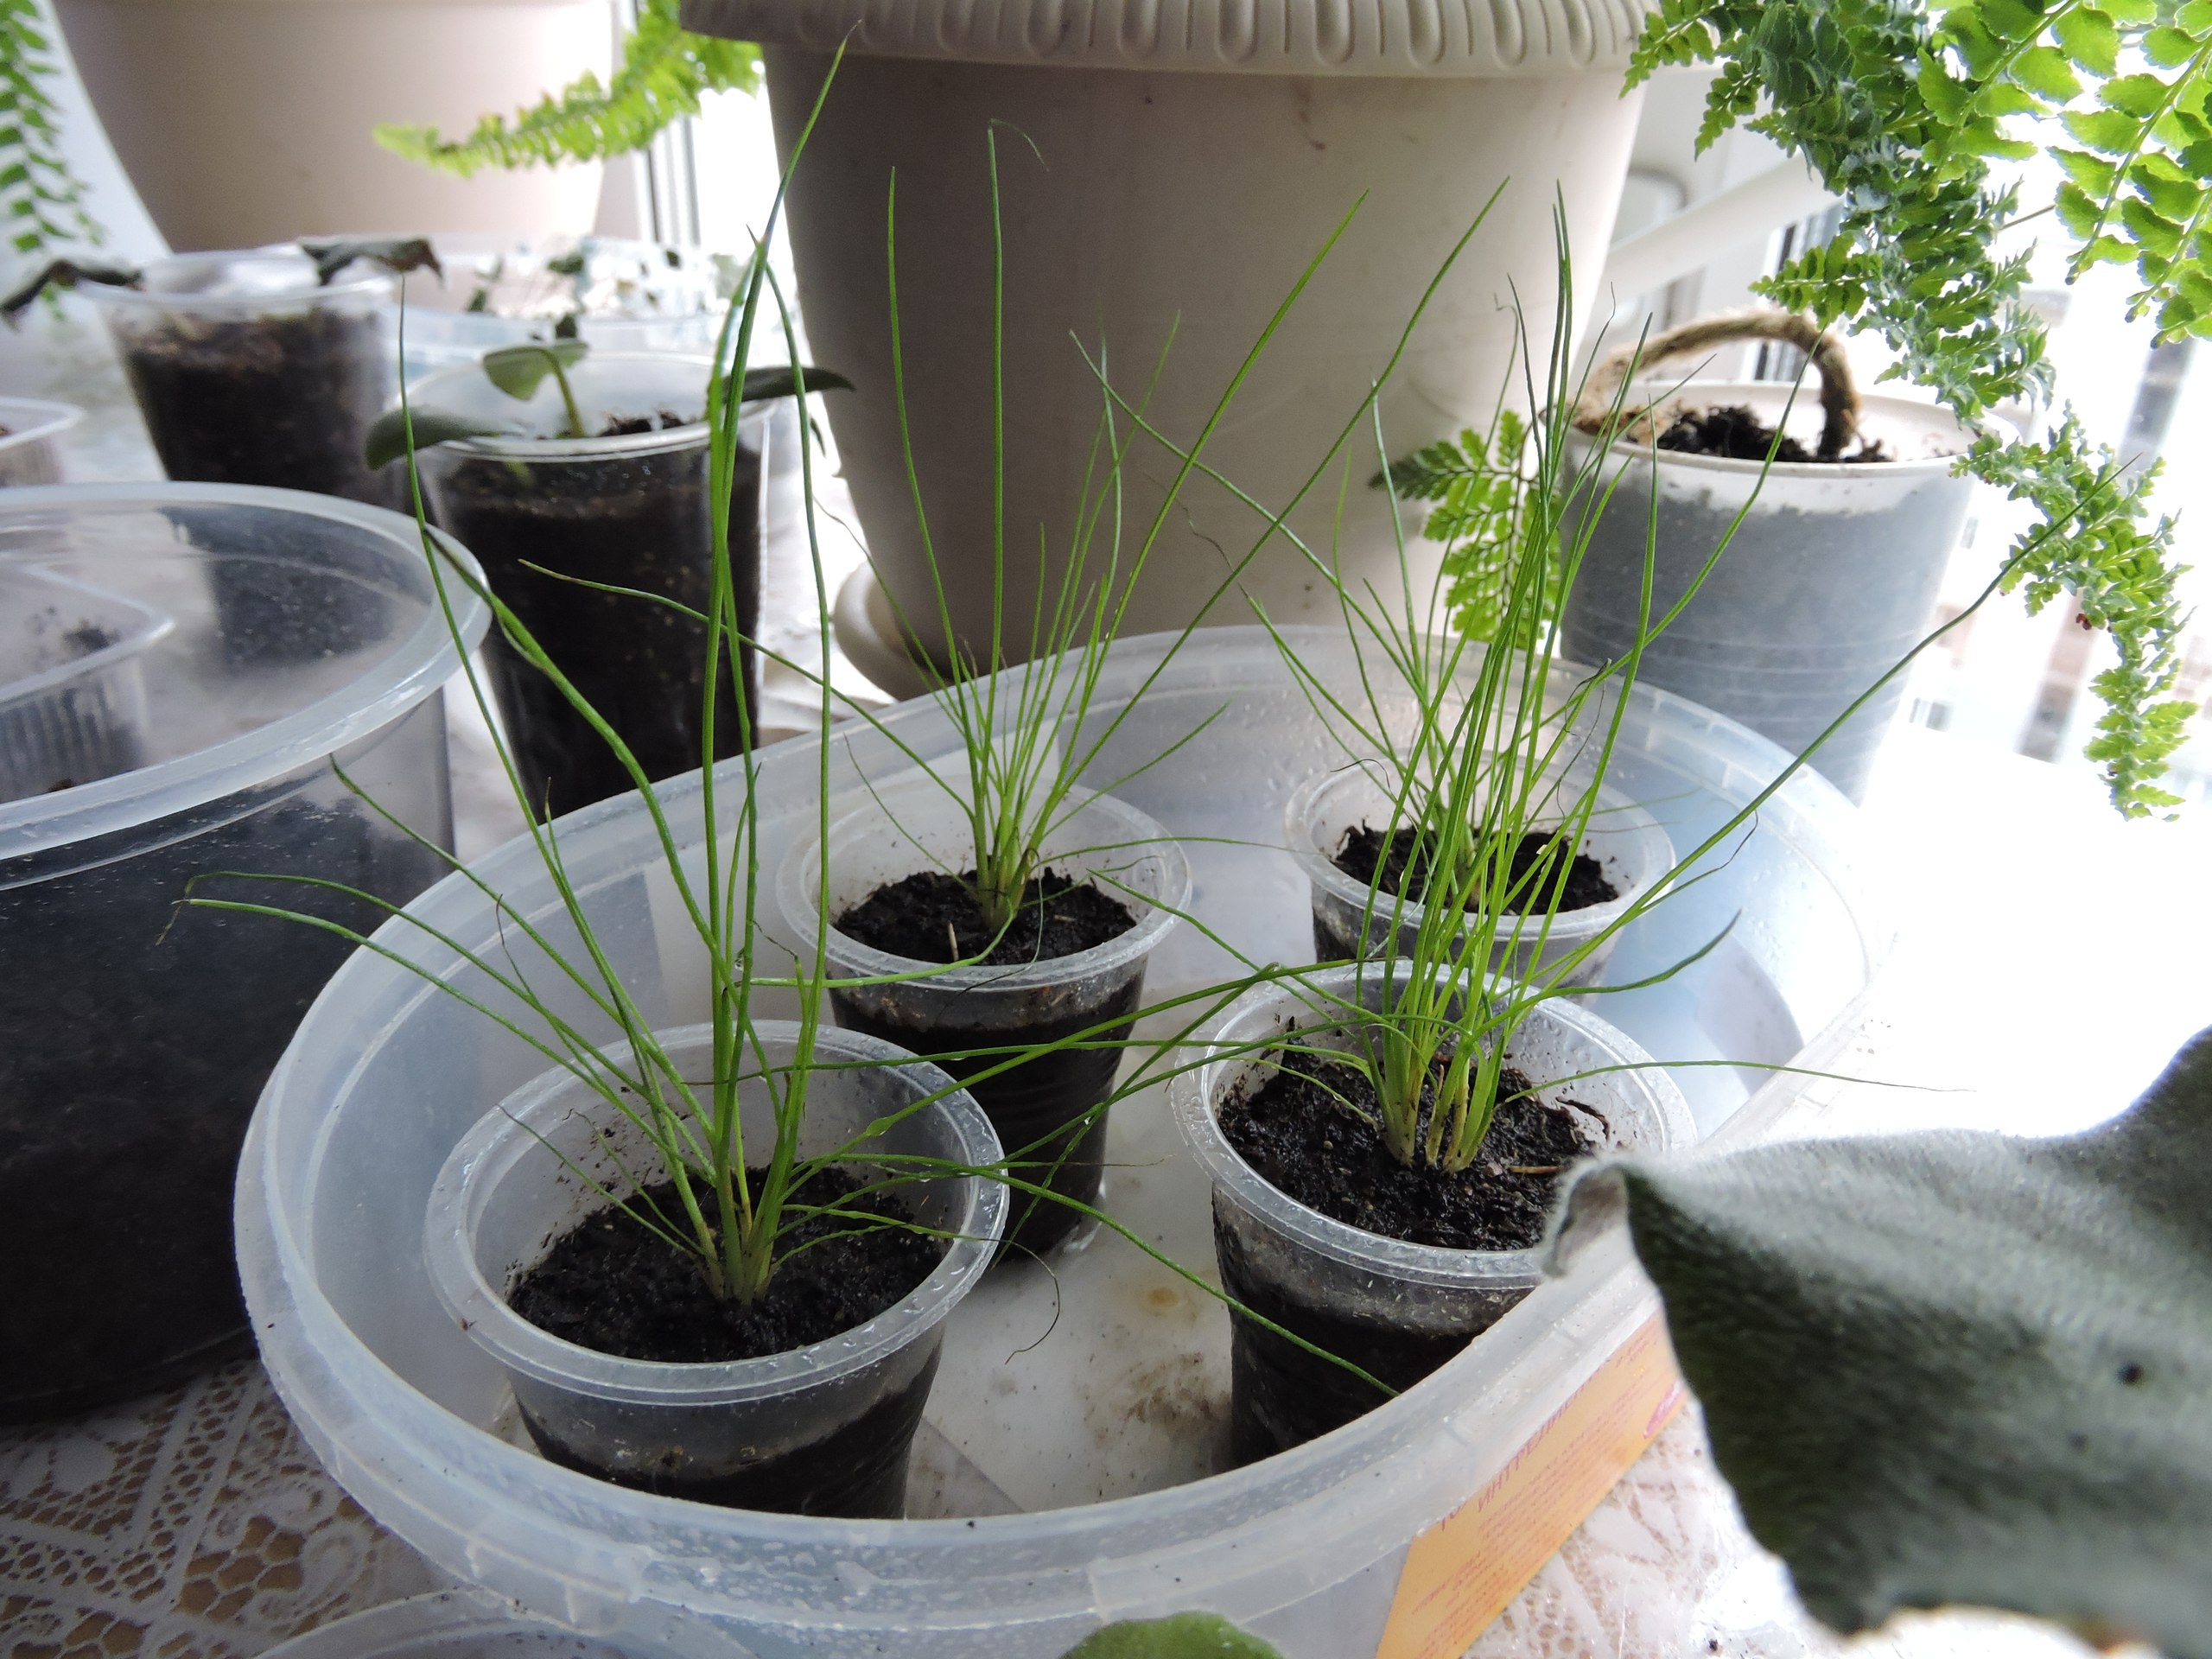
Isolepis droopingus
An original textured plant with a fountain-like growth form,
which can be used as an annual for planting in the ground of a pond or as a seasonal decoration of a pond with wintering in indoor conditions.Under favorable conditions, it can bloom almost all year round.
Has anyone tried keeping him in a humid terrarium?
User G. Artem, Ukraine, Cherkassy, 06/12/2009
Yes, I think it would be perfect for him. I haven't kept him in a terrarium, but he grows great on the windowsill. He really likes water.