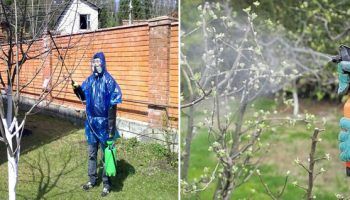
Pears are not only delicious but also versatile fruit trees that can be successfully grown in almost any region of Russia. If you have your own plot, planting a pear tree is not difficult; the key is timing and following all planting guidelines.
Content
- 1 Pear planting dates in 2024
- 2 Choosing the timing of pear planting
- 3 Choosing a pear variety for planting
- 4 Choosing a pear seedling for planting
- 5 Preparing a pear seedling for planting
- 6 Choosing a location for planting a pear tree
- 7 Preparing a planting hole for a pear tree
- 8 Pear Tree Planting Algorithm: Step-by-Step Instructions
- 9 Caring for a pear tree after planting
- 10 Further pruning of the pear tree
- 11 Methods of pear propagation
- 12 Planting columnar pears + the best varieties
- 13 Popular varieties of pears
- 14 Reviews of pear planting and other gardening tips from gardeners
Pear planting dates in 2024
Let's start with the first thing we need: timing. Let's say right away that pear trees should be planted either in the spring or fall; it's generally not done in the summer, except perhaps in August. But let's talk about each season in more detail.
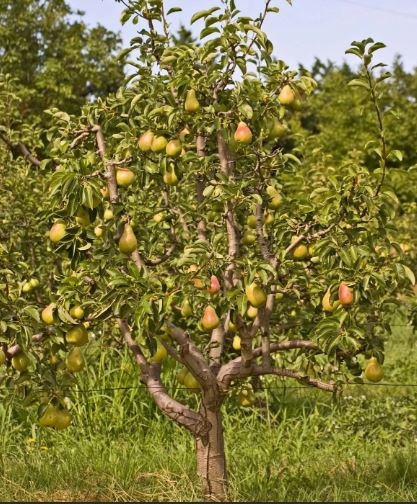
Planting pear trees in autumn and the benefits of this time of year
If you're planning to plant a pear tree in the fall, the best time to do so is September to mid-October. The key is to choose a time while it's still warm, allowing the pear tree time to establish roots. Unlike spring planting, fall planting gives the tree more time to adapt to its new location before growth begins. Furthermore, the pear will actively develop its root system, which is exactly what we need for a young tree. Nurseries also offer a wide selection of seedlings in the fall, and they're sold at lower prices.
By planting trees in the fall, you can save time in the spring, as there's already a lot of work to do. However, it's important to consider the type of fall you've had in a given year. If it's rainy, it's best to postpone planting pear trees until spring. Now, let's talk about this season.
Interesting! Did you know this rule: pome fruits can be planted in both fall and spring. This includes our beloved pear and apple trees. Gardeners recommend planting stone fruits (cherries, peaches, apricots, plums, and cherries) only in spring.
Does anyone know why this is? Well, we won't keep you waiting and will tell you. Stone fruits are considered less frost-resistant than pome fruits.
Planting a pear tree in spring: step-by-step instructions
Gardeners prefer to plant pears when the snow has already begun to melt and the ground is not so cold. In Russia, this usually happens in early April. However, there are warmer regions in our country where spring pears can be planted as early as late March. Of course, each year is different. Sometimes you're lucky with the weather, sometimes not. If the ground hasn't warmed up yet, don't plant the seedlings; wait a little longer, say, a week. But what about planting pears in the summer? Let's find out.
Planting pears in summer: do they plant them?
In summer, only seedlings sold in containers, whose root systems are covered, can be planted. However, even these pears shouldn't be planted in June or July. Pears don't tolerate drought or heat well, their immunity is weakened, and they are susceptible to pest attacks. If you absolutely must plant urgently, August is best. However, experts advise postponing planting until fall.
Choosing the timing of pear planting
When choosing a date to plant a pear tree, you need to follow certain guidelines. It's crucial to follow the recommendations we'll outline below. Otherwise, there's a risk the seedling won't take root.
Recommendations for choosing the time to plant pears in the fall
Autumn recommendations:
- The seedling should be planted 30-45 days before the onset of frost to allow the root system to establish. This is typically in September;
- Plant in the evening in warm, cloudy, dry weather;
- When cold weather sets in, don't risk planting the seedling; instead, store it in a dry, dark place until spring, wrapping the root system in a damp cloth (wet it as it dries) and placing it in sawdust.
Recommendations for choosing the time to plant pears in spring
In spring, it is essential to follow the following rules:
- Pear tree planting can be done from late March to mid-May. It depends on the region; in Siberia and the Urals, it's best to hold off until May. In the Moscow region and other temperate regions, planting can be done in mid- to late April. And if you live in the south, you already know that you can plant a seedling as early as late March.
- It is best to plant on a windless, cloudy day, in the morning or evening.
- You can plant a pear tree when the ground is still wet from melted snow; you don’t need to wait until the ground dries out completely.
- We'll talk more about this in the section on choosing a seedling, but it's important to plant the pear tree before it wakes up, meaning the buds haven't yet opened.
- There should be no freezing temperatures at night, even if it is warm during the day, but still cold at night, postpone planting.
Planting times vary by region
When choosing a date for planting a pear tree, you need to take into account the climate of your region to ensure better survival of the seedling.
| Region | Landing dates | |
| Spring | Autumn | |
| Moscow and the Moscow region | April 15 - May 15 | the second half of September |
| St. Petersburg and the region | April 25–May 20 | beginning of September |
| Middle zone | April 25–May 10 | September |
| South | March 20–April 15 | October |
| Urals, Siberia | from May 20th no earlier | late August-early September |
Selecting dates according to the 2024 Lunar Calendar
It is recommended to plant a pear tree based on the position of the Moon and the signs of the Zodiac.

In 2024, the best, unfavorable and forbidden numbers are given in the table:
| Month | Favorable | Unfavorable and prohibited |
| March | 1-2 (until 16:56), 5-6, 9 (until 12:00), 13-15 (until 06:15), 17 (from 12:41)-19 (until 22h 32m), 19 (from 22h 32m) -22 (until 10h 42m) (possible), 26 (from 10:00 a.m.)-29 (until 22:52 p.m.) | 7-8, 9 (from 12:00 p.m.), 10, 11 (until 12:00), 24 (from 10:00), 25, 26 (until 10:00 a.m.) |
| April | 1-3 (until 12:07), 5 (from 14:12)-7 (until 14:24), 9 (from 21:20)-11 (until 15:57), 13 (from 20:44)-16 (until 05:24), 21 (from 06:08 a.m.)-23 (until 02:48 a.m.), 25 (from 02:48 a.m.), 26-30 (until 18:20 p.m.) | 3 (from 12:07 pm) -5 (until 14:12 pm), 7 (from 9:20 p.m.), 8, 9 (until 21:20), 23 (from 02:48), 24, 25 (from 02:48), 30 (until 18:20) |
| May | 2 (from 21:52)-4 (to 23:40), 11 (from 06:12)-13 (to 13:35), 18 (from 13:22)-22 (to 16:52), 25 (from 18:36)-27, 30 (from 03:32 am)-31 | 1-2 (until 21:52), 7 (from 06:22), 8, 9 (until 06:22), 22 (from 16:52), 23, 24 (until 16:52), 28-30 (until 03:32) |
| September | 4 (from 04:55)-14 (until 10:52), 20 (from 12:02)-22 (until 13:23), 24 (from 17:49)-26 | 2, 3, 4 (until 04:55), 14 (from 10:52 a.m.)-16 (until 12:39 p.m.), 17, 18 |
| October | 3 (from 21:49)-11 (until 19:31), 13 (from 22:55) -15, 18 (from 14:26)-19, 22-24 (08:24), 29 (from 07:29)-31 (until 15:46) | 1 (from 21:49), 2, 3 (until 21:49), 11 (from 19:31 pm)-13 (until 22:55 pm), 16 (from 14:26), 17, 18 (until 14:26), 31 (from 15:46) |
Choosing a pear variety for planting
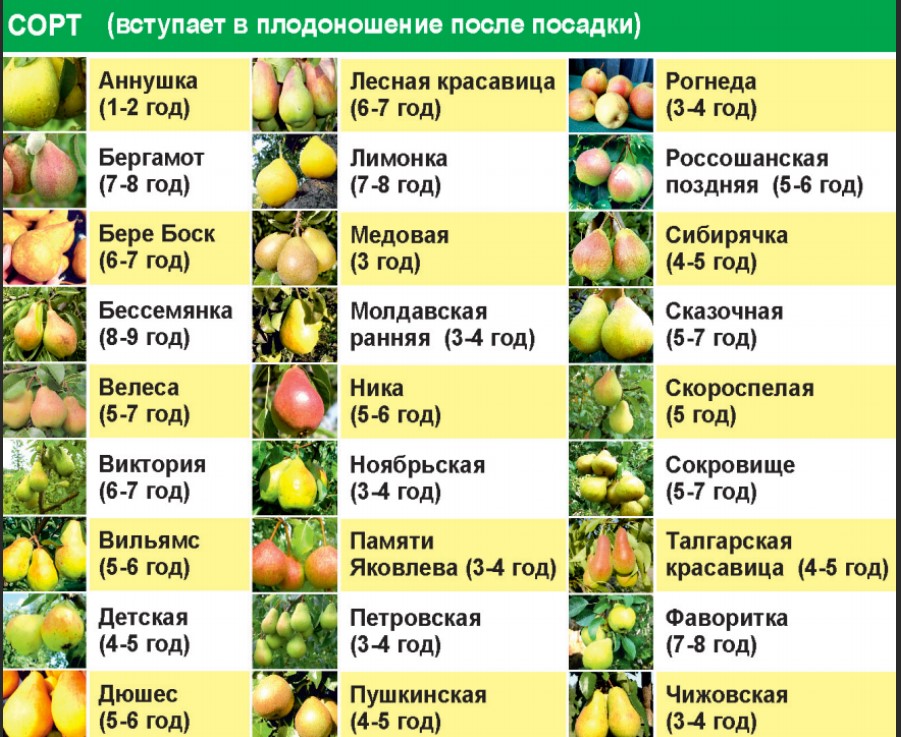
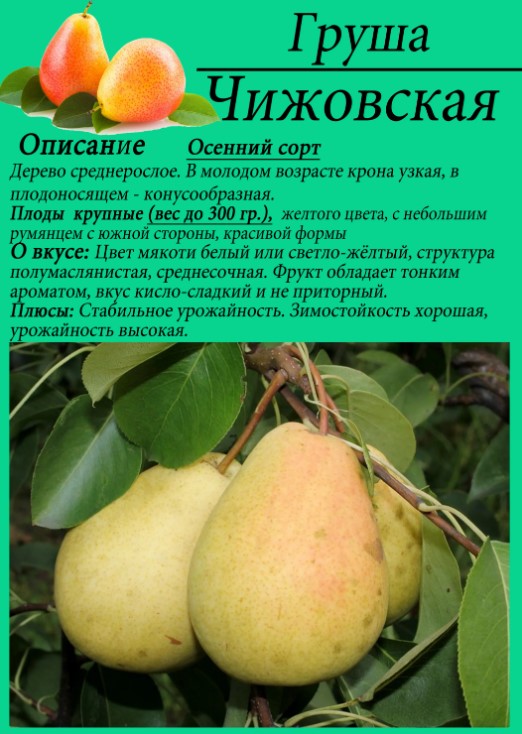
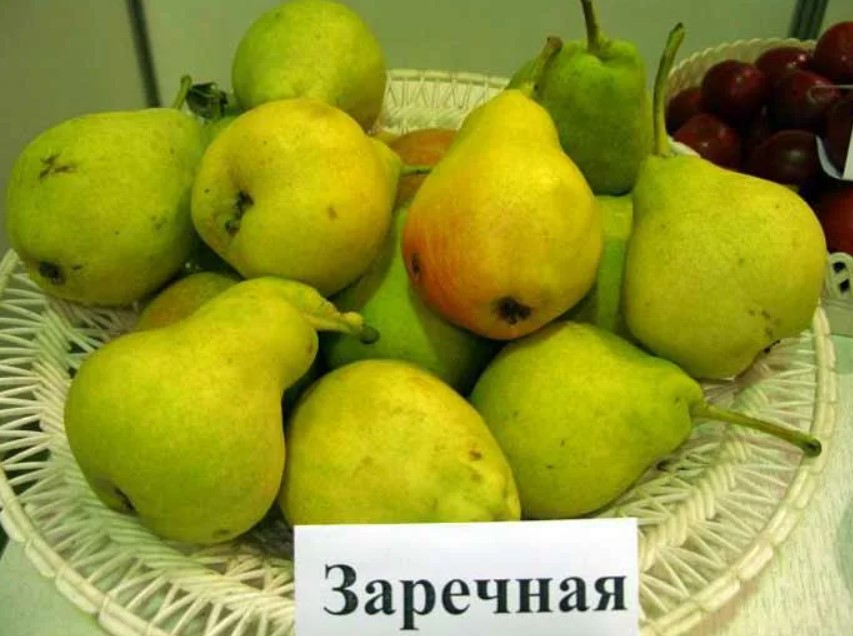
- Choose regionalized varieties that are best suited to the climate and soil of your region. For example, Lada, Chizhovskaya, and Skazochnaya are suitable for the Moscow region. For the Volga region, choose Rovesnitsa, Thumbelina, and Banana. For Siberia and the Urals, the very sweet Zarechnaya, Severyanka, and Penguin varieties are suitable.
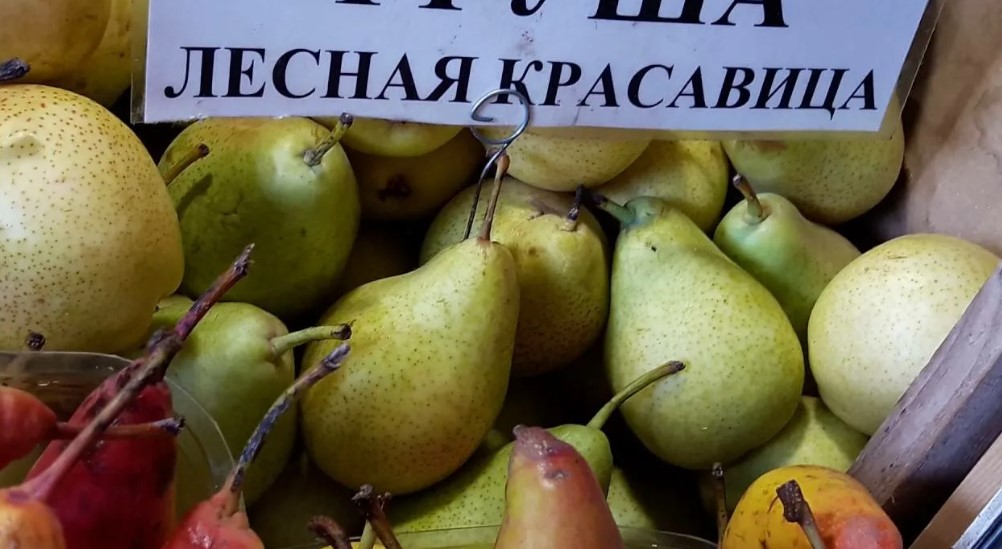
- The variety must be winter-hardy. Particularly hardy varieties include Nika, Banana, and Lesnaya Krasavitsa. Of course, there are many others, but we'll list only a few.
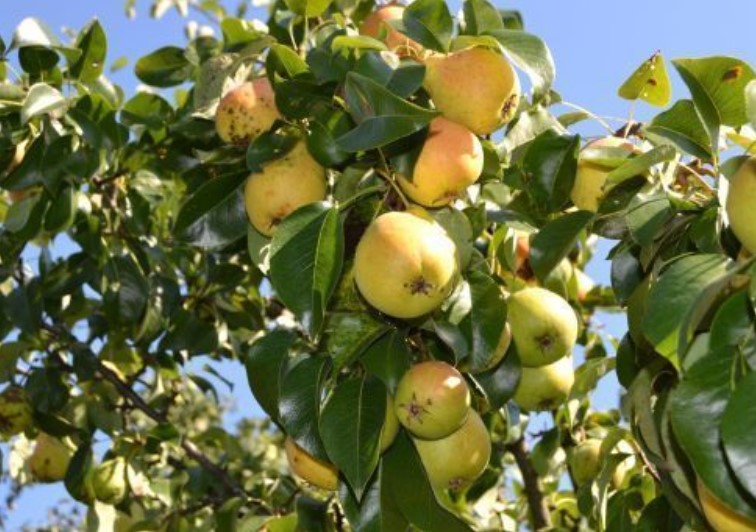
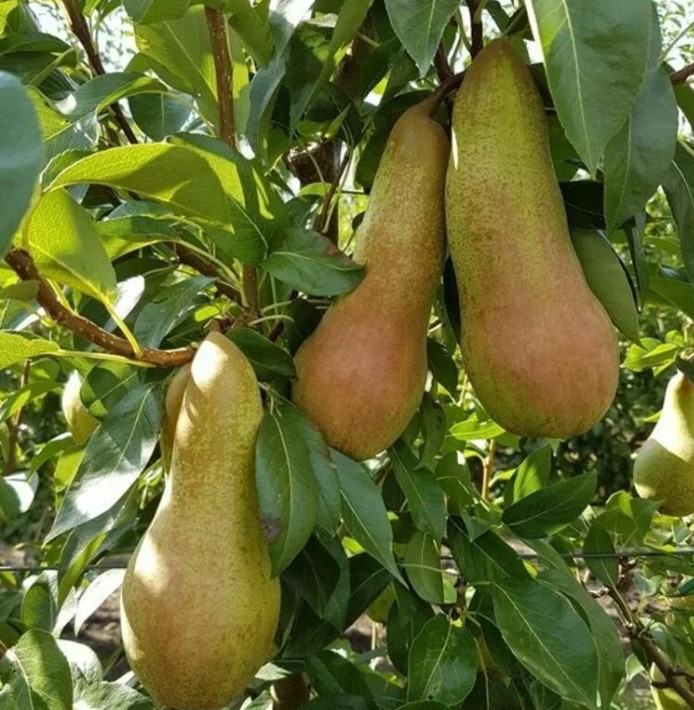
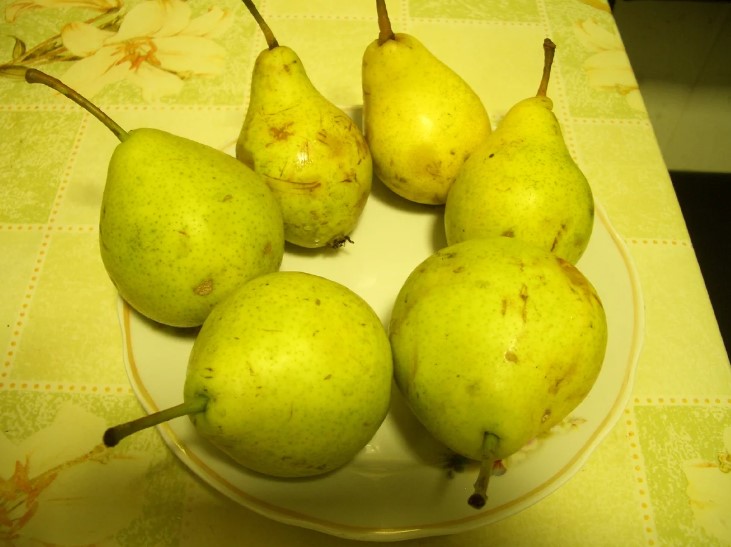
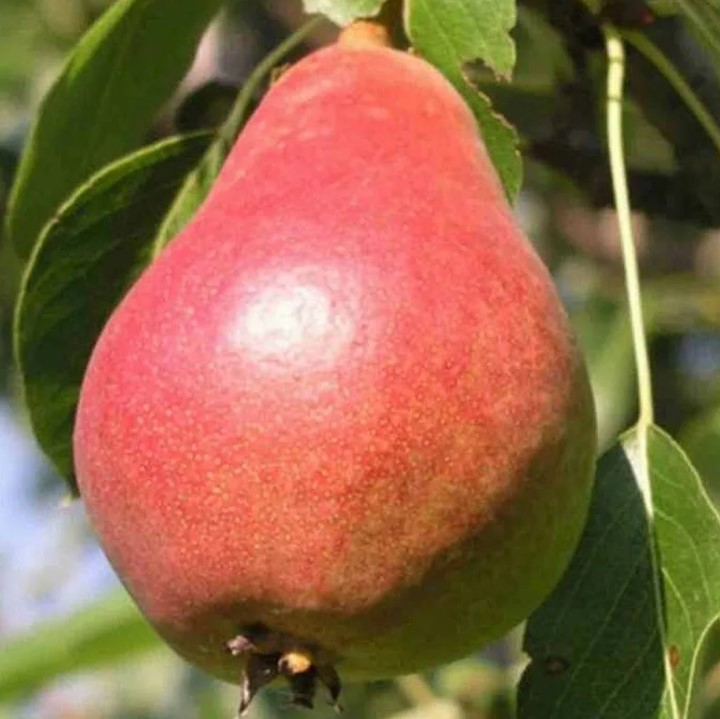
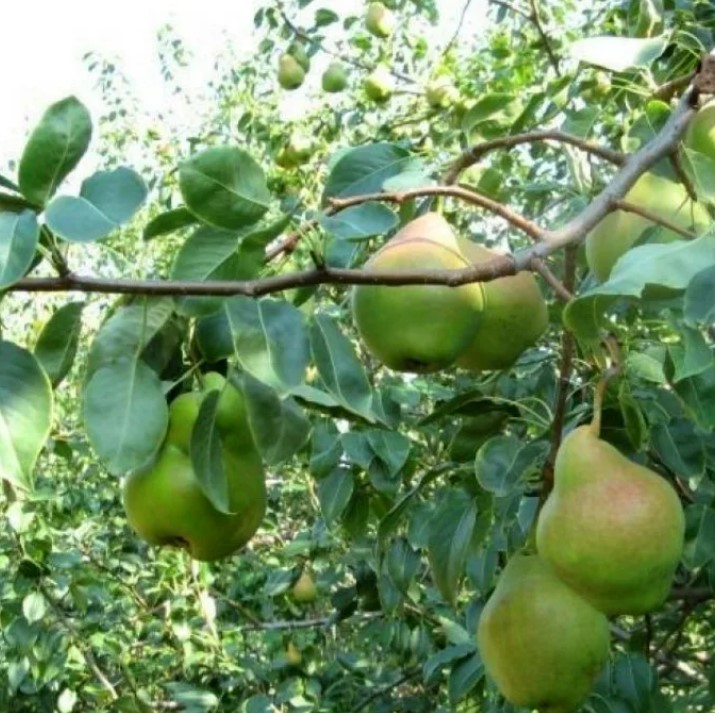
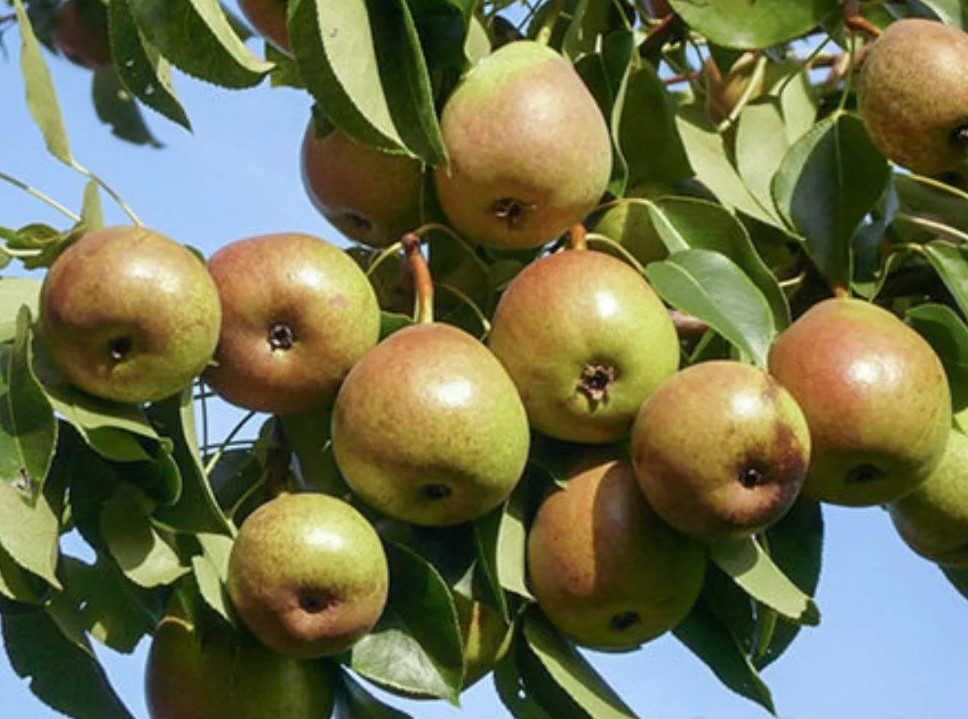
Photo gallery of pear varieties
Choosing a pear seedling for planting
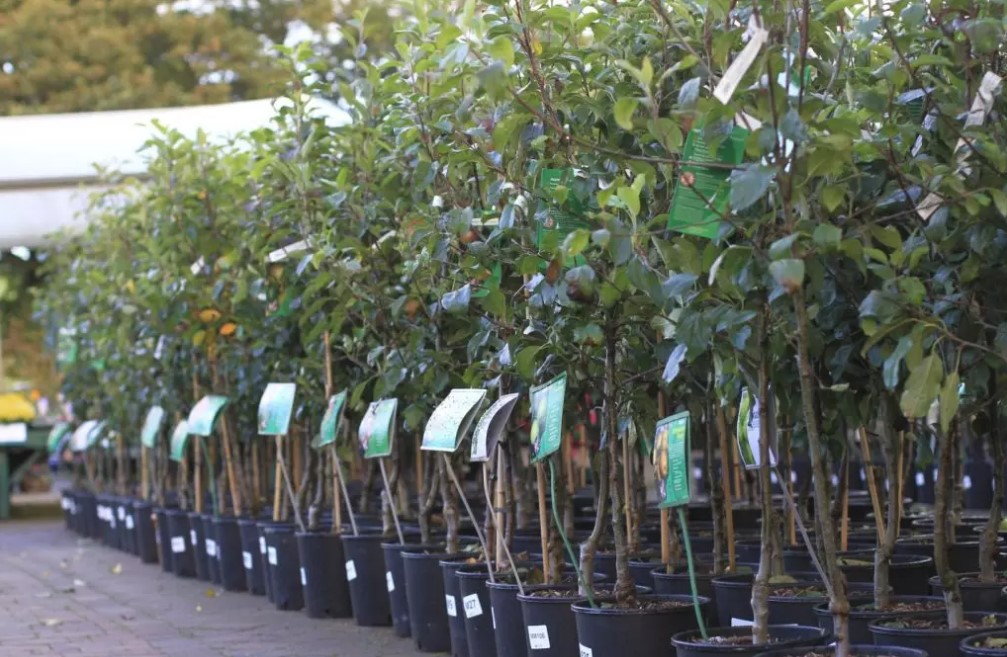
Seedlings come in two types: open-root (OR) and closed-root, the latter sold in containers. These are the ones that beginner gardeners should buy, as they are easier to transplant. Incidentally, it's not uncommon for a nursery seller to just transplant an open-root seedling into a container and pass it off as closed. To avoid buying such a pear, first, choose reputable sellers. But there's another way to protect yourself: simply grasp the seedling by the trunk and shake it; it should sit firmly in the container. If it doesn't, it's not your fault; the seller is cheating.
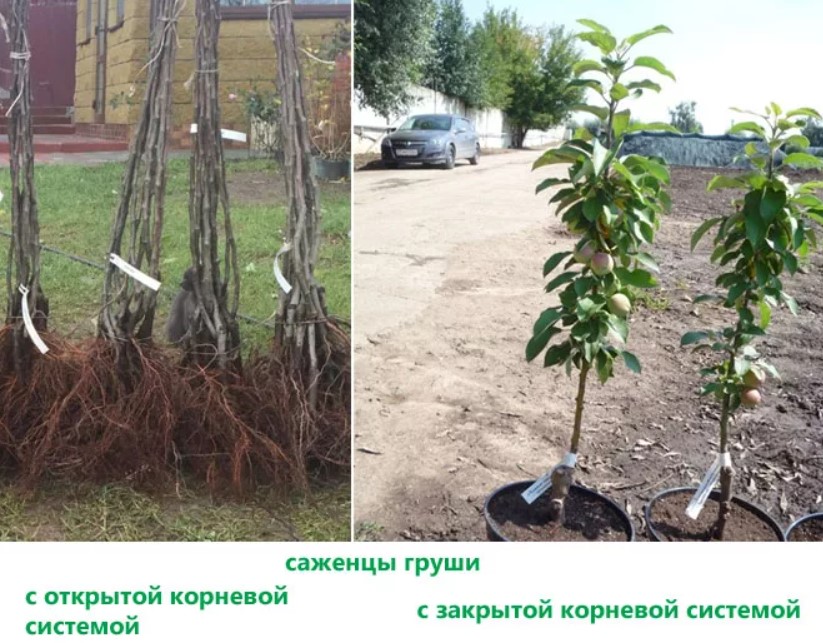
Now that you've chosen the type of seedling, it's time to talk about its appearance. Let's review all the criteria you need to pay attention to when purchasing one by one:
- Appearance. There should be no signs of disease or pests, of course, and no wilting.
- Height. No more and no less than 1-1.5 meters.
- Roots. They should be well developed. Lateral roots, about 20 cm long, should be present. There should be no growths. In a closed-rooted seedling, lateral roots are also visible, peeking out from the container.
- Age: 1-2 years. This will be the easiest time for the pear to adapt to your garden.
- Grafting. There should be a grafting point at the base of the trunk—the junction of the rootstock and scion. If this is not the case, the pear is wild and should not be purchased.
- Trunk. The wood on the upper part of the trunk should be strong, free of sunburn, cracks, or damage. The trunk itself should be straight.
- Vegetation. There shouldn't be any, meaning the seedling should be dormant, in a state of rest, or, more simply, there shouldn't be any leaves on it.
Preparing a pear seedling for planting
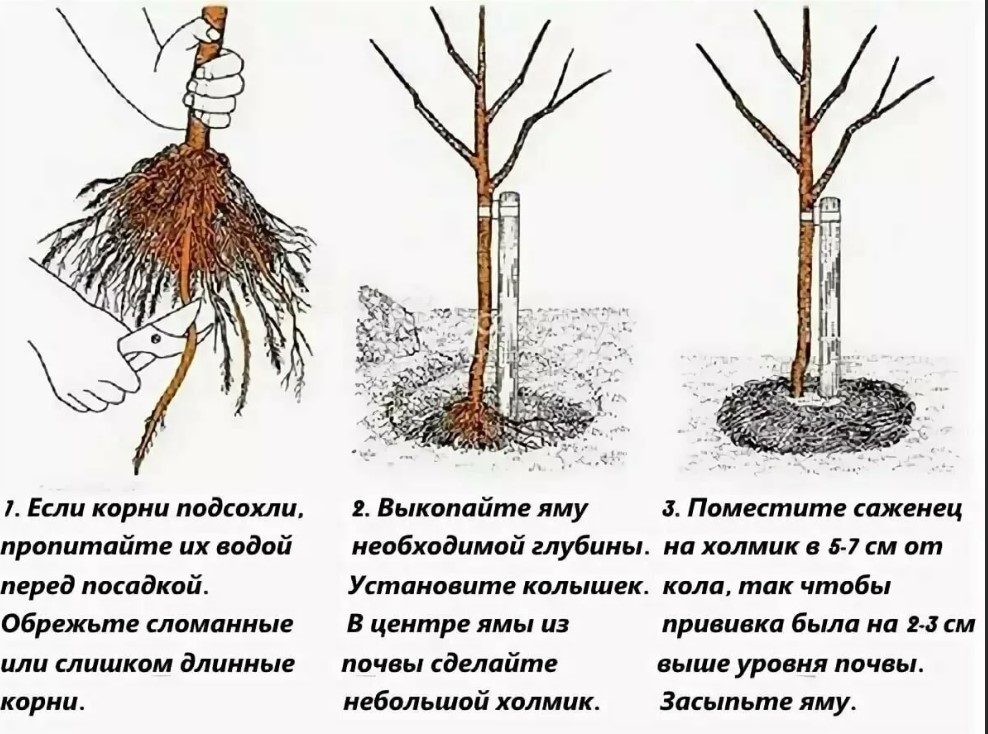
Before planting, clean the roots to remove any old soil. Then, dip them in a clay slurry and trim off any broken roots.
Tip! If the roots are dry, we recommend soaking them for two hours in a solution of Kornevin and water.
Choosing a location for planting a pear tree
The choice of location for planting a pear tree also plays an important role.
Access to the sun
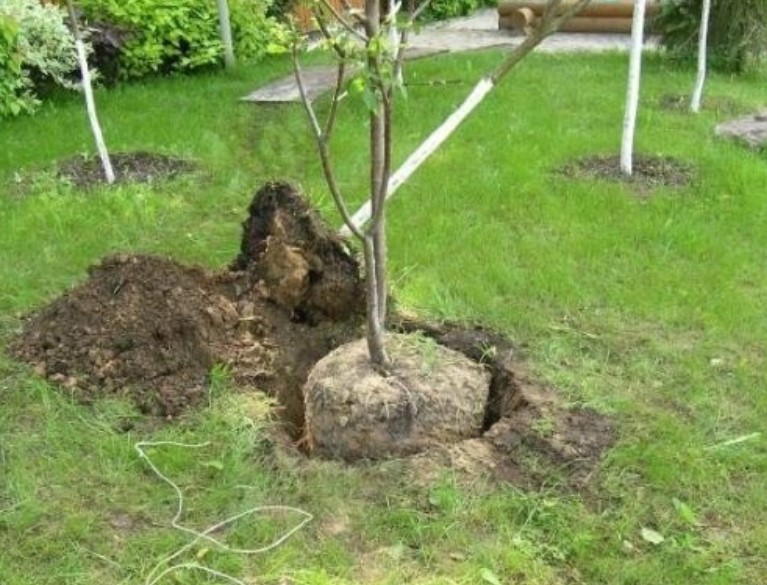
Pear trees are sun-loving plants, so a sunny location is essential for their growth and development. If they grow in the shade, their shoots will stretch, delaying fruiting, and the resulting fruit will be unpalatable. Furthermore, pear trees don't like strong winds, so it's important to choose a sheltered location.
Plot dimensions
The pear is a fairly large tree that requires a spacious site. There should be at least several meters of space between the pear and other trees to ensure they don't interfere with each other's growth or compete for nutrients. Avoid choosing a site near large, spreading trees, as this can negatively impact the pear's growth and yield.
Soil and groundwater location
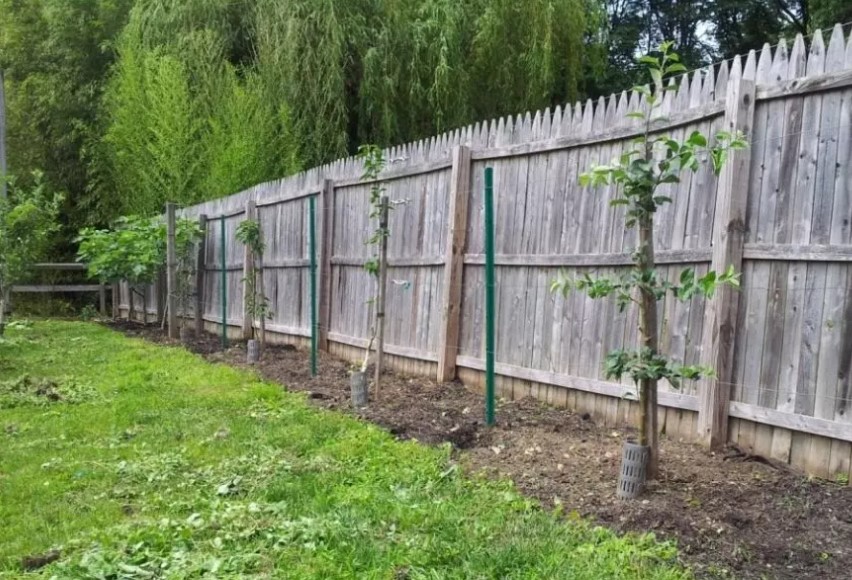
Pear trees aren't picky about soil. They grow best in clay and loamy soils. Also, keep in mind that they don't tolerate acidic conditions well. Therefore, liming is necessary before planting, and this should be done six months in advance.
If the groundwater level in your area is too high, i.e., less than 1.5 meters from the surface, you should plant the pear on an artificial mound. Therefore, choosing a low-lying site is not recommended. Generally, if you have an unoccupied mound, this is the best location for a pear, as its roots are deep and have plenty of room to spread out.
Neighborhood
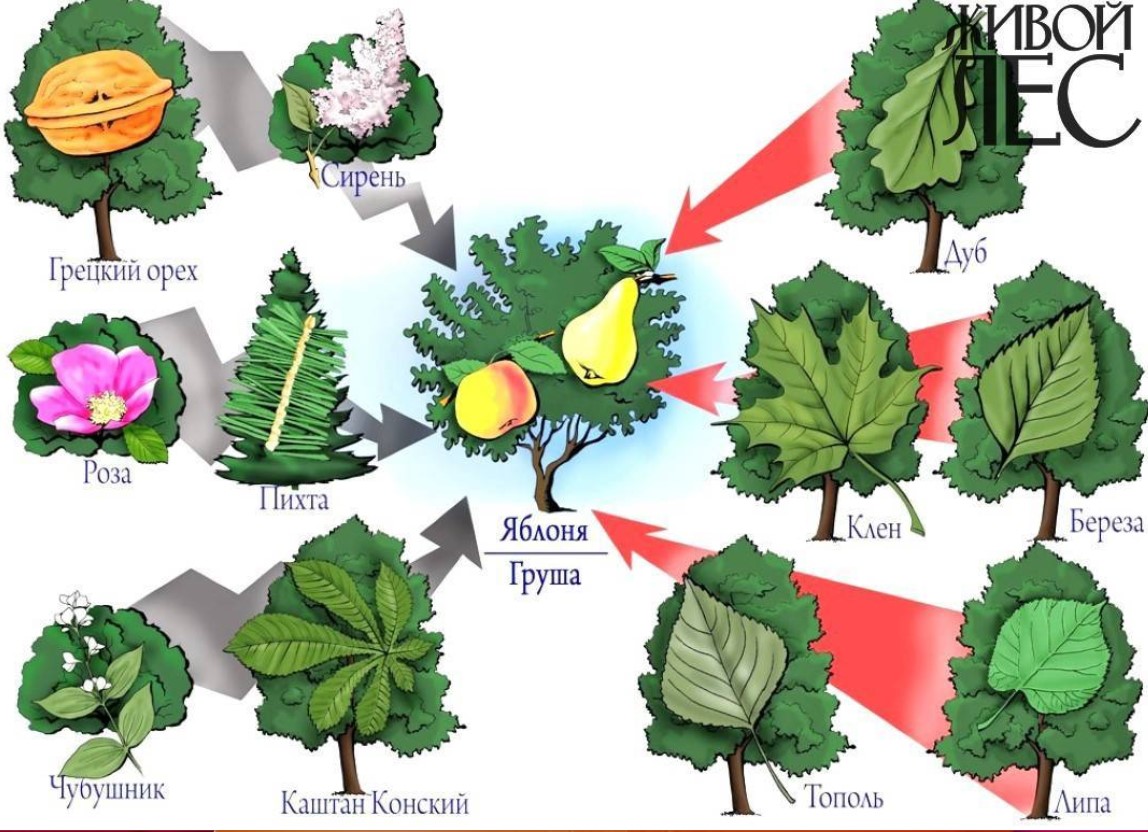
The pear's proximity to other plants affects its growth and yield. Maple, apple, oak, and black poplar are considered the best neighbors for pears. Conifers, nut trees, junipers, or rowans are not recommended near pears. Also, avoid planting pears near cherries, as this can negatively impact their development.
Preparing a planting hole for a pear tree
Let's take a closer look at the optimal dimensions and rules for preparing a planting hole.
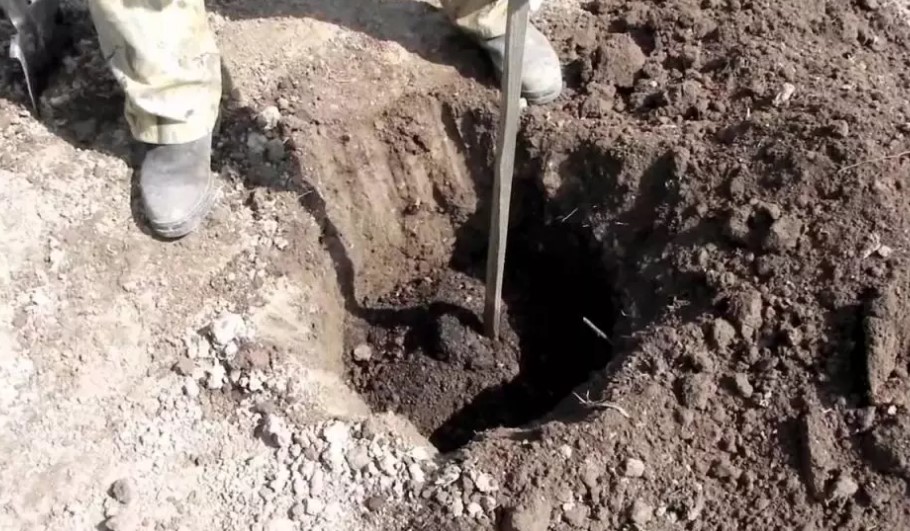
When to prepare the planting hole
Fall is best. If you decide to plant a pear tree this time of year, do so 2-3 weeks before work. If you're planting in the spring, prepare the hole before the first frost.
Important! Save the top 20-30 cm of fertile soil that remains after digging the hole. You'll need it to prepare fertilizer, which we'll discuss later.
Dimensions of the planting hole
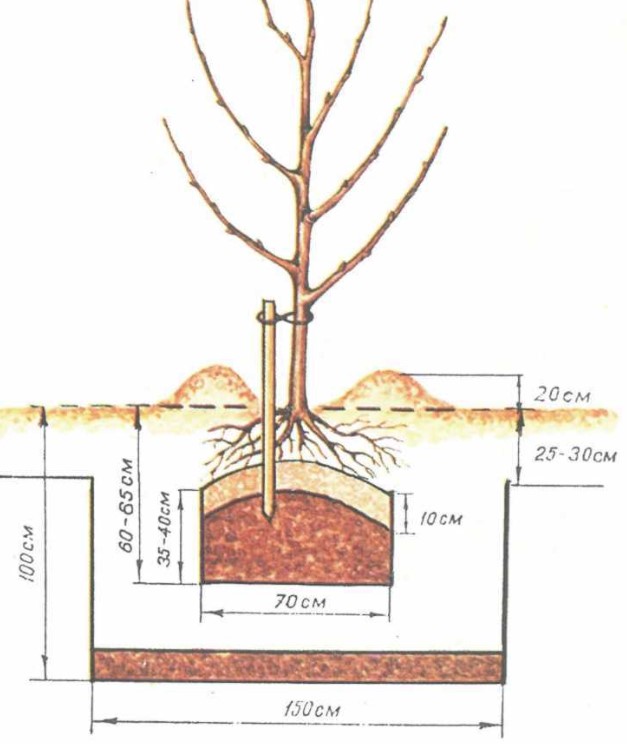
The width should be about 70 cm, the depth about 50 cm, or more. The pit should not taper downwards, i.e., the walls should be vertical.
Planting pattern for different varieties of pears
| Type | Distance between seedlings, m | Distance between rows, m |
| Tall varieties | 4-5 | 6-7 |
| Medium-sized varieties | 4 | 5-6 |
| Low-growing varieties | 3.5-4 | 5 |
| Columnar varieties | 0.4-0.5 | 1.25 |
Soil preparation and drainage layer
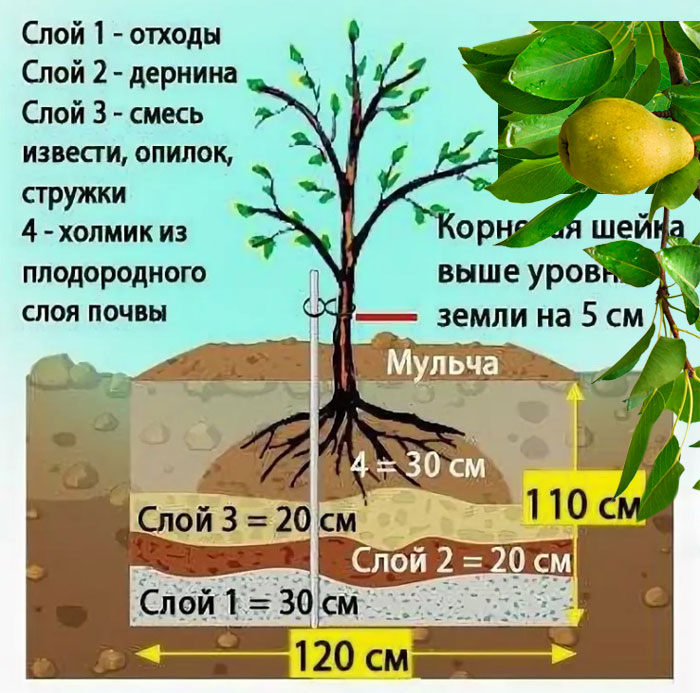
You can place a drainage layer (about 10 cm of broken brick or fine gravel) on the bottom. Lime is best, as it will reduce excess soil acidity.
Nutrient mixture
After laying the drainage, pour the following fertilizer into the hole:
- Fill in the top 20-30 cm of soil that was set aside when digging the hole.
- Add a bucket of humus or compost.
- If the soil is too sandy, add a bucket of non-acidic peat moss. If it's heavy/clayey, add a bucket of sand.
- To provide the plant with sufficient phosphorus, add half a kilogram of bone meal; you can use superphosphate in the same amount.
- For potassium fertilizer, add 4 cups of wood ash, which can be replaced with half the amount of potassium sulfate.
By the way! A bucket = 8-9 kg.
Important to know! When planting pear trees (even in spring), avoid adding nitrogen fertilizers, as they can promote the growth of the above-ground part of the tree and weaken the development of the root system. This is especially true in northern Russia.
Some gardeners advise against using mineral fertilizers when planting, preferring to apply them later as a top dressing. Some believe that plants don't need fertilizer until they begin to bear fruit. However, this doesn't apply to organic fertilizers such as compost, bone meal, and wood ash. Their use is recommended.
Tie the young seedling to a support to help it withstand the wind.
Pear Tree Planting Algorithm: Step-by-Step Instructions
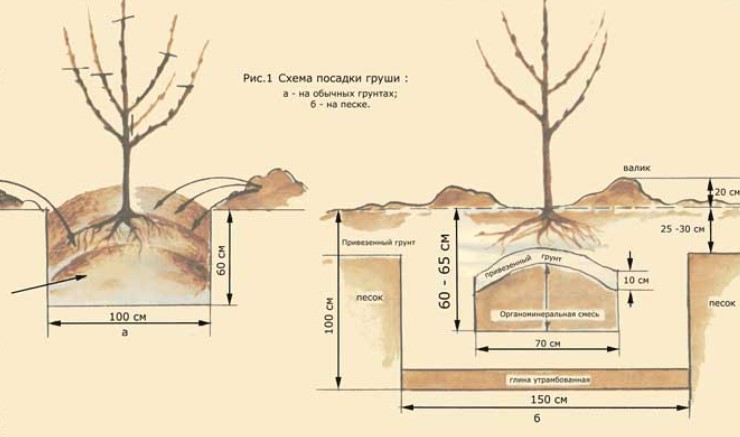
To successfully plant a seedling, several steps must be completed, namely:
- We put fertile soil into the hole, leaving a depression equal to the size of the seedling’s root system.
- Afterwards, water the plants with a small amount of water. However, some gardeners recommend skipping this step and saving the watering for the end of planting.
- When placing a seedling with an open root system, create a mound in the center of the hole to create a cushion for the roots. If the root system is closed, simply plant the seedling in the hole without disturbing the root ball.
- We place the seedling in the center, carefully spreading the roots along the sides of the mound strictly downwards, trying not to bend them upward or to the side.
- If you have a seedling grafted with a bud, the budding site should face north, and the cut site should face south.
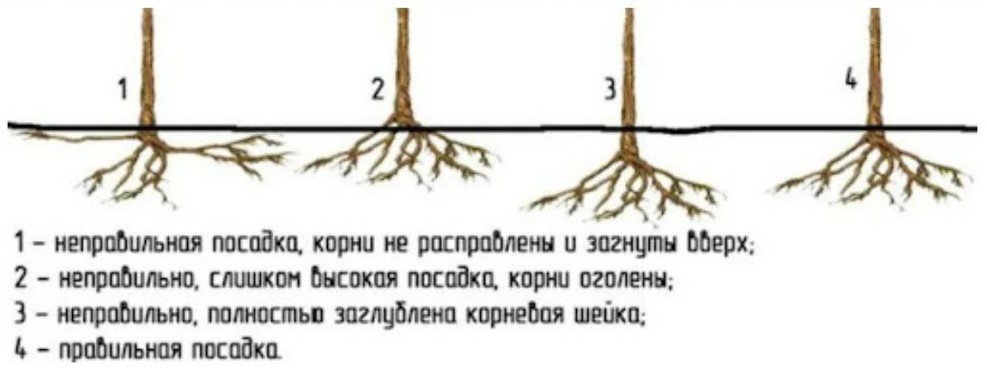
- Cover the seedling with soil, shaking it occasionally to fill all the spaces between the roots. Don't bury the root collar; instead, place it at the surface of the soil or slightly below.
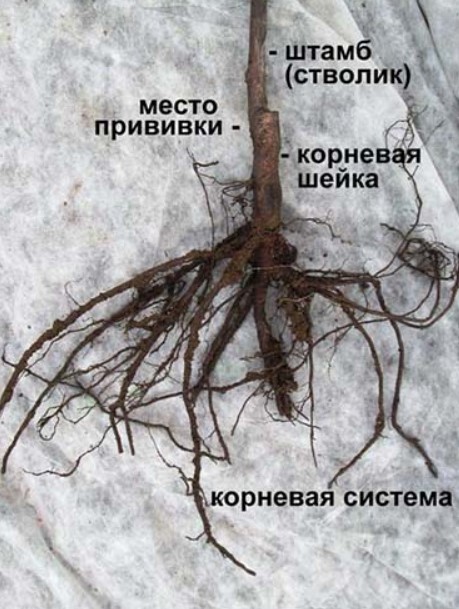
Please note! The root collar should be positioned at ground level, and the grafting site should be slightly above the surface, approximately 4-5 cm.
- We compact the soil evenly around the seedling.
- At a distance of 70 cm in diameter we make a hole 5-10 cm high.
- Pour 2-3 buckets of water into this depression (gradually, wait until it is absorbed and add more).
- We tie the seedling to the prepared support with soft material and secure it in the correct position to prevent it from bending in the wind and damaging the root system. Be careful not to overtighten the fastener to avoid damaging the stem. It is recommended to use soft fabric or rubber bands for tying.
- We level the ridge around the seedling and loosen the soil around the trunk to a depth of no more than 5-10 cm. This will improve oxygen access to the roots and facilitate future fertilization.
- Mulch the soil around the tree trunk with peat, humus, or compost to a depth of 2-3 cm. Mulching will help retain moisture in the soil and prevent the roots from drying out. It will also help protect the plant from weeds and keep the soil cleaner and healthier.
Caring for a pear tree after planting
After planting your pear tree, prune it so that the root system and the aboveground part are at the same level. This will help the seedling adapt to the new conditions and reduce planting stress.
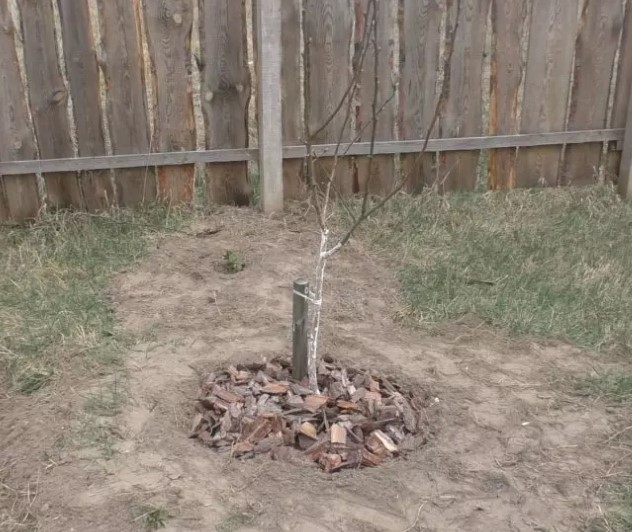
Pruning a pear tree requires careful attention. Cut the main trunk back to 60 cm, making the cut above a healthy bud. If there are already lateral branches, trim them back, leaving two buds each.
Pear trees require watering, especially during dry periods. It's recommended to add 2-3 buckets of water every 1-2 weeks. After each watering, loosen the soil at the base to ensure oxygen reaches the roots. Weeds around the tree's trunk should also be removed.
Is it important to dig a new hole every year or to dig a shallow one to begin with? To avoid water accumulation during the winter and early spring and prevent the root collar from becoming waterlogged and rotting, the hole can be made shallow.
No additional feeding is required for the next 2-3 years; we added everything necessary during planting.
Every fall, pear trees should be whitewashed and inspected for signs of pest or disease attack. Seedlings are most often affected by moniliosis (pear trees turn black and rot on the tree) and scab, and they can also be attacked by aphids. However, with proper care, you can minimize the risk of disease and pests and ensure healthy growth and fruiting.
Table of diseases and pests
| Disease/Pest | Symptoms and description | Treatment and prevention |
| Scab | Yellow-brown spots on the leaves, fruits are irregularly shaped, with black spots visible on them. | Treatment with urea solutions, DNOC, Bordeaux mixture. |
| Fruit rot | At the onset of the disease, brown spots appear on the fruits, then they either fall off or turn black and dry out right on the tree. | Removing rotten fruit from the tree. Then treating with Bordeaux mixture or copper oxychloride. |
| Powdery mildew | Light grey coating on pear. | Spray with Fundazol or Bordeaux mixture three times during the summer. |
| Leaf spot | Brown spots on the leaves, then they begin to fall off (in June). | Treatment with Bordeaux mixture. |
| Ringed silkworm | A bare tree without leaves. | Burning branches containing pest eggs. |
| Leafhopper, gall mite, weevil, leaf roller, codling moth | Spraying with insecticides. | |
Further pruning of the pear tree
The first pruning is done in the spring of the first year after planting. Beginning in the tree's third or fourth year, it's necessary to prune the fat branches and branches growing inward annually.
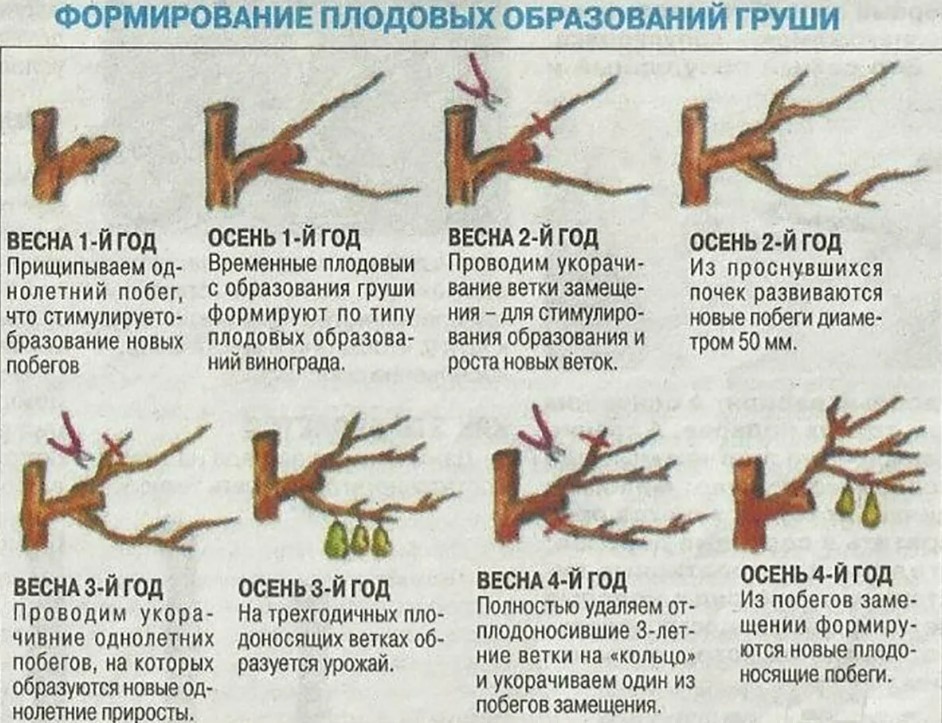
When a pear tree reaches 18-20 years of age, its crown can become crowded and require thinning. This should be done every five years, by pruning branches that branch out laterally. This maintains the tree's health, increases yield, and improves fruit quality.
Methods of pear propagation
Pear trees can be propagated in two ways: vegetatively and by seed. The latter method is used to develop new varieties, but for everyday cultivation, the former is better.
Vegetative propagation involves using root parts, shoots, and buds. This method allows for the preservation of the variety's unique characteristics, an important factor in pear cultivation.
Planting columnar pears + the best varieties
If you want to grow a dwarf (columnar) pear tree in your garden, you should follow standard planting guidelines, but take into account the smaller size of the seedling. For example, it is recommended to plant trees 0.4-0.5 m apart with a 1.25 m spacing between rows.
These varieties will be a wonderful addition to your garden and will also delight you with delicious fruits. Try planting them:
| Variety | Description | Fruiting | Fetus |
|---|---|---|---|
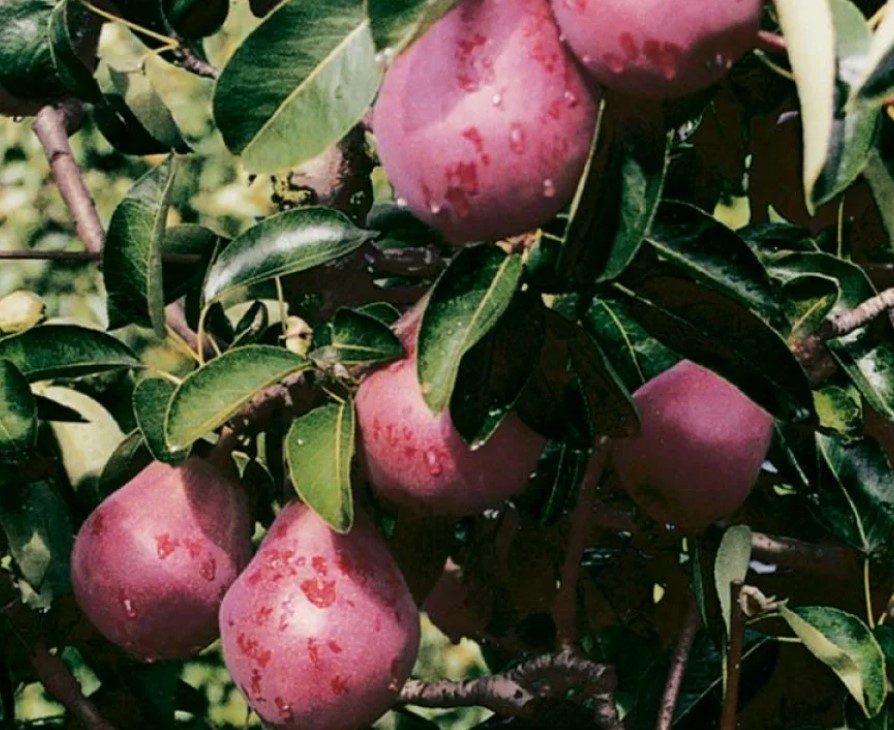
| Carmen
|
Up to 3 m tall. The branches grow straight, the shoots are thick and partially geniculate. The leaves are medium-sized, round-elliptical.
shaped, pointed, and shiny in the sun. The stipules are long and subulate. |
In the second year, from the end of July to mid-August. | Burgundy, 200-250 grams. Juicy, sweet and sour. |
| Honey
|
A frost-hardy variety with a dense trunk and short lateral branches, reaching a height of up to 2 meters. The leaves are oval and curved. The bark of the trunk is dark gray, while the branches are light gray. | In the second year, consistently at 4-5. In August. | 300-500 grams, yellow-green with orange on one side, elongated, sweet. |
| Sunremy
|
A low-growing tree, up to 2 meters tall, with an upright, moderately dense crown. The leaves are ovate, dark green, smooth and glossy, with finely serrated edges. | In the second year. Autumn variety, harvest in October-November. | 400 grams, green-yellow, with a pink blush, sweet and sour and juicy. |
Popular varieties of pears
| Type | Characteristic | Common varieties |
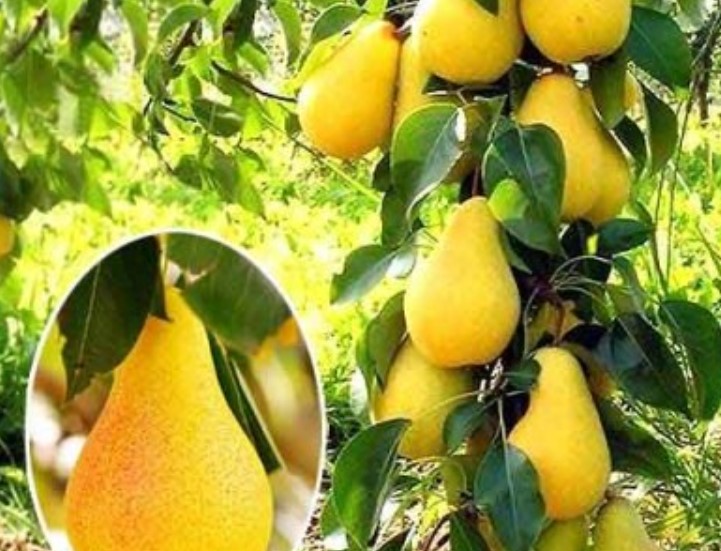
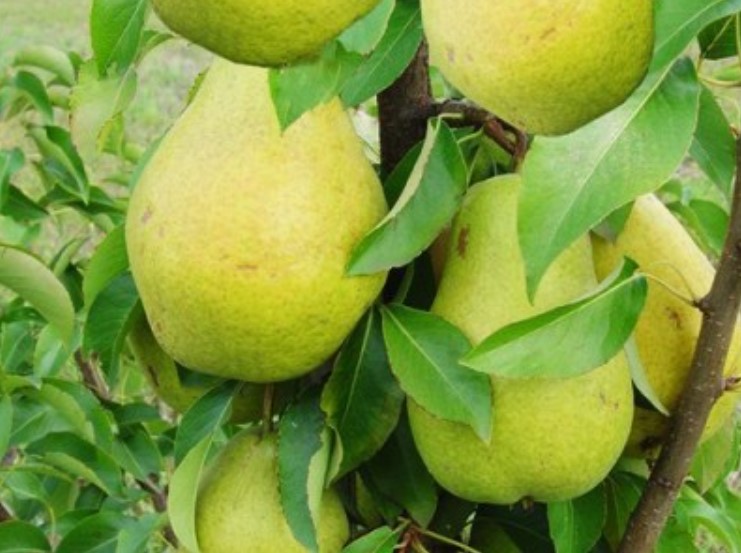
| Summer | They ripen in August and do not store for long (1-2 weeks). | Duchess, Bessemyanka, Lada, Lyubimitsa Klappa, Vidnaya, Rogneda, and Pribaltiyskaya Maslyasnaya. Lyubimitsa Klappa and Vidnaya are resistant to low temperatures and drought. |
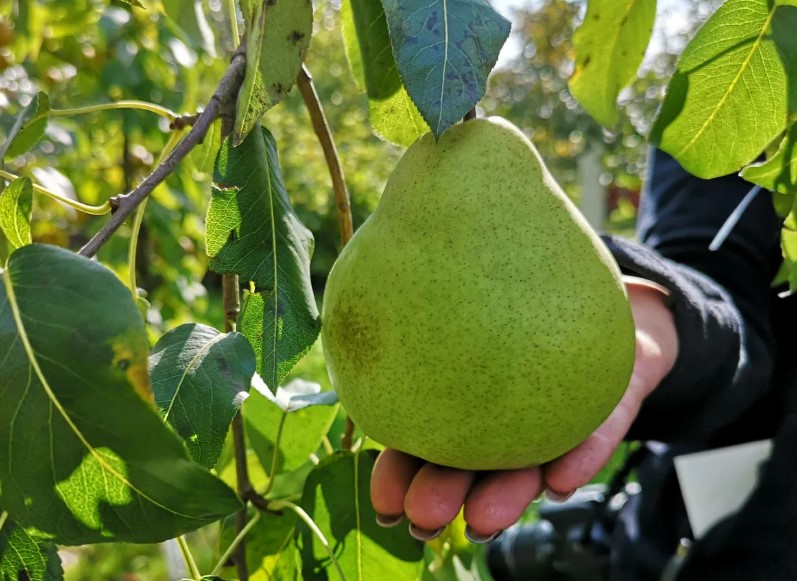
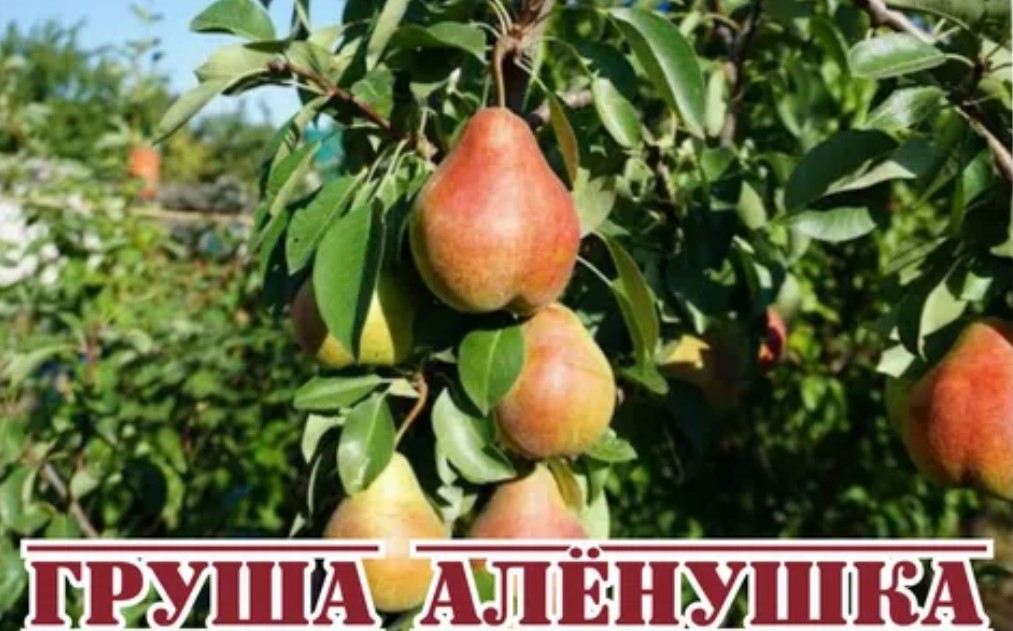
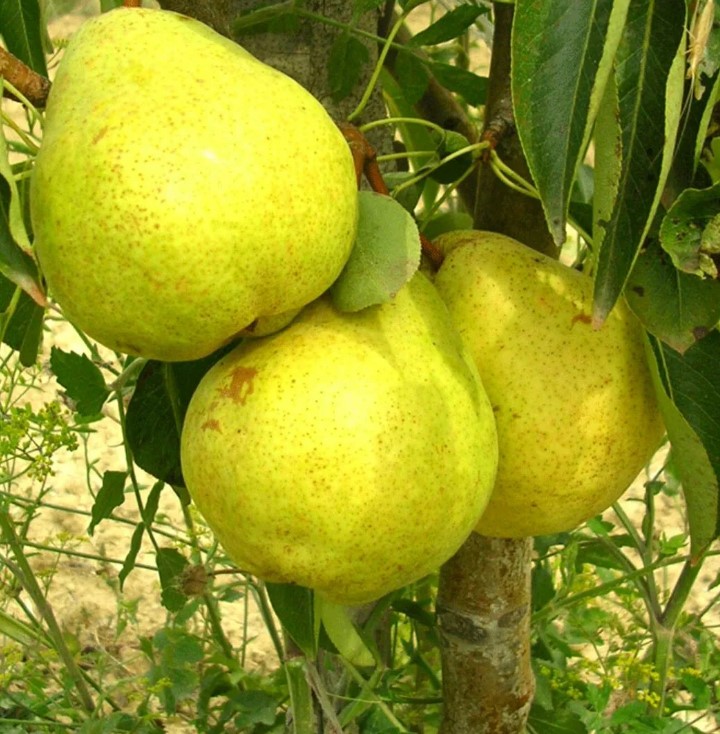
| Autumn | They ripen towards the end of September and can be stored in a cellar or other cool, dark place for about a month. All varieties are highly productive. | Michurinskaya beauty, Yakovlev's favorite, Krasnobokaya, Mramornaya, Otradnenskaya, Naryadnaya Efimova, Bere Moskovskaya, Leningradskaya, Moskvichka. |
| Winter | They ripen in late October to early November. The later you pick them, the tastier the pears will be. Store in a cool, dark place until January or February. |
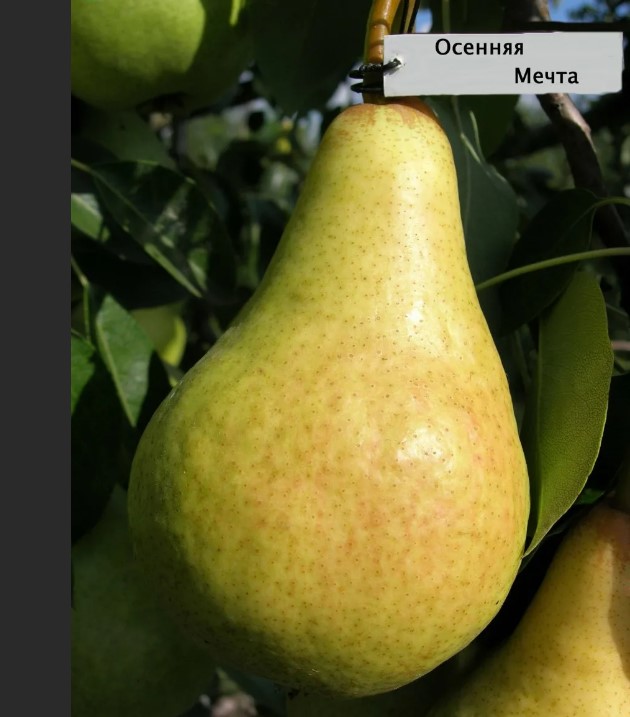
Bere winter, Cheremshina, Bergamot Esperen, Zolotovorotskaya, Alyonushka, Autumn Dream, Kucheryanka, Exhibition. The Michurinsky variety Bere Winter is distinguished by the highest yield of up to 200 kg per tree. |
Photo gallery of popular summer pear varieties
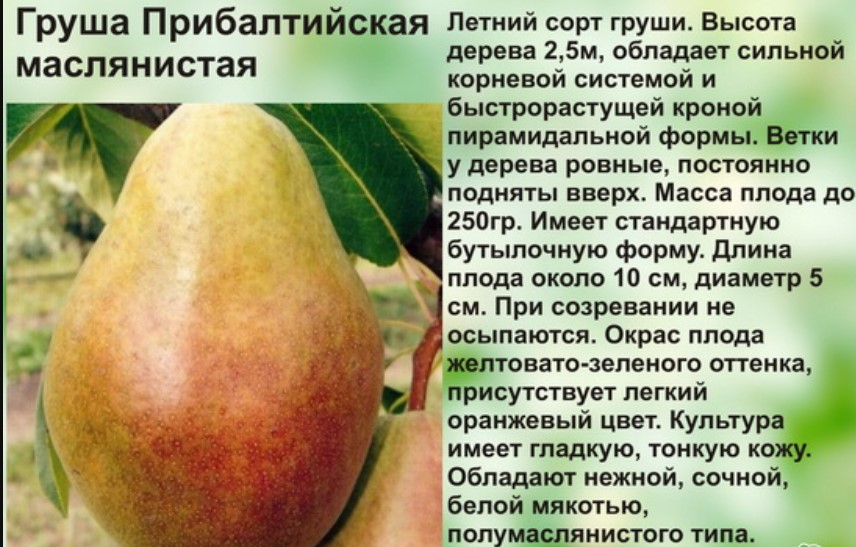
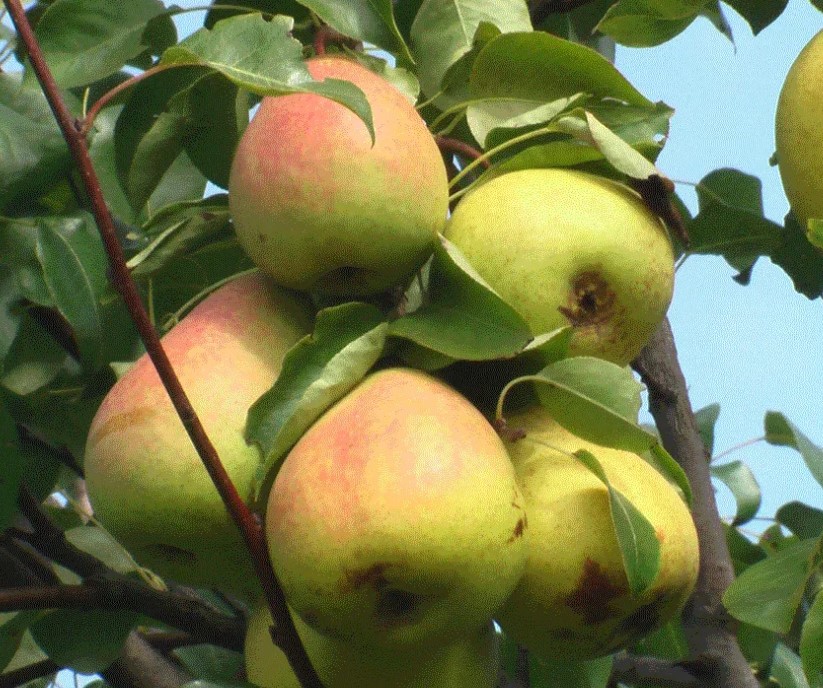
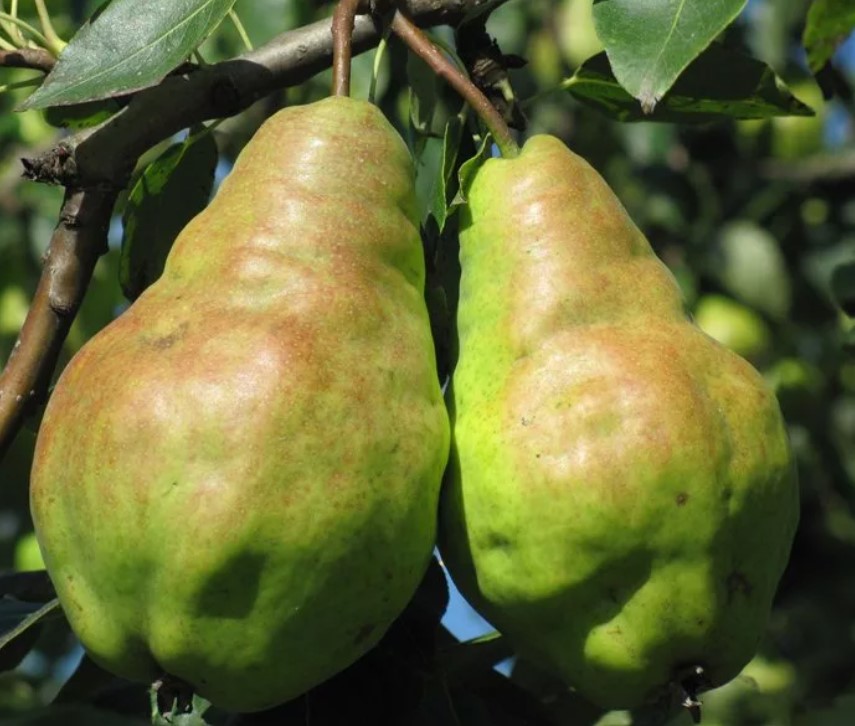
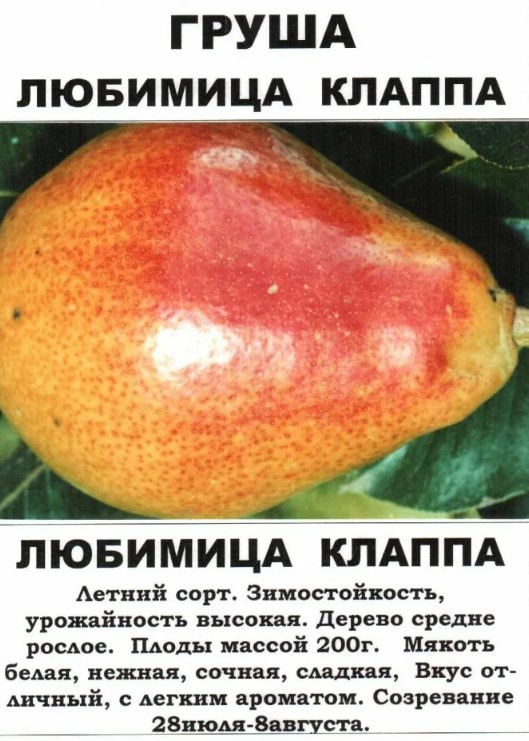
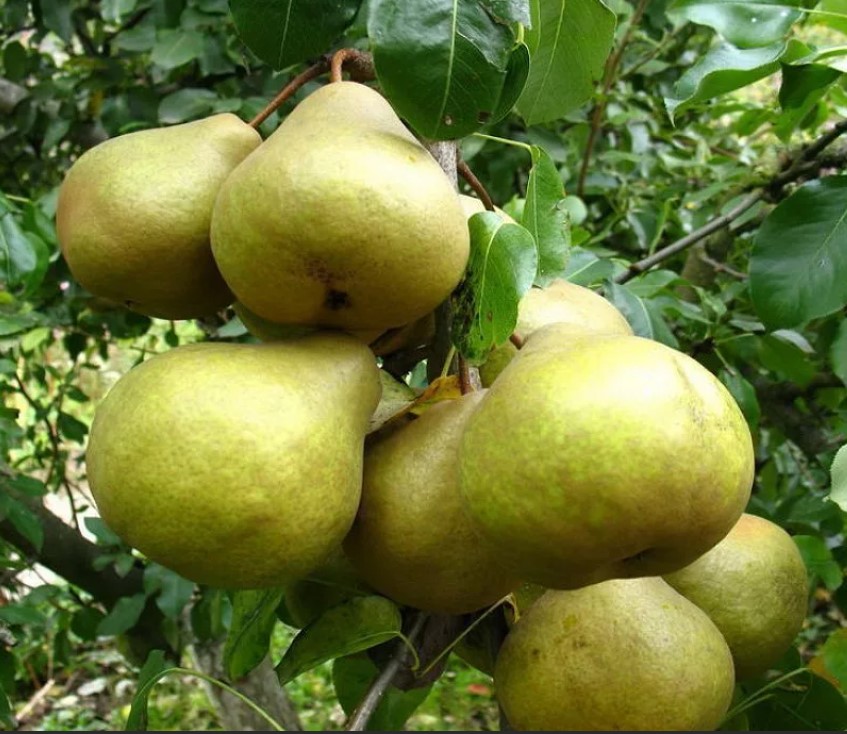
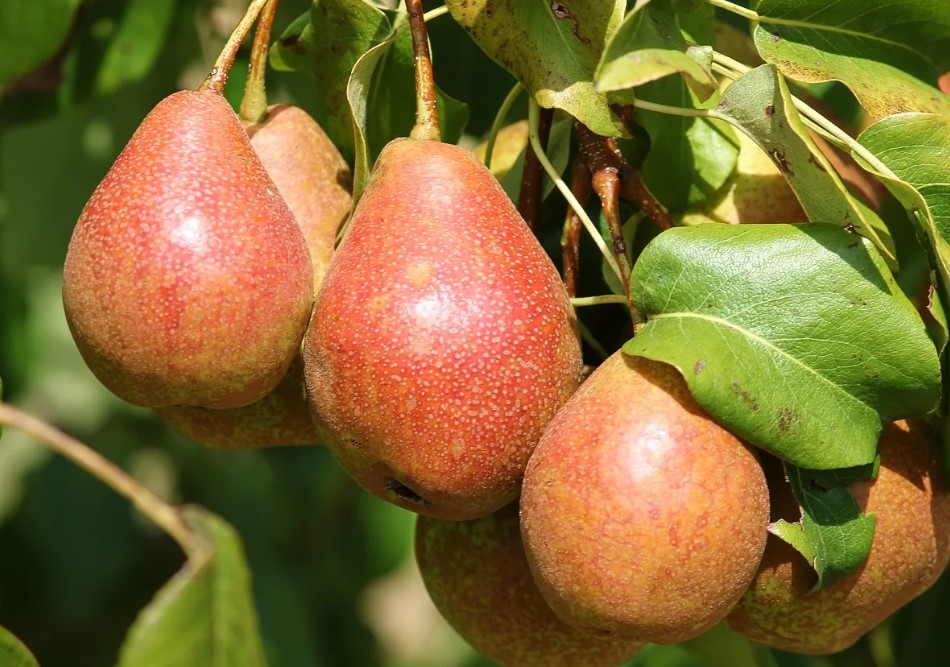
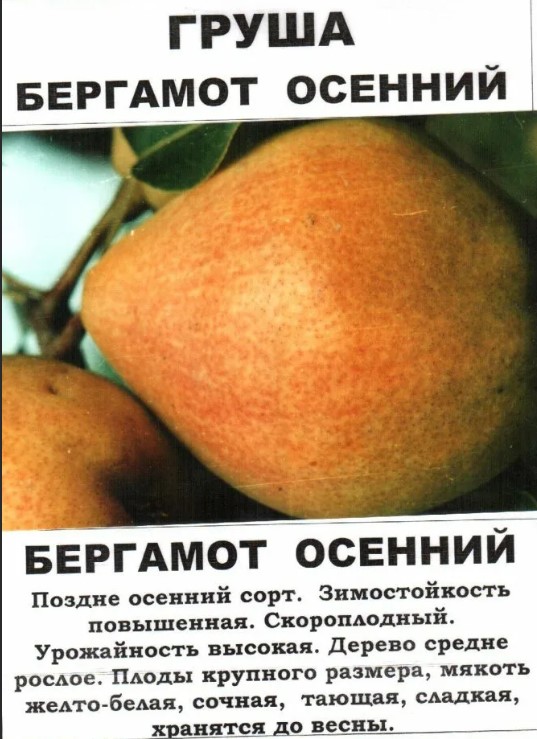
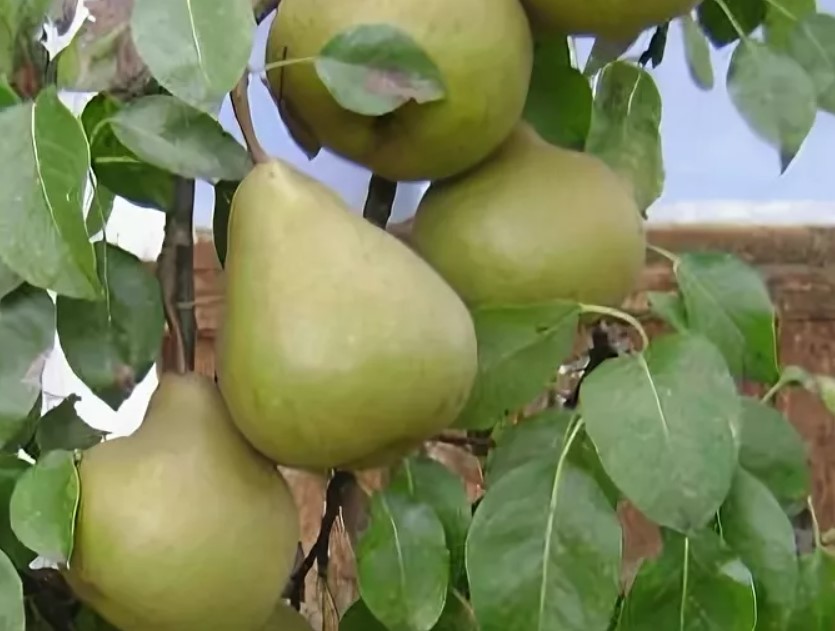
Photo gallery of popular autumn pear varieties
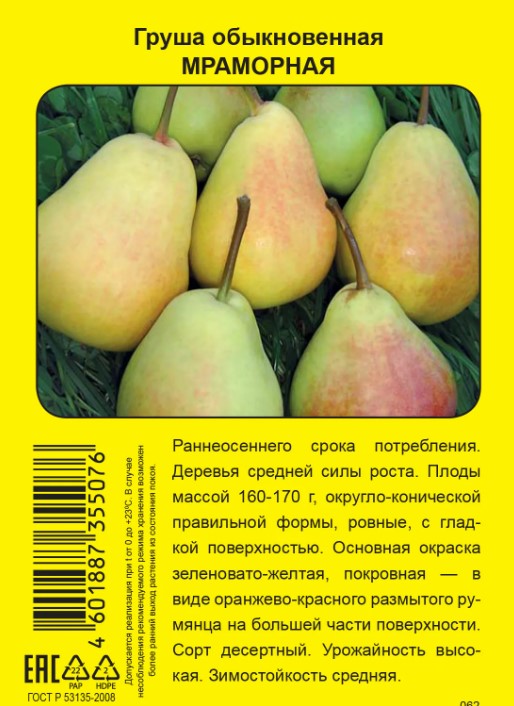
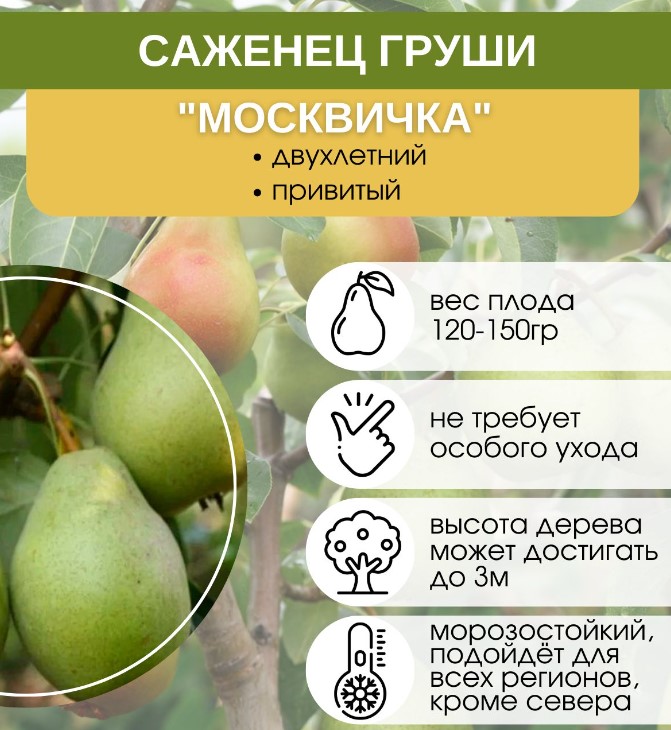
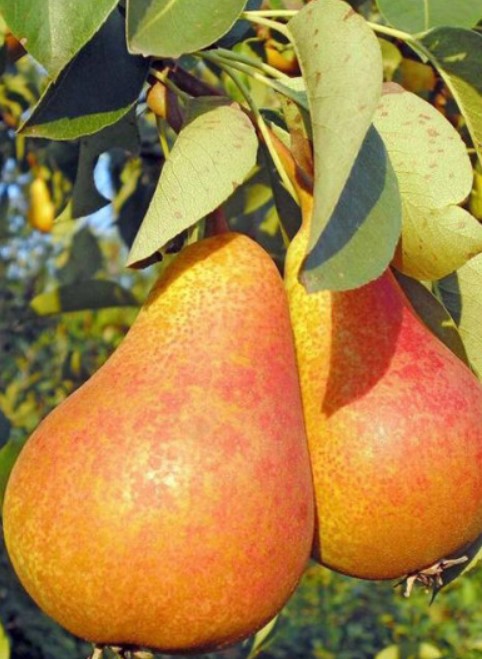
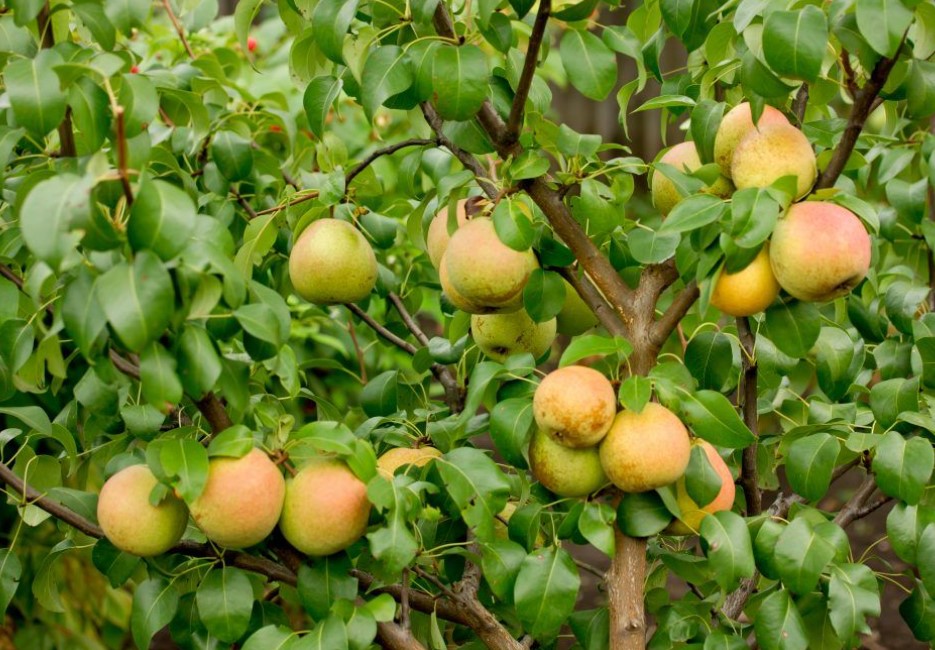
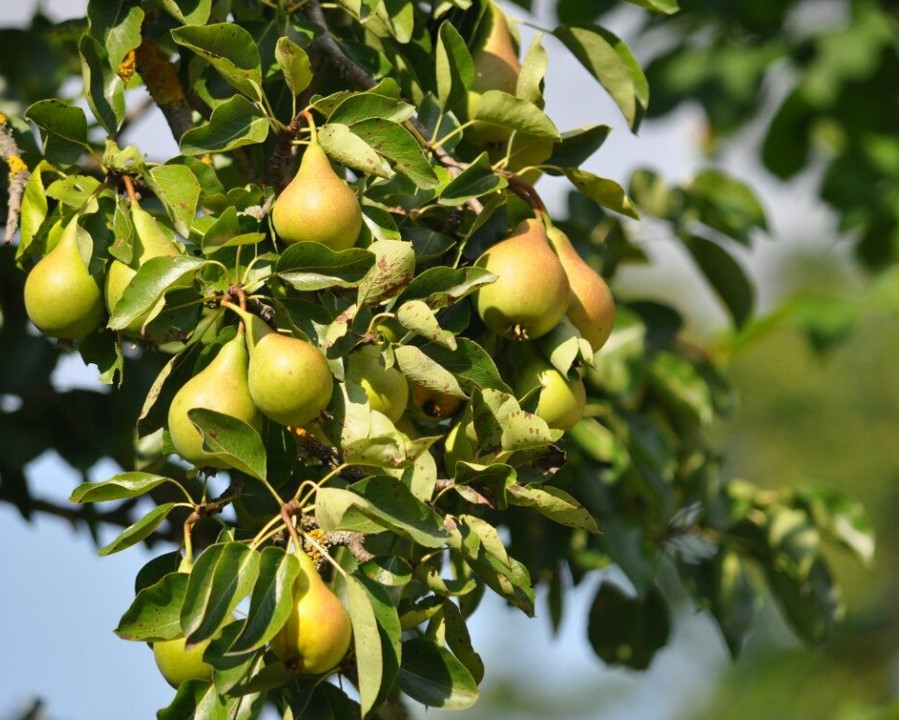
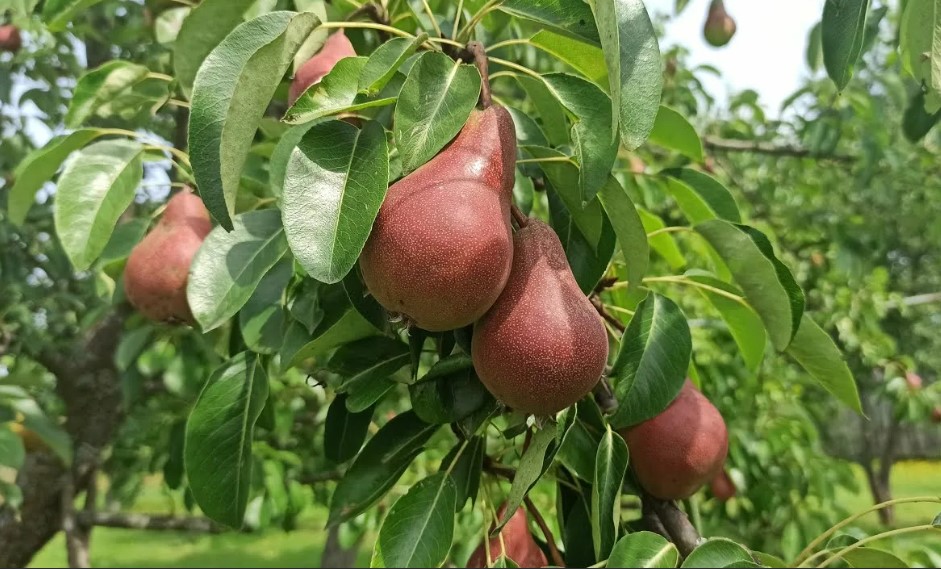
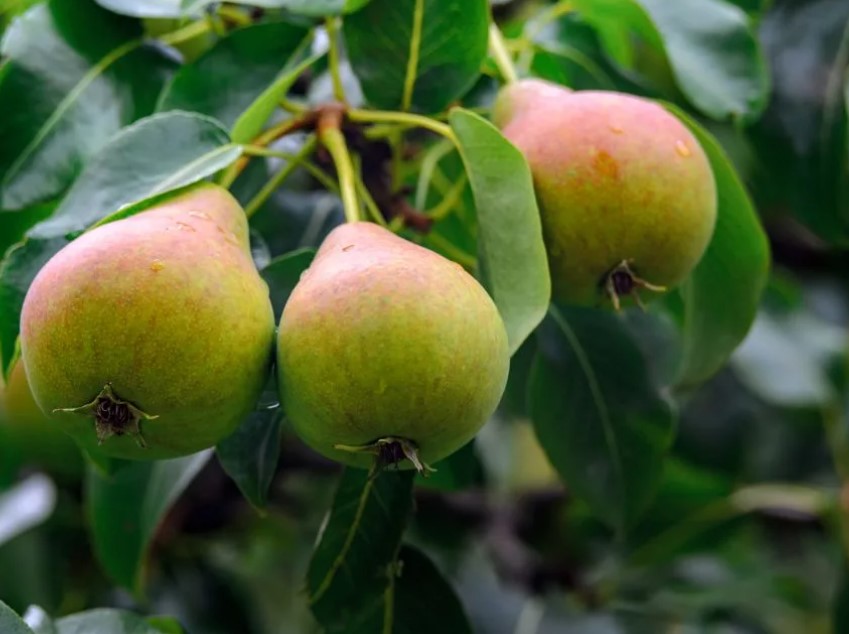
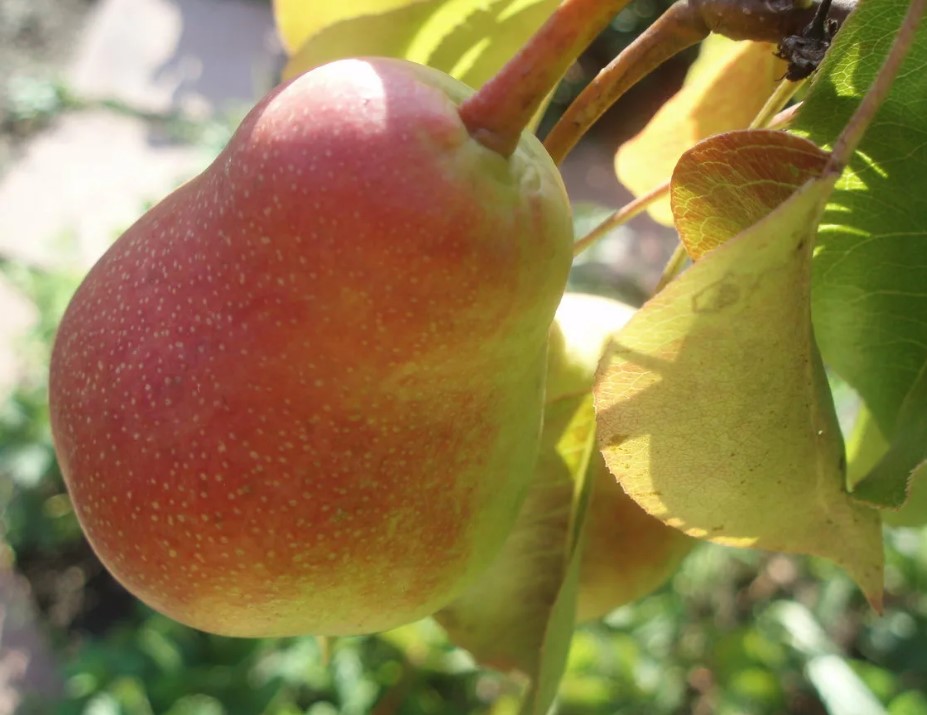
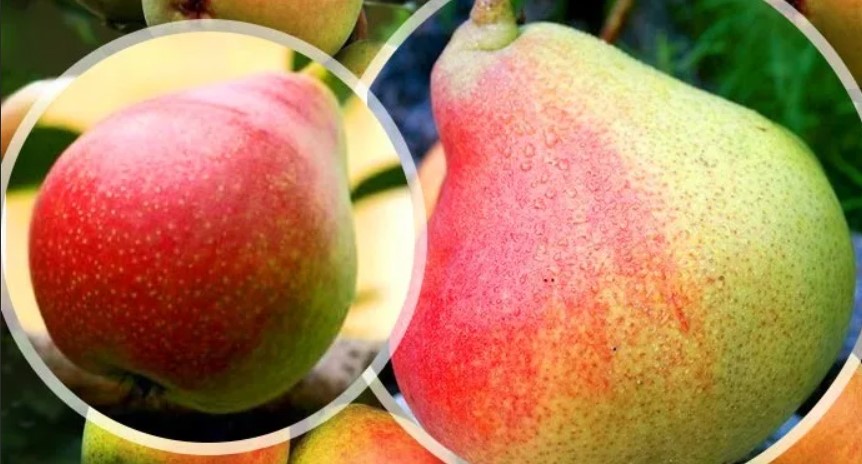
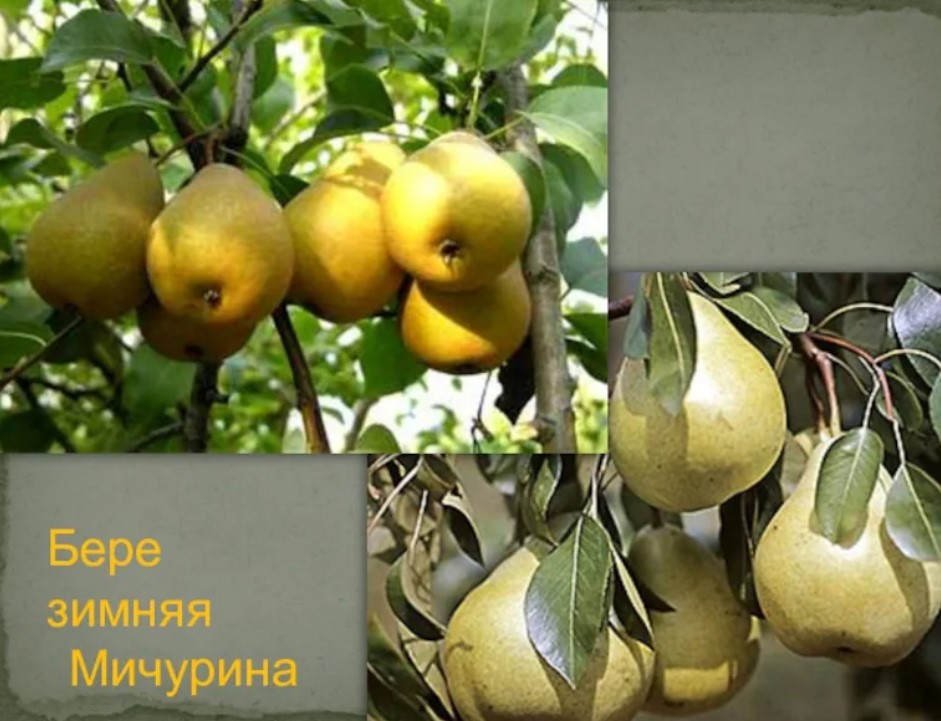
Photo gallery of popular winter pear varieties
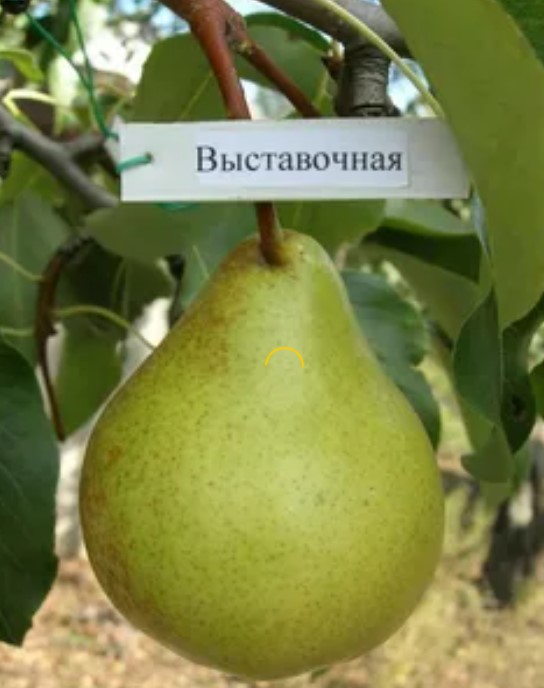
Reviews of pear planting and other gardening tips from gardeners
I want to plant two pear trees: Lada and Chizhovskaya. Are they ready to plant yet? What should I look for when buying them? Where is the best place to buy them? And how should I plant them? Dacha (country house) is 60 km along Yaroslavl Highway.
First of all, you need to create flowerbeds for them. They will thrive in flowerbeds and will quickly grow into a good, strong tree.
Each flowerbed should be filled with 4-5 large wheelbarrows of manure or humus.
In the best interests of the project, it's best to postpone planting until spring 2008. Please send me your email address. I'll send you some instructions on how to create a flowerbed, including a sketch. You can easily create high-quality flowerbeds this summer, select seedlings in November or December, and plant them in April 2008.
Regarding varieties, Chizhovskaya is a wonderful variety. Lada is also excellent, but if left too long, the fruits become potato-like. Therefore, it's better to turn your attention to Kafedralnaya.
People...So, really, it won't be possible to plant pears this spring?
Has anyone planted in the spring without preparing the hole in the fall?
It'll work. It's time to plant, but it won't be too late in a month. It's not a big deal if you didn't prepare the hole. They might throw slippers at me, but I never prepare the hole. Not out of principle, but simply because it happens, and everything grows well. The hole is prepared in advance to allow the soil to settle, so if you didn't dig ahead, you just need to allow for it. For example, the root collar should be 20 cm above ground level when planting. The soil will settle and everything will be fine. Moreover, if it settles less than 20 cm, it's no big deal, but if the root collar settles even a cm below ground level, the pear tree will die sooner or later. So, it's better to be safe than sorry.
We're not talking about the grafting site, but the root collar. This is where the first roots emerge from the trunk. Sometimes, the grafting itself is done directly into the root collar, and in this case, the two lines are aligned, but this is rare.
The root collar is a very vulnerable part of a tree because it's the boundary between two areas. Roots, by definition, are in a moist environment, while the trunk needs to dry out periodically, exposed to both sun and wind. The boundary, however, is neither here nor there and is the first to suffer from natural disasters, particularly from excess moisture. If the root collar rots, that's the end of the tree.
You need to buy them in the green cuttings department on Pasechnaya Street. Just make sure you do it there, not on the approach to it. The entire road there is jammed with all sorts of vendors, and you have to fight your way through them to get to that department.
You can also get it from SADKO, they also have good reviews and, most importantly, it’s on your way.
At the top of the page there is a topic “where to buy” with all the coordinates there.
Yes, you can do it now. I always dug holes right before planting and planted them right away. The spring survival rate is 100%. But... I did plant in flowerbeds. The filled hole (with humus, good soil, I use Kemera as a fertilizer) needs to be watered very well, and then the flowerbed is made on top. During the summer, I add grass clippings and a little soil to the flowerbed, even if the soil is poor, even clay. When mixed with grass, by the following spring, you have natural humus. This lays the groundwork for the tree's growth next year. The main thing is the height of the flowerbed. The higher the better, since a freshly dug hole will settle significantly by winter. I try to make the highest point 40-50 cm above ground level. The only drawback with this approach is the greater consumption of soil than if you dig the hole in the fall.
And the Cathedral is better than the Lada; it's actually an improved Lada, Lyubitel is right about that. I have the same setup: the Chizhovskaya and the Cathedral.
The root collar is the point where the roots merge with the trunk. It has nothing to do with the graft (usually placed higher up). If the root collar is below ground level, the tree will become generally stunted.
kisik
Which are better, 2- or 3-year-olds? How deep should I dig the hole? What can I use instead of compost?
- The younger the better. Ideally, one-year-olds have a 100% survival rate, but two-year-olds are a good compromise. These are usually the ones planted. Three-year-olds are also possible, but the soil conditions must be high. Soil conditions are a combination of soil quality and cultivation, as well as general plant care.
- The hole depth depends on the planting method and the location. For flowerbeds, for example, it's not very deep. Some people recommend only loosening the top layer. But then you'd need a ton of soil for the flowerbed itself. Honestly, I don't know; I haven't tried it. I dig 1.5 spade-widths deep, which is about 30-40 cm. I also loosen the bottom about a spade-width deep. The hole should be up to 1 meter in diameter. I make the flowerbed about 1.5 meters in diameter and 40-50 cm high. Because, as I said, I plant in the spring. This takes into account shrinkage. The total depth comes out to just 70-80 cm, which is the usual depth for a typical hole.
Incidentally, another advantage of a flowerbed concerns the root collar. Even if the collar is buried deep, you can always safely remove some soil. However, if the tree was already planted at ground level and then sank, this is almost impossible.
- I do add humus to the hole itself. At least 2-3 buckets. Better yet, fill it to ground level. I water it very well, until it's like a swamp. But I can, as I have sandy loam soil, and if it's clay, I can use less water. And I make the flowerbed itself from the topsoil I took out of the hole. Even if the soil isn't very good, it's no big deal, since in the first half of summer I sprinkle freshly mown grass over everything and lightly dig it with a pitchfork (just mixing it in with the topsoil). I also regularly transfer unused worms from fishing to these flowerbeds.
Here is the future humus.