Asparagus is a perennial vegetable that's easy to grow for even the beginning gardener. This easy-to-grow crop is so beneficial that it was once often served to royalty, earning it the nickname "royal vegetable." Caring for it requires no special skills, meaning any gardener can grow it successfully.
Content
Agricultural technology for growing asparagus
There are 100 known varieties of this plant, each with distinct flavors and appearance. Common asparagus is the most popular. It grows easily and has a pleasant taste. A single bush can bear fruit for up to 20 years, and each root produces up to 50 edible shoots. The plant also produces inedible red berries.
Adult asparagus (as asparagus is also called) reaches a height of 1.5 meters and is completely resistant to Russian frosts, which adds to its popularity.
The edible parts contain a wealth of beneficial substances, such as iron, calcium, ascorbic acid, copper, phosphorus, sodium, beta-carotene, and other trace elements. All of these vitamins are undoubtedly essential for the human body.
Like other crops, asparagus is grown using two methods: planting in the ground and sowing seedlings. For those trying to grow this royal vegetable for the first time, planting in the ground is recommended. This approach makes care easier. It's important to use high-quality planting material and purchase it from a reputable supplier. You can also ask an experienced gardener for advice.
Sowing seedlings is a complex and labor-intensive process. These vegetables are said to have a strong immune system and easily withstand cold and other climatic conditions. When starting to grow asparagus, it's important to remember that the first harvest will only appear on the table after 3-4 years. Once established, the vegetable requires little care, so many gardeners happily plant it in their plots.
Growing asparagus from seed
You can speed up the process a bit by preparing the seeds in advance. Soak them in warm water for 7 days, changing the water daily. Before planting, it's a good idea to rinse the seeds with a weak solution of potassium permanganate.
The treated and swollen seeds are laid out on a damp cloth and wait for sprouts. Once the green shoots reach 1-3 mm in height, the seeds are transferred to a box or separate containers.
The plant takes a long time to emerge after planting, so don't worry too much. The first shoots may appear 3-6 weeks after sowing.
Sowing seeds
Growing from seed is considered difficult due to its poor germination rate, but this is a misconception. With proper preparation, asparagus germinates well and difficulties are extremely rare.
In the second half of April, prepare a soil mixture for sowing, mixing the following components: peat, manure, sand, and soil in a ratio of 1:1:1:2. At the same time, begin preparing the seeds (the technology is described above).
The prepared seedlings are arranged in rows in a box. The distance between the holes is preferably 5-10 cm. Do not add water to the hole; instead, place the pre-soaked and sprouted seeds and cover with soil. Spray the area with a spray bottle and cover with plastic or glass, creating a greenhouse effect. This is not necessary, but it helps the plants emerge and grow stronger faster. Regularly moisten the soil with the seeds. Remove the covering when the first shoots emerge. It is important to maintain the air temperature at 26°C.
How to dive correctly
Pricking out asparagus is necessary when sowing in a box or other seedling container. This procedure is not necessary when planting sprouted seeds in the ground.
Once the plants have grown, they are often transferred to a raised bed or larger container when they reach 10-15 cm in height. Each plant should be spaced 10 cm apart. When transplanting, trim the asparagus roots slightly, as they grow extensively beneath the soil surface.
A few days after transplanting, the vegetables are fed with a general-purpose mineral fertilizer. A week later, preparations for planting begin. The asparagus is hardened off by briefly placing it outside, gradually increasing its exposure time.
Growing at home
Asparagus is known to houseplant enthusiasts as asparagus. This is the only form of the plant that can be grown indoors. Its extensive root system prevents it from fully developing in cramped conditions.
Potted plants do not produce edible shoots and are used for decorative purposes.
Planting asparagus in open ground
To grow asparagus outdoors, you need to find a suitable location. The vegetable loves light, so sunny spots protected from wind and drafts are ideal. It's important to consider the plant's roots' sensitivity to overwatering, so the plant is raised slightly above the bed, leaving depressions between the rows. Asparagus thrives near walls or fences.
Planting in open ground involves a number of preparatory works that need to be completed in advance.
The soil is dug up and cleared of weeds, debris, and small stones. The selected area is fertilized with organic matter at a rate of 50 kg of humus per square meter.
Planting dates
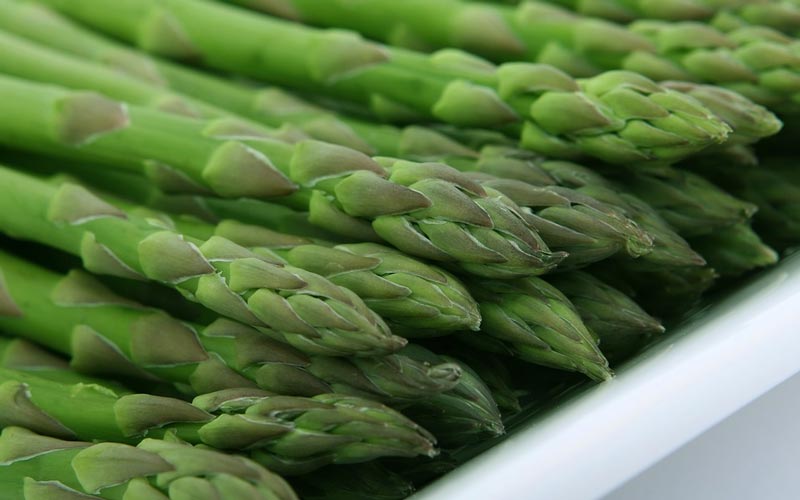
Prepared seedlings or seeds are planted at the same time each year. Planting occurs in spring or fall in a prepared, fertilized, and well-heated plot. The vegetable is planted in May or September, depending on the gardener's preference; there's no fundamental difference. The main thing is that the soil is warm enough.
Open ground planting technology
Planting seeds or seedlings in the ground is virtually the same. The only difference is that once the plants are fully grown, there's no need to replant, transplant, or perform other care for young shoots, as described above. The growing method has little impact on the plant's growth and development; in any case, the first harvest will take at least three years to appear.
Regardless of the method, large distances are maintained between plants. When planting seeds, the seedlings are not planted too deeply (1-2 cm) and greenhouse conditions are created by covering the crops with plastic film and lightly spraying with water.
Seedlings are planted seasonally with slight differences.
Spring planting
When planting in May, prepare the plants in advance and transplant them to the ground before buds begin to grow. Since asparagus roots grow extensively, dig a hole 30 cm deep and carefully lay the root system lengthwise into it. Leave at least 0.5 meters between plants. The average row spacing is 30 cm, but if there's space, a little more can be used to prevent the roots from getting tangled. After planting, water the plants thoroughly and cover them with dry soil to prevent a crust from forming.
Autumn planting
The only differences from spring planting are the choice of soil fertilizers and the rooting depth. A mixture of superphosphate, potassium sulfate, and ammonium sulfate is used for soil nutrition in a ratio of 1:1:2:1:3 per square meter of planting area. The chemicals are added, and the soil is thoroughly dug and loosened.
Winter planting is more shallow. The distances between rows and plants are identical, but don't plant 30 cm deep; 10-15 cm is sufficient. Create a mound above the asparagus to protect it from frost.
Caring for asparagus in open ground
For any plant, care includes such components as suitable soil, proper watering, and timely fertilization. Knowing the preferences of a particular plant allows gardeners to reap a bountiful harvest with minimal effort. Asparagus is an easy-to-grow vegetable known for its frost resistance.
Priming
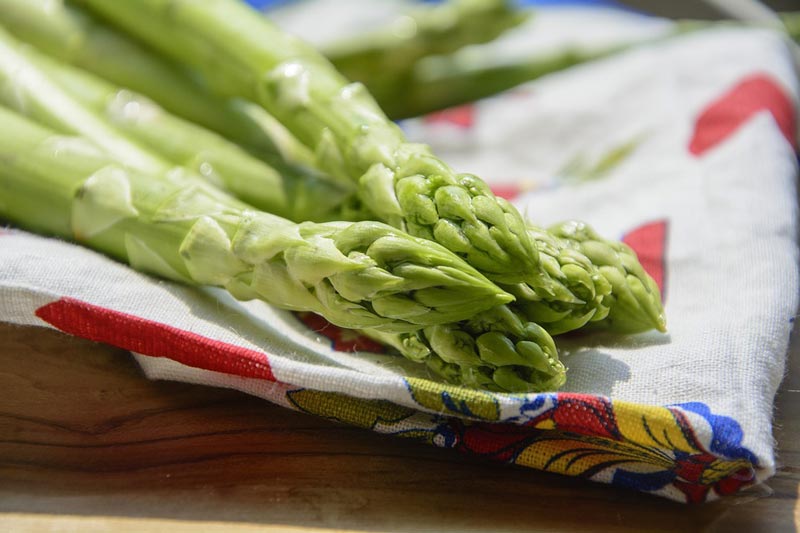
The crop is rich in vitamins and substances beneficial to humans, so the soil for planting should be appropriate, nutritious sandy loam.
For spring planting, prepare the plot in the fall. After clearing the area of dead plants and grass, dig deeply, burying the shovel to a depth of 0.5 meters. At the same time, add fertilizer and compost at a rate of 15-20 kg per square meter. Chemicals include 70 g of superphosphate and 40 g of potassium sulfate per square meter. Once the snow melts, harrow the soil and add 60 g of ash and 20 g of ammonium nitrate.
Watering
Immediately after planting, during the adaptation period, asparagus should be watered frequently. For two weeks, water the plant frequently and thoroughly, gradually reducing the amount of water. Once the asparagus has established itself, reduce watering to once a week. During dry periods, water daily. The soil in the area where the vegetable is planted should always be slightly moist. Failure to do so can result in fibrous shoots with a bitter taste.
Fertilizer
If asparagus was planted without prior preparation, nutrients should be added after the first weeding. To do this, mix slurry with water in a ratio of 1:6. A little later, after about three weeks, feed the bushes with a solution of bird droppings and water in a ratio of 1:10. Before preparing the plant for winter, fertilize it one last time using a ready-made mineral complex.
If the soil was prepared in advance, then no additional feeding is needed in the first year after planting.
Forcing asparagus in winter
During cold weather, we especially crave vitamins and greens. A healthy vegetable like asparagus is a welcome addition in early spring or winter. There's a method for growing the plant in a greenhouse. To do this, dig up the roots of mature plants (5-6 years old) in the fall and place them in a cool place, such as a cellar. The temperature should be maintained at 2°C.
In the first days of winter, the roots are planted in a greenhouse, quite closely, with up to 20 plants per square meter. The bed is covered with compost and covered with plastic. The temperature is maintained at 10°C, and after about a week, it is raised again to 18°C. The temperature is maintained constant throughout the ripening period.
Water the plants frequently, but sparingly. Immediately after watering, loosen the top layer of soil around the trunk.
Diseases and pests of asparagus
Asparagus is a robust plant with a strong immune system. It's rarely susceptible to disease, and with proper prevention, pests avoid it. Beginner gardeners sometimes encounter problems, so let's take a closer look.
|
Problem |
Manifestation |
Elimination measures |
| Rust (fungal infection) | Stops plant development and slows down the emergence of shoots. |
For treatment and prevention, medications are used. Topsin M, Topaz, Fitosporin. |
| Fusarium (root rot) | The bush slowly withers and dies as a result of overwatering. | |
| Rhizoctonia | The disease appears when carrots are grown in close proximity. It rarely affects asparagus. | |
| Leaf beetle | A small beetle eating a plant. | As a protection, spray with Karbofos, a preparation safe for vegetables. |
| Fly | A type of insect that eats holes in young asparagus shoots. | |
| Slugs | Dangerous for the entire bush. |
Top.tomathouse.com informs: harvesting and storing asparagus
The first harvest is collected in the third or fourth year. If the fertilizing and care conditions are correct, the asparagus will produce a good crop. However, don't rush and cut too many shoots; it's recommended to take no more than eight from a rhizome the first time. Harvest gradually, several stems at a time, from May to June. The remaining shoots are left to develop the bush. Mature asparagus plants produce up to 30 shoots per season.
It is absolutely forbidden to cut off all young shoots, otherwise the bush will die.
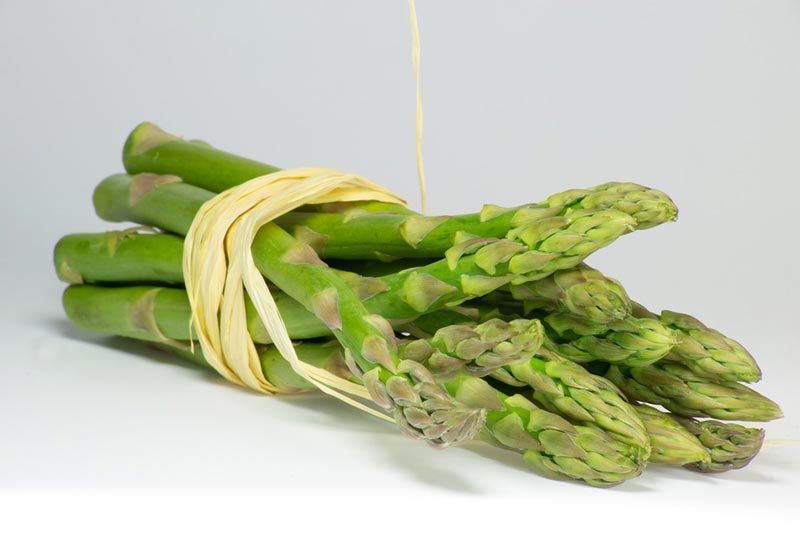
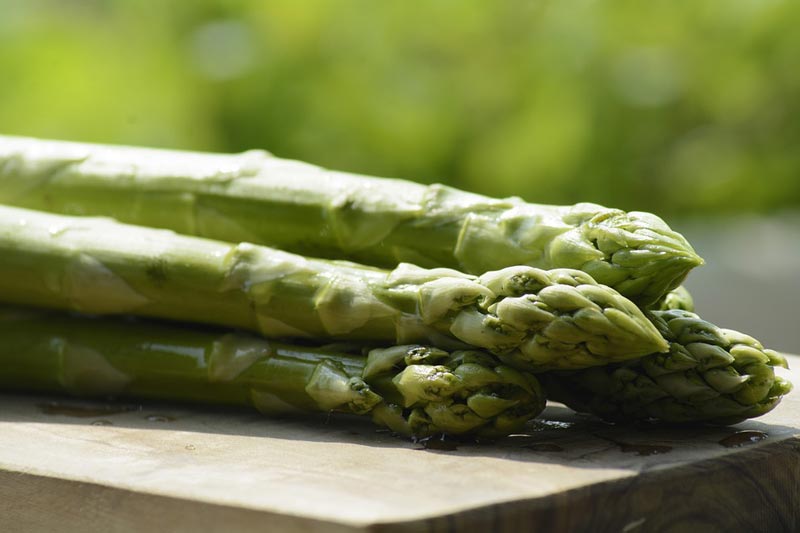
The sprouts ready for eating reach 20 cm in height, the buds should not open on them; as soon as the first needles appear, the stem becomes hard.
Fresh asparagus can be eaten immediately or preserved at home. Some people freeze it, which causes it to lose some of its vitamins and flavor, but many of its beneficial properties remain.
Since asparagus is almost entirely water, it's impossible to store it for more than two hours. It loses moisture and becomes hard. If you plan to process it further, you can store the spears in the refrigerator or freezer, where they will stay fresh for up to a month.