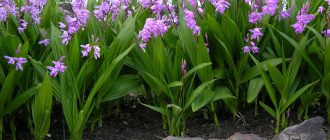
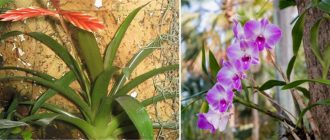
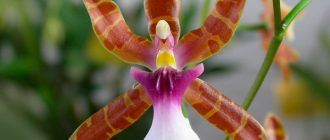
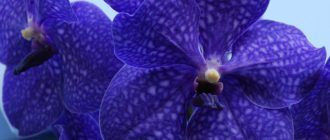
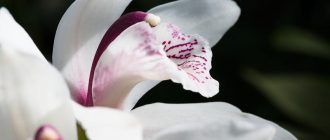
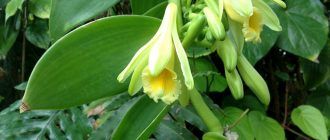
Dendrobium nobile, or Dendrobium nobile, is an ornamental plant in the orchid family. It grows naturally in the mountain forests of South and Southeast Asia, primarily in India, Indonesia, China, and Thailand. Florists prize it for its graceful beauty and exquisite fragrance.
Content
Description of Dendrobium nobile
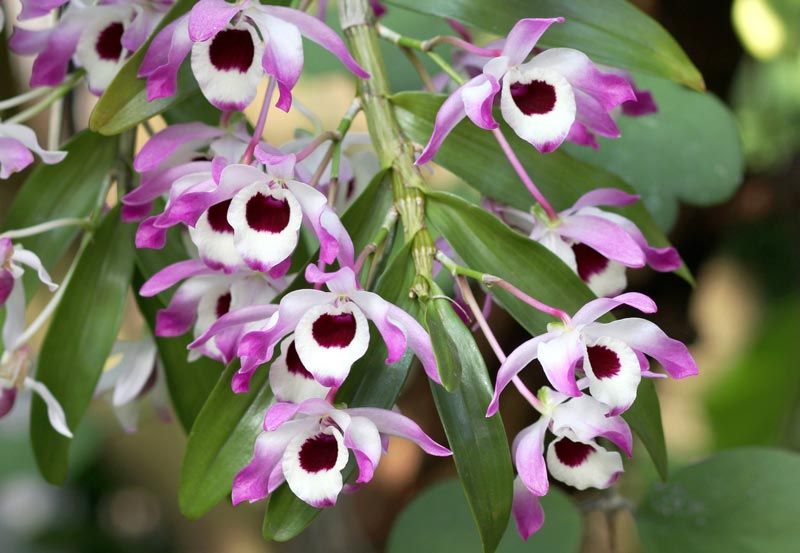
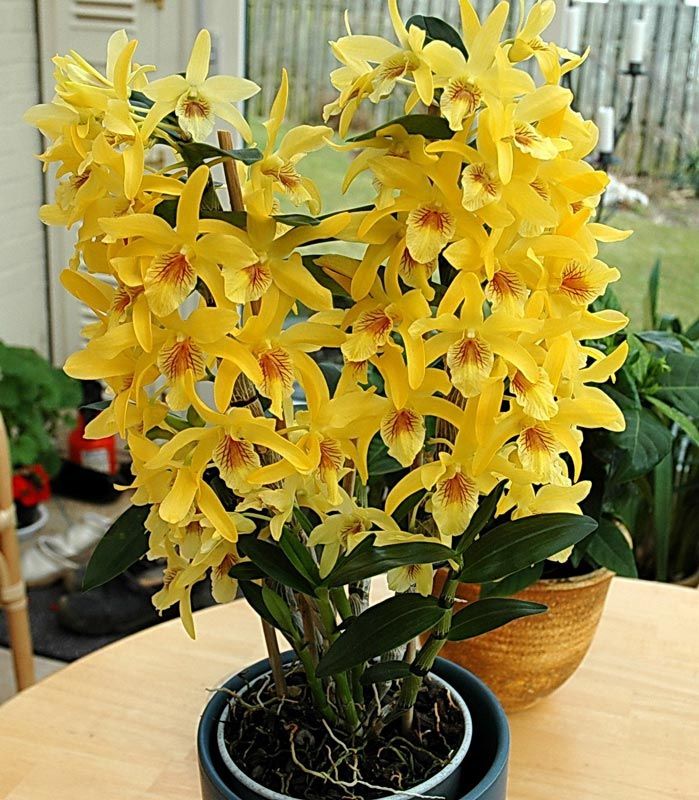
The dendrobium bush grows up to 60 cm, consisting of a pseudobulb (a thick, fleshy stem containing a large reserve of water and nutrients) with large, elongated leaves at the top. Flower stalks are located between them along the entire length of the stem. The flowers are usually large and vibrant, white or in various shades of pink, red, and purple.
Caring for a Dendrobium Nobile Orchid at Home
Compared to other indoor orchids, this species is relatively easy to care for and maintain, but it remains a rather fussy plant. It blooms only when all the rules are strictly followed.
| Requirement | Favorable conditions | Unfavorable conditions |
| Place | A southeast or southwest-facing windowsill. A well-ventilated area. | North-facing windows. Dark corners. Cold drafts. |
| Lighting | Bright, diffused light 10-12 hours per day. Use of phytolamps during short daylight periods. | Direct sunlight (leads to burns). Lack of daylight. Changing the direction of lighting (during the flowering period, this leads to the shedding of flower stalks). |
| Temperature | The difference between day and night air temperatures.
|
Any deviations from the specified temperature regime. |
| Humidity | Not less than 60%. Frequent spraying. Wiping the leaves with a damp cloth up to 3 times a day. | Keeping plants near radiators. Avoiding large drops of water falling on buds and into leaf axils. |
Landing
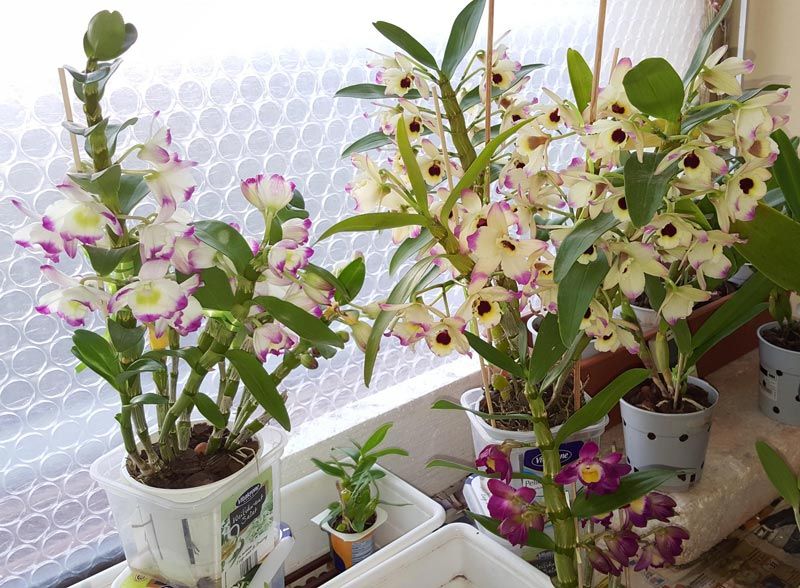
All orchids tolerate repotting painfully, so it should be done no more than once every three years, and only if it is absolutely necessary.
The reason may be:
- plant disease;
- lack of space in the pot;
- substrate deterioration (salinization or excessive density).
Choosing a pot
The main thing is to ensure proper air circulation for the dendrobium roots. Ceramic pots provide this. The bottom must have drainage holes. Small holes in the sides are also helpful.
The new pot shouldn't be much larger than the previous one—a difference of two centimeters is sufficient. Growing an orchid in a container that's too large can cause the soil to become acidic.
Before planting, you should prepare the pot:
- disinfect by placing in the oven for 2 hours at 200 °C;
- let cool;
- soak it in clean water for 24 hours to absorb moisture.
Soil
The substrate used for growing orchids is very different from the soil mixtures used for other houseplants. The roots need access to air, so the soil should be porous and light.
Its main ingredient is crushed pine bark. Charcoal, sphagnum moss, and crushed coconut or walnut shells are also added to the mixture.
Keep in mind that the less light there is in the room, the more loose the plant's soil needs to be. To increase this, you can mix pieces of polystyrene foam into the substrate.
Step-by-step transplant
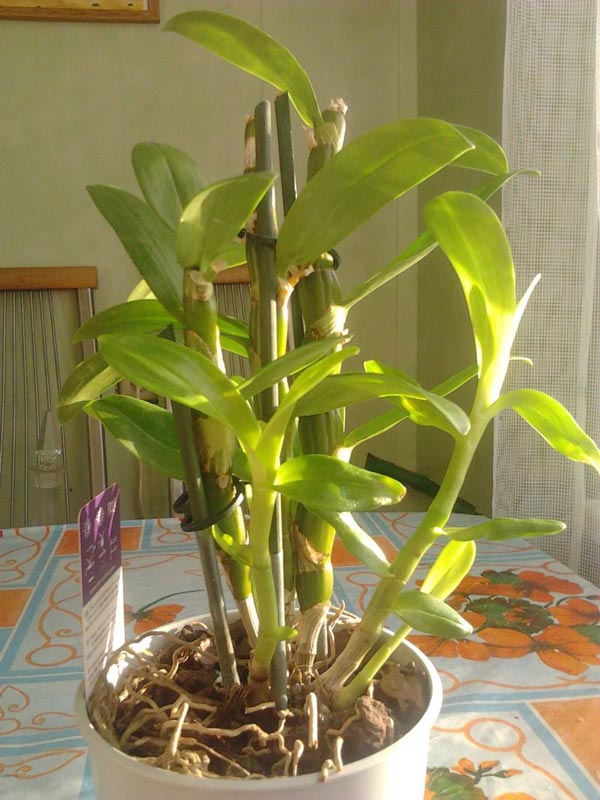
Repotting is recommended in the spring, after the flowering period. Algorithm:
- The orchid pot is soaked in water.
- The roots of the plant are extracted from it and completely cleared of soil.
- Damaged areas of the roots are removed, the cut sites are treated with crushed activated carbon and dried.
- A thick layer of drainage is poured into the pot, and 2-3 cm of substrate is placed on top.
- The roots are placed in the center of the pot, and the remaining substrate is added to the level at which the soil was in the previous pot.
- A support is installed to which the stem is tied.
- For the next two or three days, the orchid is placed in a cool (about +20 °C) shaded place.
- Water only on the third or fourth day, after the plant has relatively adapted.
Proper watering and fertilizing
Dendrobium goes through four seasonal stages each year, and these need to be taken into account for optimal care.
| Stage | Watering | Top dressing |
| Active vegetation | Watering is done once or twice a week in the morning. Take the weather conditions outside into account and monitor the condition of the top layer of soil in the pot—if it's damp, no watering is needed. Afterward, be sure to remove any excess water from the tray. | Every second watering, add specialized nitrogen fertilizers for orchids. |
| Formation of peduncles | Use liquid potassium and phosphorus fertilizers. You can also spray with a solution of succinic acid (1 tablet per 500 ml of water). | |
| Bloom | Reduce the frequency to preserve flower stalks longer. | |
| Rest period | After the orchid has finished blooming, reduce the frequency of spraying to once every two weeks. The frequency of spraying remains unchanged. | They don't use it. |
Reproduction
Dendrobium nobile is a plant that can be easily propagated in a variety of ways. Gardeners practice three main methods: cuttings, offsets, and division.
Kids
The simplest and most reliable method. Offshoots are lateral shoots that sometimes form from pseudobulbs. To get a new plant, simply wait until the roots of one of them reach 5 cm in length. After this, the offshoot can be separated and planted in a separate pot.
Cuttings
To prepare cuttings, you'll need an old pseudobulb—one that has shed its leaves. It's cut and divided into cuttings, each containing two or three dormant buds.
The finished cuttings are placed in a container with damp moss, covered with plastic wrap or glass, and placed in a bright, warm location (around 22°C) for several weeks. The moss should be moistened periodically, and the greenhouse should be ventilated. The seedlings are ready for transplanting into individual pots when their roots reach 5 cm.
Dividing the bush
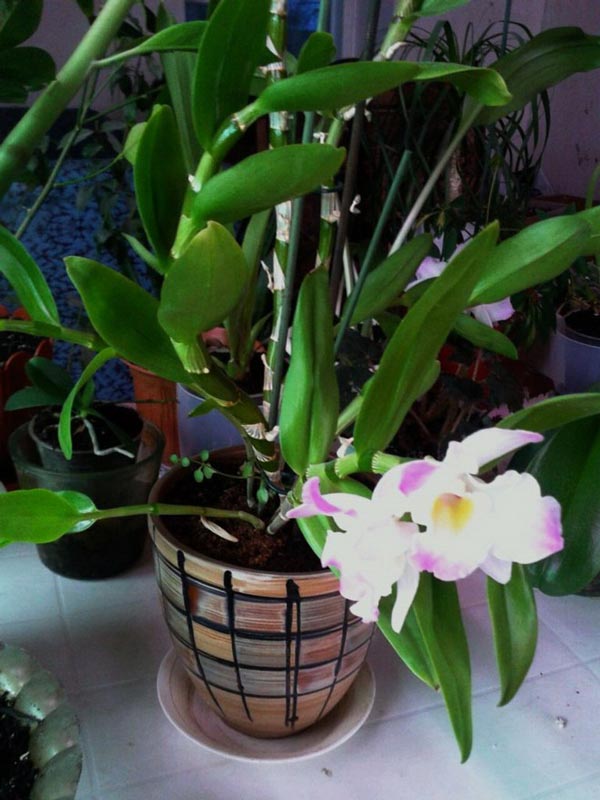
A mature bush with several stems will do. The trick is to separate one of them and plant it in a different pot.
You should make sure that the selected shoot has both old bulbs and new shoots, and that the roots are of sufficient length.
The fractured areas should be treated with activated charcoal. Further care is the same as for an adult plant.
Dendrobium Nobile Orchid Care Mistakes and How to Fix Them
Inexperienced gardeners sometimes make a number of mistakes that lead to illness or even death of the orchid:
- Exposing the plant to direct sunlight immediately after spraying will cause sunburn on the leaves.
- Spray the foliage when the room temperature is below 20°C. This leads to rot.
- After spraying, excess water is not removed from the leaf axils. The leaves begin to rot at the base.
- They don't provide enough light. Orchids won't bloom in these conditions.
- Do not reduce the temperature or watering frequency during the dormant period. Flowering does not occur.
Diseases, pests and their control
Most often, diseases and pest attacks can be avoided by properly caring for your orchid and providing it with all the necessary conditions. If a problem does occur, it must be addressed as quickly as possible to prevent the plant's death.
| Symptoms on leaves and other plant parts | Cause | Treatment | Recommended medications |
| They wilt and become covered with dark, dry spots with yellow edges. | Fungus. | Remove damaged areas. Treat the cuts with activated charcoal, and the entire plant with a 1% antifungal solution. Stop watering for five days. For the next month, add potassium permanganate every other watering. |
|
| A rotten smell appears, mold appears on the substrate, and dark damp spots appear on the roots, and later on the leaves. | Root rot. | Repot the plant, removing any damaged areas and soaking the roots in a 5% potassium permanganate solution for half an hour. Before planting, sterilize the pot and completely change the substrate, adding Trichoderma or a similar additive. For the next few months, add a 0.5% fungicide to the water. |
|
| Wet brown spots. | Brown rot. | Cut off damaged leaves and treat the wounds. Water and spray with a 1% fungicide solution. Spray monthly with a 0.5% copper sulfate solution. |
|
| They become covered with white powder, dry out and fall off, the same thing happens with buds. | Powdery mildew. | Wash away the plaque with a soapy solution. Spray weekly with a colloidal sulfur solution or fungicide for the next month. |
|
| Small green or brown insects accumulate on young leaves, stems and buds. | Aphid. | Wash away the insects with water. Spray several times a day with onion, garlic, tobacco, pepper, or herbal infusions. In severe cases, apply insecticides weekly for a month. |
|
| They turn yellow on the inside, become covered with light lines, and the buds curl up. | Thrips. | Spray with a soap solution. Treat with insecticides. Repeat the treatment one or two more times at weekly intervals. |
|
| A thin web appears, and small black specks appear on the back of the leaves. | Spider mite. | Treat with an alcohol solution, rinse with water after 15 minutes. Water and spray with plenty of water, cover tightly with a transparent bag for two to three days. In severe cases, administer a month-long course of insecticidal treatment. |
|
| Brown bumps form. | Scale insect. | Treat the pests with alcohol, vinegar, or kerosene and remove them from the leaf surface after a few hours. Rinse the leaves with water and treat with the product. Repeat the treatment weekly for a month. |
|
| The back side becomes covered with a white coating, and white fluffy formations appear in the leaf axils. | Mealybug. | Treat the leaves with a soap and alcohol solution. Rinse with water after half an hour. Apply the treatment two or three times every ten days. |
|