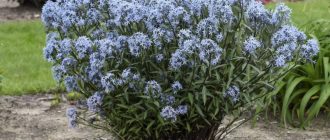
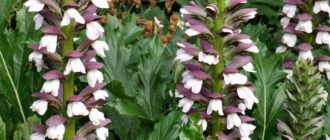
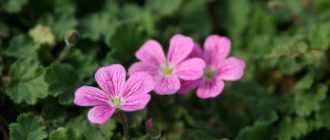
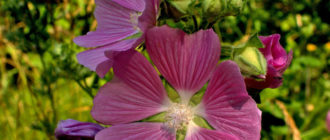
Incarvillea is a herbaceous plant belonging to the Bignoniaceae family. It is native to central and eastern Asia and the Himalayas.
Content
Description of Incarvillea
Depending on the species, it can be an annual, biennial, or perennial, growing up to 2 m. The root system is woody or tuberous, the trunks are erect and branched.
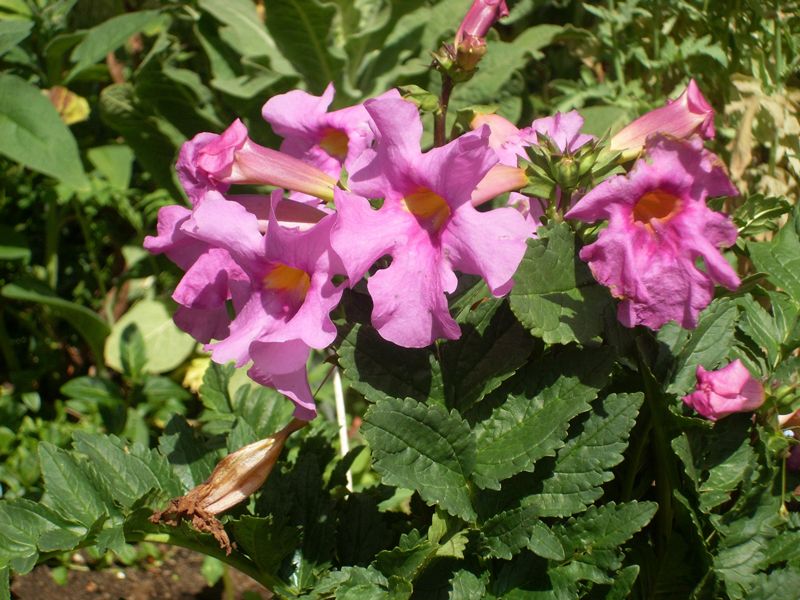
The leaves are unpaired, palmately dissected, and have finely serrated margins. The inflorescences are paniculate or racemose, consisting of five-partite buds, with tubular corollas. The flowers are yellow, pink, or red. The fruits are polygonal, bipartite capsules, with winged, pubescent seeds.
Types of Incarvillea
The following types of Incarvillea can be grown indoors:
| View | Description | Leaves | Flowers |
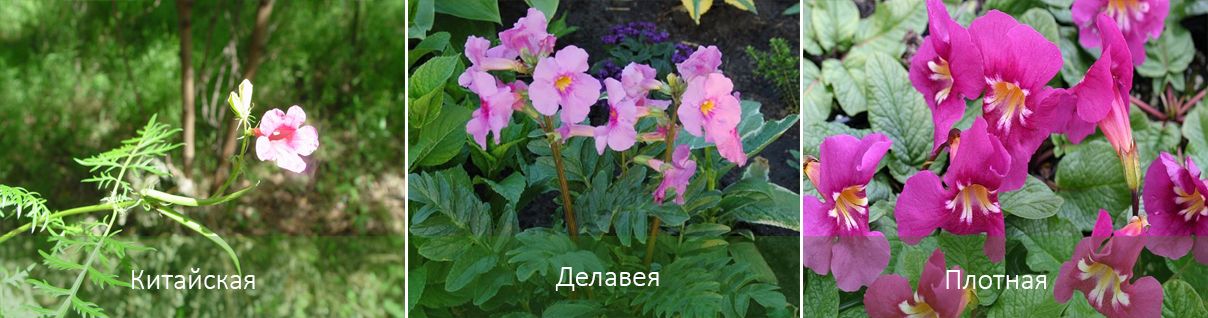
| Chinese | Native to East Asia, flowering continues from early June until frost sets in. | Refined, carved. | Light green. Creamy yellow. |
| Delaway | A perennial plant, the trunk reaches 60 cm. It is frost-sensitive. | Pointed, up to 20 cm long. | Various shades of pink. The tubular, yellow center. The inflorescences are panicle-shaped and consist of three buds. |
| Dense or large | A perennial growing up to 30 cm. Blooms from May to August. | Large, slightly pubescent. | Twisted, up to 6 cm in diameter. Color: purple, light pink. Petals are fused, with a yellow base. |
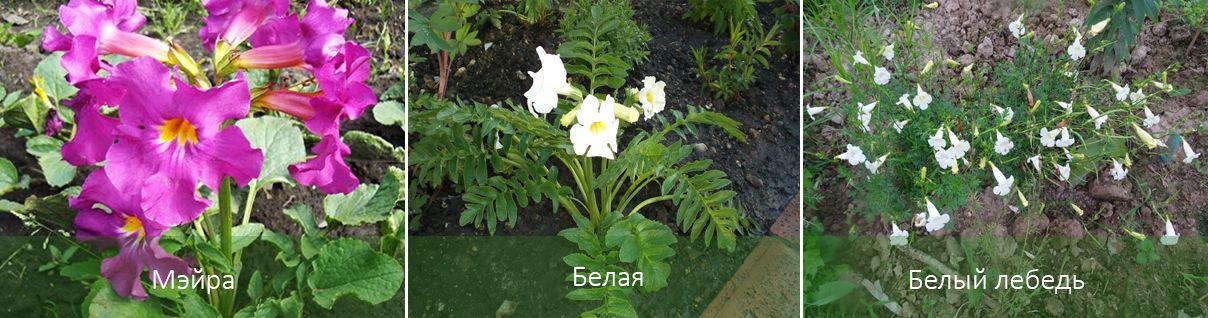
| Meira | A low-growing, frost-resistant perennial. The basal rosette has long, strong petioles. | Weakly dissected. Dark green. | Large, pink. Tubular corolla is yellow. |
| White | They grow up to 50 cm. | Pointed. | Snow-white, yellow center. |
| Pink | Trunk height up to 1.5 m. | Pinnately dissected, covering only the base of the stem. | Small, pink. The buds are no more than 2 cm in diameter. |
| White swan | Grows up to 50 cm. Developed by breeders. | Ferns. | Cream, diameter from 4 to 5 cm. |
Incarvillea growing conditions and care features
When growing Incarvillea, it's important to choose the right location. The plant's root system is sensitive to moisture, so it's recommended to plant it on slopes, rocky areas, or in rock gardens. When placing the plant in a flowerbed or flower garden, its rhizome is raised above ground level. A nutritious sandy loam soil with a drainage layer of coarse sand is ideal.
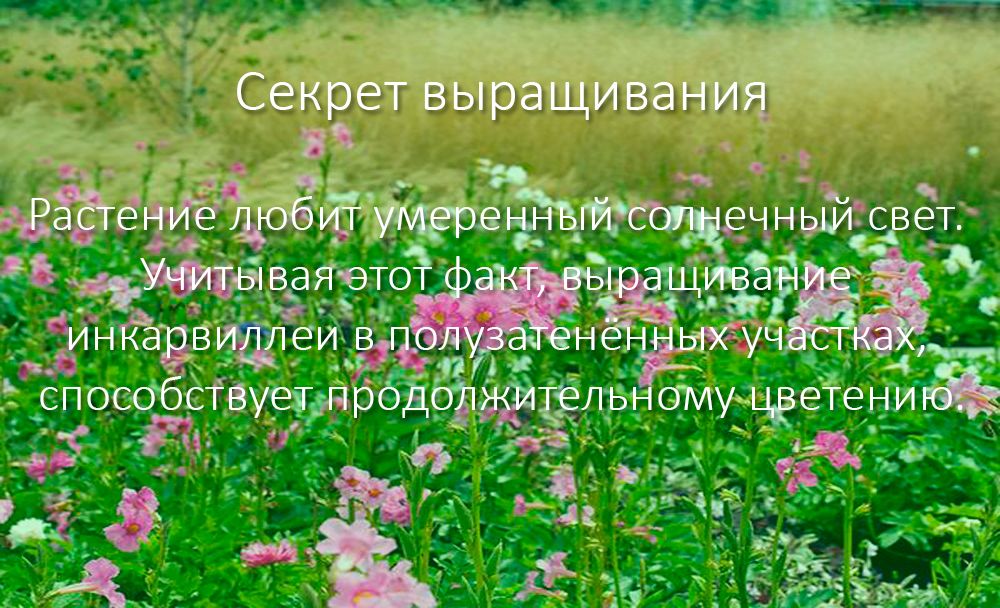
The area should be well-lit, with some partial shade permitted. The flower should be protected from direct sunlight.
Incarvillea requires moderate watering. Avoid overwatering, as this can cause root rot. Avoid allowing the soil to dry out.
During repotting, the plant is fertilized. The soil is enriched with a combination of mineral or organic fertilizers (often, mullein infusion is used, which is recommended for use during the active growth period).
If the planting and care of the incarvillea were correct, the flower is noted for its excellent winter hardiness.
Propagation of Incarvillea
Incarvillea is propagated by seed and vegetative methods.
Seeds
When using the first method of propagating the flower, the planting material is placed directly into open soil. This is done in March or September, and flowering is not expected until the following year.
To obtain buds almost immediately after planting, use seedlings. This way, the plant is more cold-resistant and will retain its appearance longer. However, by the second year, there is no difference between Incarvillea sown from seeds and seedlings.
When propagating from seedlings, the planting material must be stratified. To do this, several months before planting, the seeds are placed in a peat substrate and then transported in refrigerated containers.
Maintain a temperature of 5°C and keep the plant there. Since Incarvillea is planted in the ground in March, this is done in January.
You can buy soil for seedlings at a store; any potting mix for garden plants will do. You can also create your own substrate by mixing the following ingredients in equal proportions:
- leaf soil;
- peat;
- coarse river sand.
The soil is heat-treated and placed in an oven for 30 minutes, with the temperature set to over 100°C. The soil is then placed under cheesecloth and kept there for up to 3 weeks to fully restore the microflora.
If the planting period has arrived and there is no specified waiting time, then the soil is treated with a 0.2% solution of manganese acid and potassium salt, after which the soil is dried for several days.
The seeds are spread on slightly compacted soil in a special seedling box and covered with 1 cm of sand (evenly moistened with a spray bottle). Cover the container with plastic wrap and maintain a temperature of 18 to 20°C.
It's recommended to place seedlings on the south side of the house, but at a distance from heaters so that the room temperature doesn't exceed 22°C. Caring for the seedlings is simple: mist the flowers daily with a spray bottle and remove the plastic wrap for half an hour to allow fresh air to enter.
Incarvillea is pricked out when it has 3-4 permanent leaves. It is recommended to repot into individual containers. Plastic cups 5-6 cm deep are often used.
The seedlings are planted in open ground in June. About a month before, hardening begins by exposing the container with the flowers to the fresh air for several hours.
Otherwise, follow a simple schedule: leave the incarvillea for 30 minutes on the first day, then an additional half hour each day thereafter. For the last 2-3 days, do not bring the seedlings indoors.
The optimal time to plant seeds outdoors is mid-April. This ensures the flowers are fully hardened and highly winter-hardy.
Vegetative propagation
It is carried out using three methods:
- leaf cuttings;
- dividing the bush;
- tubers.
cuttings
Cuttings are considered the simplest method of propagation and are used in midsummer. To begin, select strong, healthy foliage and cut it off along with a portion of the stem, no longer than 4 cm. The planting material is soaked in a Kornevin solution for 24 hours. Meanwhile, prepare the soil, treat it with potassium permanganate, and leave it to dry for 24 hours.
The cuttings are then planted in soil and placed in a greenhouse. This can be a small hotbed or a homemade device made from a 5-7-liter plastic bottle.
As the plants grow, moisten the soil with a spray bottle. Air the flowers daily for 10-15 minutes. Once the incarvillea has established itself, it is planted outdoors.
Dividing the bush
This is done only when the bush has become very dense. The optimal time is March or September.
First, the plant is dug out of the ground and placed on a special substrate. The rhizome is inspected and any weakened, diseased, or dried out areas are removed. Using a knife or pruning shears, the bush is divided into two equal parts, each with a healthy root system and young growth points. The plants are repotted in new pots, deepening the soil to a depth of approximately 5 cm. A week before planting, the bush is hardened off.
Old planting sites should not be used, as they often harbor fungal infections. These areas should be carefully dug to a depth of approximately 20 cm, removing all damaged or injured rhizomes and potential sources of disease.
Tubers
This method of propagation is used only when the root system needs to be completely renewed. The optimal time is mid-March. The area for planting incarvillea is dug up in the fall. At the same time, the soil is enriched with compost, humus, or manure.
Before planting, dig the soil again, create holes, and place the tubers in them, deepening the growing point no more than 5 cm. Water the next day, and then every 3-4 days. After watering, gently loosen the soil to a depth of 2-3 cm.
At the end of June, the first leaves appear on this plant, and about a month later, flowering is expected. It will be brief and sparse, but by the following year, the incarvillea will be in full bloom.
Top.tomathouse.com warns: Incarvillea pests and diseases
During the cultivation of Incarvillea, it can be attacked by the following pests and diseases:
| Problem | Manifestation | Elimination |
| Root system rot. | Wilting and death of the plant. | Treat with Fundazol or Skora fungicide solutions. Adjust the watering regimen, reducing the frequency of application. |
| Spider mite. | Deformation of flowers and stems. White thin web. | Spray with Aktara and Actellic. |
| Mealybug. | Wilting leaves. Clusters of small white insects. | They are treated with acaricidal agents Actellik and Aktara. |
If you get rid of these insects and diseases in a timely manner, the plant will delight you with its healthy and flourishing appearance.