Growing a sunflower is not particularly difficult if you follow certain requirements for its cultivation method.
Choosing Sunflower Seeds
There are a huge number of sunflower species and their derivatives. When choosing a particular variety, be guided by the properties listed on any packaging. Pay particular attention to the desired plant height, as sunflowers range from 30 cm to 4.6 m. It's also important to keep in mind that sunflowers can grow as a single stem or as a pair of flowered branches.
When selecting seeds, make sure they are not fried and have a whole coating.
Preparing and planting sunflower seeds
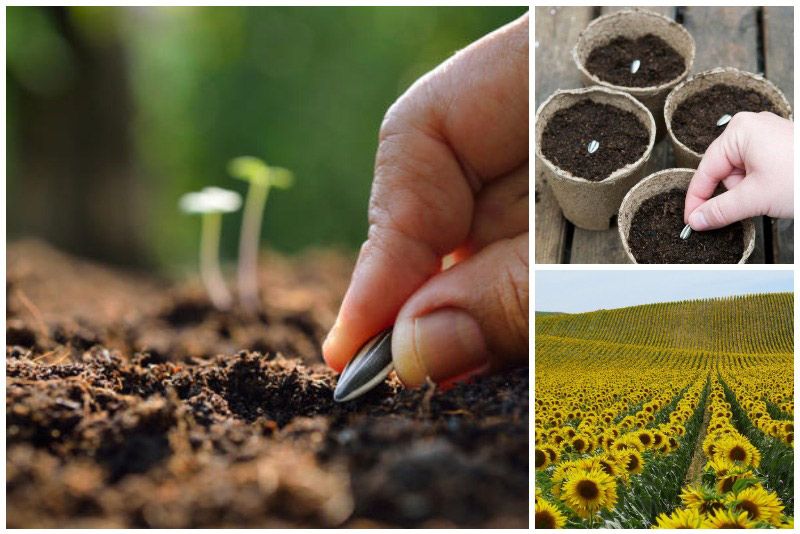
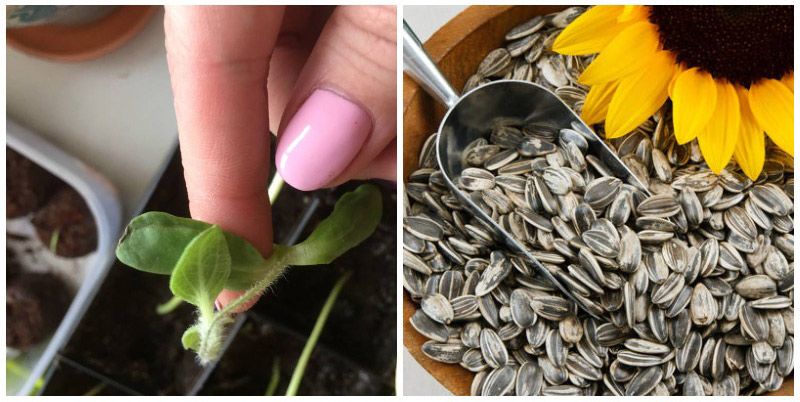
Before planting seeds in the ground, they are first germinated indoors. To do this, take a towel (preferably paper) and wet it until it's damp. Then, visually divide it in half, place the seeds on one half, and cover it with the other.
Place all of this in a plastic bag and store it in a warm room at temperatures above 10°C. Check periodically for sprouts and monitor the towel's moisture content. The germination period is two days.
If the seed has not sprouted within 3 days, then using tweezers, remove the edge of the seed and leave it for a while.
However, you can do without germination, simply placing them in the ground, but the likelihood of germination will be significantly lower.
Before planting, seeds are treated with a special rodent repellent, either homemade or purchased, to prevent them from being eaten.
You can prepare the mixture yourself as follows: crush 100 grams of garlic and mix it with onion peels, add 2 liters of boiling water, and let it sit for 24 hours. Then strain the mixture and soak the prepared seeds in the resulting solution overnight.
All actions should be carried out closer to the end of spring.
Preparing the soil for sunflowers
The plant isn't picky about soil, but there are some soils that are more fertile and others that are less fertile. The former include black soil, chestnut soil, and loam with a pH of 5-6. The latter includes sandy soils and marshy areas with a pH of 4 or lower.
A plot previously used for growing corn, cabbage, or winter grains would be an excellent location. Areas previously used for growing tomatoes or sugar beets are unsuitable, as they will contain a lot of nitrogen, which has a negative impact on sunflowers.
However, it's important to keep in mind that it's not recommended to replant sunflowers in areas where they were grown for seven years to allow the soil time to recover. To ensure this, peas, beans, and spring grains should be planted instead, which will help restore the soil to its normal condition.
In the autumn, potassium and phosphorus fertilizers (potassium sulfate, superphosphate) are added to the soil and everything is dug up thoroughly.
Neighbors needed for sunflowers
Corn makes a great neighbor, as its roots are at a different level in the soil, so there will be no competition for nutrients and water. Pumpkins, soybeans, cucumbers, lettuce, and beans make good neighbors, but potatoes and tomatoes are not.
Planting sunflower seeds in open ground
Sowing begins in mid-May. Using a hoe, dig holes 5-7 cm deep at 15 cm intervals in the chosen location. Longer holes are also possible, as the greater the distance between seedlings, the wider the caps will grow. Place 2-3 seeds in each hole and cover with soil, ensuring the soil is moist.
Top.tomathouse.com recommends: plant care
To ensure a good harvest, proper care is recommended. A proper watering system should be established, the soil should be loosened, and weeds should be removed. Pay close attention to staking, as strong winds can cause the stem to break, and this will eliminate this risk.
Fertilizing is important at all stages of development. The first feeding should be done 14 days after sprouting, using nitrogen-containing fertilizers (such as urea). This will promote stable stem and leaf growth.
Then, after 14-21 days, apply another fertilizer containing potassium. This will ensure the caps are full of seeds. If you overdo it with nitrogen during this period, you may end up with no seeds at all.
The next feeding is done after 21 days, using phosphorus-containing fertilizers and mixing them with potassium ones.
Watering rules
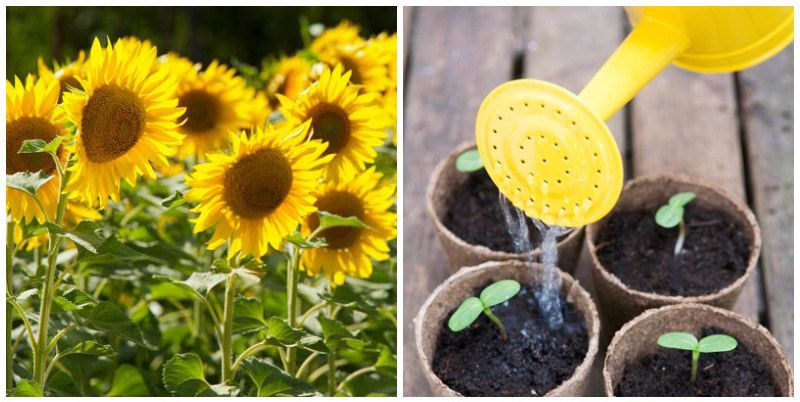
Particular attention should be paid to watering. The soil in which the seeds were planted should remain moist until the sprouts emerge. It is recommended to water slightly away from the plants (7.5-10 cm), as they are still small and fragile. This prevents them from being washed out of the soil and also stimulates root development.
As the annual grows, you can reduce the frequency of watering. Once the roots and stems are well developed, watering once a week will be sufficient.
However, weather conditions should be taken into account: if there is no rain for a long time, watering should be increased.
Harvesting
Harvest readiness is determined by the moisture content of the seeds. There are three stages of ripeness:
- yellow;
- brown;
- ripe.
At the brown stage, you can already harvest (the humidity level will be 15-20%).
By using the agricultural technique of drying plants at the root (desiccation), you can significantly accelerate the ripening process and ensure its uniformity. This is done after the flowering period has passed (seed moisture content is 30%).
The use of chemicals (desiccants) is recommended in sunny weather, with temperatures ranging from 13 to 20°C in the morning or evening. Harvesting is possible 10 days after this procedure.
The collected seeds with high moisture content are dried and then cleaned of debris and damaged seeds.
If you follow all the recommendations and create favorable conditions, growing this crop won't be difficult. It will not only make a magnificent decorative addition to your garden, but it may also yield a rewarding harvest.