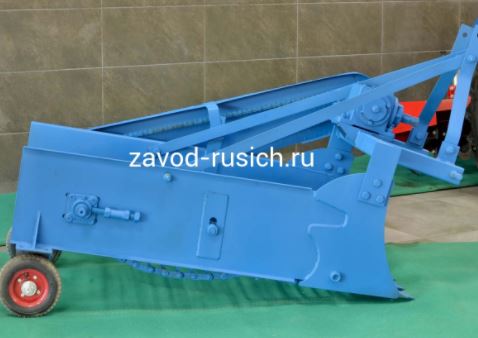
Today, more and more people are returning to private farming. The reasons are many: poor ecology, mistrust of producers, a desire to taste the fruits of their labor, and the high environmental friendliness of the crops grown. If the beds are small, working with potatoes is not difficult. But how do you harvest a large potato field? Many people find a solution using special walk-behind tractors with potato digging capabilities. However, this isn't cheap. Manually digging a harvest on such a large scale is difficult. However, some skilled craftsmen have developed their own potato digger assembly method using scrap materials. The key is having a versatile walk-behind tractor, which will be the driving force behind the invention. A potato digger, or potato extractor, is a special attachment that attaches to a walk-behind tractor or small tractor. It allows for easy digging of the tubers, bringing them to the surface. Then, all that's left to do is walk along the beds and harvest the crop.
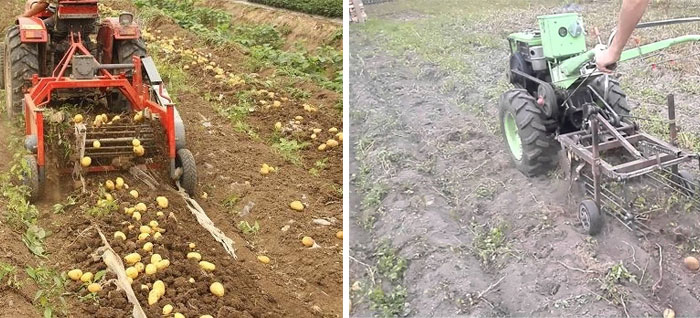
Manufacturers offer a wide selection of potato diggers for walk-behind tractors, from expensive industrial-grade ones to cheap, low-quality Chinese ones. But you can make your own potato digger for a walk-behind tractor. Before you do, you need to decide which type is best.
Content
- 1 General requirements for a potato digger
- 2 Choosing the type of potato digger
- 3 Which potato digger is easier to make?
- 4 Making different types of potato diggers yourself
- 5 How to install a potato digger on a walk-behind tractor
- 6 How to dig potatoes with a walk-behind tractor and potato digger
- 7 How to hill potatoes with a walk-behind tractor
- 8 Review of commercial potato diggers with prices (table)
General requirements for a potato digger
The device operates on a fairly simple principle: it extracts the root ball along with the potatoes. The potatoes are either left on the surface or collected in a special container.
Optimal metal thickness
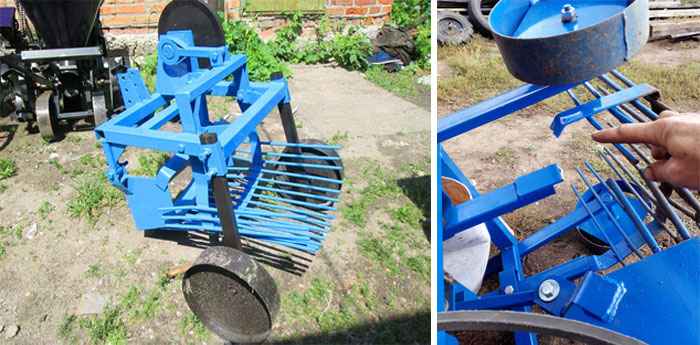
This parameter directly depends on the expected load the unit will be subjected to. The structure is made of sheet steel. Its thickness is extremely important; the minimum acceptable value is 8 mm.
Wheels for a digger
For easier movement, the design includes wheels. If you're building the digger at home, wheels from an old wheelbarrow will do. Ideally, they should be mounted on an axle and have thick tires. If you plan to use the digger on hard ground, it's better to install metal wheels.
Connection methods
There are two options here. The first is to use welding. Its undeniable advantage is the structural strength. The second is to connect the parts with bolts and nuts. The advantage of this method is the ease of assembly and disassembly.
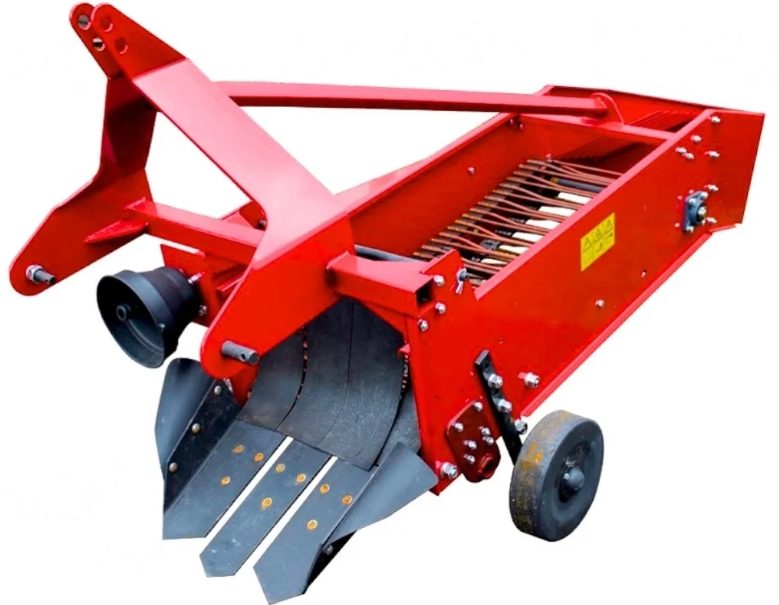
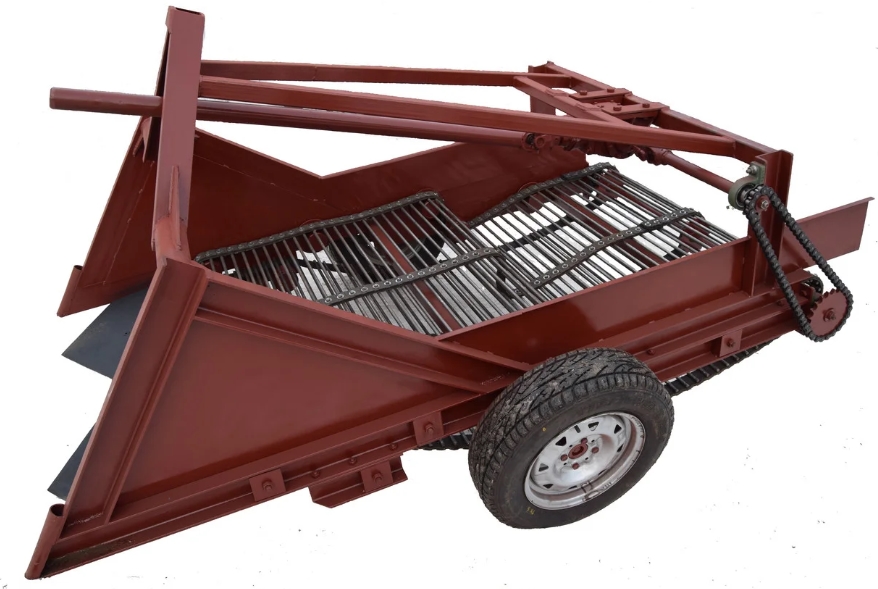
Single-row potato diggers are used with walk-behind tractors or mini-tractors. Double-row potato diggers are also available, but they are best used with a high-power tractor. The differences between these potato diggers are shown in the photo below.
Choosing the type of potato digger
The unit is used on both loose and compacted soils. Depending on this and other factors, the following features can be distinguished:
- Various sizes.
- Different design techniques.
- Working strip size.
- The need for weeding.
- Possibility of cleaning potatoes from stuck soil.
Watch this video on how to make a generator-powered potato digger yourself:
There are the following types of diggers:
- Fan-shaped (another name is pointed).
- Rumble (vibration).
- Conveyor (belt or conveyor).
- Drum.
Let's take a closer look at them.
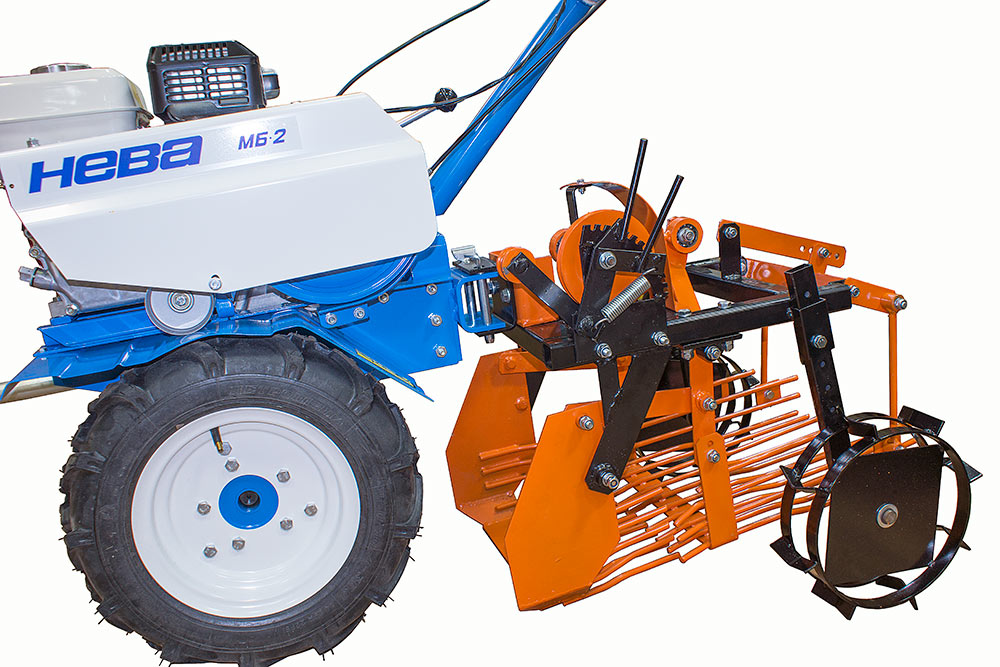
Fan-shaped (arrow-shaped) potato digger for a walk-behind tractor
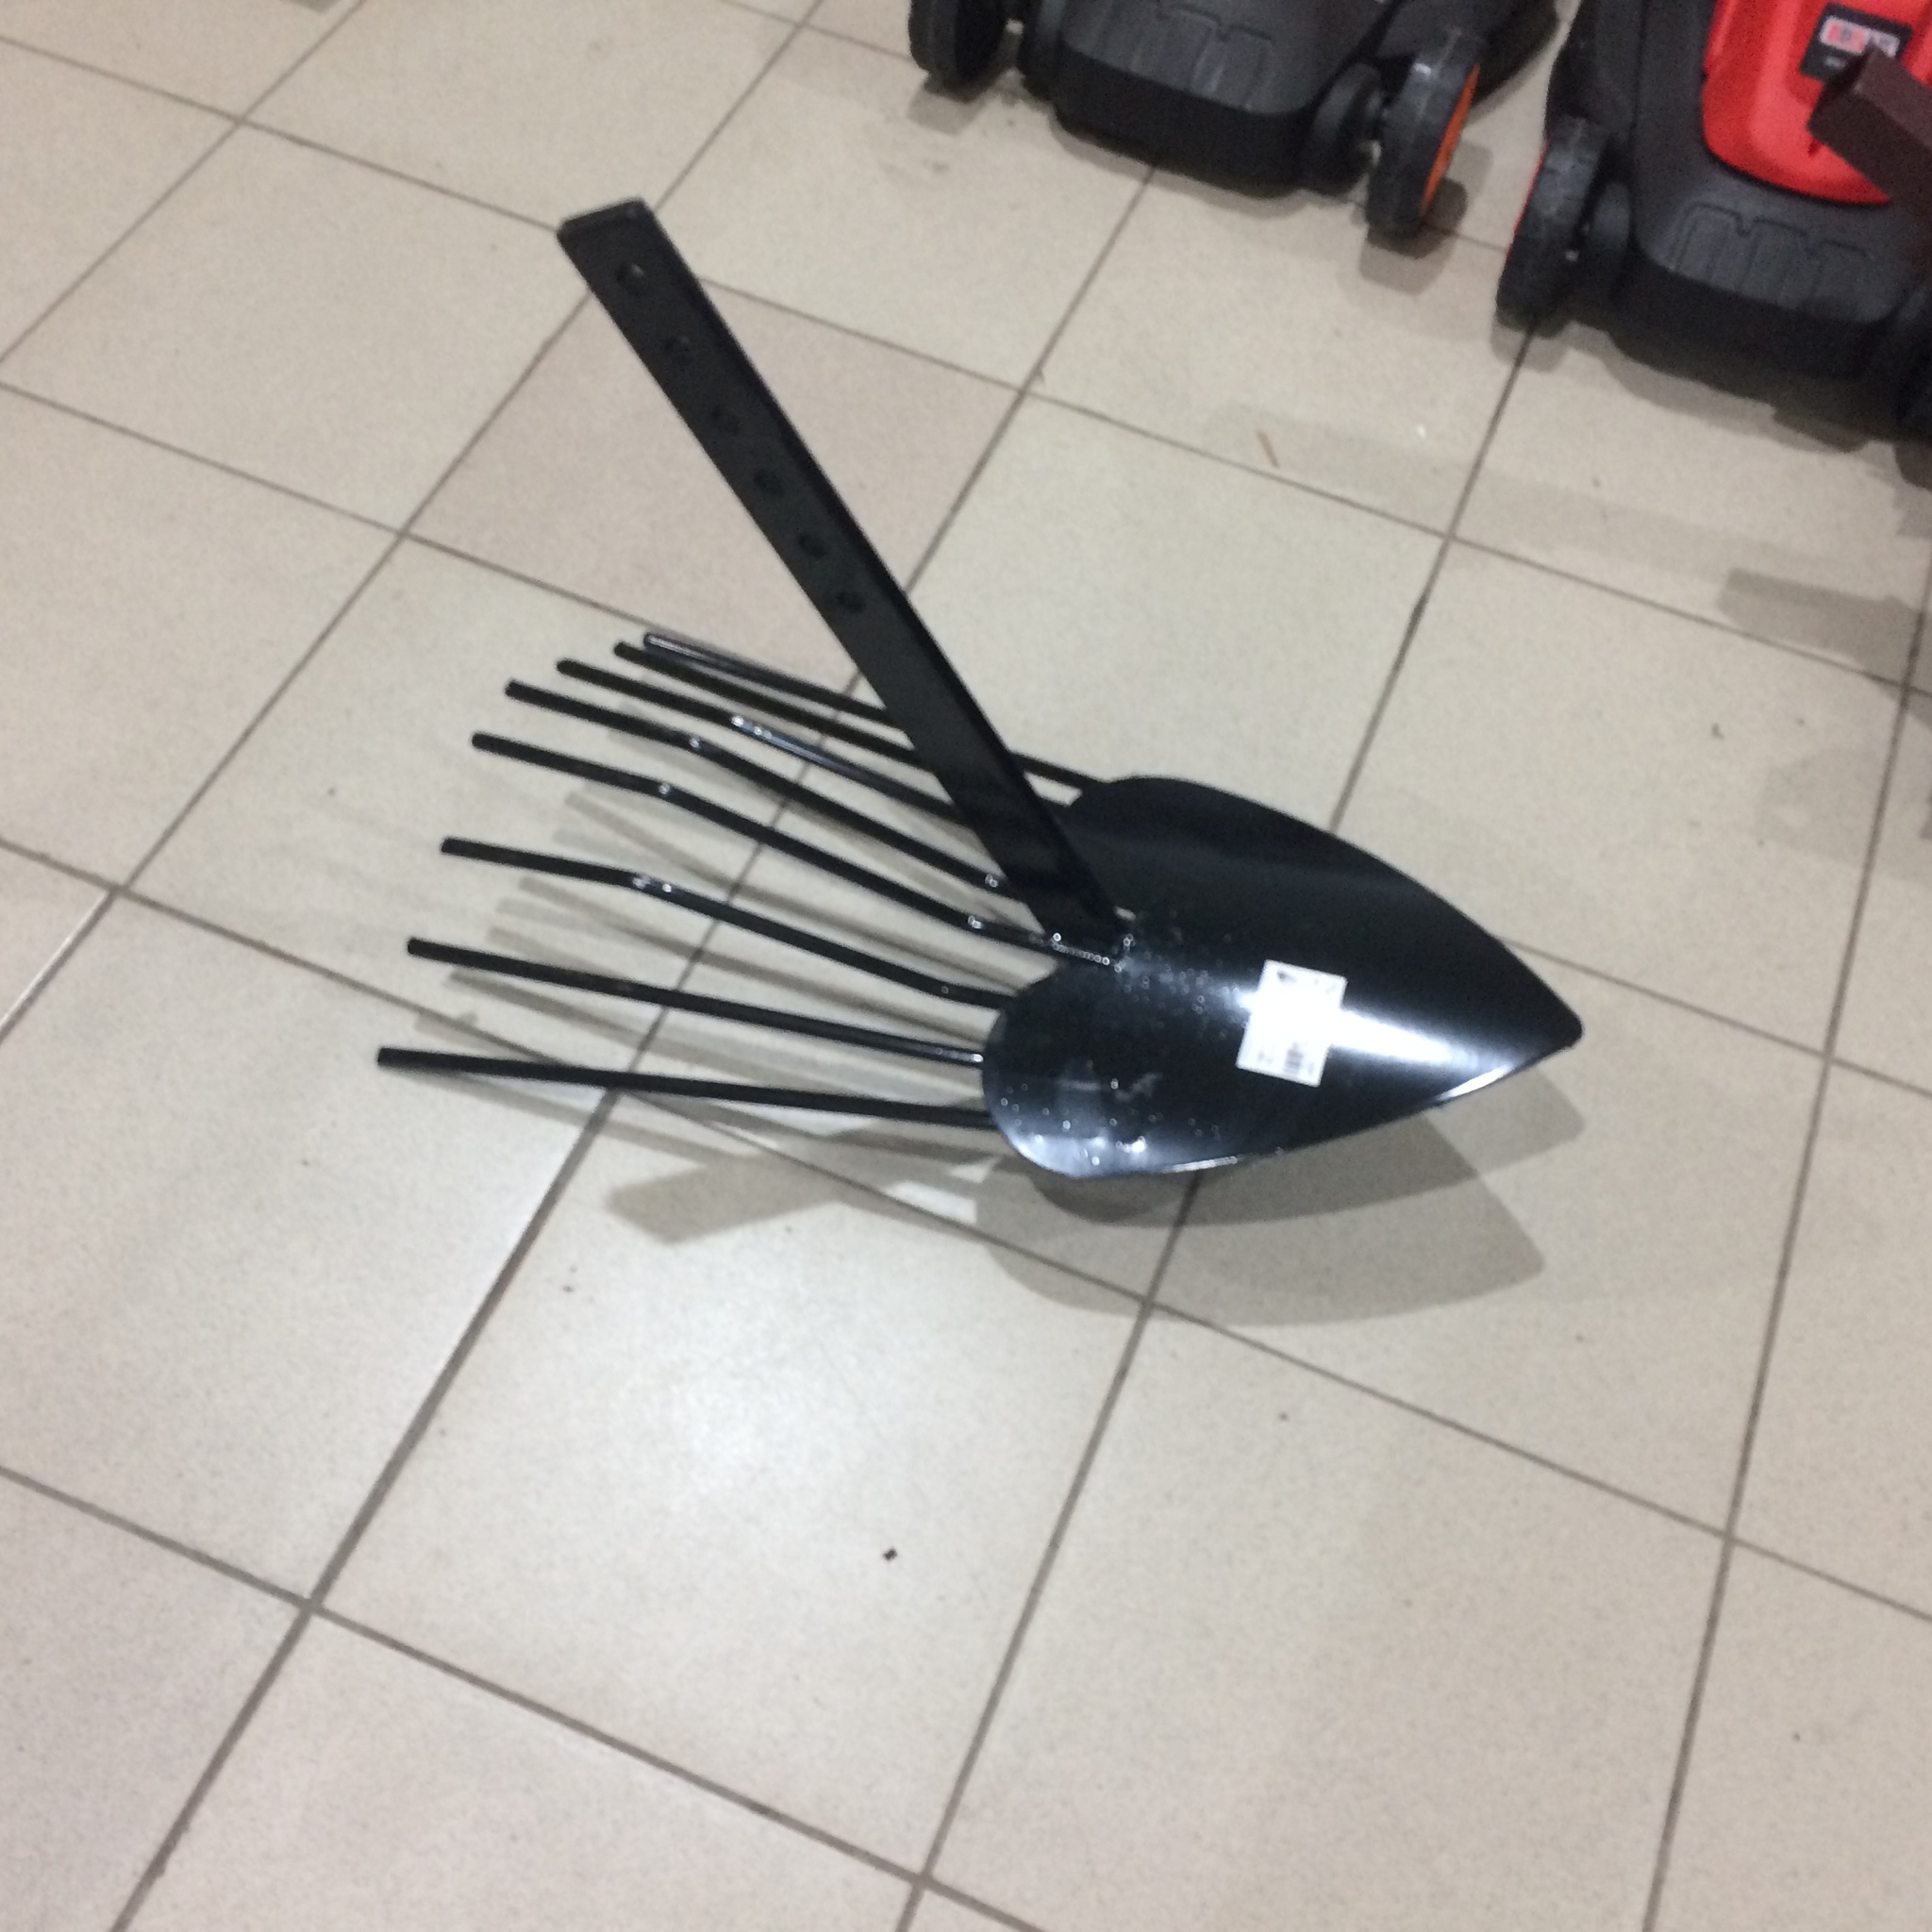
This device has long served gardeners faithfully. They know it as the "Dolphin," a lancet-shaped or paw-type digger. Its design is simple, easy to use, and compatible with any model of walk-behind tractor, including those with water cooling.
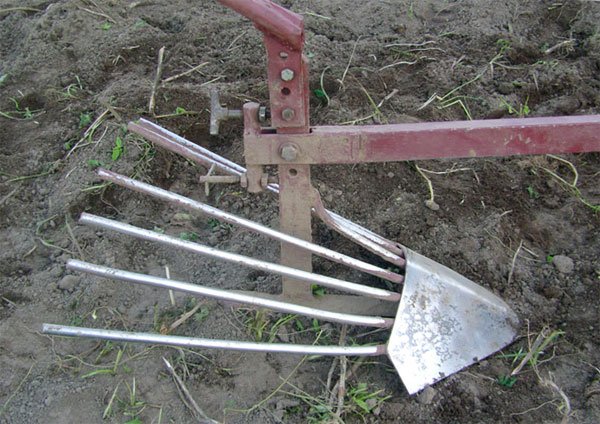
To begin work, the unit is attached to a mini-tractor. A sharp plow loosens the soil, then the tubers, extracted from the soil, are fed along the edge of the share (a horizontal blade) onto metal rods. Soil, separated from the potatoes, falls into the gaps between them. The tubers continue to move and fall to the ground, where they can be collected in containers.
Before starting work, mow down the tops. A small amount of weeds is acceptable. This unit performs best in soft, loose soil. It's important that the soil is dry, as heavy, wet soil won't separate from the tubers.
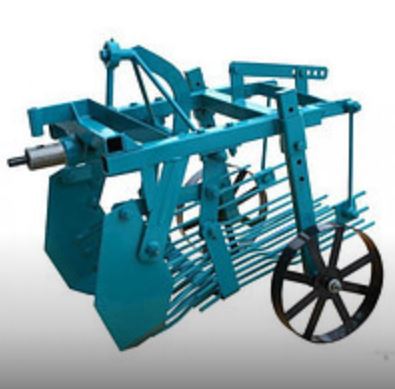
Vibrating potato digger
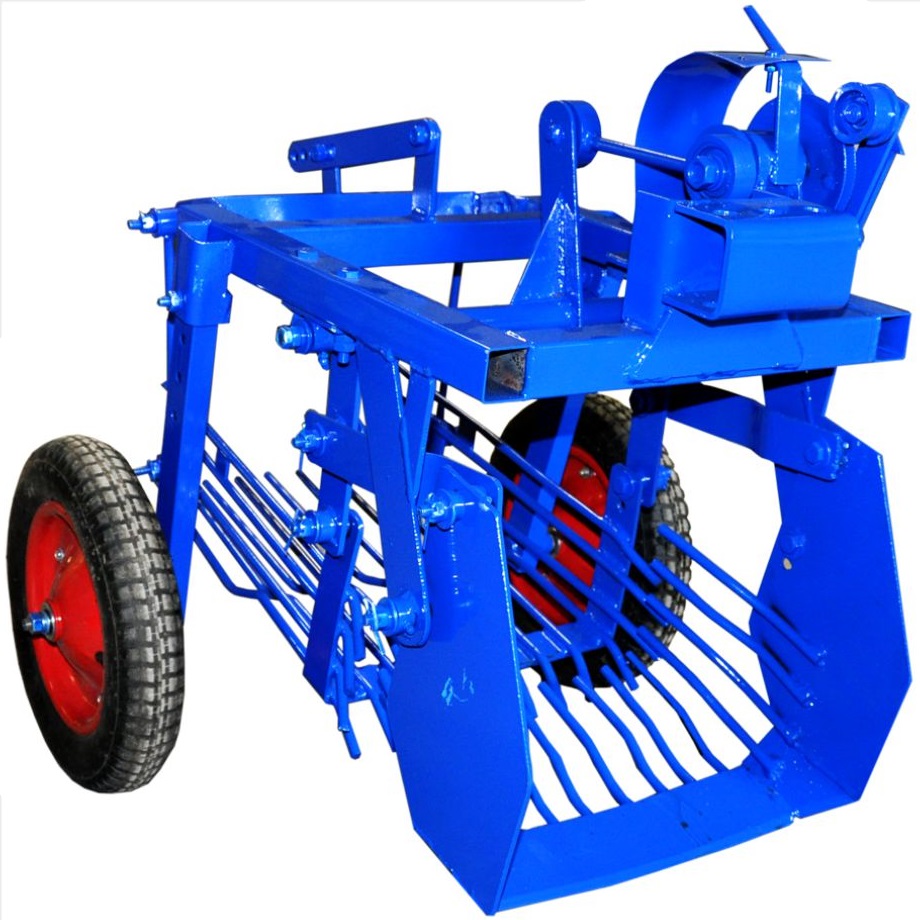
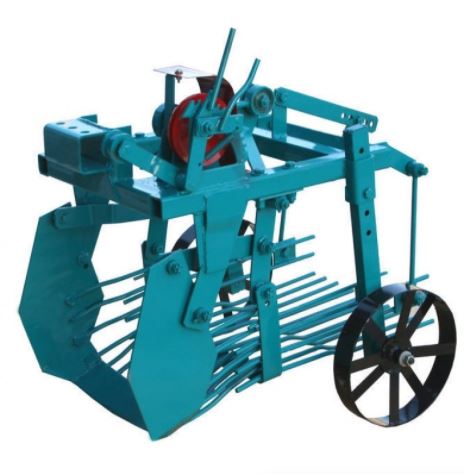
This device, also known as a shaking digger, is more complex and consists of three main parts: a blade, a special grid that vibrates with mechanisms, and a metal frame.
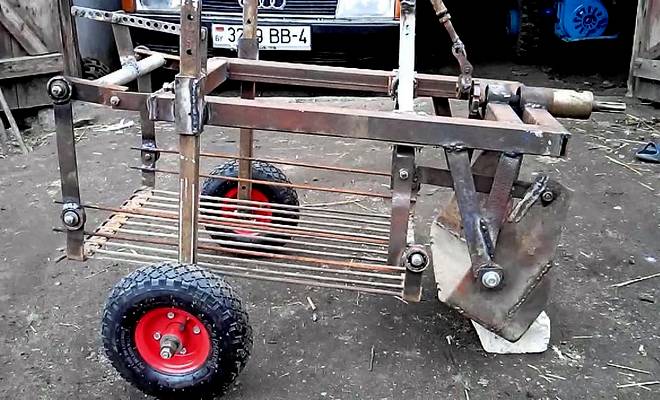
The digger works like this: a ploughshare loosens the soil along with the tubers. They are fed onto a vibrating surface made of metal rods. The soil falls back onto the boundary, and potatoes fall on the opposite side. This device allows for harvesting even in hard and fairly wet soil. It is ideal for use over large plots.
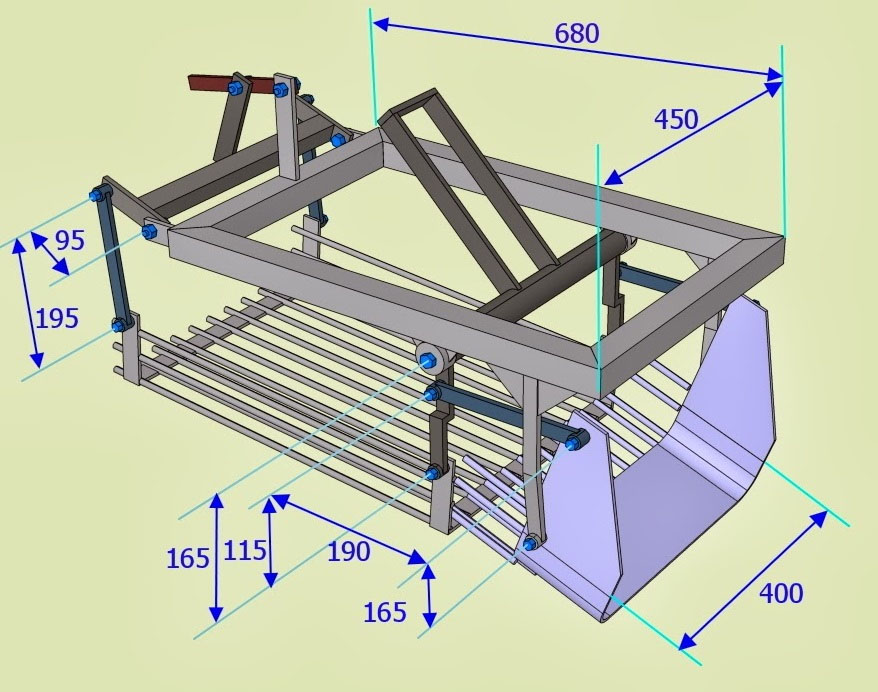
The main advantages of the digger:
- The unit covers a fairly wide area – approximately 40 cm.
- The ploughshare is deepened into the soil by 25 cm.
- Crop loss is minimal. It depends on the potato variety and soil looseness. The minimum is 2%, the maximum is 10%.
But it does have its drawbacks. The main one is constant vibration, which makes the tiller difficult to control and quickly tires the gardener. This problem can be eliminated by installing two eccentrics, which effectively dampen vibration. Before starting work, completely remove weeds and tops of the plant, otherwise the green mass will clog the wheel mounts and grate.
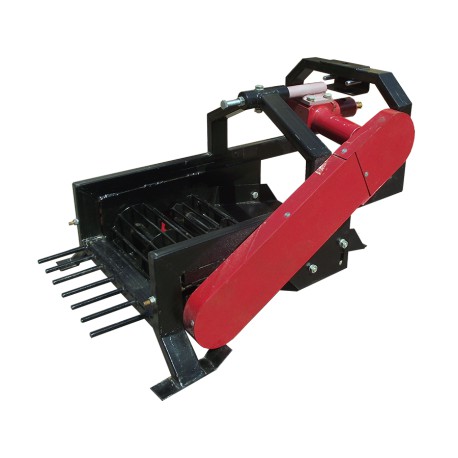
Conveyor potato digger
This convenient device can be either large or quite modest in size. It works by extracting tubers from soil loosened by a knife, placing them on a moving belt, and then separating them.
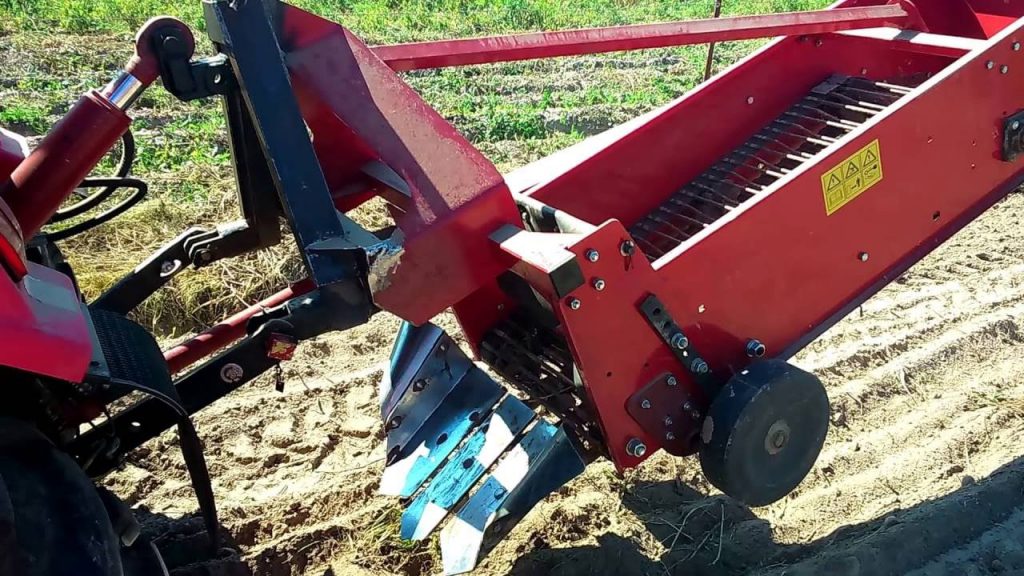
The belt is made of small metal rods arranged parallel and secured with a chain. As the tubers move along it, excess soil spills through gaps in the grid, and the tubers either fall back to the ground or end up in a special bin.
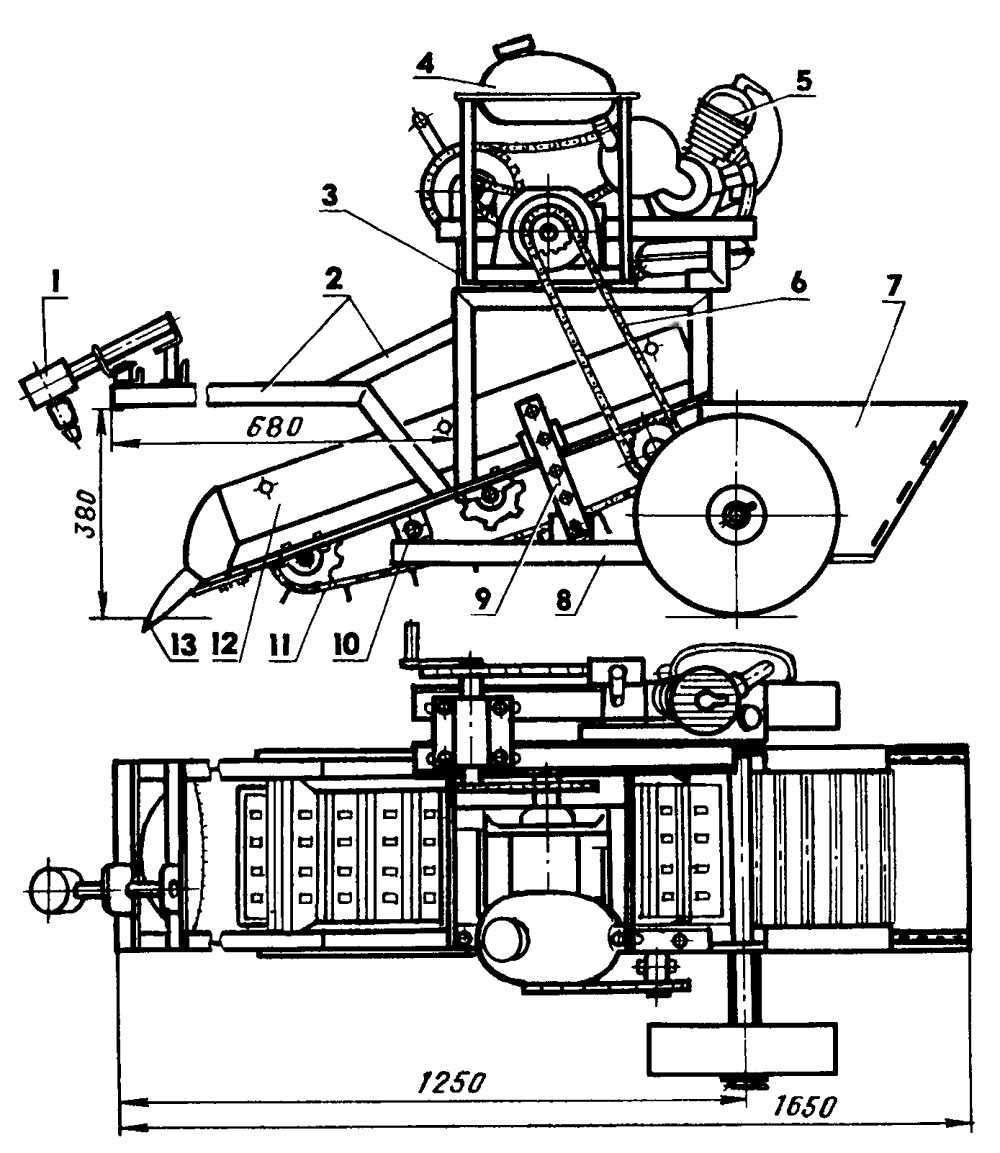
The conveyor is driven by the shaft of the walk-behind tractor and a chain (or toothed) transmission.
The ploughshare is deepened into the soil by 15-18 cm, which makes it possible to lose no more than 5% of the harvest.
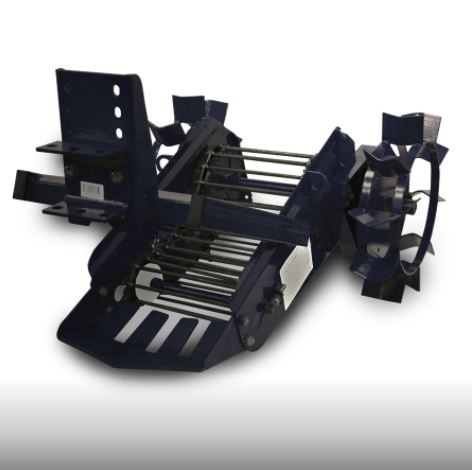
Drum-type potato digger
The device is highly effective over large areas, making harvesting easier. The design elements, such as the wheel frame and share, are identical to those of other types of diggers. The third part is a drum made of metal rods that rotates during operation.
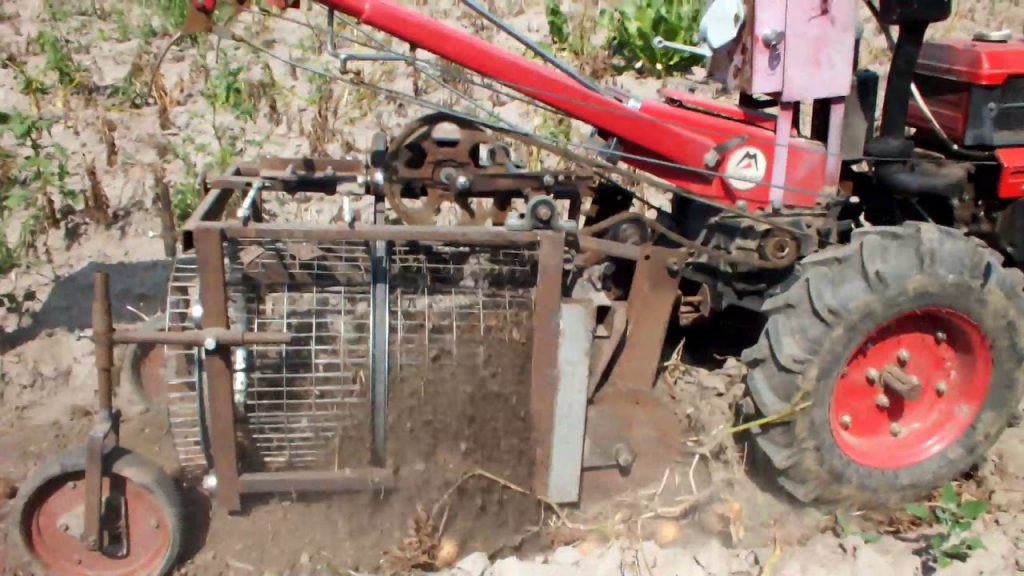
After the ploughshare cuts the soil, clods of soil and potatoes are placed in the drum. As it rotates, large clods are broken up and released, while the tubers move toward the end and fall into the gap.
The drum rotation is achieved using the same principle as in conveyor models—torque transmitted from the walk-behind tractor shaft. The advantage of this type of digger is its gentle handling of the crop. Potatoes are not damaged in the drum, and the soil is cut to a sufficient depth to minimize losses.
When considering purchasing or building a digger, it's important to consider the soil you'll be working on. The lighter the soil, the simpler the design should be.
Watch the video to see how a hydraulically powered digger works:
Which potato digger is easier to make?
Even a beginner can make a fan-shaped digger. You can even use broken garden tools as components. A ploughshare can easily be made from an old shovel, and the tines from an old pitchfork can be used as rods. Then attach the finished unit to a walk-behind tractor or mini tractor. This digger can be useful in loose, dry soil.
Making different types of potato diggers yourself
Preparation involves preparing the tools that may be needed:
- Drill.
- Level.
- Fasteners - bolts, washers and nuts.
- Welding machine.
- Square.
- Metal plates and corners for fastening.
- Bulgarian.
Now let's take a step-by-step look at the manufacturing diagrams for the various potato diggers we discussed above.
DIY fan-shaped or arrow-shaped potato digger
This is the simplest model. It can be easily built by almost any gardener with a good understanding of how the device works. Building this digger doesn't require much time, money, or specialized skills.
Materials for a homemade fan-shaped potato digger:
- Steel channel.
- 8 metal rods. These can be made from rebar or the teeth of an old pitchfork or other tool.
- Ploughshare. To make one, use the blade of an old shovel. Ideally, the steel should be at least 5 mm thick.
- Several metal corners.
The base of the device is made from a channel bar, onto which the hitch and plow are mounted. Metal rods are welded to the plowshare, the main purpose of which is to separate the root crops from the soil.
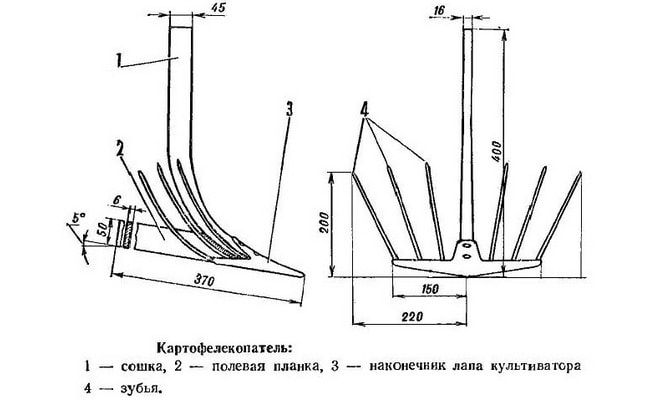
The design has some disadvantages:
- The width of the cultivated strip reaches only 25 cm, which results in the loss of part of the harvest.
- Potatoes are often damaged by the ploughshare.
This device is best used for harvesting potatoes in small areas in the southern part of the country.
DIY vibrating or sifting potato digger
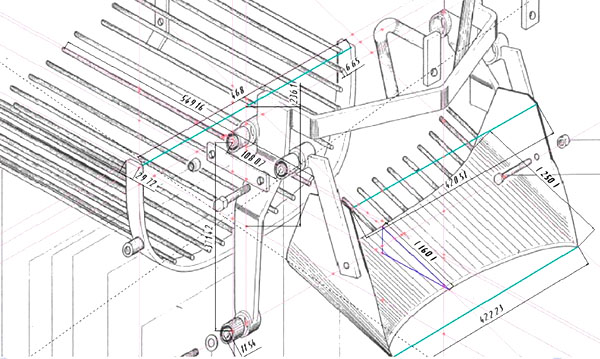
To manufacture the device you will need the following parts:
- Metal channels and rolled angles.
- Iron rods. Rebar works great.
- The plowshare will require durable steel. Its thickness should be at least 0.5 cm. A circular saw blade can be used.
The main part of the digger is the frame. The suspension system, rods, and wheels are mounted on the base.
Step-by-step instructions:
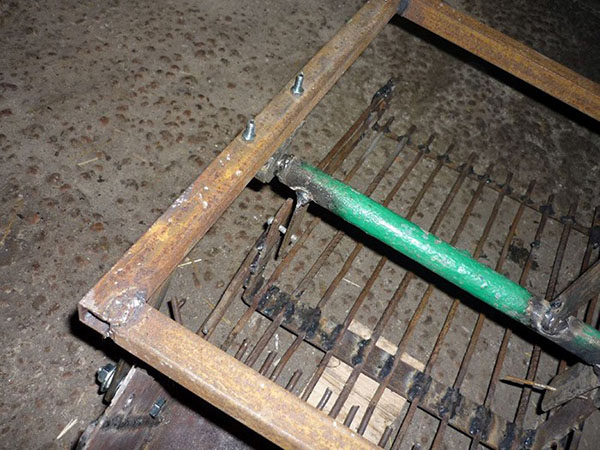
- To make the base, cut the channel into four pieces—two 1.2 m long and two 0.8 m long. It's best to use a 40x40 mm square tube. The resulting pieces are welded together to form a rectangular structure.
- Mentally divide the frame length into four parts. Weld crossbars onto the quarters. Weld square tubes vertically at the bottom to hold the axle. To do this, drill 1 cm diameter holes using a drill.
- Step back 4 cm from the edge and vertically attach a 0.5 m long square channel. Step back another 15 cm and weld in the next 0.4 m long channel. The distance to the next vertical channel, which will be 0.3 m long, is 0.4 m. The resulting structure should resemble a pair of stairs.
- To secure the posts, you'll need a 0.5 cm thick metal strip. The posts are connected at a 45° angle; if necessary, the strips can be welded together.
- To make a ploughshare, cut two blades from sheet metal. Use a hammer to shape the resulting blanks into a convex shape.
- The next step is to make the slope board. To do this, weld rebar rods to the base. They should be spaced 5 cm apart and at least 1.2 m long.
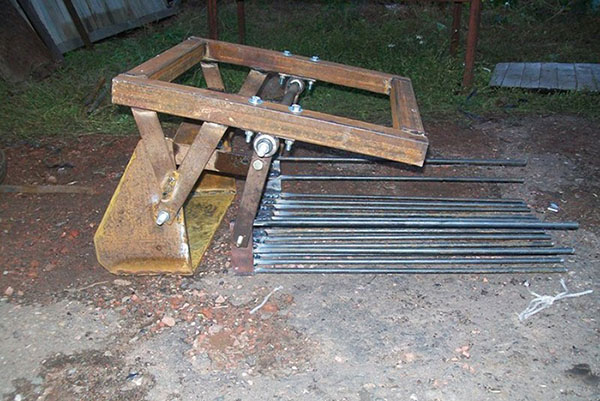
- An optional but convenient feature is adjustable rods. They are needed to maintain a comfortable slope for the sloping board. This is especially useful for problematic soil. The simplest option is a metal frame to which the sloping board is attached.
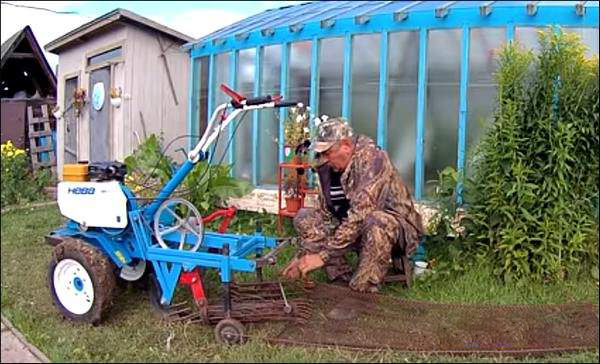
- Wheels for movement and support. If you have an old garden wheelbarrow, you can use its wheels. They can be easily secured with a pin.
The second version of a vibrating or rattling potato digger made by hand
Next, we'll look at how to make this vibrating potato digger yourself:
Below is a detailed drawing of a potato digger.
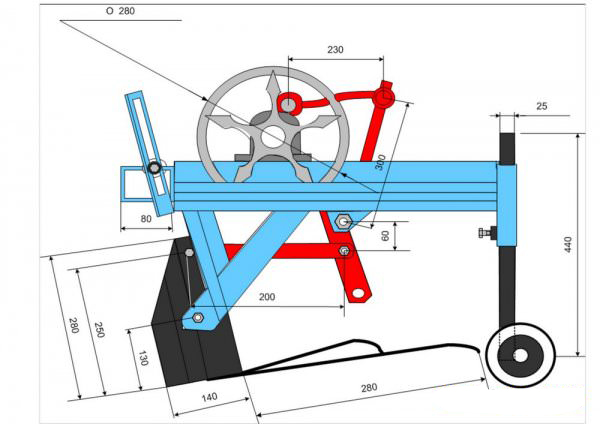
To make it you will need:
- Wire.
- The remains of a bicycle.
- Wagner (for wheels).
- Corner (35th).
- Profile 25, length 460 mm.
- Sheet metal.
- Steering rods.
- Tips.
- Channel for manufacturing a trailer mechanism.
- Eccentric with drive.
- Tool (grinder, drill).
- Welding machine.
Step-by-step instructions:
A double frame (460 x 460 mm, 60 mm high) is made from a metal profile using a soldering iron. Support posts (440 mm, 25-gauge profile) are attached to one side, and a channel is attached to the other. An axle with Wagner wheels is welded to the posts. Metal strips are welded to the two remaining sides to hold the share. It is made of metal (a three-piece design) and will lift the soil layer. To do this, the metal material is folded to the required dimensions (390 mm wide, 280 mm high, 140 mm wide, tapering towards the bottom), and the folds must be welded for security. It is secured to the strips using silent blocks. The distance from the main rotation axis to the traction rod is 60 mm. The share itself must be supplemented with figure-eight wire rods. To make the structure more reliable, a metal band made of a three-piece metal plate is welded around the entire perimeter. 350 mm long rods will be attached to it. A cutting edge made of durable steel should be riveted to the reverse side and sharpened thoroughly. After this, adjustment rods are welded to the share (at a height of 250 mm), which will connect it to the eccentric (300 mm drive bracket, 230 mm drive rod, 25 mm eccentric). Next, paint the structure. For safety, all moving parts should be painted red.
Here's the operating principle of this potato digger. We'll start by describing it from the top, starting with the motor. The motor drives a pulley via a belt drive made from a bearing, which then transmits it to an eccentric, which, via a steering rod, drives a ball-and-socket assembly. It's secured via rods and connected to the share. The share begins to move and perform a reciprocating motion. This motion is used to harvest and sift the fruit.
You can watch the entire creation process on Y. Leskov's channel:
DIY potato digger with a conveyor belt
This refers to the part of the unit through which the soil containing the potatoes moves. As the soil moves, it breaks free from the tubers and falls through, leaving the gardener to simply harvest the dirt-free crop. This task can be simplified by directing the flow of potatoes into a receiving hopper.
The conveyor can be made from metal rods. Rebar cut into pieces will also work. The rods are installed in a chain or a movable rim, parallel to each other. The conveyor is driven by a gearbox from a mini tractor, using a chain or gear transmission.
The procedure for manufacturing a conveyor digger:
- Make a frame from a rectangular metal profile.
- Cut a ploughshare from thick and durable sheet steel.
- Equip the frame with rollers that will allow the conveyor belt to move.
- Install the conveyor.
- Install the brackets for the gearbox and transmission, and attach these devices to them.
- Put the wheels back in place.
It is important to pay attention to the reliability of the components, since the device will be used in dirty and dusty conditions.
DIY drum-type potato digger
Manufacturing such a unit requires exceptional precision and specific skills. The drum is made from metal rods, then connected to the gearbox and power take-off shaft via a chain or gear drive. A direct-drive hitch is used for this purpose. The share mount must be hinged.
After this, the device is welded to the disks and mounted on two axles. The drum is placed on the bent disks, which can easily be made from bicycle rims.
The shaft rotates, causing the drum to move, trapping soil and tubers. The rotation causes the soil to spill out, and the tubers to shift to the edge and fall to the ground.
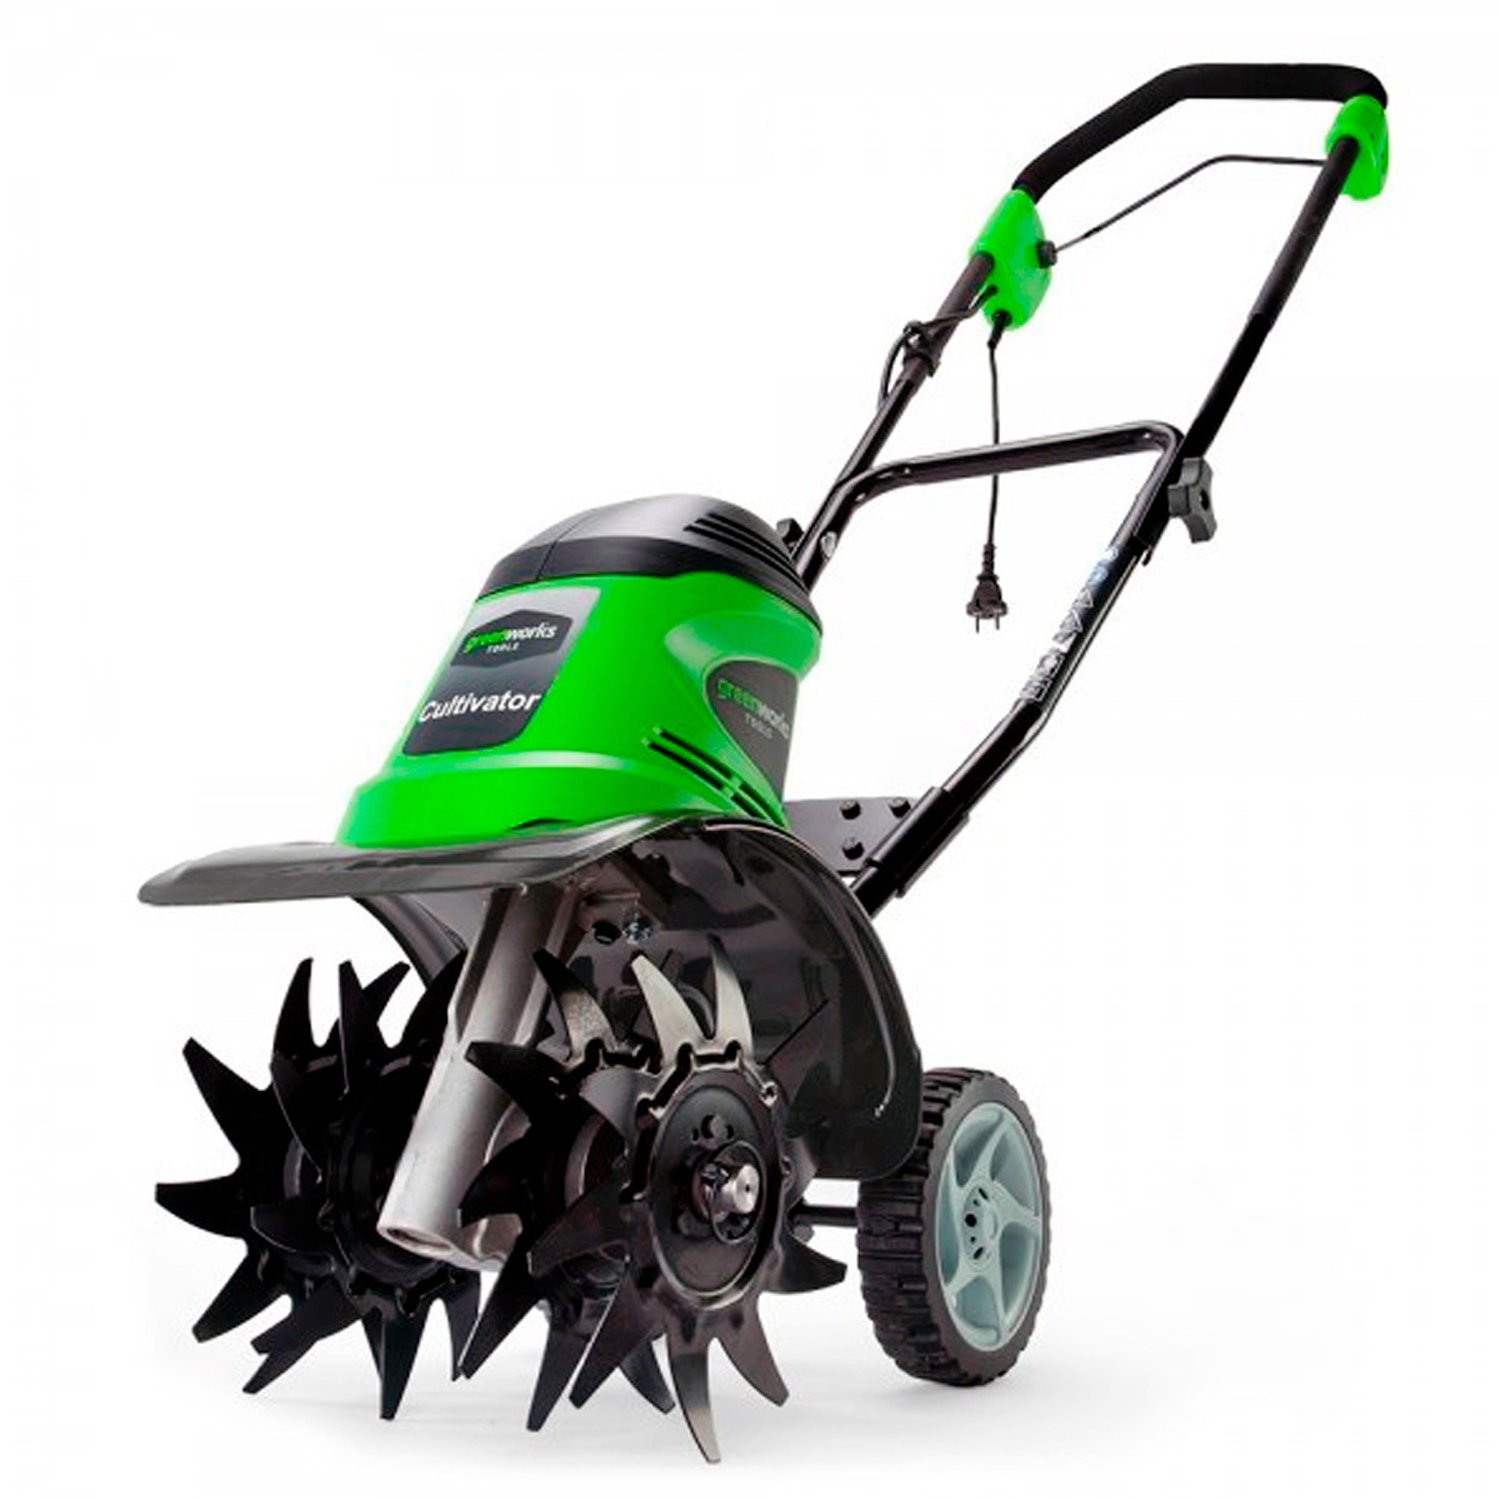
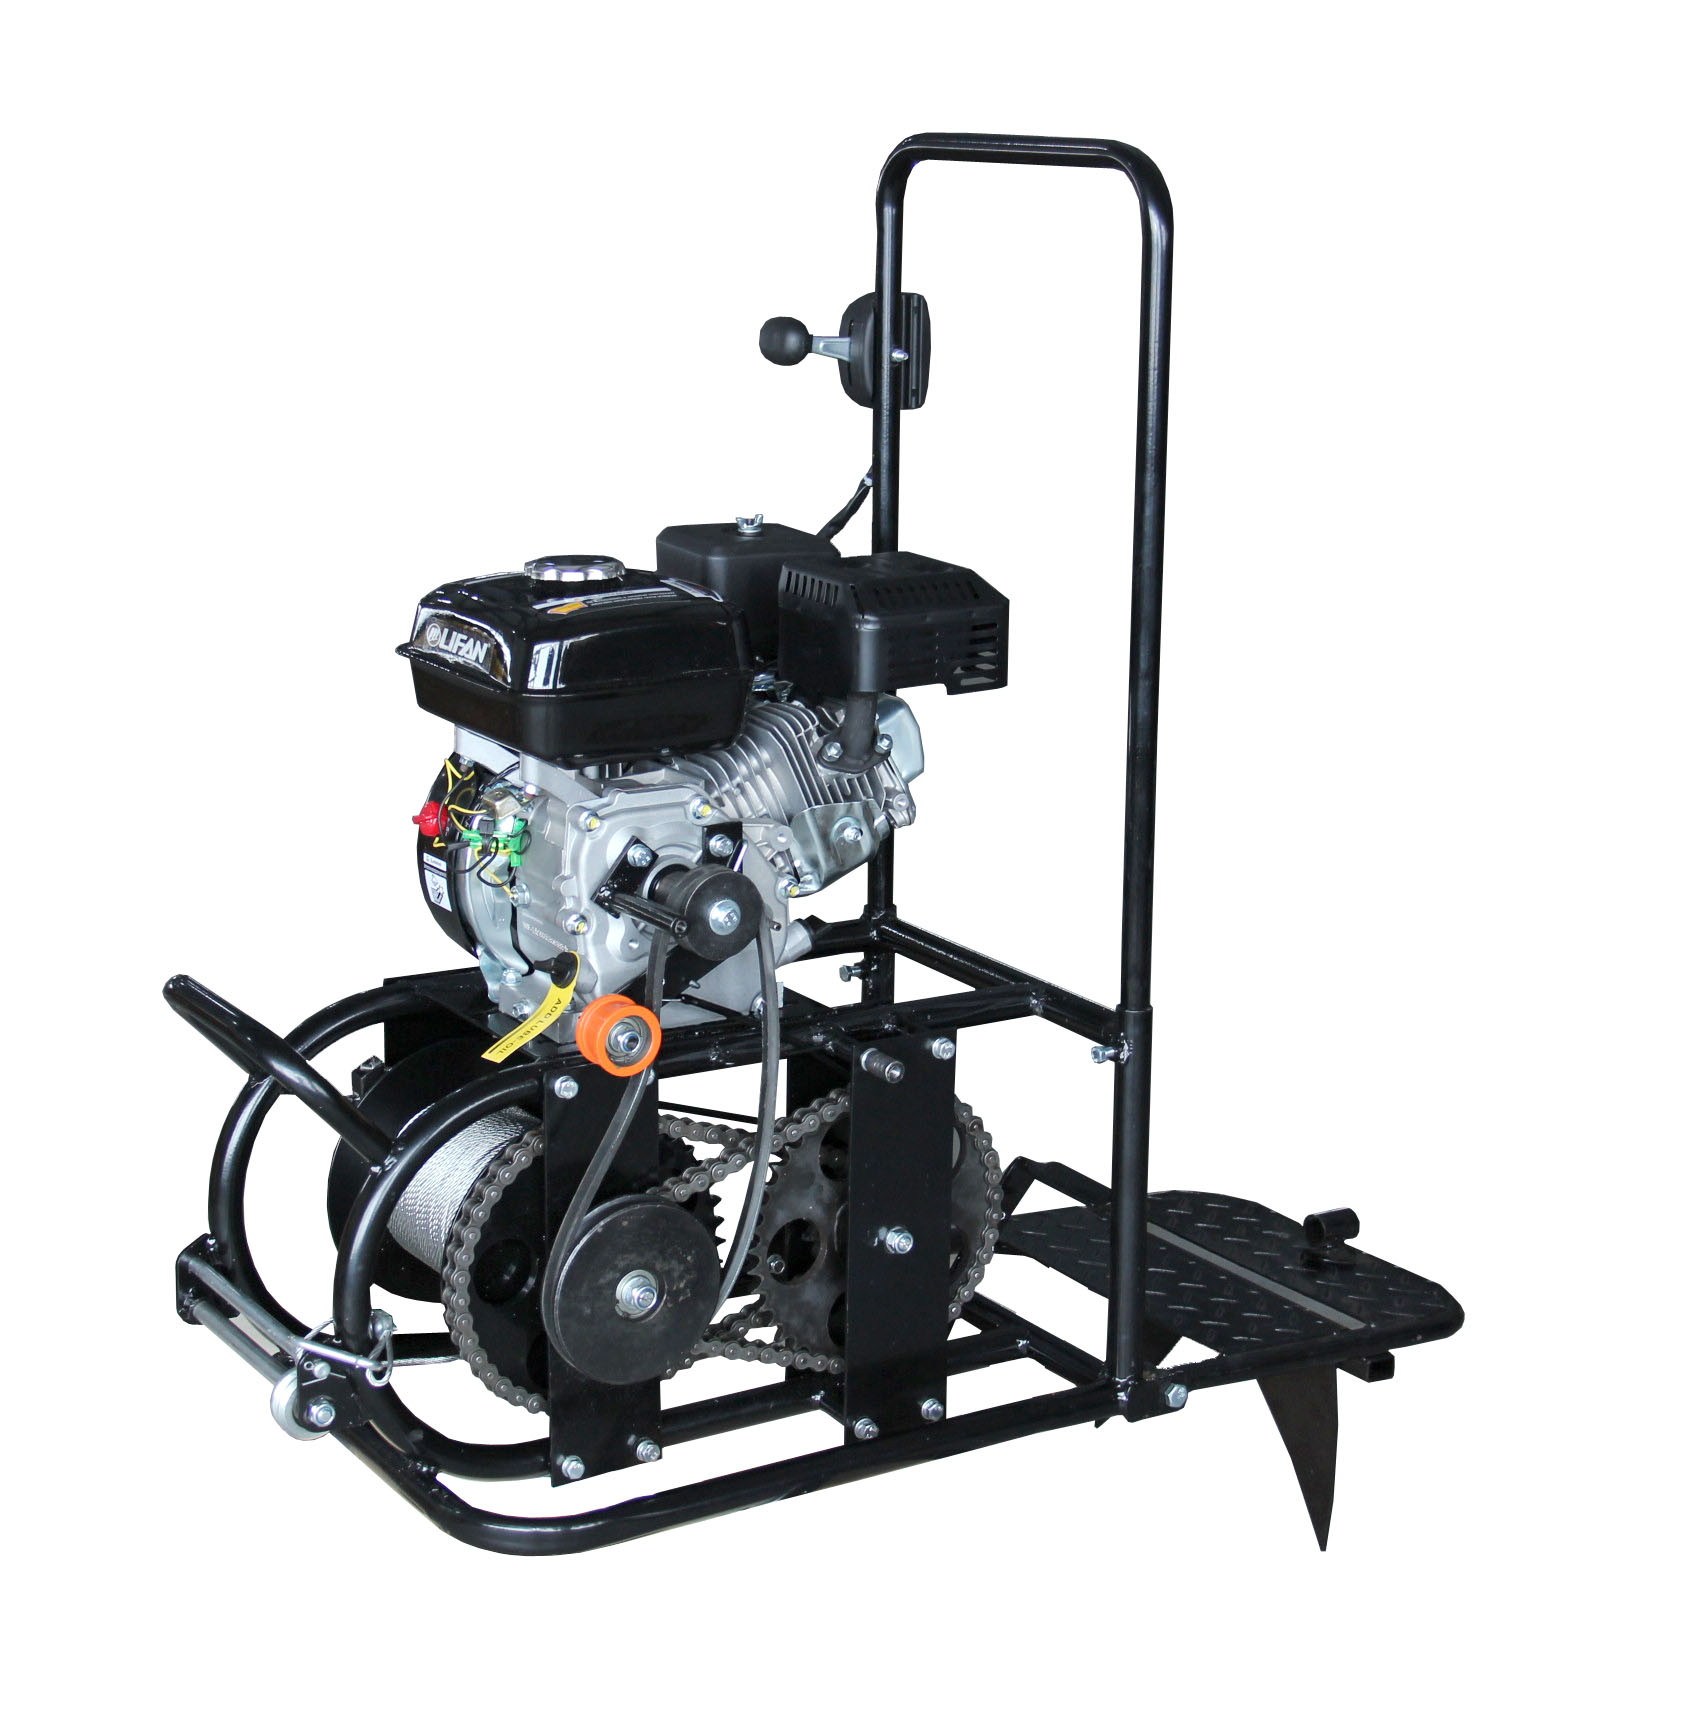
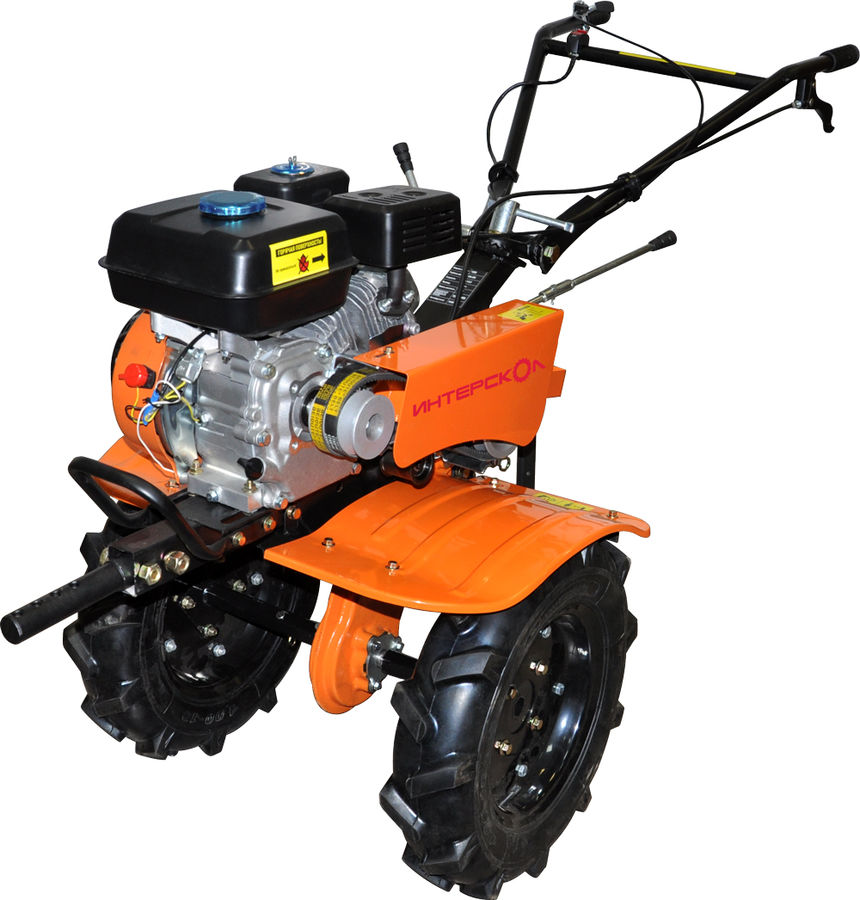
Potato diggers can be mounted not only on a walk-behind tractor, but also on a cultivator and a winch (motorized winch). The differences between these devices are shown in the photo below.
Conveyor digger for heavy haulage equipment
Heavy-duty equipment is designed to service large areas. Therefore, it's essential to use suitable attachments. A conveyor harvester suitable for this type of agricultural equipment should be capable of two-row harvesting, but the harvested crop requires no additional work and can be stored immediately.
It's very difficult to build such a machine yourself. It's better to use industrial models, which come with a warranty and will last longer and provide better service.
Using a universal potato harvester, which digs up the tubers, removes soil and tops, and then reloads them, only makes sense on an industrial scale in very large fields. Such machines weigh over a ton and are expensive.
How to install a potato digger on a walk-behind tractor
So, the potato digger is ready, but it's too early to get started. First, you need to set it up and install it properly. The goal is not only to harvest the potatoes but also to avoid damaging them.
Adjusting the digger:
- Loosen the bolts located between the rack and the lock.
- Move the ploughshare while adjusting the depth of penetration. Optimally, 30 cm is ideal. Anything less can damage the crop.
- Tighten the mounting bolts.
- Now you need to adjust the slope of the sloping board. To do this, simply turn the handle until the board touches the ground, then turn it the other way. The back of the board should be raised about 5 cm above the ground.
How to dig potatoes with a walk-behind tractor and potato digger
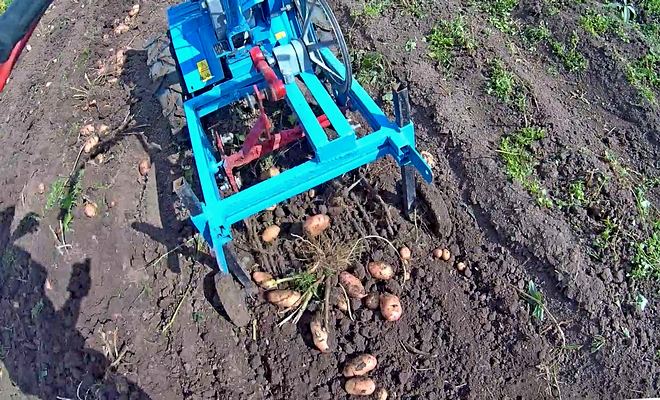
The principle of the unit's operation remains unchanged. The ploughshare cuts the soil, lifts the layers containing the tubers, and turns them to the surface. All that remains is to walk along the rows and collect the potatoes in containers.
How to hill potatoes with a walk-behind tractor
Hilling is a necessary, yet unpopular, procedure among gardeners. Bushes need to be covered with soil from time to time, otherwise roots will grow and the potatoes themselves will be small. A layer of soil provides protection from pests and prevents weeds from growing. Manual work is time-consuming and labor-intensive, so it can be mechanized.
It's best to use a walk-behind tractor for hilling after rain, so the soil can absorb the water. A special tool called a hiller is available, and it can be either a lister or a disc type. It's convenient when this tool is equipped with an adjustment mechanism, allowing it to be used with different row spacings.
The attachment may have one or more pairs of discs made of sheet steel at least 2 mm thick. The discs are connected at an angle to each other. Bushings provide rotation.
Before cultivating potato beds, take the time to set them up. The angle and depth of cultivation are key. Work speed should be slow. The first treatment is carried out immediately after the sprouts emerge. The second is carried out after the shoots reach a height of 40 cm.
Review of commercial potato diggers with prices (table)
| Name, type | Detailed description | Price |
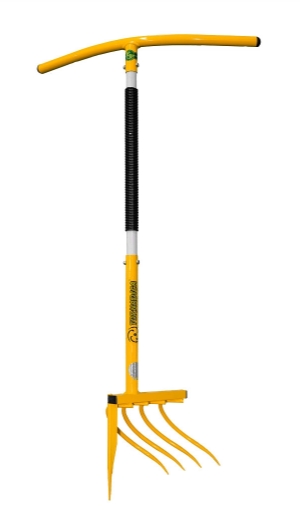
| Manual potato digger "Tornadica" (Tornado)
|
The tool is placed vertically downwards parallel to the ridge and turned around its axis - the teeth of the tool are screwed into the soil under the potato bush, throwing the tubers out.
Technical parameters:
|
1200 rubles |
| Potato digger for the Neva/Oka/Cascade walk-behind tractor
|
The device is designed for use with the Tselina MB, Kaskad, Kadvi, and Neva walk-behind tractors. The digger sifts the soil, and the tubers are thrown to the ground with virtually no damage. The unit is ideal for medium and light soils. It can be attached to the walk-behind tractor using a hitch, which is not included.
Technical parameters:
|
The price is quite low, 1100 rubles. |
| Vibrating (rumble) potato digger for the FORZA walk-behind tractor
|
The device will help gardeners harvest not only potatoes but also onions, beets, and garlic. The row spacing for the device should be at least 60-70 cm. To increase the weight, place a 50 kg weight on the front. It is compatible with NEVA, Salute, Kaskad, Favort, and similar walk-behind tractors. It has proven itself effective in light and medium soils with the following characteristics:
Technical parameters of the device:
|
12900 rub. |
| Vibrating (screen) potato digger Soyuzmash KKM-1
|
It's used for digging up potatoes. The tubers are brought to the surface of the soil, making them easy to harvest by hand. It can also be used for harvesting other crops, such as onions, garlic, and beets.
The depth is adjusted using wheels, and soil separation can also be adjusted depending on the machine's engine speed. Compatible with NEVA, Salute, Kaskad, Favorit, MTZ, and similar walk-behind tractors. Soil characteristics for using this unit:
The device comes complete with a belt and pulley with mounting bolts. Technical parameters:
|
10,500-11,500 rubles |
| Mechanical drum potato digger for Belarus, MTZ, and Agro walk-behind tractors
|
Before using this device, remove tops and weeds. The unit is compatible with Agro and Belarus walk-behind tractors.
Technical parameters:
|
13,500–14,000 rubles |
| Conveyor potato digger for the NEVA walk-behind tractor
|
The device consists of a ripper, lugs, conveyor, and body. The blades are made of metal, ensuring good traction. The blades have a working width of 30 cm and a depth of 20 cm.
Technical parameters:
|
13,500–14,500 rubles |
| Vibrating (rumble) potato digger Tselina KVM-01 for a walk-behind tractor
|
Suitable for use with the following walk-behind tractors: NEVA MB, OKA MB, UGRA NMB, Mobil K MKM Pakhar (Lander), Salute 100, Agat 5, Caiman, and Pubert. A belt may need to be selected for specific walk-behind tractor models.
Can be used on medium or light soils with moisture content up to 27%, stone infestation up to 9 t/ha, and hardness up to 20 kg/cm². The work will be more effective if you use lugs and weights. A few days before use, remove potato tops from the area. Row spacing should be no more than 70 cm. Technical parameters:
|
14,000–14,500 rubles |
| Vibrating (screen) potato digger KKM-2 for Agro walk-behind tractor (Belarus).
|
It can be useful not only for harvesting potatoes but also for digging onions, beets, and garlic. The support wheels allow you to adjust the share depth. Soil separation is controlled by varying the engine speed. It is compatible with AGRO and Belarus walk-behind tractors, as well as any other tractors where the attachments are driven by the machine's power take-off shaft.
Soil parameters for which the unit is suitable:
Technical parameters:
|
14,500 rubles |
| Rusich KKK-2020 potato digger with cardan shaft
|
Single-row conveyor potato digger. Sorts and stacks peeled potatoes in a narrow row. Works with tractors with a power of 22 hp or more: Rusich, Chuvashpiller, Chetrpiller, Agromash, Vladimirovets, MTZ-320, Belarus, T-25, T-40, YUMZ, LTZ, Sintai 220, Sintai 224, Sintai 240, Sintai 244. When using these machines, the processing speed is up to 0.3 hectares per hour.
Technical parameters:
|
55,000 rubles |