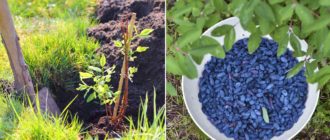
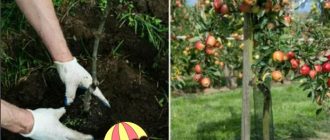
I'd like to share my experience with summer grafting of fruit trees. I was forced to conduct the experiment when the trunk of an old apple tree bearing large, tasty fruits broke. It became clear the tree would have to be cut down. I placed a support under the broken branch, wrapped the broken area, and began studying the literature on budding.
Timing of grafting fruit trees
Budding is carried out during the period of active sap flow:
- in early spring, when the buds are just beginning to swell;
- in the middle of summer, during the period of fruit ripening.
The typical time for summer tree grafting begins in mid-July and ends in mid-August. It's best to choose a time when the wood is particularly moist: 6-8 hours after a heavy rain. A simple test can help check the tree's readiness: cut a young branch with a sharp knife. If the cut is moist and shiny, it's time to graft.
The timing of grafting depends on the climate; in hot regions, fruit trees yield earlier. Fruit begins to ripen in the last ten days of June. In risky farming zones, June can be cool. When nighttime temperatures drop to 10 degrees Celsius, fruit and berry crops slow down their growth. Active sap flow begins only in August.
The benefits of vaccinations
Zoned cherry, apple, pear, and plum trees in nurseries are grafted onto frost-resistant wild stock. Sometimes grafting is done to speed up fruit ripening: if late-season varieties are grafted onto early-ripening ones, a harvest can be obtained by early autumn. I know people who have grafted shoots from tall varieties onto dwarf trees.
My neighbor has a unique apple tree: over 10 varieties have been grafted onto it. I wouldn't dare try that experiment. I've resorted to grafting to preserve my favorite apple variety. They're delicious, juicy, and store well.
Benefits of summer vaccinations
At first, I wanted to cut some cuttings and refrigerate them for spring grafting. But when I started looking for information on preserving scions, I realized how convenient it is to graft in the summer.
Firstly, there's no need to worry about preserving the cuttings. They're stored:
- At home, in the refrigerator, constantly monitoring the humidity. If the humidity is too high, rot is possible; if it's too low, the core will dry out and the channels will become clogged. Such a scion will be useless, and the refrigerator space will be reduced.
- In the garden, in the snow. But then you need to protect the cuttings from rodents. They are placed in a tin container, a piece of pipe, or wrapped in barbed wire. It's important to find a suitable location for the scions, where a lot of snow accumulates. This is usually on the leeward side of a house or building.
Frankly, I didn't want to bother with cuttings. I decided to try summer grafting.
Summer is the period of bark growth, and the apple tree quickly adapts to cuts. There will be no active gum flow at the graft site.
Another advantage is that one-year-old shoots are suitable for propagation by cuttings; the distance between buds is small, the bark separates easily from the core, and the wood is already dense. For spring grafting, you would have to look for two-year-old shoots with growth buds.
The final and most important advantage of summer grafting is that the results are immediately visible. By autumn, new branches and leaves appear on the grafted shoot. The following year, full-fledged fruits are formed.
Methods of summer grafting
First, about the tool. I didn't have a special knife. I used a linoleum cutter. I pre-treated the blade with chlorhexidine to prevent introducing fungal spores and infection into the wood.
Any type of budding consists of several consecutive operations, it is necessary:
- make an incision on the grafted shoot and the rootstock branch into which the scion will be implanted;
- connect the cut sites so that there are no gaps for gum flow;
- press both parts tightly;
- wrap the bark first with cloth, then with film;
- give time for growth.
For the experiment I used all three types of budding.
With a pipe
I selected shoots for the rootstock and scion, each about a centimeter in diameter. I peeled the bark from the rootstock in a circle, leaving a living bud about 3 cm high. Then I made a similar ring on the scion. I wrapped the ring with bark from a broken apple tree, which I used to wrap around a branch of a young Antonovka tree—the earliest and most fruitful variety on my property.
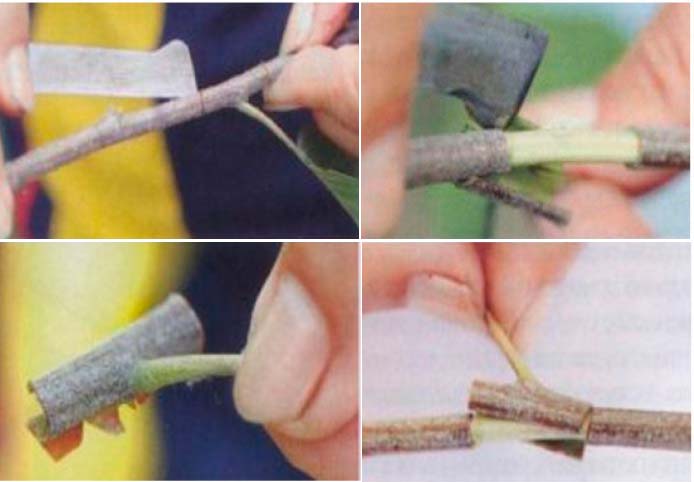
I wrapped the bark tightly with a damp belt from an old robe, leaving the bud intact. I then placed a bandage of plastic on top to prevent the fabric from drying out. I made the cut on the north side to reduce sun exposure.
Bark budding
This grafting was easier. I removed all the leaves from the cutting and made a cut on the Antonovka branch, making sure not to damage the flesh.
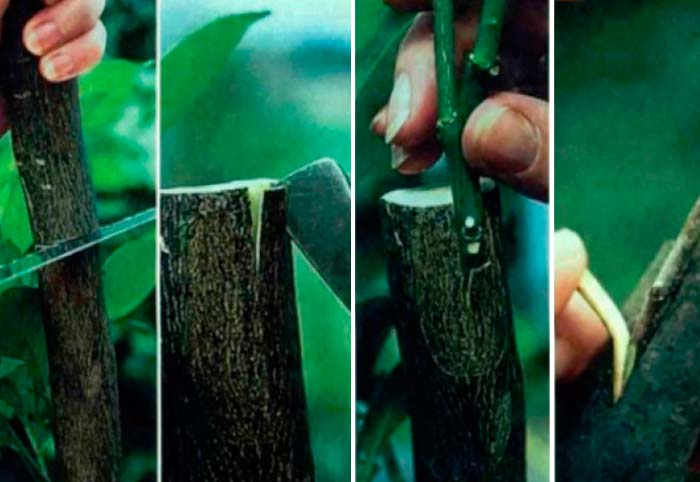
I attached a beveled cutting to the exposed wood. I didn't apply a bandage, but instead tied the cut with soft wire and then sealed it with garden pitch.
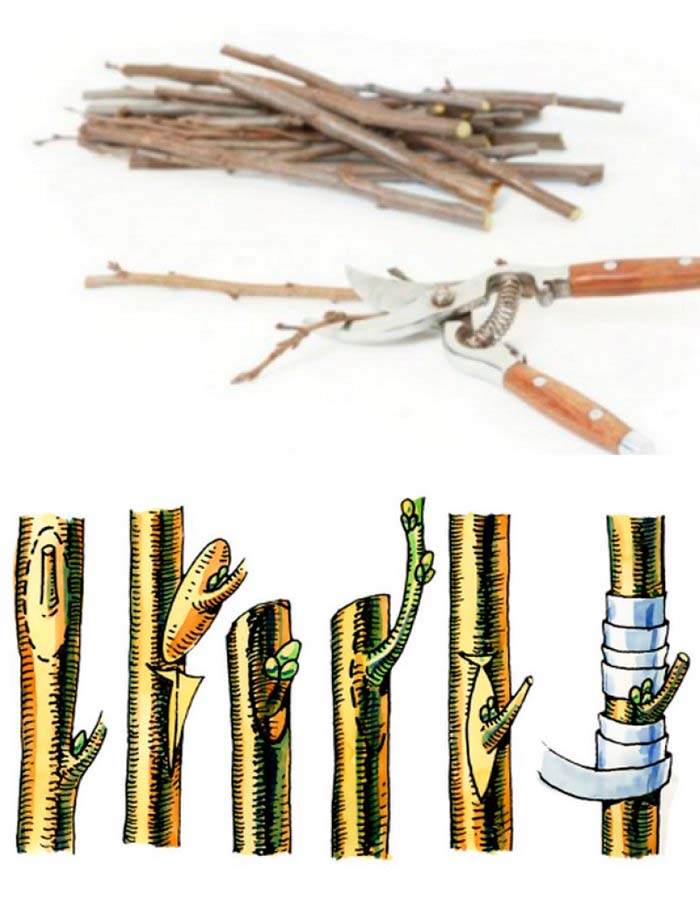 Grafting into the butt
This method is somewhat similar to the first two. However, you don't remove the bark from the entire diameter of the branch, but only from the bud (young branch). This type of scion can be grafted onto thick branches of the rootstock.
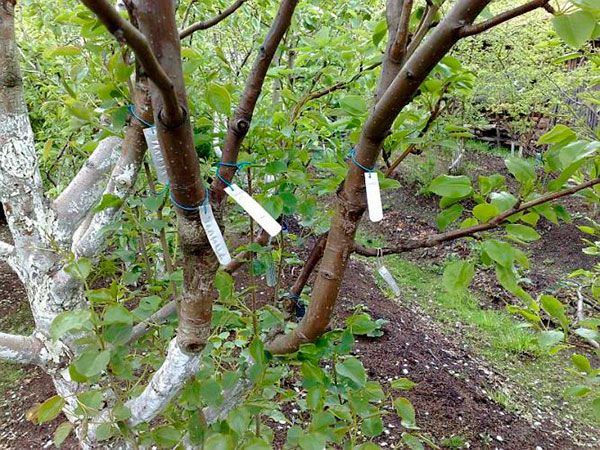
To ensure the variety was preserved, I took 15 cuttings from the dying apple tree, five for each method. Not all of the scions took, only eight. For a beginner, I considered this an excellent result. The following year, Antonovka delighted me with my favorite apples. They ripened a little early, but were stored in the basement until the New Year.