Dear readers, in this article, you'll learn all the nuances of growing nemesia from seeds at home. We'll tell you when to sow it for seedlings, how to care for the seedlings, and much more. And first, a few words about the flower itself.
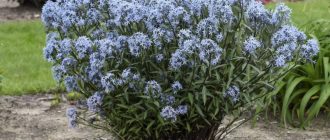
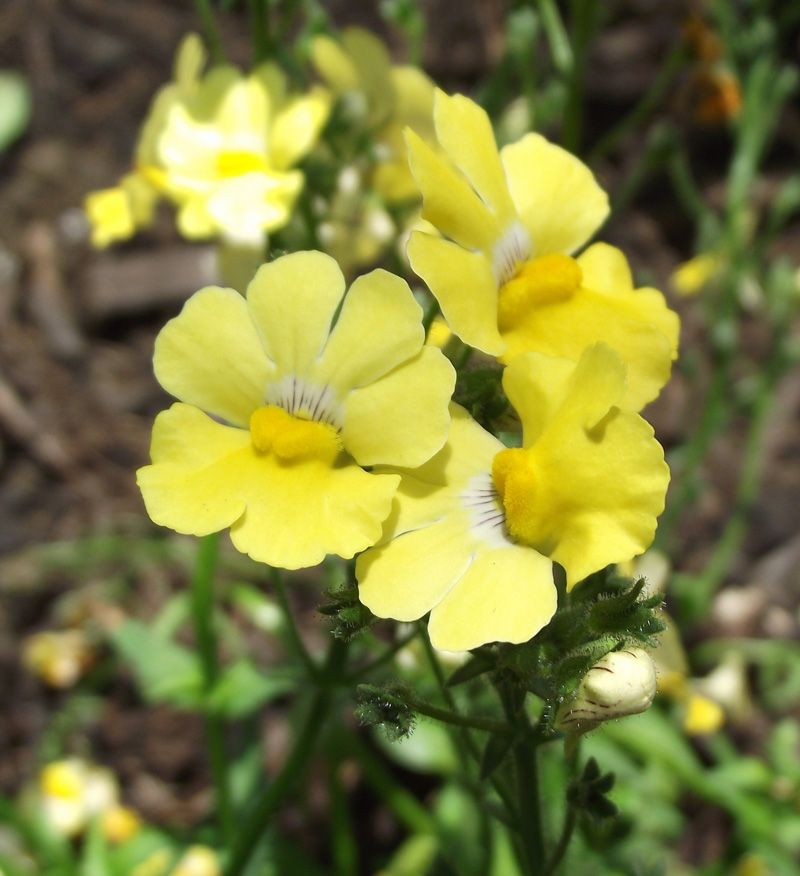
Nemesia is a perennial herbaceous plant or subshrub up to 0.3-0.6 m in height. Most specimens grow in South America. The genus includes over 50 species. The flower does not tolerate frost well, so in Russia it is grown as an annual. Its distinctive features are its decorative appearance and versatility. The plant decorates parks, urban flowerbeds, garden plots, and alleys. Trailing varieties are planted on balconies, loggias, windowsills, and terraces. Nemesia will look appropriate anywhere and will add vibrant color to any landscape design or interior.
Growing Nemesia from Seed
Reproduction at home can occur as follows:
- seeds;
- dividing the bush;
- by cuttings.
The first method is preferable, as dividing can damage the nemesia's delicate root system. Propagating the plant by cuttings is inconvenient, as the shoots are very thin and fragile.
Timing for planting nemesia seeds at home
If the flower is provided with all the necessary conditions for development, the first shoots will appear within 1-1.5 weeks. Full-fledged seedlings will emerge within 20 days. Therefore, to ensure nemesia blooms in early spring, sow the seeds in late February or early March.
Selecting Nemesia Seeds
After flowering, seedpods begin to form in place of the buds. These can be harvested and sown in favorite varieties the following season:
- After the buds have wilted, tie them with pieces of gauze to prevent the capsules from bursting and the seeds from scattering on the ground.
- After the seeds are fully ripe, cut off the shoots along with the inflorescences, without removing the gauze bags from them.
- Carefully untie the fabric, shake out the contents and dry it thoroughly.
- Store seeds in a paper bag for no more than 2 years.
They lose their ability to grow after two years from harvest. Therefore, when purchasing them from a flower shop, it's important to pay attention to the date they were picked and packaged.
Home-grown seeds should also be labeled with the month and year. This will always indicate whether they are suitable for planting. Experienced gardeners recommend choosing the Triumph variety when collecting seeds from their own bushes. It has a 100% germination rate.
Soil and containers for growing seedlings
The soil can be purchased in the store (a mixture for flowering plants) or prepared independently from equal quantities of:
- garden soil;
- sand;
- rotted humus;
- compost.
Such a substrate will be quite nutritious and loose.
The following can be used as containers for planting:
- containers;
- flower pots;
- plastic cups;
- peat tablets.
They should have holes in the bottom. A drainage layer of expanded clay or small pebbles should be placed on top. This will help prevent water stagnation, which is harmful to the plant.
Sowing for seedlings
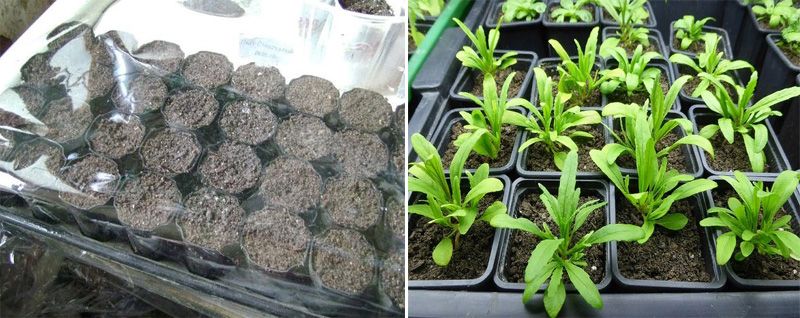
Sowing seeds for seedlings is carried out in pre-prepared containers with soil mixture as follows:
- Pour the substrate over the drainage layer, leaving 2-3 cm from the top of the pot.
- Lightly compact the soil with your palms.
- Mix the seed with sand and distribute it evenly over the surface.
- Place the seeds into moist soil to a depth of 0.5 cm.
- Sprinkle a layer of peat (2 mm) on top.
- Spray lightly with a spray bottle.
- Cover with glass or plastic.
Growing from seeds can also be done in another way:
- Pour the purchased soil mixture or the self-prepared substrate onto the drainage (the same as in the first option, leaving a few cm from the edge of the container).
- Compact the soil with your hands.
- Sprinkle a small amount of snow on top in an even layer.
- Take a toothpick and moisten it.
- Place one seed at a time on the icy surface. No need to cover with peat moss. Once the snow melts, the seeds will spread evenly across the ground.
- Water the soil with a spray bottle.
- Create greenhouse conditions by covering with a glass jar or plastic wrap.
Growing seedlings
After planting, the seed containers should be moved to a room with a temperature of +20°C. Ideally, place them on a south-facing windowsill, shaded from direct UV rays. Remove the cover daily for ventilation, moisture, and removal of condensation.
Water the substrate as the top layer dries out, approximately 2-3 times a week.
After 15 days, the first shoots can be seen. Once sprouts appear, the cover should be removed completely. The air temperature should be between 10 and 15°C. After removing the glass or film, problems may arise: the seedlings will begin to dry out. This can be caused by dry air from heating devices, cold temperatures, or drafts. In these cases, you can save the young plants by building a mini greenhouse. To do this, you need:
- Place a pencil in the center of the container with seedlings.
- Cover the container with plastic wrap (do not tuck the ends, they should hang down freely).
- Thanks to such a greenhouse, nemesia can be revived and favorable conditions for growth can be created.
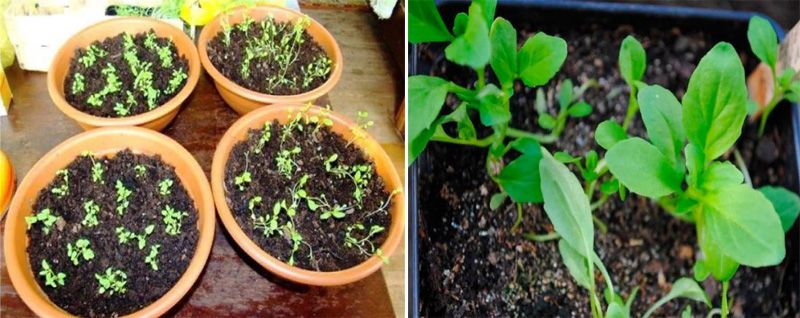
A week after the sprouts emerge, add potassium or phosphorus-containing fertilizer to the soil. Seedling nutrient mixtures are available at any flower shop. Use the dosage indicated on the packaging. This fertilizer has the following beneficial effects:
- increases the number of flowers and stimulates their early appearance;
- prolongs the flowering period;
- gives more colorful coloring to the petals;
- strengthens the root system;
- promotes rapid development of young shoots.
Potassium-phosphorus fertilizers contain little or no nitrogen. This allows nemesia to bloom profusely without wasting energy on building foliage.
Experienced gardeners recommend the following mixtures for feeding flowering plant seedlings:
- monopotassium phosphate;
- nitrophoska;
- nitroammophoska;
- diammophoska;
- Potassium-phosphorus mixture "Autumn".
When the first true leaves appear on the young shoots, transplant them into separate containers. Peat pots are ideal. Step-by-step repotting:
- Prepare paper or peat cups. Use the same soil as for seedlings as the substrate.
- Carefully remove one sprout at a time and move it to a new location according to a 5*5 cm pattern.
This should be done by transplanting the plant, including the root ball, as early as possible. The plant has a taproot system, and once it's fully formed, it can be damaged during transplantation. Furthermore, delaying transplantation increases the risk of fungal infections. The bushes will fade and bloom poorly.
After being moved to separate containers, young bushes should be kept at room temperature. Further care includes:
- Visual inspection of shoots for diseases and insect pests.
- Timely watering (when the top layer of the substrate dries out, approximately once every 3-4 days).
- Good lighting (if there is not enough light, extend the daylight hours with phytolamps).
- Ventilate the room daily (avoiding drafts). If it's cold outside, move the nemesia to another room when opening windows and vents.
In central Russia, planting in open ground, according to the lunar calendar, occurs in late May or early June, when the risk of frost has subsided. The site should be well-lit, protected from drafts, and have well-drained, light, and moderately nutritious soil.
Growing nemesia from seed isn't particularly difficult; even a novice gardener can handle it. Although the seeds are very small, planting and subsequent care of the seedlings won't be a problem if you follow all the recommendations outlined above.