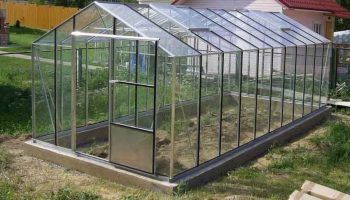
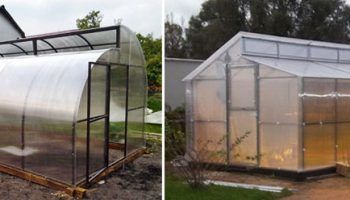
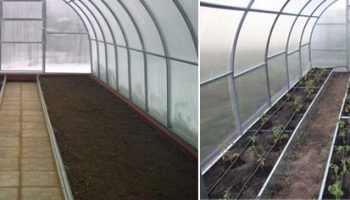
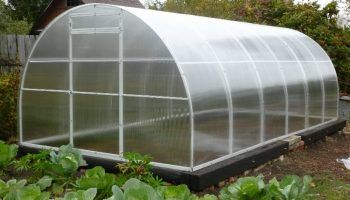
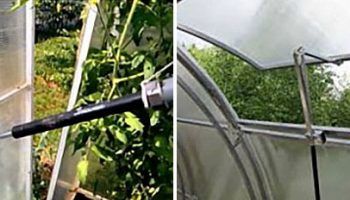
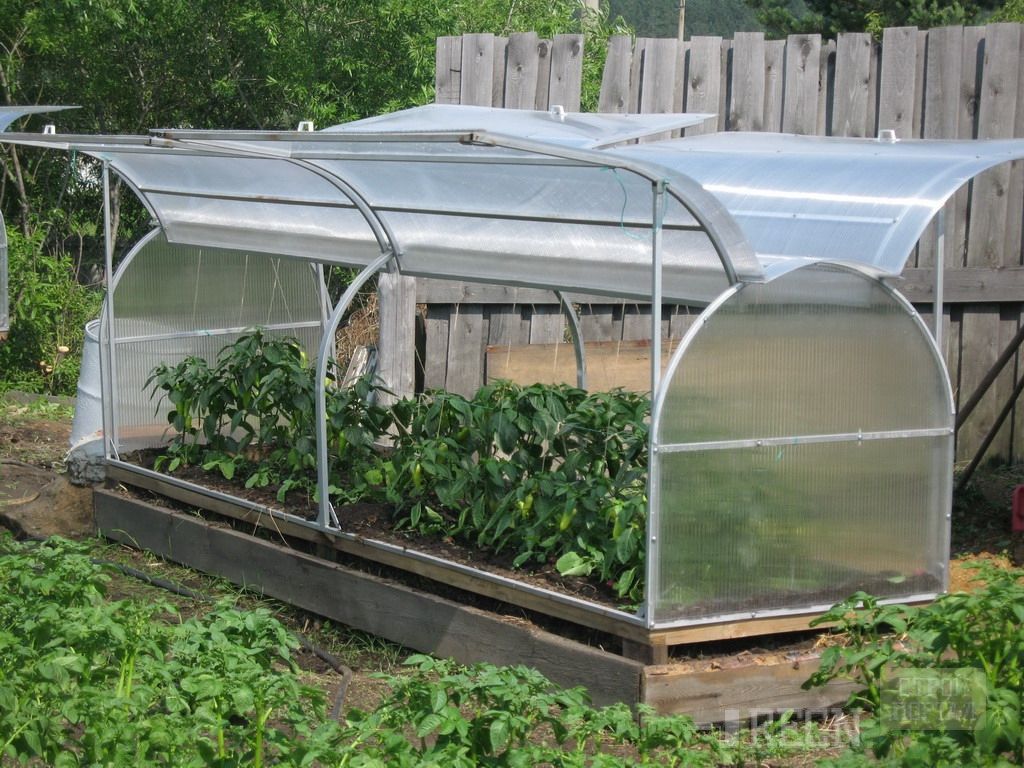
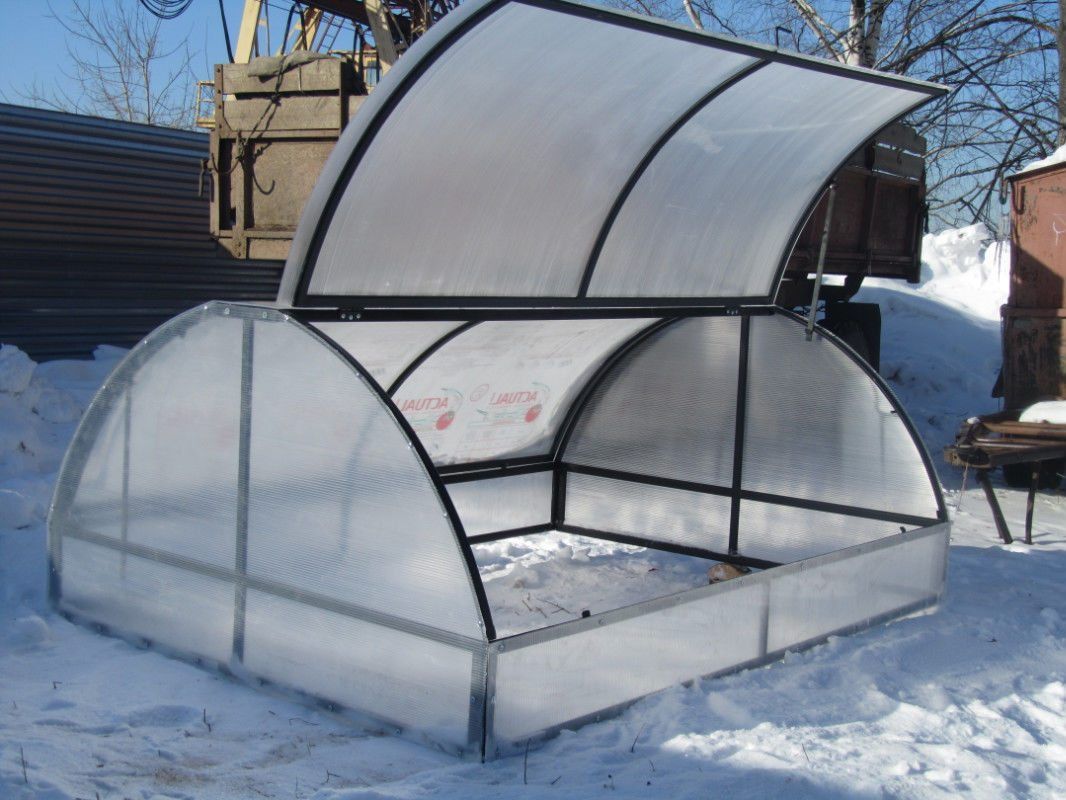
The "Butterfly" greenhouse is a practical solution for summer cottages. It has traditionally enjoyed high demand because it is inexpensive, easy to assemble, functional, and reliable.
Content
- 1 Butterfly greenhouse design options
- 2 Assembly and installation steps for the Butterfly greenhouse
- 3 Step-by-step instructions for assembling the Butterfly greenhouse
- 4 Rules for using a polycarbonate greenhouse
- 5 Best models: specifications and prices
- 6 Tips from Butterfly Greenhouse Users
- 7 Features of the Butterfly greenhouse: convenient or not
Butterfly greenhouse design options
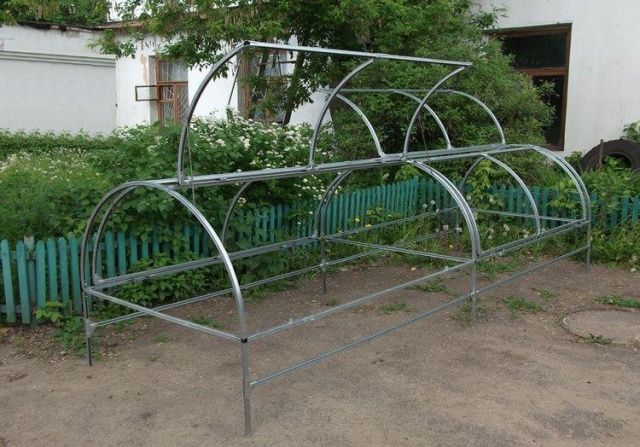
The type of greenhouse is determined by the type of crops grown and the area the structure must occupy. The following are distinguished:
Greenhouse dimensions: 400*150*110 cm
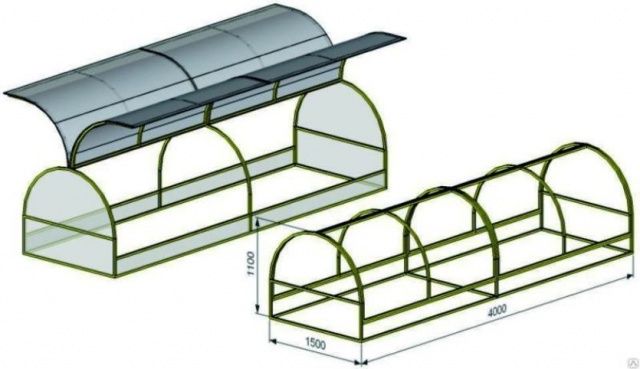
To construct it, you need a 7m long polycarbonate sheet with transverse lines to reinforce the structure.
On arched lids, the distance between the stiffening ribs should not exceed 50 cm and 45 cm at the ends.
To strengthen the foundation, 30 x 400 cm strips are provided. Three arches are attached to the ground, and an additional arched support is installed in the center.
Greenhouse for tall plants
When growing tall crops, a “ridge” is installed strictly in the center, which allows for an increase in the area of the structure and its height.
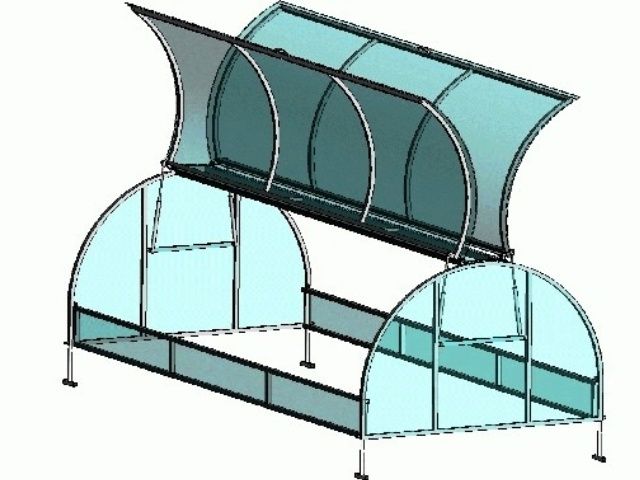
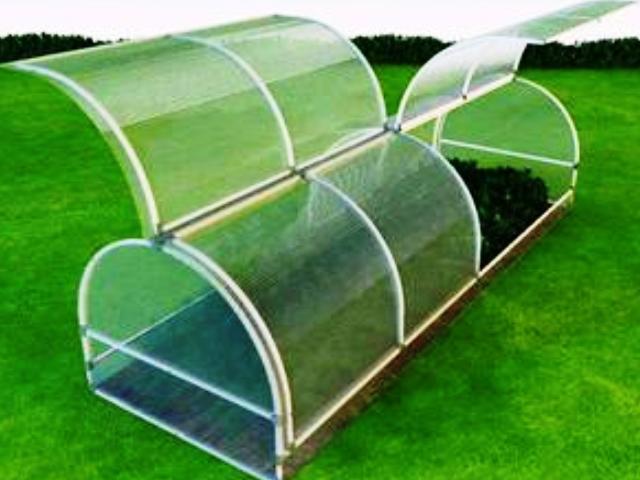
Model with separate "wings"
The design is convenient because it allows you to save heat.
Sloping greenhouse
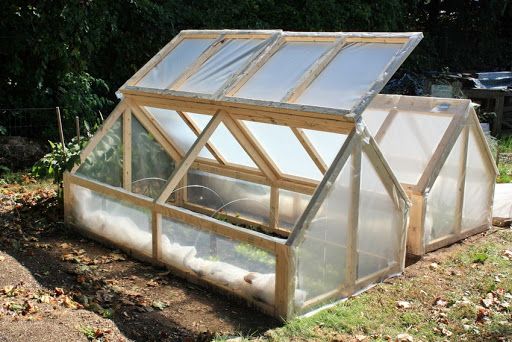
Typically, the height of such structures reaches 130 cm. This model is convenient because it eliminates the need for arched parts.
Assembly and installation steps for the Butterfly greenhouse
Choosing a location
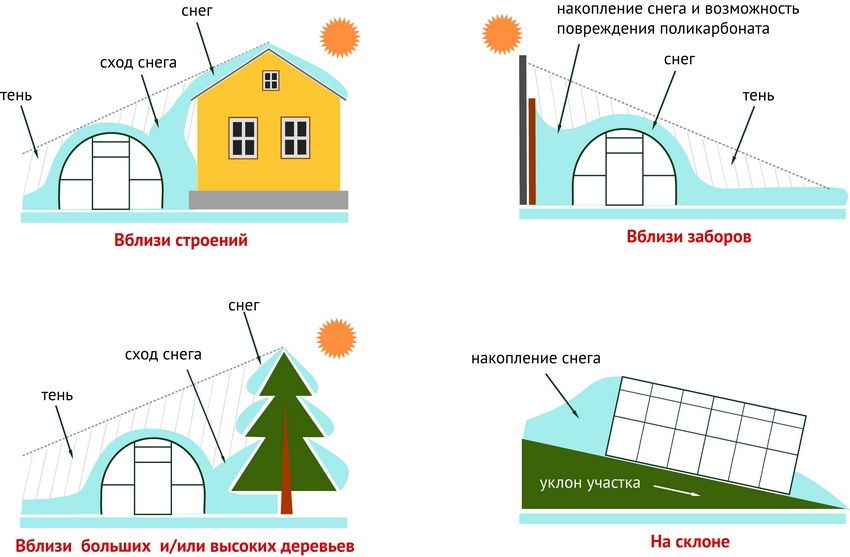
The determining factors in choosing a location for construction of a building are:
- lighting level – the optimal orientation is considered to be from north to south with sufficient insolation (the possibility of shading from trees or nearby buildings should be taken into account);
- landscape characteristics – it is better to place the greenhouse on a flat surface;
eliminating the possibility of flooding – it is recommended to avoid low-lying areas; - Wind direction and strength – ignoring the wind rose can have a negative impact on the strength of the structure.
Material for making the frame
It's recommended to make the arched frame from lightweight, corrosion-resistant metal structures. Metal arches can be ordered from a workshop based on custom calculations. If the greenhouse is being manufactured to standard specifications, additional parts can be easily purchased from any manufacturer.
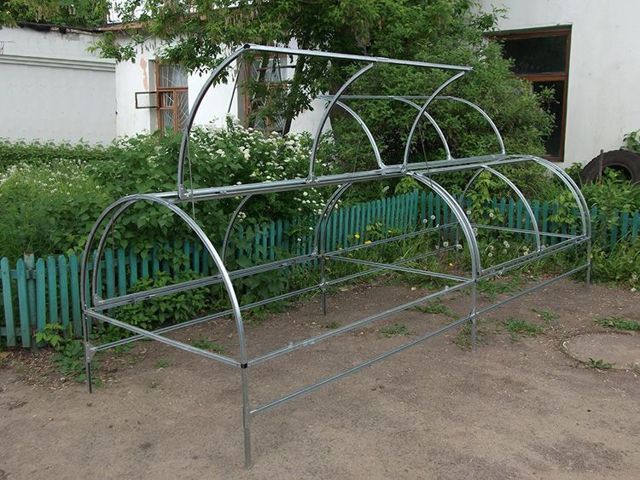
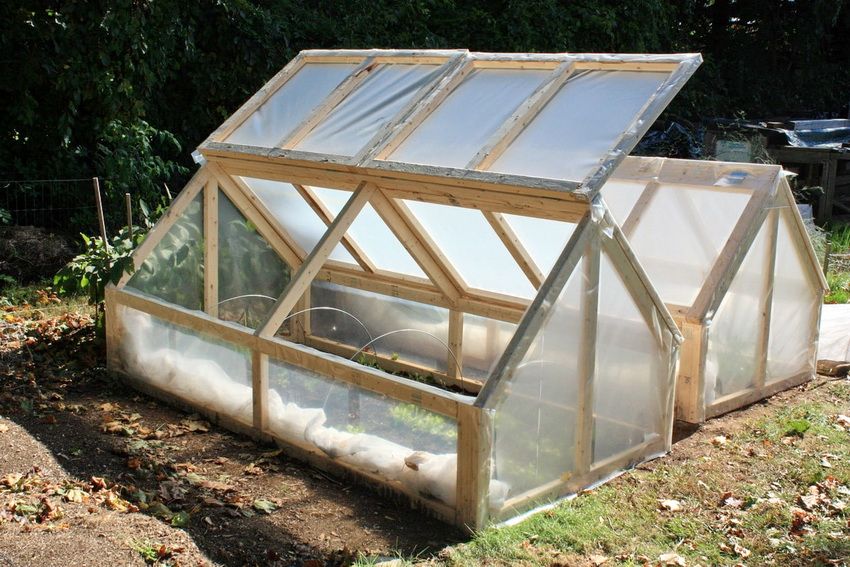
In some cases, metal is replaced with wood or plastic. The average lifespan of a pine frame without special maintenance is five years.
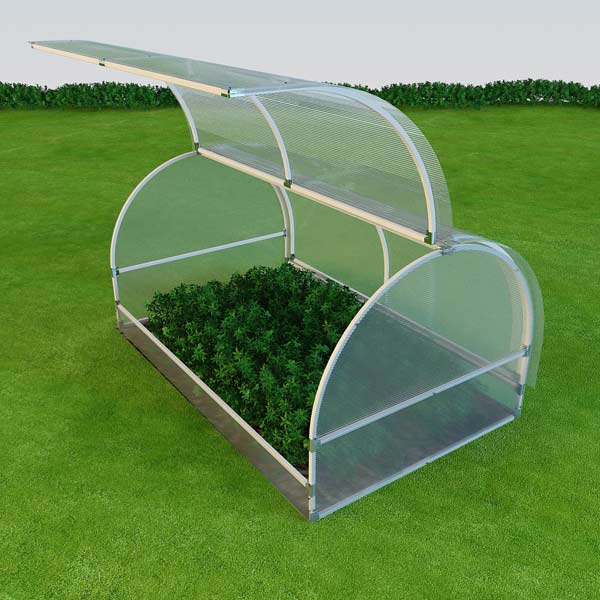
When using plastic pipes, it should be taken into account that they are vulnerable at the bending point, which is subject to increased loads.
Sheathing material
In practice, the following materials are used for greenhouse cladding:
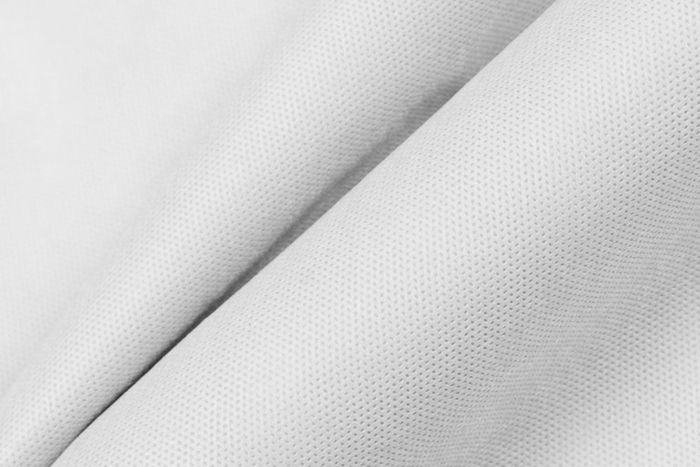
Agrofilm – the disadvantage is the low safety margin, because of this, even with its low cost, the total costs may be high.
Glass – it is important to use a symmetrical number of window frames.
The disadvantages of the material include:
- relatively high weight;
- presence of an optical lens effect;
- inconvenience when opening and closing windows;
- fragility;
- the impossibility of giving the glass an arched shape, which is essential for proper lighting and heat exchange (flat glass quickly heats up in sunny weather even at sub-zero temperatures).
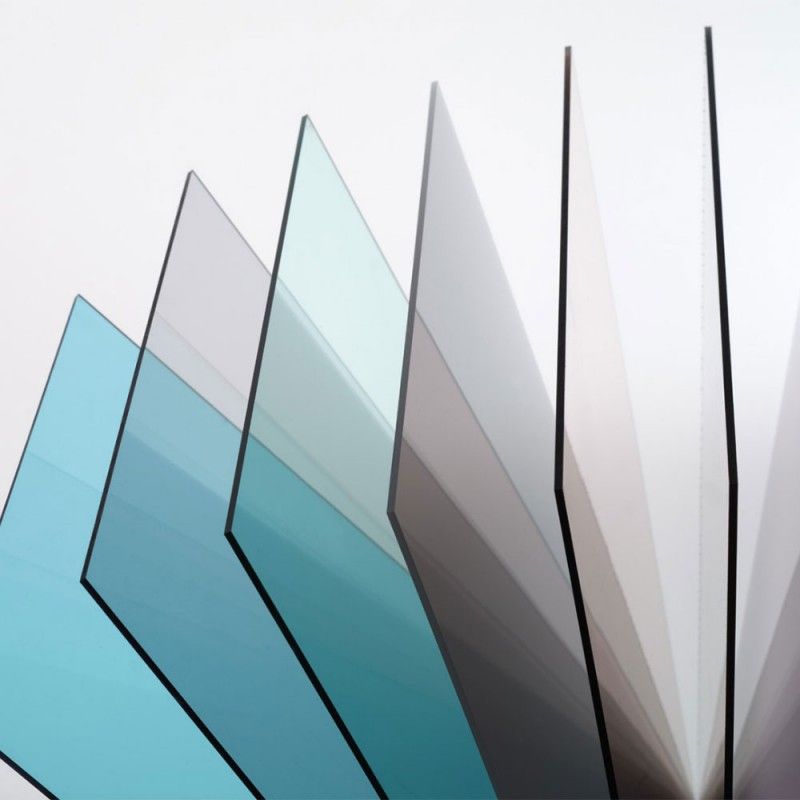
Polycarbonate – differs:
- lightness, which makes it easy to transport;
- strength and durability (300 times stronger than glass);
- flexibility, which allows the production of arched structures;
- transparency – the ability to transmit and scatter sunlight (transmittance is 90%, there is no optical lens effect);
- the ability to block ultraviolet rays, which has a beneficial effect on cultivated crops;
- the ability to use light filters:
red and orange promote plant growth;
yellow is characterized by its repellent effect on potential insect pests; - high heat-saving capacity.
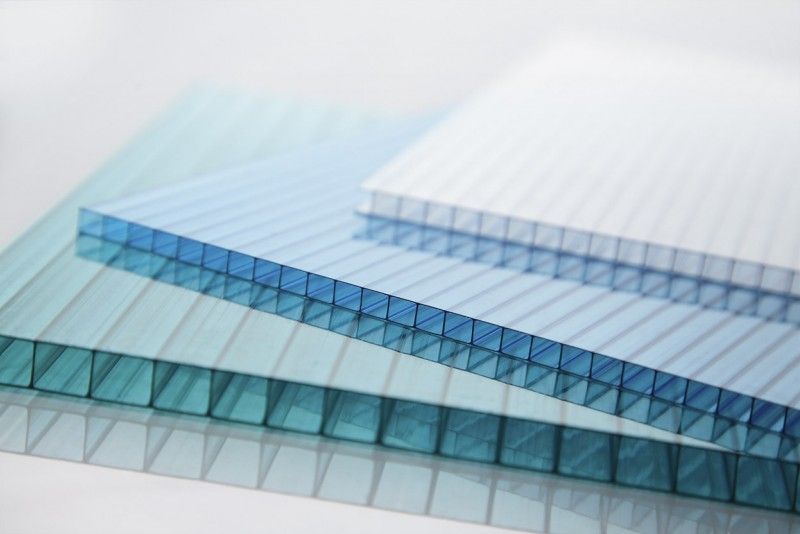
Therefore, polycarbonate sheets are the most preferred cladding material. The material comes in both cast and cellular forms. Cellular forms offer increased heat retention (due to their cellular structure), are lighter, have similar strength, and are less expensive (due to the savings in material), making this type of polycarbonate more widely used.
Butterfly Greenhouse: Drawings with Dimensions
When preparing a drawing, it's important to consider not only the materials to be used, but also the plant varieties planned for cultivation, the possibility of artificial heating, and the required structure. It's also helpful to consider the likelihood of dismantling or transporting the greenhouse, which will definitely impact both the complexity of the elements used during installation and their weight. Based on the above, the total cost of the project is calculated.
Drawings of several models of the "Butterfly" greenhouse:
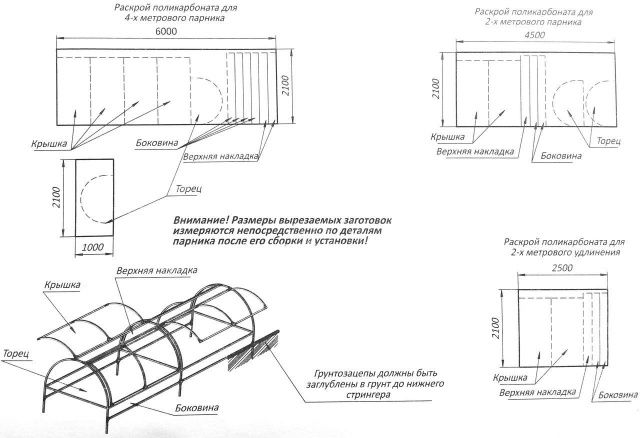
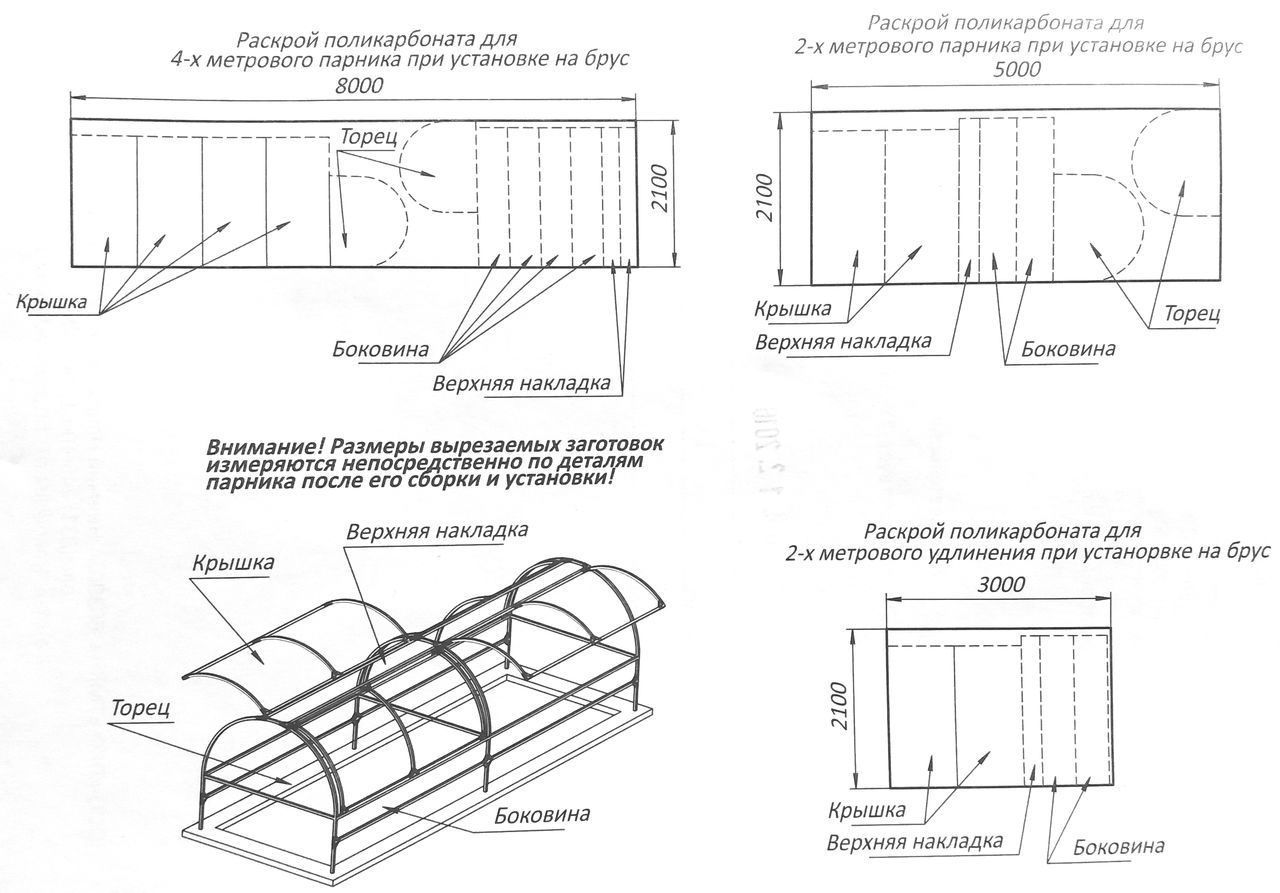
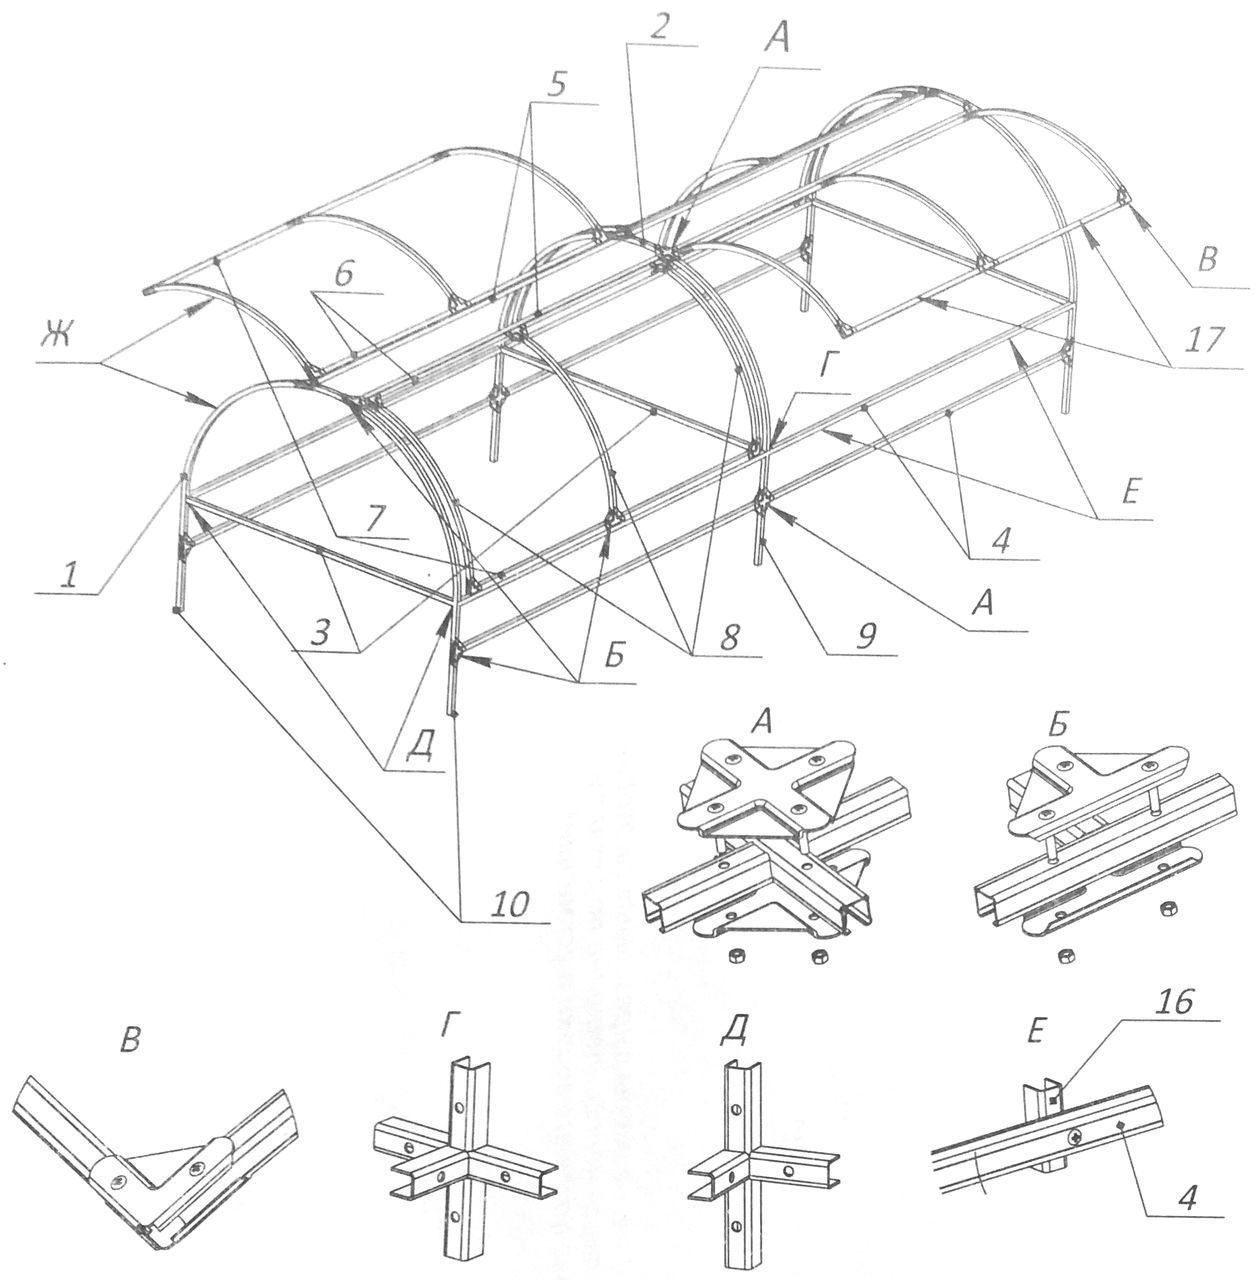
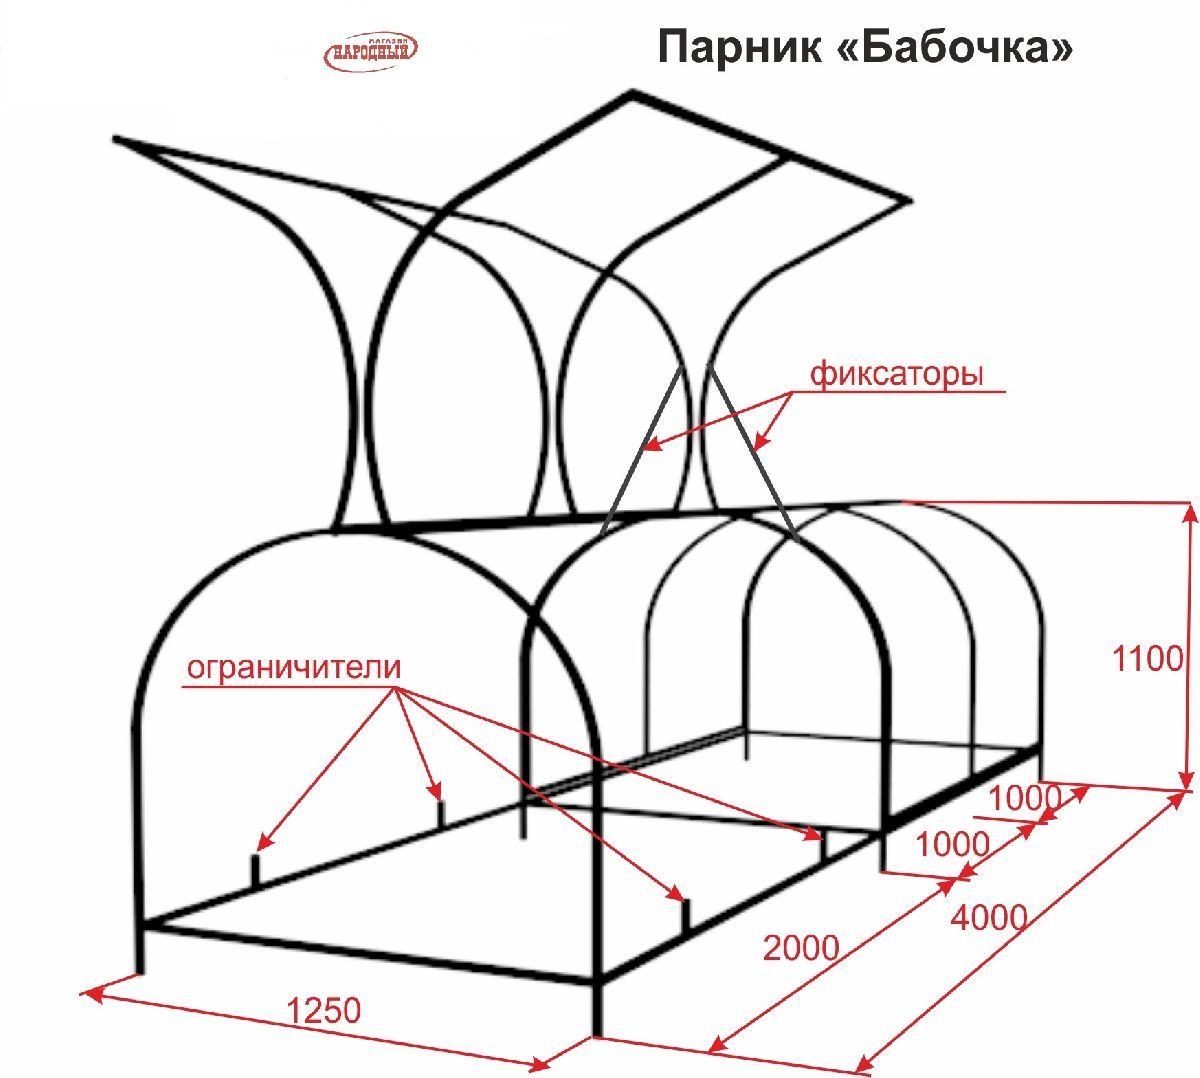
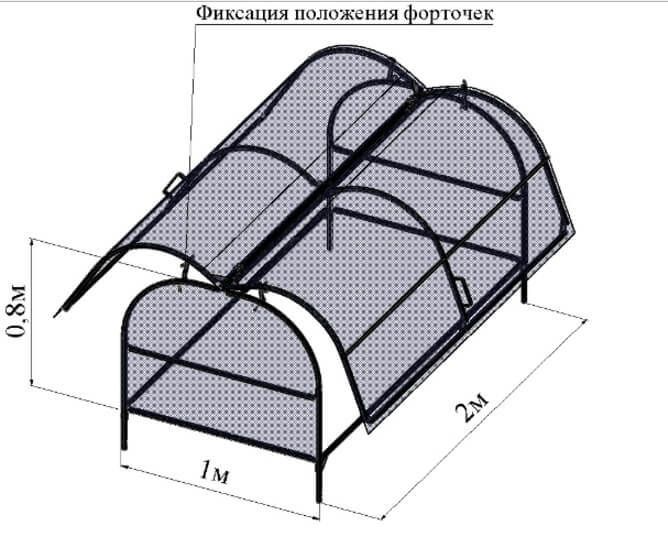
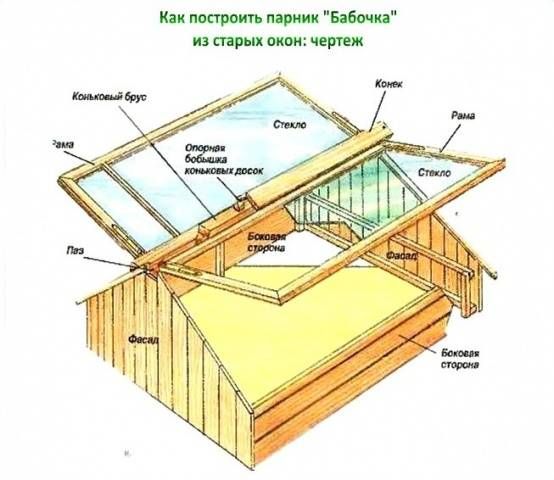
Standard sizes are 4 m in length, 2 m in width and 1-1.5 m in height.
Step-by-step instructions for assembling the Butterfly greenhouse
If you're feeling adventurous, it's easy to install the Butterfly greenhouse yourself. To assemble a 4-meter-long, 1.6-meter-wide greenhouse, you'll need:
- polycarbonate sheet – 2.1×9 m,
- two beams treated with an antiseptic, 3.9 m long, and two beams 1.6 m long, with a cross-section of 10*10 cm.
- metal arches – 3 pcs.;
- cross metal beam 1560 mm – 3 pcs.;
- upper and side stringers 1980 mm – 12 pcs;
- stringers for 1830 mm sashes – 4 pcs.;
- lug 450 mm – 6 pcs.;
- handles and stops for sashes;
- door hinges – 8 pcs.;
- corner and intermediate brackets – 4 and 2 pcs.;
- triangular and square kerchiefs – 32 and 8 pcs.;
- turntables – 8 pcs.;
- corner – 32 pcs.;
- fasteners – nuts, screws, washers, metal screws and roofing screws.
The sequence of actions looks like this:
| Illustration | Step-by-step actions |
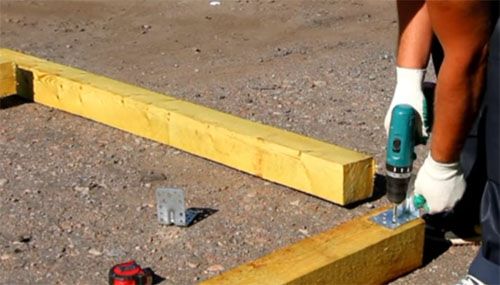 |
A foundation made of wooden beams is installed. |
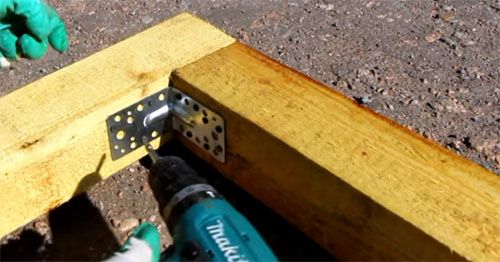
|
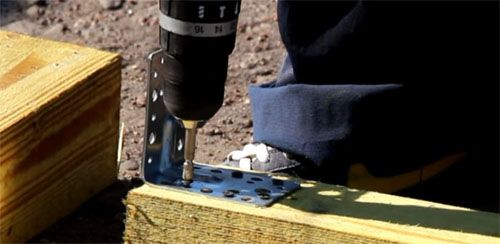
The foundation sections are secured with metal brackets. To check the structure's alignment and diagonals, it's recommended to use a spirit level and tape measure. |
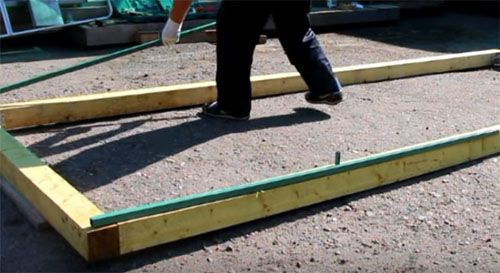 |
The next step is to install the metal base on the prepared foundation. |
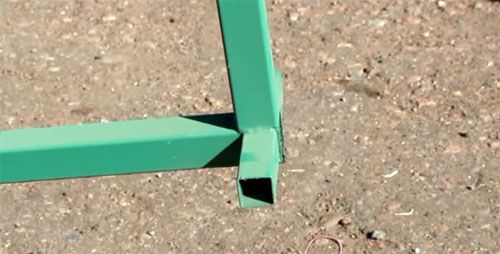 |
The arched sections are then attached to the greenhouse base using fastening "whiskers" inserted into the grooves and secured with screws. |
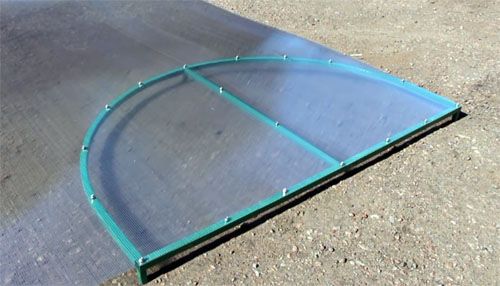 |
The film is removed from the front of the polycarbonate sheet. Half of the sheet is placed on the end arch and secured with screws. |
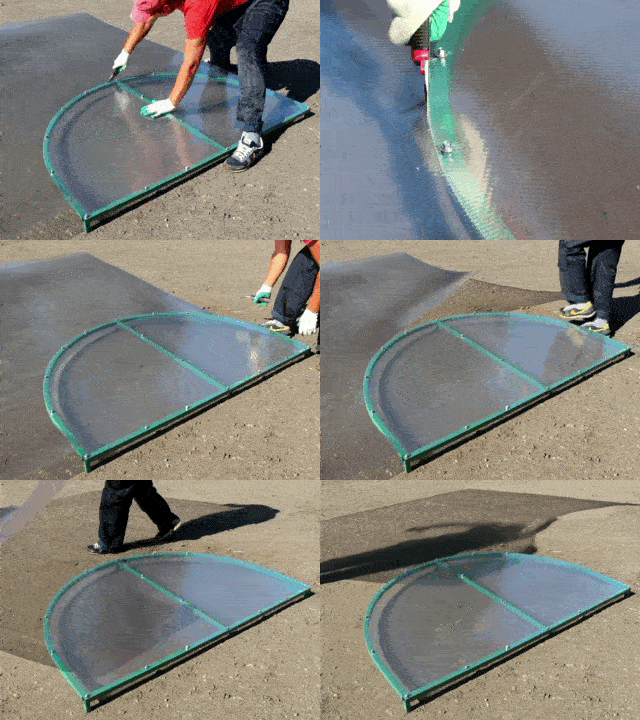 |
Excess polycarbonate is cut off. The second end part of the greenhouse is prepared in a similar manner. |
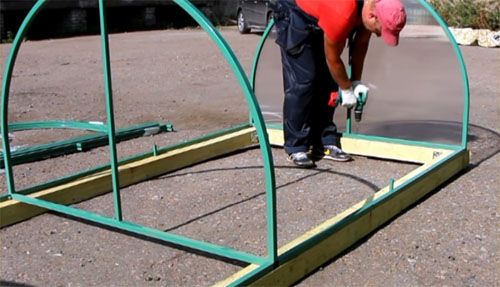 |
The finished end pieces are attached to the base using self-tapping screws, after which the greenhouse frame is installed in a similar manner. |
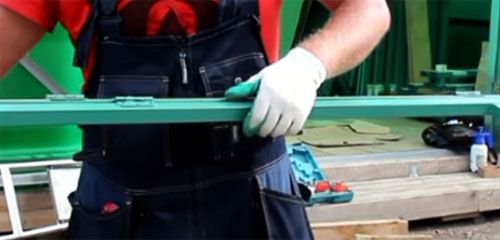 |
The next step is to fix the upper ties to the frame with screws. |
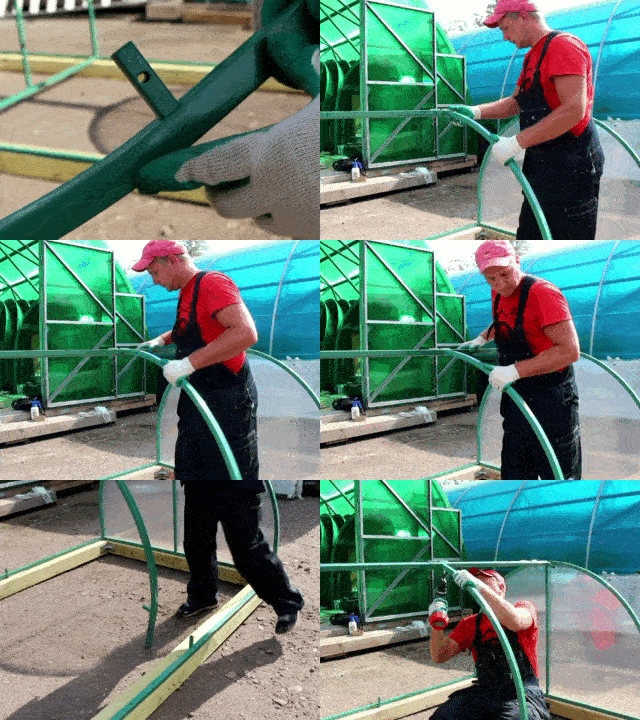 |
Arcs with a pin are fixed to the frame. |
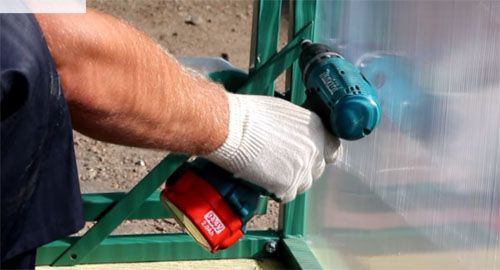 |
To increase strength, the corners of the greenhouse are reinforced with metal ties. |
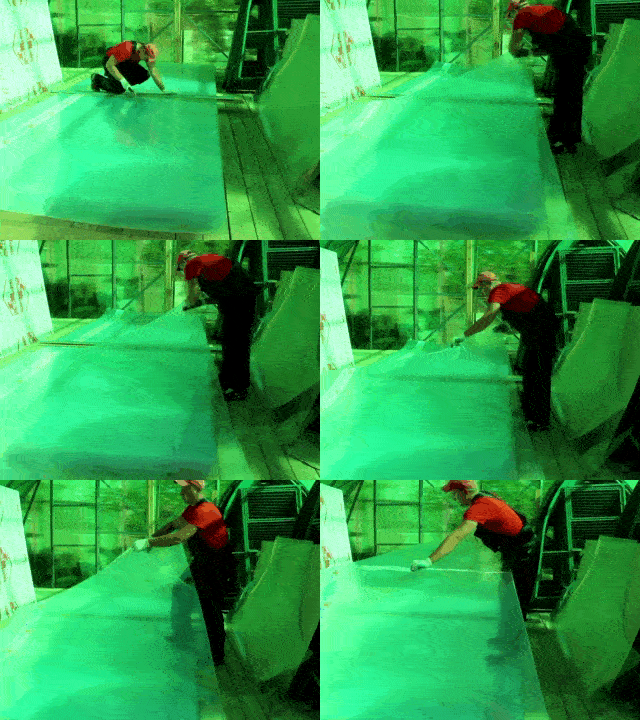 |
The film is removed from the polycarbonate sheet, after which it is cut into two equal parts, which are then applied to the frame. |
 |
After alignment in the middle, as well as at the bottom, fixation is carried out with self-tapping screws at intervals of 10 cm on all metal elements of the structure. |
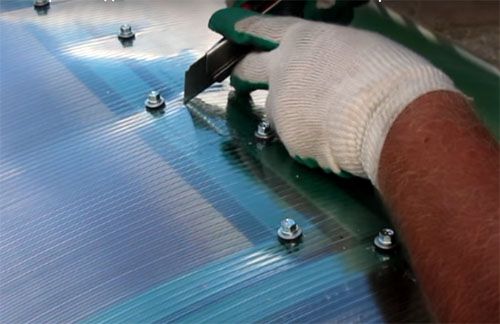 |
Excess polycarbonate is cut off. |
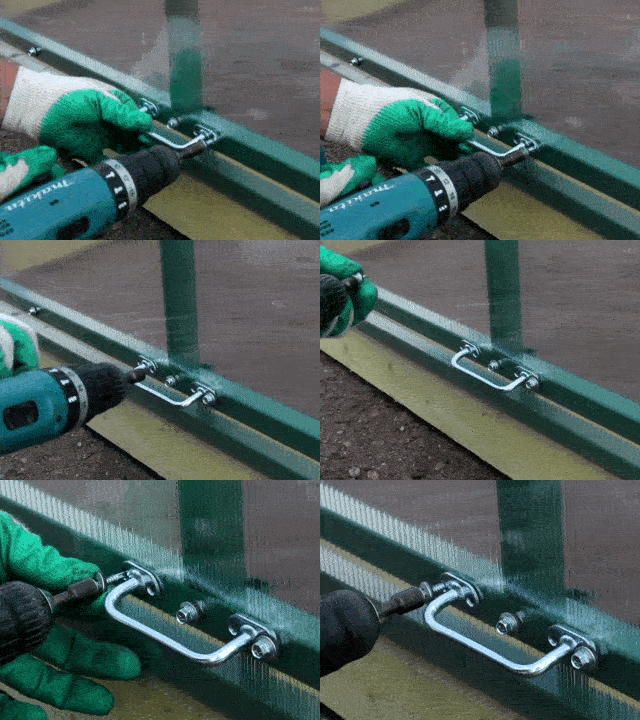 |
Handles are screwed onto each door leaf. |
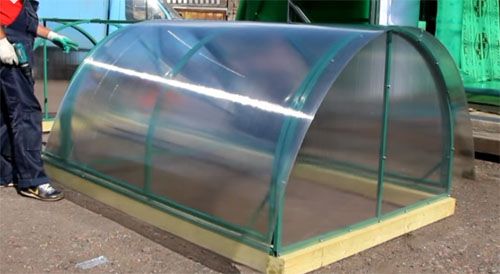
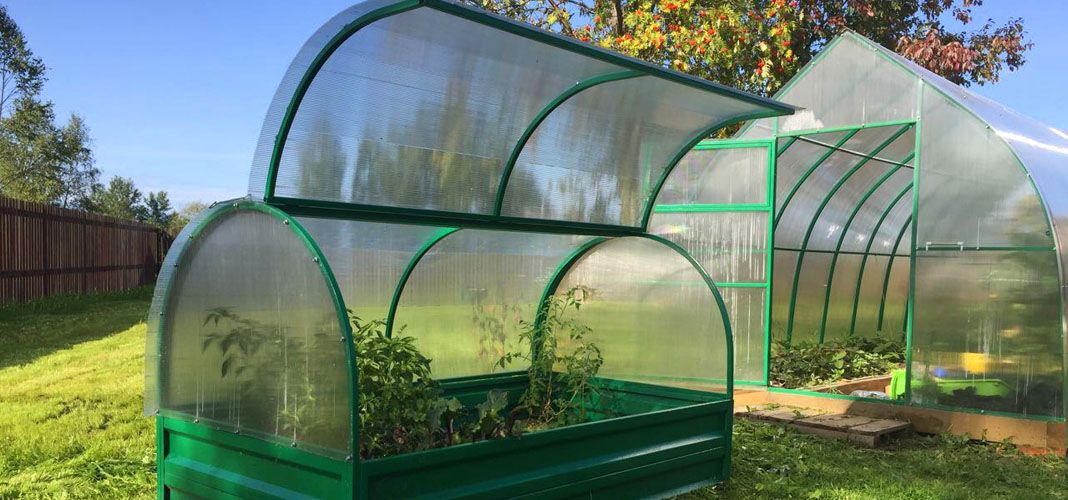
The greenhouse is ready for use.
Rules for using a polycarbonate greenhouse
To ensure your greenhouse brings joy to both gardeners and plants, it's helpful to follow a few simple tips:
- monitor the air temperature – open and close windows if necessary;
- It is more logical to separate different crops using film;
- It is necessary to water plants regularly;
- After winter, the greenhouse should be prepared by cleaning, checking for possible damage and, if necessary, repairing it;
- In order to eliminate the negative impact of pathogenic fungi and bacteria, it is recommended to disinfect the soil before planting.
How to prepare a greenhouse for winter
To prepare the greenhouse for winter, while it's still on site, it's necessary to install supports to counteract any potential snow pressure. In October and November, the wood is disinfected and treated with pesticides, and paint is applied to the wood and metal structures if necessary.
When assembled, the Butterfly should be stored, either assembled or disassembled, in a room with good ventilation.
Best models: specifications and prices
The most popular are the standard and shortened versions of the "Butterfly":
| Model | Dimensions, m | Characteristic | Price, RUB |
| "Zucchini" gray | 4.0*1.6*1.1 | The frame is made of 25 mm x 25 mm galvanized metal profile. Lifting covers with stops are provided on both sides. The covering material is 4 mm thick cellular polycarbonate. | 11,346.00 |
| 2.0*1.6*1.1 | 6,556.50 |
Tips from Butterfly Greenhouse Users
DmitryWhen installing the greenhouse, I chose the wrong thickness of polycarbonate. 6 mm turned out to be too thin. As a result, all the seedlings froze. I recommend using material at least 10 mm thick, or two layers of 6 mm each.
SvetlanaMy husband made a number of mistakes when installing the Butterfly. Specifically, he didn't secure the greenhouse securely. Strong gusts of wind caused the Butterfly to simply fly away with its "wings" open. And not before it had severely damaged the seedlings. It was a real shame. My neighbors advised installing it on a solid foundation.
OlegI recommend using screws with silicone gaskets and installing the honeycomb vertically from top to bottom. It's best to seal the top with a sealed tape, and the bottom should be covered with microporous tape to ensure moisture drainage. This will ensure high light transmission and prevent mold from developing in the greenhouse.
NataliaThe greenhouse is perfection itself. The only drawback is that you have to keep an eye on the paint. It often cracks, especially in the scorching sun, most often around the bolt holes. I have to have the men (I have two – my husband and my 14-year-old son) clean the surfaces and repaint them. And the holes are often burred, which is very inconvenient and requires additional finishing.
Features of the Butterfly greenhouse: convenient or not
The compactness and simplicity of the structure determine its advantages and disadvantages.
Advantages
The undoubted advantages of the structure include:
Convenience:
- the ability to warm up quickly without creating shadows on the area;
- the possibility of cultivating common crops, including flowers, vegetables and melons.
Simplicity of design:
- a greenhouse is easy to build with your own hands;
- A foundation is not required for installation, although many gardeners recommend not to do without one in order to prevent excessive moisture.
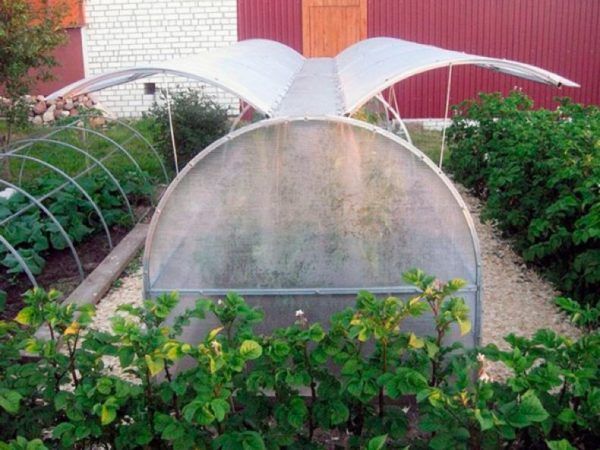
Practicality and ease of use:
- the design allows sunlight to pass through and retains warm air;
- The ability to open side windows simplifies the care of growing plants, creating conditions for gas exchange, allowing for the elimination of indoor greenhouse paths and the cultivation of crops in two rows.
Reliability:
- the structure is resistant to winds up to 20 m/s, and to snowfall in winter;
- the service life of the structure is relatively long.
Transportability (When disassembled, the greenhouse can be easily transported in a passenger car).
Flaws
The greenhouse is not without a number of disadvantages:
- The need to frequently open and close windows presents certain inconveniences.
- Unpainted metal structural elements are susceptible to corrosion. To prevent this, remember to paint vulnerable surfaces after removing rust. Don't skimp on high-quality paint. This will save the gardener from potential problems.
- Wooden parts are susceptible to rot and insect attack. To combat these negative effects, special wood treatment is required. Glass has low impact resistance, and polyethylene has a short lifespan.
- The hinges that hold the greenhouse doors in place are vulnerable areas. To avoid this, it's helpful to regularly inspect them and lubricate them as needed.
- When making holes for fasteners, burrs may appear, which can be removed with a file.
- When using polycarbonate, deformation of the lower arches may occur, so when designing the structure, care should be taken to strengthen them.