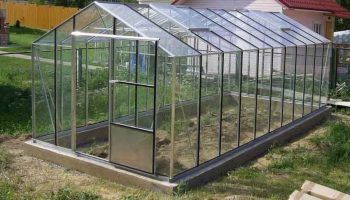
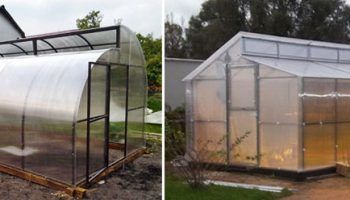
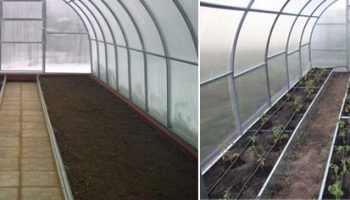
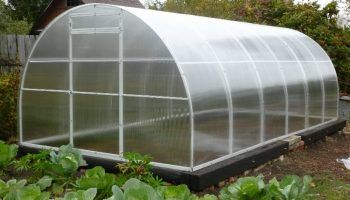
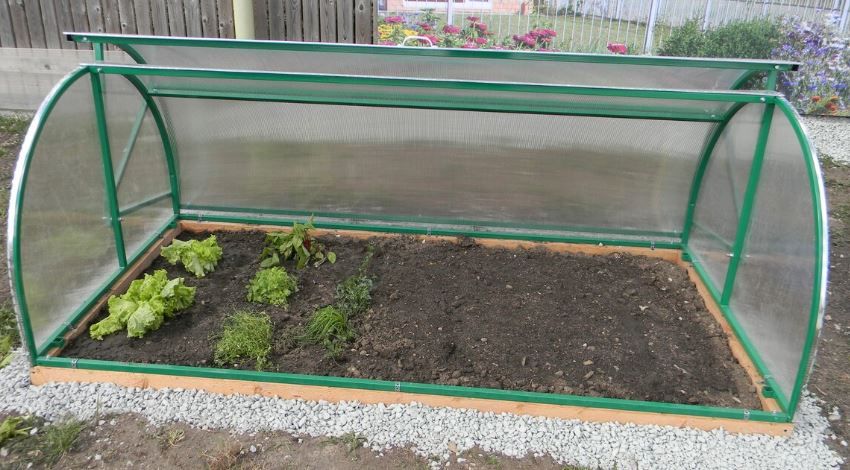
One popular greenhouse (or, as it's sometimes mistakenly called, a small hothouse) is the "breadbox," so named because of the opening mechanism at the top. This design allows for easy access to the plants. It fits perfectly in a summer cottage. The simple foundation and compact size make it possible to build a "breadbox" greenhouse yourself.
Content
- 1 Advantages and disadvantages of the "breadbox" greenhouse + description
- 2 Place for a greenhouse “breadbox”
- 3 Plants that can be grown in breadbox greenhouses
- 4 Characteristics and dimensions of the "bread bin" greenhouse
- 5 Drawings of a greenhouse “breadbox”
- 6 Choosing a material for a "bread bin" greenhouse
- 7 Detailed step-by-step instructions on how to build a polycarbonate breadbox greenhouse yourself.
- 8 The best commercially available "breadbox" greenhouse designs
- 9 What are the differences between a "breadbox" greenhouse and a "butterfly" greenhouse? Which is better?
- 10 Bread bin + warm bed
Advantages and disadvantages of the "breadbox" greenhouse + description
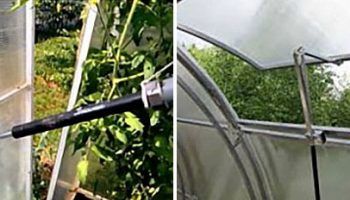
The "Bread Bin" consists of a lightweight rectangular frame, side panels, and a roof (one or two panels). The arched shape creates a favorable microclimate. The arches, or their halves, are sized so that they don't interfere with each other and meet at a 90° angle. They open using a special hinge mechanism.
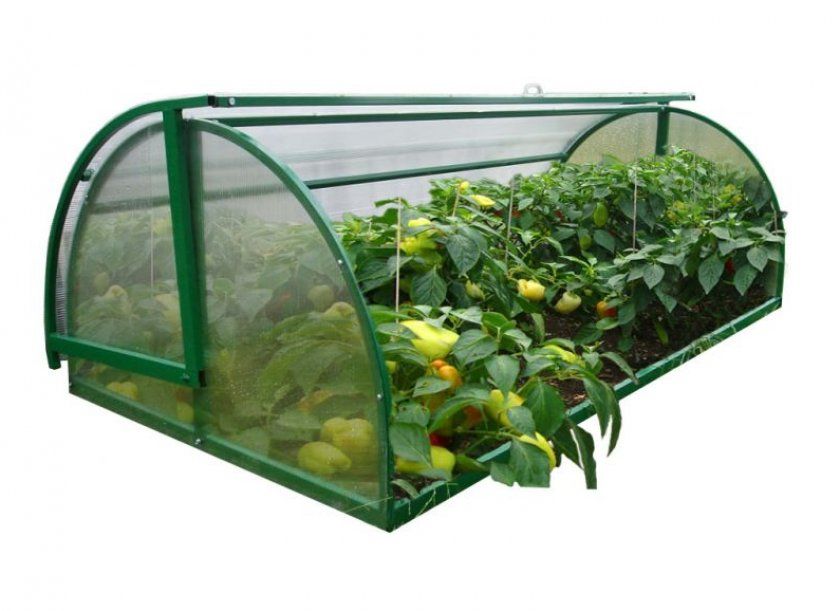 Advantages of a greenhouse:
- the interior space is fully functional;
- installation is simple;
- ventilation - especially convenient with 2 doors;
- size - allows you to avoid stepping on the beds;
- weight – small;
- moving is easy, even after installation;
- disassembly for winter is not required;
- repairs are not difficult;
- service life is long;
- Cleaning - attach the brush to the top of the frame, the non-opening side, will happen automatically;
- the price is reasonable.
In addition to the large number of advantages of a greenhouse, it also has disadvantages:
- You cannot plant tall or climbing plants;
- the mechanism requires regular lubrication;
- in the place where the sashes move, if the material is of poor quality, it wears out quickly.
Place for a greenhouse “breadbox”
To build a "bread bin" you first need to decide on a location.
This is an important point, since the amount of the resulting harvest depends on it.
Recommendations for distance to other buildings:
- buildings - minimum 5 m;
- bathhouse, sauna, summer shower - from 8 m;
- autonomous sewerage system (septic tank) - 25 m.
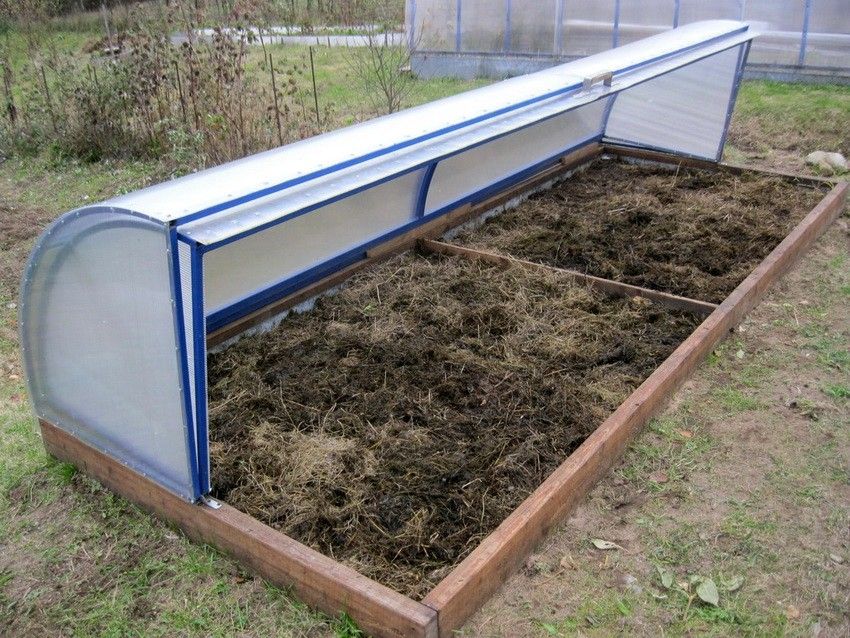
The greenhouse site must be leveled using a spirit level. The structure should be positioned in relation to the cardinal directions so that the plants receive maximum sunlight throughout the day.
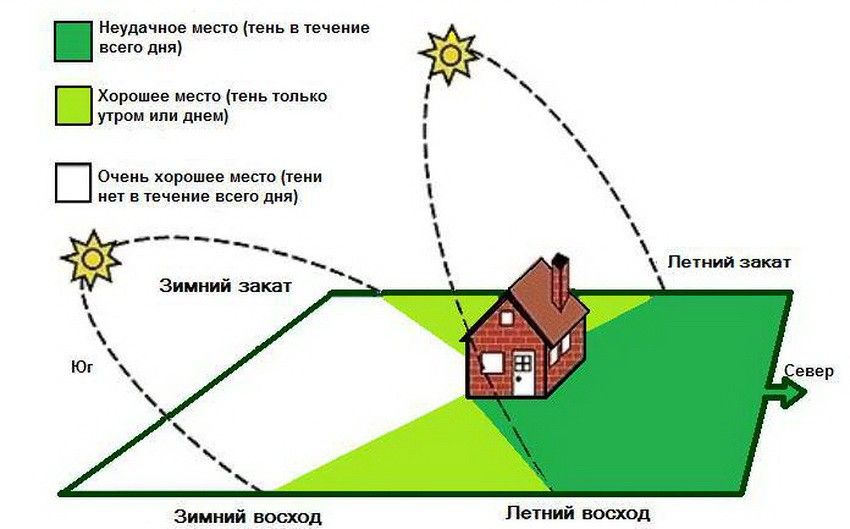
They are usually placed from east to west, in which case the plants receive more heat before midday, which is beneficial for photosynthesis.
When ventilating, it is better to open the windows on the south side.
Bushes and trees should be placed at a distance so that the cast shadow does not obscure the light.
Plants that can be grown in breadbox greenhouses
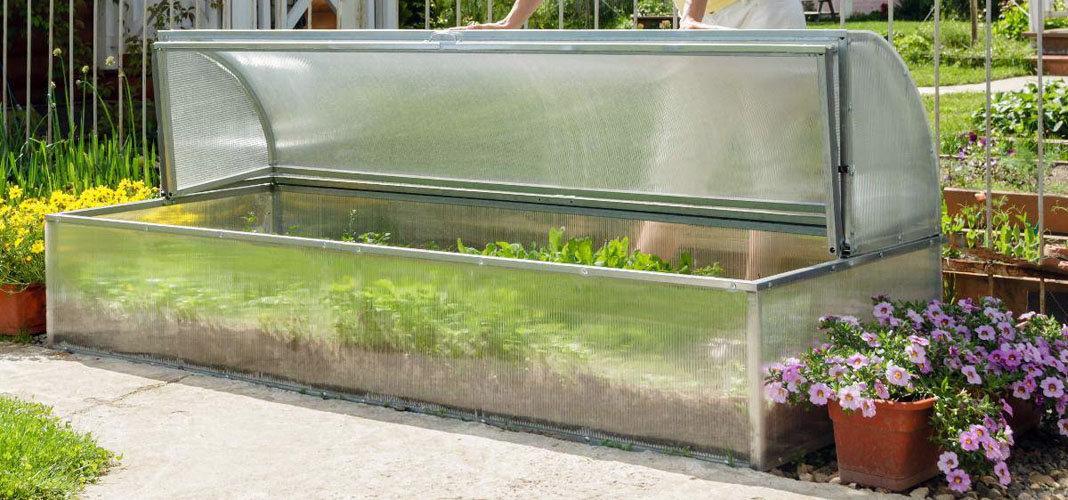
The following people feel most comfortable in such a greenhouse:
- any kind of greens - lettuce, green onions, dill, parsley, etc.;
- low-growing crops - carrots, beets and others;
- garden strawberry (this is the correct name of the plant known to us all as strawberries);
- tomatoes are low-growing or are transplanted as they grow.
Heating can be installed, then crops can be grown and harvested during cold weather.
Characteristics and dimensions of the "bread bin" greenhouse
The bread bin doesn't have strict dimensions—we choose one that makes it easy to open the doors.
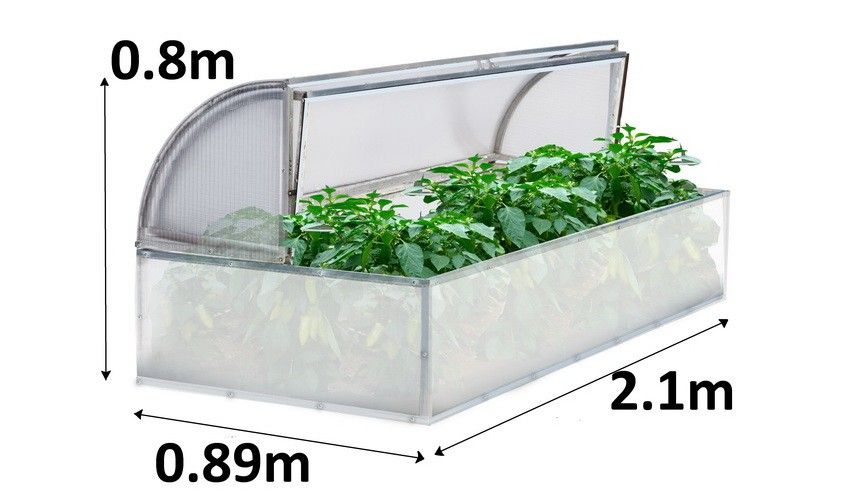
Classic:
- length - 2 m minimum, 4 m maximum, otherwise roof lifting mechanisms will be required;
- height - 0.5-1.3 m, select according to your height: if it is low, it will be inconvenient to service, if it is high, the weight of the structure will increase;
- The width is such that it is convenient to reach the opposite side: 1.3 m - one leaf, 2 m - two.
The shape is an arched frame, most often made from a profile pipe. Polycarbonate is typically used for the covering. It is stronger than film and bends easily, protects against UV rays, and retains heat better. It has a service life of 10 seasons. Film is used less frequently because it is more difficult to secure and requires replacement every 1-2 years. The center of the sash pivot is located at the lower base or at the end of the vertical post (in the middle).
Drawings of a greenhouse “breadbox”
They begin the independent construction of the “bread bin” by preparing a drawing with dimensions.
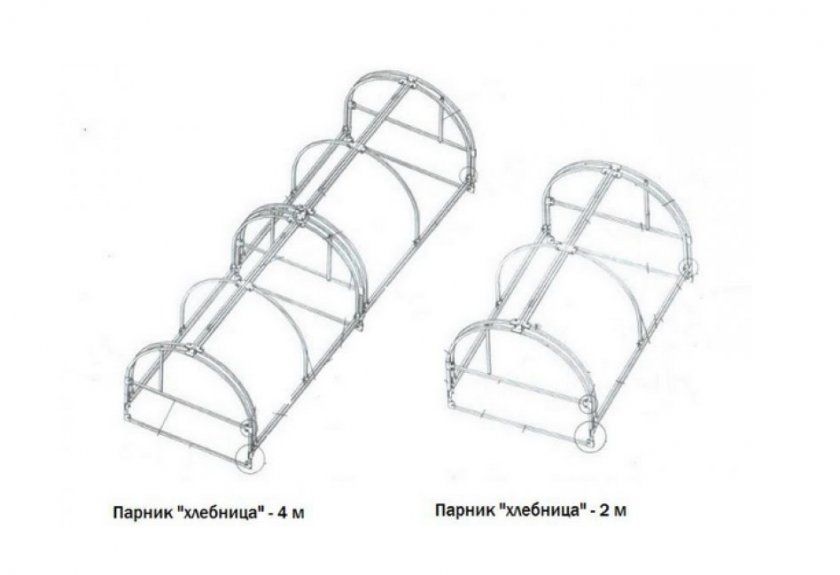
We offer several options. Click on the image to enlarge it, and right-click to save and print. Above is a greenhouse with one or two sections. Below is a greenhouse with three sections.
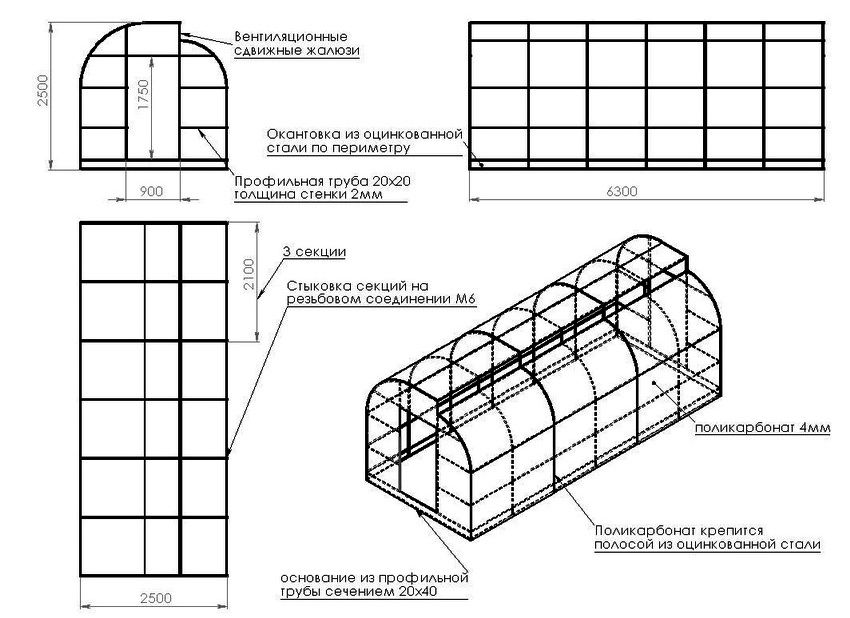
A more detailed drawing for a greenhouse measuring 4 by 1.5 m
You can click on the drawing to enlarge it.
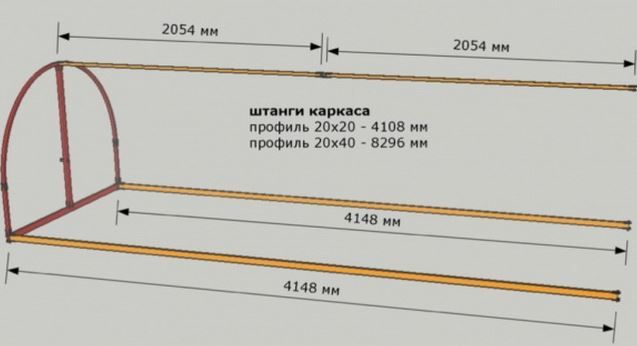
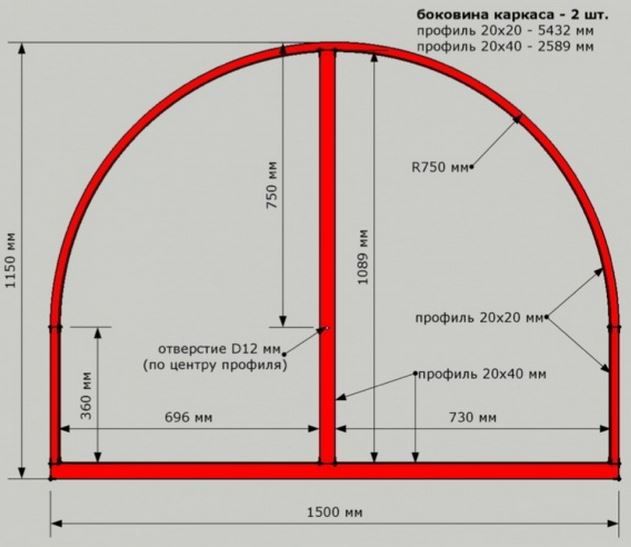
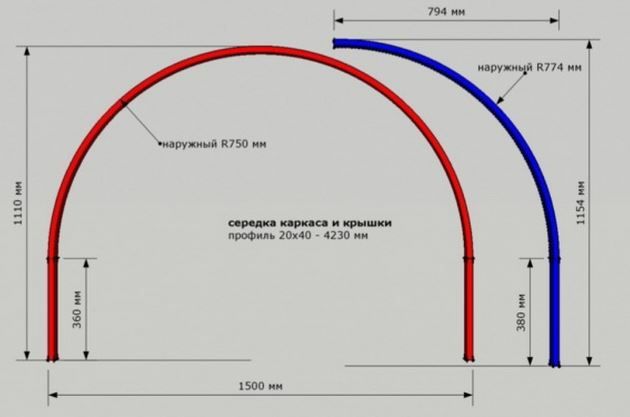
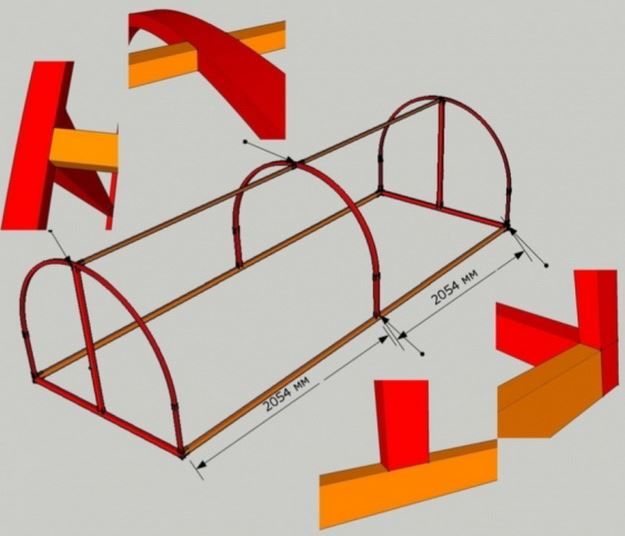
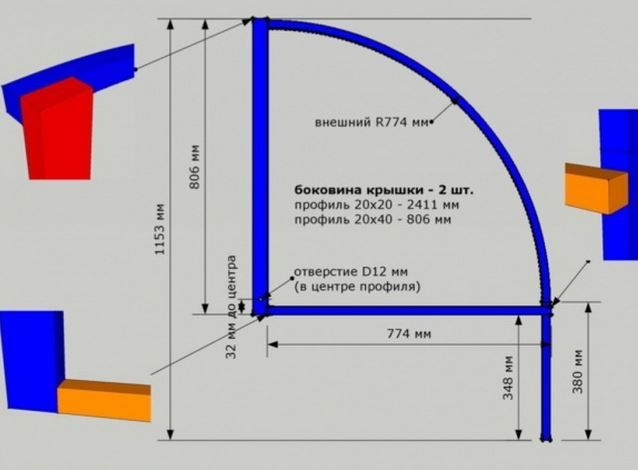
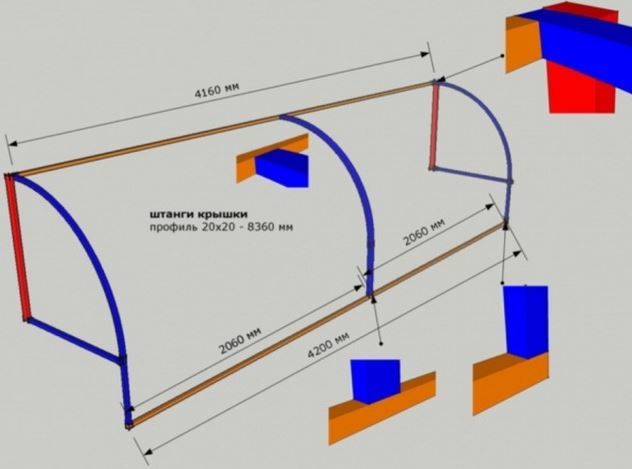
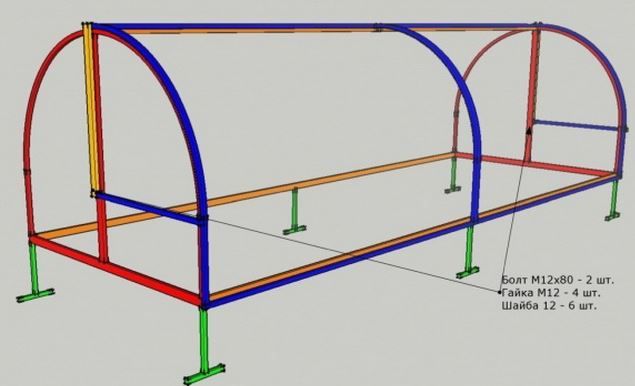
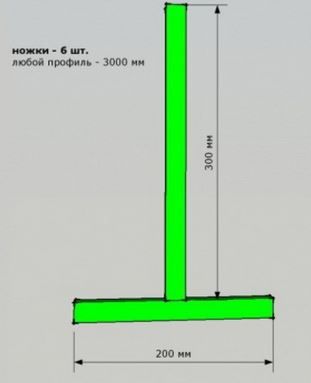
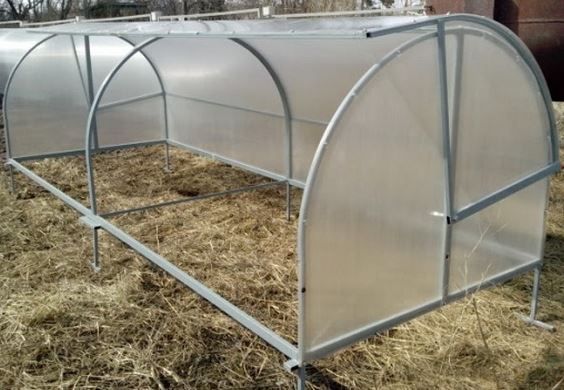
It is not necessary to make legs.
Choosing a material for a "bread bin" greenhouse
Support elements are made from the following materials:
- metal pipes - the optimal option is 1.5-3 mm thick;
- polypropylene - choose the right diameter: thin ones do not provide rigidity, and thick ones are difficult to bend;
- wooden blocks - the resulting structure will be heavy, bulky, and will require constant maintenance.
It is necessary to purchase additional construction tools, the set of which determines the frame material:
- metal - hacksaw, welding machine, etc.;
- wood - saw, screwdriver, etc.
Select a covering material—heavy-duty PVC film, spunbond (or another covering material), or polycarbonate. Purchase additional materials: hinges, bolts, nuts, and screws (with thermal washers for polycarbonate).
Detailed step-by-step instructions on how to build a polycarbonate breadbox greenhouse yourself.
Once the location has been selected, the design has been chosen, the necessary materials have been determined, and the costs have been calculated, construction of the greenhouse begins.
So, let's say we want to make a "breadbox" greenhouse that opens on one side, with a length of 4 m, a width of 1 m, and a height of 0.5 m.
Materials
- Profile pipes 20*20*1.5: 2 pcs. 4 m long, 2 pcs. – 1.6 m, 3 pcs. – 3.96 m, 8 pcs. – 1 m;
- 2 sheets of polycarbonate 2.1*6 m (6-8 mm thick);
- Foundation materials (depending on the type chosen, see below);
- 2 hinges, self-tapping screws, bolts, nuts, self-tapping screws with thermal washers for fastening;
- Paint for metal.
Tools
- hacksaw for metal;
- grinder or jigsaw;
- drill;
- a screwdriver or a screwdriver for screwing in screws;
- welding machine.
Foundation
To build the foundation you will need timber, sleepers, bricks and concrete.
Step by step actions:
| Process | Illustration |
| Dig a trench 20-30 cm wide and 30-40 cm deep. | 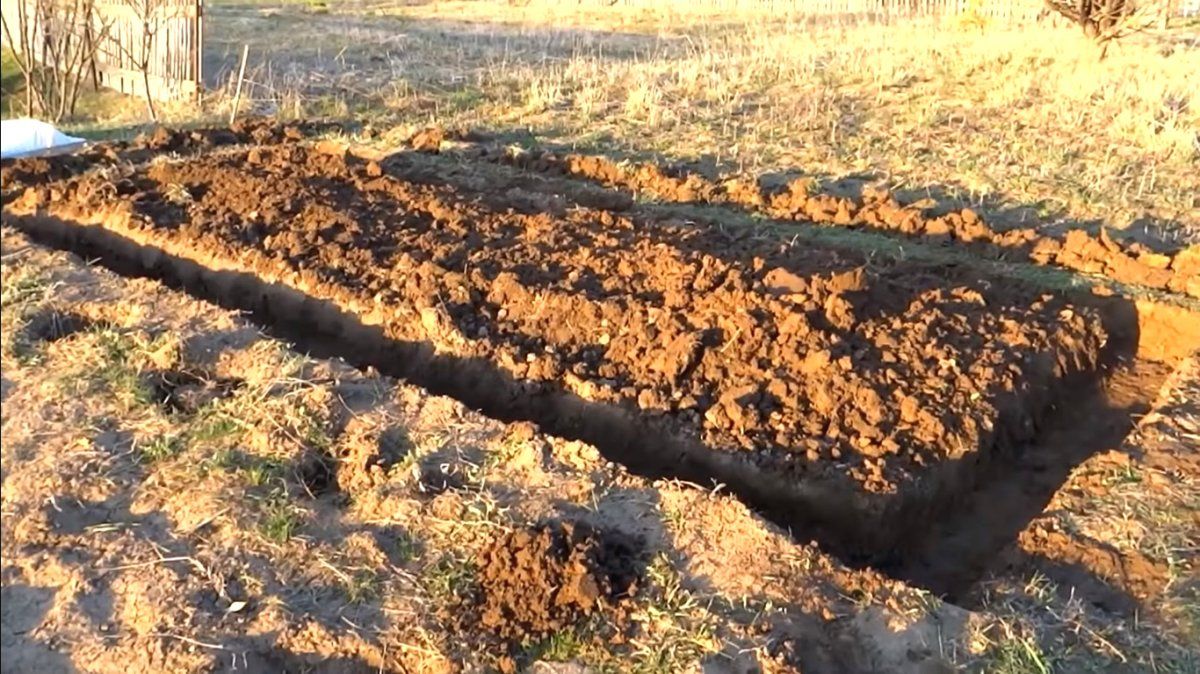 |
| Make a cushion 10-15 cm high from crushed stone and sand. | 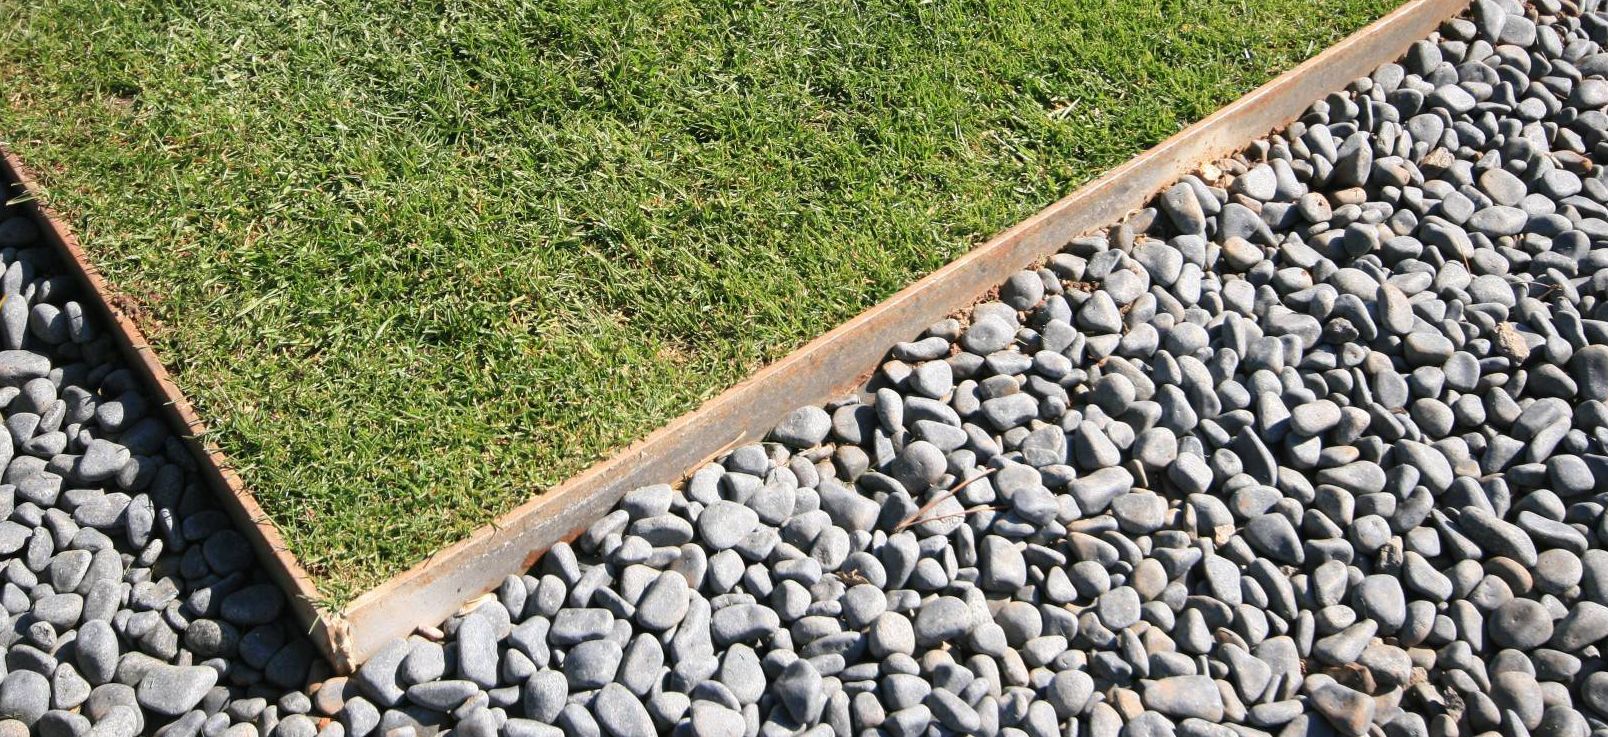 |
| Next, you need to lay bricks using mortar around the perimeter or make formwork. | 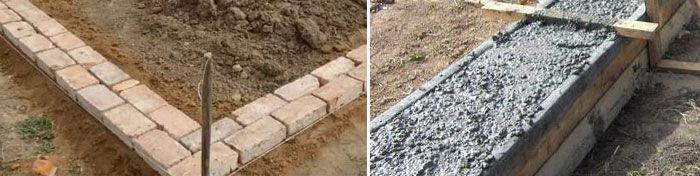 |
| Pour the concrete and wait until it dries completely. Remove the boards. |
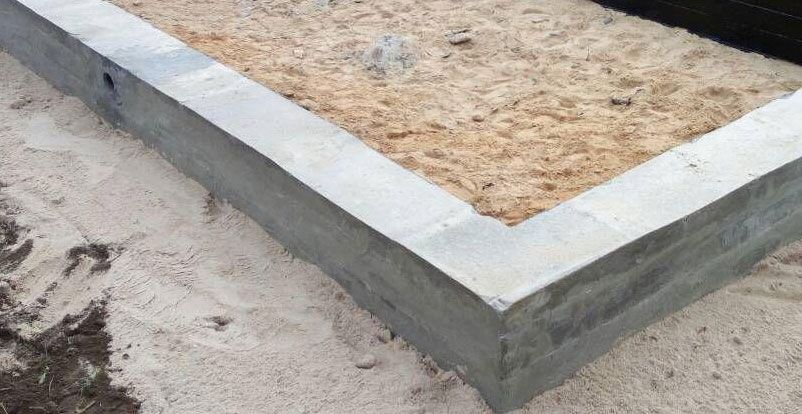 |
Please note that the size of the lower frame of the greenhouse must exactly match the dimensions of the foundation, so do everything according to the drawing.
You can also build a wooden foundation. This way, it can be easily dismantled and moved to another location on your property.
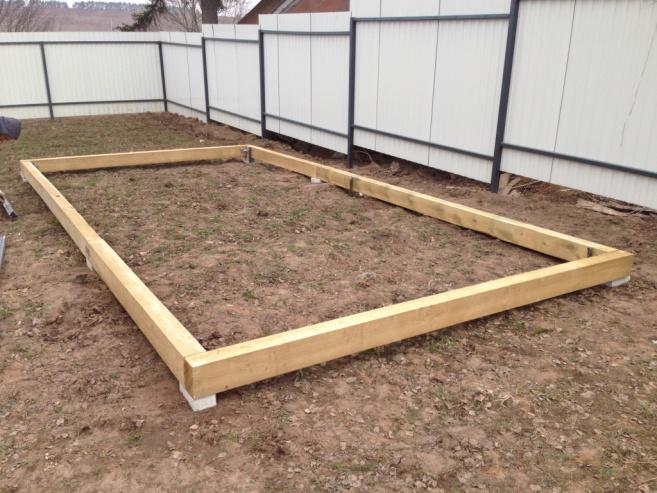
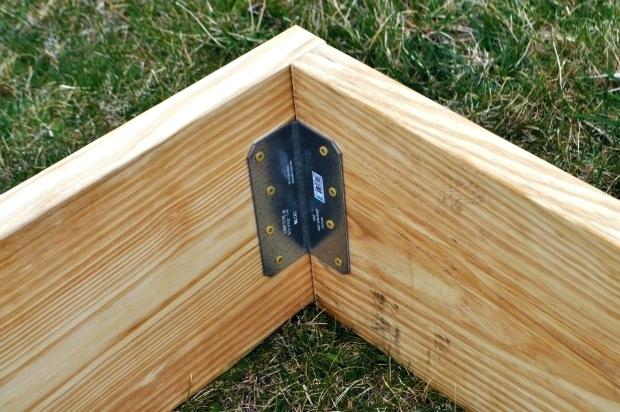
The first method, as you can imagine, won't work. So, for this type of foundation, you'll need 150x150mm beams. These are laid around the perimeter of the future greenhouse, either buried 5-10 cm into the ground or placed on recessed bricks. Secure them with brackets and bolts.
Note! You can naturally heat a greenhouse by filling it with organic matter on both sides (grass clippings, dried leaves, manure).
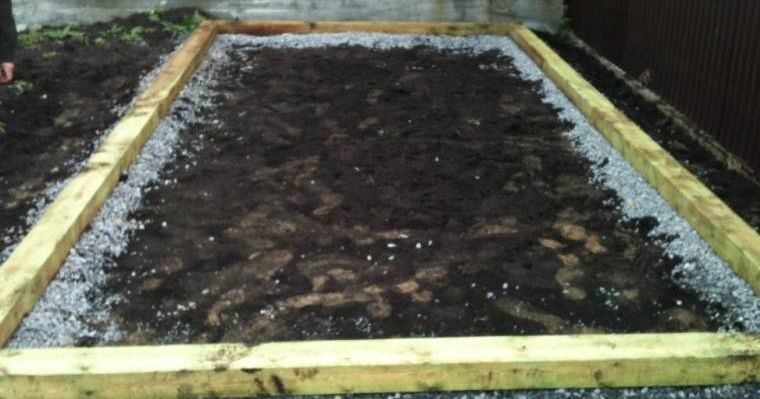
Frame
Briefly:
We install the arches, reinforce them with guides, and connect them with bolts. The distance between the arches is a maximum of 0.5 m. We position the long side so that it faces south. We drill holes for the fasteners 0.1 cm from the edge. We weld the bottom frame, then attach the side panels to it. We carefully clean the seams. Drill holes for the hinges on the outside.
More detailed step-by-step instructions:
- You'll need two 1-meter-long arcs for the moving part of the greenhouse and two 1.6-meter-long arcs for the side frame pieces. Bend them from profile tubing using a pipe bender. The diameter of the circle is 1 meter. Mark the center on the side pieces with a marker.
- We assemble the lower frame from two 3.96-meter-long pipes and two-meter-long sections, welding them together at the corners. Don't forget to clean the seams.
- Then, using a welding machine, we weld the side parts to the lower frame.
- Then we secure the end posts in the middle of the side and bottom elements.
- The hinge holes should be on the outside. We weld a 3.96 m pipe blank to the marked center of the side panels.
Installation
Compare the frame and foundation. If they match, tighten and secure with screws or dowels at several points. For a wooden structure, additional bolting is required to strengthen the connection and extend its lifespan.
Polycarbonate fastening
First, cut the polycarbonate with a sharp knife, jigsaw or grinder.
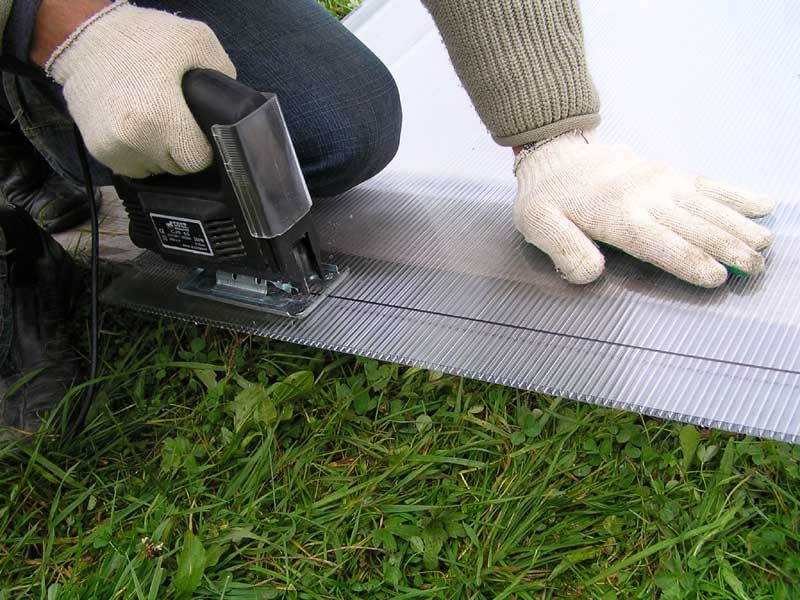
You'll need 4 pieces for the side panels, 1 piece for the fixed panel, and 1 piece for the sliding panel. We'll secure the material to the frame using screws and thermal washers.
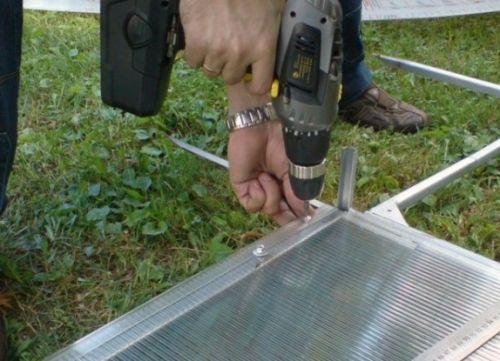
Carefully place each piece on the frame and secure with screws, first at the corners and then in the middle. Overlap the sheets.
We seal the joints with construction tape to ensure tightness.
The roof is a moving part on hinges. We hang it and check for proper movement.
Making your own bread bin isn't all that difficult, but you can also buy a ready-made one and assemble it according to the instructions. The price won't be much different from a homemade version.
The best commercially available "breadbox" greenhouse designs
- The "Bread Bin" is made of cellular polycarbonate and galvanized profile (20x20 mm). Dimensions are 2x1.2x0.8 m, with a 1 m gap between the arches, and the top opens on both sides. Price: 5,440 rubles. Assembly: 2,500 rubles. A timber base treated with an antiseptic costs 2,000 rubles.
- The snail (shell) is a convenient design with a hinged lid (one panel) made of square profile tubing. Dimensions: 2.1 x 1.1 x 0.75 m. Easy to assemble. Convenient transport dimensions. Price: 5,700 rubles. Double-panel versions are also available.
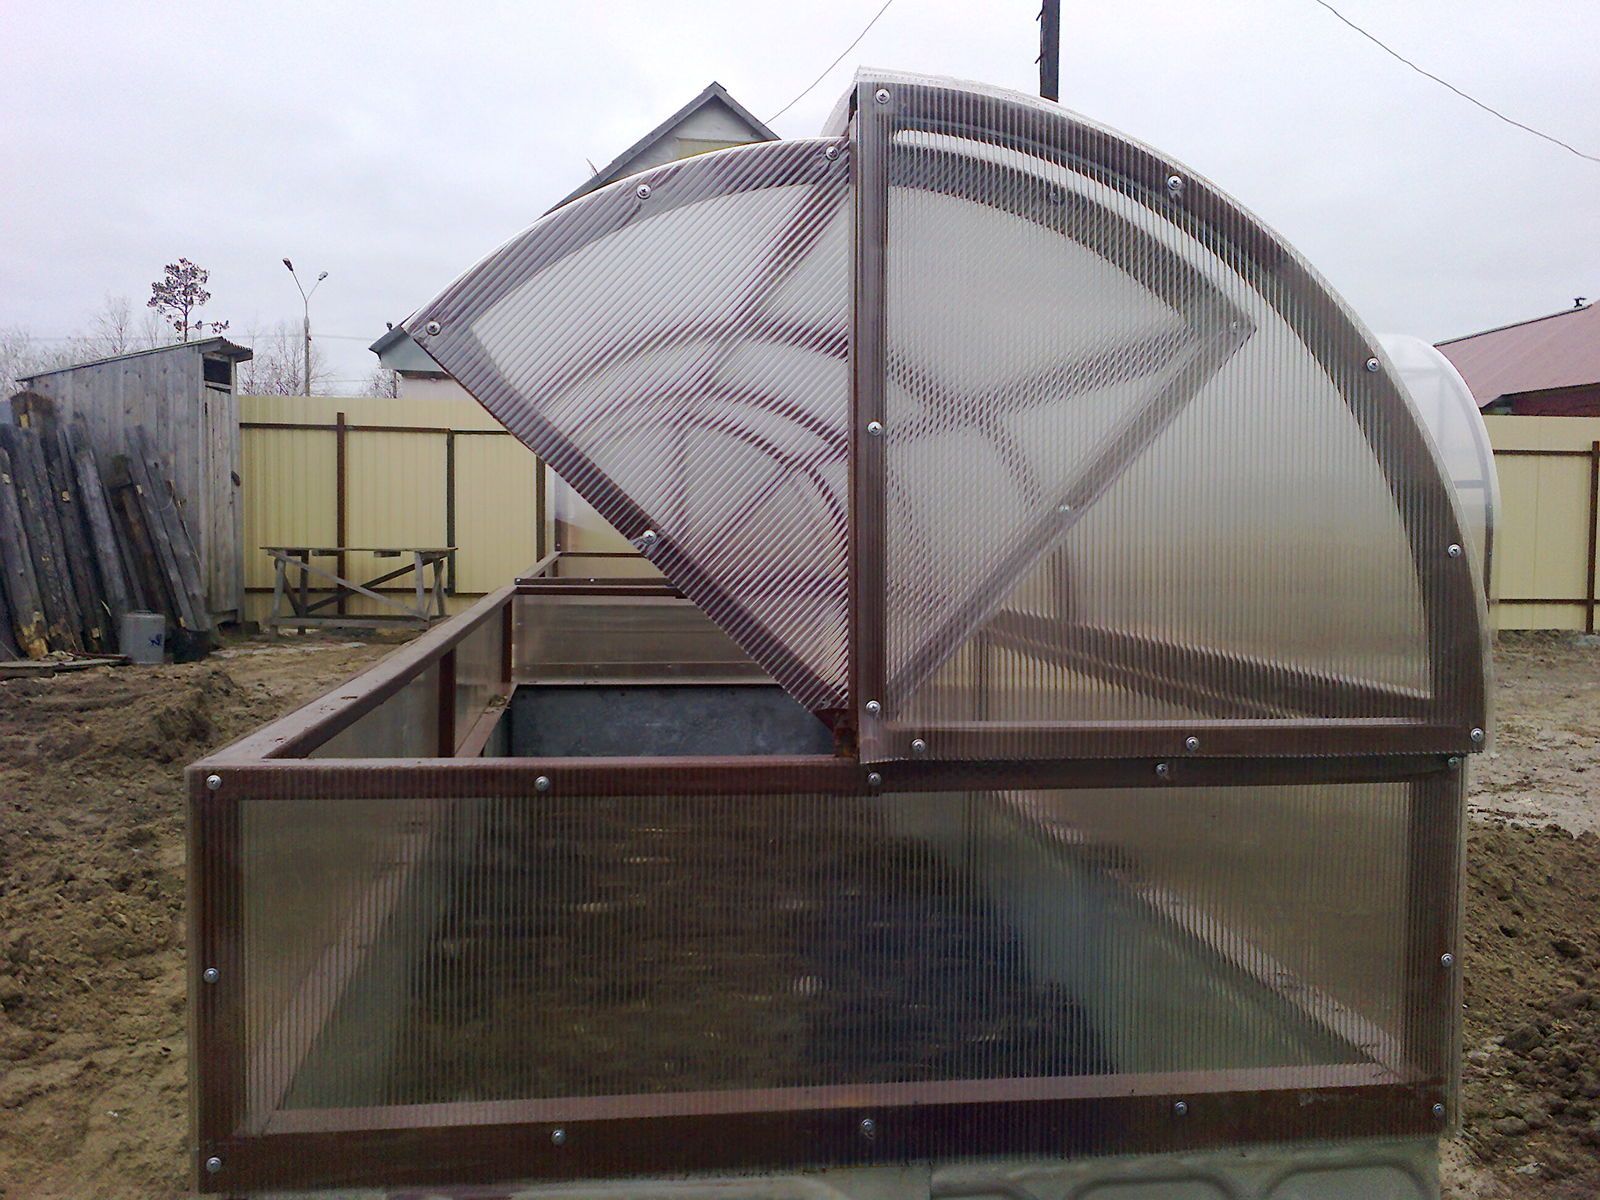
A purchased greenhouse sometimes has additional features, such as legs that allow it to be planted deeper into the ground or borders that provide additional protection for plants.
What are the differences between a "breadbox" greenhouse and a "butterfly" greenhouse? Which is better?
Sometimes the "bread bin" is compared to the "butterfly." They are similar, the main difference being that the latter's flaps open horizontally, reminiscent of an insect's wings. Furthermore, it's worth noting that the "butterfly" flaps are more difficult to assemble, are heavier, and require supports to hold the flaps open.
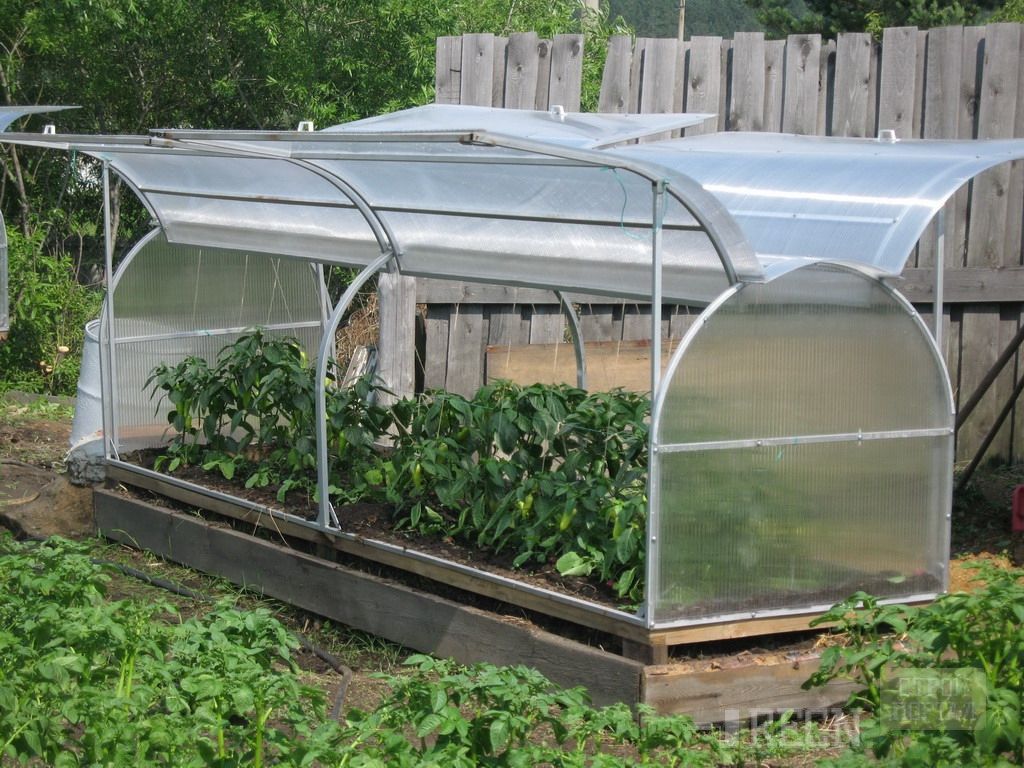
The cost is higher—6,300–10,982 rubles. There are mixed reviews about it, some of which say it's a terrible greenhouse, so the "butterfly" greenhouse is less common in gardens.
The "bread bin" model is easy to assemble and install, performs its functions well, and is as effective as similar greenhouses.
Bread bin + warm bed
A "breadbox" greenhouse is a useful tool, but its qualities can be improved. One option is to use a warm bed method, which will allow for an even earlier harvest and enhance the flavor of the crop.
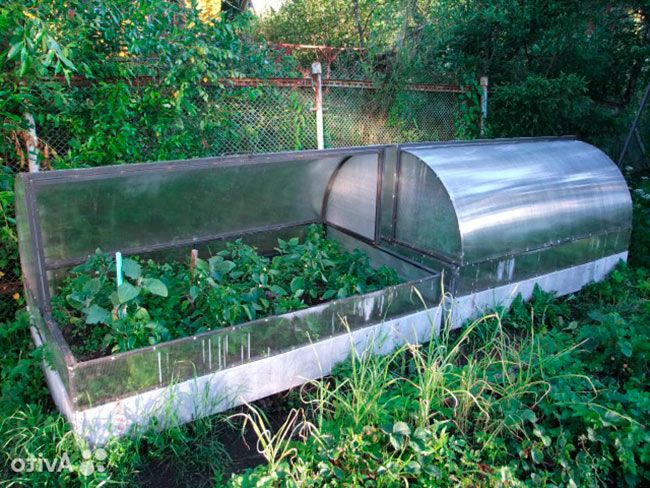
Procedure:
- Before assembly, dig a hole measuring 50*70 cm.
- Along its border we lay out a base made of suitable materials that will prevent the edges from crumbling.
- Place cardboard on the bottom to protect against weeds and pests. Leaves, plant debris, and manure can be added. Avoid uprooted weeds, especially perennials.
- We cover it with soil on top.
- Let's start assembling the "bread bin".
A properly assembled greenhouse will retain the heat released by the compost as it rots, allowing the seedlings to feel comfortable.