How to build a greenhouse yourself? A properly planned and designed mini greenhouse will allow you to grow seedlings on time and create conditions for a rich and healthy harvest. There's no need to spend a lot of money on a ready-made greenhouse, especially now, during the economic crisis. In this article, we'll explain how to build a greenhouse from polypropylene pipes yourself, what materials you'll need, and provide step-by-step instructions.
Content
- 1 Polypropylene pipes as a greenhouse material: features, advantages and disadvantages
- 2 Types of greenhouse structures made of polypropylene pipes
- 3 How to choose a location for a greenhouse
- 4 Choosing polypropylene pipes for a greenhouse
- 5 Selecting a covering material for a greenhouse made of polypropylene pipes
- 6 Diagrams and drawings of a greenhouse made of polypropylene pipes
- 7 A brief guide to building a greenhouse from polypropylene pipes
- 8 Detailed step-by-step instructions for building a greenhouse from polypropylene pipes
- 9 Greenhouse-house: a method for making one yourself from polypropylene pipes
- 10 Rules for caring for a greenhouse made of polypropylene pipes
- 11 Photo gallery: greenhouses made from polypropylene pipes
Polypropylene pipes as a greenhouse material: features, advantages and disadvantages
A greenhouse made of polypropylene pipes is an excellent solution for gardeners. As a frame material, they offer the following advantages:
- a synthetic material that is flexible, durable and highly environmentally friendly at the same time;
- the service life of the manufactured greenhouse will be on average 30-35 years;
- Polypropylene structures are not affected by moisture and easily withstand any temperature conditions, which makes them a universal material for greenhouses in any region of the country;
- low construction costs;
- Due to their synthetic nature, the pipes are lightweight, which significantly simplifies delivery and installation work;
- affordable cost;
- Polypropylene has increased wear resistance compared to the same wooden structures.
Another advantage is the wide selection of pipes of various diameters from 20 mm to 1200 mm.
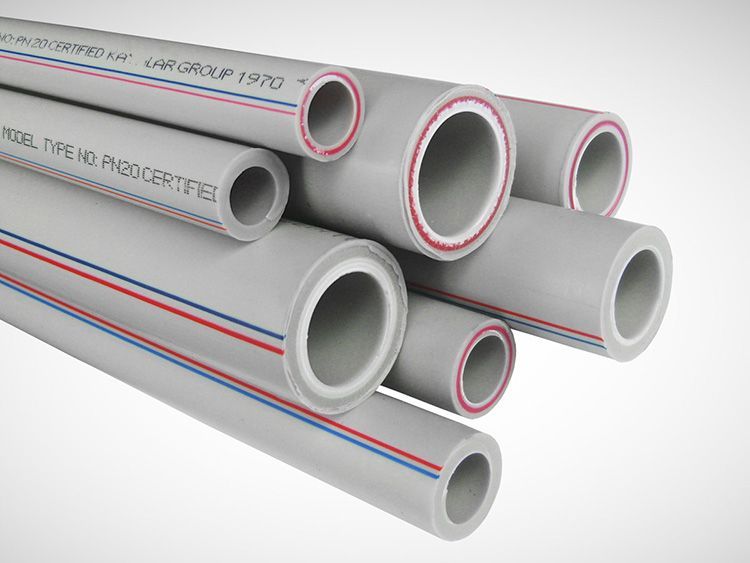
According to experts, the only disadvantages include the need to use a welding machine for installation work and additionally purchase fittings.
Types of greenhouse structures made of polypropylene pipes
Polypropylene pipes have earned well-deserved recognition among gardeners due to their flexibility, durability, and relatively low cost.
Before building a mini greenhouse, you need to choose the type of structure. Let's look at the most popular types of structures made from polypropylene pipes.
Arched
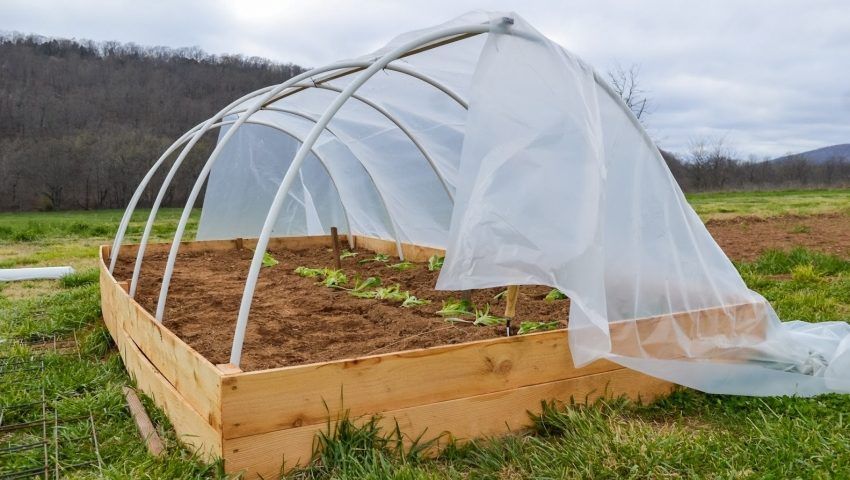
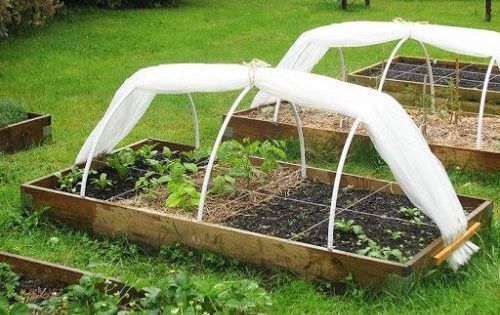
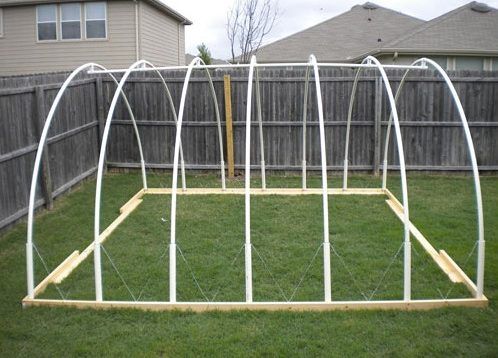
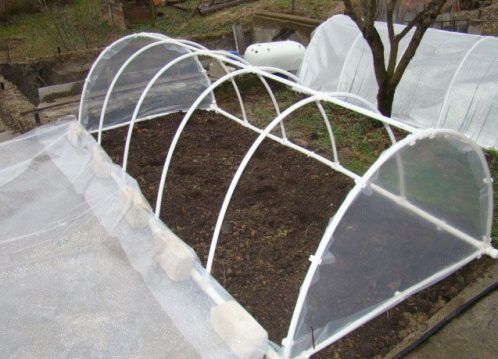
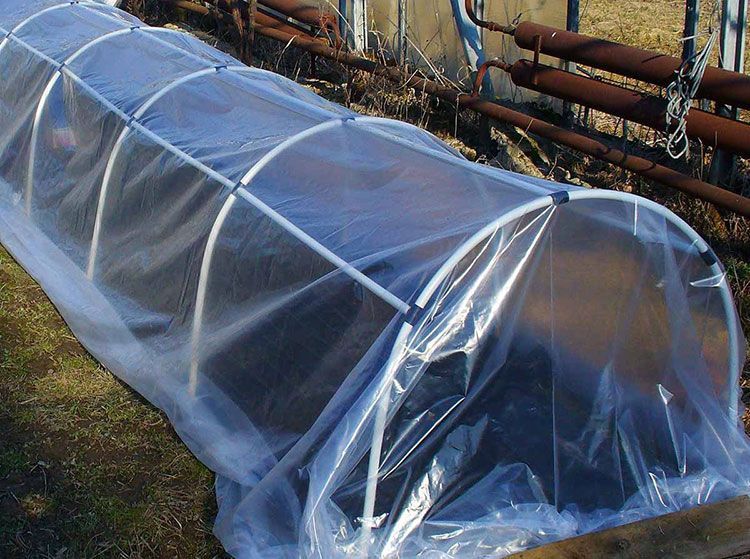
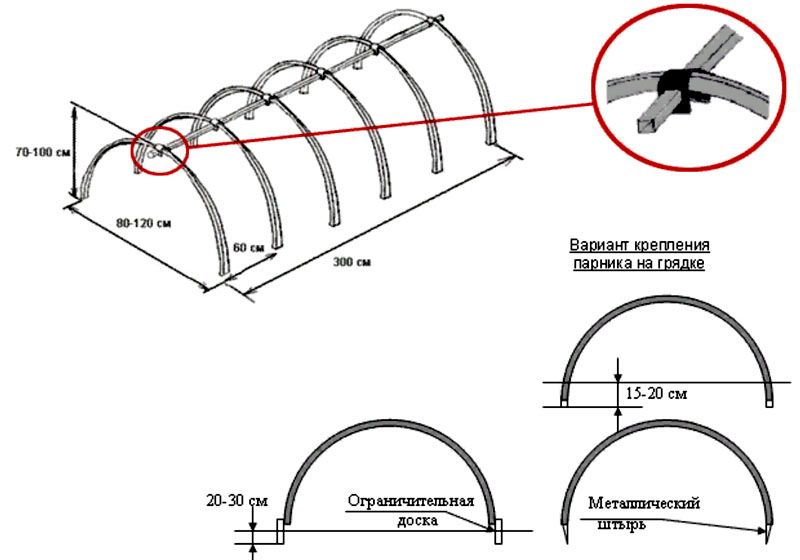
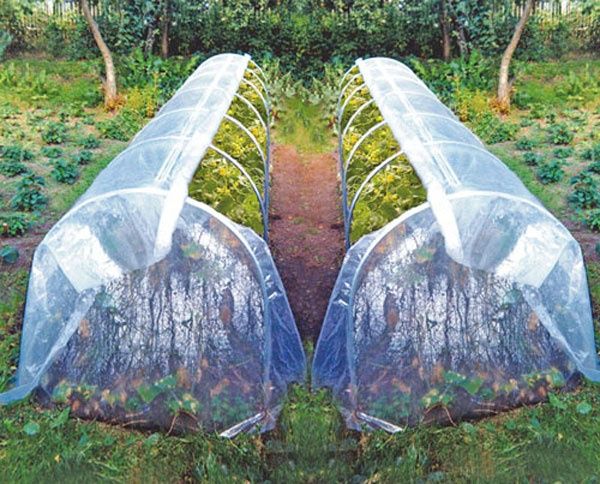
The simplest greenhouse is a ground greenhouse. Even a woman can set it up. To set it up, select a location for the future seedlings, prepare the bed, and lay polypropylene pipes at regular intervals, bending them into arches.
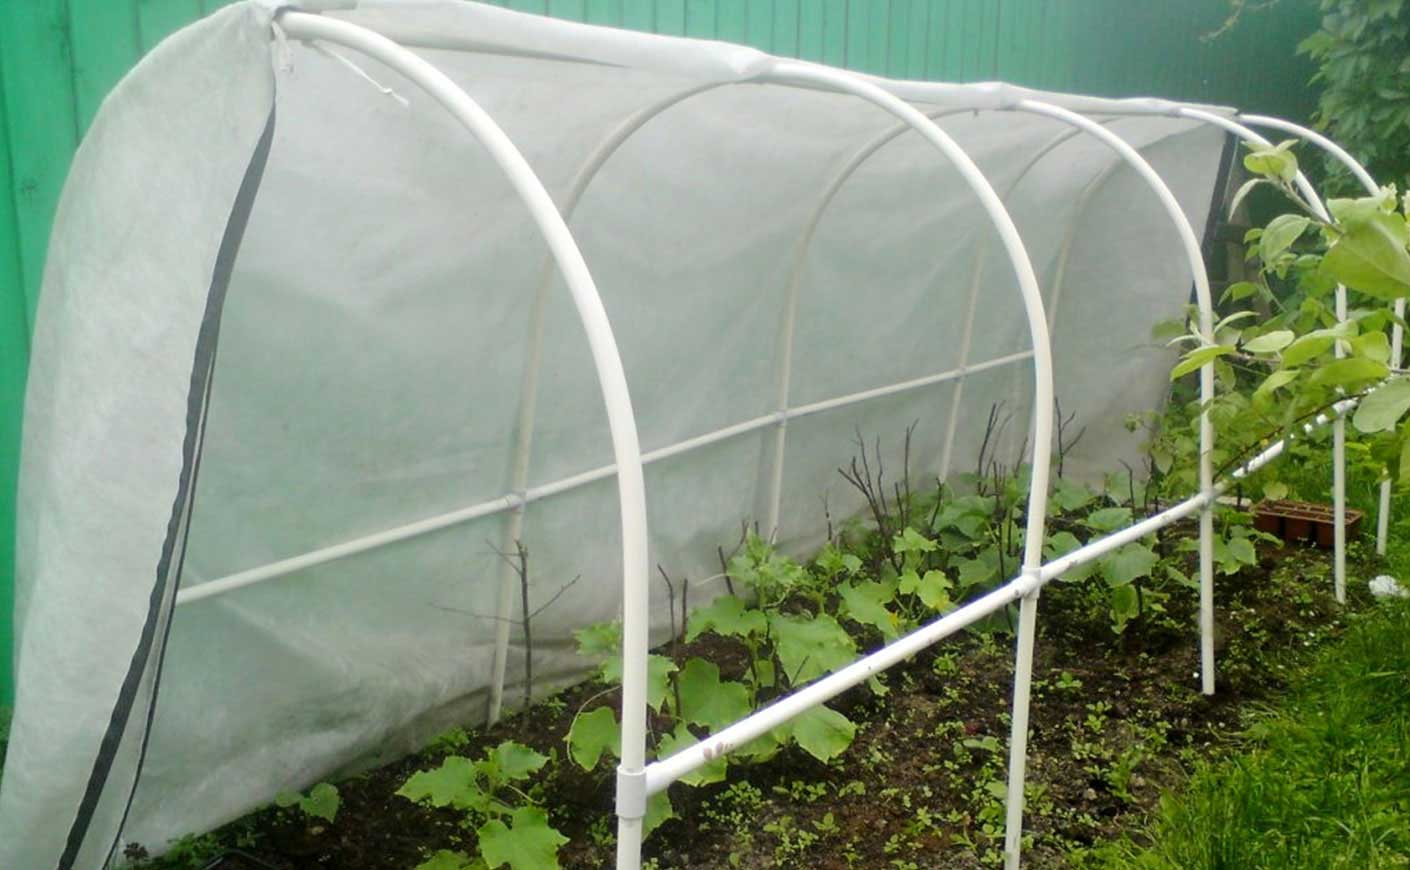
The structure is covered with either film or agrotextile, with the edges of the covering material sprinkled with the same soil. This greenhouse is periodically opened, ventilated, and any necessary maintenance is carried out.
Like a "box"
The second easiest greenhouse to install and assemble is the film "box." This greenhouse is suitable for beginning gardeners. Its construction doesn't require complex drawings or a lot of effort.
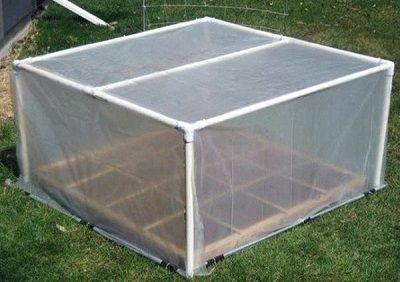
Thanks to the square shape of this structure, one square meter of land can grow enough seedlings to cover a 200-square-meter plot. Experts note that the disadvantages of this type include poor lighting inside and rapid soil depletion.
Breadbox
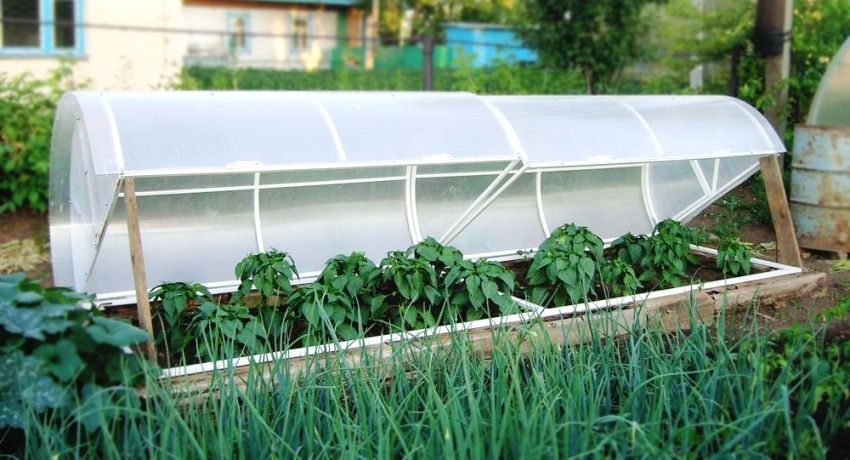
The most optimal greenhouse design for producing a good and bountiful harvest is a "bread bin." The advantage of this greenhouse is that it can be portable, seedlings can be sown in it immediately after the snow melts, without waiting for warm weather, and it can be used to grow not only seedlings but also larger crops. A "bread bin" can be placed on the ground or built on a wooden or other frame. It is easy to open, ventilate, and maintain.
"Butterfly"
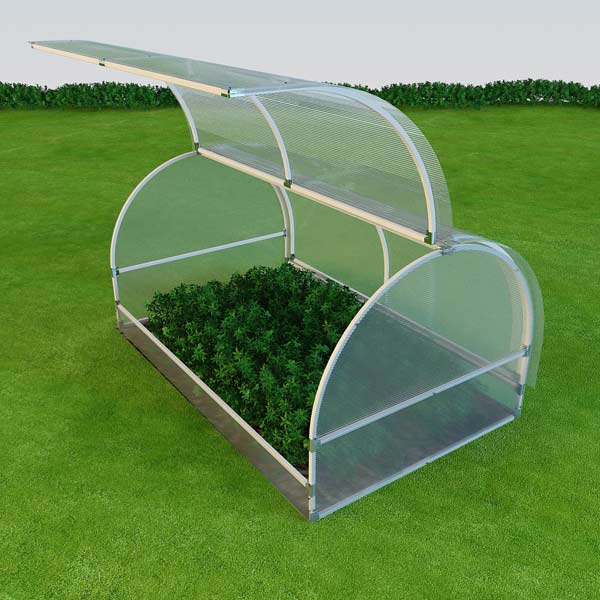
The most complex greenhouse in terms of installation is the "butterfly" greenhouse. This type has "wings" that open during warmer months to provide better light and promote rapid seedling growth. It can be portable or installed directly on the ground, and will last for many seasons.
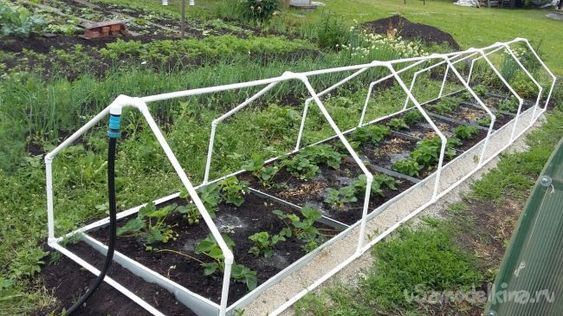
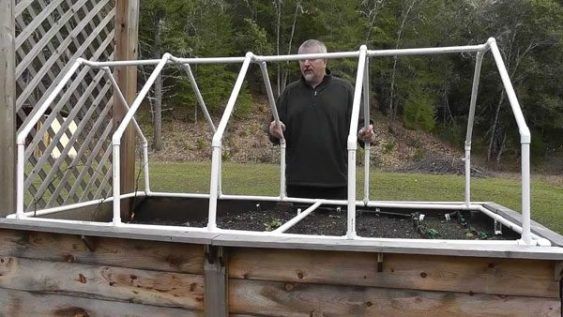
Gable roof
A familiar house design, which can be any size convenient for you, and also have opening doors and sashes.
Wall-mounted
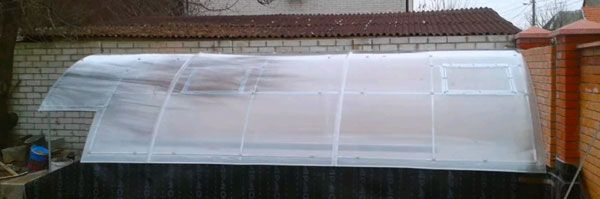
The most economical greenhouse option. It's ideal for small areas where there's no room for a full-fledged structure. It can be built against the wall of a shed, a house, or even a fence, as long as you choose a bright location.
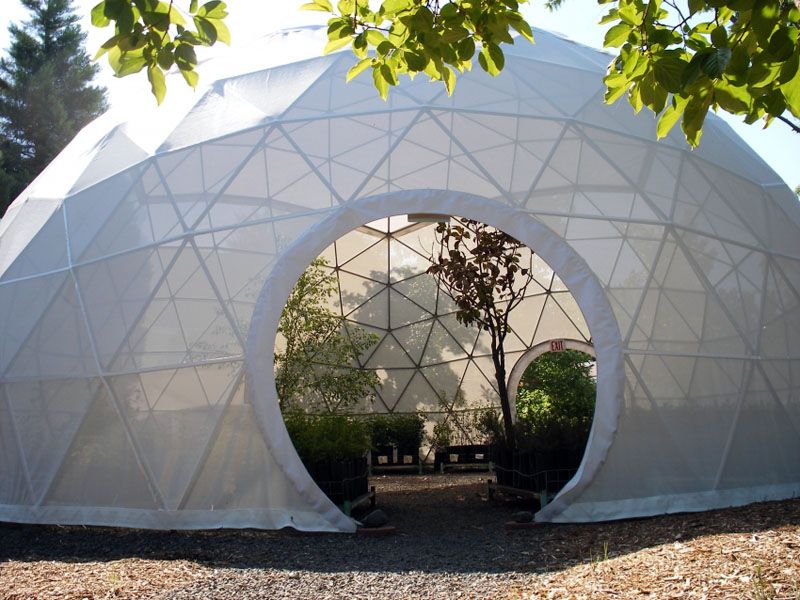
Sphere
The most complex type. Greenhouses aren't typically built like this. This is where the real challenge lies. Building one like this isn't easy, as the design requires specialized calculations with no room for error. But the sphere will make a worthy addition to your property.
How to choose a location for a greenhouse
When choosing a place to build a greenhouse, you need to answer a number of questions.
- Which place is the most illuminated?
- Where should we expect strong gusts of wind from?
- What kind of soil is on the site?
- Is it planned to install additional communications to the greenhouse?
After analyzing the answers, you will have a clear idea of which location on the site would be ideal for a future greenhouse.
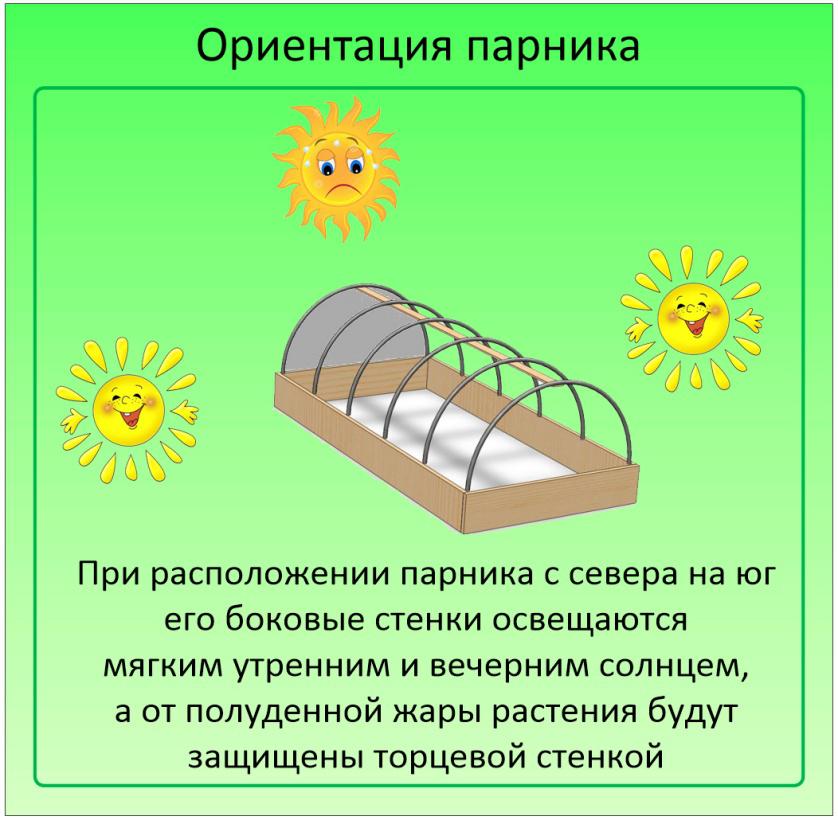
Keep in mind that experts recommend placing the greenhouse from east to west; in these beds, plants will have enough light for normal growth and development.
Choosing polypropylene pipes for a greenhouse
The choice of pipes directly depends on the specific design you're choosing. For arched greenhouses, it's best to choose pipes at least two meters long and with a diameter of 16 to 32 mm. For rectangular greenhouses, more robust pipes with a diameter of at least 50 mm are recommended.
Important! If you plan to cover your greenhouse with plastic film and your site isn't exposed to strong winds, a 16 mm diameter is sufficient. If you decide to use polycarbonate, you should purchase pipes with a diameter of at least 50 mm.
Selecting a covering material for a greenhouse made of polypropylene pipes
We've decided on the pipes; we'll stick with those with a diameter of 25 mm; they're generally universal. They'll be sufficient for building a fairly sturdy greenhouse. Now let's move on to choosing the covering material. There are several types:
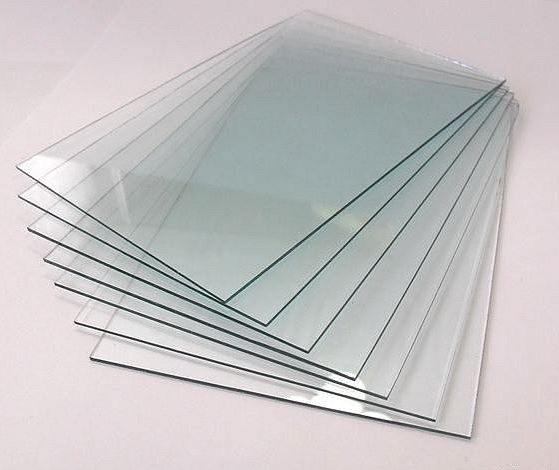
- Glass is a very heavy material, making it unsuitable for a greenhouse made of plastic pipes. While it's often used in greenhouses, polypropylene won't support it, especially for a small structure like a greenhouse. Furthermore, glass is a very fragile and impractical covering.
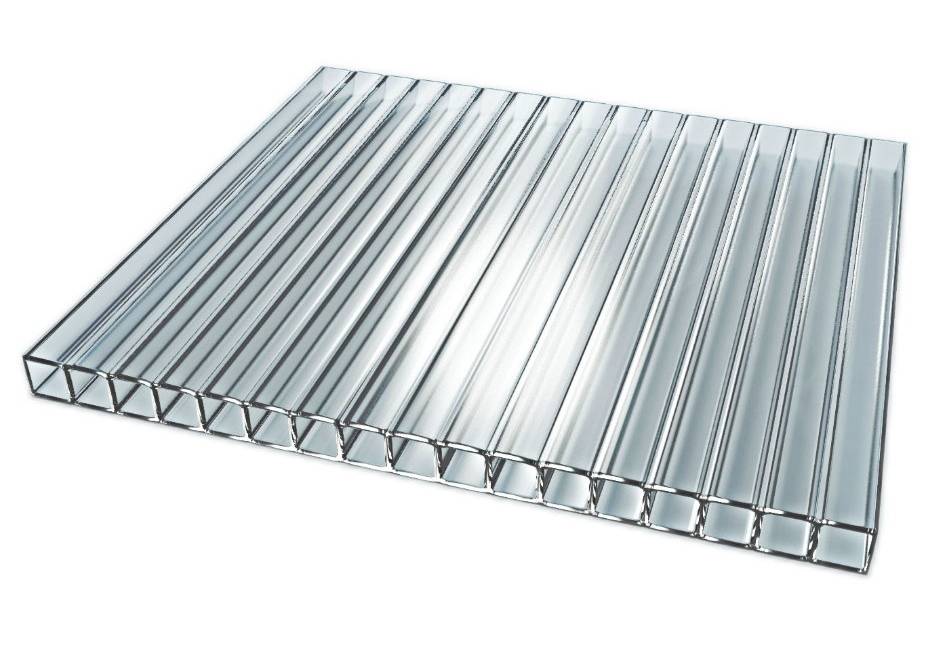
- Polycarbonate is the most popular material today. It's easy to install, lightweight, UV-resistant, retains heat well, and allows light to pass through. However, it's only suitable for greenhouses if the structure has ventilation, otherwise the plants will become too hot.
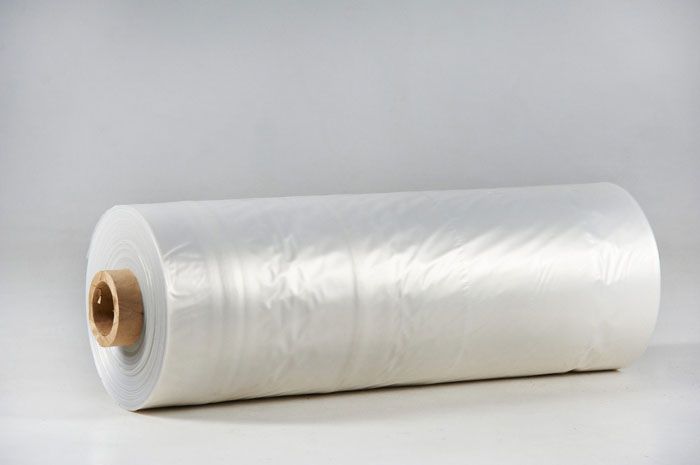
- Polyethylene film is the most affordable material. It requires virtually no installation effort—just drape it over the structure and secure the ends with something heavy. Its only drawback is its short lifespan; even with proper care, it's unlikely to last more than a season. Reinforced film is also available, which will last much longer, but is also considerably more expensive.
- Spunbond is a fabric material that's easily found in specialty stores. It has excellent thermal, light, oxygen, and moisture conductivity, making it the ideal covering for your greenhouse. However, good quality spunbond is not cheap.
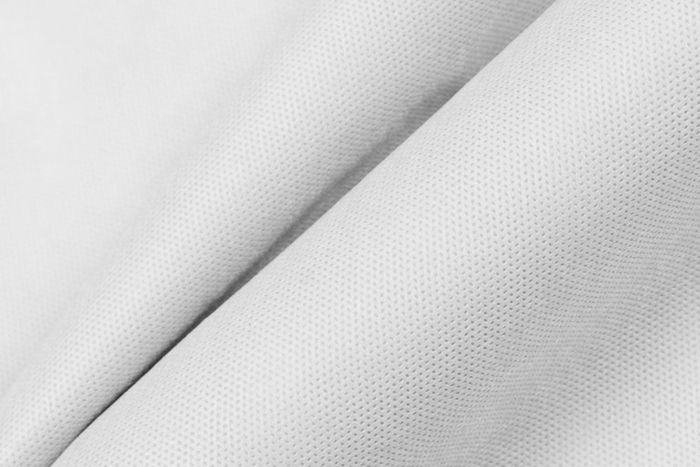
Some gardeners also use agrofibre, but don't confuse it with covering material; the most it can do is protect seedlings during their adaptation period.
Diagrams and drawings of a greenhouse made of polypropylene pipes
Once you've decided on the design of the greenhouse you need, you need to prepare calculations and drawings for construction and purchasing consumables.
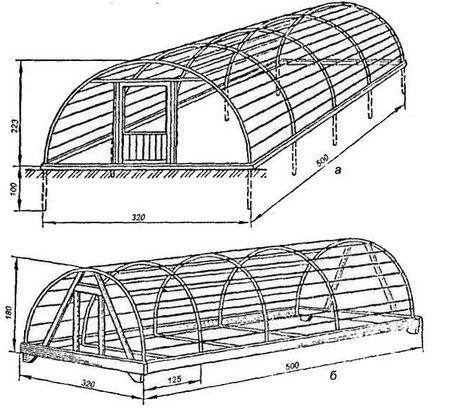
For any design, it's best to choose a well-lit, wind-free area. Then, determine the greenhouse's area and the types of crops to be grown there.
The optimal dimensions are usually:
- width – 3 meters;
- length – from 4 to 6 meters;
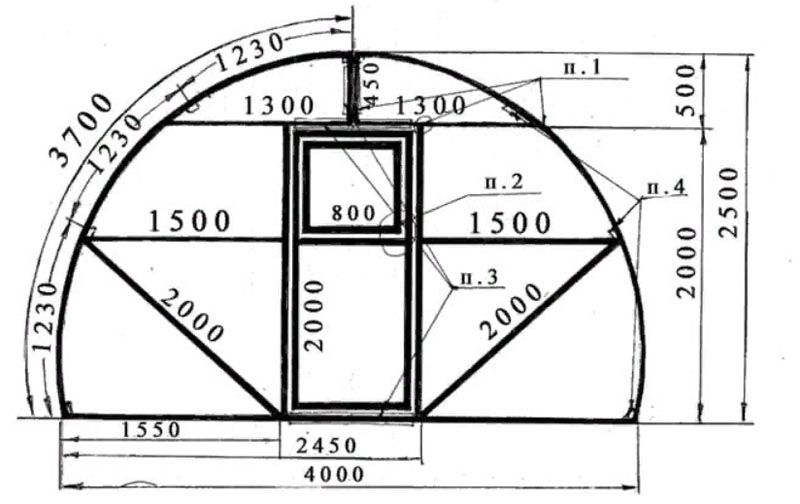
- height – 2-2.5 meters.
Examples of drawings
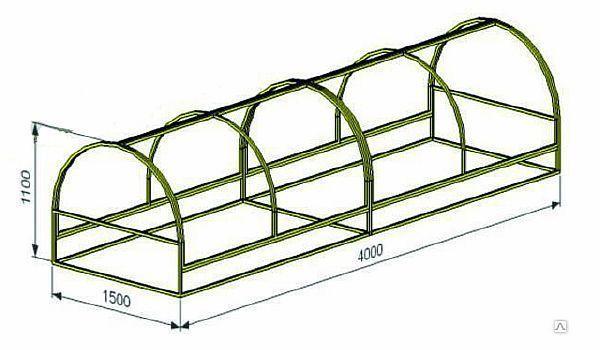
If you are planning a ground greenhouse, the recommended height is 80 cm and the width is 1.5 m. The distance between the posts should not exceed 1 m.
Building a mini greenhouse taller than 2-2.5 meters is not recommended. Excessive height will result in loss of the greenhouse effect and reduced thermal insulation properties.
To improve the quality of lighting and ventilation for growing seedlings in large greenhouses, vents and doors are made on each end side.
When constructing metal-plastic frame models, many use reinforcing bars, which are installed around the perimeter every 45-50 cm, deepening them into the ground by 60-70 cm, which will give the structure stability in strong winds.
A brief guide to building a greenhouse from polypropylene pipes
Let's take a step-by-step look at how to build a greenhouse from plastic pipes with your own hands.
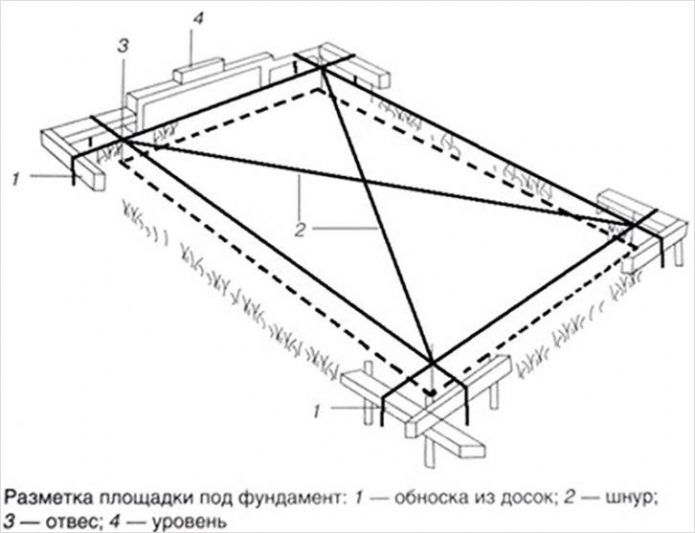
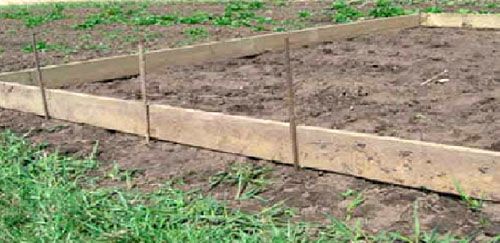
First, prepare and level the area for the foundation:
- pegs are installed and a rope is stretched between them;
- The slope is determined using a level and, if necessary, re-leveling is carried out;
- fill the foundation with a “cushion” of sand, 5 to 10 cm high.
Depending on the size of the future greenhouse, prepare the following consumables:
- boards – 4 pcs. in length and 6 pcs. in width;
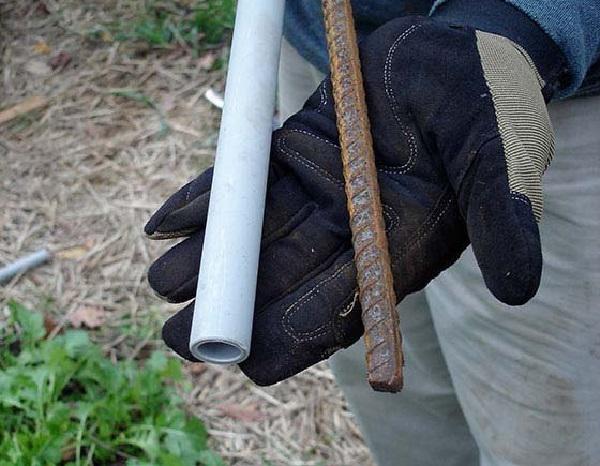
- pipes – diameter 20 mm (3-4 pcs.) and 25 mm (9-10 pcs.);
- reinforcement pins – 18-25 pcs.;
- holders-latches – 25-30 pcs.;
- wood screws No. 50 – 36-40 pcs;
- film, or agrotextile, or polycarbonate;
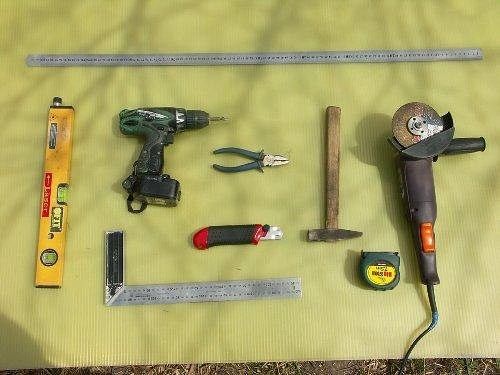
- screwdriver;
- hammer;
- sledgehammer.
Once the greenhouse area has been leveled and marked:
- boards or timber for the foundation are impregnated with an antiseptic on site;
- dry them; install them according to the marks on the sand bed and fasten them together; along the outer side of the boards every 45-50 cm
- install latches for reinforcement;
- reinforcement pins are inserted into the holders, deepening them 40 cm into the ground and snapped into place.
Once the plank foundation is ready, they begin assembling the frame. A 25mm pipe is inserted into the first pair of rebar studs in an arc and secured with brackets.
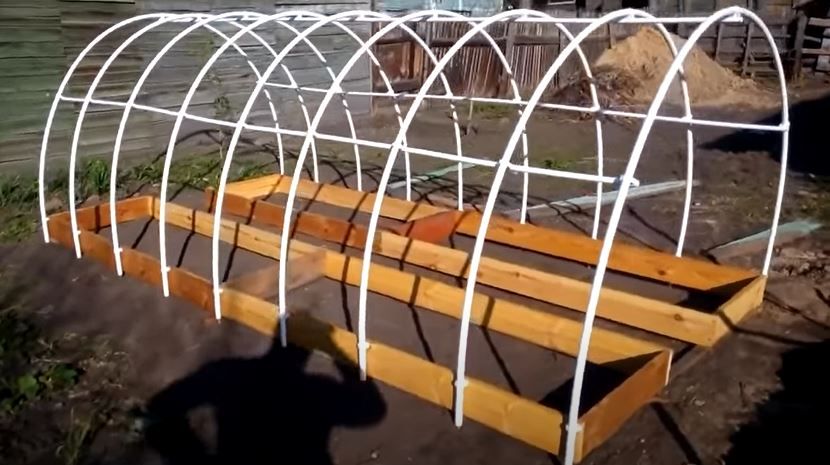
The same process is followed with all the remaining arches. Then, a cross-section is assembled from 20-millimeter sections, connecting them to the arches using latches or special clips. (More details on constructing this greenhouse will be provided below.)
After installing the frame, attach any chosen greenhouse material to it: film, spunbond, or polycarbonate. Polycarbonate is, of course, the best choice, as it allows excellent light transmission to the plants and lasts for five years, while film coverings must be removed annually. If the greenhouse is covered with polycarbonate sheets, thermal washers must be purchased beforehand to secure them.
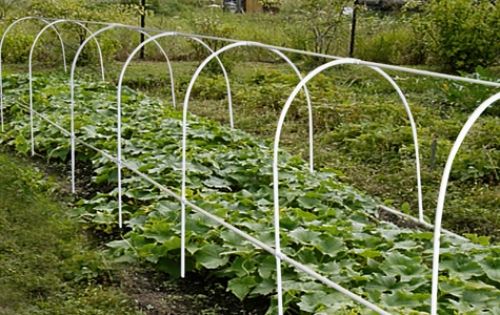
Some gardeners, with equal success, install special supports for growing cucumbers made of polypropylene.
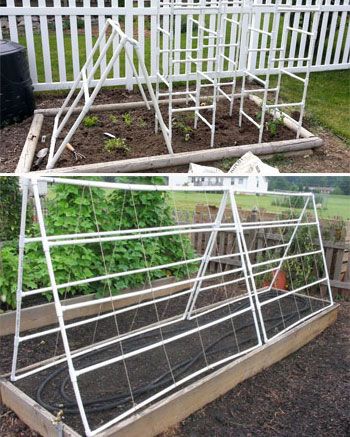
These trellises allow plants to grow upward rather than spread out across the beds, making harvesting much easier. Similarly, you can build a greenhouse out of PVC pipes yourself.
Detailed step-by-step instructions for building a greenhouse from polypropylene pipes
Step 1: Draw a blueprint
Any construction project must begin with a blueprint. Otherwise, the structure may collapse, and the amount of materials may be too little or too much. When creating a blueprint, consider the following:
- what will serve as the basis;
- what size and shape will the greenhouse be;
- what covering material will be used;
- how will the pipe elements be connected together;
- What additional partitions are planned inside?
This will help you understand how many meters of pipes you need, how many screws or clamps you need to buy, how many boards you need to prepare for the foundation, and how much footage of film or polycarbonate you will need.
Experts recommend planning garden beds with a width of 0.8 to 1 meter, which is considered optimal for comfortable gardening. The path width should be approximately 70 cm.
Step 2. Calculate the amount of materials
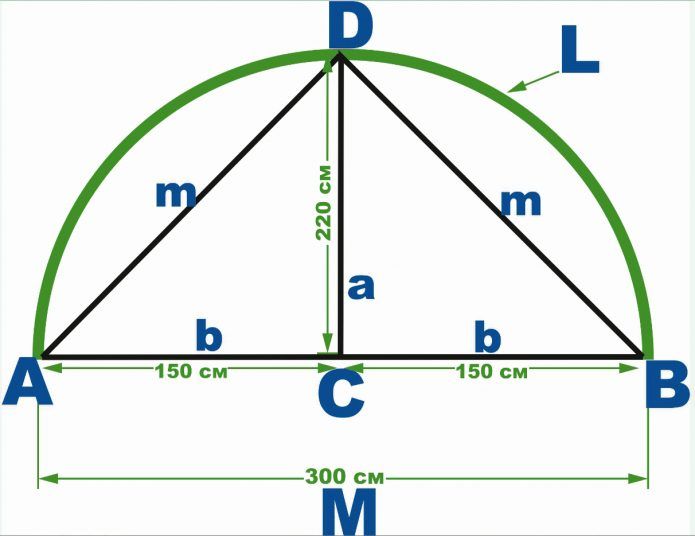
If you're planning to build an arched greenhouse, we offer a universal material calculation system:
- We determine the required width (C=b+b) and height of the structure (a).
- We calculate the distance m (the root of the sum of the squares of a and b, recalling the Pythagorean theorem).
- We calculate the length of the arc using the formula 2*m+(2*m+M)/3, where M is the total width of the greenhouse from arc to arc.
- The resulting number is equal to the length of one arc, we multiply it by the number of arcs and get the total length of polypropylene pipes.
- We determine the amount of covering material and calculate its area by multiplying the length of the greenhouse by the length of the arc.
The most essential calculations are now complete, so you can easily determine how many meters of arches and film you need. If you plan to bury the arches in the ground, feel free to add another 20 centimeters to the length of each (just don't include this when calculating the size of the covering material).
Step 3. Prepare tools and materials
We offer step-by-step instructions for building a greenhouse measuring 3.9 x 2 m and 1.5 m high. You will need:
- 10 wooden boards treated with a rot and pest repellent: 4 pieces 5 m long and 6 pieces 70 cm long.
- 12 polypropylene pipes, 4 m long: 9 pcs. with a diameter of 25 mm and 3 pcs. with a diameter of 20 mm.
- 18 pieces of rebar, 65 cm long.
- 25 fasteners for polypropylene pipes.
- Self-tapping screws for assembling a wooden frame.
You won't need any specialized tools; a large hammer and a screwdriver will be enough.
Step 4. Making a foundation or base for the greenhouse
Only greenhouses made from polypropylene pipes require a substantial foundation. Here's how to build one:
- The area where the structure will stand is leveled in advance.
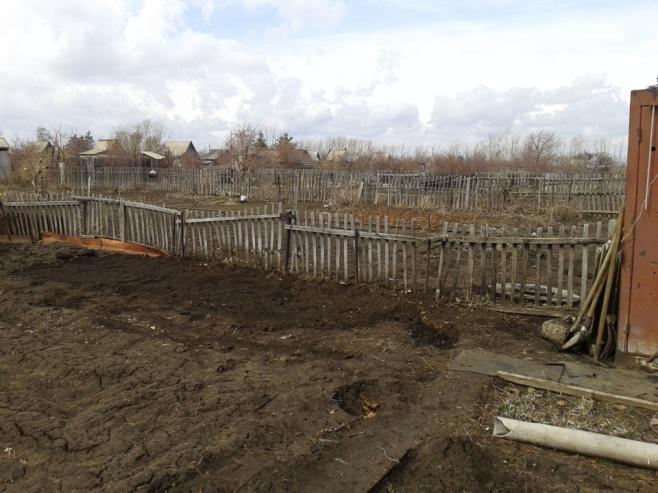
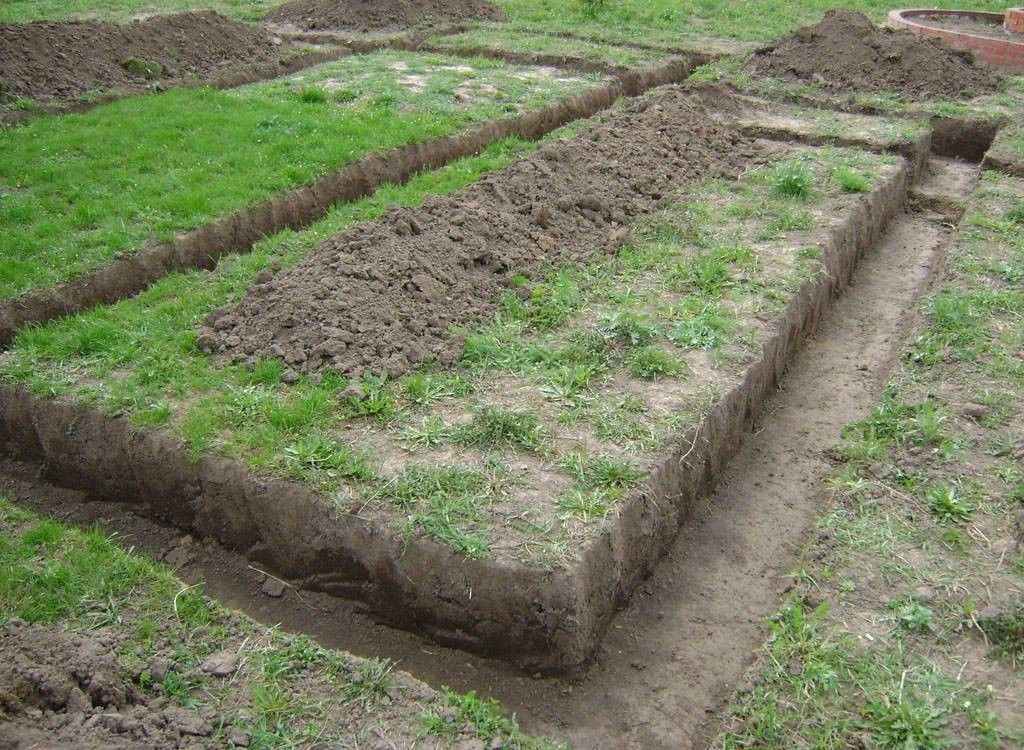
- A trench is dug, the depth of which depends on the proximity of groundwater. The soil inside the trench is thoroughly compacted.
- Formwork is built from wooden planks.
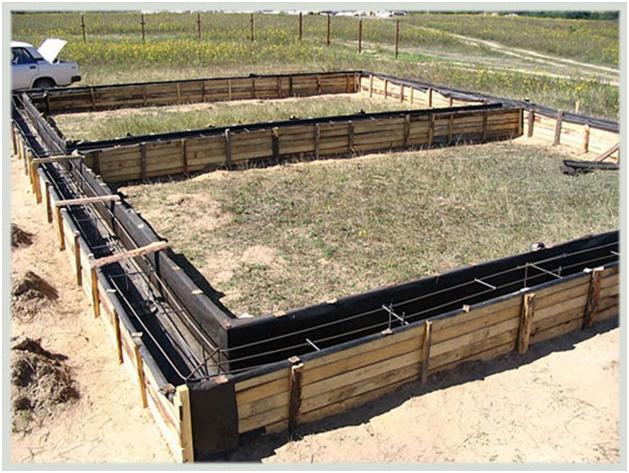
- They pour the solution inside and prepare holes where the pipes will be attached.
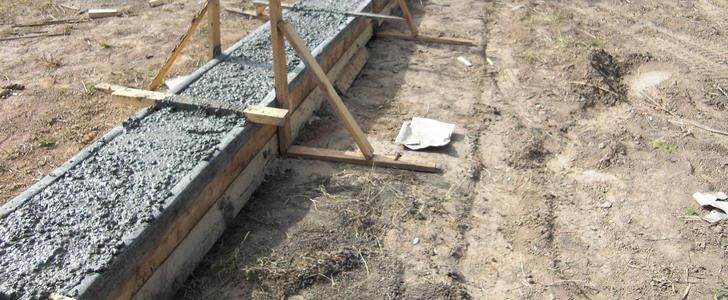
A greenhouse, however, is much easier to build. Again, because it doesn't require a solid foundation; simply digging in rebar at a certain distance from each other is enough.
If you want to make the structure more reliable and solid (as in our case), we suggest making a wooden base.
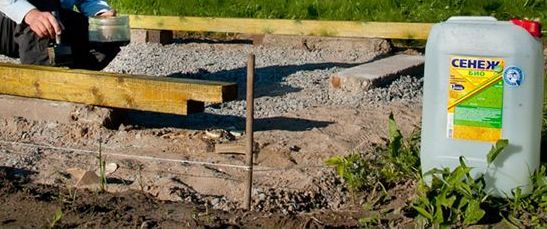
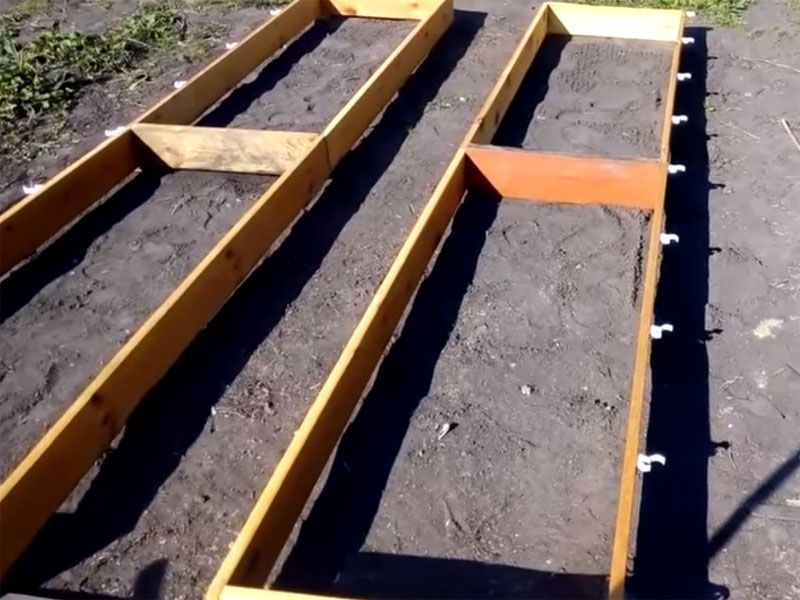
Take the pre-cut boards and use screws to construct two rectangles, attaching a crossbar made from a short board in the middle. This will create two wooden frames for the future garden beds. We recommend making the paths between them 50 cm wide.
It's logical to assume that this structure won't be permanent unless it's reinforced. For this, you'll need rebar, which is hammered into the ground to a depth of approximately 30-40 cm around the entire outer perimeter of the wooden foundation and secured to it with special rivets closer to the ground.
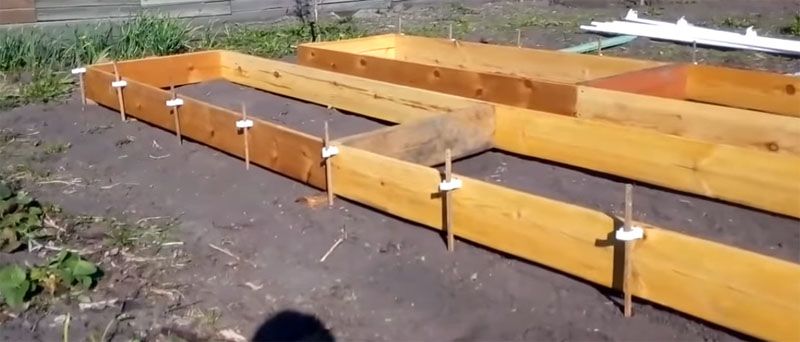
If it is not possible to use reinforcement, then you can take 4 pieces of metal pipe, drive them into each of the four corners along the perimeter, and connect them together using a metal tie strip.
Step 5. Assembling the pipe frame: photo instructions
| Illustration | Description of action |
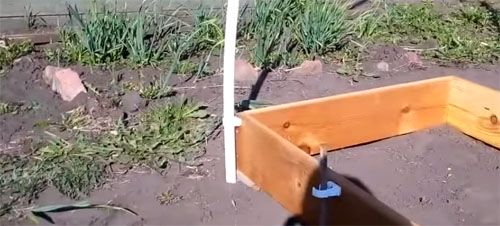 |
The pre-cut arcs now need to be connected into the greenhouse frame. This is done simply: pipes are inserted into prepared reinforcement, installed at a predetermined distance between the arcs, forming the shape of the arc. |
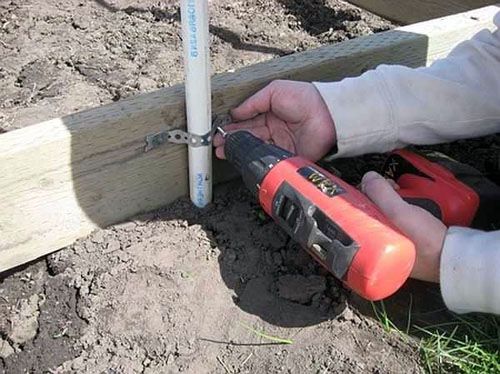 |
Each arc is attached to the frame using special fasteners. |
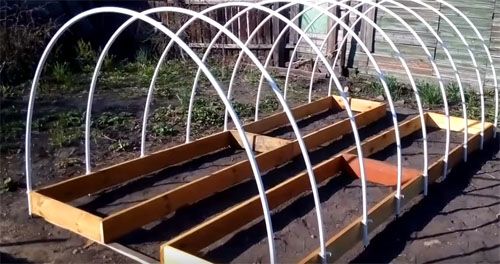 |
We do the same with all the other pipes. |
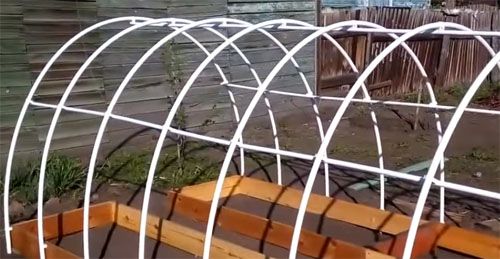 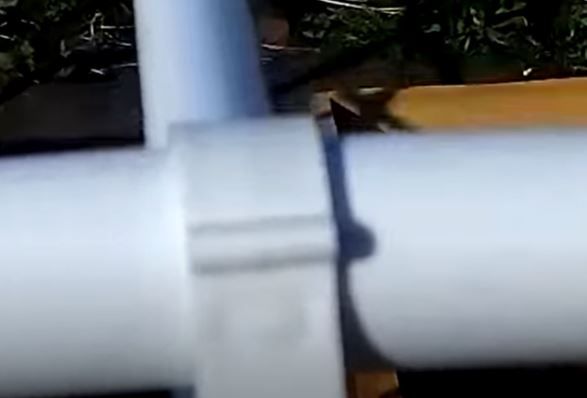 |
The remaining three pipes will serve as ties for the frame. They are secured to the sides and top of the structure using special pipe clips. |
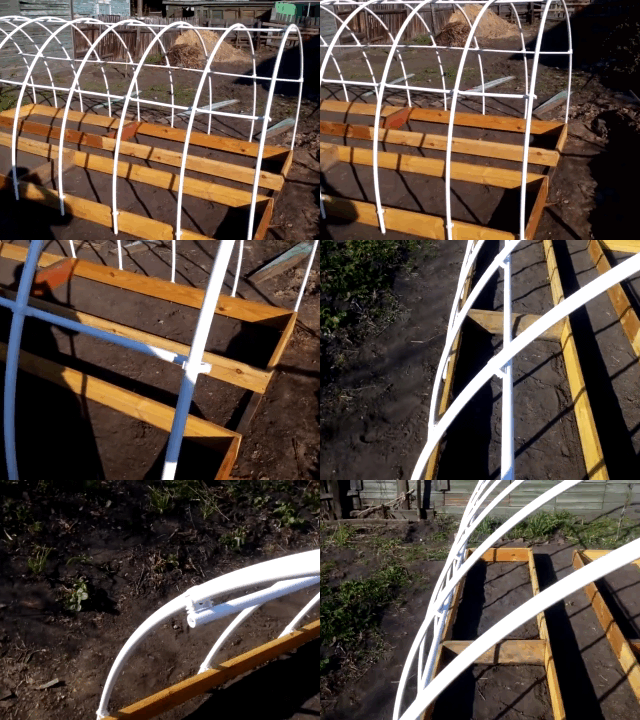 |
This is what the greenhouse looks like. |
Step 6. Laying the covering material
The easiest way to cover a greenhouse is with film or spunbond.
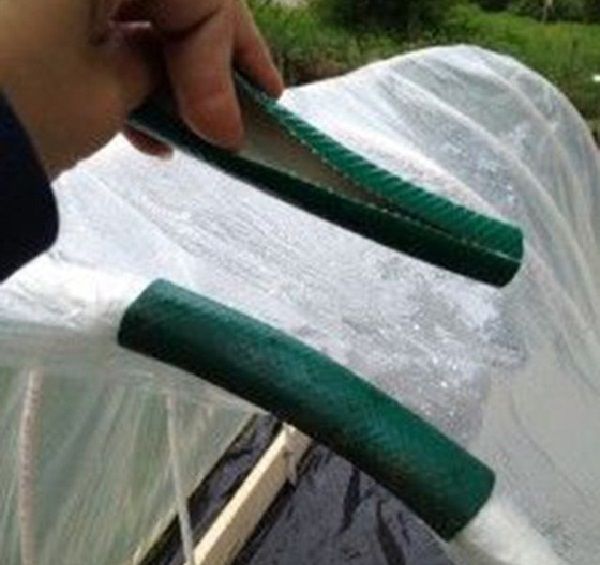
These materials are attached to the arches using special plastic holders.
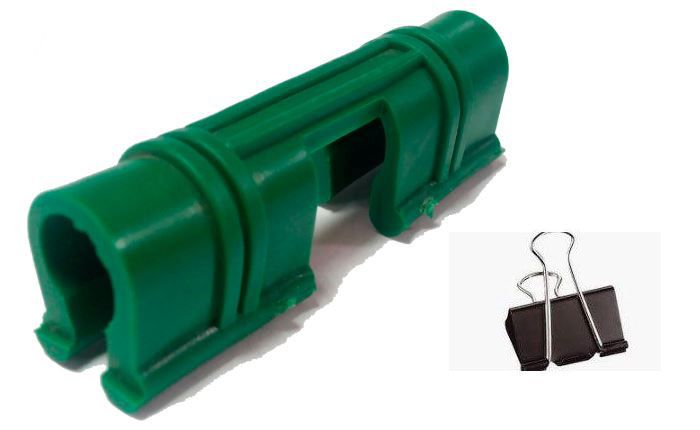
The material can be secured to the wooden base of the greenhouse with screws on one side for security. We recommend simply pressing the other side down with something heavy if you plan to periodically open the greenhouse for ventilation. The ends can be made solid, or you can press the ends down and periodically open them.
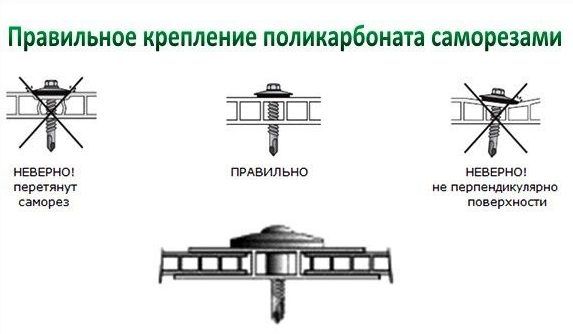
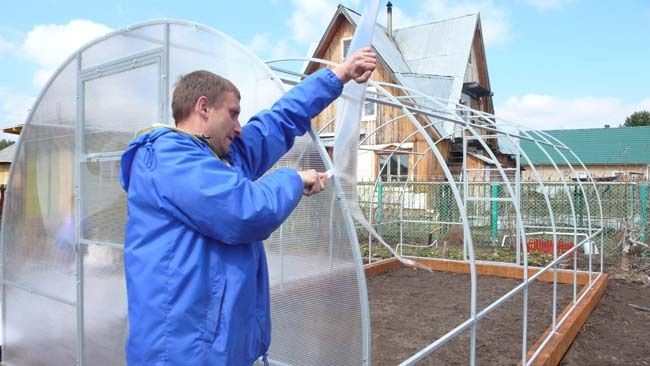
If you've already purchased very thick and heavy-duty pipes, you can screw the polycarbonate to them. Here are some installation tips:
- For installation, use self-tapping screws with a thermal washer to avoid damaging the canvas.
- The polycarbonate should protrude above the ends by approximately 5 cm.
- The sheets are laid on top of each other with an overlap of 10 cm.
- When working with polycarbonate, use a sharp knife.
Greenhouse-house: a method for making one yourself from polypropylene pipes
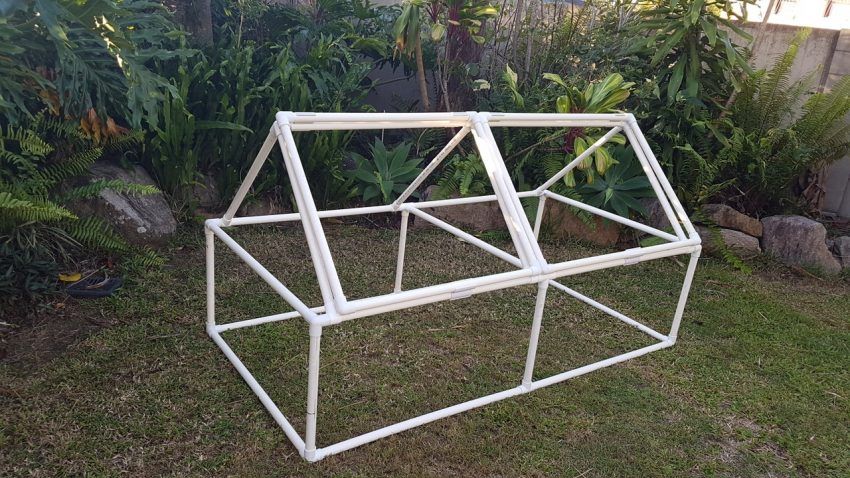
The greenhouse-house will look harmonious on any site; the gable structure allows snow to slide freely in winter, and such a roof will also properly distribute light inside due to its refraction.
When planning the design of such a greenhouse, consider the ventilation system: either the roof will open, or there will be a door and a window at the ends. The side walls can be positioned at a right angle to the ground surface, or they can be slightly sloped inward, which will increase the area for light penetration.
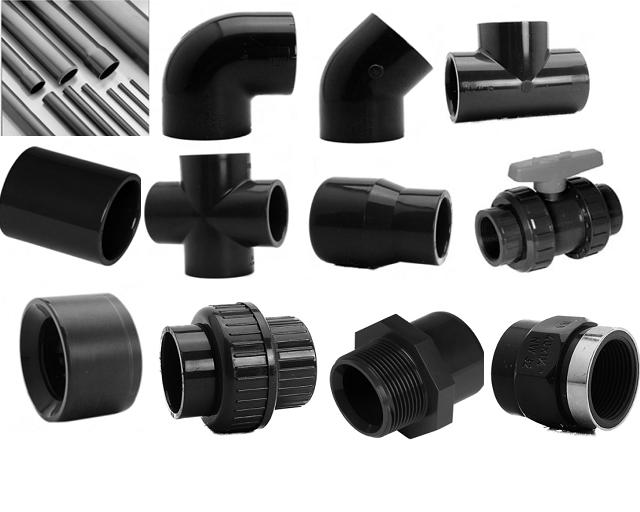
In addition to the pipes, you will need fittings to connect them, as well as a special soldering tool, which can be rented at almost any hardware store for a reasonable fee.
Rules for caring for a greenhouse made of polypropylene pipes
The greenhouse discussed earlier is best removed for the winter. However, if this is not possible, basic care guidelines include:
- installation of additional supports to counteract snow cover;
- timely removal of snow from the roof;
- removing the covering material for the winter.
Photo gallery: greenhouses made from polypropylene pipes