With proper care, strawberries can easily survive the winter, so many gardeners begin transplanting them in the fall. This article will discuss the advantages of this method and how to ensure proper overwintering of these berries.
Content
- 1 Advantages and disadvantages of planting strawberries in the fall
- 2 When to plant strawberries in autumn
- 3 Planting strawberries in open ground in autumn
- 4 Options for planting strawberries in autumn
- 5 5 Strawberry Planting Schemes for Fall
- 6 2 ways to transplant strawberries in the fall
- 7 Caring for strawberries after planting in autumn
- 8 Common mistakes
- 9 Tips from Top.tomathouse.com
Advantages and disadvantages of planting strawberries in the fall
After a hectic summer of gardening, a lull sets in, leaving more free time. This is the perfect time to calmly and deliberately plant or transplant strawberries. The latter is done to increase the crop's yield for the following season.
There are a number of advantages to autumn planting:
- You can harvest the berries as early as next summer. If you plant strawberries in the spring, you'll have to wait a year for a harvest.
- The root system has time to adapt and take root in the garden bed.
- After harvesting the remaining plants, there is plenty of space left, so you can choose the most favorable piece of land for the upcoming planting.
- In autumn, the weather is extremely favourable – solar activity is no longer as high, and it is cool and humid outside.
- At the end of the season, various seedlings go on sale, making it possible to acquire the rarest varieties. In the spring, there's a high risk of encountering poor-quality strawberries from previous seasons.
- The price of seedlings is lower than spring ones.
- The most favorable weather is approaching for transporting strawberries ordered from other regions.
Of course, there are risks associated with planting berries in the fall. The weather in most regions of the country is unpredictable. Subzero temperatures can arrive too early, before the roots have fully established themselves in the garden bed. It's important to ensure that the first frost is forecast no earlier than a month after planting the strawberries.
When to plant strawberries in autumn
There is no exact date for autumn planting of crops; it varies depending on the region and the weather forecast.
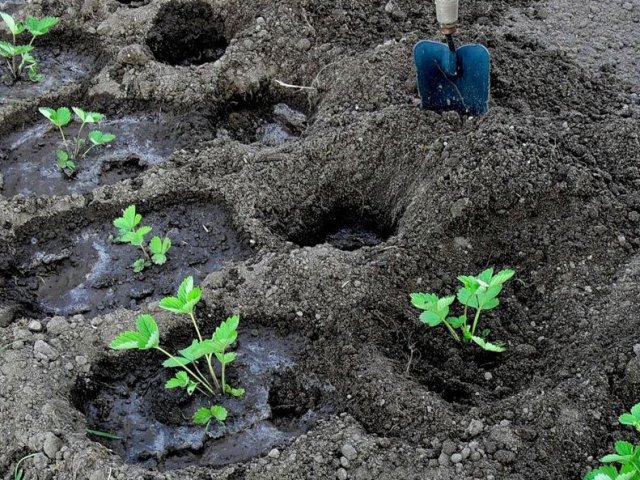
What month should I plant strawberries in the fall?
Planting times can be conditionally divided into three groups:
- early – until the second half of September;
- average – until the second half of October;
- late - should be completed 30 days before the first frost, individual for each region.
Gardeners most often prefer early and mid-season plantings; late plantings are often difficult to time correctly. If you miscalculate the timing, you could lose the entire harvest and the plant will die.
Experienced gardeners can accurately determine the right time to plant strawberries based on the growing cycle. Most varieties begin to develop runners in June, which continue to root in the soil in July, and the first buds form in late summer and early fall.
Weather conditions
The most suitable conditions for planting and transplanting strawberries are considered to be:
- weather with minimal solar activity;
- air temperature not lower than +10 °C;
- afternoon part of the day.
In autumn there are often hot days, and it is better not to plant strawberries at this time.
By region
When planting strawberries in the fall, it's important to consider weather conditions specific to different regions. The table below shows the optimal timeframes for planting.
| Regions | Deadlines |
| Moscow and the Moscow region | from August to September |
| Leningrad Oblast | from mid-August to early September |
| Central Russia | from late August to mid-September |
| Siberia | no later than the end of August |
| Ural | from late July to mid-August |
| Southern regions (Rostov Oblast, Krasnodar Krai) | From the end of September to October |
According to the lunar calendar for 2023
Planting in the fall according to the lunar calendar will allow the strawberries to take root better and produce a good harvest next year.
| Month | Favorable days | Unfavorable and prohibited days |
| August | 3-4, 5-14 (until 13:35), 19 (from 14:53)-24 (until 11:08), 26 (from 14:04)-28 (until 17:31) | 1,2, 15 (from 12:38 p.m.), 16, 17 (up to 12:38 p.m.), 30,31 |
| September | 1 (until 16:25), 3 (from 18:00)-5 (until 23:05), 8 (from 07:59)-10 (until 19:35), 13, 18 (from 07:58)-24. | 14,15, 28 (from 12:58 p.m.), 29, 30 (up to 12:58 p.m.) |
| October | 1-3 (until 08:02), 5 (from 15:32)-12, 16-22 (until 09:06), 24 (from 11:32)-26 (until 13:01),30-31 | 14,15,28,29 |
Planting strawberries in open ground in autumn
Strawberries are a common garden staple; they require little effort to grow and are ready to bear fruit even under less favorable conditions. But if you follow all the proper growing practices, you'll be rewarded with a bountiful harvest.
Selection of seedlings
Strawberries should be purchased only from reputable producers, preferably nurseries. Plants from private growers may be weak or even infected.
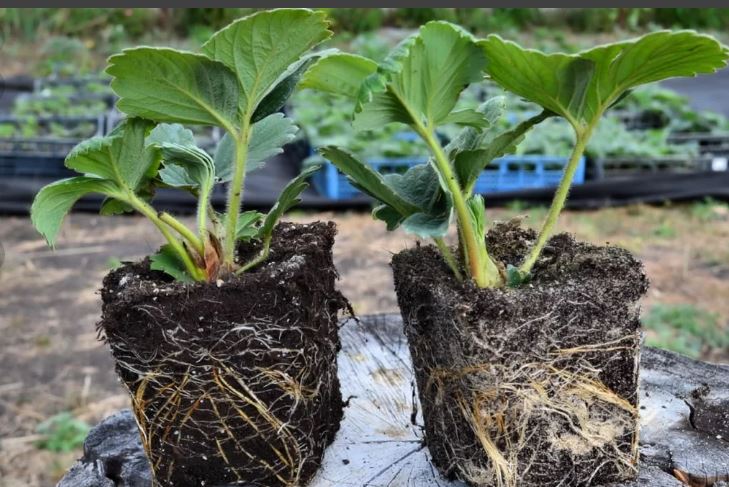
It's best to choose seedlings from mother plants. They are inherently immune to diseases and produce high yields. Good seedlings can be identified by a number of characteristics:
- The horns are dense, healthy, and their thickness should be at least 7 mm.
- The roots are living, branched, up to 8 cm long.
- The leaf blade is dense, shiny, the color is even, bright green.
- The number of full leaves is no more than 5.
- The seedlings appear healthy, without damage or signs of infection.
11 Strawberry Varieties Suitable for Fall Planting
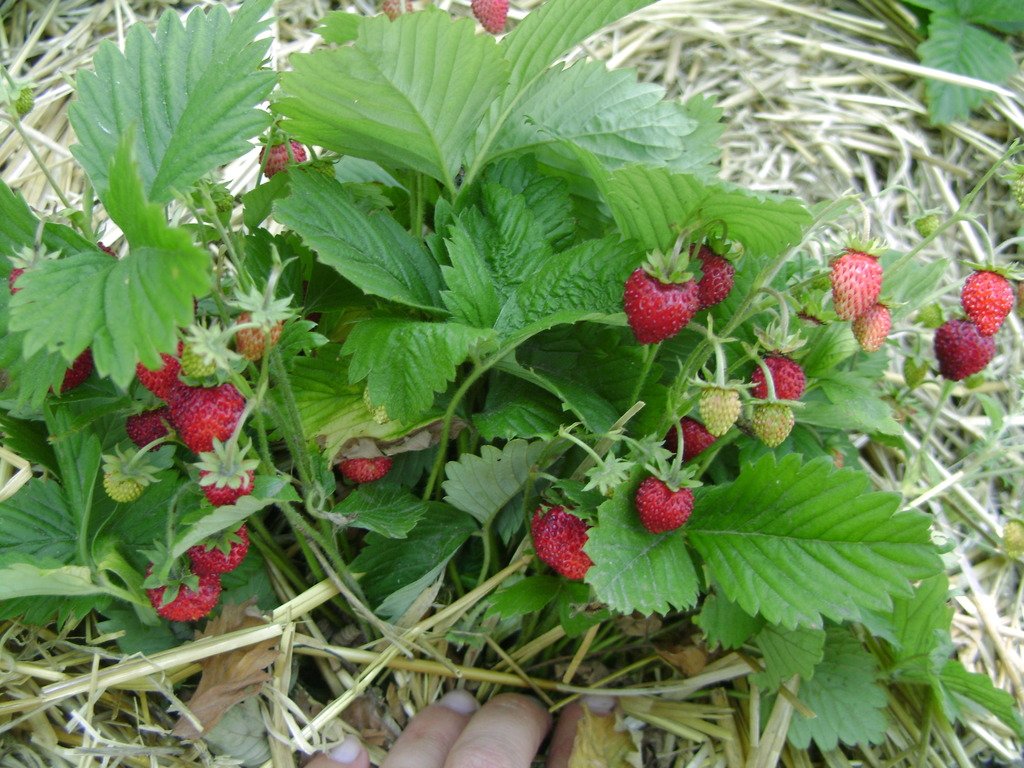
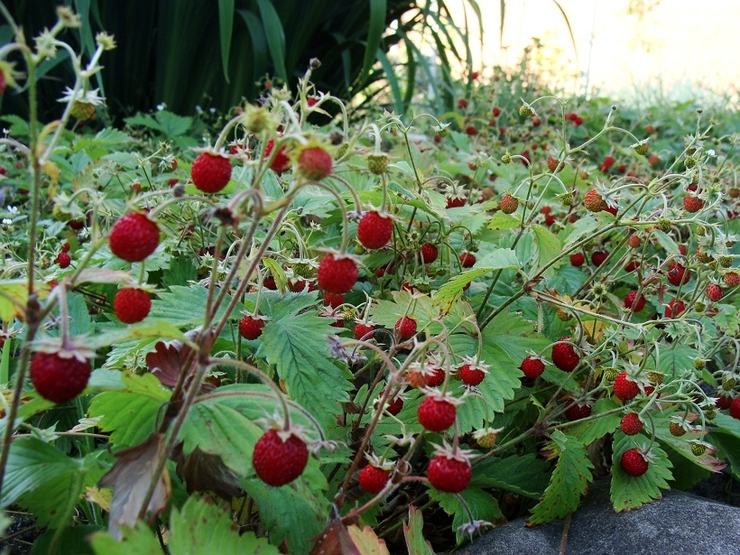
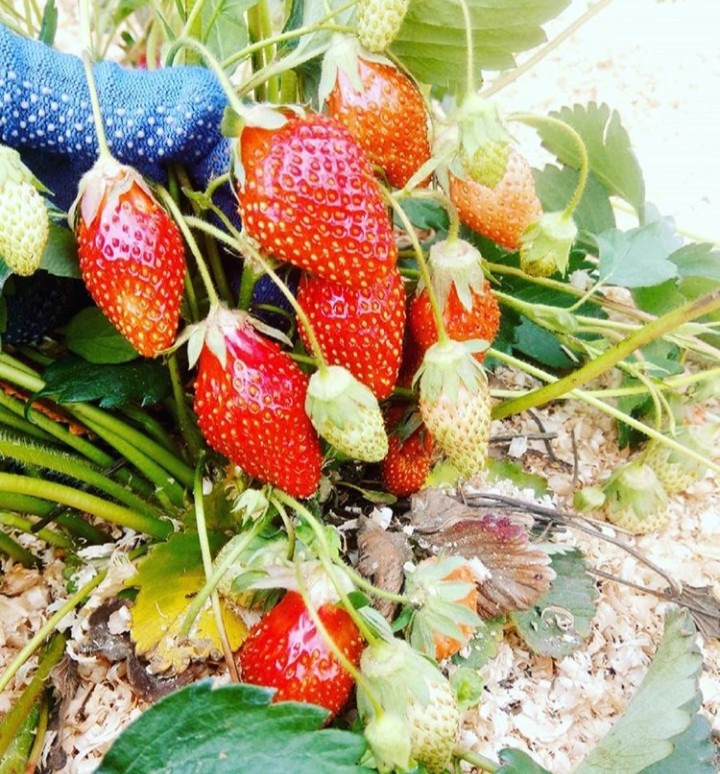
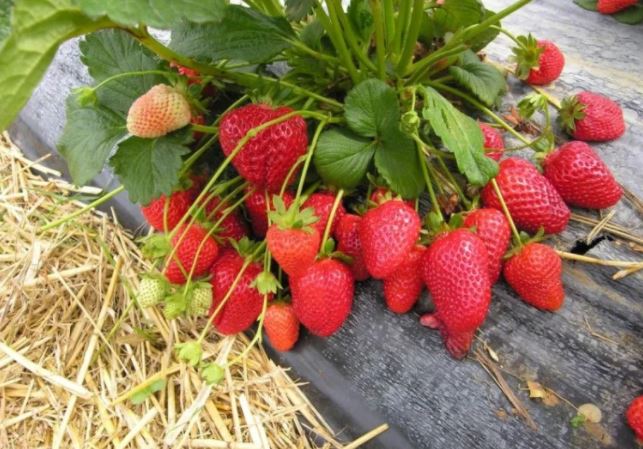
Among strawberries, there are several varieties that thrive best in the fall and produce excellent harvests in the spring. These include both everbearing (bearing fruit several times per season) and non-everbearing (bearing fruit only once per summer) varieties. We've described them in the table below.
| Name | Varietal characteristics | Repairability |
|
Kimberly
|
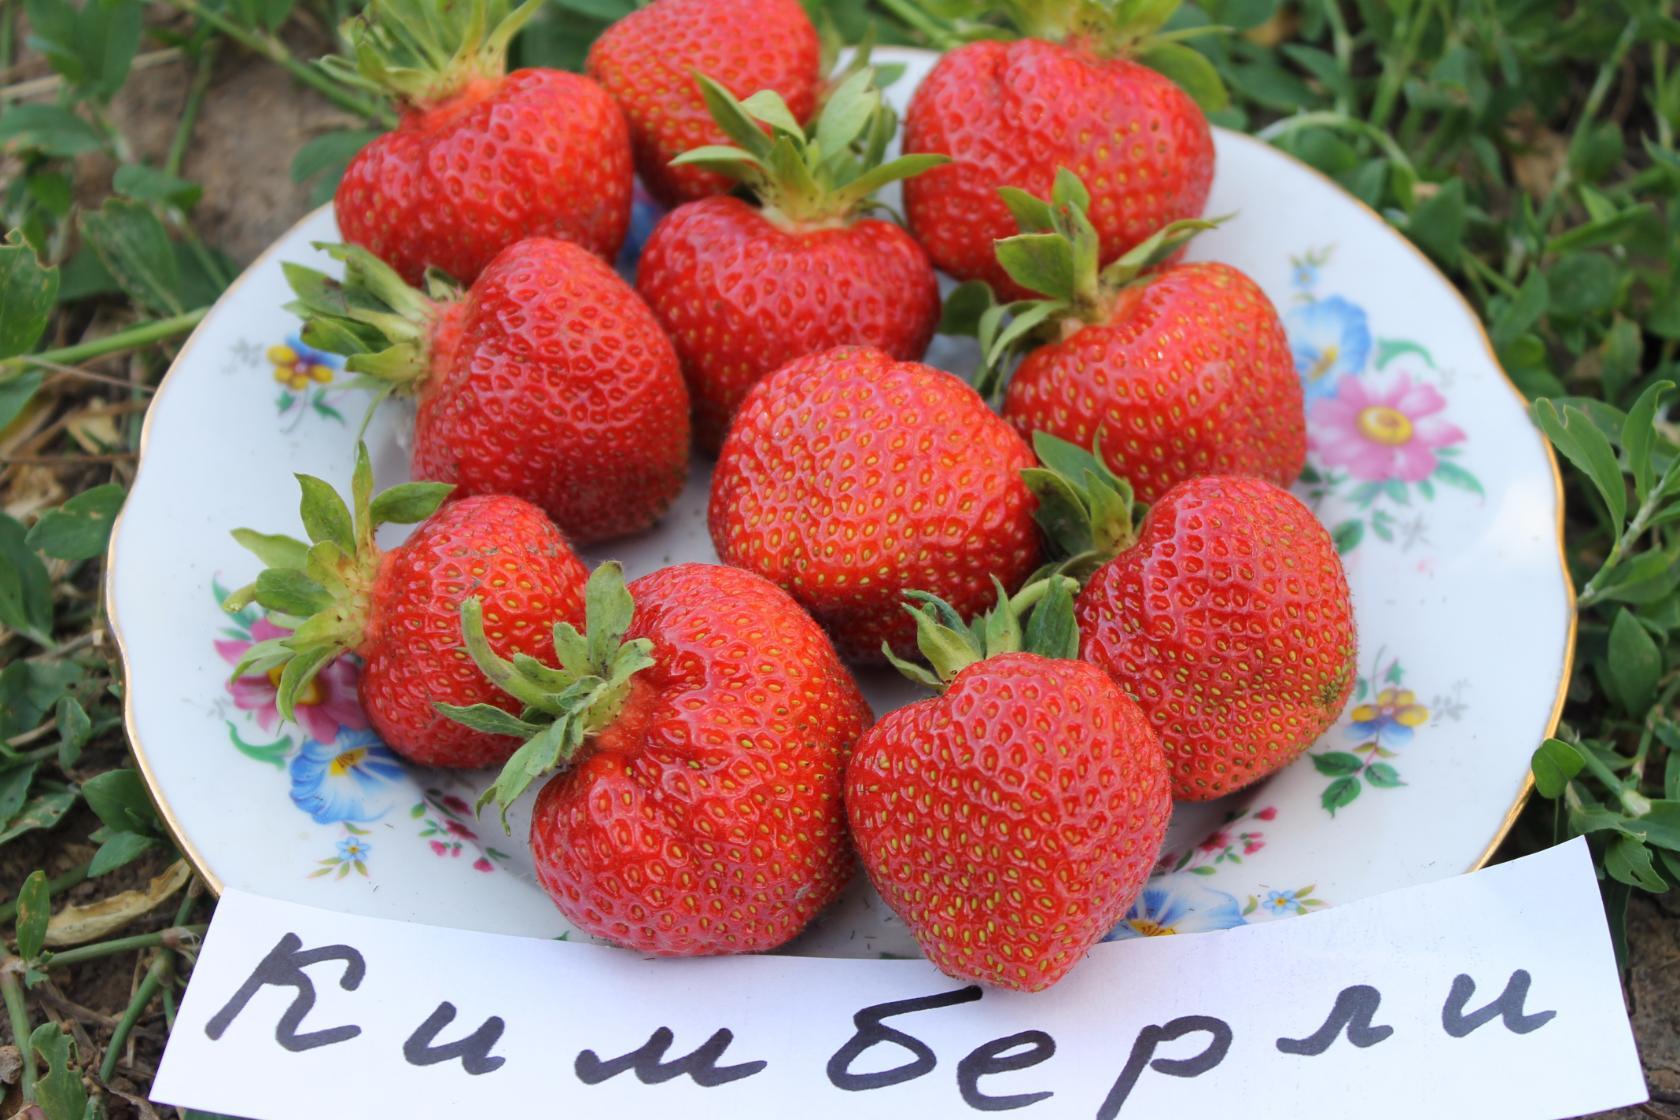
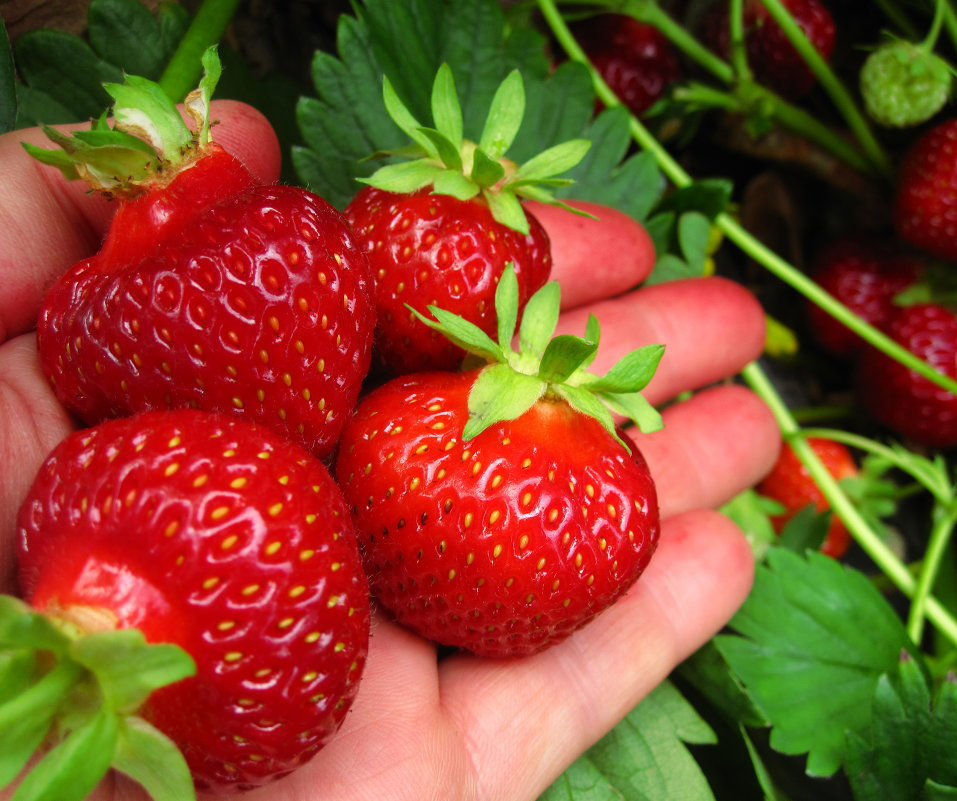
The berries ripen early. The bush itself is not very tall and is quite small, with light green leaves. The inflorescences form at or slightly below the leaf level. The berries grow relatively large, weighing 40-50 g, cone-shaped, and bright red. This variety is resistant to powdery mildew and requires intensive, but not excessive, watering. For best fruiting, periodic fertilizing is recommended. | No |
| Florence
|
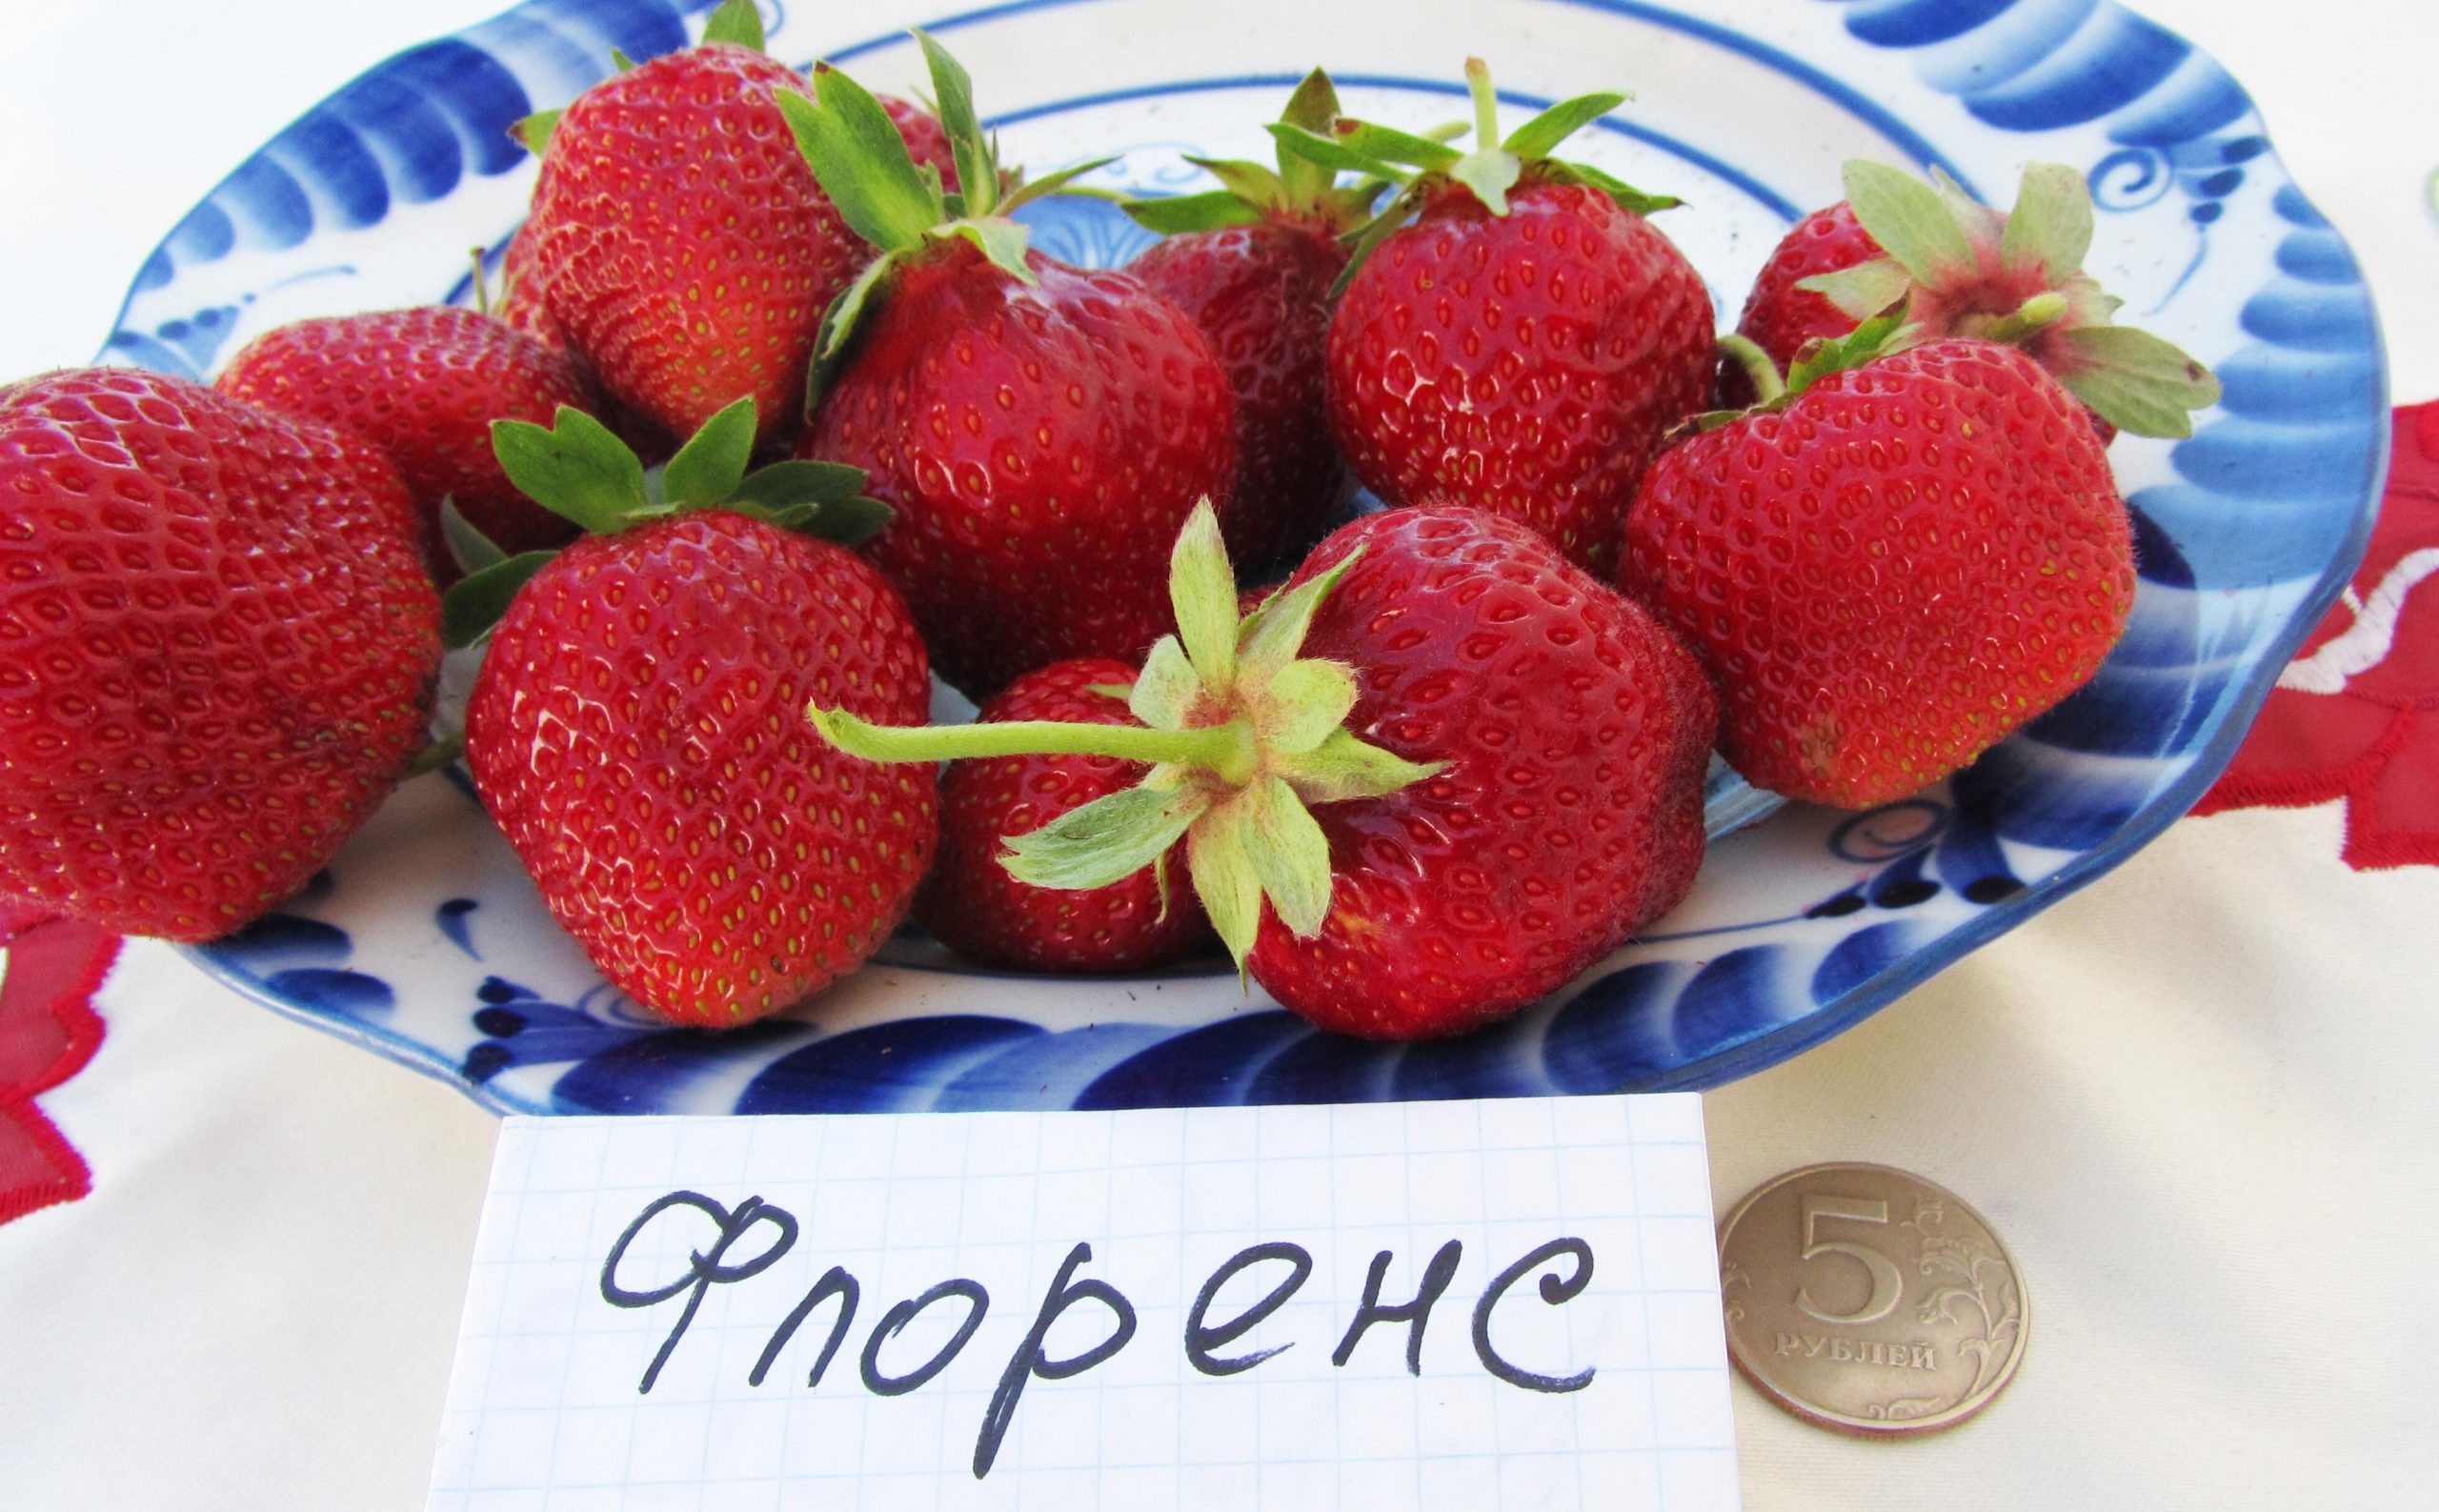
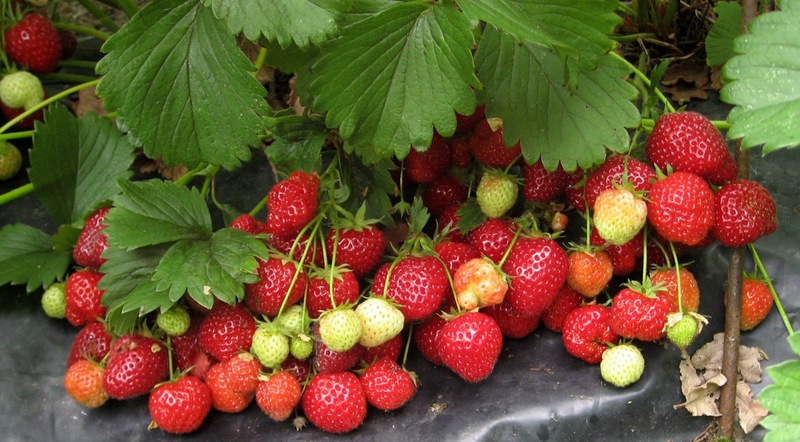
A common variety in garden plots. The bush grows quite large and spreading, resembling a large green ball. During the first few years of growth, numerous runners and shoots form, but with age, its ability to form runners diminishes. The leaves have a slightly corrugated texture and are a rich green. The berries are quite large, weighing up to 60 g. Their color changes from red to dark burgundy as they ripen. This variety is highly resistant to fungi, but is often susceptible to various types of spotting. | No |
|
Victoria
|
A perennial, large-fruited variety. The bush is vigorous and bears white flowers, several of which are arranged on a stem. The leaves are dark green and trifoliate. The berries are deep red, up to 80 grams in size. The flesh is sweet, aromatic, and juicy. This variety requires little care, the most important thing being watering regularly. | Yes |
| Kent
|
The bush has an upright habit, with tall stems and leaves attached to them by long petioles. Thanks to its robust root system, the plant is highly resistant to temperature fluctuations and frost. The berries ripen early and are heart- or cone-shaped. The taste is excellent – juicy and sweet. They are dark red and weigh 40 grams. Strawberries are resistant to gray mold and powdery mildew. They grow best in black earth or forest soils, and produce fruit more slowly in marshy, calcareous soils with high acidity. | No |
|
Honey
|
The bush grows spreading and tall, with a robust root system that ensures excellent survival and accelerates adaptation after planting. Numerous flower stalks form, allowing for a rich harvest. The leaves are dark green, and the petioles are covered with small, fluffy hairs. The berries are conical, red, and have shiny skin. They ripen early. With proper care, the fruit can weigh up to 30 g. | No |
| Crown
|
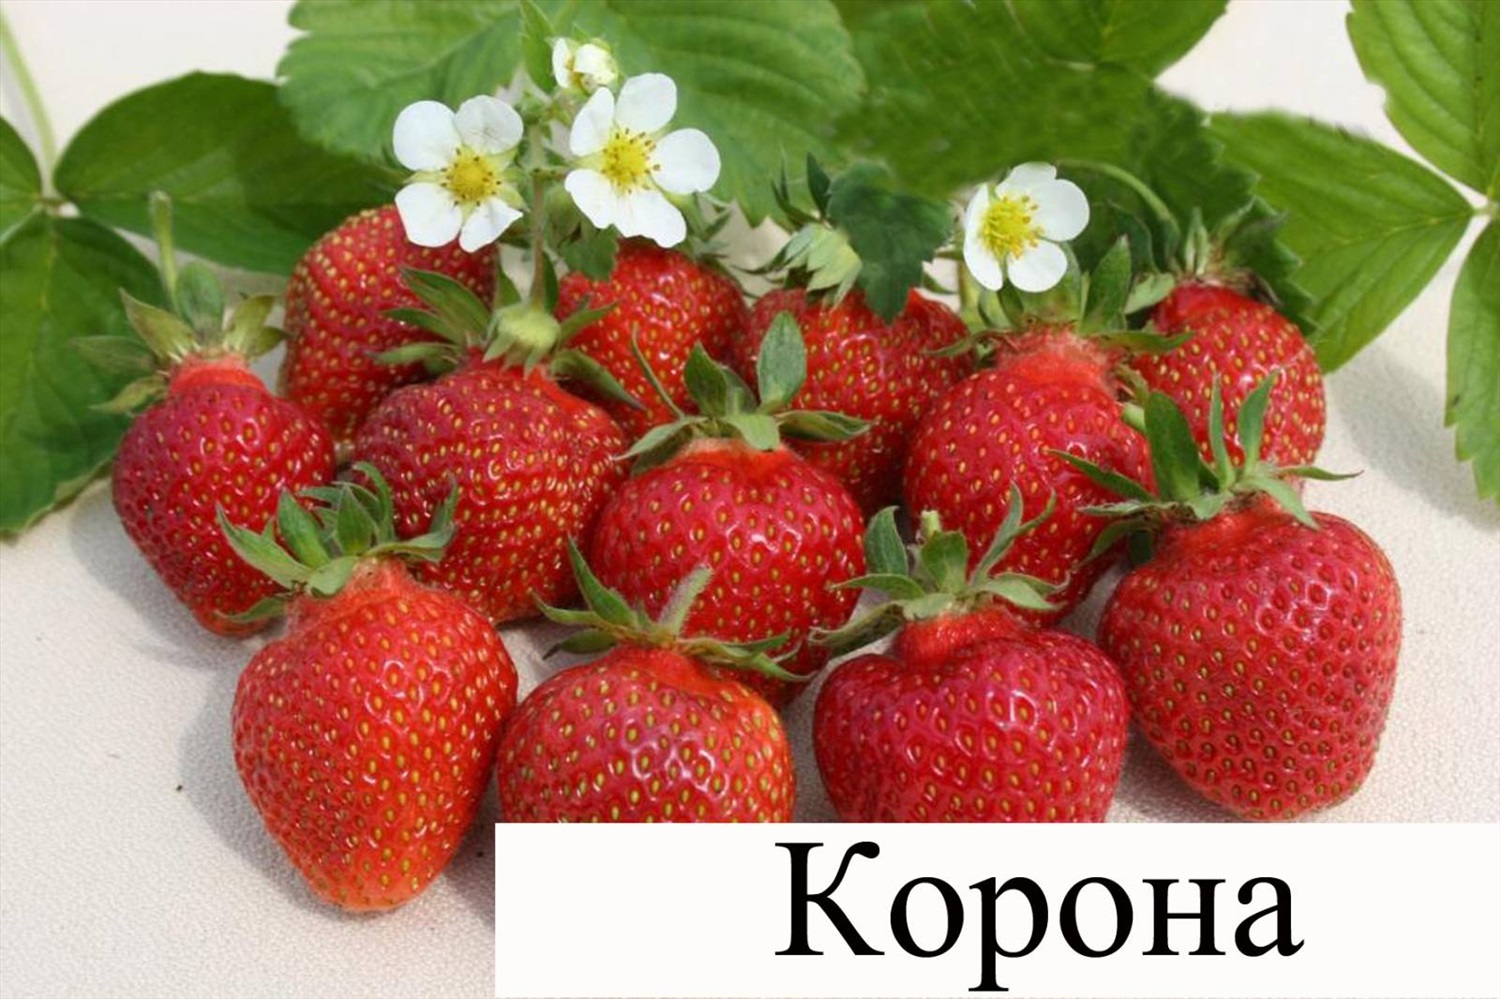
The ripening period is average. The bushes are small and very compact. During the first season after planting, their height barely reaches 20 cm. The leaves are quite large, dark green with a silvery sheen, and slightly concave in shape. The first berries are very prominent, scallop-like in appearance, weighing up to 30 g. Later, the fruits become smaller, rounder in shape, and smoother in surface. This variety tolerates winter well, thrives in low moisture conditions, and is resistant to brown leaf spot and powdery mildew. It is most often susceptible to diseases such as gray fruit rot and white spot. | No |
|
Ali Baba
|
The bushes are small, reaching approximately 15 cm in height, and grow very compactly. Numerous inflorescences form in the spring, producing a generous harvest. The berries are much smaller than classic strawberries, weighing up to 5 grams, cone-shaped, and bright red. In fertile soil, the fruits grow slightly larger, reaching 6 grams. The flavor is sweet and sour, despite the above-average sugar content. The variety is resistant to many diseases and tolerates frost and drought well. | Yes |
| Forest Tale
|
The variety begins flowering in late May and continues until early October. The bush grows small and compact. The berries are small, weighing up to 5 g. | Yes |
|
Gum
|
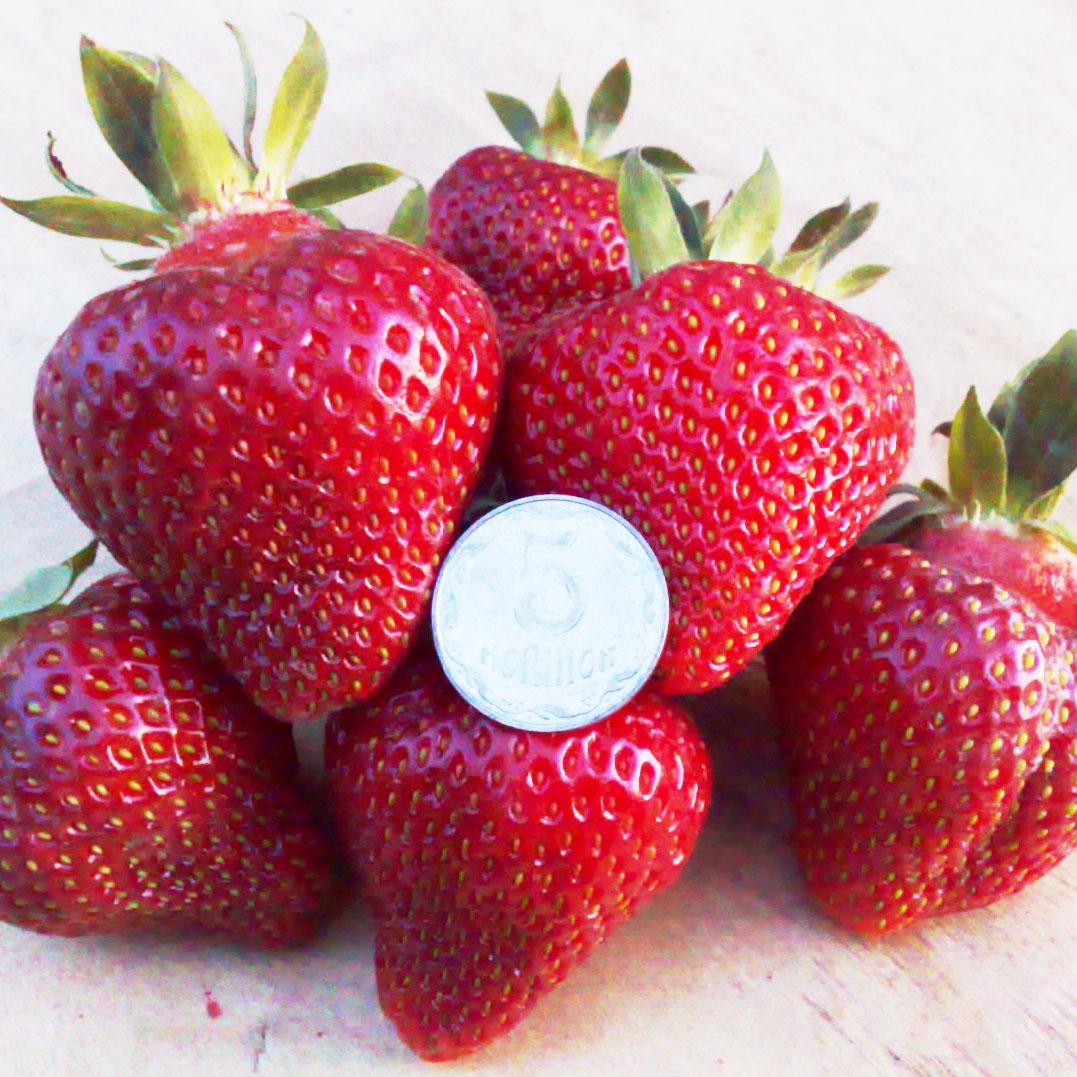
This variety was developed by Ukrainian breeders and is a favorite among many gardeners due to its excellent yield. The berries ripen very early, are large, broadly conical, and dark red in color. The bush is medium-sized, with large, dark green leaves. The bush produces numerous runners. This strawberry tolerates winter frosts well and is resistant to many types of fungus. The main disease this variety is susceptible to is strawberry mite. | Yes |
| Rusanovka
|
The berries ripen early, typically weighing 10-15 grams, but some fruits can reach 40 grams. The bush is large, the leaves are relatively small, and the petioles are light and long. The fruit surface is bright red, interspersed with numerous white seeds. The strawberry tastes sweet and sour, yet very juicy. This variety is highly resistant to various diseases. | Yes |
|
Dawn
|
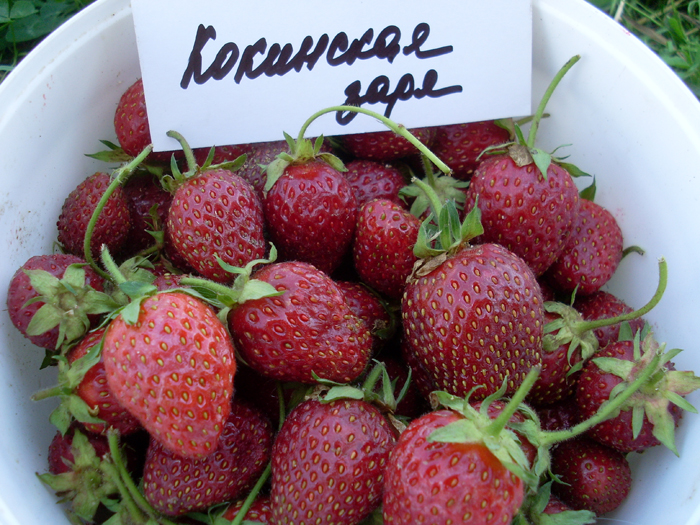
This variety is characterized by early ripening. The berries are juicy and sweet, but the bush itself is often attacked by various fungi due to its low resistance. However, as a compensation, the strawberry has low soil requirements, tolerates winter well, and grows well in almost every region of the country. Breeders have developed a more successful variety – Kokinskaya Zarya. | No |
Preparing strawberry seedlings for planting
If you have good, proven strawberry varieties in your garden, they can be a source of high-quality planting material. If not, it's best to purchase strawberries from a specialized nursery. The key sign of suitable planting material is the presence of 3-4 healthy, full-grown leaves on the cutting. If there are more, remove the excess. The roots should be no more than 10 cm long; otherwise, they will need to be trimmed.
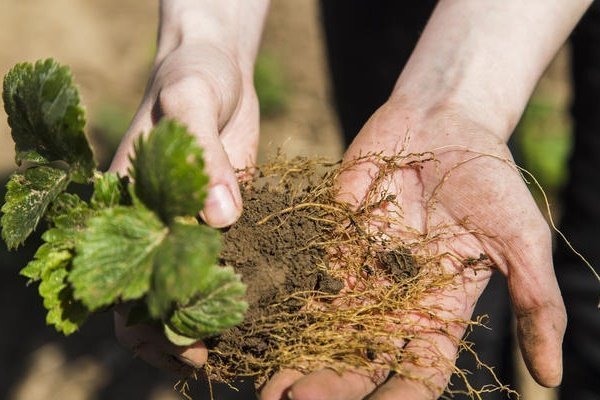
Before planting, it is important to treat the root system of the seedlings by soaking them in a solution of humus, water, and a growth regulator, such as Zircon, Epin, or Micras.
Predecessors and neighbors
Strawberries should be planted in a bed previously planted with crops that are not prone to strawberry diseases. Ideally, the bed previously contained legumes, onions, celery, radishes, corn, or various green manures.
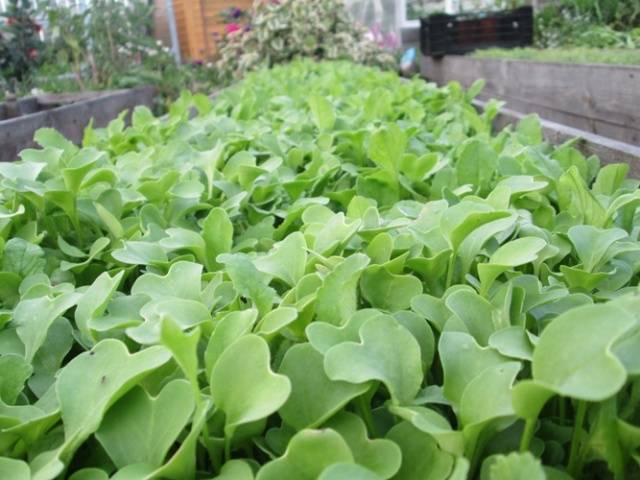
Never plant strawberries where nightshades, such as tomatoes, potatoes, peppers, or eggplants, have previously grown. Furthermore, strawberries will not tolerate radishes, cabbage, and other cruciferous plants. They also dislike cucumbers and raspberries.
Read more about choosing predecessors for strawberries and about neighbors Read on our portal.
If the plot size doesn't allow for planting strawberries where previous strawberries grew well, the soil in the bed needs to be properly treated. To do this, dilute 35 ml of Fitosporin in 10 liters of water and water the soil generously with the solution.
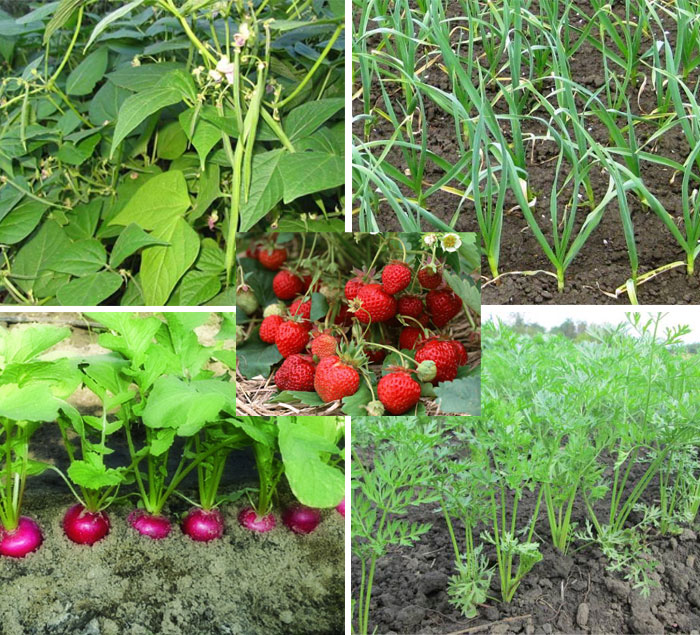
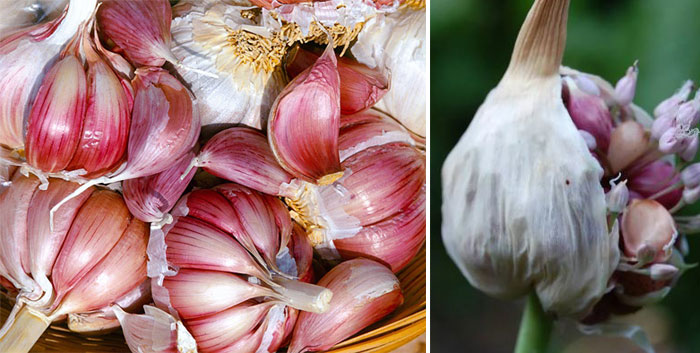
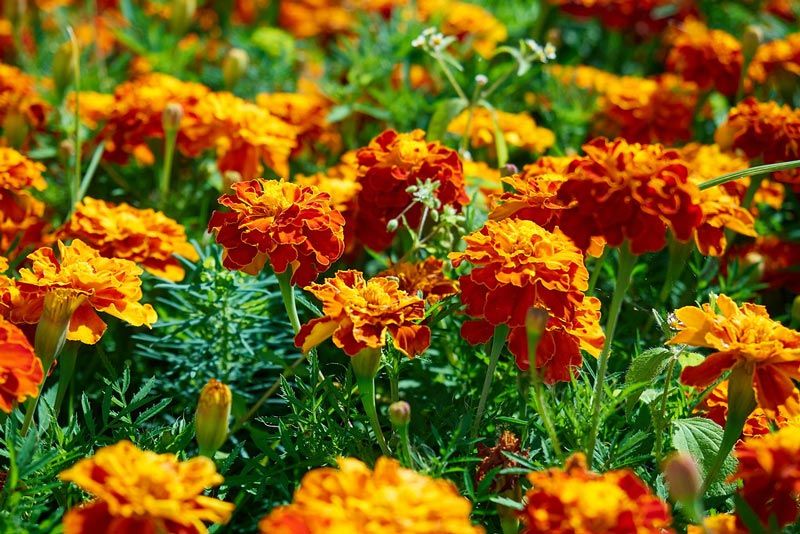
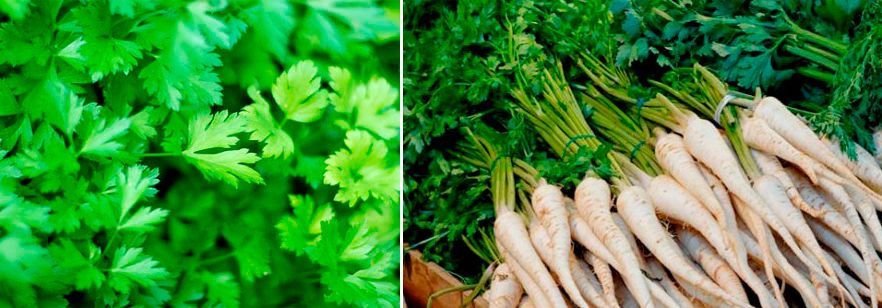
Neighbors for berry beds should also be carefully chosen to ensure they don't share pests or diseases. Garlic, marigolds, and parsley, which slugs hate, are ideal neighbors. Irises, tulips, peonies, clematis, and phlox make good flower companions. However, planting near any nightshade family, as well as horseradish, Jerusalem artichoke, and sunflowers, can increase the risk of various diseases.
As for planting strawberries in a bed after themselves, the rule of 4 years should be followed; the berries should not grow longer than this in the same soil.
Soil for strawberries
Soil quality is crucial for fruiting. Strawberries grow best in fertile soil. The recommended pH is 5 to 5.6, and the groundwater level should be up to 60 cm.
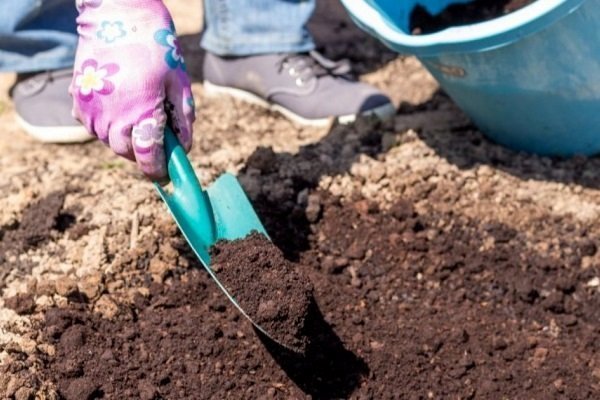
When digging a garden bed, pay close attention to inspecting the soil for wireworms or Colorado potato beetle larvae. If pests are found, the soil will need to be further treated, for example, by adding ammonium nitrate or generously watering with a solution of one of the following: Bazudin, Confidor, or Marshal.
If the soil in your plot is low in acidity, it should be prepared for strawberries no later than one year before planting. To do this, add up to 6 kg of lime per square meter during digging. Dig the soil to a depth of a bayonet, and add 10 kg of well-rotted manure or humus, 30 g of superphosphate, and 15 g of potassium chloride per square meter.
Before planting seedlings in a garden bed, the soil in it is loosened to a depth of 10-15 cm.
Forming beds and fertilizing them
Many gardeners prefer to grow strawberries in a greenhouse, but the resulting harvest may not have the best flavor due to excessive waterlogging. This is a consequence of a lack of organic nutrients. Therefore, it's crucial to fertilize the soil in advance.
The following recommendations will help you prepare the garden bed:
- 20-30 days before planting, the soil in the bed is dug to a depth of 30 cm.
- While digging, fertilize the soil with one of the recipes below, using the following amounts of ingredients per 1 sq.m.:
- 2 tbsp. ash + 10 kg humus;
- 1 bucket of compost + 50 g of superphosphate + 50 g of urea + 1 tbsp of potassium salt;
- 2 tbsp. nitrophoska.
- If pests or their larvae are found in the soil, treat it with Confidor, Marshal, etc.
- The strawberry bed should be raised 25 cm above the soil level, especially if the region's climate is quite damp. All fertilizers used are scattered over the surface and leveled with a rake.
The video below shows how to properly prepare a bed and seedlings before planting.
Options for planting strawberries in autumn
There are several ways to plant strawberries in the ground. We suggest you consider the main ones.
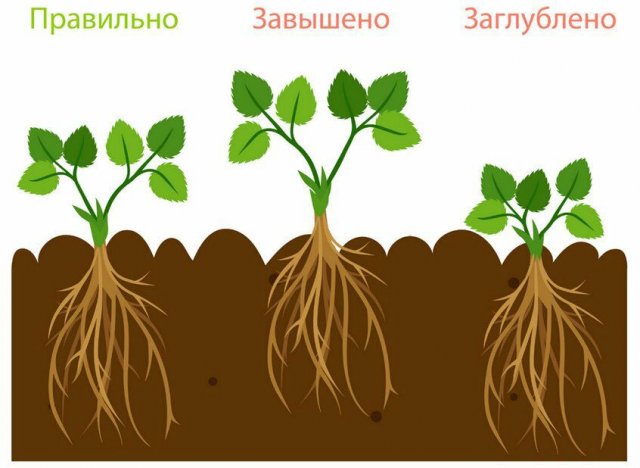
Planting strawberries in open ground in autumn
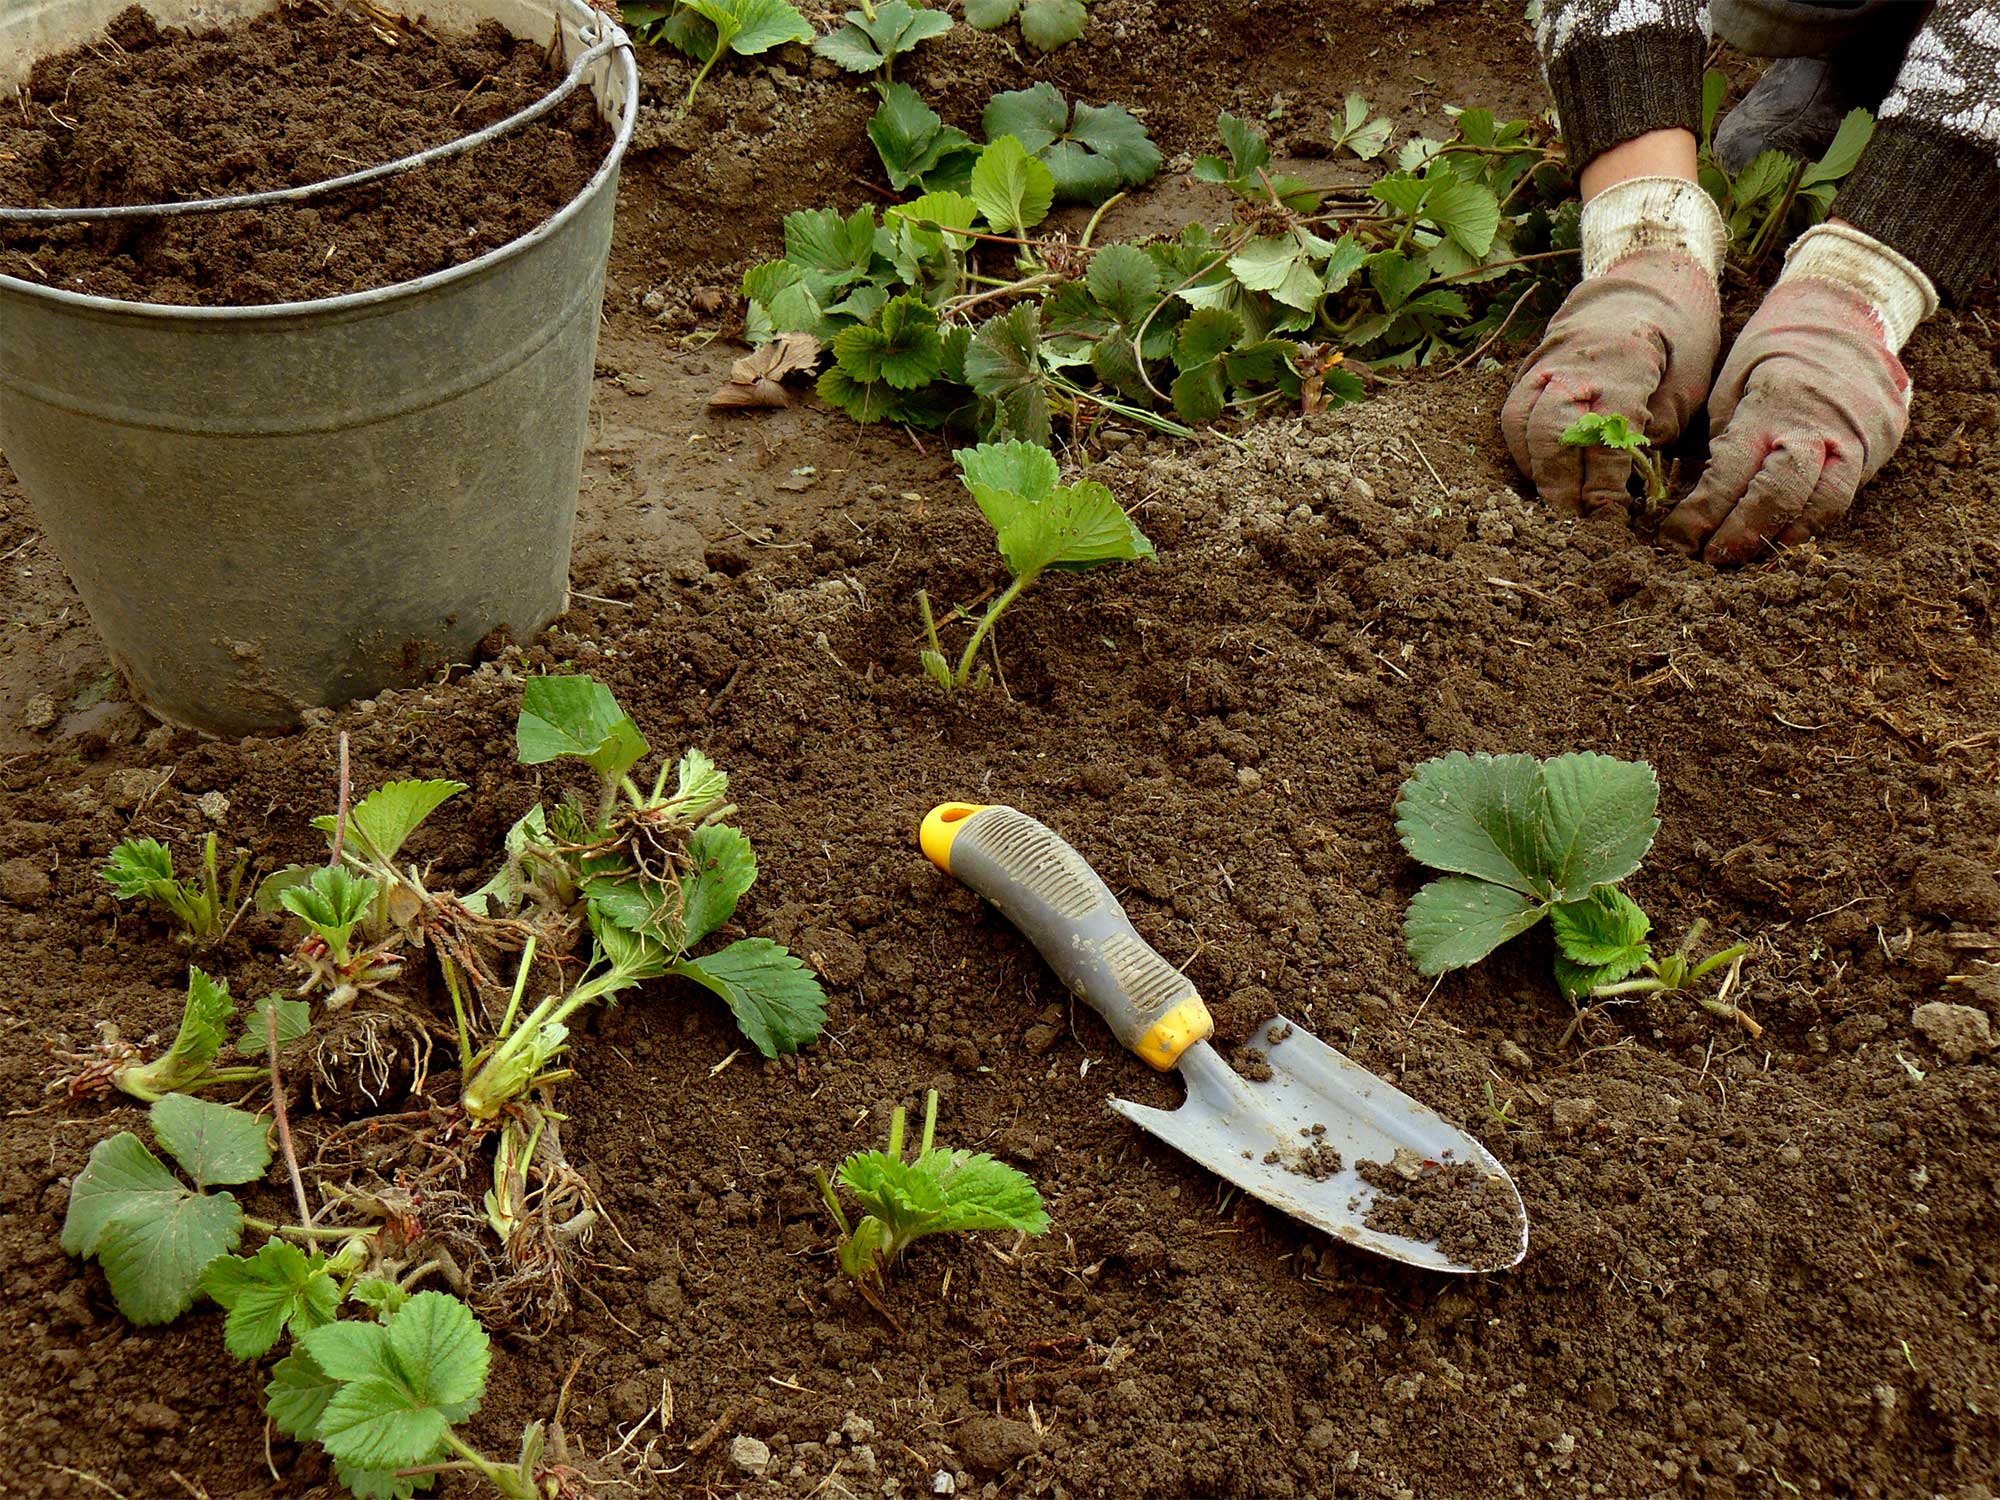
To plant garden strawberries in open ground, follow these step-by-step instructions:
- Loosen the soil and level it over the surface of the bed.
- Use pegs and rope to mark out future rows.
- Prepare the holes according to the markings. The recommended depth is 10 to 15 cm, but no less than the length of the roots.
- If the weather is dry, the holes need to be watered. If the soil is moist and it rained shortly before planting, no additional watering is required.
- The remaining soil after digging the holes should be mixed with rotted manure or compost. If the bed was previously fertilized, this step can be skipped.
- Place the seedlings one by one into the hole and cover them with soil so that the collar is level with the surface of the bed.
- The soil needs to be compacted before watering. This should be done very carefully to avoid damaging the delicate roots and getting water on the plant.
- After all the liquid has been absorbed, the soil needs to be loosened and humus or peat placed on top.
How to plant strawberries in a greenhouse in autumn
The rules for planting strawberries in a greenhouse are virtually the same as those used for open-field cultivation. The only adjustment that can be made is planting density—it can be slightly higher in greenhouse conditions.
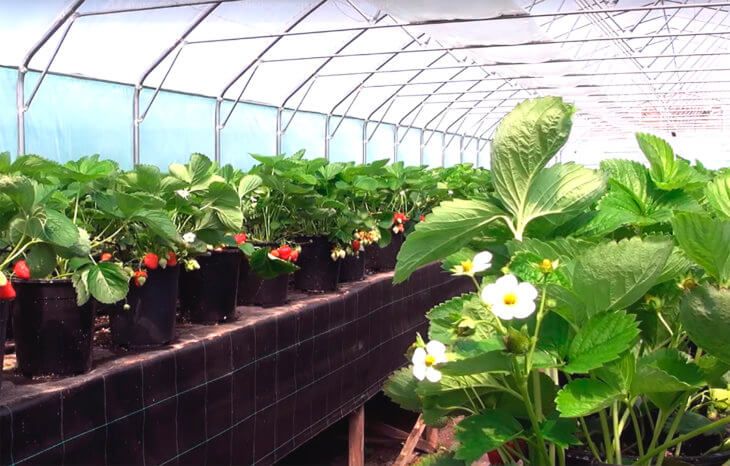
Greenhouses and hotbeds are great because they allow you to create an optimal microclimate to increase berry yields. The same fertilizers are used to prepare the soil: humus, cow manure, ash, and others.
Planting strawberries in autumn on agrofibre
Many gardeners use agrofibre for planting strawberries. This method of growing with covering materials has several advantages:
- the required level of moisture is maintained in the soil;
- the bed does not require regular loosening;
- plantings are protected from unfavorable external conditions;
- the number of weeds is limited;
- the whiskers cannot take root;
- the risk of pests and diseases is reduced;
- the care process is simplified;
- The berries do not touch the ground, so they remain clean.
The covering material in the bed should be replaced once every 3-4 years at the time of strawberry transplantation.
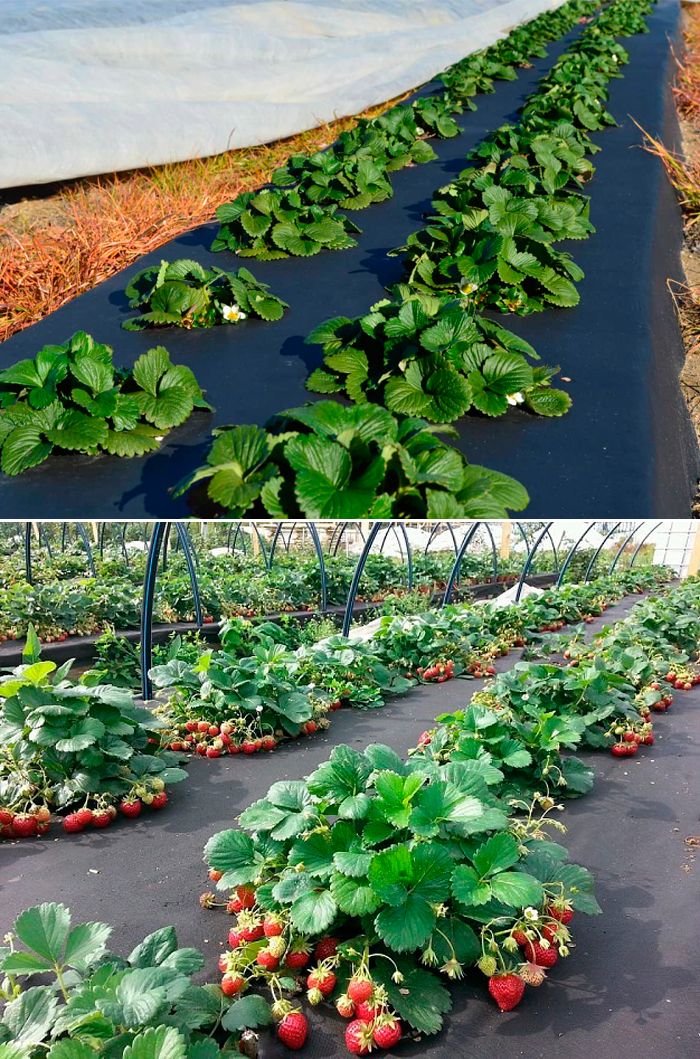
The procedure for planting strawberries on agrofibre:
- Mark out the beds based on the width of the covering material. It's best if it's a single piece. If there isn't enough, overlap the pieces of material, leaving no gaps.
- The soil must first be dug up and fertilized.
- The prepared bed is covered with material. Special pins, pegs, or heavy beams will help secure it to the bed.
- Using chalk, make appropriate marks on the material based on the berry planting plan. At these locations, make small cross-shaped cuts and, folding back the corners, plant the berries there.
The video provides an overview of the main advantages of this method and describes in detail the procedure for planting strawberries on agrofibre.
The following are also placed on the ground as covering material:
- polyethylene film;
- special fabric;
- mulch, for example, rotted sawdust.
5 Strawberry Planting Schemes for Fall
Strawberries should be planted according to a predetermined pattern. This pattern depends on the size of the plot, the characteristics of the beds, and the intended use. There are several basic methods for planting strawberries, and let's explore them.
Nesting
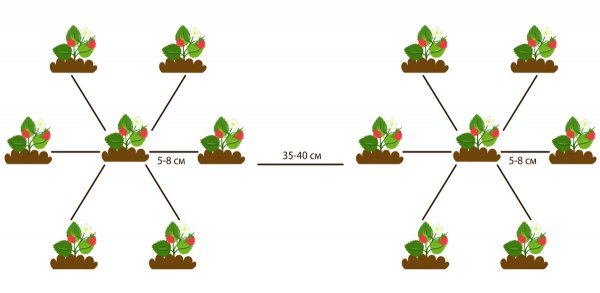
A single central bush is planted, around which six more bushes are spaced 30 cm apart. This creates a single green nest of strawberries. A bed can have several such nests, depending on its size, but the distance between them should be at least 45 cm.
Carpet
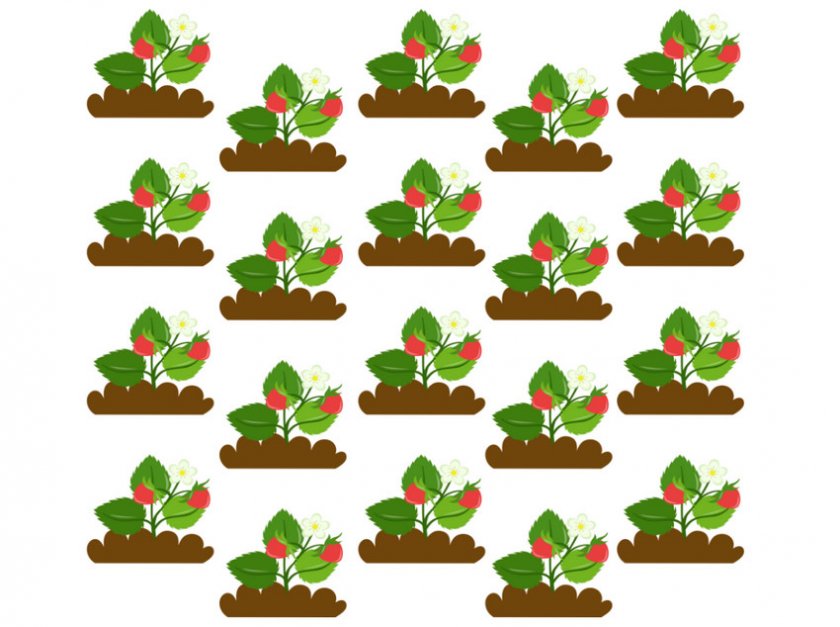
The bushes are planted at a distance of 25 cm from each other, and as they grow, the entire bed becomes like a large green carpet.
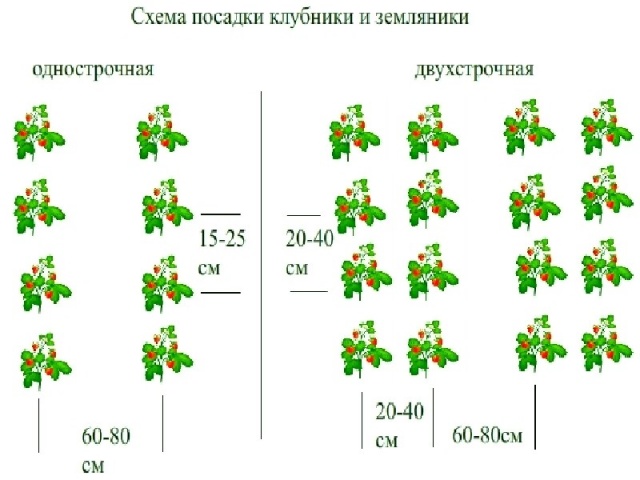
Private
This method is suitable for planting crops on agrofibre and is often used in commercial strawberry cultivation. The distance between rows depends on the height of each variety and can vary from 40 to 70 cm. The inter-bush spacing is 20 cm.
Chess
This planting pattern involves staggering the strawberry plants, spacing them 30-50 cm apart. This spacing is determined by the size of the mature plant. Regular runner removal is important.
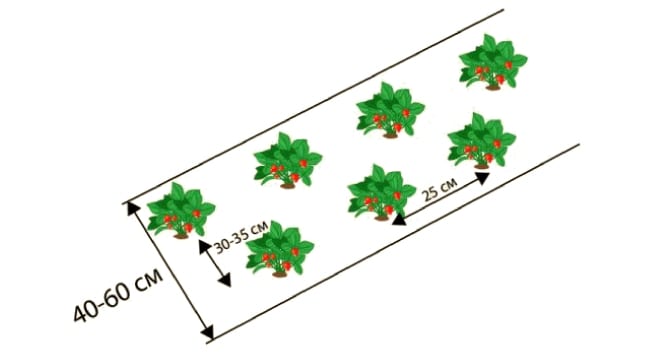
This planting method is suitable for strawberries that form a vigorous, tall rosette. If the variety produces few runners and will be growing in the same spot for five years or more (for example, Black Prince), it will form numerous runners, which require space and a large feeding area.
In the pyramids
This method allows you to get a larger harvest even in a small area. Furthermore, the pyramid-shaped structure will create a favorable climate and warmth for planting. When choosing a location, keep in mind that one edge of the bed should face north.
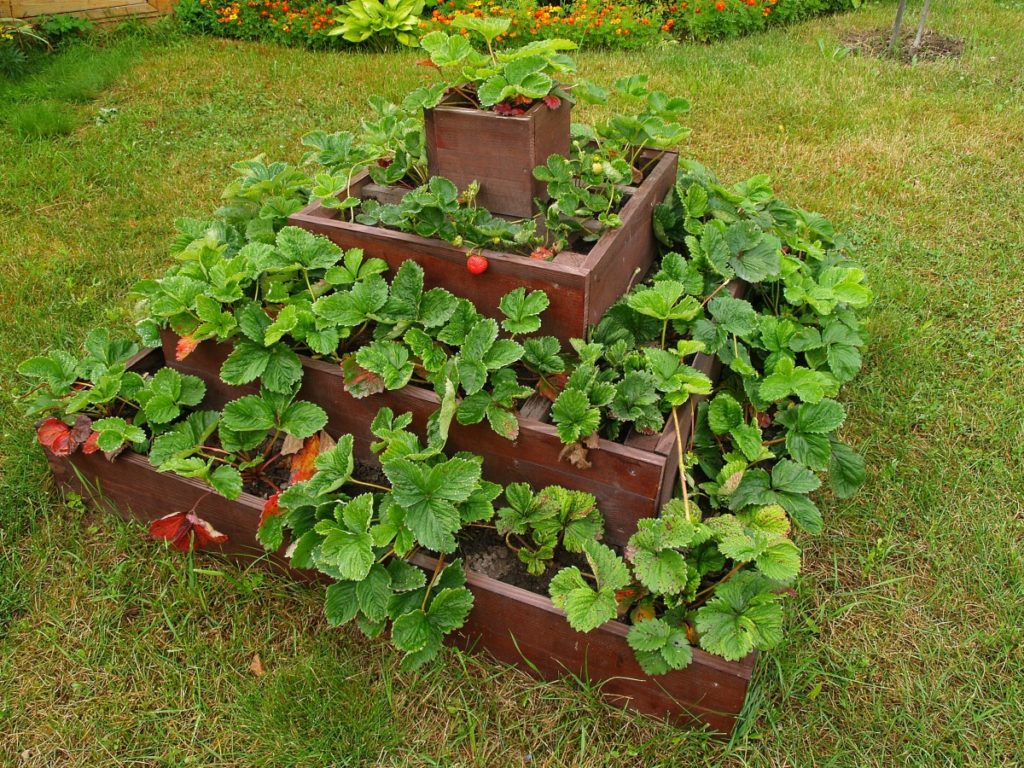
The order of its construction is as follows.
- The base of the pyramid is a 240x240 cm chain-link fence. Lay it out and place preservative-treated boards on top. This will create a box measuring 220x220x25 cm. Don't forget to round the top edge of the boards with a plane to prevent the stems from being cut by the sharp edge.
- Fill the finished box with a 15 cm layer of soil. Install a 10 cm diameter asbestos-cement or PVC sewer pipe in the center. Drill holes in it: 5 mm in diameter at the bottom and 10 mm at the top. These holes are needed for watering.
- A cone-shaped mixture of compost and manure should be placed around the pipe and compacted. The mixture should always be moist; it not only nourishes the strawberries but also warms the bed.
- Once everything is ready, install the second tier, measuring 170 x 170 x 25 cm. Add soil there as well, sifting it first. The next tiers are 120 x 120 x 25 cm, 70 x 70 x 25 cm, and 20 x 20 x 25 cm. Fill them all with soil in the same manner.
- We begin planting strawberries in the finished pyramid from the bottom box. Seven plants are placed along each side. Five are on the second tier, three on the third, two on the fourth, two on the top tier, and two on the top tier, along with a planting near the pipe to prevent the strawberries from dying in winter.
A total of 70 strawberry bushes can be planted in the pyramid. If it's cold, this structure can easily be covered with lutrasil or film.
2 ways to transplant strawberries in the fall
As mentioned above, strawberries grow well and produce fruit in the same bed for no more than four years in a row, after which they begin to suffer from diseases and become smaller, with a sharp decline in yield. Therefore, every three to four years, strawberries are transplanted to a new location, and the old bed is fertilized, dug over, and left as a reserve until the next season. This measure helps maintain the strawberry yield and minimizes the risk of diseases, including those carried by insect pests.
Fall strawberry transplanting should begin at the end of the season, when the berries have bloomed and the entire harvest has been collected. This typically occurs in the last week of August or early September. The soil in the bed should be adequately moist, and cool, cloudy weather is best. Before the first frost, the plants will have time to establish strong roots and withstand temperature fluctuations.
Attention! There is no point in changing the bed if you are going to transfer old strawberries into it.
By dividing the plant
One mature bush can be divided into several smaller ones. Only the healthiest and youngest can be left. This method is suitable for those who want to rejuvenate their strawberry plantings themselves. This is done if you are completely satisfied with the strawberry variety's characteristics and want to keep it in the plot but increase its yield. Furthermore, this method can be used to obtain new seed from runner-less varieties of berries.
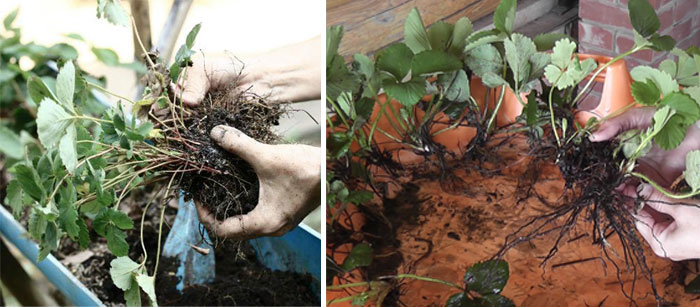
The main advantage of dividing bushes is its simplicity. Even novice gardeners can handle it. The main thing is not to damage the plants' delicate roots.
The method has several more undeniable advantages:
- You can begin replanting at almost any time, choosing a convenient and most suitable day.
- The bushes take root well and adapt quickly.
- The harvest can be collected the following season.
It is necessary to select shoots only from large rosettes; such seedlings will be the most productive and stable.
With a mustache
All experienced gardeners know that over time, strawberries develop specific shoots called runners, which can be used for propagation. It takes about two years from transplanting a strawberry plant until the first runners appear. They begin to form along with the first flowers, and peak growth occurs after the harvest. The number of runners depends largely on cultivation practices, the characteristics of the variety, and the age of the plants.
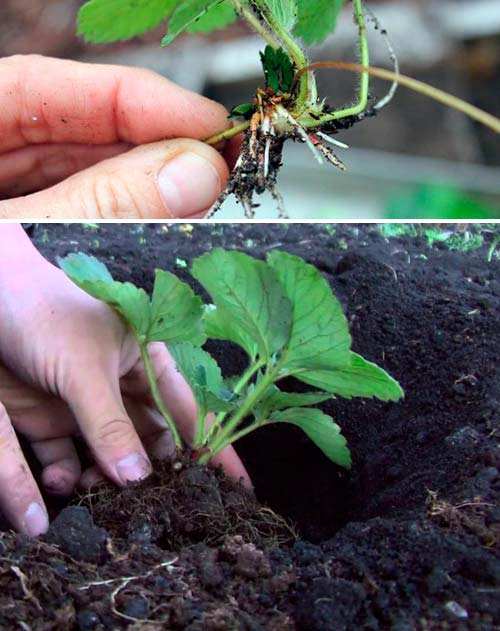
The younger the plant, the more healthy shoots it will produce. After several seasons, fewer shoots will form. If the soil is rich in nutrients, the shoots will be strong and viable. Therefore, it's crucial to feed the plants and replant them.
The most suitable size for propagation is a tendril between 5 and 7 cm. It must have a well-developed root system so that the plant can establish itself in the new bed after transplanting. Furthermore, the apical bud should be visible in the vegetative mass.
Pathogenic microorganisms may remain on the roots and leaves, which will be carried along with the diseased plant to a new location.
You knowHow to avoid mistakes when propagating strawberries using runners?
Caring for strawberries after planting in autumn
Preparing the soil and plants for planting is certainly a crucial step. But the work doesn't end there. It's crucial to properly nourish the soil to develop a strong root system. This will help the strawberries survive the winter and thrive in the spring.
Rules for watering strawberries
After planting strawberries in a new bed, they need to be watered thoroughly every 2-3 days for 1-2 weeks. This is best done in the morning, when there is no direct sunlight. Avoid letting water drip onto the leaves. Experienced gardeners prefer to use a drip irrigation system, which allows for even and measured distribution of water between the plants.
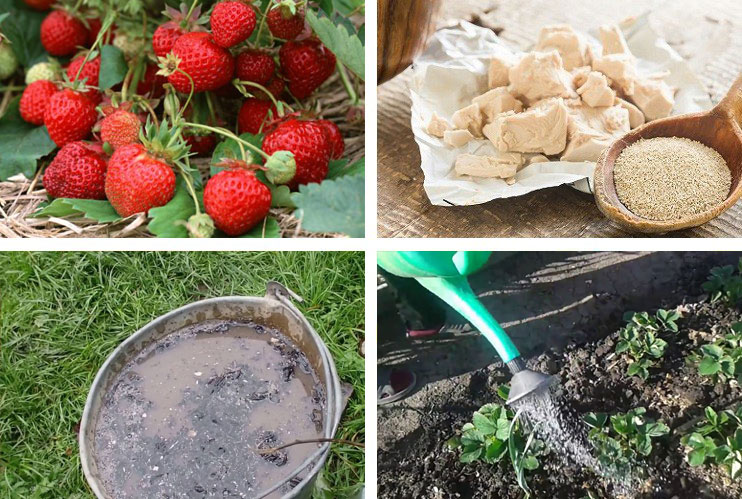
Once the bushes have taken root, watering can be reduced, but the soil should still remain sufficiently moist.
Covering the surface of the bed with mulch will help reduce evaporation.
Top dressing
Fertilizers are added to the soil during the garden bed preparation stage. If done correctly, the soil will contain enough nutrients for two years of excellent growth and high yields. However, over time, these nutrients are washed out of the soil, especially if the season is rainy or, conversely, extremely dry. Therefore, even well-prepared soil needs to be fertilized after a couple of years.
Strawberries respond best to organic fertilizers. Experienced gardeners have opted for chicken manure diluted 1:15. Using it in its pure form will burn all the roots of the plants. The solution is prepared for about two days and left to steep in a dark place. Watering is done not directly on the roots, but in furrows between the rows.
Protecting strawberries
To prevent harmful soil microorganisms from destroying your plants, the soil needs additional treatment. This is done not only during digging but also after planting. The soil around each plant is carefully loosened to a depth of 8-10 cm, so as not to damage the roots, and then watered with a Karbofos solution. Prepare it according to the included instructions using water at 30°C. After watering, cover the bed with plastic wrap for 2-3 hours.
Autumn pest control can be accomplished using pesticides. These can kill all insects that overwinter in the soil. To prevent their reappearance, prepare a 2% solution of Bordeaux mixture. Another option is to disinfect the soil with a similar solution made from 10 liters of water and 1 teaspoon of copper oxychloride.
Attention! Folk remedies use infusions of tobacco and weeds with laundry soap. This method has proven effective in preventing the disease.
Trimming
The classic transplanting scheme involves building up vegetative mass, so leaf pruning or mowing is not done on newly planted strawberries. However, autumn weather can be unpredictable; the sun often continues to exert its summer-like intensity, causing the plant to develop runners. These runners must be removed promptly to ensure that the main plant, rather than its shoots, gains strength.
Mulching
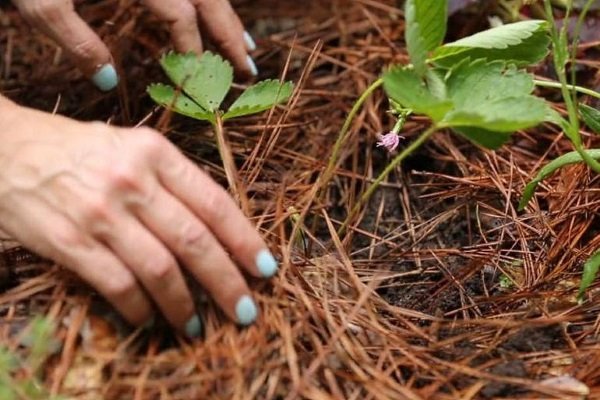
Mulch in the garden bed helps maintain a comfortable moisture level and prevents weeds from growing. Strawberries are mulched with humus or peat immediately after planting or transplanting in the fall, and additional mulching is applied before the onset of cold weather.
Preparing strawberries for winter in autumn
Snow serves as a natural covering material for plants. It prevents the plants from freezing and dying. However, sometimes there is too little snow in the winter, or frost occurs before it arrives. Therefore, it's important to provide an artificial cover for the bed. Straw, dried leaves, sawdust, peat, or spruce branches are all suitable for this purpose. These should be laid over the bushes in a layer of at least 5 cm. Spunbond, lutrasil, or any other special fabric can also be used.
Common mistakes
- Poor seedlings. Even proper care will not yield results if weak seedlings were selected to begin with. A good plant should have 3 to 5 healthy leaves, and the roots should be succulent, moist, and free of signs of dryness or disease.
- The root system isn't spread out in the hole. When placing the strawberries in the prepared hole, carefully straighten each root. This is much easier if the roots are 7-10 cm long; otherwise, it's better to shorten them rather than curl or bunch them up in the hole. For convenience, make one side of the hole steep to press all the roots against it and distribute them across the surface.
Tips from Top.tomathouse.com
Our portal http://top.tomathouse.com reminds:
- The key to successful fall strawberry planting is choosing the right time. Only by planting at the right time will the plant be able to root well and adapt before the onset of frost, develop resistance to harmful microorganisms, and gather strength for abundant spring fruiting.
- Soil is crucial for strawberry growth. If it's too sandy or waterlogged, the berries will have a hard time establishing themselves and may even die. In other soil types, soil fertility depends on the nutrient content. Therefore, it's crucial to properly prepare the bed. It should be dug a month before planting to allow the soil to settle. Otherwise, late digging will expose the roots of the plants as they settle, leaving them vulnerable to pests and weather changes.
What to do in spring and summer to ensure a good strawberry harvest, using ash for fertilizer, find out on our website.