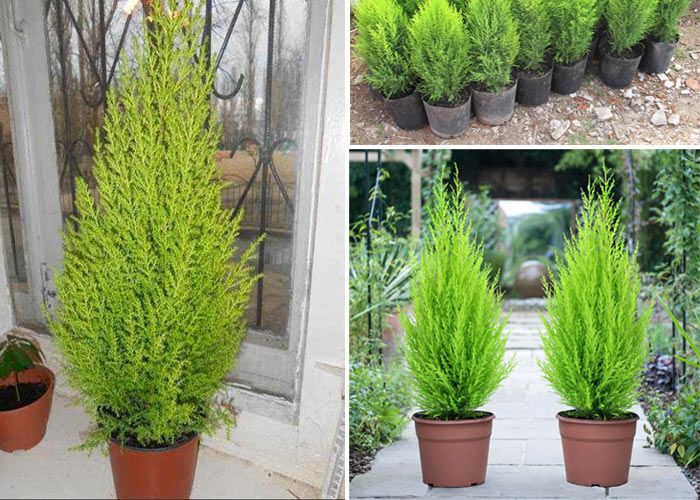
Thuja, or the tree of life, is an evergreen conifer with soft, needle-like leaves. The indoor thuja, grown indoors, is a member of the oriental thuja variety. It is easy to maintain, aesthetically pleasing, and has a beneficial effect on the indoor microclimate. With the right approach, propagating this plant is straightforward.
Thuja reproduces in two ways: by seeds and cuttings.
Seeds
To prepare the seeds for planting, the cones are cut from the tree and placed in a warm place to dry. Eventually, the seeds fall out on their own. Growing thuja from seed is a labor-intensive and time-consuming process, so it's rarely used. The procedure is as follows:
- Dry seeds are wrapped in a damp cloth for 24 hours, which is occasionally topped up with water, preventing them from drying out.
- Add drainage material and prepared soil mixture to the pot, water it, place one thuja seed (not burying it too deep), and sprinkle with sawdust. Water again occasionally.
- The seed germinates in about a month.
- The sprout will turn into a mature bush only after five years.
Cuttings
This is a much faster method, and also guarantees the preservation of varietal characteristics, whereas with seed propagation they are often lost.
Timing of cuttings
In spring, thuja shrubs emerge from their winter dormancy, and their branches receive the signal to begin vigorous growth. Therefore, it's best to take cuttings for propagation from late March to late April, when the branches are ready to root.
The second option is to take cuttings in the fall. Choose a cloudy day in mid-October, when the sap in the trunk slows down. These cuttings take longer to root, but they root more reliably and won't suffer from water stress.
Correct cutting of cuttings
The upper part of a healthy, strong plant is suitable for cuttings. Cuttings from the lower part are not recommended, as this can cause the future seedling's trunk to become crooked.
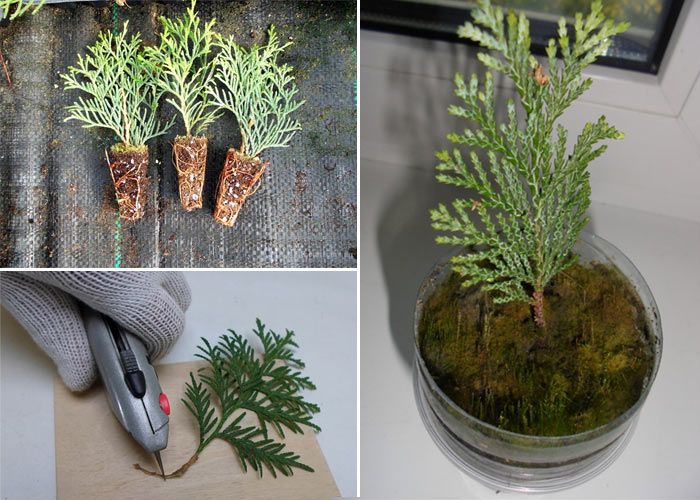
Suitable shoots 10-15 centimeters long are located at the ends of the shoots, and their stems are covered with young bark.
If the bark is old and rough, the cutting will not root. Seedlings with smooth stems, without bark, are not yet capable of rooting.
The branch should be pulled off by hand, moving from top to bottom, along with a strip of bark—the "heel." This contains valuable nutrients that will nourish the cutting for some time.
With proper execution and subsequent care, rooting thuja does not present any particular difficulties.
Preparing cuttings
It's not recommended to store cuttings for long periods. If necessary, they should be placed in a dark place, wrapped in a damp cloth. However, it's best to begin planting as soon as possible, after properly preparing them:
- Remove branches and bark from the lower part of the stem – they may start to rot.
- Treat with a root growth stimulator - place the cuttings in it for 12 hours.
Soil preparation
For rooting cuttings, clean river sand or a loose soil mixture is suitable, which can be purchased at a store or obtained by mixing sand, peat and leaf humus in a ratio of 1:1:1.
Disinfection is necessary: a pale pink solution of potassium permanganate is added to the soil, and the sand is boiled.
The soil is placed in a shallow seedling pot with holes for air intake and water outlet.
The rooting process
Provided that both the soil and the cuttings themselves are ready, you can begin planting:
- The branches are placed into the soil a couple of centimeters deep, but not straight, but at an angle of 45°.
- The distance between cuttings should be at least 5 centimeters.
- The soil around the base of the cuttings is lightly compacted and moistened.
- The pot is covered with plastic film or a plastic lid.
- Signs of successful rooting are new shoots on the cuttings.
Rooting in potatoes
Among plant growers, an unconventional method of rooting thuja cuttings is also common – in a potato tuber:
- A healthy medium-sized potato is washed and the eyes are removed.
- Using an awl or nail, make a hole about four centimeters deep, into which the end of the branch is inserted.
- The potato is placed in nutrient soil in a wooden box.
- The shoot is covered with a dome made from half a plastic bottle.
- When watering, the dome is not removed, but the bottle cap is unscrewed.
Caring for planted cuttings
Thuja seedlings should be kept at temperatures between 18°C and 23°C and humidity of 70%. Regular ventilation is essential.
In addition, it is necessary to provide diffused lighting, but in no case should direct sunlight be allowed to fall on the seedlings.
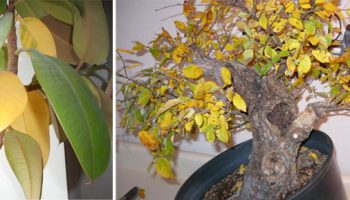
In bright light, plants begin to dry out, their needles turn yellow and fall off.
Water as the soil dries. Excessive watering is not recommended for thuja. It's best to water with a spray bottle to prevent the needles from becoming wet and the heel of the cutting from becoming eroded.
Once the first young shoots emerge, begin exposing the seedlings to fresh air, gradually increasing the ventilation time. This allows the young plants to acclimate to the new growing conditions.
Transplanting into a pot
Any type of pot is suitable for transplanting thuja to a permanent location.
Avoid choosing a container that's too small, as this could restrict root growth. Also, make sure there are enough holes in the bottom to allow water to pass through.
Algorithm:
- Drainage material, such as expanded clay, is poured onto the bottom.
- The transplant is carried out together with the root ball.
- Add a slightly acidic soil mixture. You can make your own by mixing sand, pine soil, and leaf mold in a ratio of 1:2:4.
- The soil level relative to the stem should remain the same. Also, avoid compacting the soil around the stem too much.
It's important to remember that for subsequent repotting (which should be done every year or two), it's best to use a different soil composition. For mature plants, a mixture of sand, peat, and turf soil in a 1:2:2 ratio is recommended.
Caring for thuja at home
Thuja is an unpretentious plant and does not require special care, but some nuances should be taken into account.
Temperature
The thuja pot is best placed in partial shade, in a room away from direct sunlight. A good location is on an elevated surface (such as a flower stand) near an east- or west-facing window, provided the window is shaded on sunny days.
The optimal indoor temperature is +20…+25°C. During warmer months, the plant can be moved outdoors to a shady location. In winter, it's best to provide a slightly cooler temperature (+14…+16°C), for example, by placing the pot on a glazed balcony.
Humidity
The humidity level in the apartment should not fall below 40%.
If the air is dry, it is necessary to spray the plant with warm water.
Watering
Water the thuja several times a week with settled water at room temperature, preventing the soil from drying out or becoming overly wet.
Top dressing
Fertilizing the soil can be done up to twice a month during the warm season. Choose fertilizers formulated for conifers, but apply only half the recommended dose. Use nitrogen-based fertilizers in the spring, and potassium-based fertilizers in the summer.
Benefits of indoor thuja
Thuja is not only a striking houseplant, it also provides practical benefits by releasing phytoncides into the air. These essential oils have a pleasant scent, reminiscent of spruce resin, and have an antibacterial effect, killing harmful microorganisms indoors.