Butternut squash is quite challenging to care for. Both novice and experienced growers face challenges. However, by drawing on their experience, you can easily reap a wonderful harvest.
Content
Characteristics of Pearl butternut squash
The pumpkin bush forms several vines. The leaves are large, dark green, and slightly spotted.
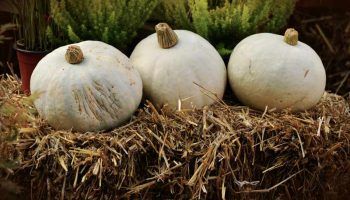
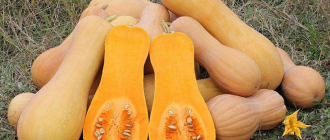
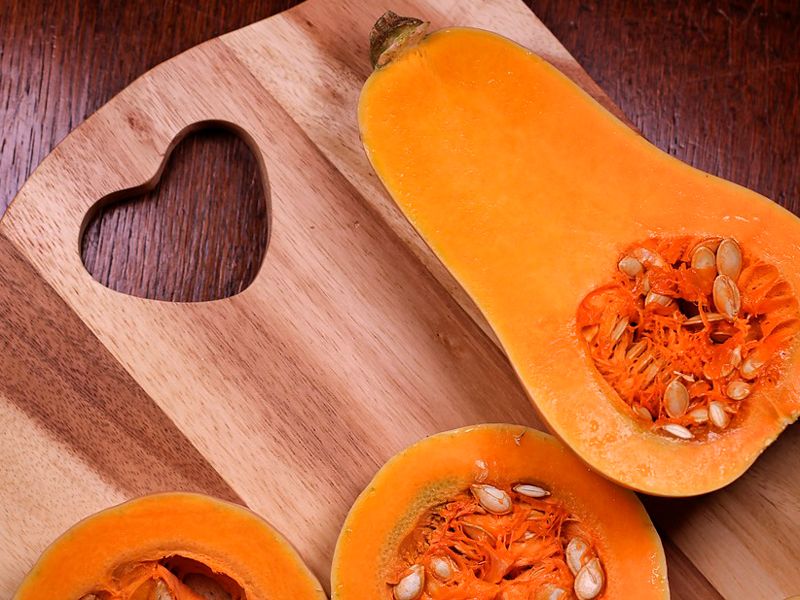
The fruit itself varies in appearance; it can be pear-shaped, oval, or cylindrical, with a small seed cavity. It reaches about half a meter in length and weighs up to 8 kg. It has a thin, pliable skin.
Ripening takes approximately 130 days, sometimes as little as 110. The characteristic bright orange color is due to the high carotene content. The pumpkin flesh is juicy and fibrous.
Features that affect the future pumpkin harvest
Careful selection of the site is essential. It should be protected from the wind, well-lit, and sun-warmed, as pumpkins thrive in warmer climates. The soil should contain clay and sand (sandy loam or loamy). It retains moisture well and warms quickly in the sun. In warmer regions, nutmeg varieties produce the richest harvest.
Growing butternut squash
For southern regions, planting from seeds is suitable. Avoid planting pumpkins after crops such as zucchini and cucumbers. A better option is to plant them after legumes or potatoes. First, clear the soil of weeds, dig it over, and loosen it. Then, properly prepare the seeds.
Seed treatment
Step by step:
- Soak for 18-20 hours in a concentrated potassium permanganate solution. Recommended ratio: 500 mg of potassium permanganate per liter of water.
- Then rinse, dry, and treat with a fungicide. This will help prevent diseases of the sensitive pearl.
This operation is carried out immediately before planting.
Preparing the garden bed
Planting is done in holes at a distance of about a meter from each other, and the distance between beds is about 1.5 m.
Planting seeds directly into the ground
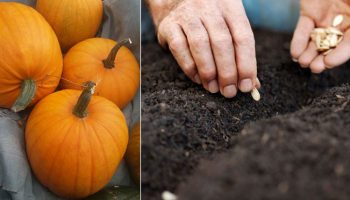
Planting should be done in warm soil (18–25°C). For warmer regions, this is the end of May or beginning of June. For colder regions, planting should be done under plastic sheeting. Two seeds are placed in a hole 5–6 cm deep. They are then covered with a thin layer of soil to encourage spontaneous germination.
Planting seedlings
For the middle zone, planting seedlings is preferable, since saplings are more resistant to light frosts.
- After pre-treatment, the seeds undergo a three-hour soaking procedure in warm water.
- Then they should be placed in damp cheesecloth and left in a warm place. This sprouting process reduces the risk of disease in the future harvest.
- The next step is hardening. To do this, the seeds need to be placed in the freezer for three days.
- After which they are planted in open ground, which is treated the day before with phosphorus or mineral fertilizers.
Seedlings are planted in holes approximately 10 cm deep. The recommended distance between beds is 1.5 to 2 m.
The top layer of soil is covered with a thin layer of humus. Otherwise, the sprouts will have difficulty breaking through the fertilizer, which will negatively impact future yields. To maintain the temperature, the beds can be covered with plastic film.
Caring for butternut squash
Caring for the crop includes a number of activities:
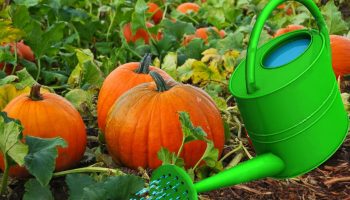
- Water twice a week with settled, warm water at a rate of 5 liters per bush. The most important stage of watering is flowering. Once all the fruit has set, you can reduce the frequency of watering.
- During cool summer weather, the stems should be pruned back to three. This stimulates new lateral shoots to grow. These are covered with a light layer of soil to form a new, additional root system, which will protect the plant from wind. This procedure can be repeated up to three times per season.
- Mineral and organic fertilizers (peat or humus) are ideal for top dressing. The former should be applied no earlier than when the bush has five leaves. The latter – when the bush begins to form.
- Butternut squash is self-pollinating, but the necessary conditions are created artificially. To ensure that at least two-thirds of the plants are pollinated, high humidity (at least 65%) and a temperature of at least 20°C are essential.
Diseases and pests
| Disease | Symptoms | Elimination measures |
| Bacteriosis | Seed ulcers preceded by dark spots | The bush is completely destroyed, followed by disinfection of the area itself. Neighboring bushes are also disinfected. Copper sulfate is suitable for these purposes. |
| Root rot | The fungus spreads along the root and stem, which stops further growth of the pumpkin. | The roots should be watered with Previkur solution. |
| Powdery mildew | Fungal growth occurs as a result of excess moisture and lack of heat. | Sodium hydrophosphate and Kumulus are used. |
| Spider mite | The insect lives in the foliage on dry days. | Removed with a solution of isophene and ground sulfur. |
| Melon aphid | Insect pests in foliage. | Spraying with Karbofos. |
| Mole cricket | Almost any granular insect repellent will work. Place it in the holes. |
Harvesting and storing pumpkins
Two weeks before harvest, which ranges from mid-August to mid-September, stop watering the area. Harvest in dry weather using pruning shears, leaving 3 cm of stalk. Handle the fruit carefully, as the skin can be easily damaged, leading to rot. Store in a warm, dry place for six months.
Top.tomathouse.com recommends: the health benefits of pearl butternut squash
The description of pumpkin's benefits does not end with its taste; the following advantages are also highlighted:
- Dietary product.
- Diuretic effect.
- Good for the heart and eyes.
- Strengthening immunity.
- Contains vitamin K, which slows down aging.
- Many vitamins are preserved even after heat treatment.
Due to the versatility of the product, it can be eaten both raw and cooked.