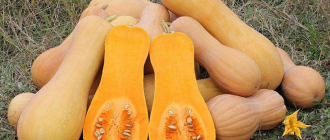
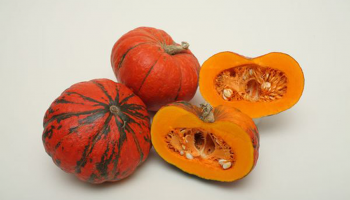
Pumpkins can be planted in the garden either from seedlings or from seeds. It all depends on growing conditions. For example, absolutely any seeds will germinate only in southern regions. In the central regions, choosing varieties more carefully, focusing on their characteristics, is crucial. Growing butternut squash from seeds in the central region is generally not possible. Therefore, gardeners begin by preparing seedlings at home in pots or other containers, and only then plant them outdoors. This allows for a great harvest without losses at the end of the season. We'll explain how to plant pumpkins outdoors from seeds in this article.
Content
- 1 Selecting and preparing pumpkin seeds for planting
- 2 The best pumpkin varieties for planting from seeds (table)
- 3 Timing for planting pumpkin seeds in open ground
- 4 Choosing a location for planting pumpkin seeds in open ground
- 5 Preparing the soil for planting pumpkin seeds
- 6 Instructions for planting pumpkin seeds in open ground
- 7 Aftercare of pumpkin
- 8 Protection from pests and diseases (table)
- 9 Ripening and storage of pumpkin
Selecting and preparing pumpkin seeds for planting
Typically, most gardeners use seeds from their own pumpkins. They're easy to collect, produce a large supply, and store well. You can also buy seeds at the store. This is usually done to add variety to your plantings. They should be purchased from specialized stores and reputable producers. On an industrial scale, the seeds are already processed; all that remains is to properly plant them.
Collecting and storing your own seeds
When growing late-ripening varieties, weather anomalies sometimes occur that prevent the pumpkins from ripening properly in the garden. They are harvested and stored underground, where they will eventually ripen. However, the seeds from these fruits cannot be used. They will remain immature. They can only be used for planting if they were collected from a fully developed, naturally ripened crop. It is advisable to select the best pumpkins for this purpose.
If you plan to harvest seeds, avoid planting other pumpkin varieties, cucumbers, or zucchini nearby. These plants cross-pollinate easily, which negatively impacts varietal traits. Also, avoid over-fertilizing pumpkins, as too much fertilizer prolongs the ripening period.
To ensure the seeds are suitable for future use, don't immediately take them out and scatter them around the bins. Place the pumpkin indoors, preferably on a warm, glassed-in balcony or basement, and let it sit there for about a month to ensure the seeds are more viable. Don't leave them inside for longer, as they may sprout and you'll have to throw them away.
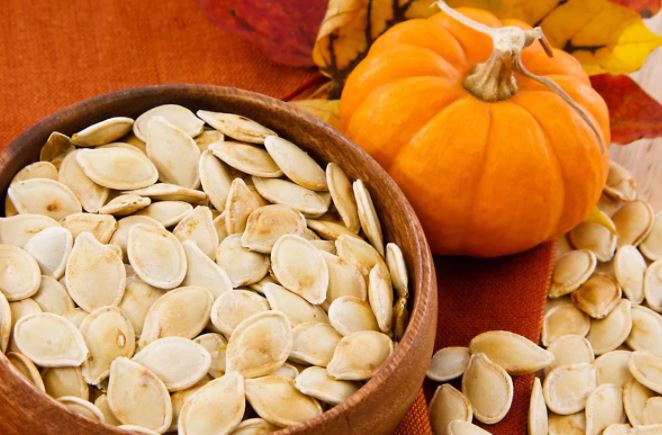
Pumpkins contain a seed chamber inside. It's usually located in the center, but can be offset to the side. This makes collecting the seeds quite easy—they're all in one place, not scattered throughout the flesh, like in a watermelon, for example. First, wash the pumpkin, wipe it dry, and cut off the top, being careful not to poke the knife too deeply.
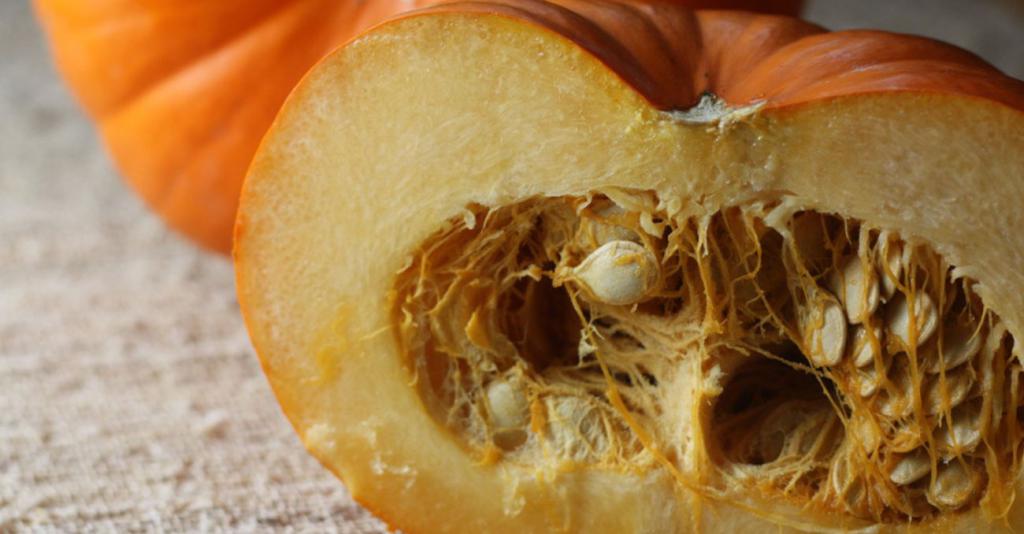
Ripe fruits have seeds that are very easy to remove. Problems arise with unripe fruit. In this case, any seeds that were removed, along with any remaining pulp or fibers, are soaked in water. The seeds that settle to the bottom can be used later. Any that float to the surface are discarded.
Next, the seeds are sorted, selecting those that are similar in shape and size. They need to be dried at room temperature for a while before being placed in a paper or linen bag. When storing, avoid high humidity and temperature fluctuations, which should be between 18 and 24°C.
Checking seeds for germination and reasons for non-germination
If properly stored, seeds can be used to grow pumpkins for the next 7-8 years. Experienced gardeners know that seeds reach their peak quality 3-4 years after harvesting. Only the most beautiful, dense, and plump seeds are selected for planting.
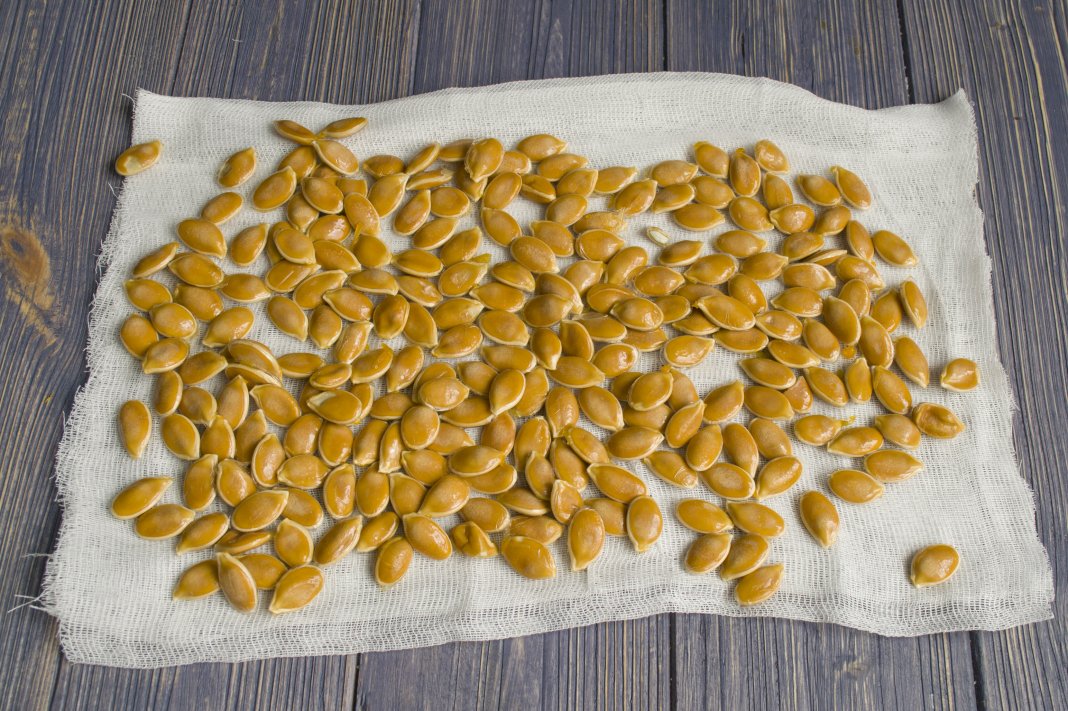
Beginning gardeners often doubt whether they've stored their seeds properly and whether the seedlings will germinate. A viability test can allay these fears. To do this, conduct a trial grow. Place a piece of cloth or napkin on a saucer. Place the seeds in it and fill with water, just enough to cover them. Place the saucer in a warm place, adding more water as it evaporates.
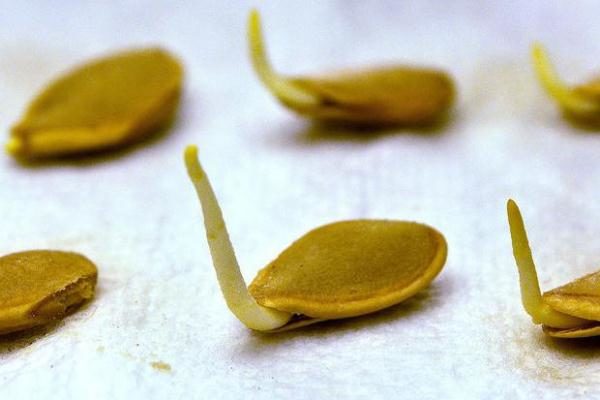
The fastest-growing seeds may begin to sprout a small shoot near the sharp edge as early as 3-4 days. However, this sometimes occurs as late as 8 days. The experiment is considered complete only on the 10th or 12th day, when there's no point in waiting any longer. Everything that could have sprouted has already sprouted. It's considered normal if three or fewer of the 10 soaked seeds fail to sprout. Otherwise, the seed material is considered weak. If half the sprouts have occurred, you can try using these seeds to grow pumpkins. However, you'll need to plant extra.
If you want to plant pumpkins without sprouting, there's a simple way to test your seeds. Cover the seeds with water and let them sit for a while. Seeds that sink to the bottom are good, but those that float to the top can be discarded without regret; they won't germinate.
It's worth noting that low pumpkin seed germination is extremely rare. If collected correctly, germination is usually 100%, especially if the seeds are dry. There's only one reason why seemingly healthy, dry seeds may not be viable: pests. Soaked or sprouted seeds are a different story. They can simply die if the temperature suddenly drops below 8°C. Even without sudden temperature fluctuations or cold snaps, the seeds can simply dry out in the soil, as they require warmth and high humidity.
In general, it can be said that there is no particular point in germinating pumpkin seeds; it often only gets in the way; it is better to simply sow them dry in the soil.
Preparing seeds for planting
Seeds purchased in the store have already undergone all stages of processing at the factory. This is even indicated on the packaging. However, seeds collected in the garden will require you to prepare them yourself for planting.
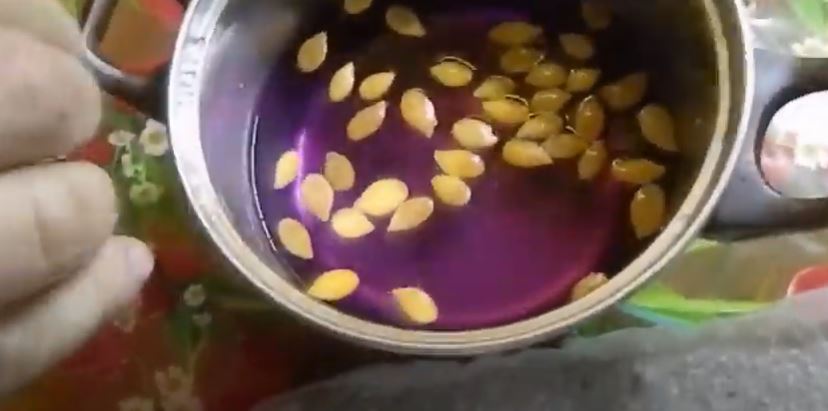
The first step is disinfection. To do this, the seeds are soaked in a potassium permanganate solution for 30 minutes. Then, they are placed in clean, hot water for about 2 hours to germinate. It's best if the ambient temperature is also warm during this time. After these steps, the seeds, placed in a wet cloth, will sprout on the third day.
As soon as the sprout appears, the saucer with the seeds, still in the same cloth, is placed in the refrigerator (in the vegetable compartment) to harden off. Some gardeners dust them with wood ash beforehand. For greater effectiveness, it is recommended to rotate their location, taking them out of the refrigerator and into the room every 12 hours. Of course, all these operations are not necessary, since pumpkin is considered a fairly cold-resistant plant.
As we've already mentioned, you can plant dry seeds directly into open ground. The only downside to this method is that they can become a tasty morsel for rodents and other pests.
How to speed up seed germination
Before you start planting your seeds, there are several effective treatments you can take to help them germinate faster. This is especially relevant for cold regions, but for the southern and central zones, all these procedures are not necessary.Here are the main ones:
- Warming upThe seeds are laid out on a sunny windowsill and left there for a week. If you want to speed up the process, simply bake them for 4 hours at 60°C.
- Fertilizer treatmentYou can use regular wood ash, 2 tablespoons per 1 liter of water. For greater effectiveness, it is recommended to add 0.5 g each of copper sulfate, zinc sulfate, and boric acid. Soak the seeds in this solution for 5-7 hours.
- Treatment with biological stimulantsA good biological solution is 0.5 g of succinic or salicylic acid and 1 liter of water. Many gardeners use aloe juice to stimulate growth, diluting it in water at a ratio of 1:10. The seeds are soaked for approximately 5-7 hours. This treatment is believed to not only accelerate germination but also increase the yield of the future pumpkin harvest.
The best pumpkin varieties for planting from seeds (table)
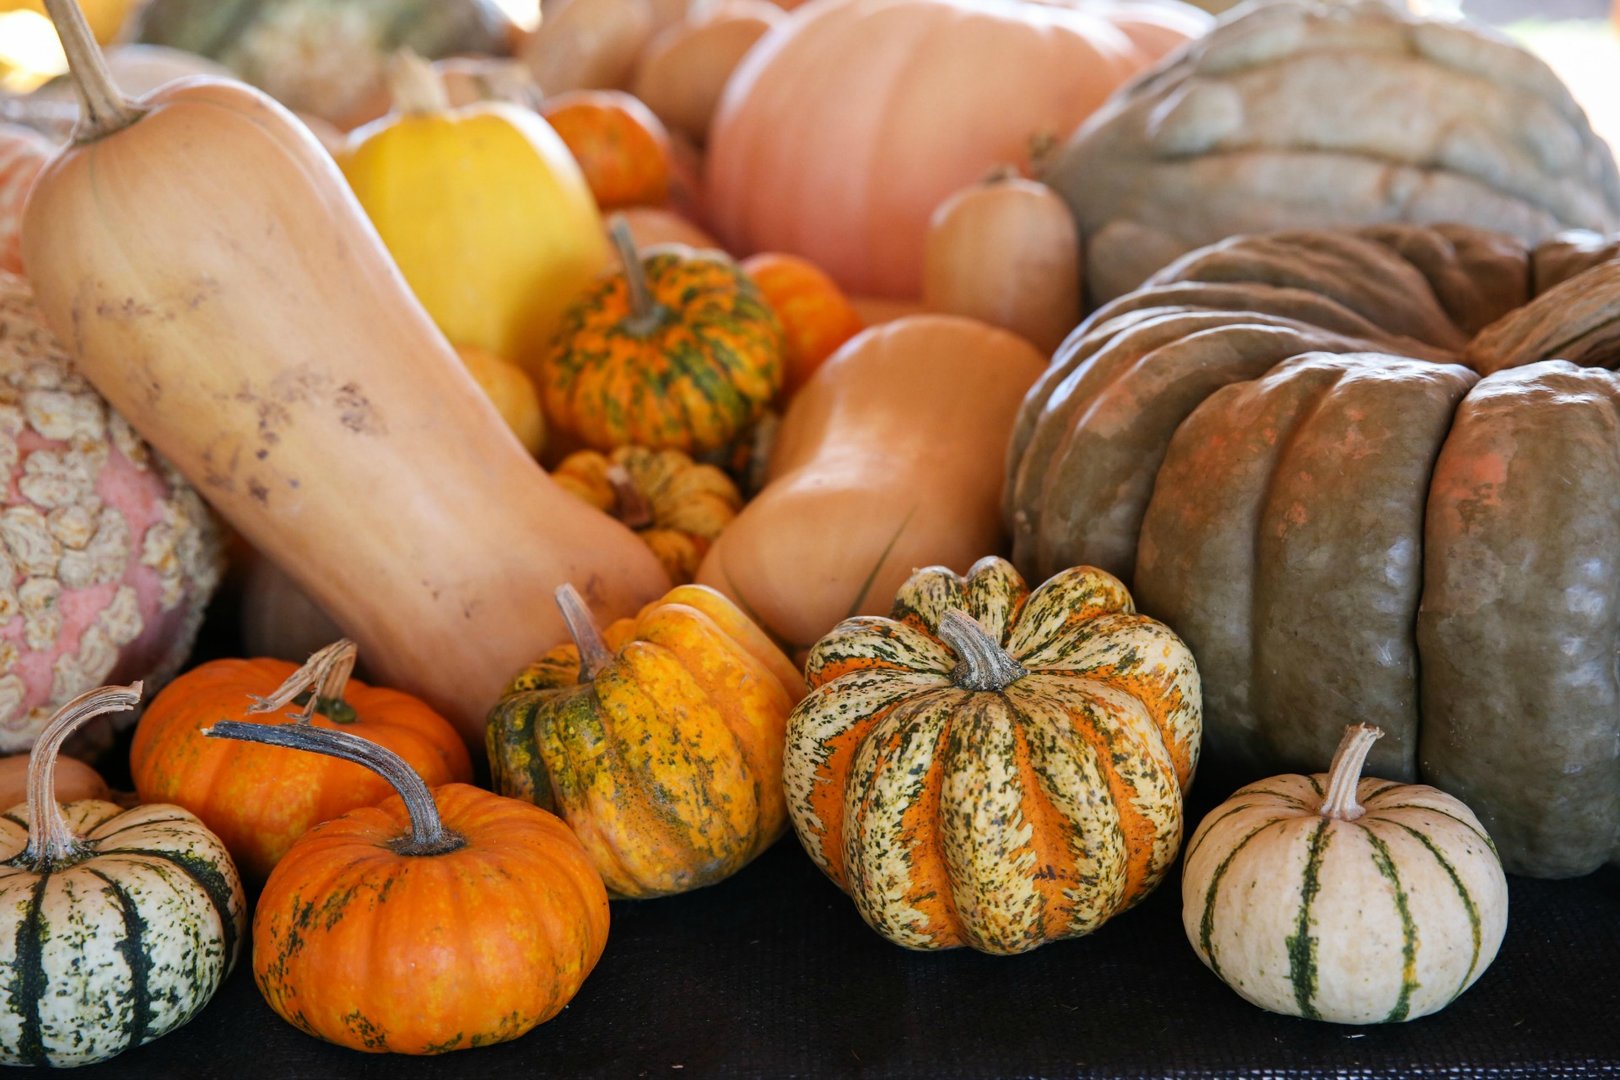
Pumpkin is a relatively easy-to-grow plant. However, when choosing a variety, it's important to consider the weather conditions in the growing region. In the table below, we've listed the most popular varieties for different regions.
For the Moscow region
| Name | Characteristic |
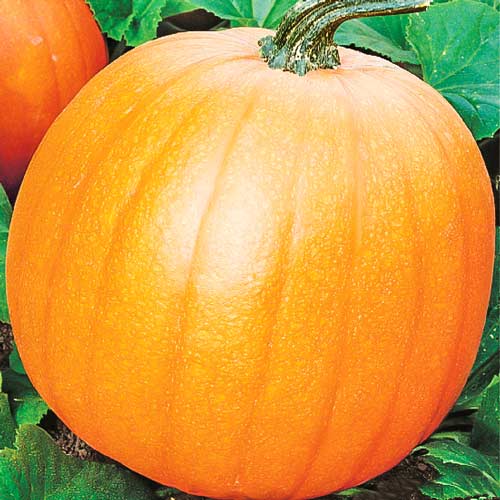
| Premiere
|
It grows with spreading vines, tolerates cold well, and is considered a table pumpkin variety. The fruits grow large, weighing up to 7 kg. The flesh is very aromatic and sweet, somewhat reminiscent of melon. It is suitable for all types of soil. |
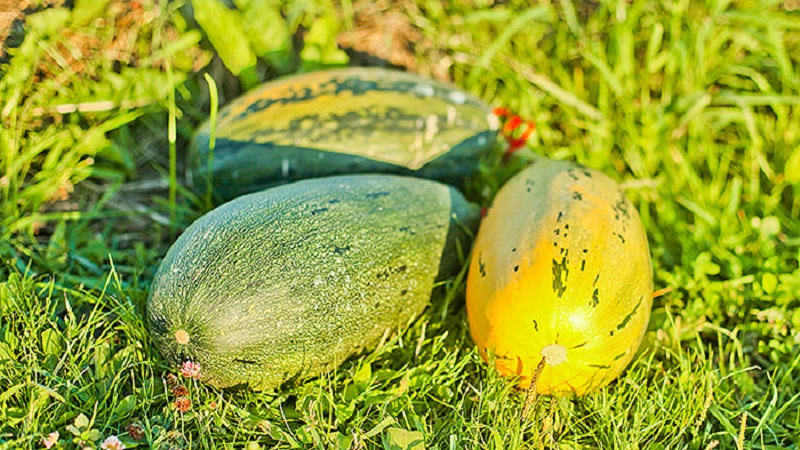
| Cucurbita rero
|
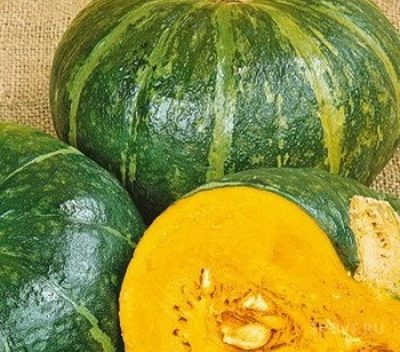
It's considered the most easy-to-grow pumpkin variety. There are several cultivars, each with a different fruit shape and vine type (spreading or bushy). Fruit weight ranges from 3 to 7 kg. The bark is hard, green, white, yellow, or orange, and the surface is ribbed and striped. |
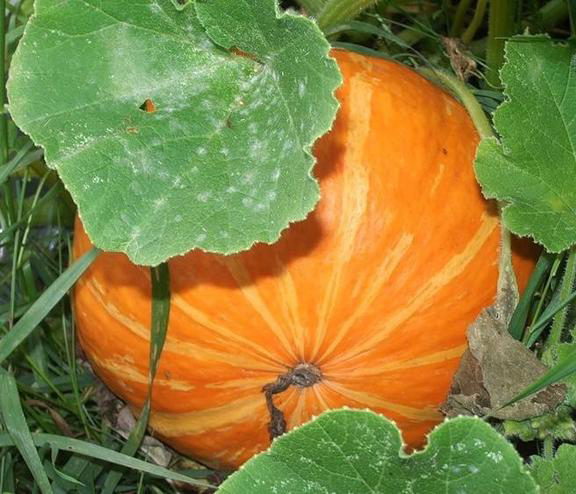
| Summer cottage
|
An early, short-vine variety, the fruits ripen in just 90 days. They are not particularly large, weighing between 3 and 4.4 kg. The juicy flesh of medium thickness has a light vanilla aroma. This pumpkin has a fairly long shelf life (up to 4 months). Suitable for growing in the Urals. |
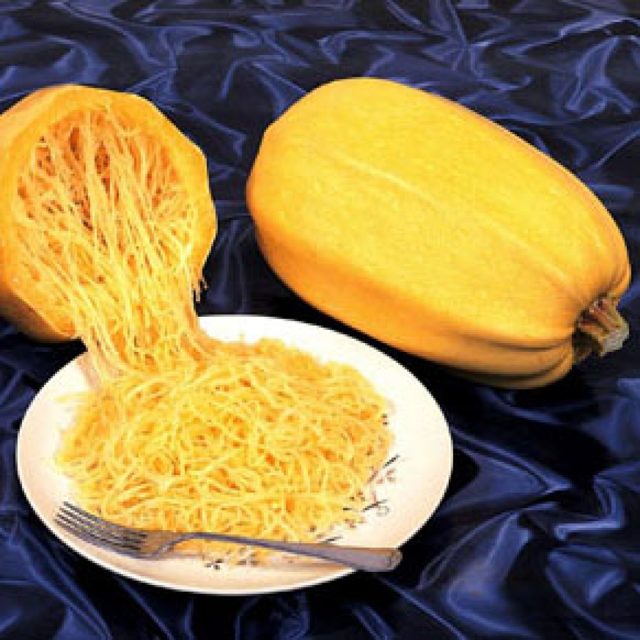
| Spaghetti
|
This early-ripening variety takes 60 days to fully mature. This pumpkin gets its name from the way its flesh breaks down into thin strands when cooked. Therefore, it's not ideal for porridge, but is ideal as a side dish or salad ingredient. |
| Bush orange
|
This variety is considered early, with a ripening period ranging from 90 to 105 days. The bush is very compact, allowing for space savings. The orange fruits are spherical, sometimes slightly elongated. Pumpkin weights range from 3.8 kg to 7 kg. The flesh is sweet and juicy. The harvest is large and stores and transports well. Suitable for growing in the Leningrad region. |
| Gribovskaya bush 189
|
This variety is very popular among gardeners due to its compact size. It can produce two fruits at a time, each weighing up to 7 kg. The fruit is teardrop-shaped and ribbed. Its orange-green color indicates ripeness. The flesh is uniform, orange, and firm, with a good sugar content. |
| Altai 47
|
This variety is distinguished by its very long vines and short ripening period (approximately 2.5 months). The fruits are distinctly ribbed and orange in color. They weigh between 2.6 and 5.3 kg. This variety tolerates temperature fluctuations well, producing an excellent harvest with a long shelf life. The flesh is sweet and slightly fibrous. Suitable for growing in the Urals. |
| Crookneck Scrooge
|
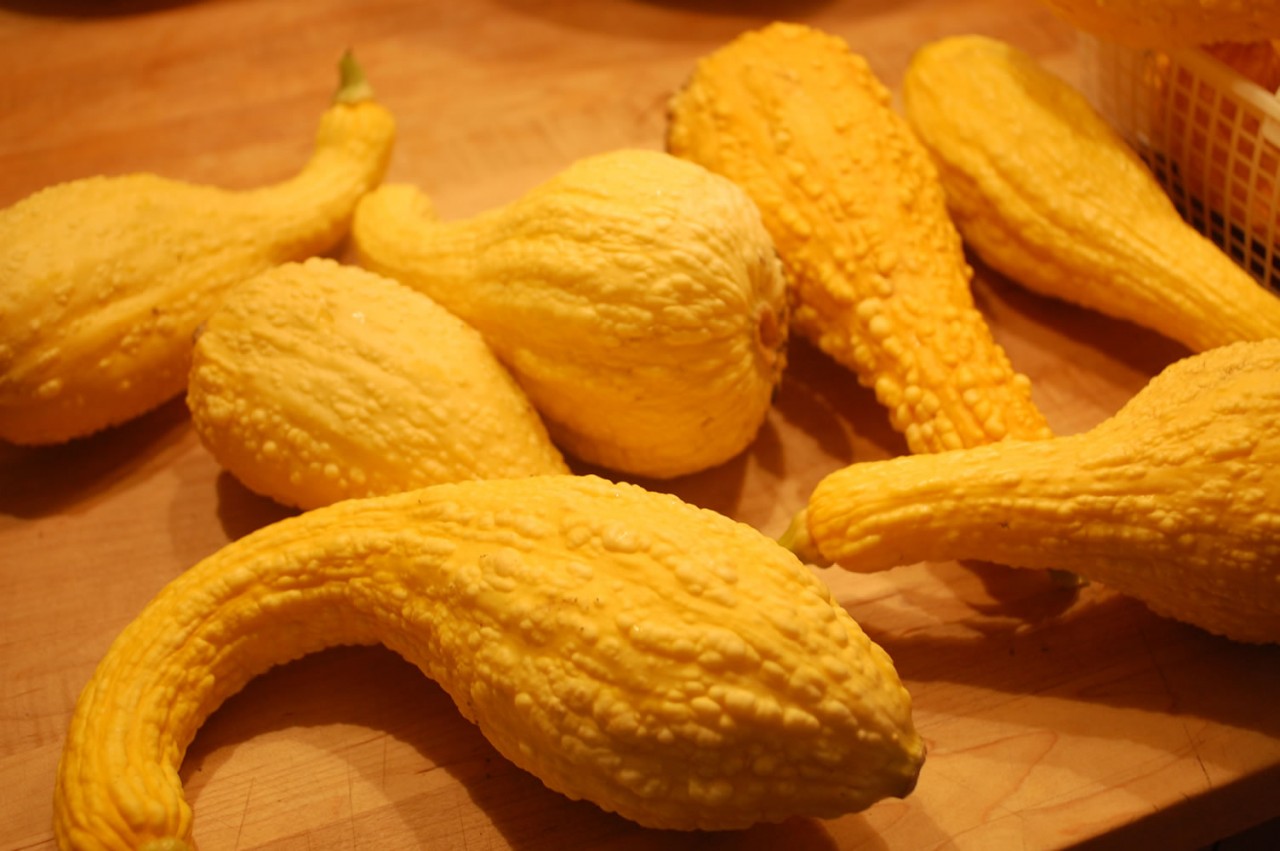
This variety is distinguished by its small, club-shaped fruits, weighing up to 0.6 kg. The flesh is very similar in taste and color to zucchini, but juicier. |
| Gymnosperms
|
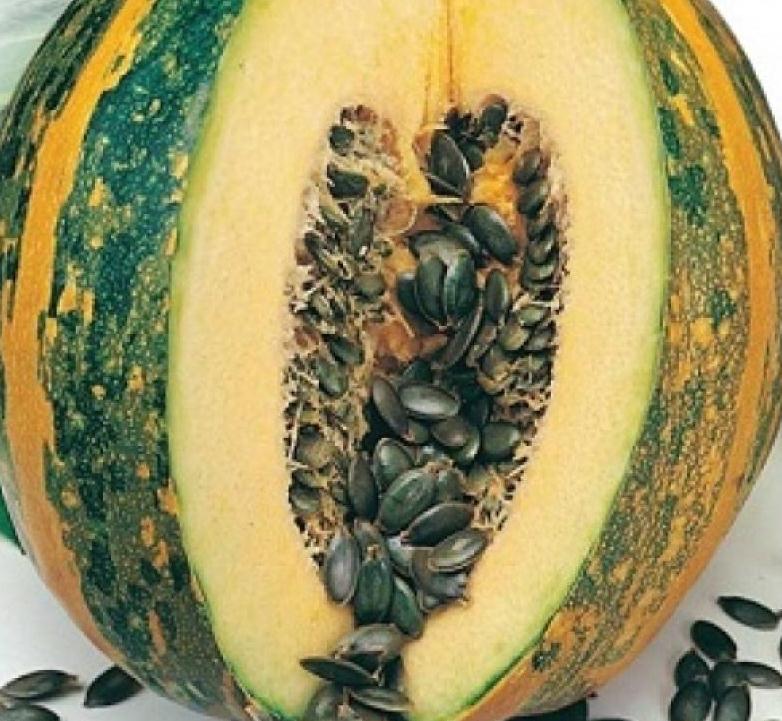
This variety gets its name from the skinless nature of its seeds. Furthermore, they contain a significant amount of nutrients and oils, making them particularly valuable. The fruits themselves ripen mid-season and can be spherical or pear-shaped, and are relatively small in size, weighing only up to 2 kg. |
| Volga gray
|
The ripening period is medium, and the fruits are very large – from 6.5 to 9 kg. The flesh is moderate in density and sugar content, and is orange or yellow in color. |
For the Leningrad region
| Name | Characteristic |
| Almond 35
|
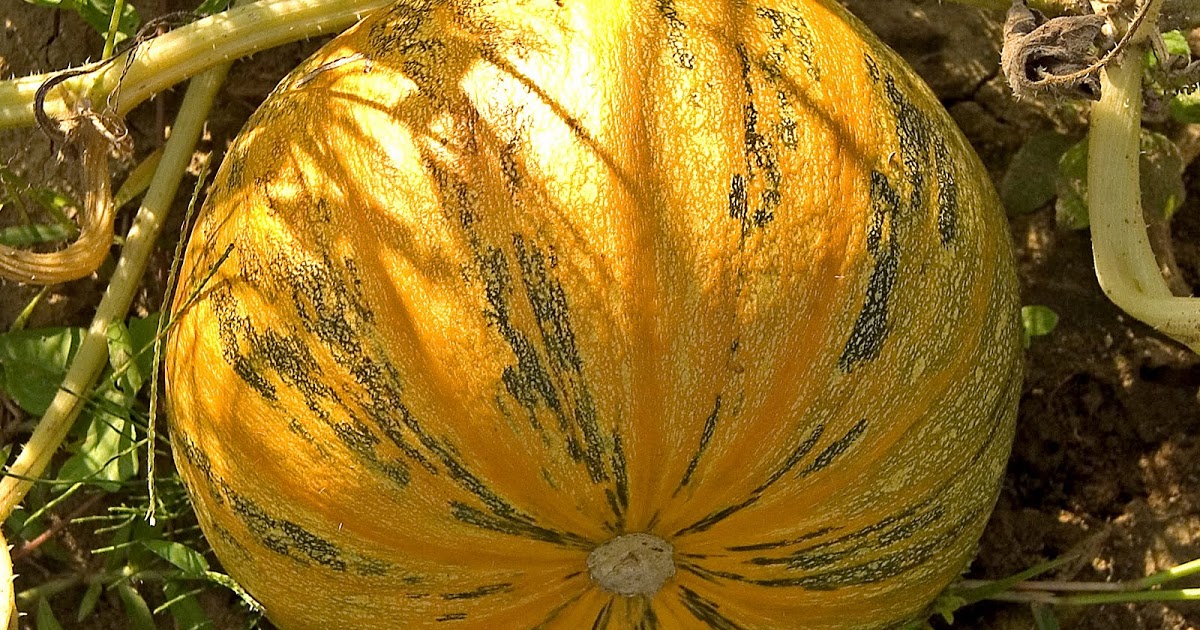
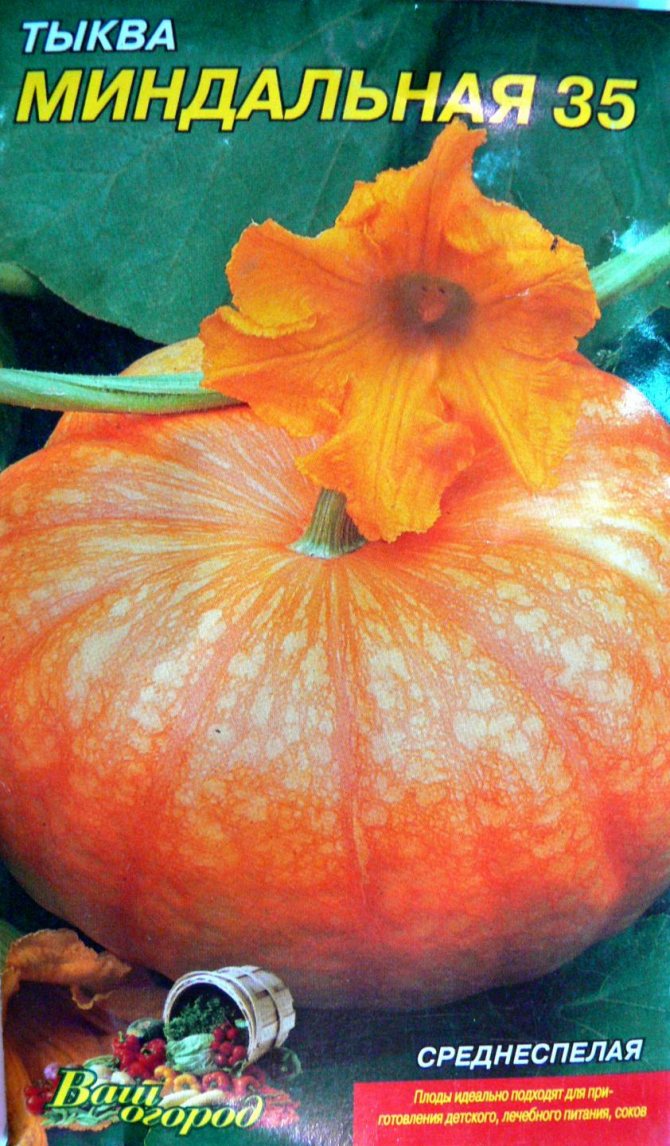
This dietary, long-vine variety is distinguished by round, slightly ribbed fruits weighing up to 5.2 kg. They ripen in about four months, and the flesh is very juicy and sweet, with a hint of almond in the aroma. The surface color is variegated with brownish stripes in the form of brushstrokes on an orange background. It has a good shelf life. |
| Medicinal
|
Considered one of the most delicious varieties, it ripens in 3-3.5 months. The flattened-round fruits contain a huge amount of micronutrients. They weigh between 3.5 and 7 kg. A good harvest is obtained under almost any growing conditions, and the fruits will easily store until the following season without any damage. |
| Chit
|
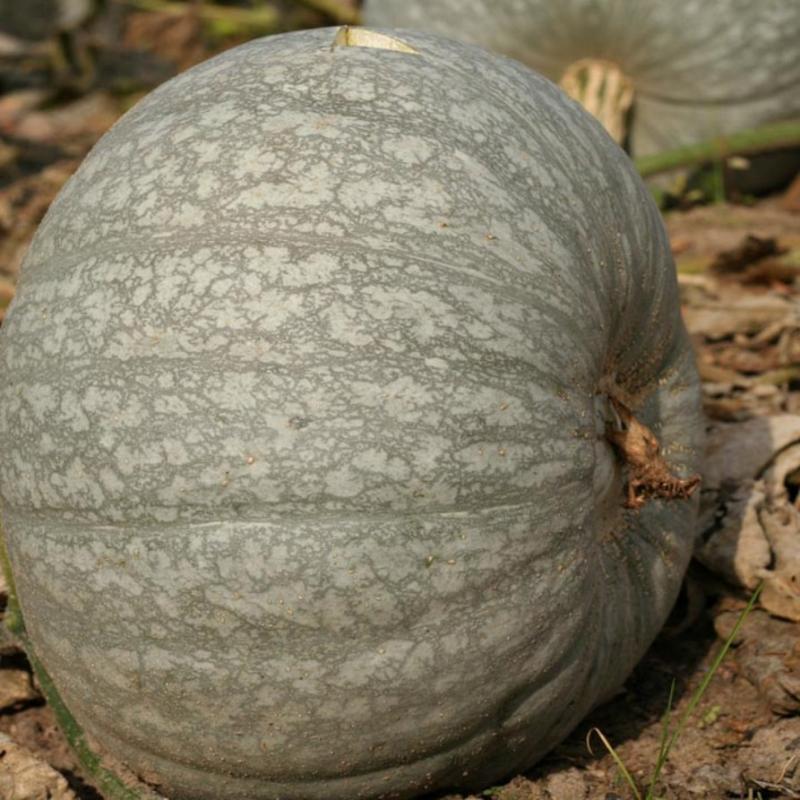
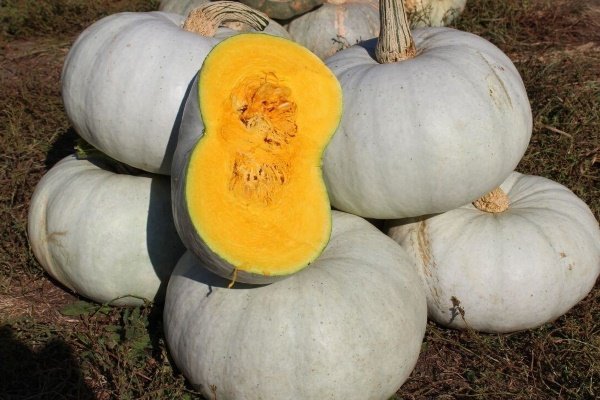
It grows on long vines and takes approximately four months to ripen. The light-gray fruits weigh no more than 3 kg, are flattened to round, and are uniform in size. The flesh is moderately juicy and sweet. The harvest has a good shelf life. |
| Acorn or Acorn
|
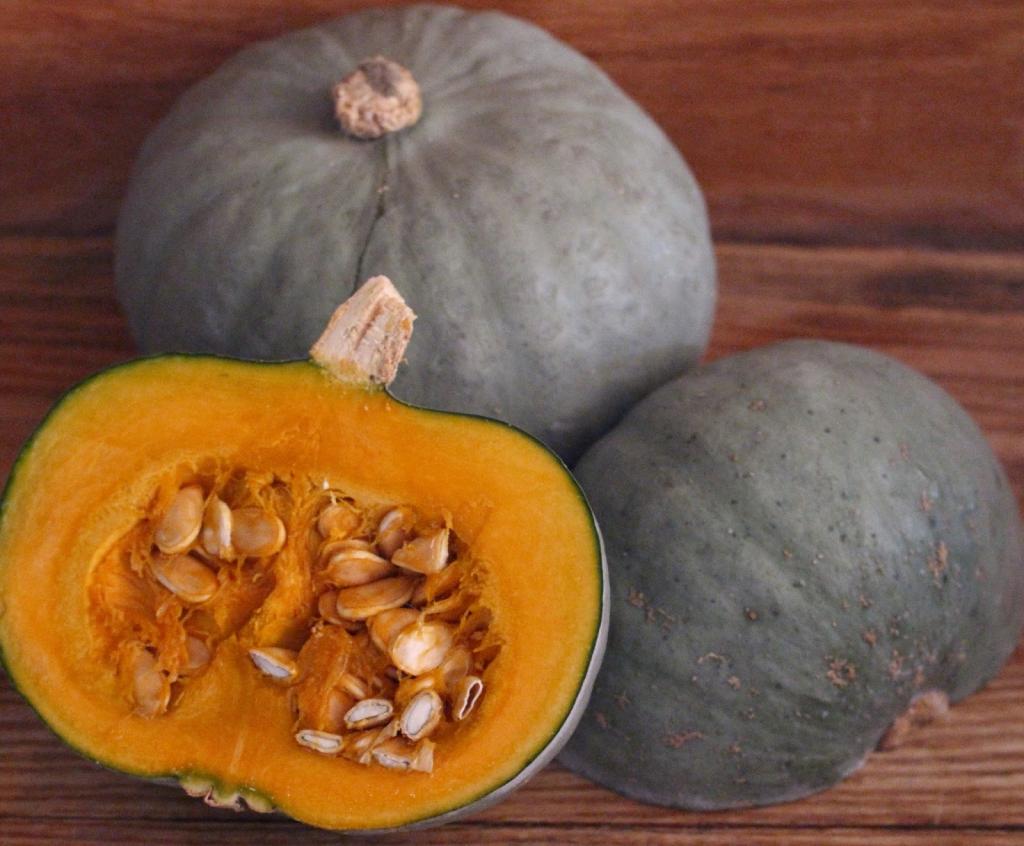
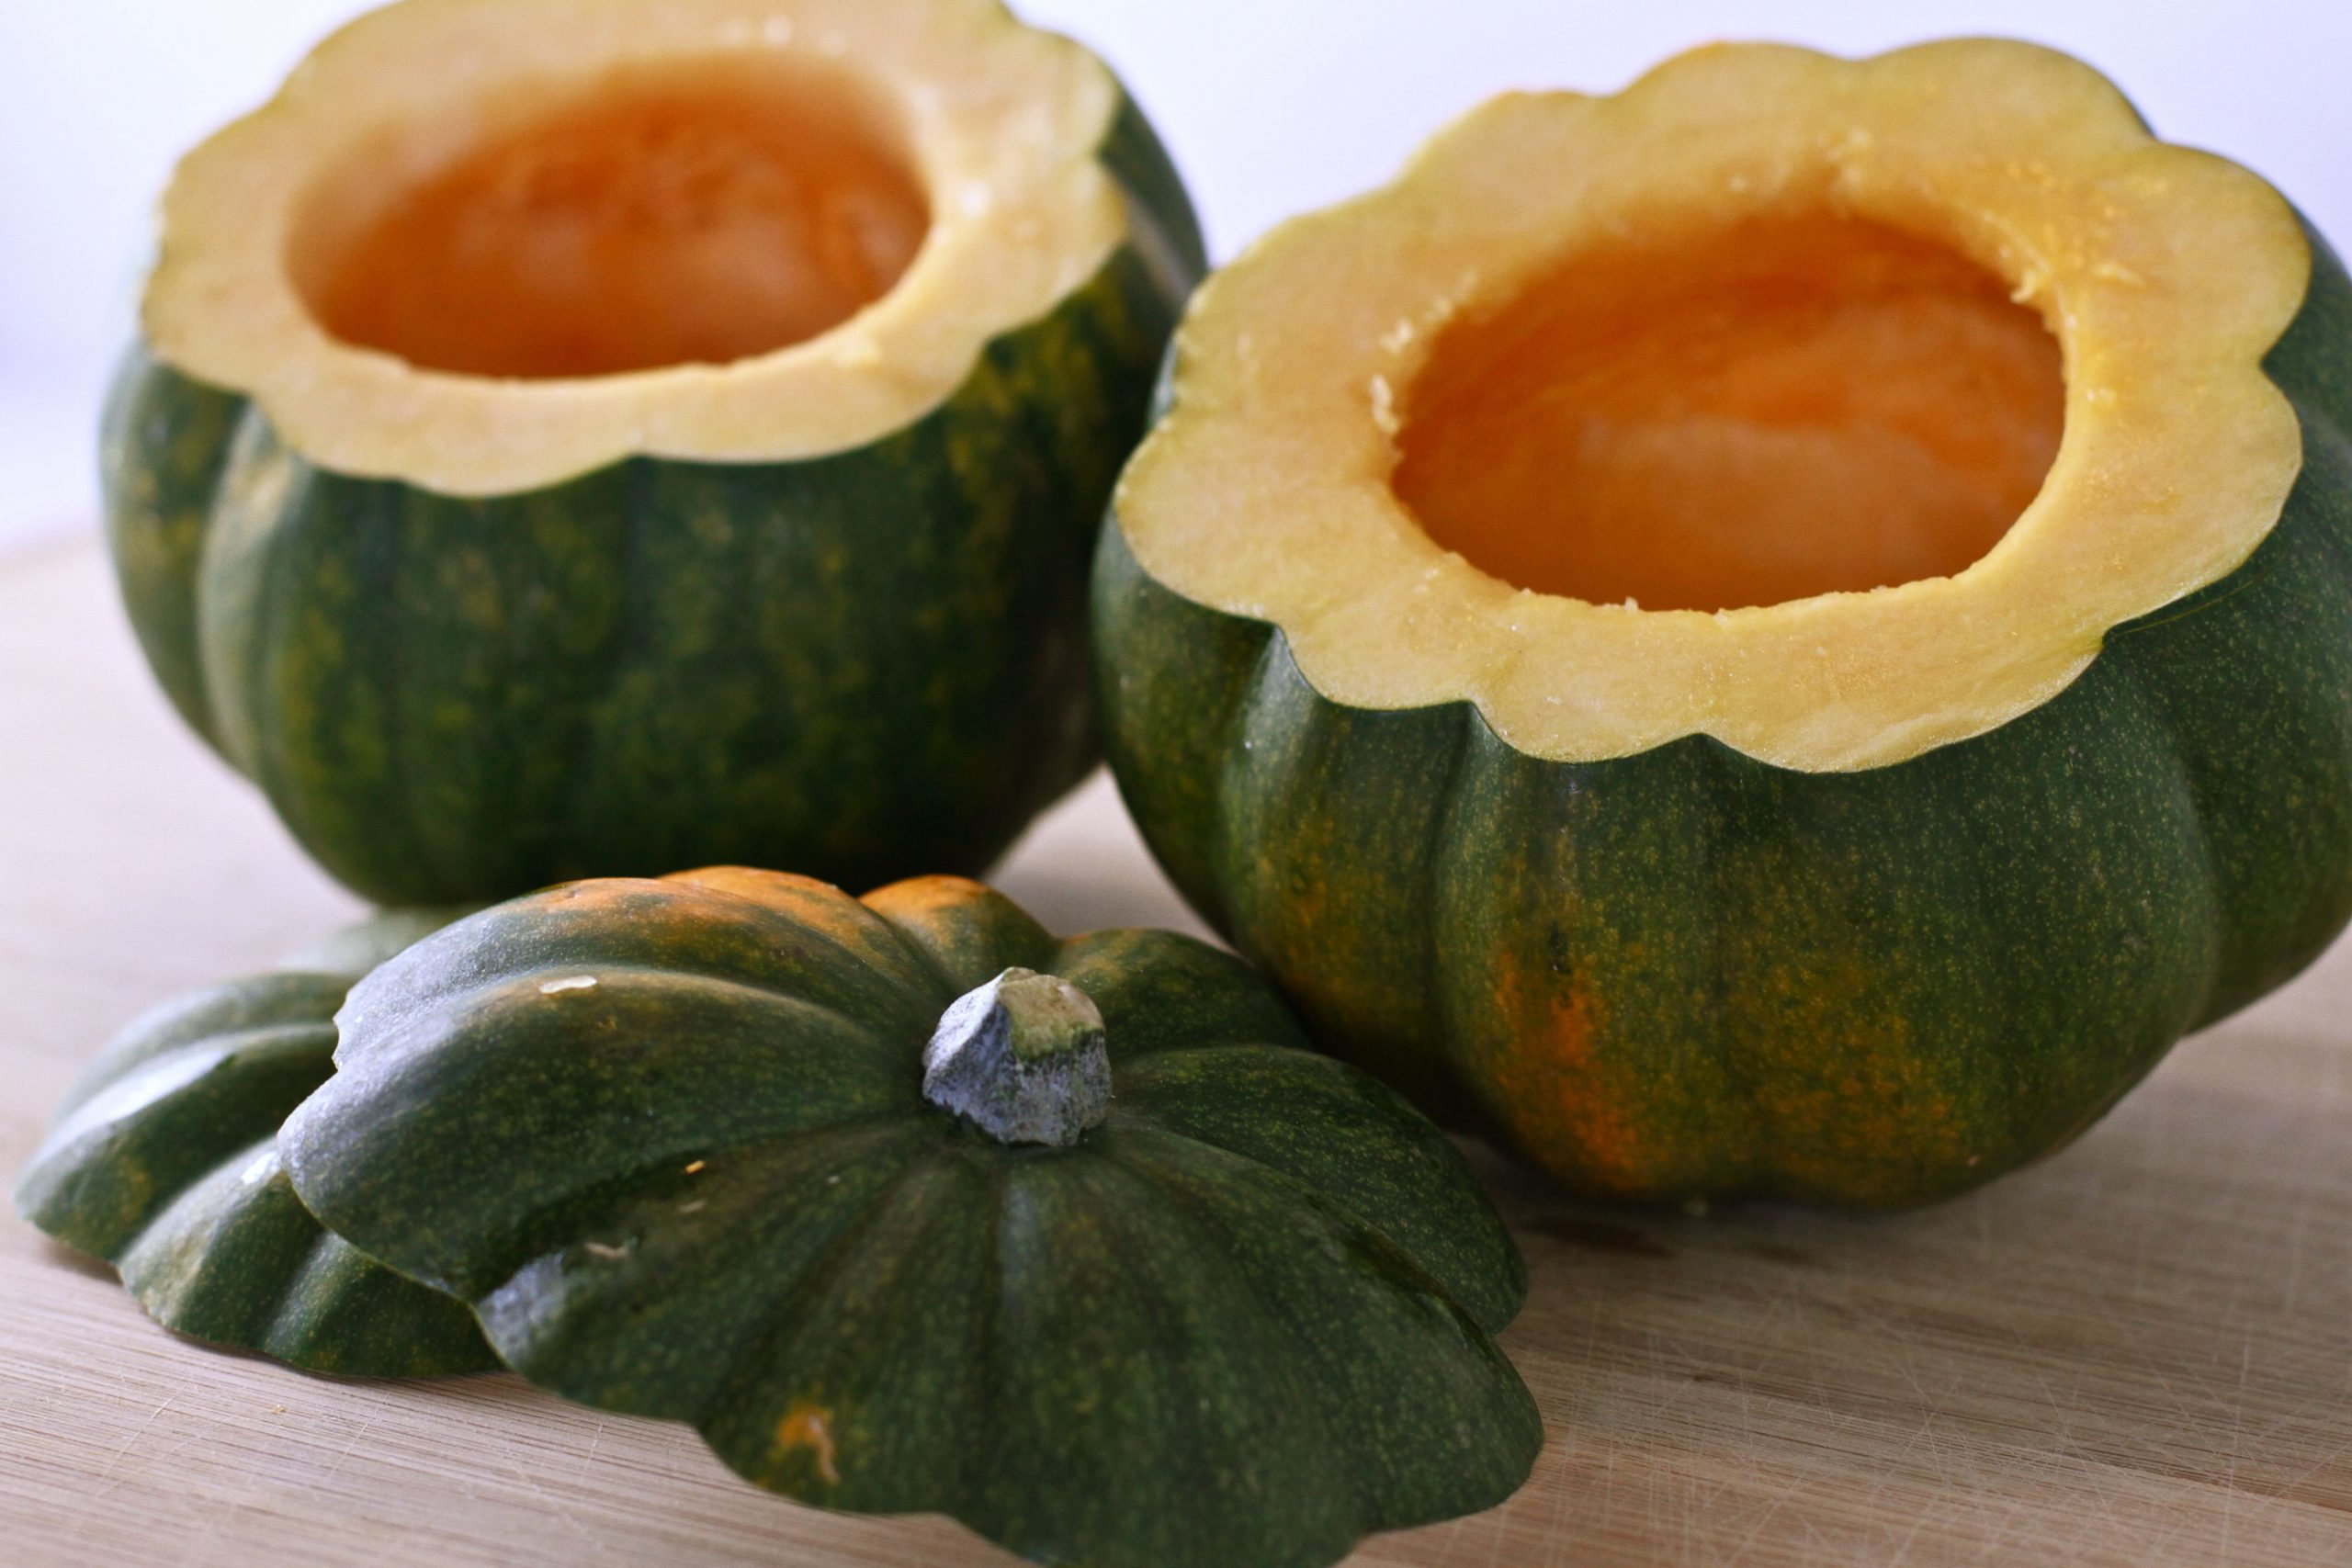
This variety includes both bush and climbing varieties. It ripens early. The fruits are relatively small, with a ribbed surface. Their color can be yellow, white, green, or even black. The flesh is similar to that of a zucchini. This pumpkin is ideal for baking or stuffing. |
For the Urals
| Name | Characteristic |
| Russian woman
|
The vines are medium-sized, and the ripening period is approximately 2-2.5 months. The fruits are not very large, weighing no more than 3.6 kg, and are shaped like a pot-bellied pear. There are very few seeds inside, and most of the space is occupied by sweet pulp with a melon-like aroma. The yield is large, but the flavor is lost during storage, making this pumpkin ideal for lovers of fresh vegetables. Also suitable for Siberia. |
| Muscat Pearl
|
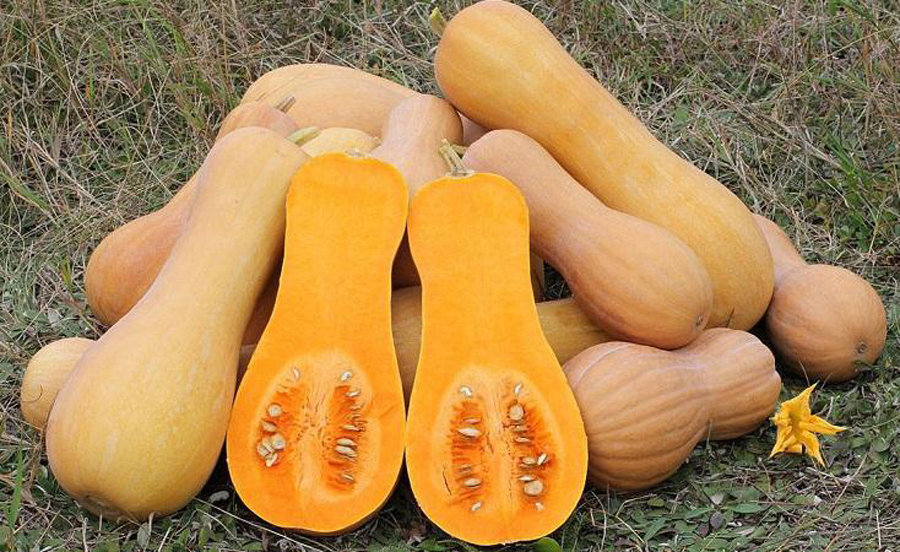
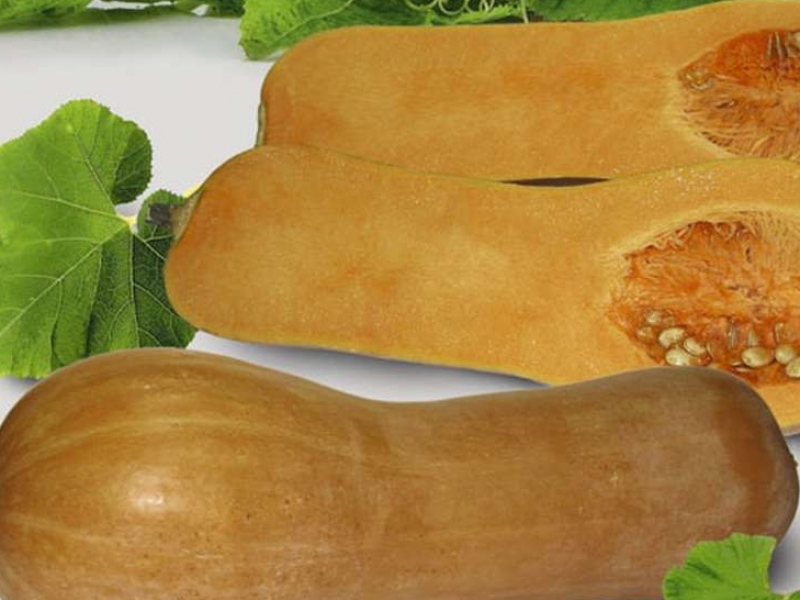
The vines are long, and the harvest ripens 2.5 months after germination. The fruits are large, weighing 5 to 7 kg, and cylindrical in shape, with a thicker base near the flower. It tolerates temperature fluctuations, excessive watering, and drought well. The pulp is abundant, crisp, juicy, and sweet, with a distinct muscat aroma. Despite the fact that this is a nutmeg variety, it is also suitable for growing in Siberia. |
| Danae
|
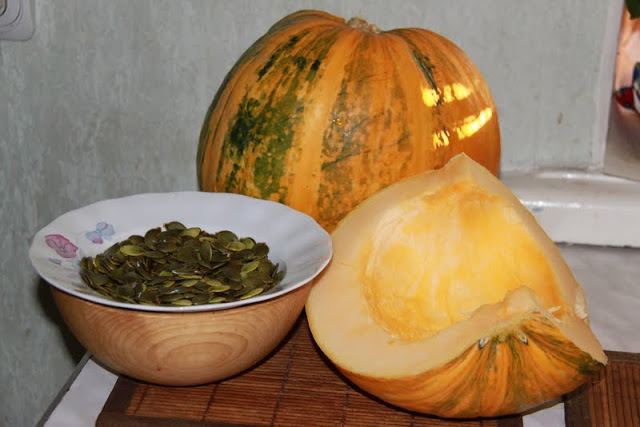
The flesh is quite typical in flavor and unremarkable, but that's not what the variety is prized for—the pumpkin's peeled seeds are very healthy and nutritious, containing many vitamins. The fruits are shaped like a cross between a circle and an oval, green when first ripening and striped orange when fully ripe. |
| Mozoleevskaya 49
|
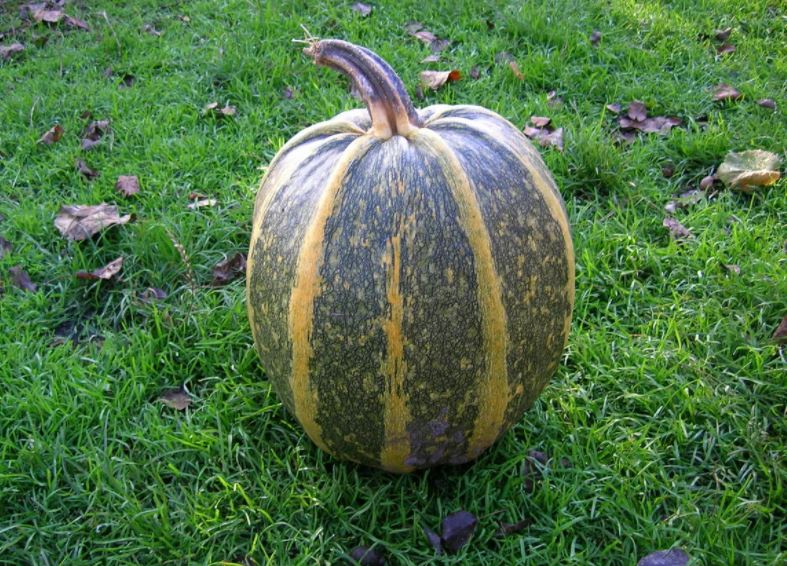
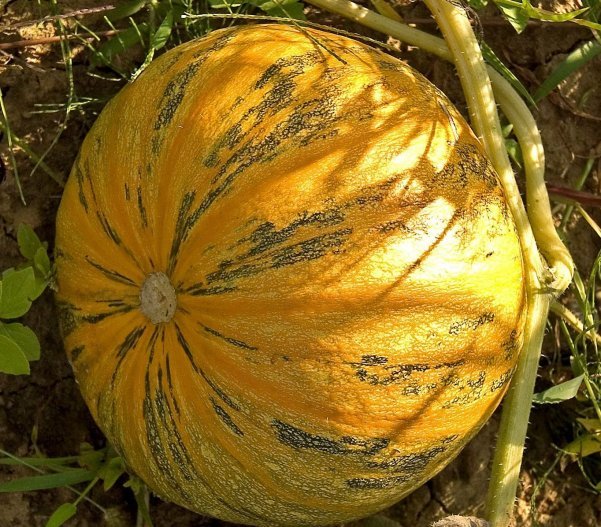
A very old variety, grown by gardeners for over 80 years. The vines can reach 8 meters in length. The fruits are short oval, smooth in surface, and ribbed only near the stem. The flesh is very tasty, about 5 cm thick. The ripe pumpkin is orange with greenish and brown stripes. |
| Prikubanskaya
|
The fruits are medium-sized, with red-orange flesh, very tender, moderately sweet, and juicy. They are ideal for porridge and soups. Their shelf life is limited—after three months, the flavor deteriorates, and the fruit may begin to wilt or rot. |
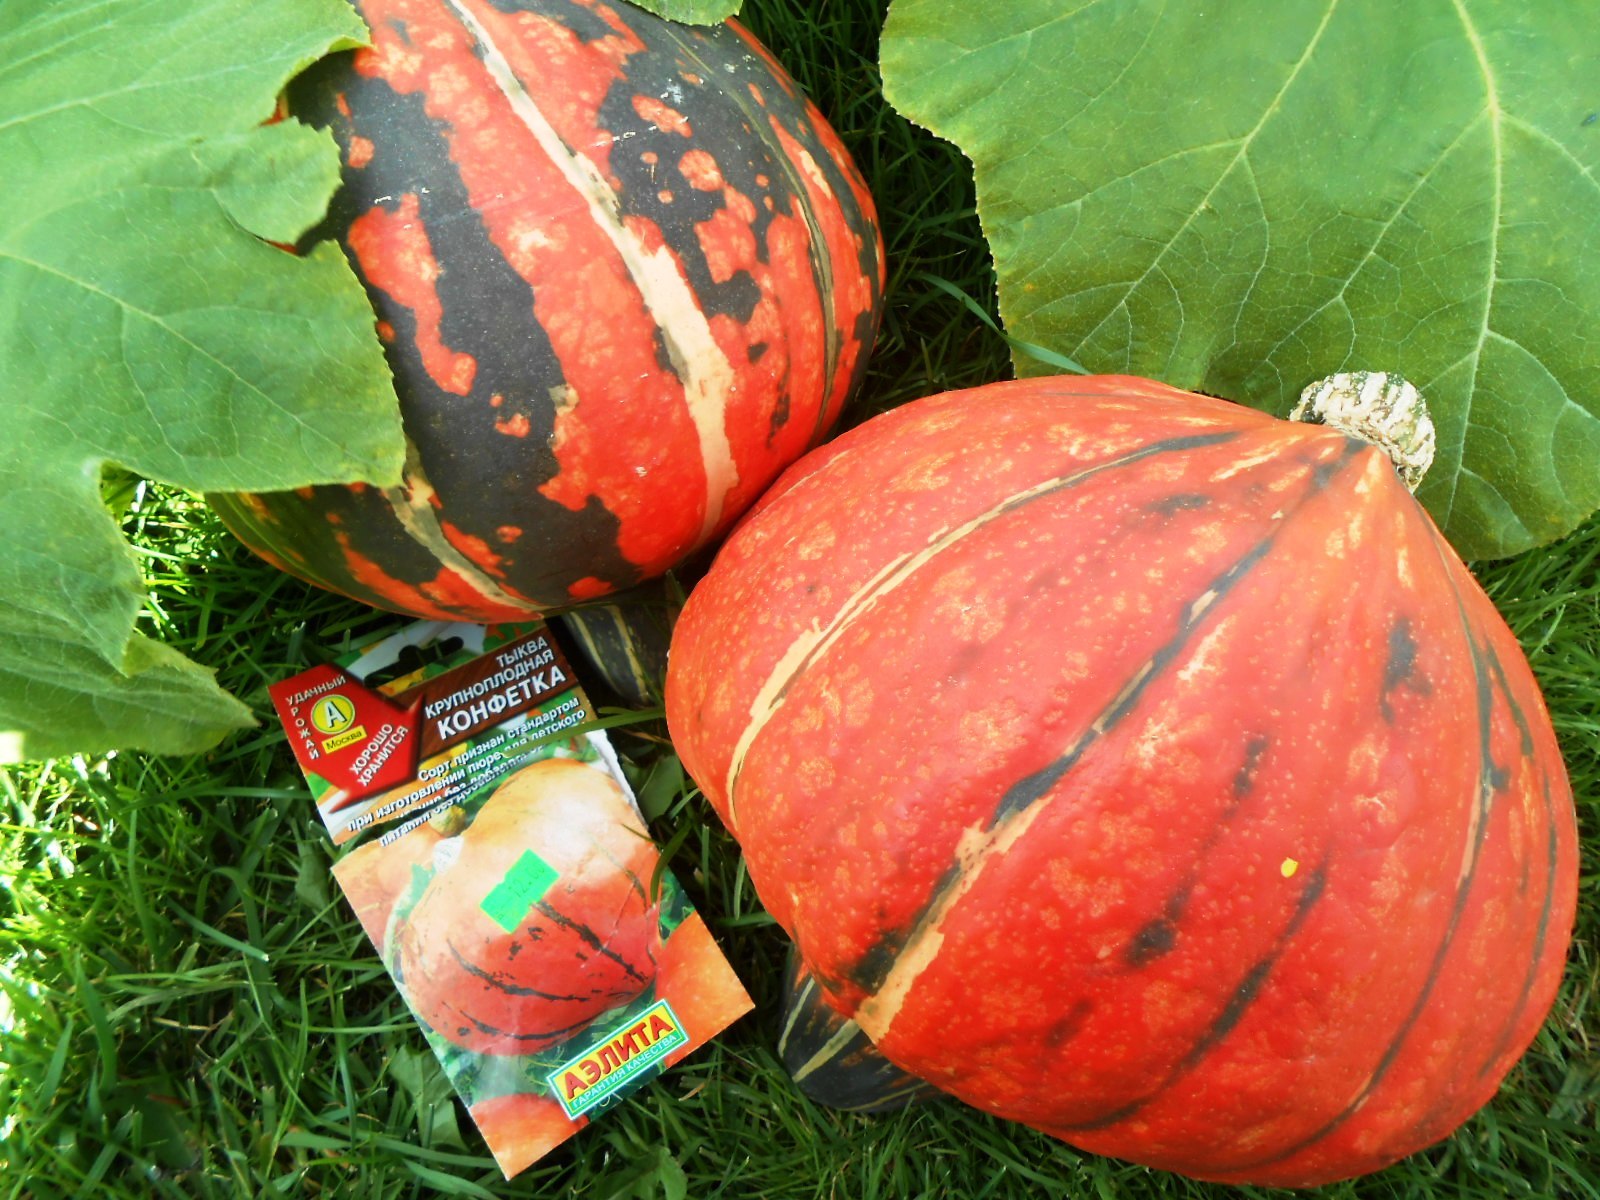
| Candy
|
A cold-hardy climbing variety, distinguished by its very sweet fruits weighing up to 2 kg. The ridges are slightly ridged, with greenish stripes separating the segments. Ripening time is approximately 3 months. |
| Ufa
|
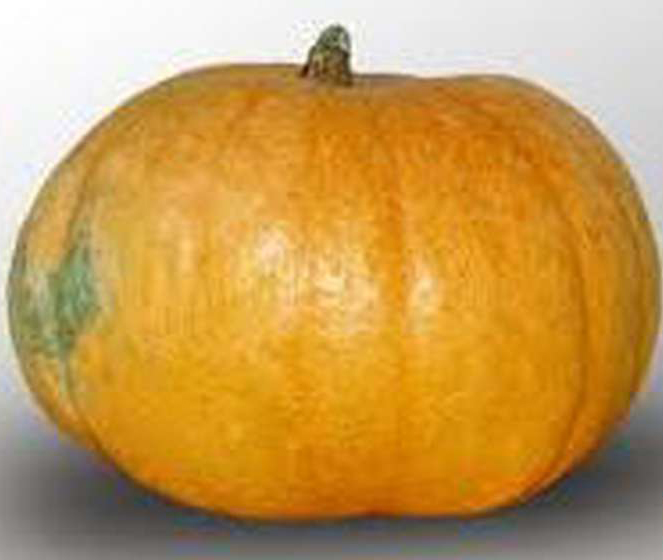
The vines are long and ripen early, in about 90 days. The round, slightly flattened fruits weigh up to 6.5 kg. Their color can be yellowish-orange, pinkish, or grayish-orange. They have a short shelf life of only 3 months. |
| Smile
|
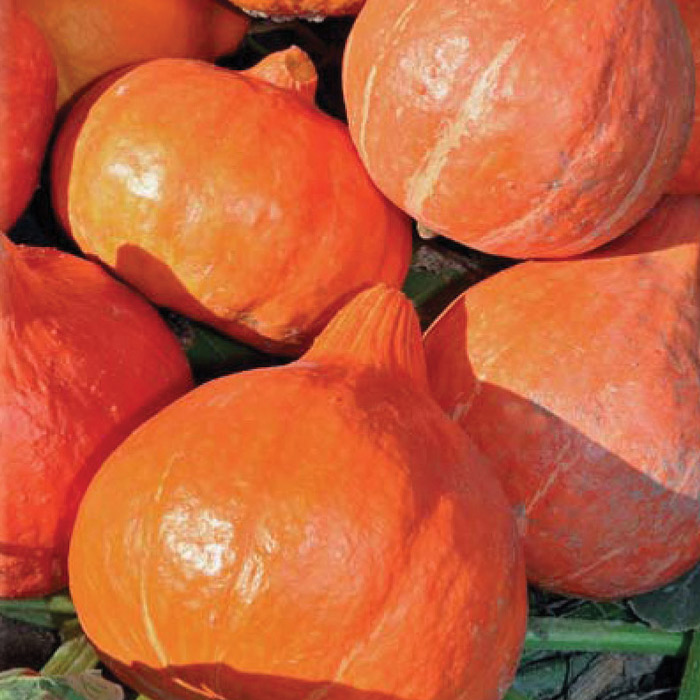
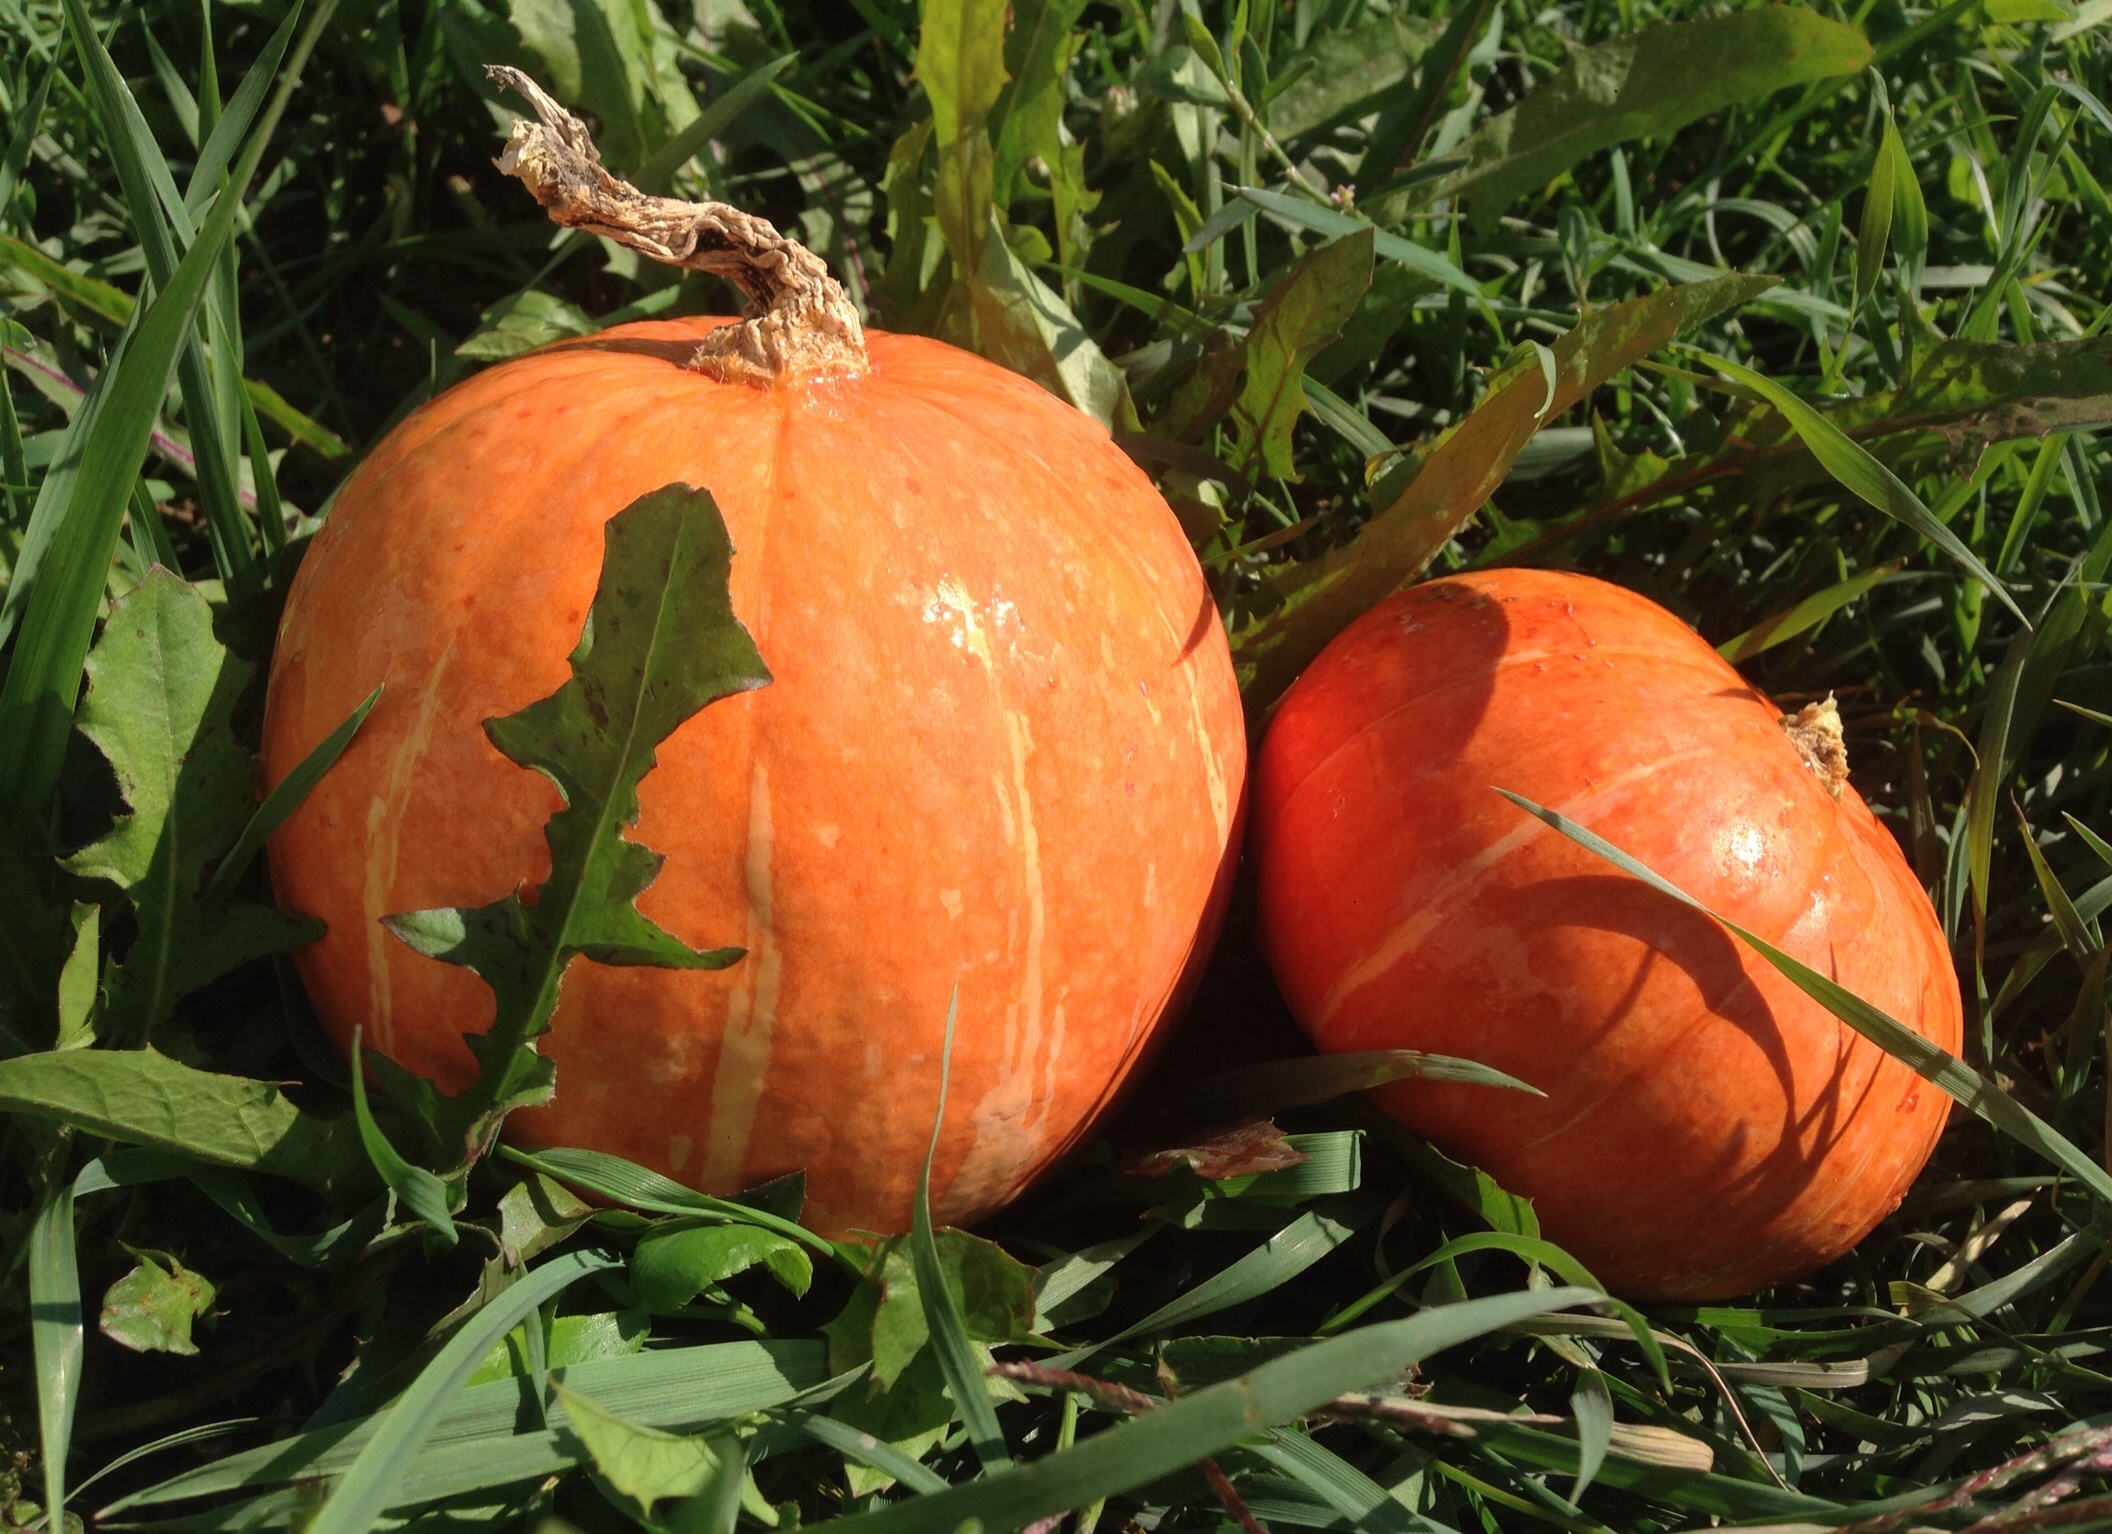
A bush variety with an early ripening period of 90 days. The bright orange fruits resemble neat balls weighing no more than 3 kg. Ideal for lovers of fresh vegetables: the sweet and juicy flesh resembles melon. It doesn't require special storage conditions and can be stored at home for up to 4 months. Suitable for Siberia. |
For Siberia
| Name | Characteristic |
| Freckle
|
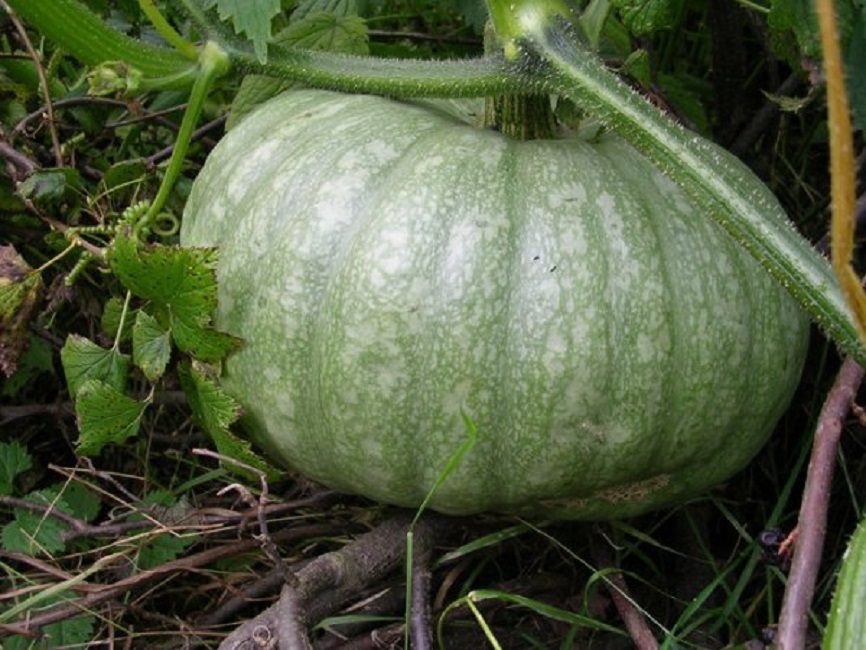
A bush variety with an early ripening period of approximately 90 days. The small fruits, weighing 3 kg, resemble slightly flattened spheres. The color is a mixture of green and yellow spots. The juicy and sweet flesh is very reminiscent of pear. |
| Adagio
|
A bush pumpkin with a maturity period of approximately 100 days. The fruits are modest, weighing no more than 3 kg, and are very flattened, especially at the stem end. This pumpkin is prized for its exceptional nutritional value and is ideal for baby and dietary dishes. |
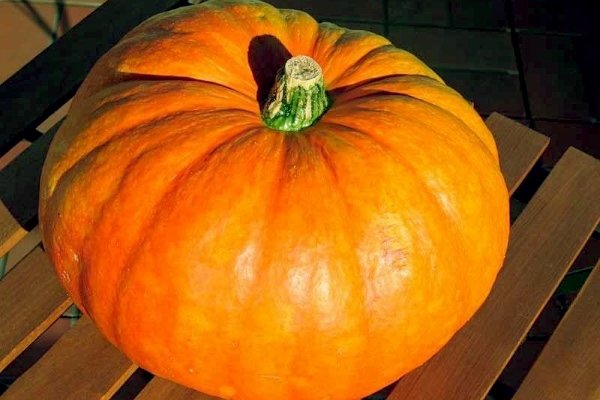
Read also the article 36 pumpkin varieties with photos and descriptions.
Timing for planting pumpkin seeds in open ground
The best time to plant seeds is considered to be the last month of spring. The exact date is determined based on weather conditions. It's crucial that the risk of night frosts is minimized and the soil warms to 10–14°C. Otherwise, the seeds will rot and won't germinate. Of course, in colder regions, frosts are possible until June, so in that case, it's worth considering about the seedling method.
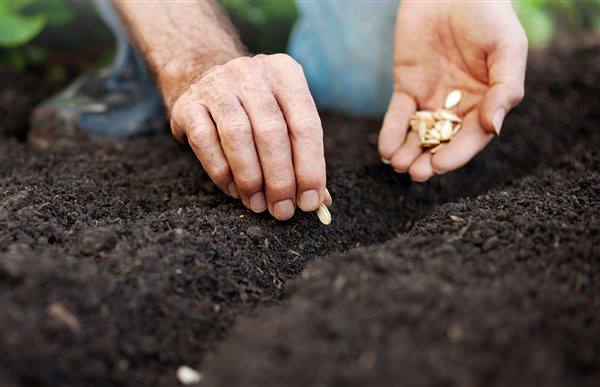
Experienced gardeners rely on folk wisdom in many of their work and believe that the best time to plant pumpkins is St. George's Day (May 6th, New Style). This should be done early in the morning. However, the weather doesn't always allow for this.
In regions with warmer and milder climates, including Ukraine and Belarus, planting can begin as early as April.
Favorable and unfavorable days for sowing pumpkins in open ground according to the 2021 lunar calendar
The lunar calendar also helps gardeners, according to which the best time for planting is considered to be the waxing moon phase.
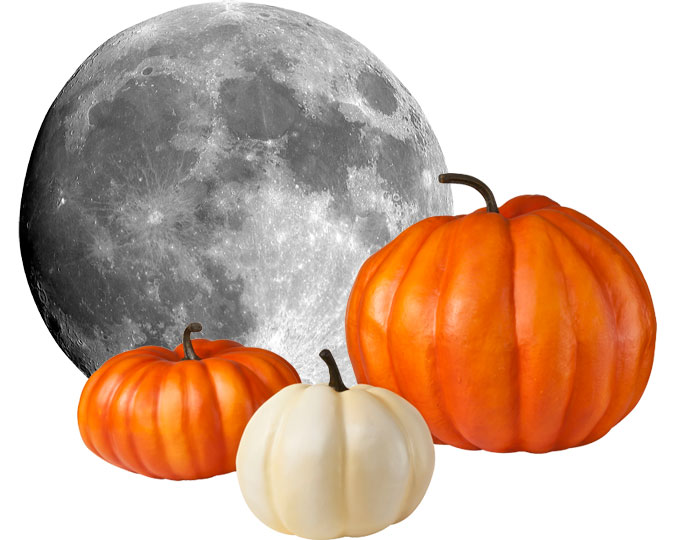
| Month | Favorable | Unfavorable |
| April | 14, 15, 17-20, 24, 25 | 12, 13, 26, 27 |
| May | 15-17, 22-24 | 10-12, 25-27 |
On May 6, 2021 (St. George's Day), you can plant pumpkins. They will yield a good and abundant harvest, but the seeds from such a pumpkin will not be very good and will not have a long shelf life, since the waning moon on this day will be under the sign of Pisces.
Choosing a location for planting pumpkin seeds in open ground
Pumpkins grow as large bushes, and some varieties even form vines that extend up to three meters in radius. Therefore, they require a lot of space. In small spaces, gardeners resort to various tricks to accommodate this crop. Some plant them directly on a compost heap, others place them in old barrels or bags, or in large pots. Experienced gardeners construct two-tiered beds to support the vines and fruit.
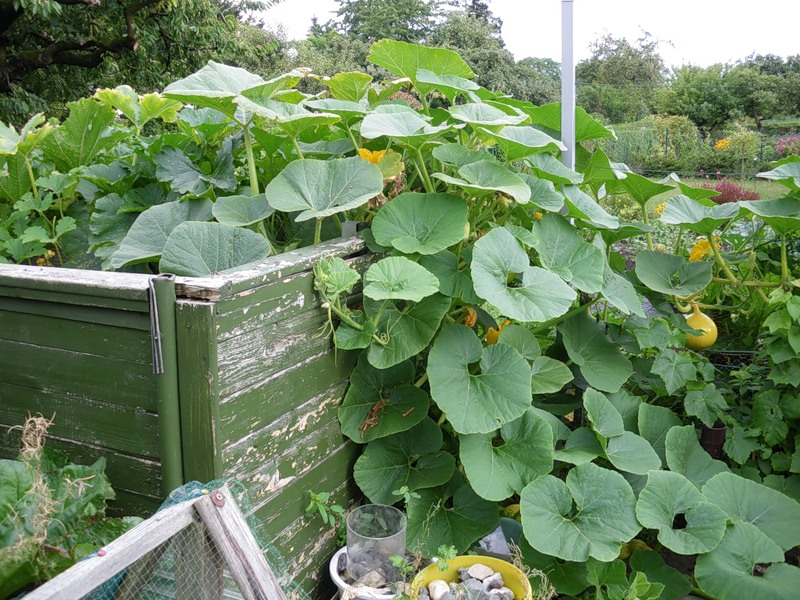
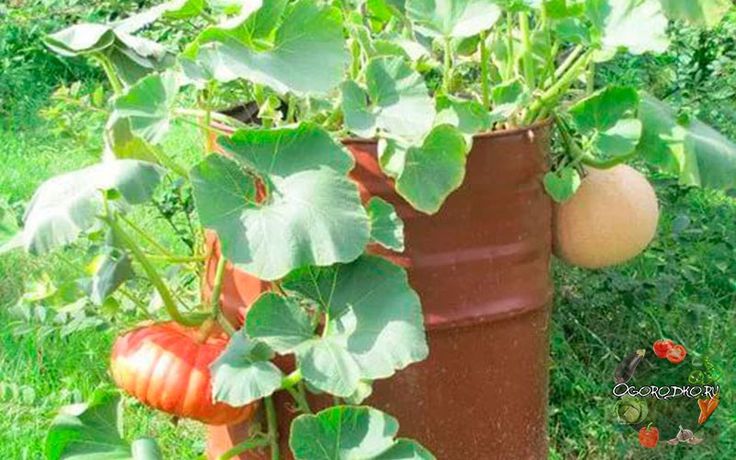
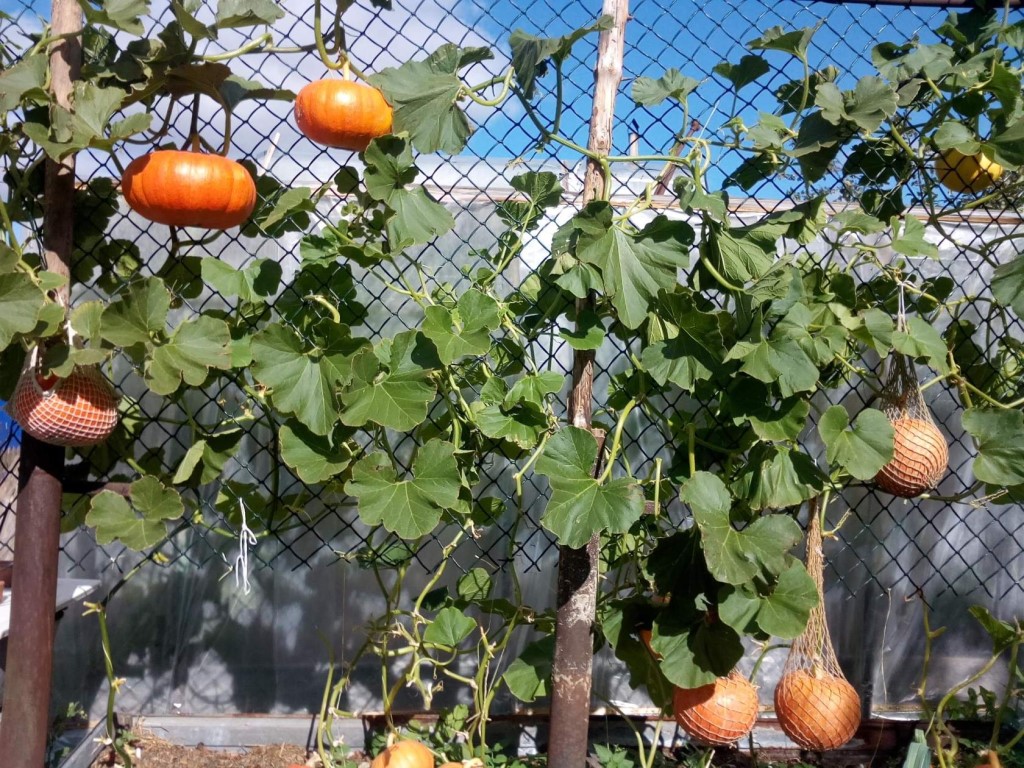
Pumpkins, like cucumbers, have a tendency to climb, so they can be planted near a fence. If the vines don't "get" to climb, they'll need to be gently guided. This way, you'll save space and the fruits will be conveniently positioned. The key is to provide them with a secure support to prevent them from toppling over along with the fence, or to choose smaller varieties (like "Konfetka" or "Smile") or ornamental ones. However, considering that 3-4 plants are enough for the average family, this shouldn't be a problem.
To ensure that the fruits display all their best varietal qualities, it is recommended to plant pumpkins in a well-lit bed with fertilized soil at a rate of 1 square meter per piece.
Pumpkin grows best in light, neutral soil. Poor predecessors include all related crops (cucumbers, squash, zucchini, etc.). It is planted in a pre-prepared hole. It should be roomy, well-dug, and filled with a bucket of compost and wood ash (half a liter jar). It is best to add any mineral fertilizers later.
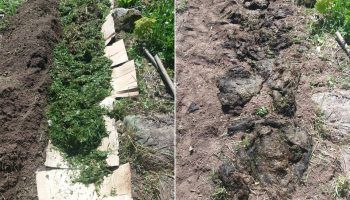
Pumpkins are often planted directly on a compost heap, even when they're not yet fully ripe. Moreover, sometimes a compost pit or trench is specially prepared for them. This process begins in the fall, filling pre-dug holes with grass, branches, and other organic matter mixed with soil. In early spring, saltpeter is added at a rate of 20 grams per square meter and watered with warm water. By the time of planting, the organic matter will have warmed up and rotted thoroughly.
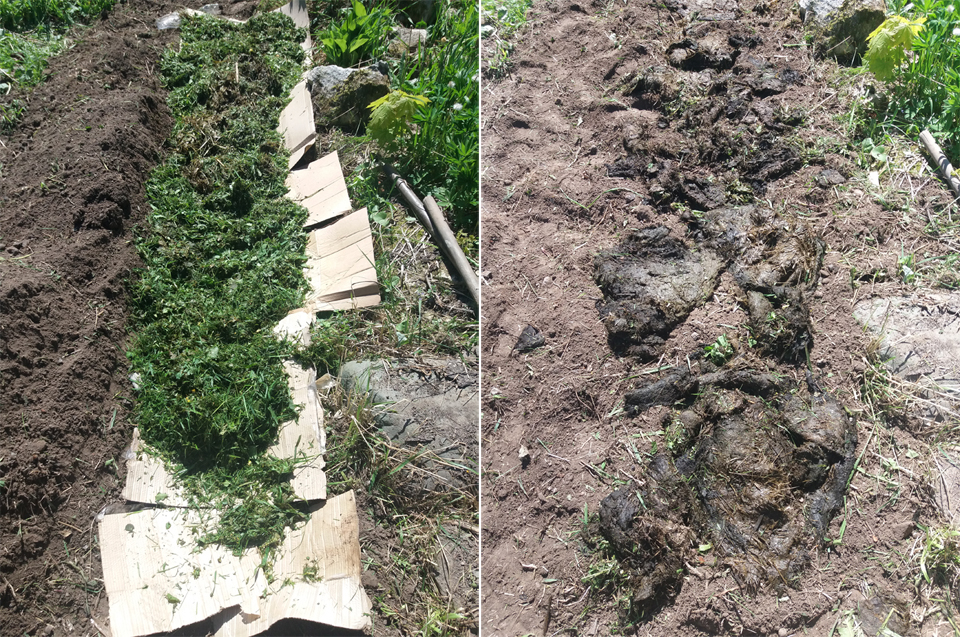
To summarize, let's highlight the main characteristics of soil suitable for pumpkin:
- neutral acidity – pH from 6 to 7;
- high content of micronutrients;
- lightness and flowability;
- good aeration and moisture permeability.
Preparing the soil for planting pumpkin seeds
If your soil isn't quite suitable for growing pumpkins, it's very easy to fix. You can add chalk or limestone to reduce acidity. Leaf compost or humus can help loosen dense soil. It's best to do this in the fall. But if you're short on time, you can fertilize the bed before planting by adding the necessary elements directly to the hole.
Stages of preparing a garden bed:
- Clear the area of weeds and other plant debris.
- Loosen the top layer.
- After 10-14 days, dig up the bed to the depth of a shovel, removing any plant roots that may be found.
- The day before planting, dig the soil again. Add nitrogen-containing fertilizer.
- Level the surface and build raised beds. The optimal size is considered to be 25 cm high and 150 cm wide. They should be spaced 1.5 m apart.
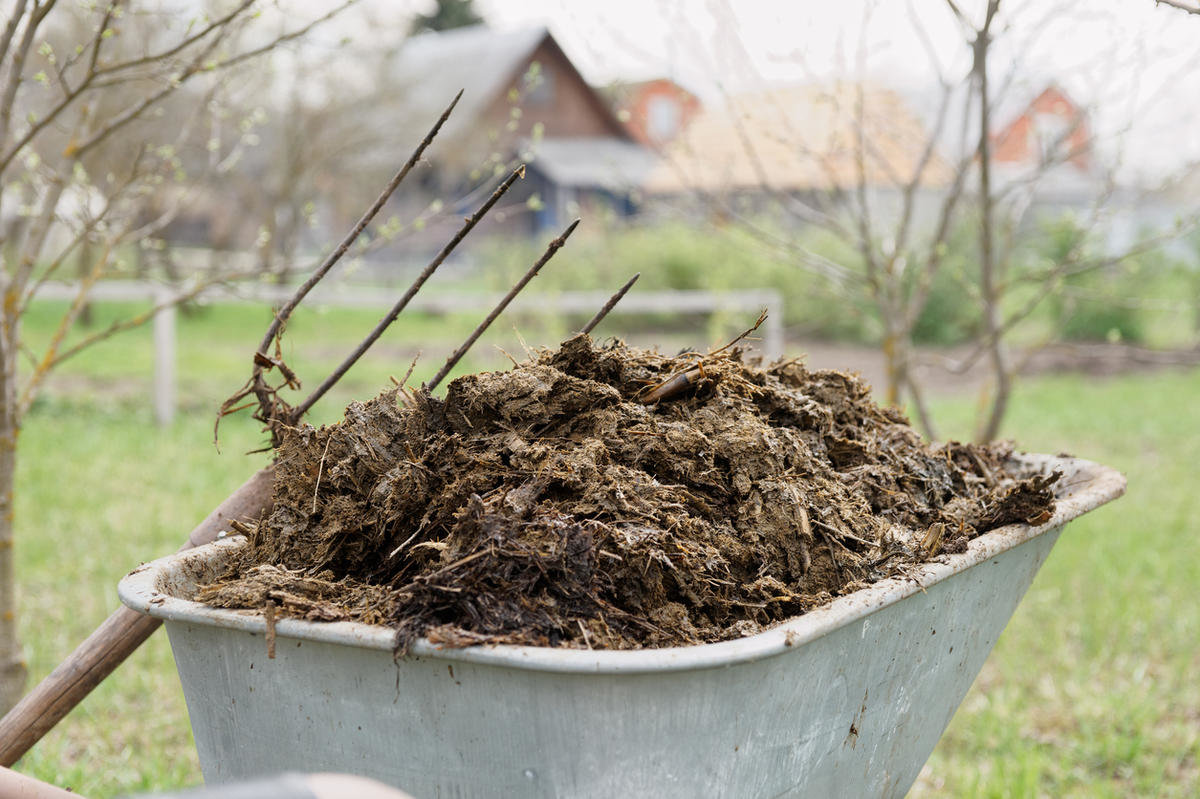
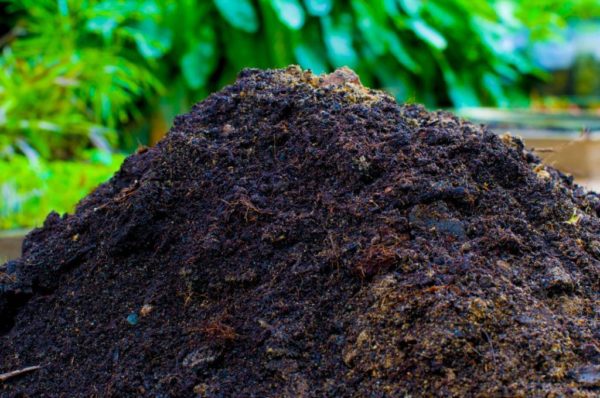
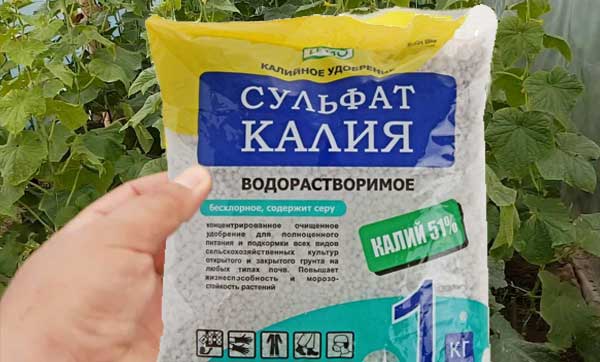
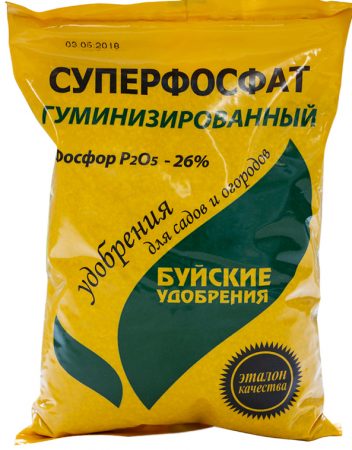
It is recommended to add a bucket of compost or manure per square meter of bed in advance. If this cannot be done in advance, add 1.5 kg of mullein or compost to each hole before planting. It is also recommended to add 15 g of potassium sulfate and 30 g of superphosphate.
A compost heap is a very good growing medium for growing pumpkins and getting an excellent harvest. Many gardeners use this planting method.
Instructions for planting pumpkin seeds in open ground
Planting pumpkin seeds outdoors isn't particularly difficult; even novice gardeners can handle it. Let's break it down step by step:
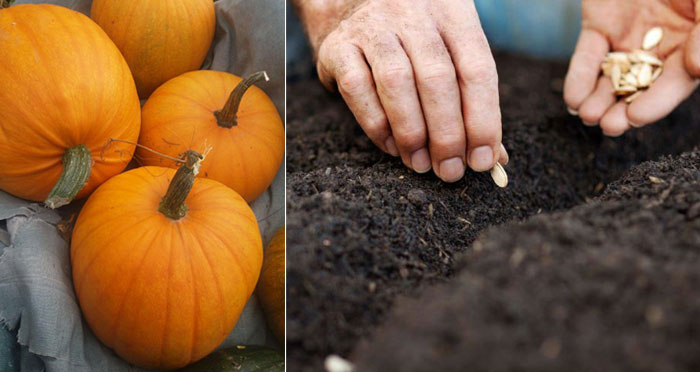
- Dig deep holes in a predetermined location. Add a bucket of mullein or compost and a jar of ash (0.5 liters) to each hole, mixing thoroughly with the soil. Next, water the hole with at least 5 liters of water.
- In the prepared hole, make holes approximately 8 cm deep, and place 2-3 seeds there at such a distance that when thinning, one plant does not pull out another along with it.
- The seeds are covered with soil and lightly compacted. Raised edges are made around the edges of the hole, over which a covering material will be placed. Many experienced gardeners simply cover the planting site with a cut-down plastic bottle.
Under favorable conditions, the seeds will begin to germinate by the end of the first week. The cover can be removed when the weather forecast is favorable and night frosts are ruled out. However, in colder regions, some gardeners make slits in the cover material to allow the sprouts to grow upward and provide additional protection for the roots. In this case, it's best to carefully trim off the weakest seedlings rather than pull them out.
Aftercare of pumpkin
Pumpkins don't require much attention, requiring only watering and occasional fertilizing. If you have time, it's a good idea to shape the plant to make it more comfortable. However, even without these interventions, gardeners reap an excellent harvest.
Weeding is recommended until the vines have grown. After that, only shallow loosening is recommended to ensure better moisture access to the roots.
Water for irrigation should be warm. To achieve this, leave the bucket to warm up in the sun for a while, then water the bed in the evening. Fruit requires plenty of water for proper development, so always make sure the bed doesn't dry out too much. Otherwise, the pulp will be dull and dry. Typically, at least 3 buckets of water are needed for each planting.
If you've fertilized the planting hole in advance, you won't need to fertilize your pumpkin often. The first application can be done after 5-6 full leaves have emerged. To do this, dig a shallow trench around the plant and pour the nutrient mixture into it. A suitable nutrient mixture is a bucket of mullein per 6-8 plantings, or 10 grams of azophoska per plant. To support growth and prevent disease, periodically spread a very thin layer of wood ash over the bed.
Once the stem reaches 1.5 meters, pinch it back and remove the side shoots, leaving 2-3. Keep in mind that each shoot will only produce one pumpkin. If you're stingy and leave more shoots, the quality of the fruit will be negatively affected—they'll be small.
To prevent the harvest from rotting, it's recommended to place a piece of plywood under each developing fruit. To provide the bush with better nutrition, the shoots can be covered with soil 50 cm from the base of the central shoot. These shoots will grow new roots, allowing them to draw more beneficial macro- and microelements and moisture from the soil.
Protection from pests and diseases (table)
Despite the pumpkin's relatively high resistance, if not properly cared for, it can suffer from various diseases and pests.
| Disease or pest | Description | Treatment method |
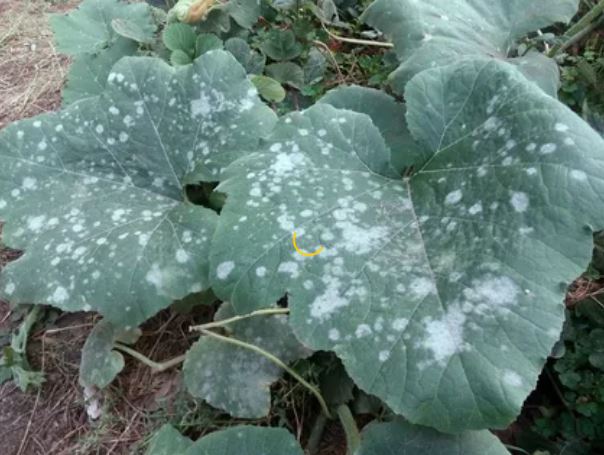
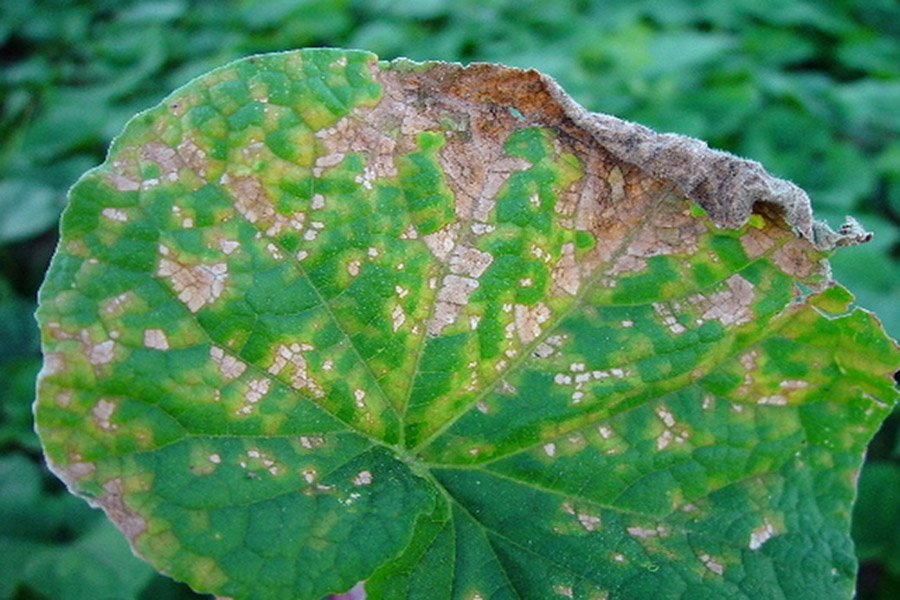
| Powdery mildew
|
This is a very dangerous disease, as it often leads to the death of plants. Due to high humidity combined with cool temperatures, a light-colored coating appears on the leaves and stems, which later darkens. The affected areas dry out and die. Pumpkin shoots slow down, fruits develop poorly, and often take on strange, irregular shapes. Their flavor is also affected, making them unfit for consumption. |
All infected plant parts should be removed from the garden bed and burned, preferably outside the garden. The remaining shoots can be treated with colloidal sulfur at a rate of 25 g per 10 liters of water. It is also recommended to spray with a solution of 10 liters of water and 50 g of sodium phosphate, or 1 liter of mullein and 3 liters of water (the latter should be left to soak for three days). |
| White rot
|
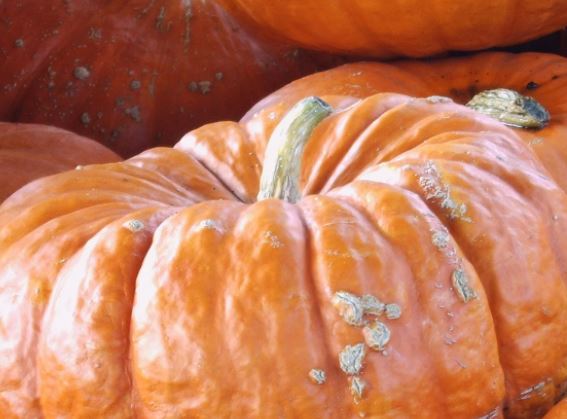
The disease becomes active during the ripening period. A white coating appears on the pumpkin, gradually eating away at the stems and fruit, making them unfit for consumption. White rot is caused by a marsupial fungus that is carried by the wind and easily survives low temperatures, becoming active with increased humidity. |
All infected parts of the bush should be removed, and the remains treated with a 5% copper sulfate solution. However, it's best to take steps to prevent white rot in advance. To do this, treat the plantings with a solution of 10 g of urea and 10 liters of warm water. |
| Bacteriosis
|
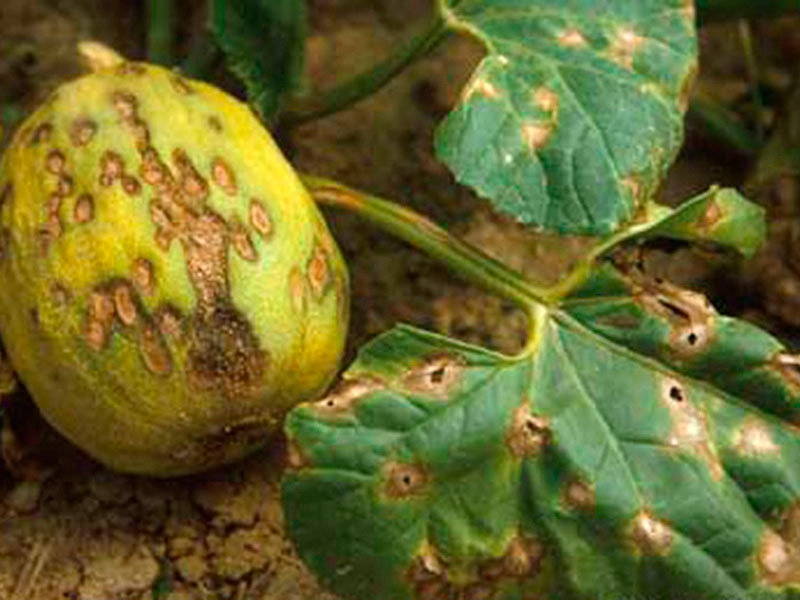
Initially, brown spots appear on the leaves and roots, which then become waterlogged and develop into ulcers. Do not harvest seeds from such a plant, even if you pick an apparently undamaged fruit. |
The disease is incurable, so the pumpkin will have to be dug up and burned, and the soil thoroughly disinfected. Uninfected plants should be treated with a solution of lime and copper sulfate. |
| Anthracnose or copperhead
|
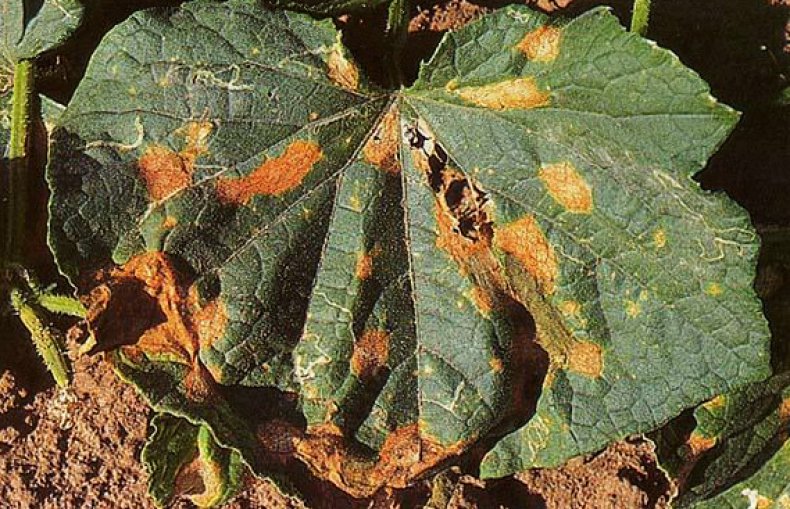
Initially, yellow-brown spots appear on the leaves, which then turn pinkish. On the fruit, they soften the surface underneath, making them unfit for consumption. The dangerous fungus spreads through the root system, infecting all vegetative parts of the bush. |
In the early stages of the disease, spraying with Bordeaux mixture (1%) will help. However, if copperhead has infested a large area, the bush will have to be dug up and burned. Preventative measures include treating the plantings with sulfur powder. It is also crucial not to damage the surface of the fruit when harvesting, as microcracks can allow the fungus to penetrate. To prevent the disease, you can treat the seeds with an ash solution. To prepare it, dissolve 40 grams of wood ash in 2 liters of warm water and leave it in a dark place for 24 hours. Afterwards, strain the resulting solution, soak the seeds in it for about 6 hours, and then dry. |
| Downy mildew (peronosporosis)
|
Purple spots appear on the underside of the leaf blade, while the surface becomes covered with yellow spots. The leaves darken, dry out, and fall off. If the disease isn't stopped in time, it will infect all plantings. |
Treatment procedures include treating the plantings with copper oxychloride. The soil around the pumpkin should also be disinfected. To do this, use a solution of 10 liters of water and 40 grams of copper oxychloride. |
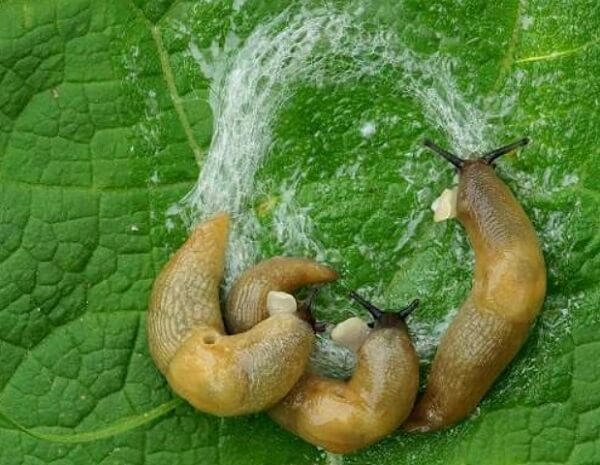
| Slugs
|
These voracious insects reproduce very quickly and begin appearing in garden beds as early as late May. They become especially active in damp, cool weather. They happily devour young leaves and developing buds. If left unchecked, slugs can destroy the entire harvest. |
Experienced gardeners set traps in their garden beds—wet boards, cabbage leaves, or wet pieces of cloth. Slugs will certainly find them attractive, and in the morning, all they have to do is pick the pests off. To prevent them from appearing, you can sprinkle the garden bed with crushed eggshells, lime, ash, or tobacco dust. Spraying with an infusion of garlic, tomato tops, garlic, or wormwood will also help repel the pests. |
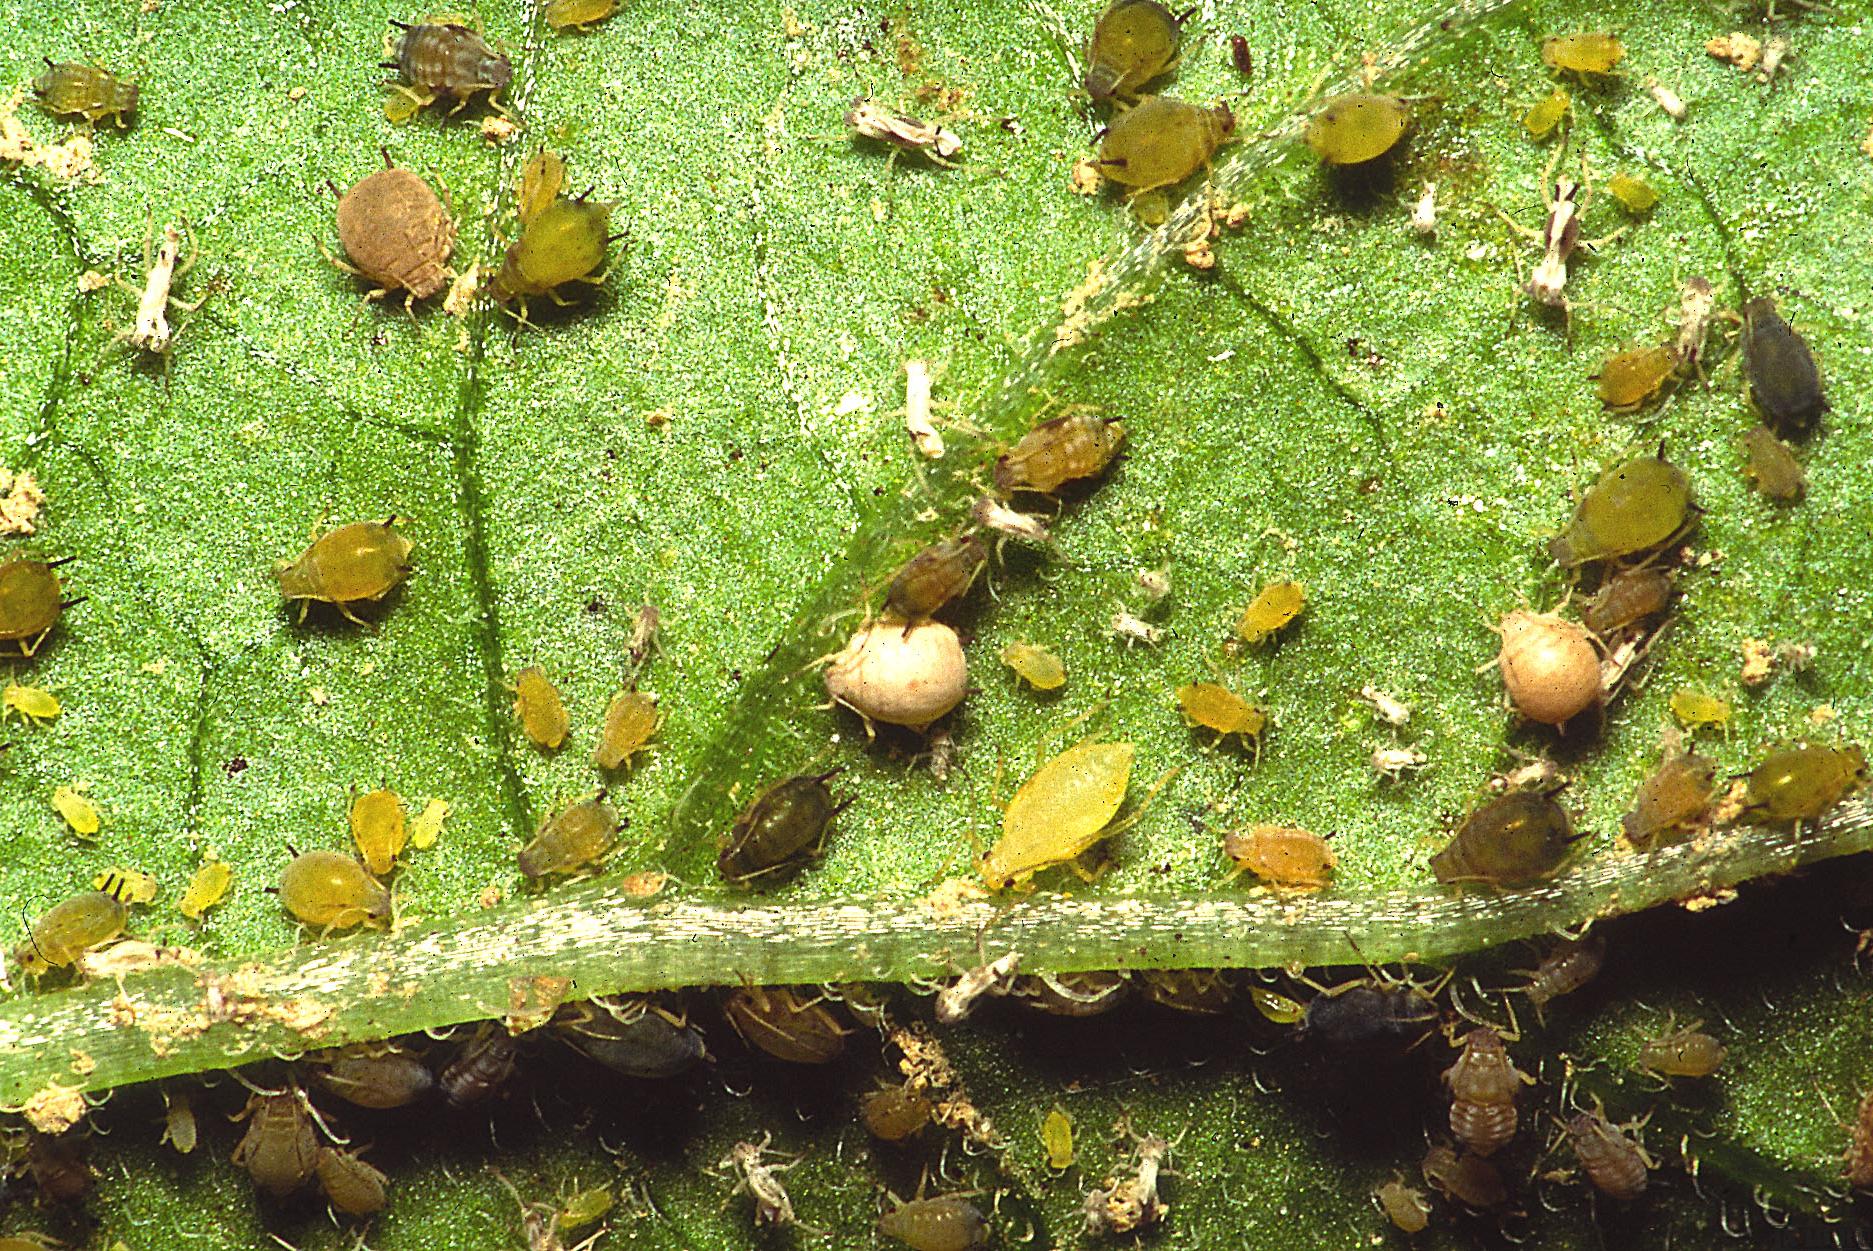
| Melon aphid
|
Aphids can be found on the undersides of leaves. Gradually, the parasites migrate to flowers, ovaries, and stems. The leaves begin to curl and eventually die. The pests suck the plant's beneficial juices, which are insufficient for normal fruit development. Aphid activity begins in the second half of summer. | First, destroy all anthills in the area—these insects always carry aphids with them. If the pests have already appeared on your plants, thoroughly treat all plant parts with a solution of 200 g of onion peel, 2 kg of wormwood, 50 g of household water, and 10 liters of hot water, left for 24 hours. If aphids are numerous, repeat treatment may be necessary. If this folk remedy doesn't work, you can use specialized products such as Actellic or Karbofos. |
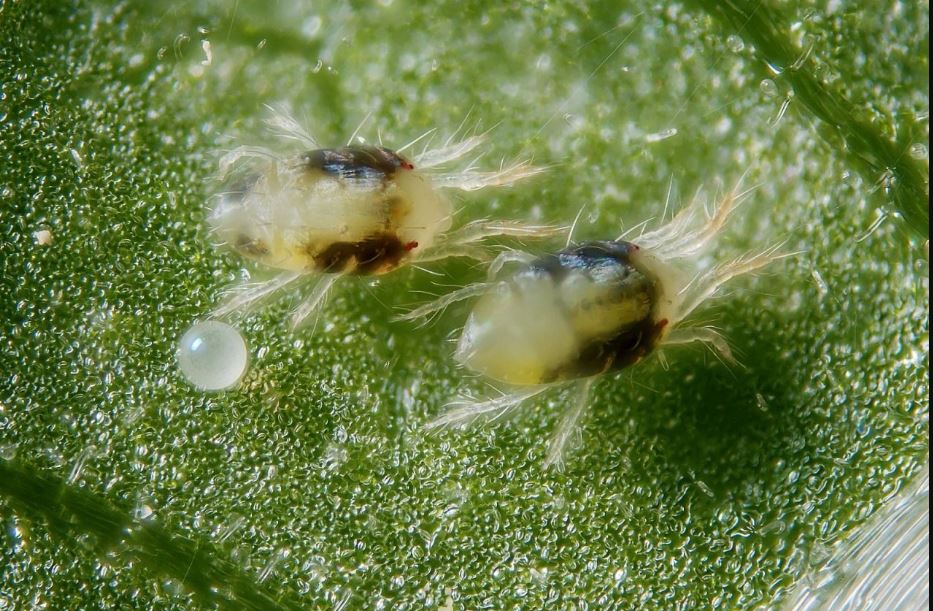
| Spider mite
|
Mites move in large colonies and prefer to feed on fruits and leaves. They usually prefer the undersides of leaves, which gradually acquire a bronze tint and then dry out. The skin becomes corky, and small cracks appear on the surface. |
Spider mites are quite difficult to eradicate using folk remedies alone; specialized products are essential. When spider mites appear in a greenhouse, some gardeners purchase predatory insects called phytoseiulus, which feed on the pests. However, a large number of them are needed—30 to 150 per square centimeter. On a commercial scale, pumpkins are treated weekly with a 30% solution of malathion. |
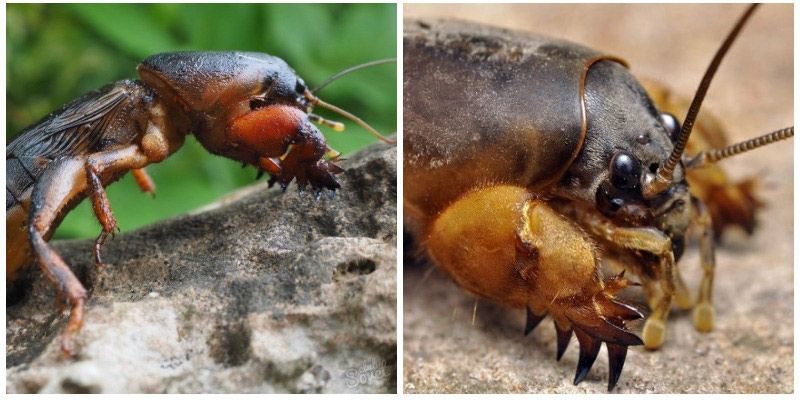
| Mole cricket
|
This insect has a repulsive appearance and a voracious mouth. Its body grows up to 7.5 cm, and its powerful jaws easily sever the roots and stems of crops. It prefers to live in moist soil and overwinters in fertilized, loose beds. Not only the adult pests but also their larvae pose a threat to crops. |
To prevent mole crickets from appearing, regularly loosen the soil to a depth of 15 cm. Poisoned baits made from chlorophos (10%) and boiled grain (90%) can be placed. It's advisable to add a little vegetable oil (30 ml). Experienced gardeners use compost traps, planted in the soil to a depth of 40 cm in the fall. There's a good chance that in the spring they'll harbor a large colony of mole crickets, which can be easily eliminated. |
Ripening and storage of pumpkin
Pumpkin harvesting begins depending on the region: in the south, the fruits ripen as early as September, while in the temperate zone, they can only be picked in October. The main sign of ripeness is the dried stalk, which changes color from green to grayish. Pumpkins are harvested in dry, cloudy weather.
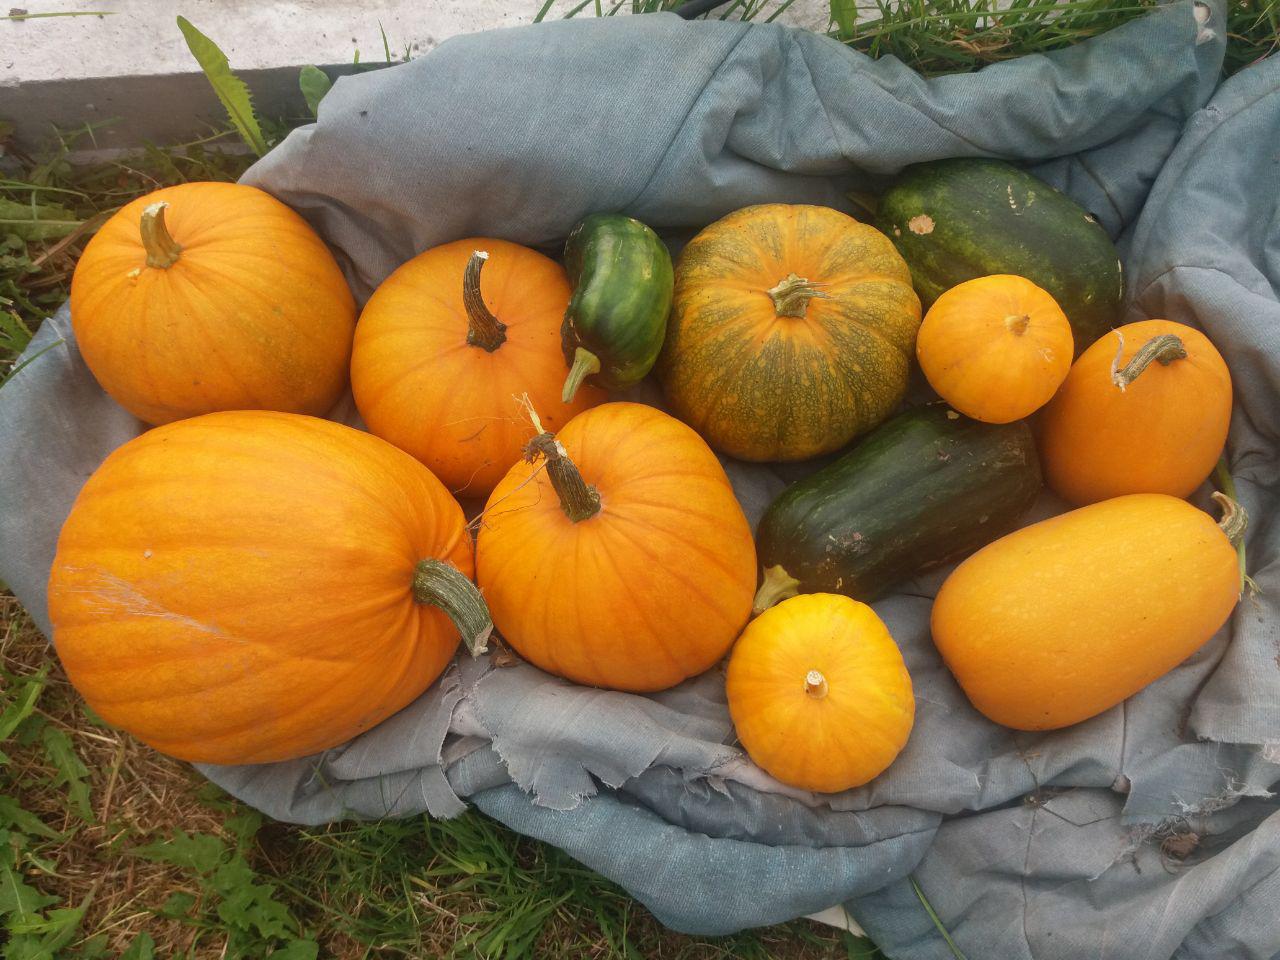
How to tell if a pumpkin is ripe:
- In varieties characterized by hard bark, another sign of maturity is a change in the pattern on the surface.
- If you don’t feel any pressure when pressing with your finger, then the crop is ready to be harvested.
- Knock on the pumpkin - if the sound is ringing, then the pumpkin is ripe.
If the weather turns consistently bad, you can harvest the fruit earlier than expected. It's best to ripen it in a cool, well-ventilated room.
As soon as the first shoots appear, you can begin counting the ripening period—it varies for different varieties, but most often ranges from 86 to 100 days. By the end of the season, the tops dry out and turn yellow, and the fruits turn a bright orange with a matte finish.
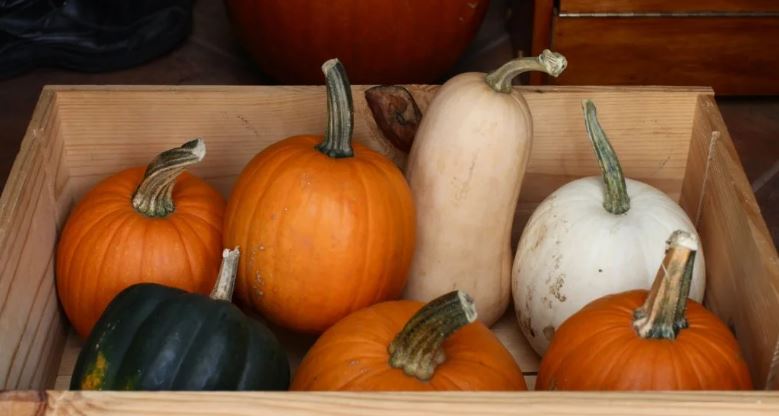
Carefully cut the stem away from the skin, avoiding damage. If there are any cracks or chips on the surface, treat them with brilliant green and cover the "wound" with adhesive tape to prevent infection.
Late-ripening varieties are best for storage. However, classic varieties can also be stored at home for quite a long time without losing their flavor.
It should be noted that pumpkins can be stored much longer than watermelons or melons.
Top.tomathouse.com's pumpkin storage tips
Our portal http://top.tomathouse.com offers you several useful recommendations for storing pumpkins:
- If the harvest took place in rainy weather, the fruits must be dried before being stored.
- It is best to store vegetables in a cool basement, but an insulated loggia will also work.
- The optimal temperature for prolonging shelf life is considered to be +5…+15 °C with humidity no more than 70%.
- Pumpkins are wrapped in plastic and placed stem-side up on shelves or in wooden boxes.
- The remaining pumpkin parts after cooking can be placed in containers and stored in the refrigerator or freezer.