A greenhouse or mini-greenhouse for seedlings is an indispensable tool for every gardener. They're expensive in specialty stores and aren't always the right size. Therefore, the ideal option is to build your own mini-constructions. This article provides detailed instructions on how to do this quickly and affordably.
Top 5 DIY Mini Greenhouse Projects with Step-by-Step Photos
You can create many DIY plant shelters using materials you have on hand. Let's take a look at the best designs.
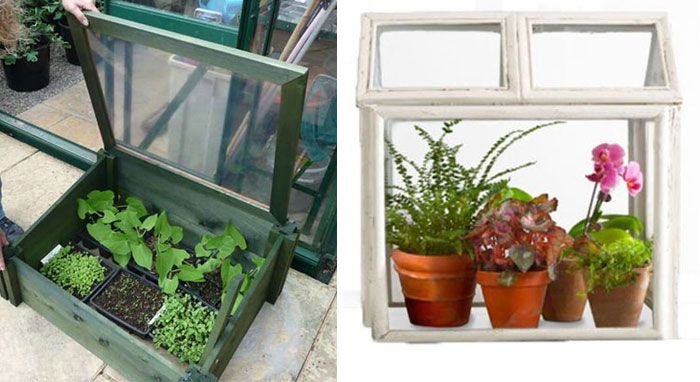
DIY greenhouse made from picture frames for a windowsill
Step-by-step process for making a home greenhouse:
| Illustration | Step-by-step actions |
|
|
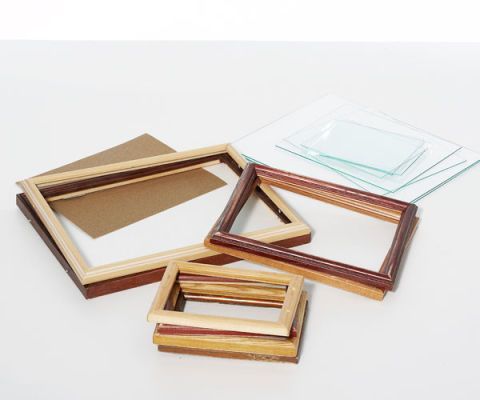
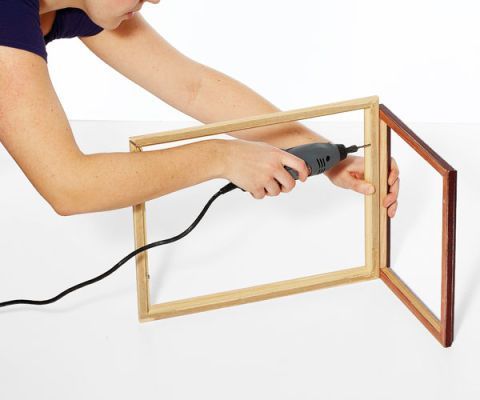
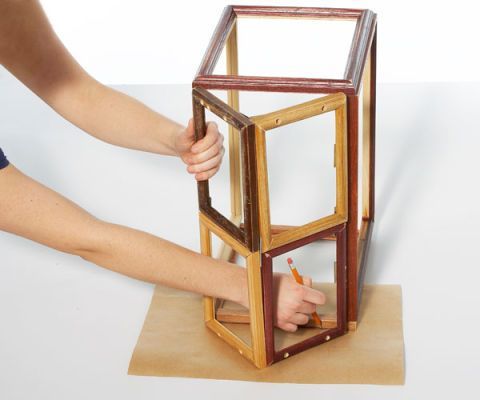
Four frames should be large, and the others smaller. When choosing the length and width, keep in mind that the first four frames should be large enough to form a box. This is where the greenhouse plants will be housed. The small frames serve as the roof, so their long sides should be equal to half the length of the larger frames. |
|
|
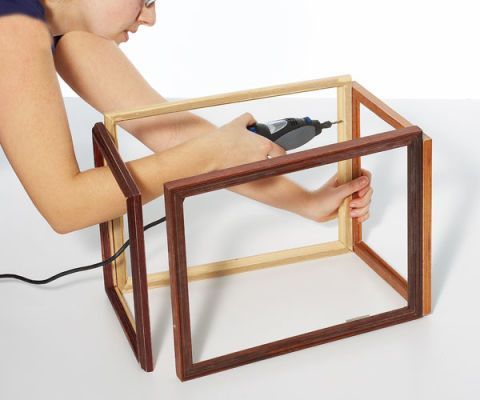
We fasten the large frames to the middle ones with two screws at the top and bottom. |
|
|
Then we connect the others so that a box is formed. |
|
|
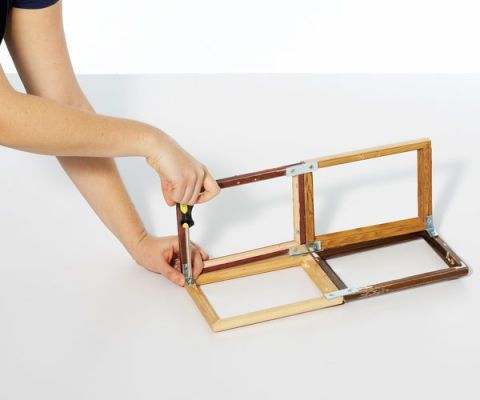
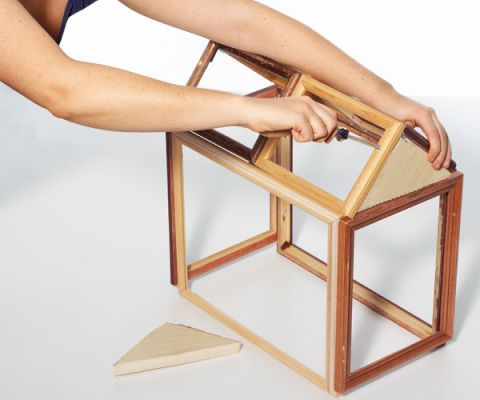
We'll make a gable roof from the small remaining frames. Its sides can be secured with metal corners. |
|
|
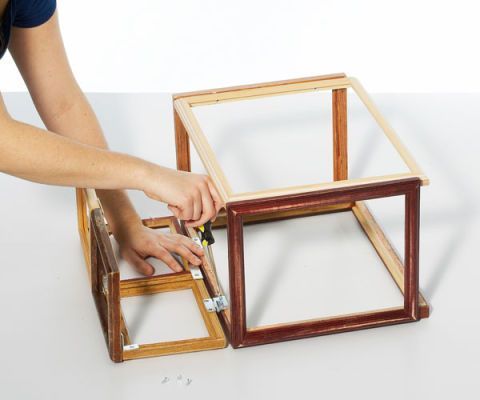
We fasten the roof and the box with hinges. |
|
|
From plywood or a piece of board, cut out 2 triangles that will fit the dimensions of the voids at the top of the structure. |
|
|
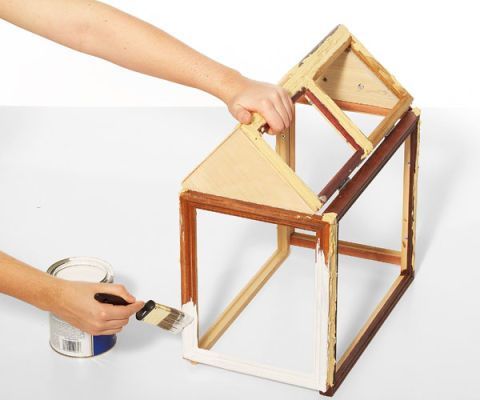
We insert them and fasten them to the structure with self-tapping screws. |
|
|
We paint the resulting structure. |
|
|
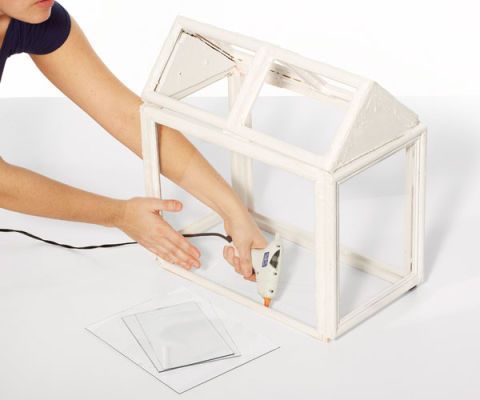
Once the paint has dried, coat the grooves for inserting the glass with hot glue and place the glass there. |
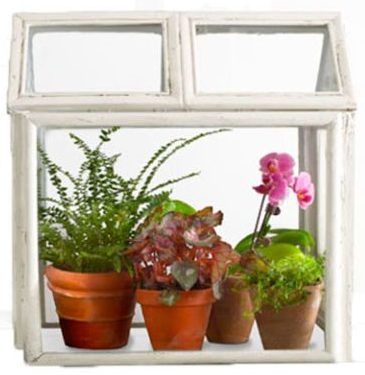 |
Open the lid, place your plants inside, and place the mini greenhouse on a sunny window. |
A portable, DIY mini-greenhouse with step-by-step photos
To make it, you will need lumber, screws, glass or polycarbonate, awnings and a handle.
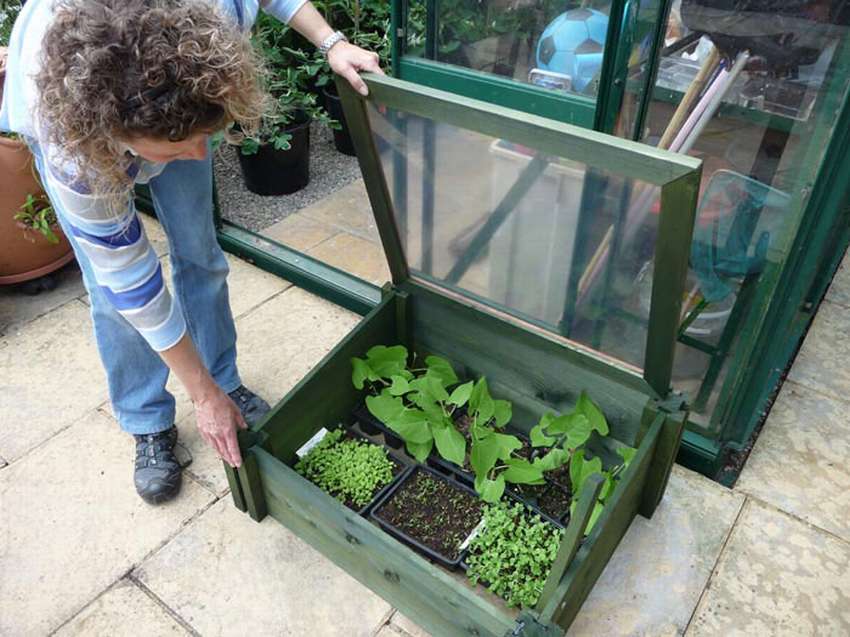
Step by step actions:
| Illustration | Step-by-step actions |
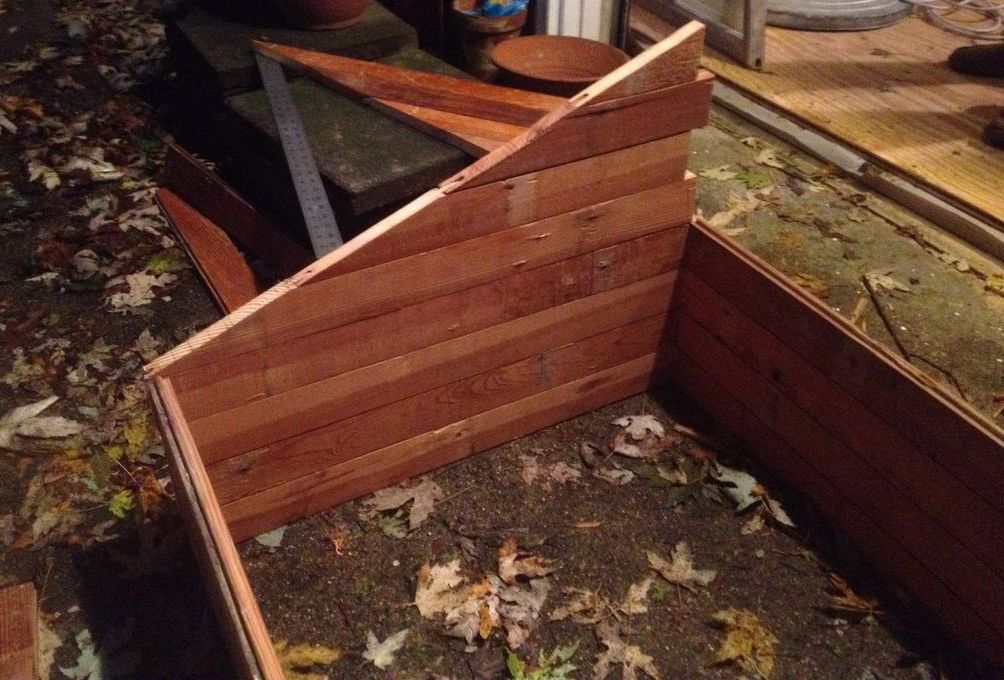 |
Build a small box out of planks, without a bottom, with a slanted roof. This means one side should be higher and the other lower. The roof will be at an angle. |
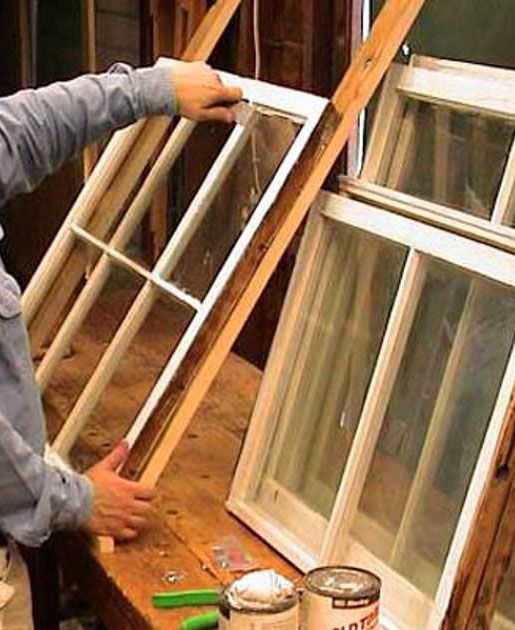 |
Make a wooden frame for the lid. Insert a sheet of polycarbonate or glass; you can also use old window frames. |
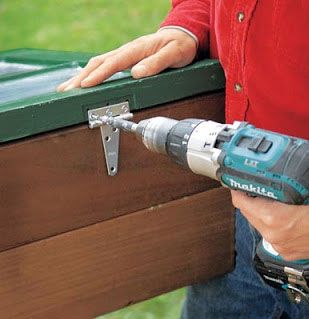 |
Secure the lid to the top of the structure on the high side. |
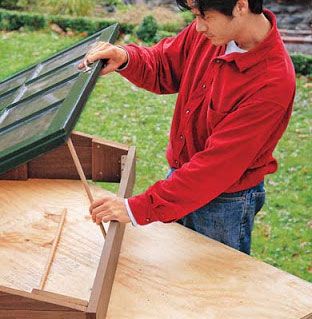 |
Make a support for it from a block of wood. You can attach a handle for easy opening and closing. |
Helpful information! A greenhouse can be made entirely of glass or polycarbonate, which will allow more light to enter.
DIY greenhouse window stand with step-by-step photos
It is best to place such a greenhouse for plants on a southern or south-eastern windowsill.
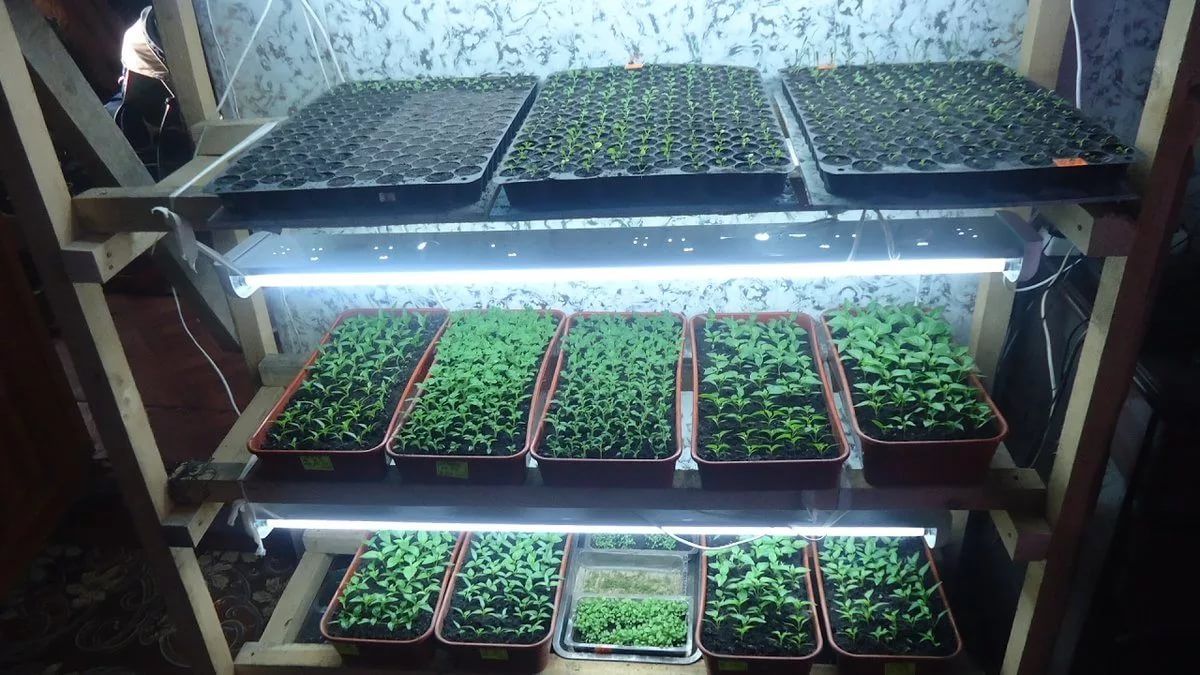
Before starting its construction, it is necessary to carry out preparatory work:
- wash the glass to let in more natural light;
- seal all the cracks to prevent drafts from getting in;
- insulate the window with double glazing if necessary.
Step by step actions:
| Illustration | Step-by-step actions |
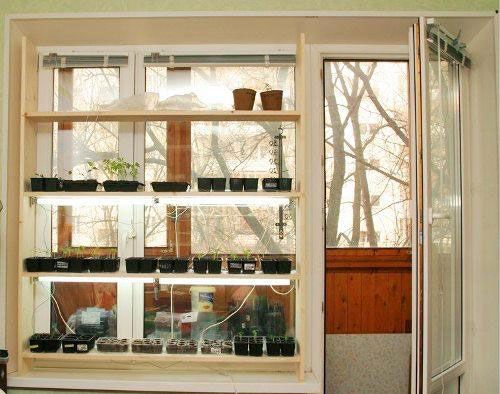 |
Measure the depth, length, and height of the window opening. Purchase planks of suitable dimensions and construct a shelving unit from them. Shelves should be spaced 40-60 cm apart. |
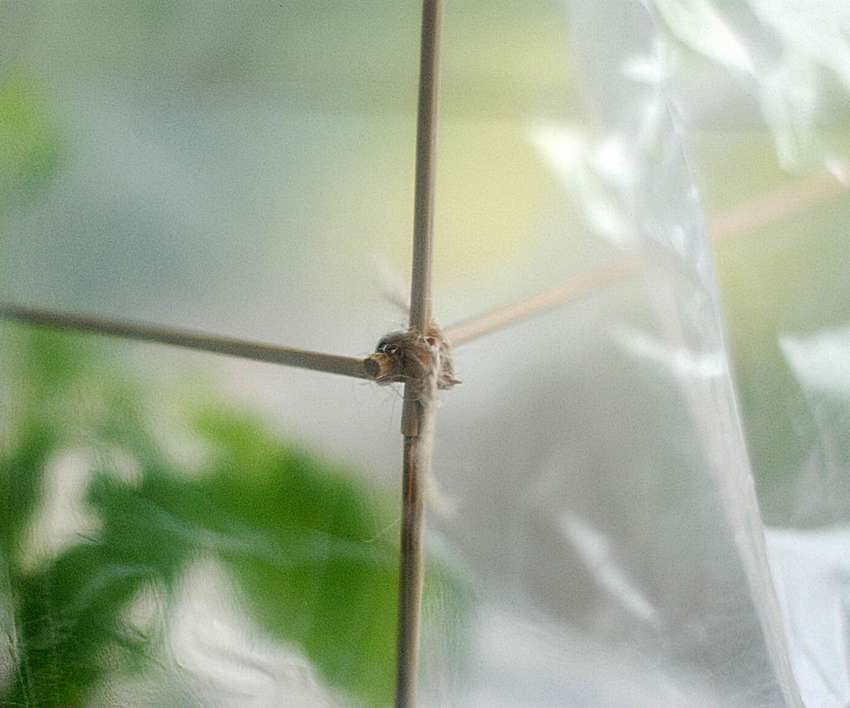 |
Insulate all sides with polyethylene film. |
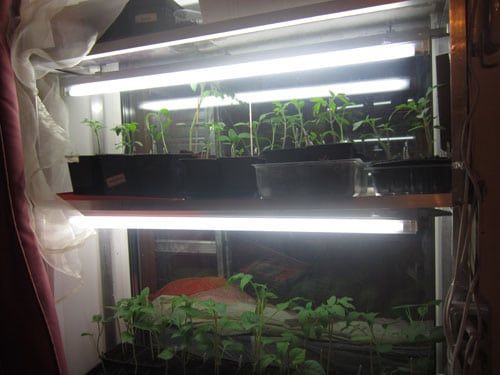 |
The top shelf should not be secured so that it opens.
Don't forget about lighting for seedlings and flowers. |
Important! When choosing a material for a greenhouse shelving unit, choose one that is free of rot or insect damage.
DIY Arched Mini Greenhouse for Outdoors with Step-by-Step Photos
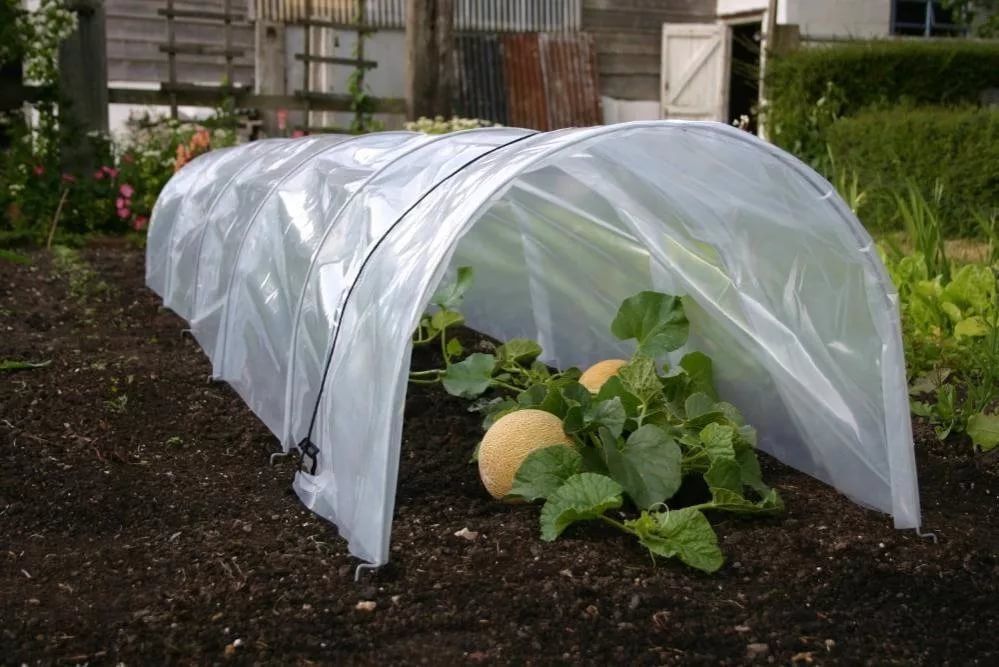
Phased construction:
| Illustration | Step-by-step actions |
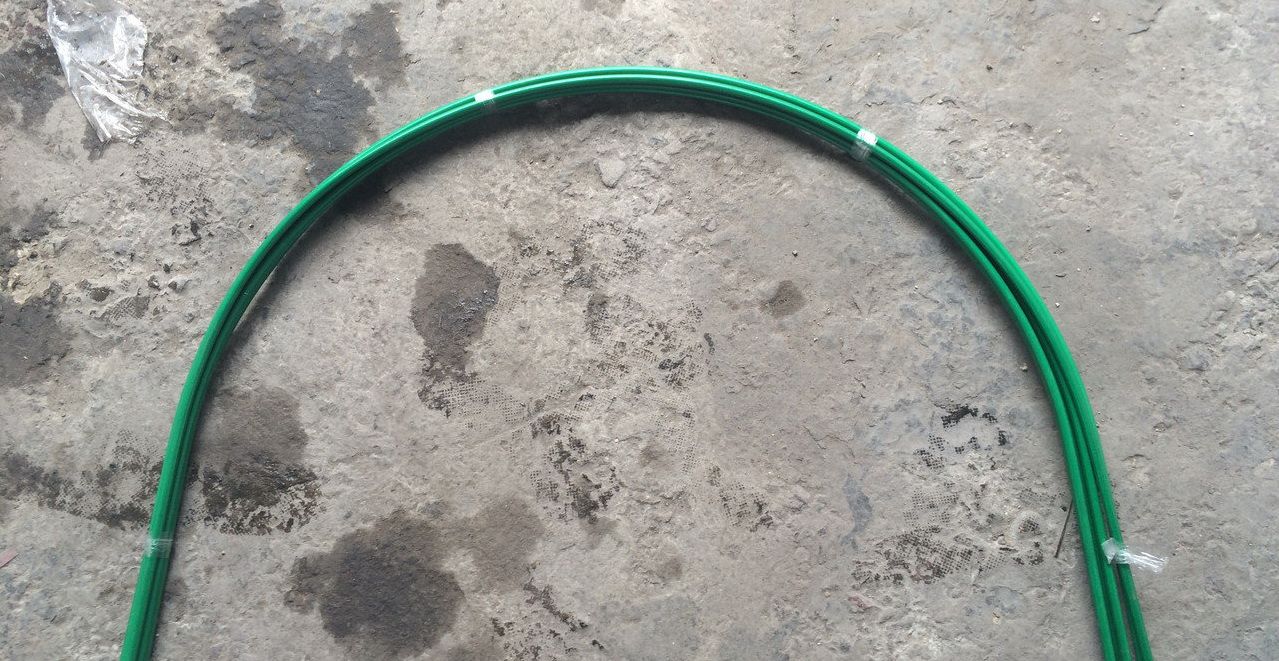 |
Buy or make arches from plastic or metal. The number of arches depends on the planned length of the greenhouse (keeping in mind that the distance between them will be 40 cm). |
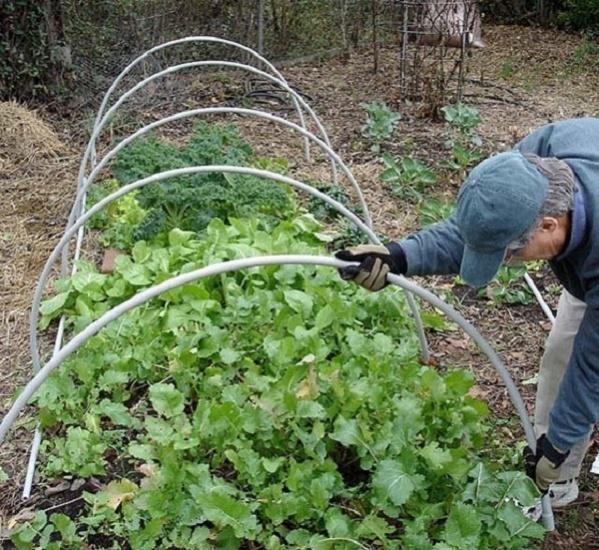 |
Drive them into the soil to a depth of 30 cm. If the soil is too soft, deepen them to a denser layer. |
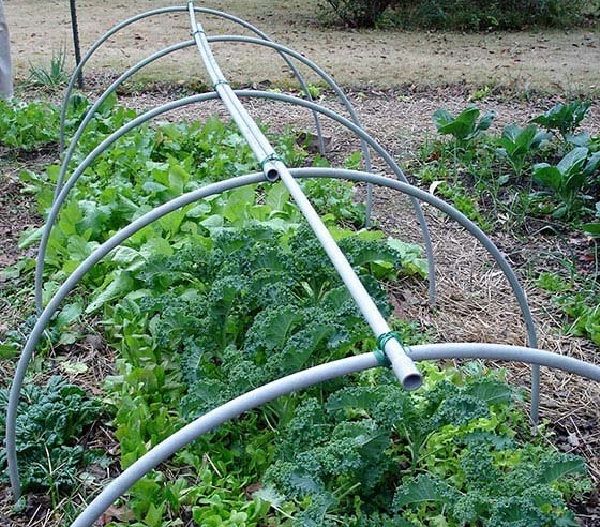 |
Connect the arcs with wire and slats. |
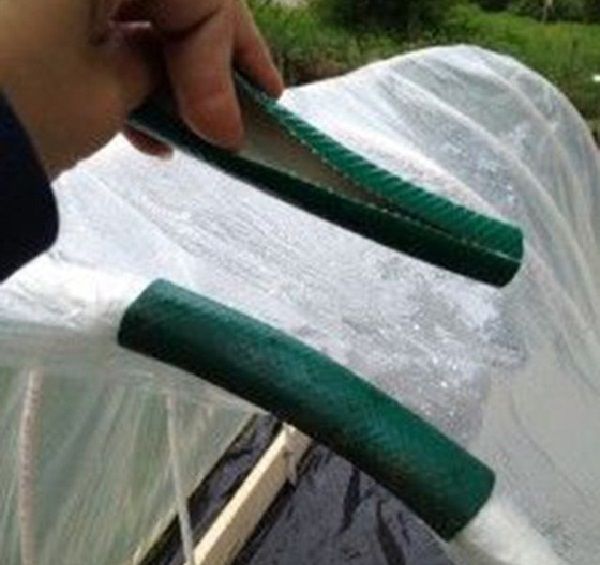 |
Cover with plastic film. Secure it with cable ties or wire on one side, and attach a wooden strip to the other side to help open and close the greenhouse. |
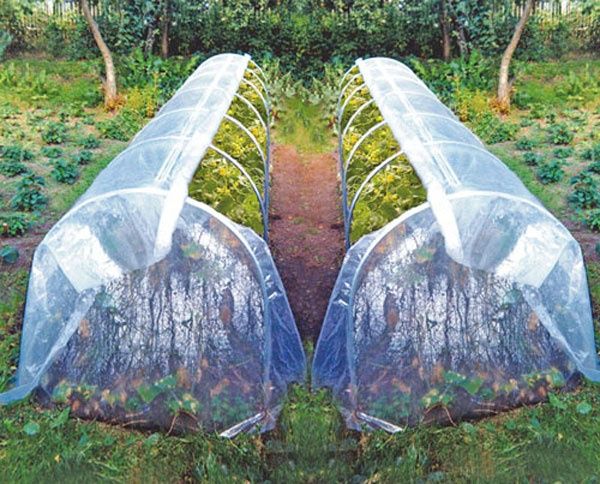 |
Cover the ends with separate pieces of polyethylene or take a longer main film so that you can simply lower its ends. |
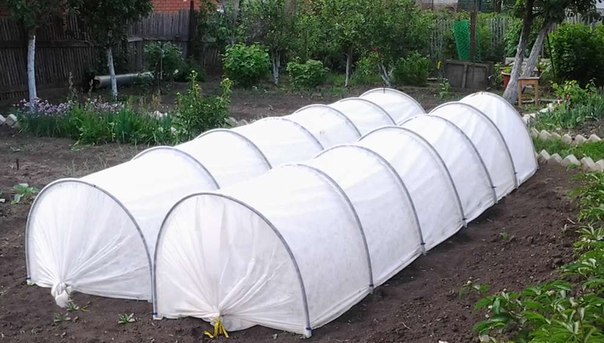 |
If you use spunbond, you can simply cover all the arches without providing ventilation. Secure the covering material with stones or bricks. |
For your information! It's best to use new polyethylene, as last year's polyethylene is less translucent and can become deformed.
In the video they make a similar greenhouse, we recommend watching:
We recommend reading the article about How to make a greenhouse for cucumbers yourselfWe'll explore various options and decide whether a greenhouse or a hothouse is better for cucumbers.
DIY mini greenhouse for your balcony
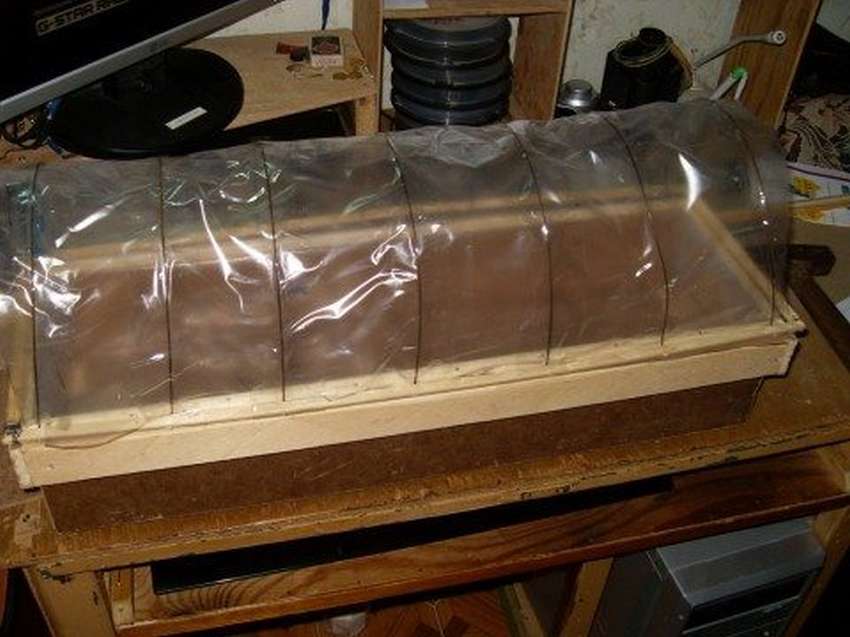
What you will need for it:
- plastic or wooden container;
- wire arches;
- polyethylene film.
Step by step process:
- Place polyethylene inside the container to ensure a tight seal.
- Attach 2-3 arcs to it in any way.
- Make a cover from film.
- Fill the container with soil or arrange the pots.
- Place 1-2 bottles of water to create optimal humidity.
- Cover with film or a film cover.
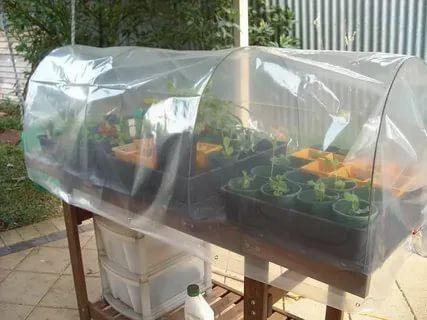
Such a greenhouse will not only provide excellent shelter for seedlings of cucumbers, peppers, tomatoes, etc., but will also serve a decorative function.
Types of mini greenhouses for seedlings
Mini greenhouses for seedlings and greens are divided into three groups (depending on the installation location):
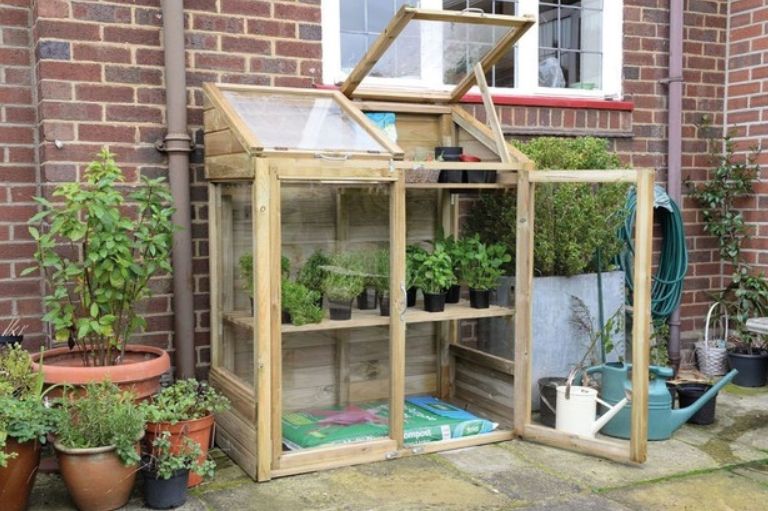
- Outdoor structures are designed for open areas. They can be placed as a separate structure in a garden or vegetable patch, or have one wall adjacent to another structure, such as a house or shed.
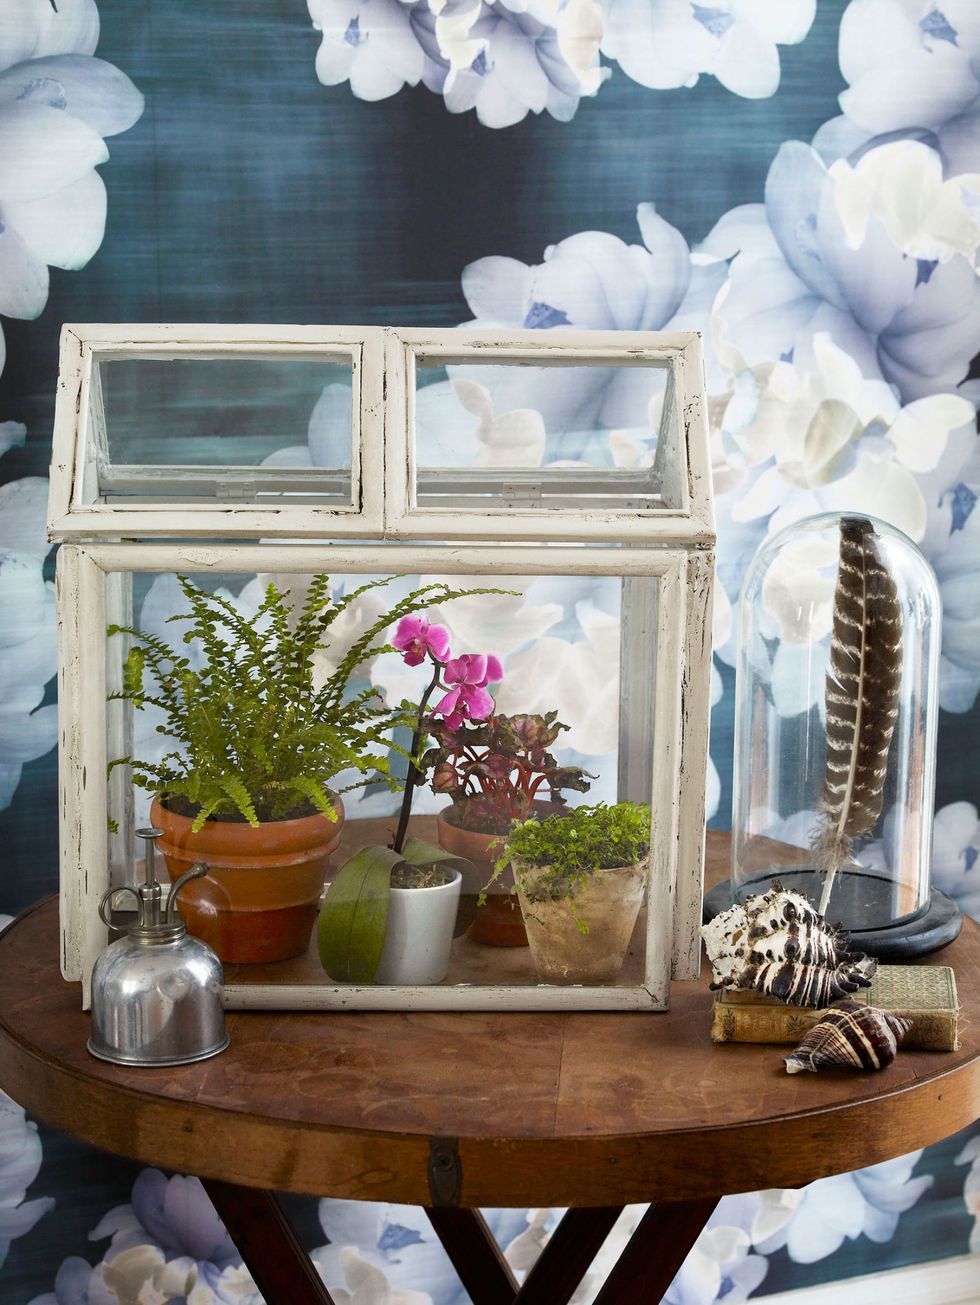
- Indoor greenhouses are placed indoors. They can be used for seedlings and heat-loving houseplants. A mini greenhouse on a windowsill is an excellent option.
- Portable – in summer, they can be placed in a summer house, on a balcony, or on a veranda. In colder weather, they can be moved indoors.
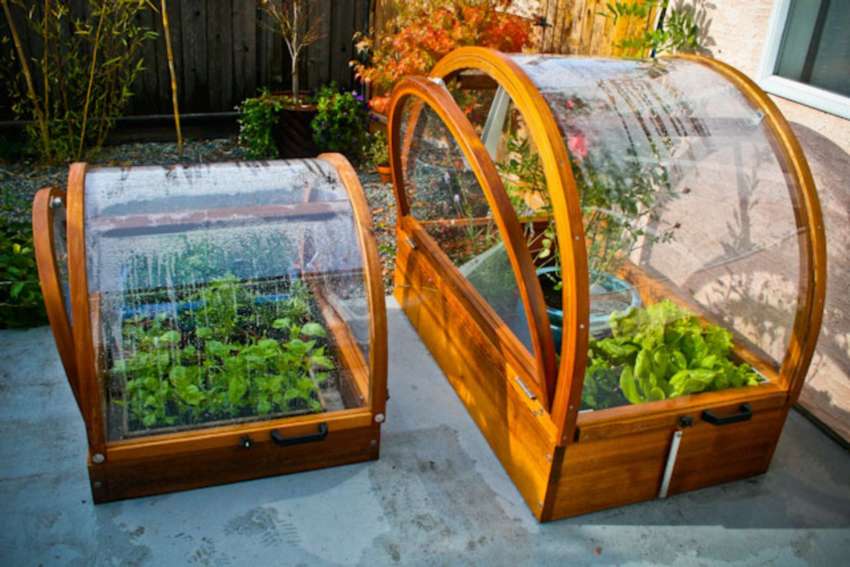
Also, all structures for plant protection are divided into frame and portable.
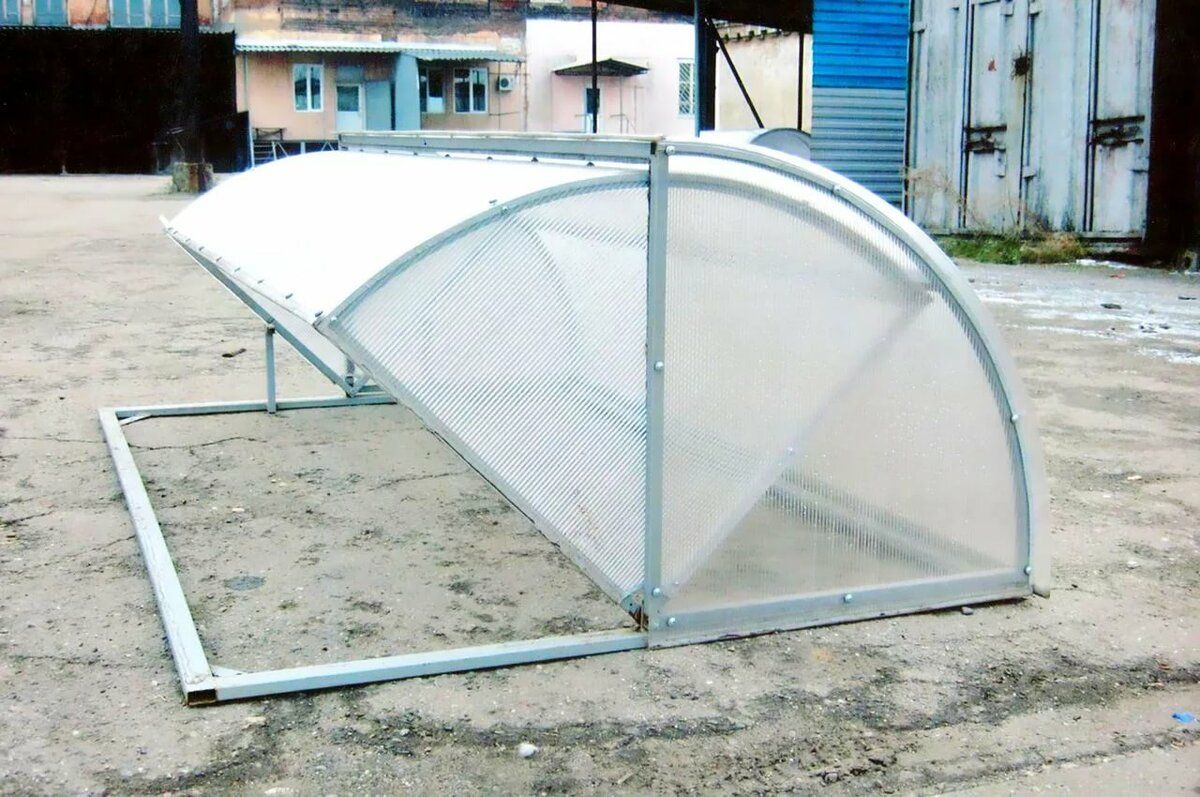
The first option involves lathing, which can be made from the following materials:
- aluminum - parts made from it are fastened with bolts and nuts;
- steel pipes - welded using a welding machine;
- wooden beams - connected with screws and sealant;
- PVC pipes are fastened with a soldering iron.
The walls are made of glass, polyethylene film, or polycarbonate, which are attached to the frame. This mini greenhouse cannot be disassembled once it's built, so moving it to another location will be difficult.
Portable units are mobile structures. They resemble a small cabinet, are miniature in size, and take up minimal space.
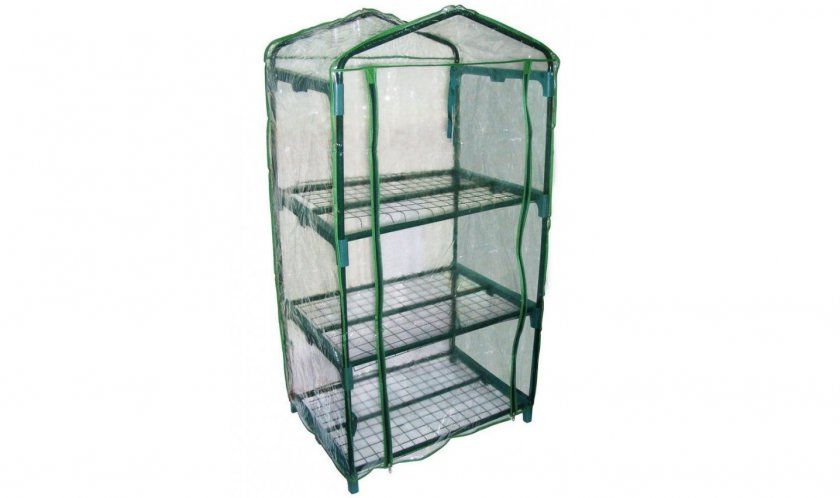
The portable greenhouse consists of the following elements:
- a rack on legs or rollers, made of wood, plastic or metal;
- shelves made of metal mesh or wooden slats for placing plants;
- a cover that provides thermal insulation and opens from the front or top.
Helpful information! If needed, heating and lighting can be installed in mini-structures (just like regular ones).
Photo gallery of mini-greenhouses and hotbeds
Here are some more options for such mini-greenhouses:
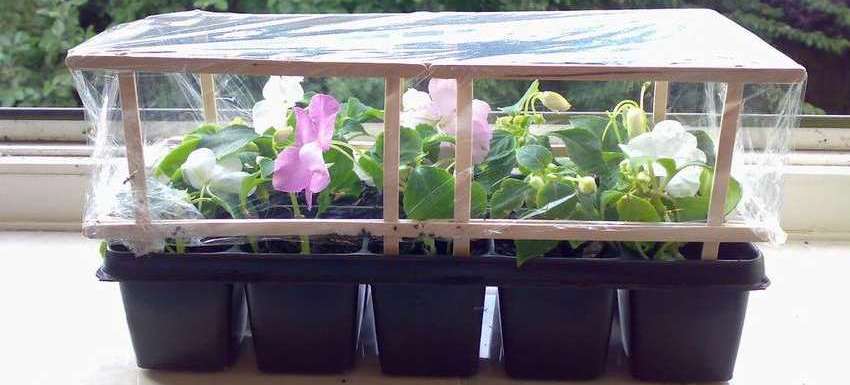
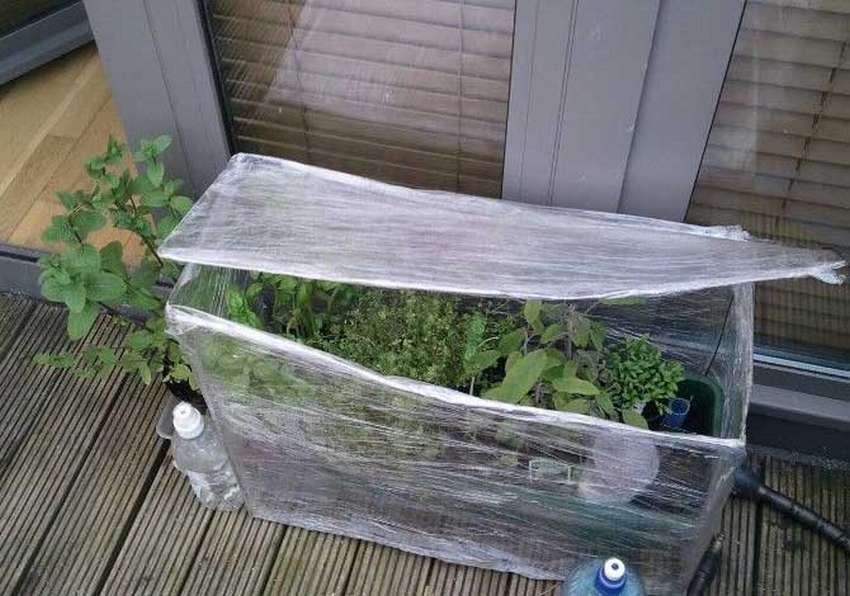
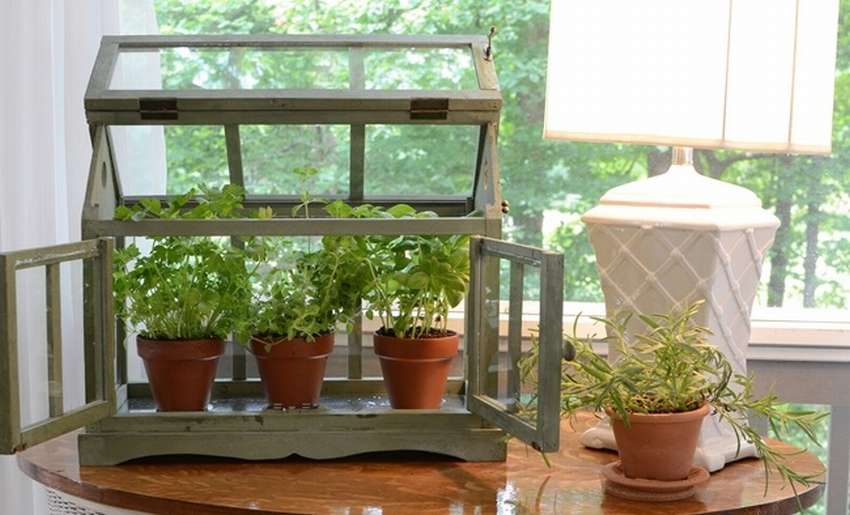
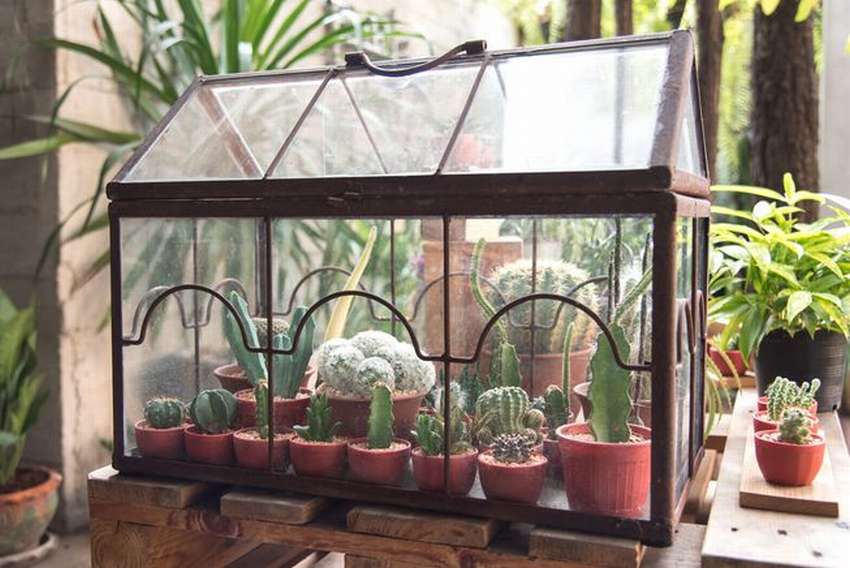
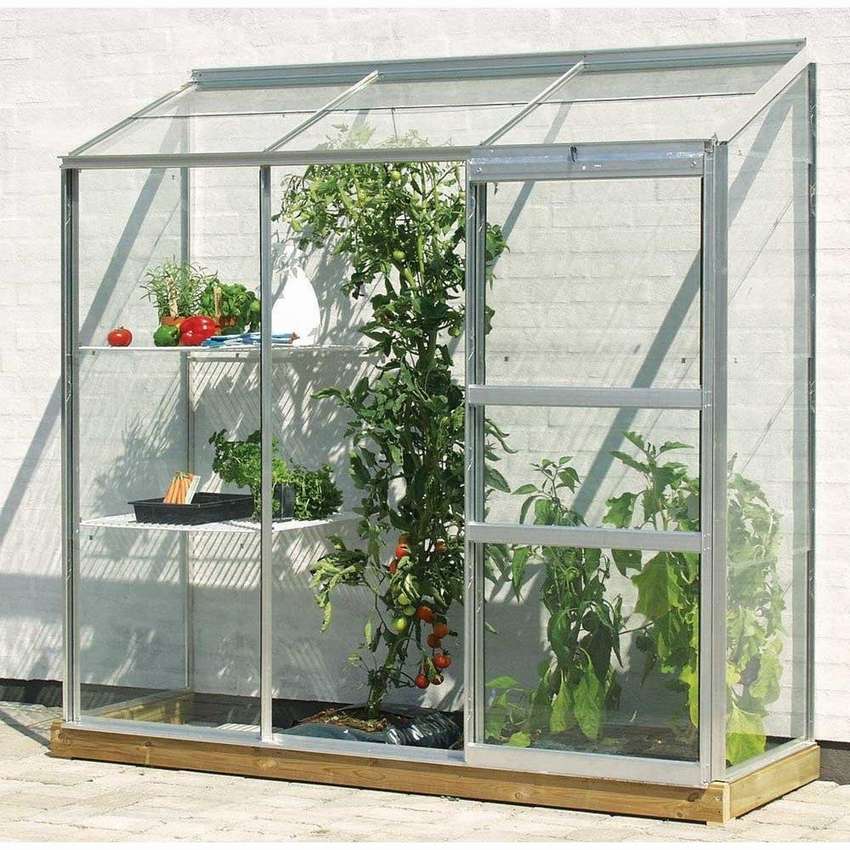
The greenhouse options listed above typically take no more than a day to construct. They don't require a foundation, expensive tools, or materials.