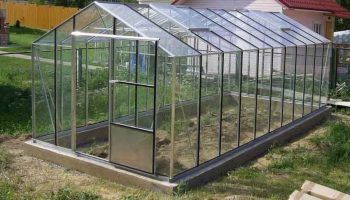
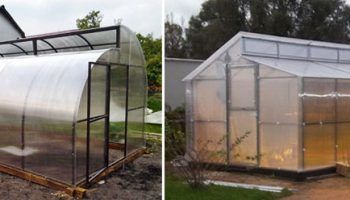
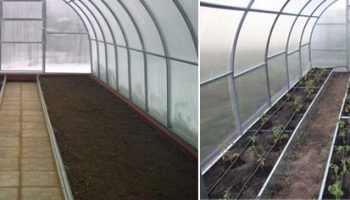
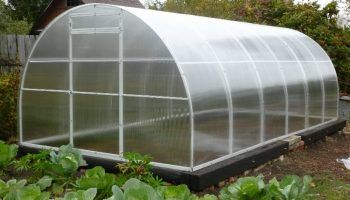
A greenhouse is an indispensable structure in any garden. It protects seedlings, herbs, and early crops from frost, ensuring a bountiful harvest even in cold weather. The structure comes in a variety of shapes and sizes, making it easy to find one that fits harmoniously into any garden space without taking up valuable space. While such structures are quite expensive in specialty stores, you don't have to spend a fortune on one; you can build one yourself and save money.
Location on the site
Content
- 1 Location on the site
- 2 Types of greenhouses
- 3 Greenhouse frames
- 4 DIY Greenhouse from Pipes (Polypropylene, Profile, Metal-Plastic): Step-by-Step Instructions
- 5 Greenhouse from wooden planks: step-by-step instructions
- 6 Materials for greenhouses
- 7 Polycarbonate greenhouse: step-by-step instructions on how to attach the material to various frames
- 8 Greenhouse from window frames: step-by-step instructions
- 9 Attaching film to different types of frames
- 10 Fastening spunbond
Before building a greenhouse, you need to decide on its location, especially if it's going to be permanent rather than portable. The size, shape, and amount of material needed will depend on the location.
When choosing a site for a greenhouse, you need to consider the following:
- The site must be leveled beforehand. The structure cannot be installed on a slope. If there are stumps, snags, or other obstacles, they will need to be removed before constructing the greenhouse.
- Crops require sunlight. Therefore, building a warm shelter in the shade is not recommended. This will adversely affect the seedlings' development and subsequent fruiting.
- Agricultural work will need to be carried out in the greenhouse. Therefore, it must be easily accessible with equipment and easy to open.
- It's recommended to construct the structure facing east to west. This will ensure the plants receive maximum sunlight. If you only want morning and evening sunlight, the structure should be positioned facing north to south. This will provide protection from the midday sun.
- If you plan to grow tomatoes or cucumbers permanently in a greenhouse, it's recommended to install another one nearby. This is because these crops need to be replanted annually. A second greenhouse allows you to rotate the crops each year. If you don't have the space for such a large number of structures, you can create miniature versions.
Helpful information! The best time to begin construction is mid-spring. The snow has cleared, but the plants haven't yet reached their full growth. Of course, you can build greenhouses anytime except winter (severe cold and frozen soil will make the work more difficult).
Types of greenhouses
The most reliable and convenient types of greenhouses that you can make yourself:
| Photo | Design |
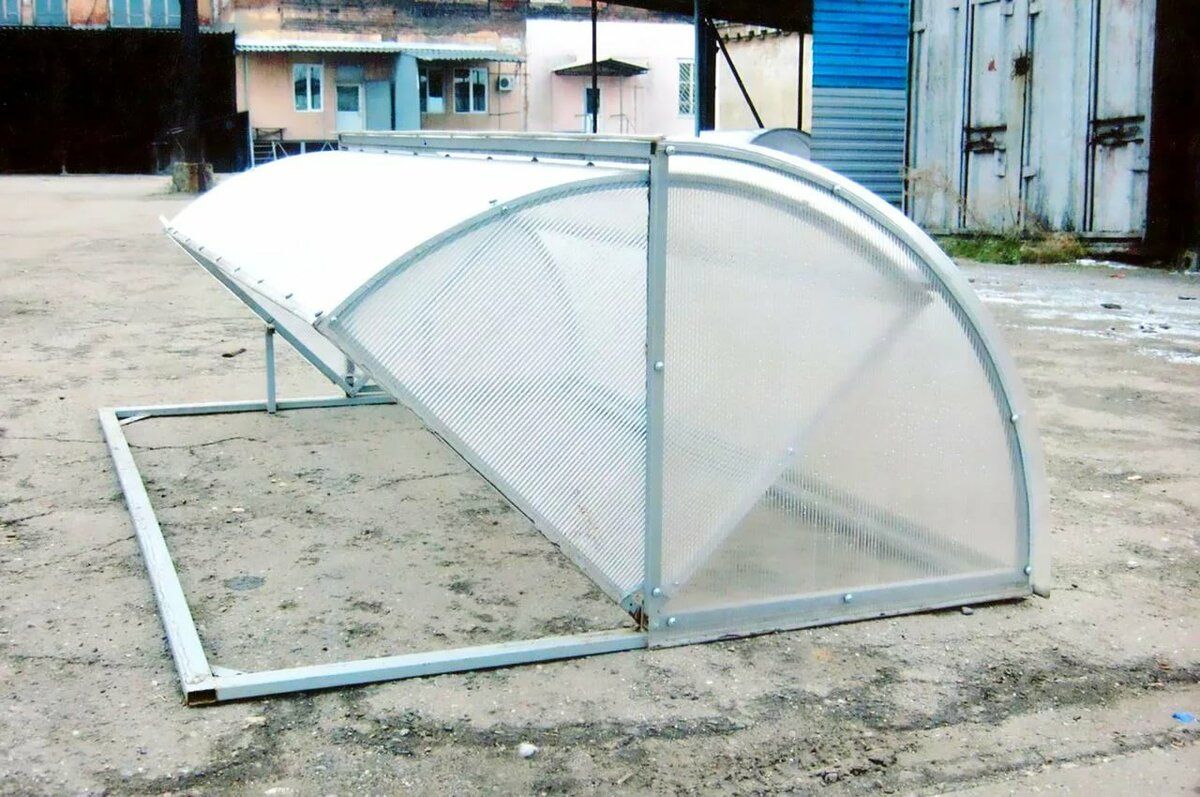 |
Bread binIt opens like a breadbox, hence the name. It's convenient because the lid stays put and doesn't need any supports. |
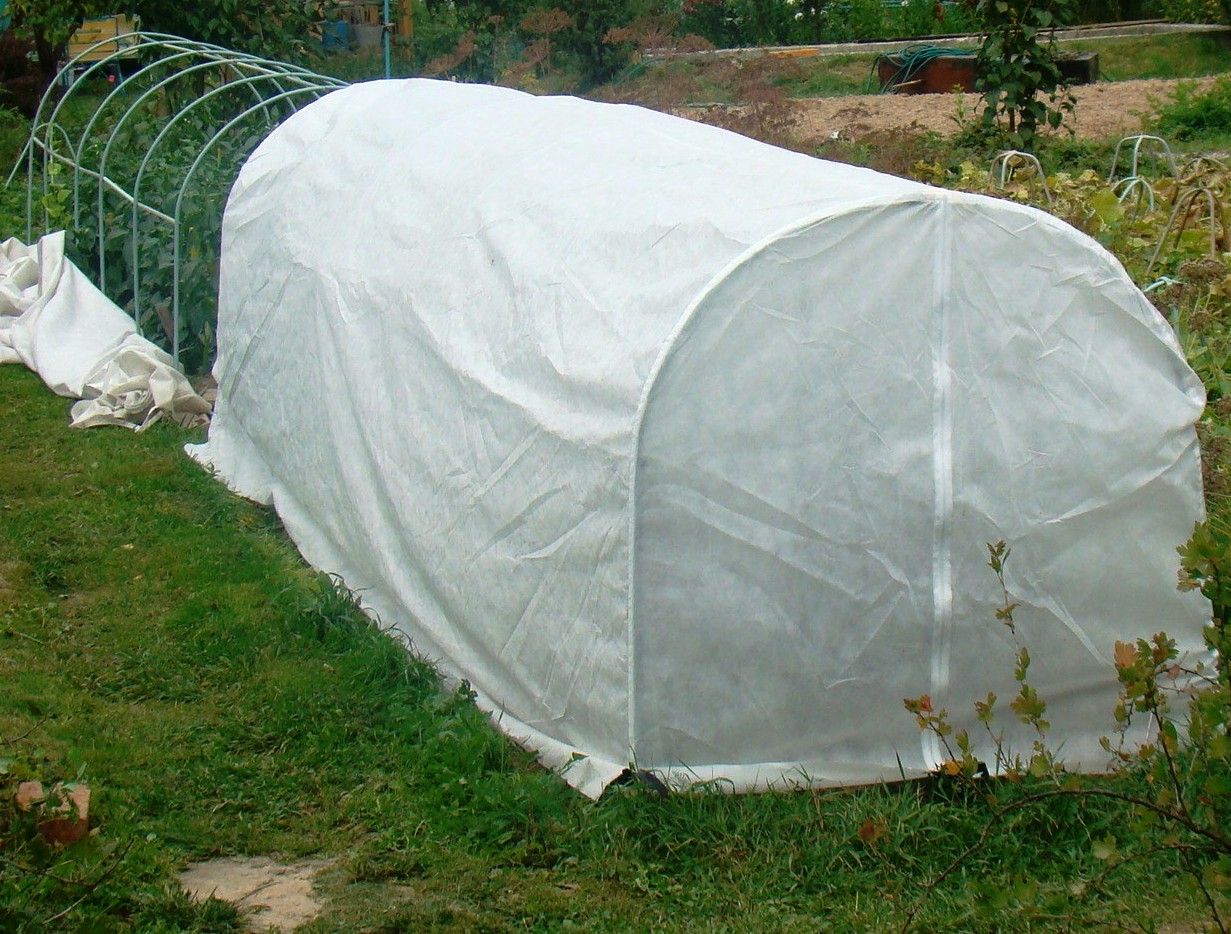 |
ArchedA simple and affordable greenhouse design. The arches are driven into the ground and covered with plastic film or spunbond. Easy to assemble and disassemble without any special skills. Bent pipes can be used for construction. |
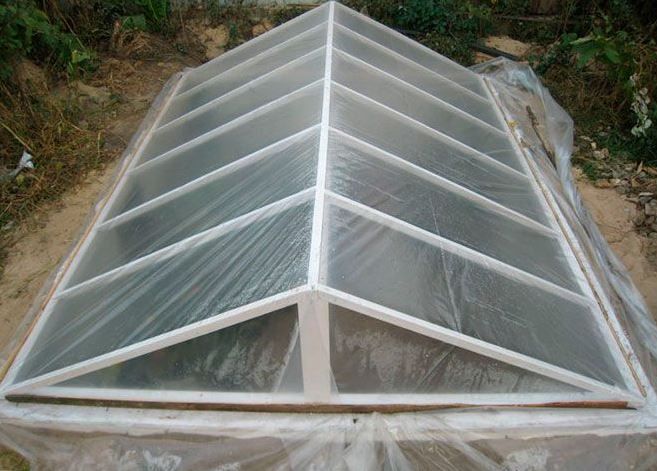 |
ThermosThe greenhouse is dug into the ground. Only a lid is visible above ground, allowing access to the plants and ventilation. This helps retain heat better inside. |
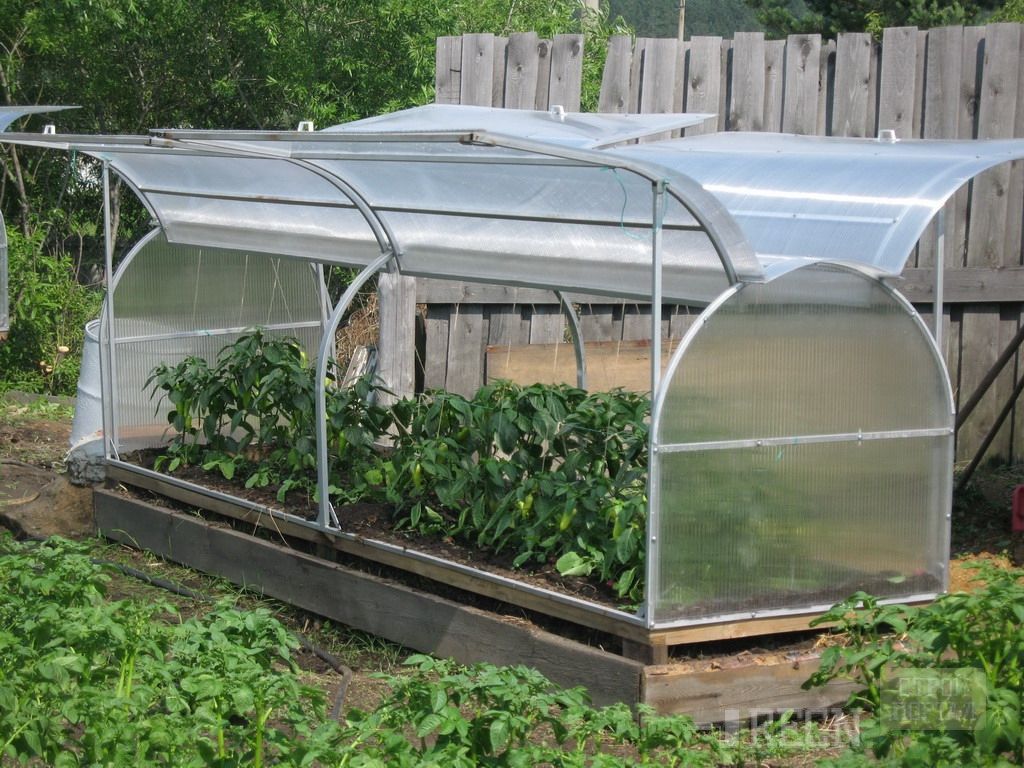 |
ButterflyArched or house-shaped. A distinctive feature is the two doors that open outward, resembling wings. Access is provided from both sides. The doors can be made of polycarbonate. |
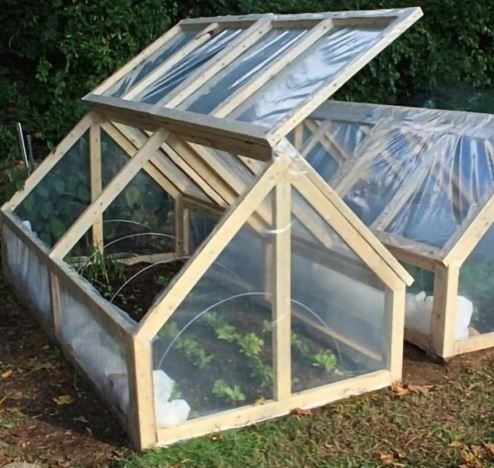 |
House (gable)The boards are joined at the ridge and covered with film or covering material. This type is quick and easy to install and can be portable, but it lacks stability. Therefore, it is most often used as a temporary shelter. |
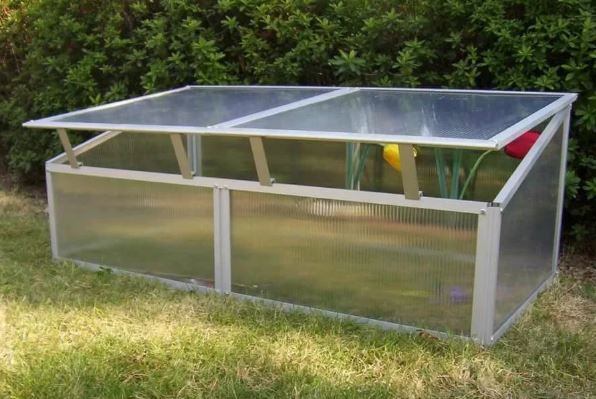 |
Single-pitchedThe structure resembles a chest with a flat lid. To provide ventilation, supports are placed under the roof. |
The listed varieties can be upgraded by adding additional elements.
The most important thing is to think through the entire plan step by step.
Helpful information! You can find plenty of old things in your attic or shed that are perfect for creating a greenhouse. For example, window frames, old beds, drywall, polypropylene or aluminum profiles, and more. You just need to use your imagination to figure out how to turn them into a shelter for plants without spending a fortune.
Let's look at the most popular materials for frames and shelters. Below are step-by-step instructions on how to build a greenhouse yourself using various materials.
Greenhouse frames
When making greenhouse frames, you can use different materials:
- MetalDurable and strong, but heavy. Building a greenhouse from rebar requires special tools (for welding metal parts). The material is susceptible to rust, but this can be remedied by galvanizing it. If the structure (for example, made of profile pipes) falls, it will crush the plants.
- Tree, PVC, chipboard. Building such a structure is easy; all you need is basic construction skills. Wooden structures made from timber need to be coated with special compounds to prevent bugs from infesting them.
- Plastic, propyleneIt's lightweight and durable. It bends easily, allowing it to be used to create structures of various shapes. If a plastic greenhouse falls on crops, nothing will happen to them. The downside is that it can't withstand weight, sagging, and cracking.
Note! To build the greenhouse, you'll also need furniture brackets, screws, clamps, etc. Doors with handles are also possible.
DIY Greenhouse from Pipes (Polypropylene, Profile, Metal-Plastic): Step-by-Step Instructions
Once you've determined the location and the size of the greenhouse you need, and drawn a schematic diagram on paper, you need to transfer the markings to the ground.
The second step after marking is to create a wooden foundation—the base of the greenhouse. For this, boards of the required size are taken and fastened with brackets and screws. This creates a single rectangular structure. Soil is added to it, based on the height of the boards and the perimeter of the structure.
The process of installing and fixing the arcs step by step
How to install and secure arches yourself step by step
| Photos of the process | Explanations |
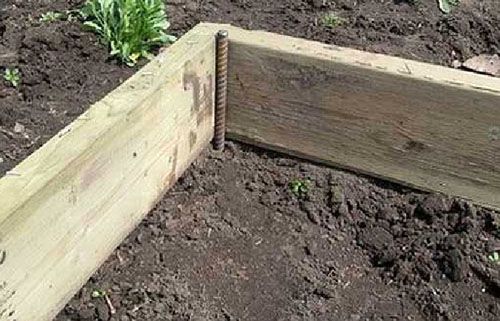 |
To ensure the stability of the foundation, a piece of reinforcement is driven into the corners between the boards. |
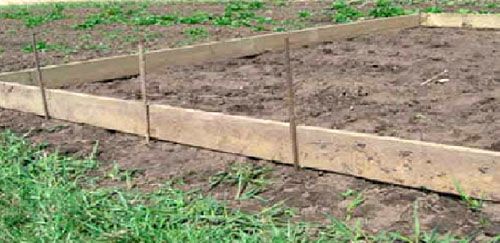 |
The pipes are cut to about 70-80 cm and installed at a distance of 50 cm from each other, trying to position them opposite each other so that there are no distortions. |
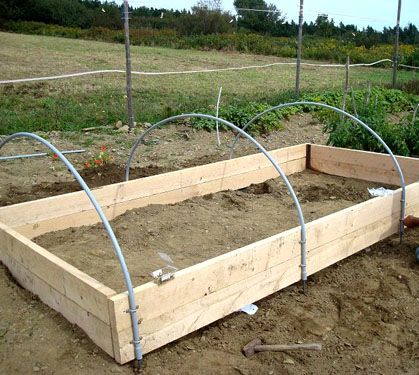 |
Pipes of the selected length are inserted into the fittings. |
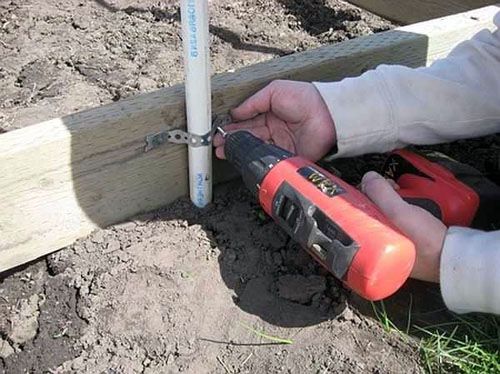 |
They are fixed to the boards using clamps and screws. |
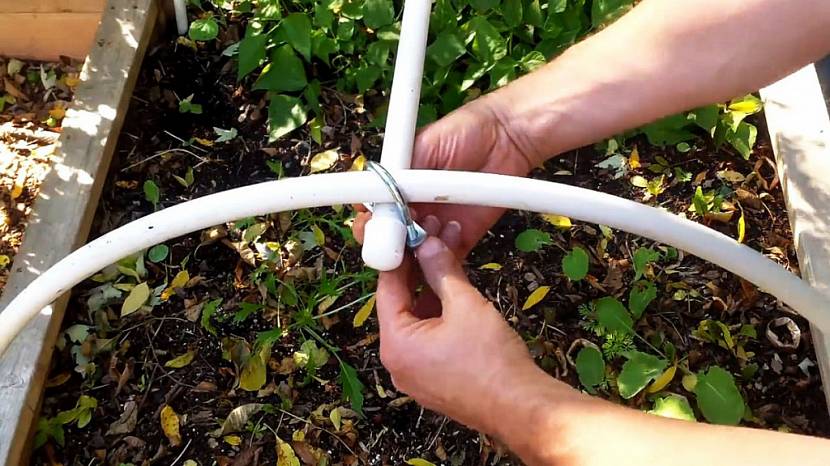 |
To ensure the stability of the structure, the arcs are connected with a longitudinal pipe, securing it with special cross-shaped fittings. |
In the sections on polycarbonate greenhouses, film, and spunbond fastening, you can see how to attach any of these materials to this type of greenhouse.
Greenhouse from wooden planks: step-by-step instructions
In this case, the frame will be made of wood, and the covering material will be film.
| Photos of the process | Explanations |
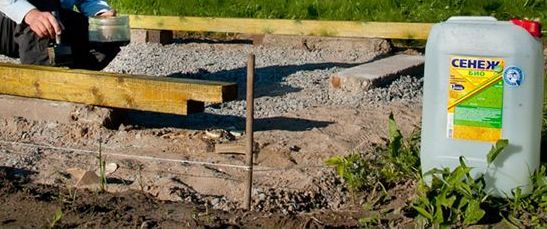 |
We prepare the boards; it is better to treat them with an antiseptic beforehand so that they do not rot and last longer. |
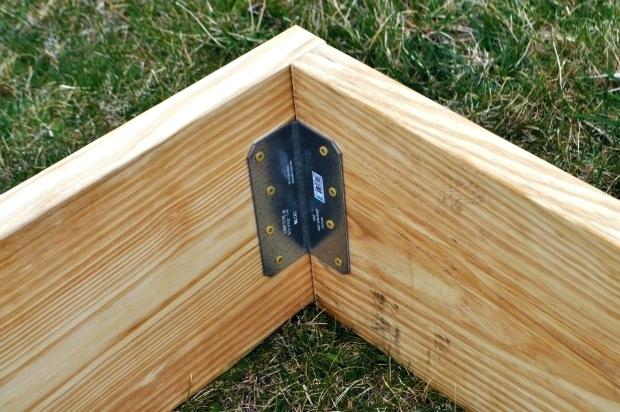 |
We assemble the base, fastening the boards with screws and corners along the perimeter. |
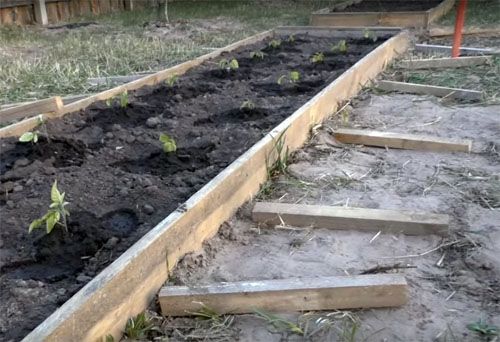 |
We mark the distance between the stakes. This depends on the length of the greenhouse, usually every 40-70 cm. |
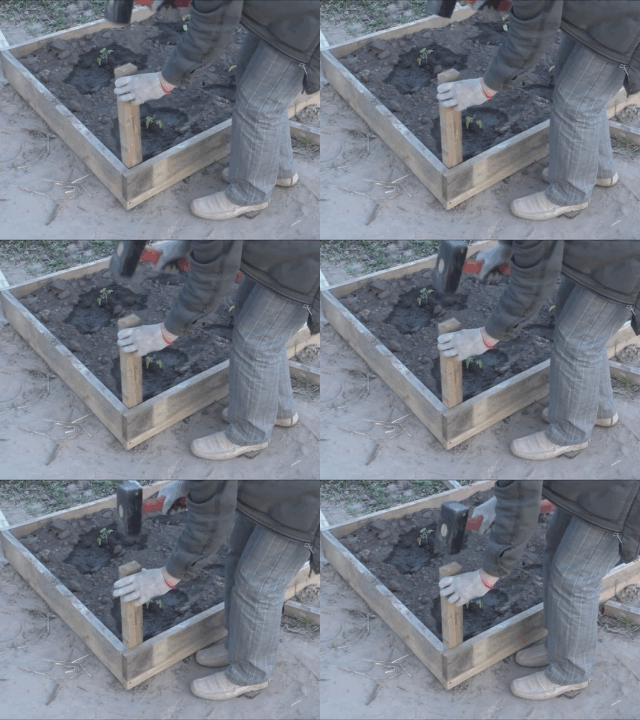 |
We use a mallet to drive stakes, 5x5 cm, 50 cm long, into the ground to a depth of at least 10 cm. |
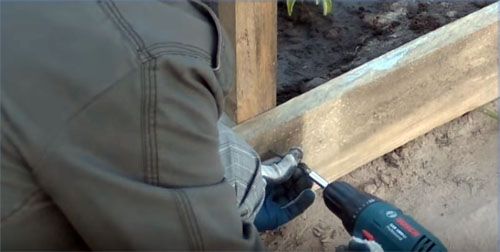 |
We also attach them to the base using self-tapping screws. |
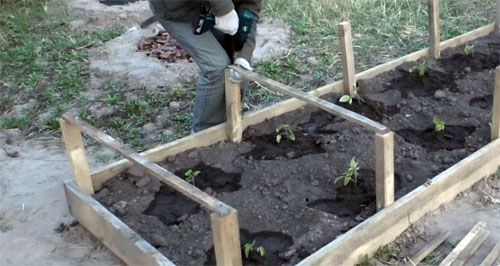 |
We take 5x2 cm planks, the length of which is equal to the distance between the opposite bars. We secure them. |
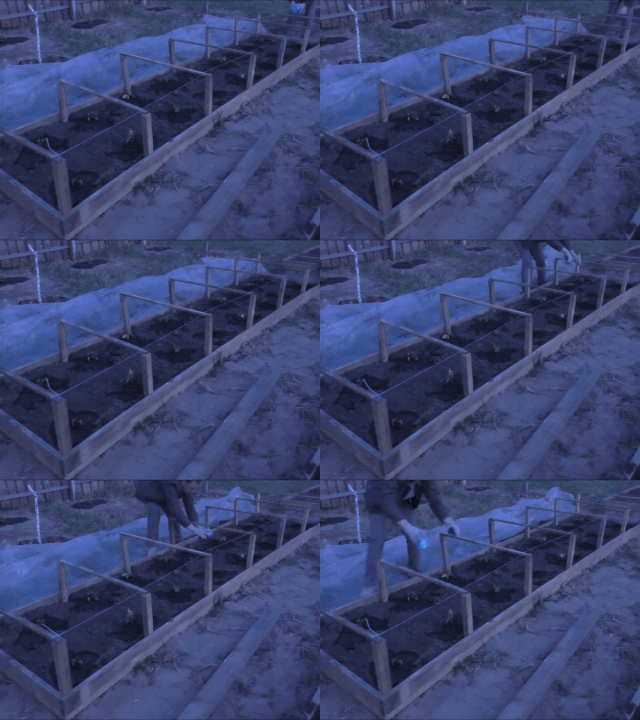 |
We stretch ropes between the planks so that the film does not fall through. |
Next, we will look at the materials that can be used to cover greenhouses and how to do it.
Materials for greenhouses
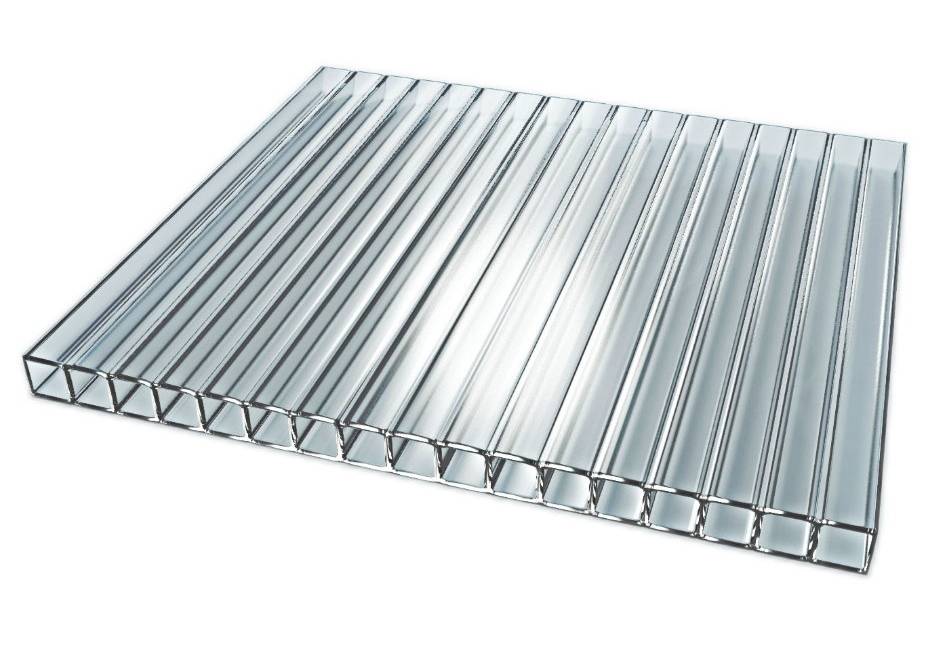
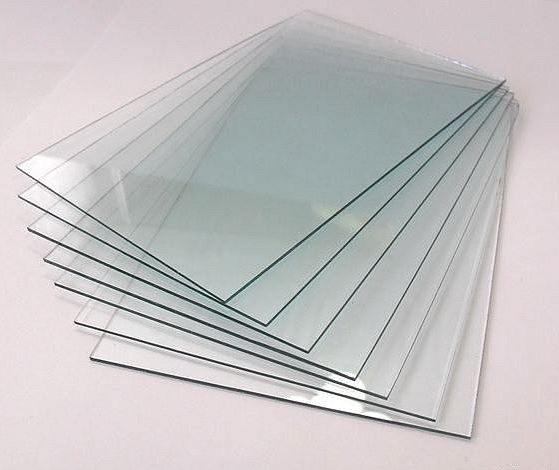
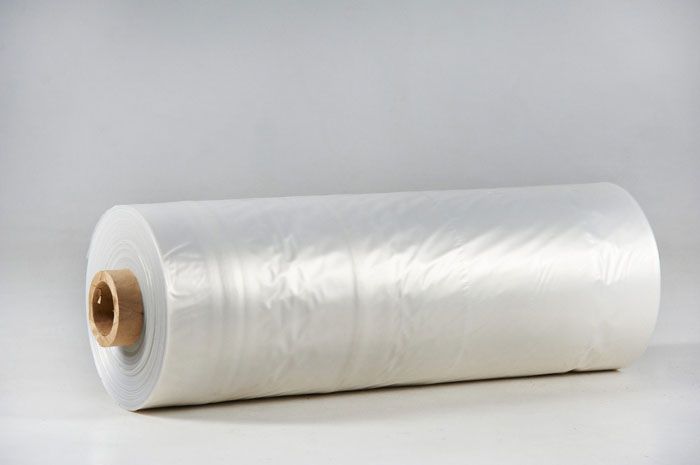
The best greenhouse designs are made from polycarbonate, double-glazed windows, and low-density polyethylene (LDPE). They're inexpensive and can even be found lying around in a shed (for example, window frames). Let's look at the characteristics of these materials:
| Parameters | Polycarbonate
|
Glass
|
Film (PND)
|
| Installation complexity and weight | A lightweight, self-supporting material, it allows for fewer frame components and eliminates the need for a foundation. | It is a heavy material that requires a strong frame and base. | The lightest material of the options. It can even be blown away by the wind, so it needs to be secured to the frame. |
| Operational period | It has a long service life of 20-25 years. Manufacturers typically provide a 10-year warranty. The material itself serves as a supporting structure. After installation, it does not warp or deform. | It will last a long time if protected from hail, snow, etc. This greenhouse can be placed under a canopy. | It has a short service life (2-3 years maximum). Polyethylene deteriorates when exposed to sunlight. |
| Soundproofing | It has a honeycomb structure, which muffles wind noise. | If a glass greenhouse is not installed properly, drafts will penetrate inside and the glass will ring and rattle. | It barely dampens noise. In strong winds, the film starts to rustle loudly. |
| Aesthetics | It looks very modern and attractive. It could even serve as a decorative element to the property. | When installed properly, it looks very aesthetically pleasing. | It looks aesthetically pleasing at first, but then it starts to deteriorate and fade in the sun. |
| Safety | It won't shatter or crack when dropped or impacted. It's stronger yet lighter than glass. | If the glass breaks, it can cause injury. Therefore, it is recommended to wear safety equipment (rubber gloves, sturdy shoes, etc.) during installation work. | Completely safe. |
| Care | The accumulated dust is almost invisible. If desired, it can be washed off with regular water from a hose. | After rain, cloudy stains may remain on the surface. These can only be removed with specialized cleaning products. | This material cannot be washed if it gets dirty, as it will leave streaks that will prevent sunlight from penetrating. |
| Microclimate inside | It prevents heat loss, creating a greenhouse effect. Any condensation that forms runs down the walls, preventing it from reaching the plants. It transmits and diffuses light well. | It retains heat worse than polycarbonate. It transmits light well, but does not diffuse it. If the glass is of poor quality, it can act as a magnifying glass, which is detrimental to crops, as it can cause sunburn. | The new material retains heat well and allows sunlight to pass through. However, by the following season, it becomes thinner and cloudy. |
Spunbond is also often used. It's a breathable covering material. It allows oxygen and essential moisture to pass through easily, yet doesn't absorb moisture or lose heat. It can be cut with scissors and is washable.
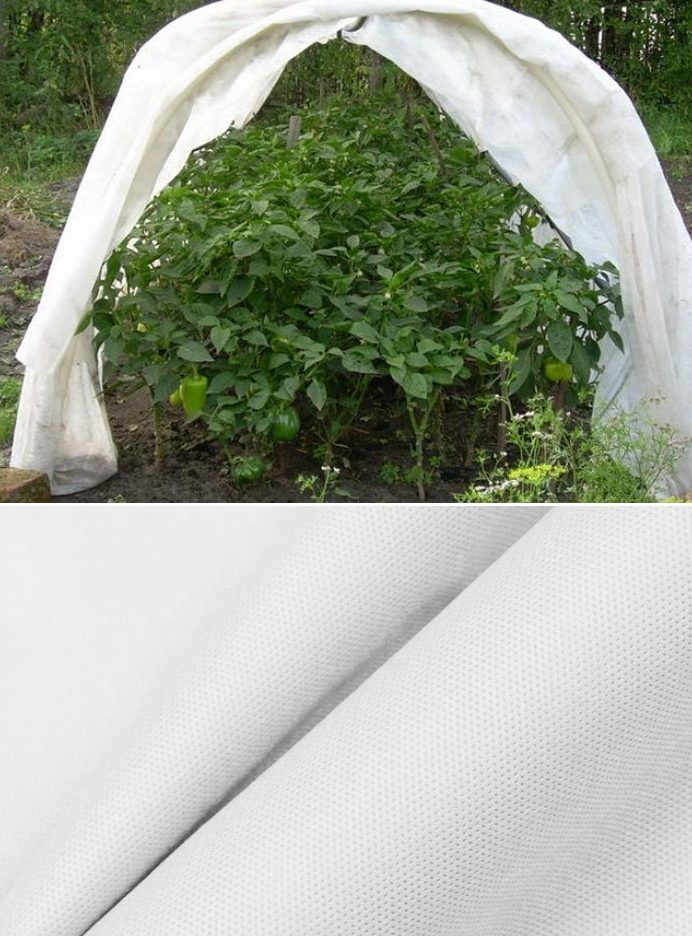
We've already looked at greenhouse frames, and now let's look at how to attach the materials we discussed in the table.
Polycarbonate greenhouse: step-by-step instructions on how to attach the material to various frames
Let's consider fastening polycarbonate to various structures.
Read a long article about construction of a greenhouse from polycarbonate.
Mounting polycarbonate to a metal frame
The metal frame should consist of rafters and purlins. It has no protrusions, so attaching the sheeting to it will be easy. The distance between the rafters should be equal to the width of the polycarbonate sheets.
Step-by-step process for attaching cellular polycarbonate to a metal structure using profiles (click on the image on the left to enlarge it):
| Materials and diagrams | Instructions |
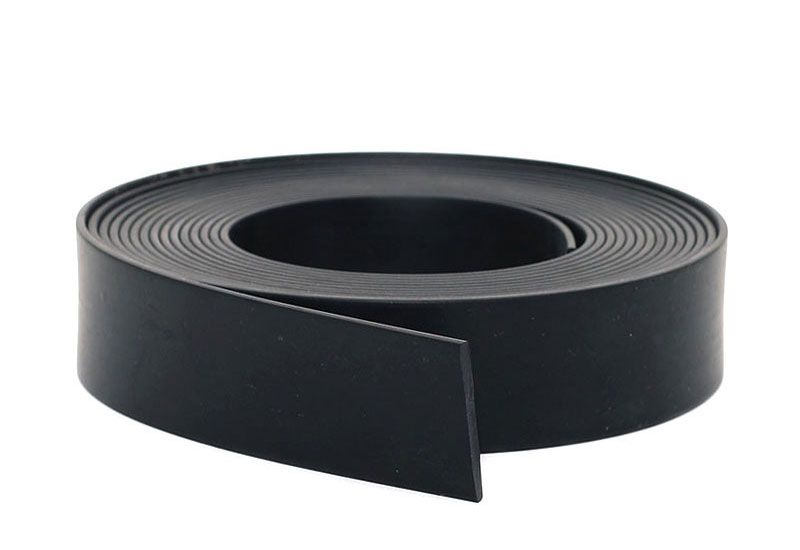 |
Self-adhesive rubber pads are placed on the metal beams. If you have a small greenhouse, you can skip them. |
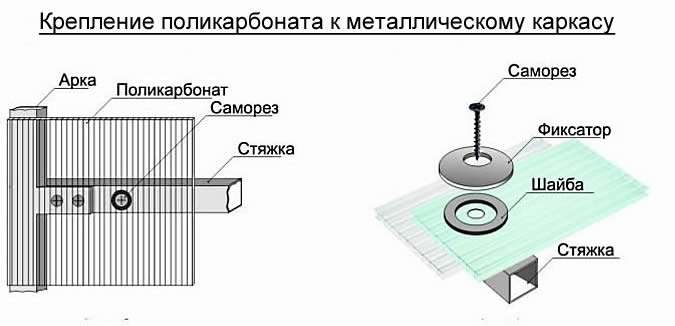 |
They take special profiles for polycarbonate and attach them to the metal grating using self-tapping screws with thermal washers. |
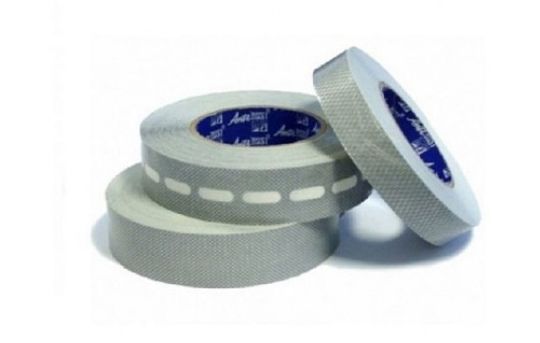 |
Polycarbonate sheets protect the cells from moisture, insects, and dirt using a sealing film applied to the ends. The film is perforated at the bottom and sealed at the top. |
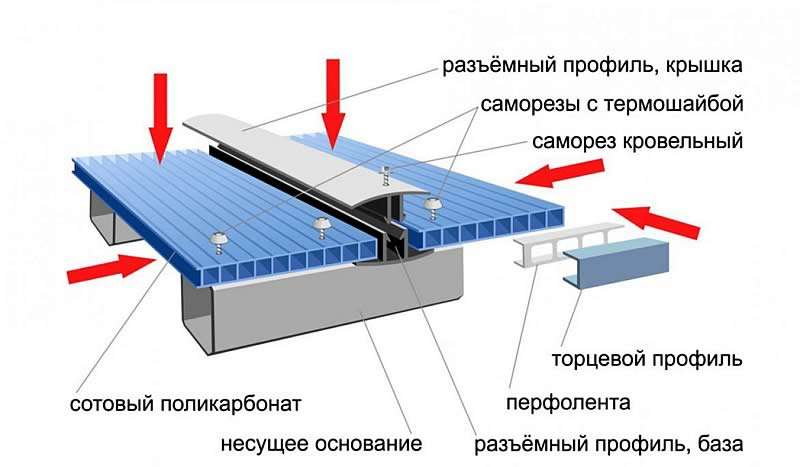 |
Then the sheets are inserted into the profiles and snapped into place. |
Don't forget to remove the protective film from the polycarbonate.
Fastening polycarbonate to plastic or wooden structures
We construct the structure as described above. Then, we cut the polycarbonate sheets to the dimensions of the distances between the beams.
Important: Cellular polycarbonate must be cut with a sharp knife or a circular saw. It must be securely fastened to the work surface. This is essential to avoid damaging the stiffeners.
We glue the ends of the sheets with special tape for protection.
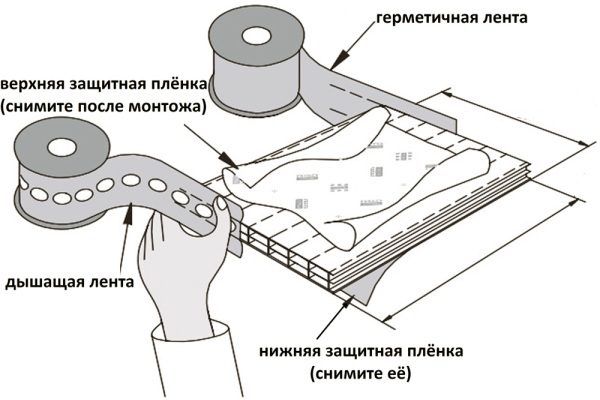
Next we secure the sheets to the structure:
| Photo | Process |
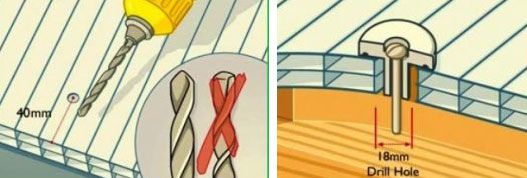 |
The sheets are placed on the structure so that they extend beyond the frame by approximately 3 cm. Holes for the fasteners are drilled using an electric drill. |
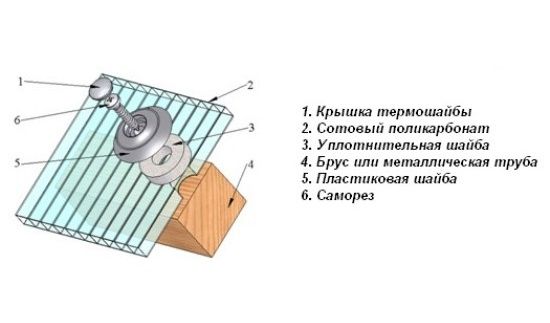 |
Place washers into the holes, then thermal washers. All of this is then tightened with a screwdriver. |
The mounting pitch depends on the polycarbonate thickness (6-8 mm is best) and the size of the cut sheet. It's approximately 30-50 cm, with a minimum of 5 cm gap from the edge.
Greenhouse from window frames: step-by-step instructions
| Illustration | Description |
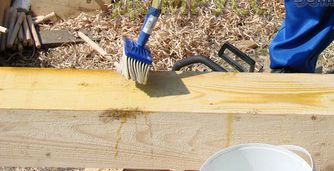 |
Treat wooden blocks with an antiseptic or mastic to protect against insects and rot. |
 |
On the marked place for the greenhouse, we lay out a foundation of bricks on concrete mortar (you can skip this and just make a backfill of crushed stone. |
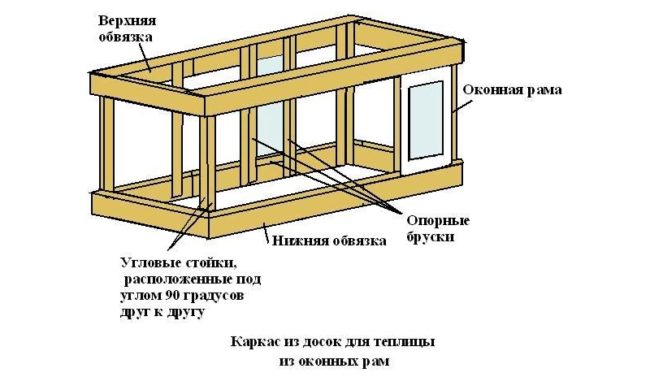 |
We assemble a greenhouse frame from processed timber beams, sized to match our frames. The resulting structure is placed on a foundation made of backfill or masonry. |
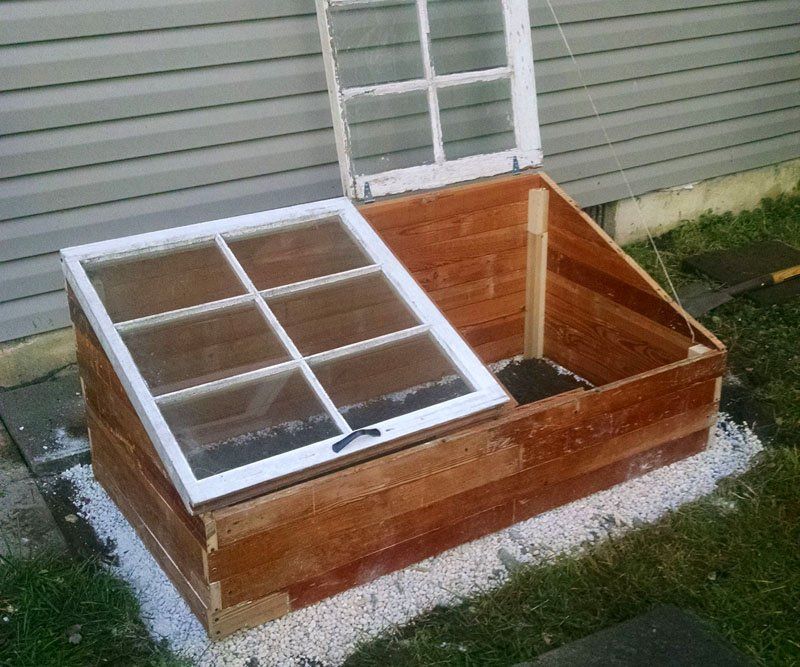 |
We install the window frames onto the wooden structure. We connect them with hinges and screws. We attach a handle to the bottom edge of the frame for lifting the frames, if one wasn't already present. |
Attaching film to different types of frames
We already know that frames can come in different forms. Let's look at how to attach film to various materials.
Wooden frame
The film is attached to a wooden frame in the following ways:
| Illustration | Methods |
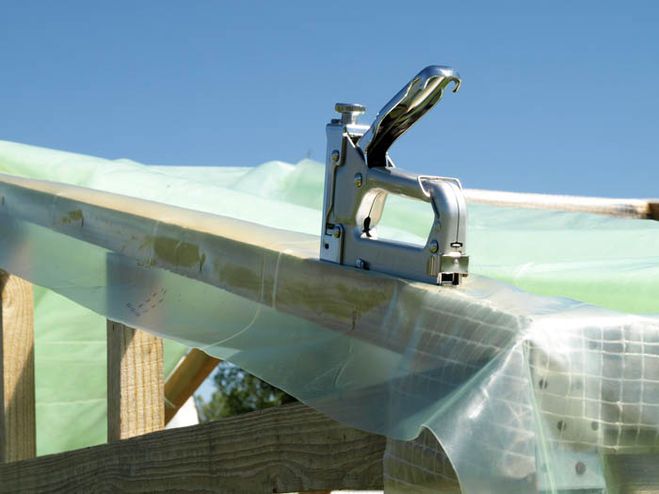 |
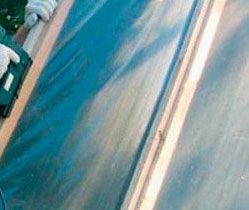
You can use a stapler, but to reduce tearing of the film, it's worth creating a spacer, for example, by cutting a strip of old linoleum or another sturdy material. It's best to use reinforced film so it lasts longer even if it gets pierced with nails during installation. |
 |
You can secure the film using battens nailed to the ends. The first method involves fastening the film, i.e., piercing it, to the sides and roof. With battens, we only secure it to the ends. |
If the film is not reinforced, it is more susceptible to breakage at the attachment points. The slatted (second) method reduces the incidence of film damage.
Metal and PVC pipes
To secure the film to plastic pipes, you need special clamps. These are available at specialty stores and are inexpensive.
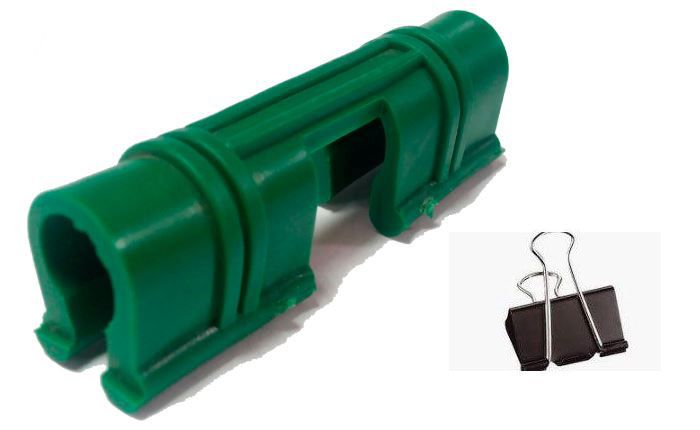
You can make your own clamps. Cut plastic tubing and then cut out the sides of the same plastic tubing. To prevent tearing the film, file down the edges of the homemade clamps.
If metal clips are used, a spacer of any material is placed underneath them to prevent the film from being damaged by the heat from the sun.
Stationery clips are used for fastening to narrow frames.
Fastening spunbond
A plastic pipe frame is best suited for spunbond. We discussed it above.
After the structure is made, it is covered with covering material, the spunbond is stretched, and pressed to the ground with any available means (bricks, boards).
This greenhouse is suitable for cucumbers, tomatoes, eggplants, peppers and other vegetables.
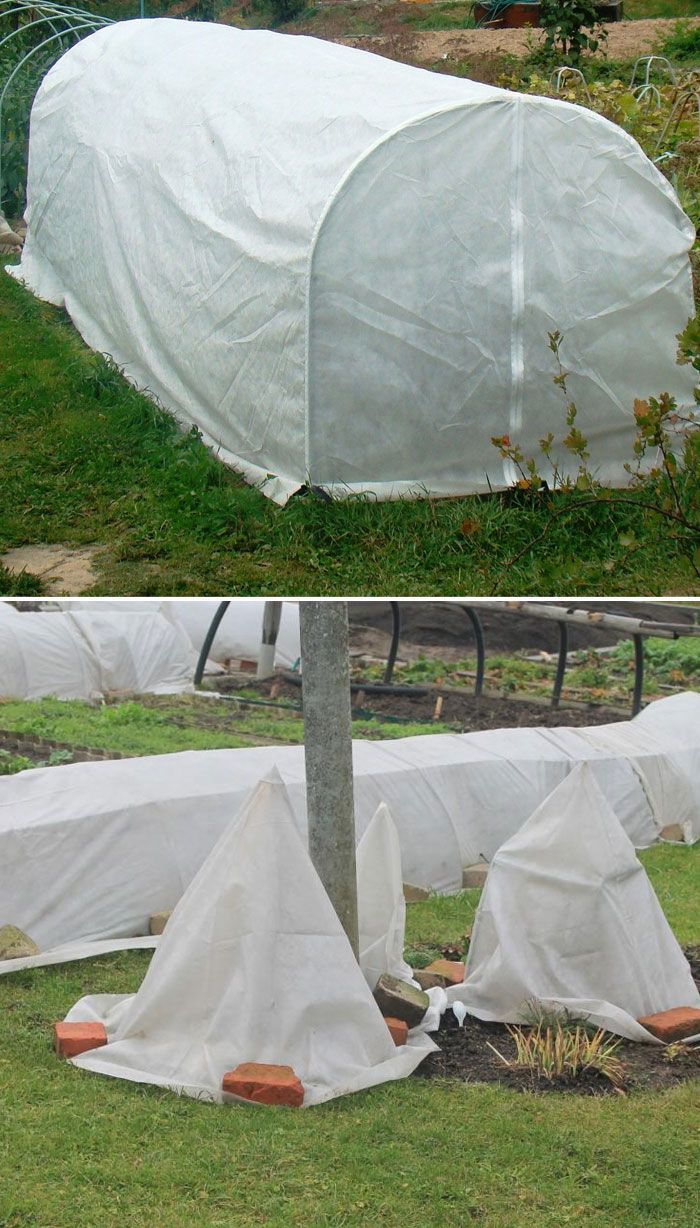
Sometimes they make stitched gutters on spunbond, into which PVC pipes are inserted, and then attached to the structure.
Various structures are made for snabond, depending on the application. For example, for flowers, a frame made of plastic pipes is made in a circle or trapezoid.
Don't forget: the covering material is placed with the rough side up.
Sometimes spunbond is attached with paper clips, but these leave rusty marks on the material, which reduces its service life.