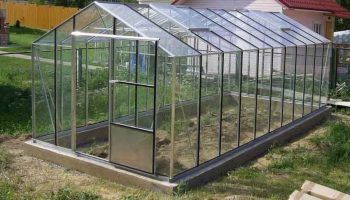
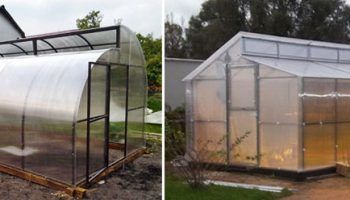
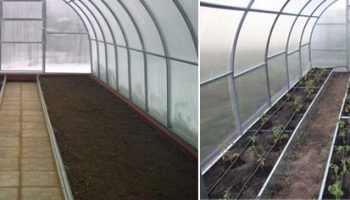
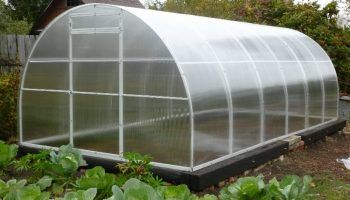
You don't have to buy a greenhouse; you can build one yourself. In this article, we'll explain how to choose the right location, build a foundation, provide step-by-step instructions for building certain types, and also cover lighting and heating.
Content
- 1 Features of greenhouse placement
- 2 Types of roof
- 3 Types of coating materials
- 4 Foundation
- 5 Types of greenhouses and step-by-step instructions for their construction
- 6 Estimate for a greenhouse with a wooden frame
- 7 Estimate for a greenhouse with a steel frame
- 8 Other expenses
- 9 Heating greenhouses
- 10 Lighting in a greenhouse
Features of greenhouse placement
Homemade greenhouses require careful selection of a location for construction, as the harvest depends on it.
To do this, draw a diagram of the site and take into account the following factors:
- The greenhouse should be built in an open space, with trees located away from it to prevent shadows or broken branches from falling on the plantings.
- It is desirable that the greenhouse be protected from the wind by a fence.
- It is necessary to take into account the movement of the sun during the day.
- The transparent side of the pitched roof should face the southern side of the site.
Types of roof
Before construction begins, you need to decide on the type of roof. There are:
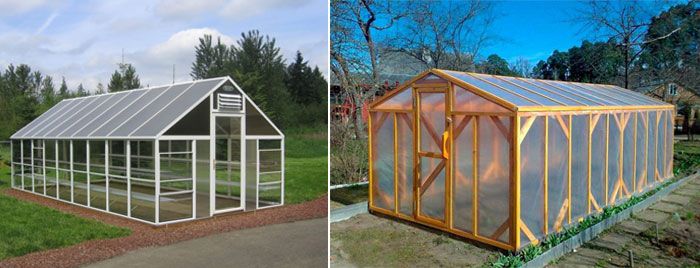
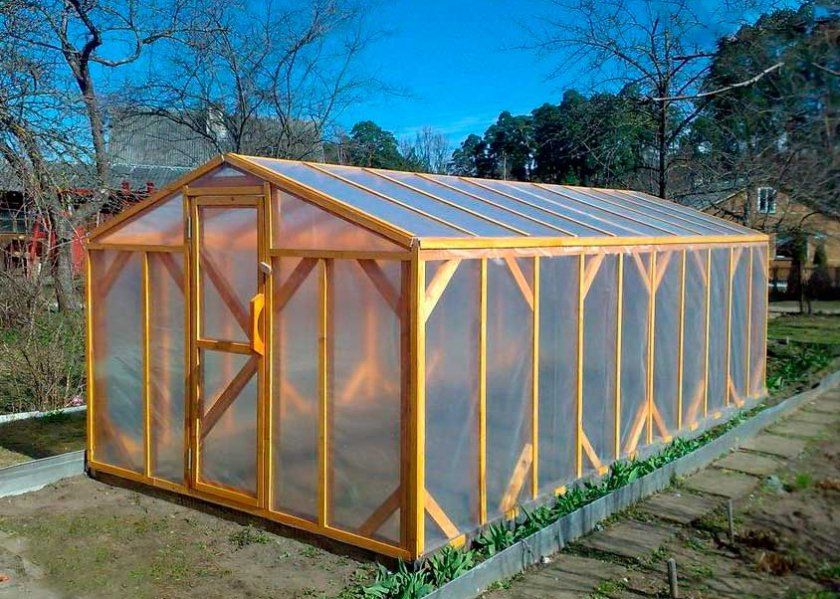
- Gable roof – a greenhouse in the shape of a house.
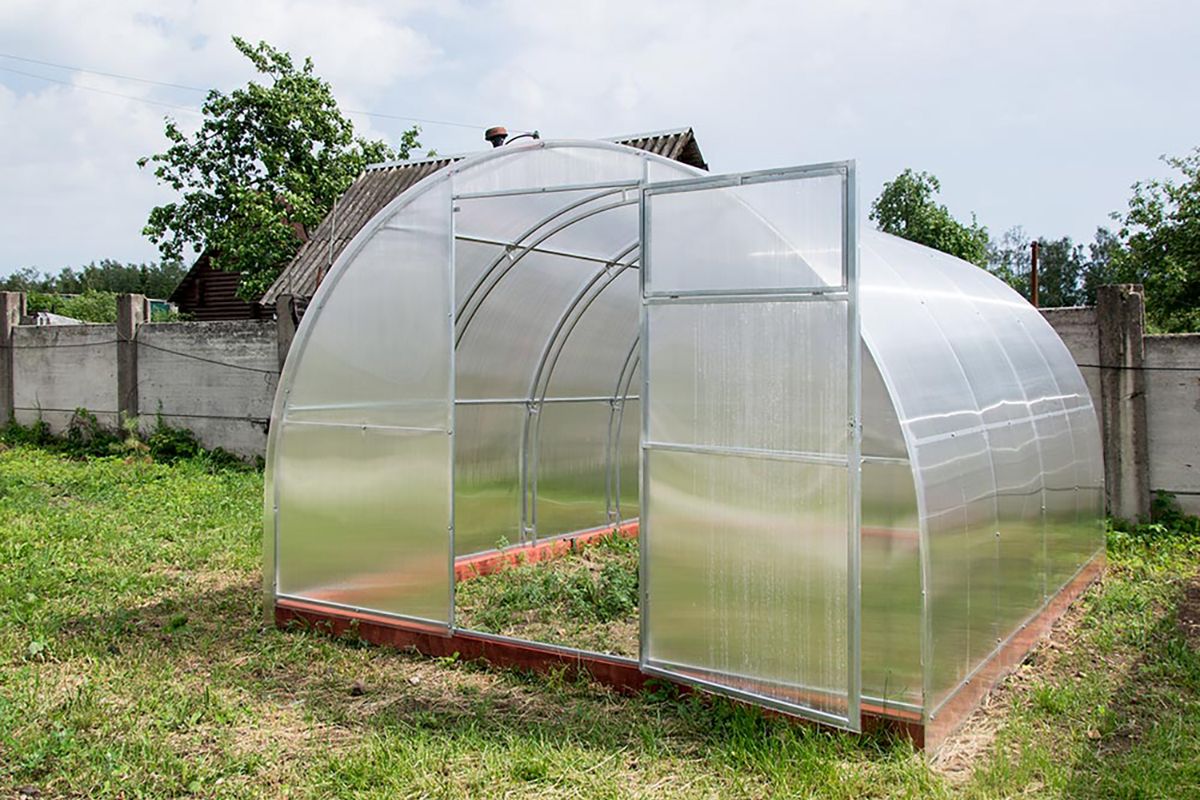
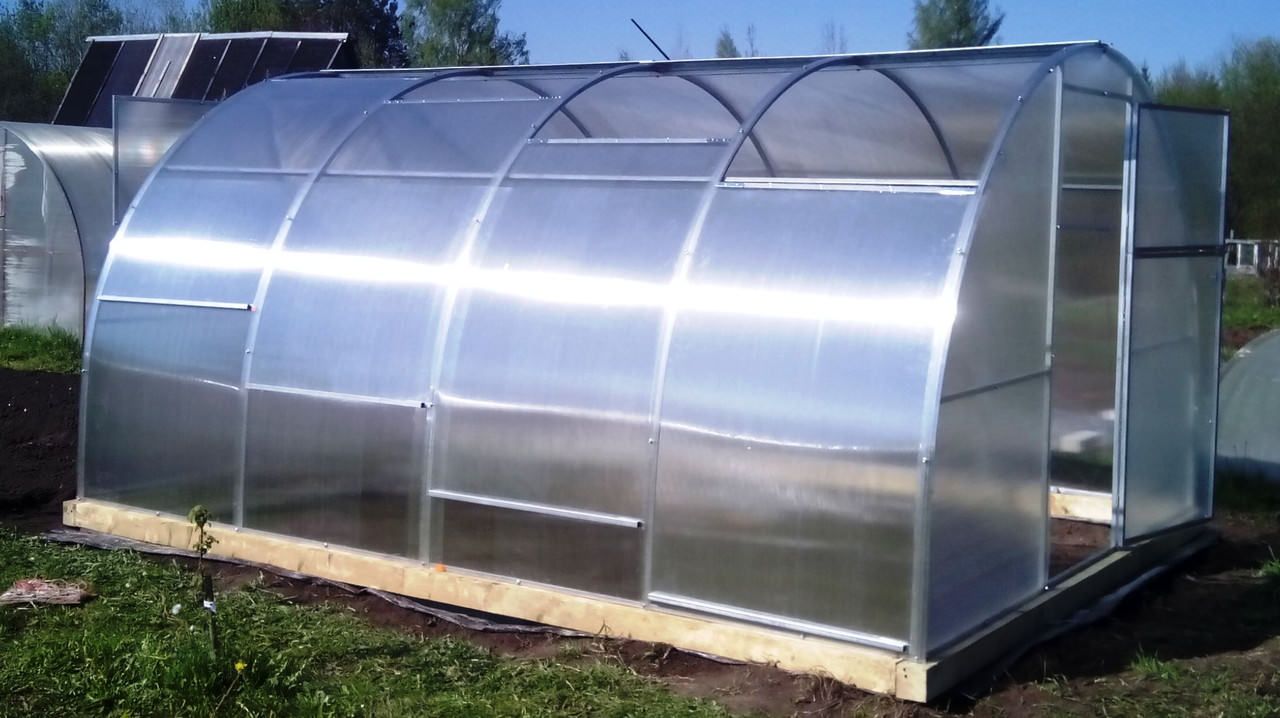
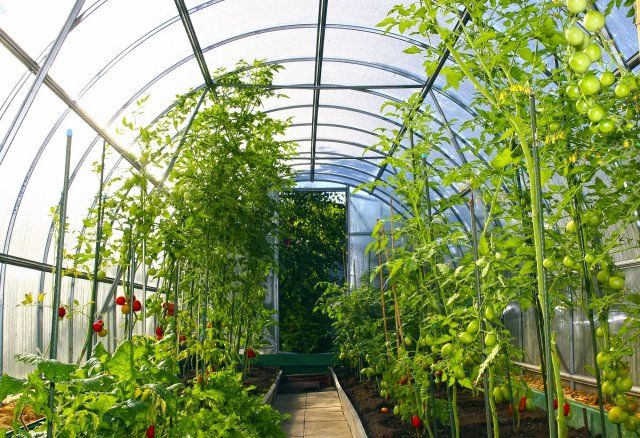
- Arched – shaped like an arch. It's easy to install, and precipitation doesn't accumulate on the roof, reducing deformation of the greenhouse. This shape also diffuses light, which is beneficial for plants.
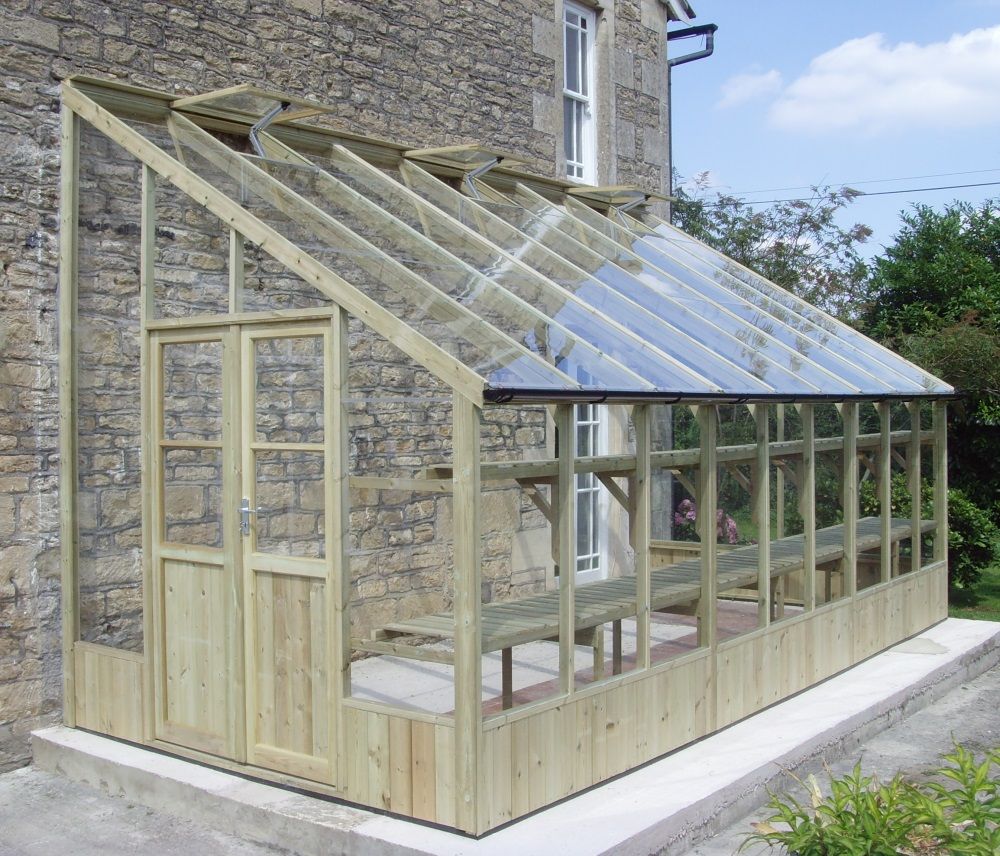
- A lean-to greenhouse is attached to a building or fence, usually on the south side. The slope is calculated to ensure snow doesn't accumulate, but rather slides off. A lean-to greenhouse makes it easier to connect utilities.
- Sliding – the roof moves. If it's hot, it can be moved to provide better sunlight for the plantings. And in winter, it can be used to disinfect the soil (snow will fall on it).
Types of coating materials
Main materials and their characteristics:
| Material | Characteristic |
| Polyethylene film
|
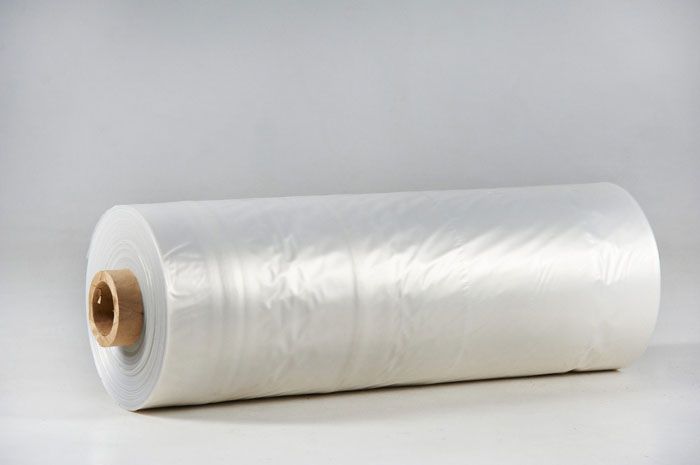
The most cost-effective option. It's important to secure it well. It deteriorates within 2-3 years, and after a year, it becomes unsightly. It can't be washed, as it leaves streaks. Its thermal insulation diminishes after a year. It rustles in strong winds. Plus, it's safe from injury. |
|
Spunbond
|
This breathable non-woven material allows oxygen to pass through easily, providing the necessary moisture without getting wet or losing heat. It can be cut with scissors and is washable. Suffers from wind, does not last long. |
| Polycarbonate
|
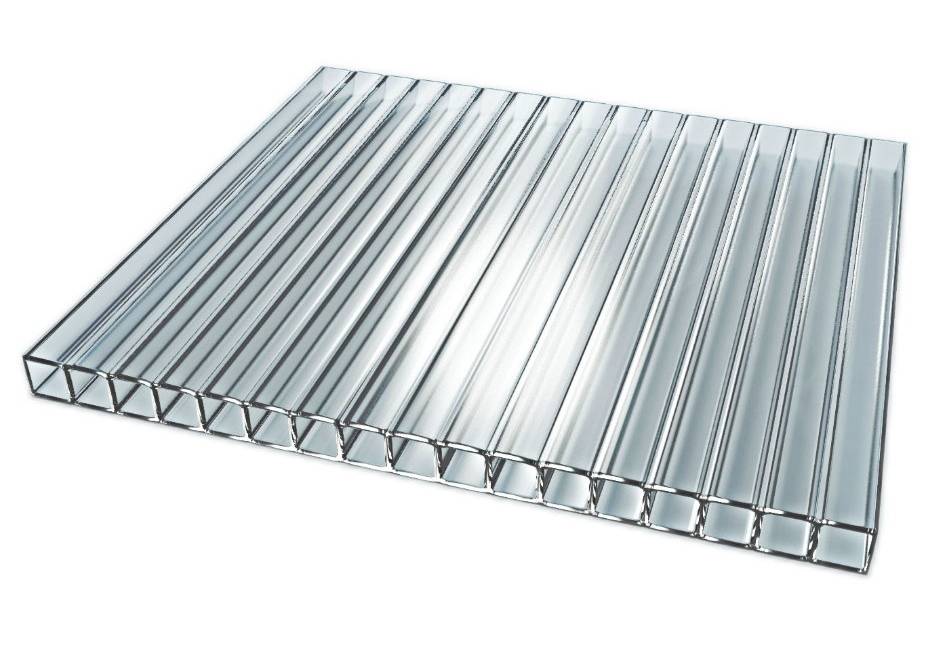
Allows you to reduce the number of frame parts or eliminate them altogether. It resists deformation and blocks wind noise. It has a service life of approximately 25 years. It is aesthetically pleasing and durable enough to withstand a fall without breaking. Dust is invisible and can be easily washed away with water if it appears. It provides excellent thermal insulation, light diffusion, and a special microclimate. Condensation runs off the surface rather than dripping. |
| Glass
|
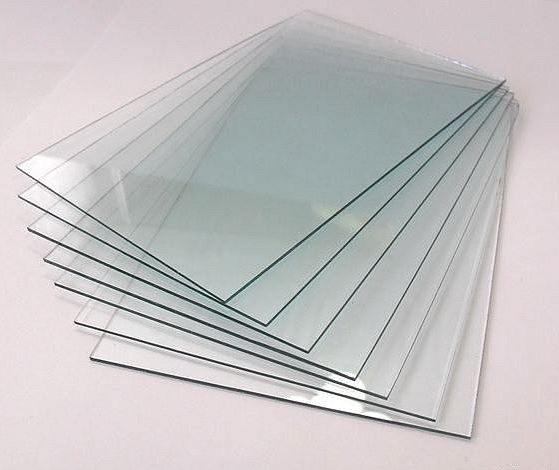
A sturdy frame and foundation are required, as well as protection from mechanical damage. If poorly installed, a glass greenhouse will rattle. It requires careful handling, as it can break and cause injury from shards. Rain leaves marks. It does not provide a strong greenhouse effect or diffuse light. Poor quality materials can create a lens-like effect, which is harmful to plants. |

Read about different types of greenhouses in the articles:
- DIY Polycarbonate Greenhouse
- DIY glass greenhouse
- A Sunny House in Your Garden: A Greenhouse as a Work of Art
and many more articles on this topic on our website Top.tomathouse.com: All About Gardening.
Foundation
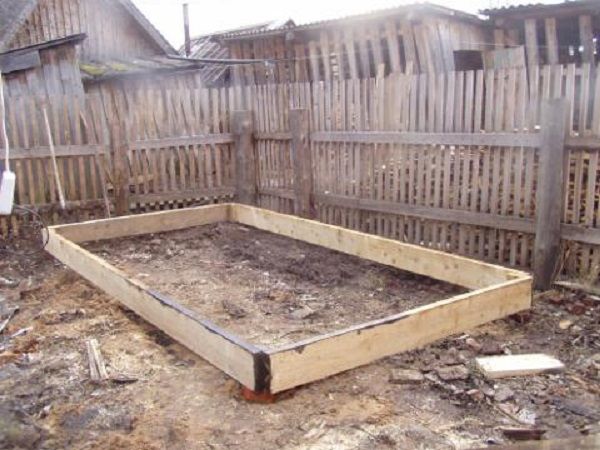
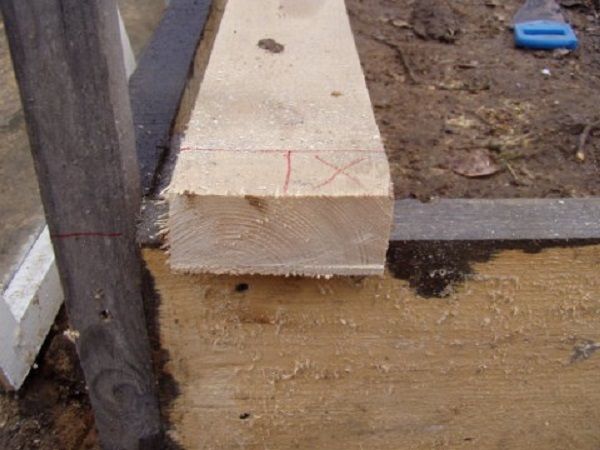
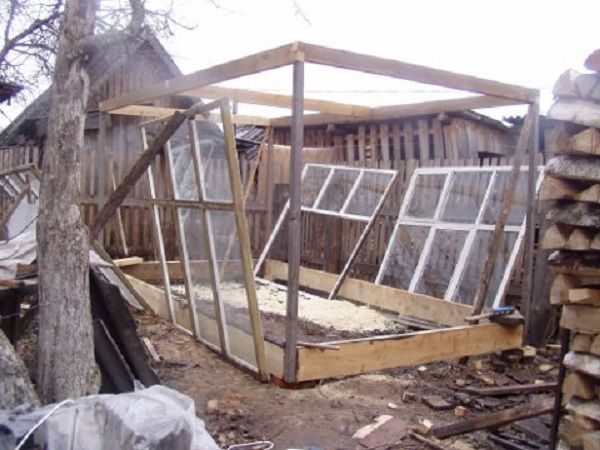
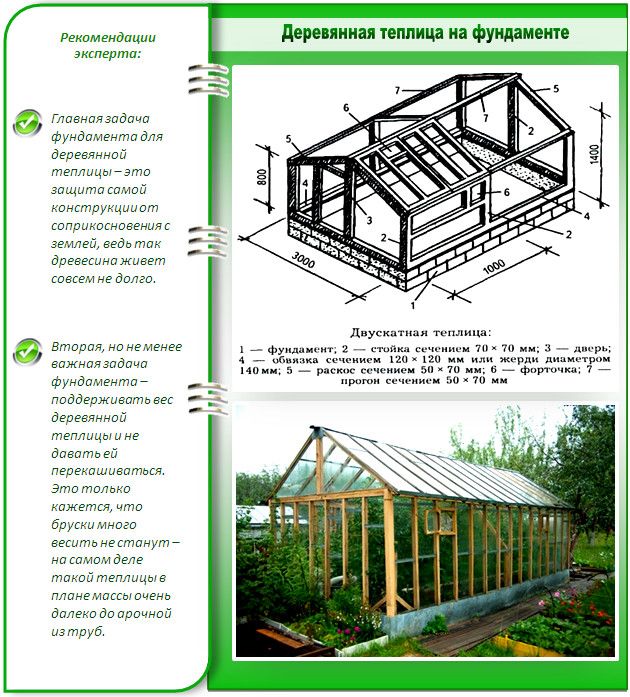
The chosen type of greenhouse determines its foundation. First, mark the ground so that the sides form a right angle. For a seasonal structure, a wooden base made of lumber (10x15 or 15x15 cm) treated with an antiseptic or water-repellent compound for longer life is suitable. It is placed on the ground, but preferably on a bed of compacted sand or concrete slabs.
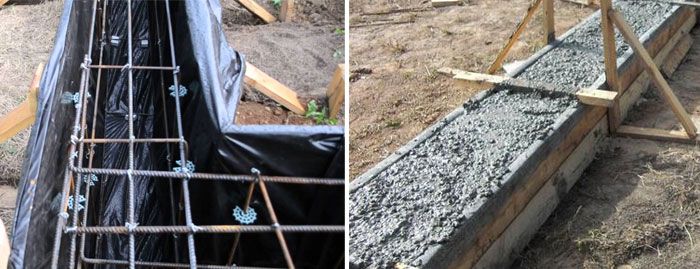
For a permanent building, a foundation pit will need to be dug. A strip foundation can be made—a 30x30 cm trench. Sand is poured on the bottom, followed by crushed stone (total thickness: 50-70 cm). Plank formwork is installed, roofing felt is laid, and concrete is poured. The concrete should be pierced with a shovel and tapped from above to remove air. The base is raised 20-50 cm above the ground. Support posts or sections of metal angles are embedded in the foundation.
Types of greenhouses and step-by-step instructions for their construction
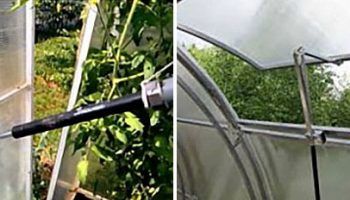
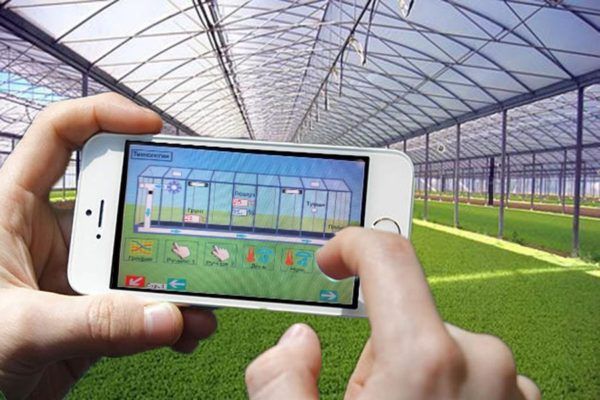
The best projects are automated structures based on Arduino. They include an actuator (linear drive) for automatic door opening and ventilation. Of course, it could also be a simple thermal actuator.
But generally, these greenhouses are equipped with everything necessary for autonomous operation. Building one yourself would be very difficult. There are other ready-made greenhouse designs.
We offer you several homemade options with step-by-step instructions.
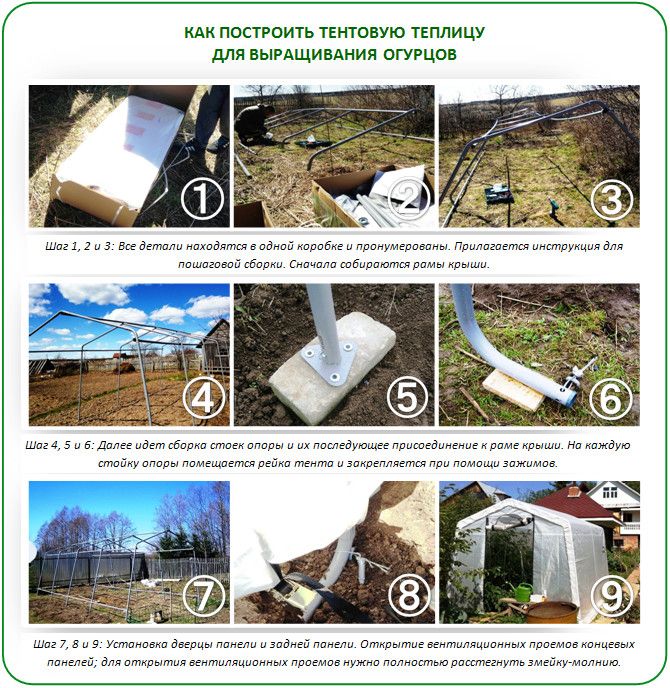
Arched (semicircular) greenhouse
We need to act in stages.
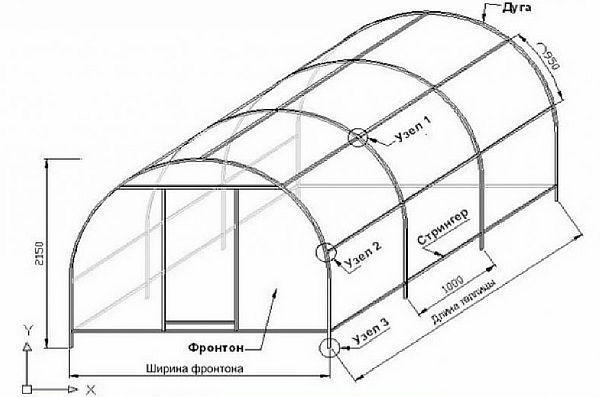
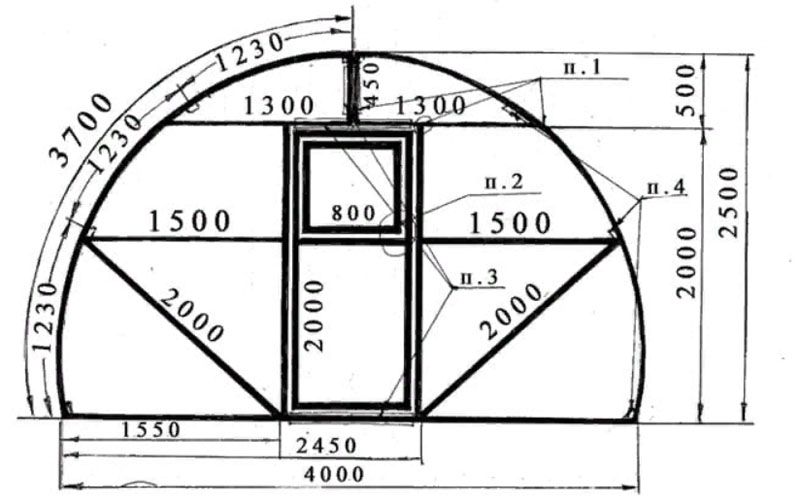
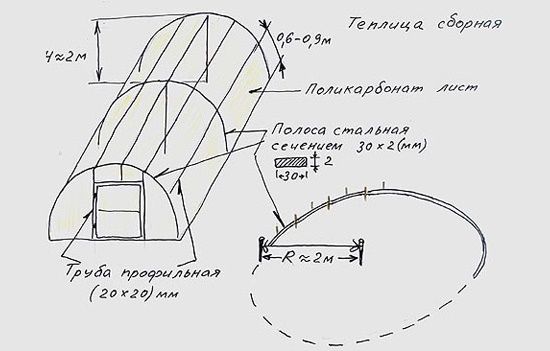
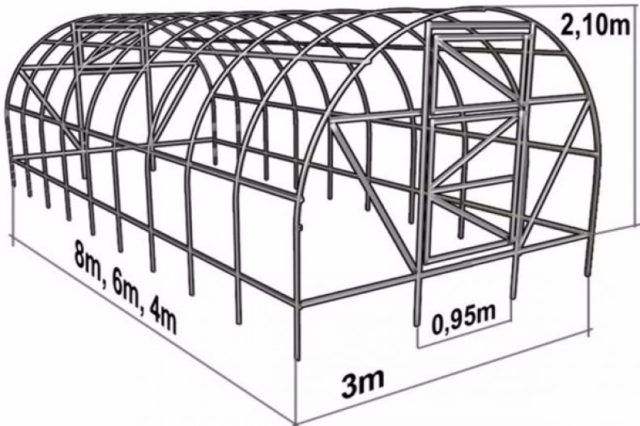
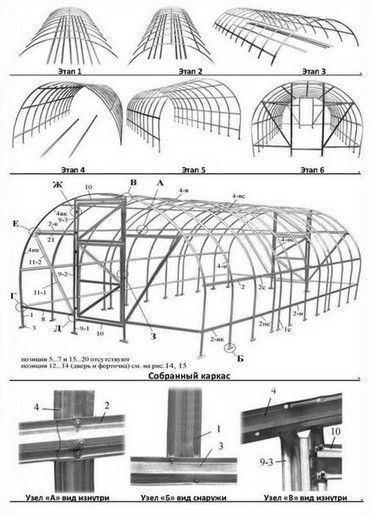
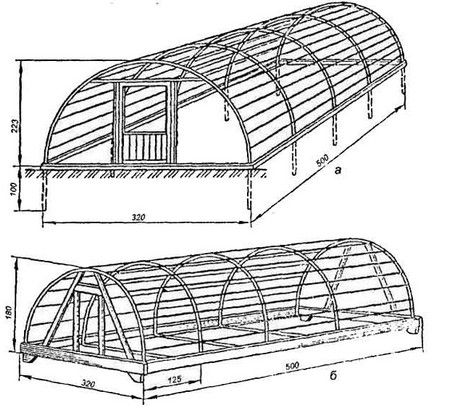
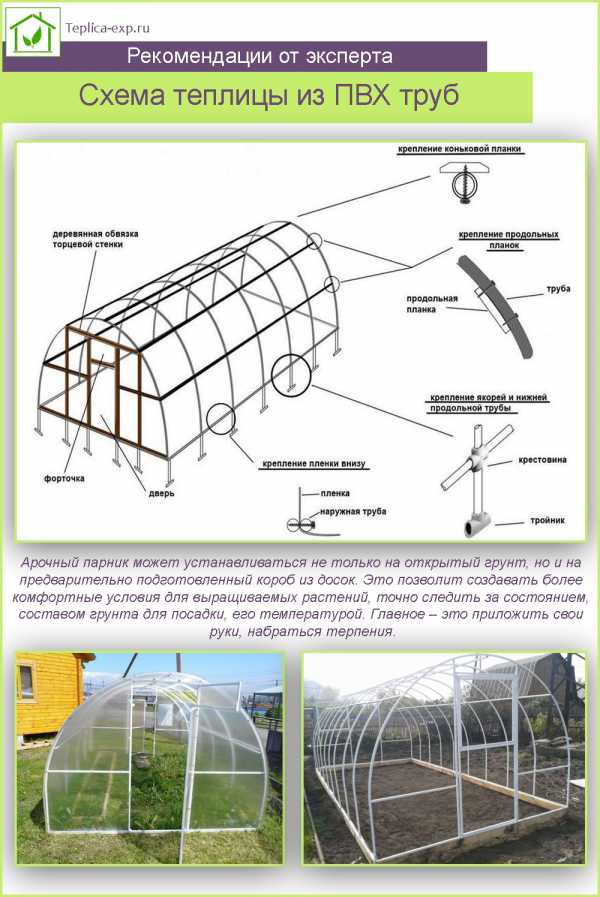
Drawings of arched greenhouses
Draw a plan. Here are some examples of arched greenhouse plans:
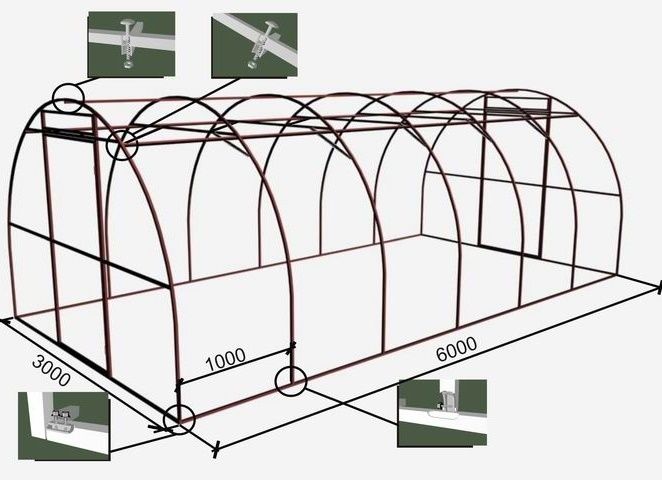
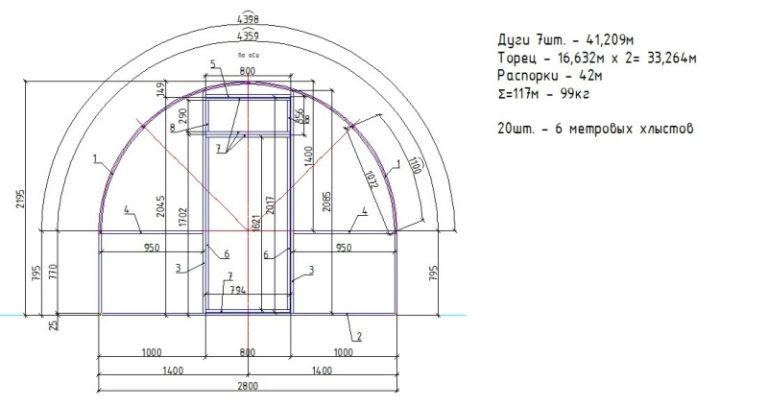
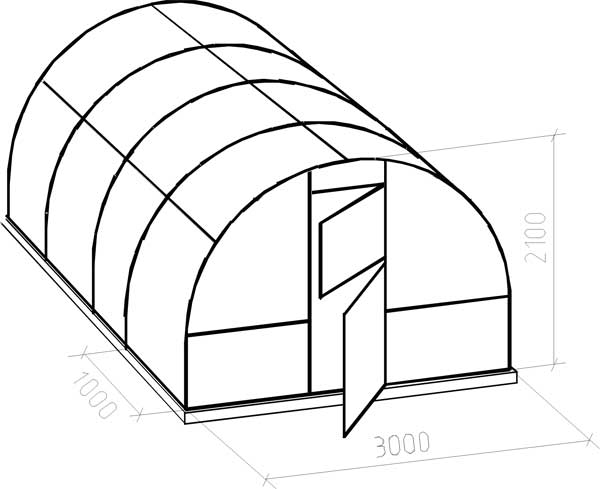
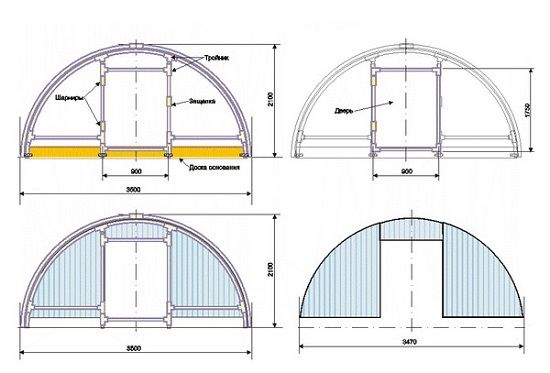
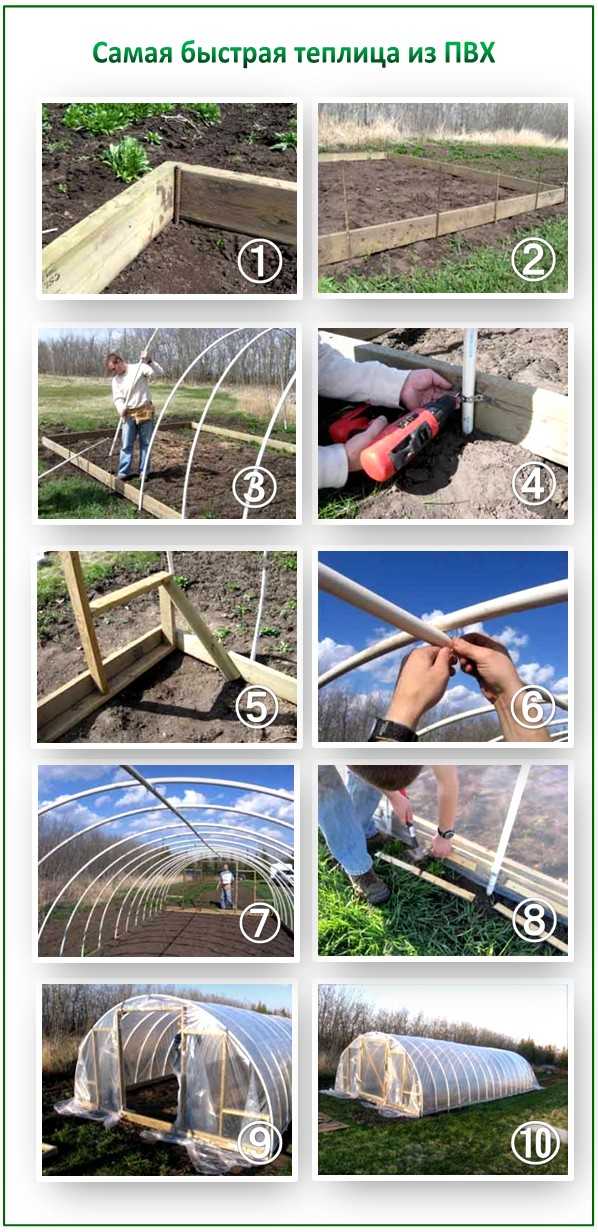
Foundation
Construction begins with laying the foundation. This is accomplished using:
- wooden beams - placed at a distance of 120-140 cm, for a frame made of polypropylene pipes;
- tape - made if the frame is made of heavy materials.
Frame
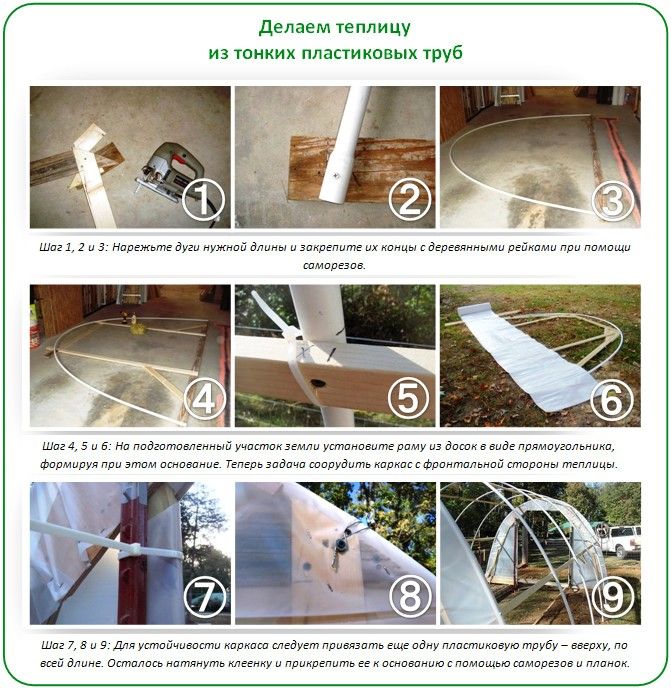
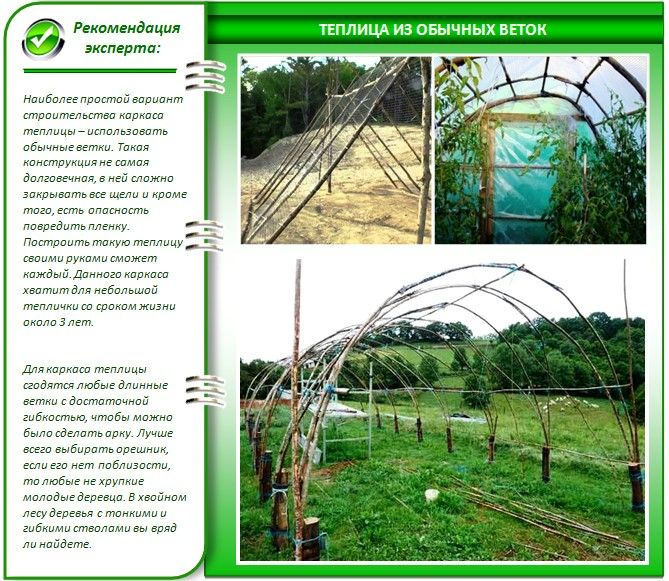
Next, they construct an arch from:
- masonry mesh, which is attached to the posts at the bottom and tied at the top;
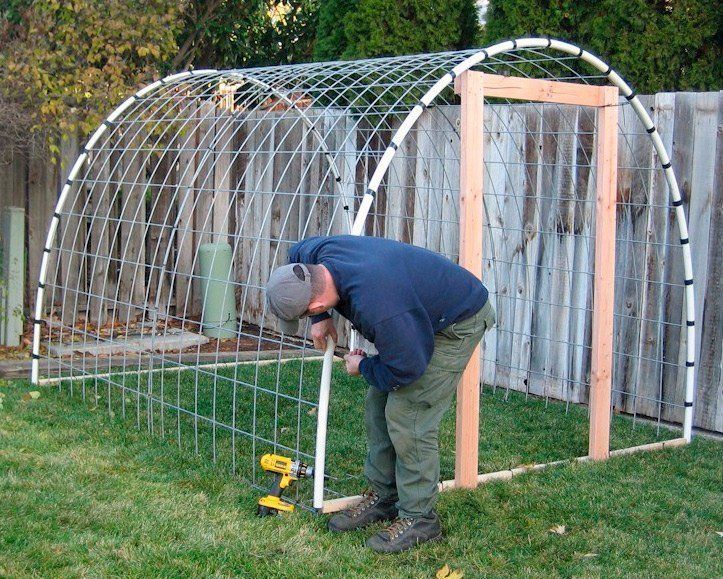
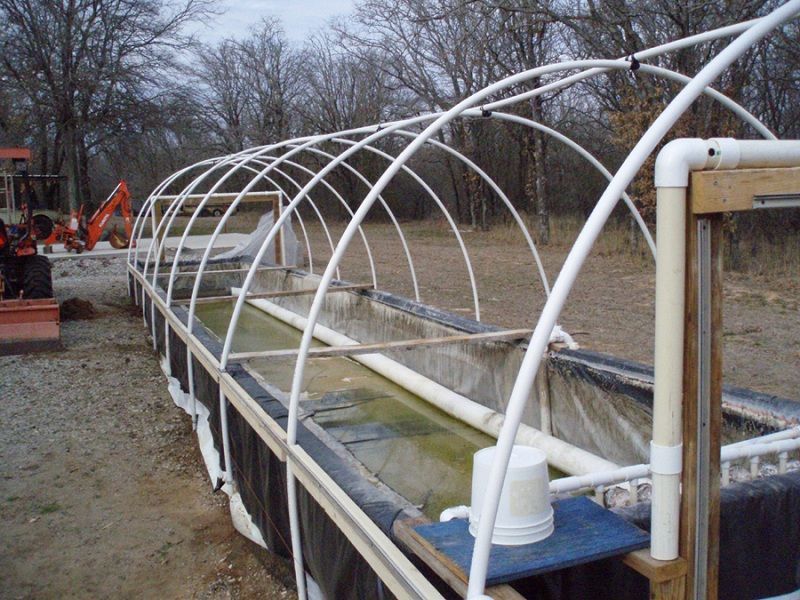
- plastic pipes - welded or connected with couplings, adapters;
- steel profile pipes 2x2 cm - leave a distance of 100 cm, the arcs are fastened by welding;
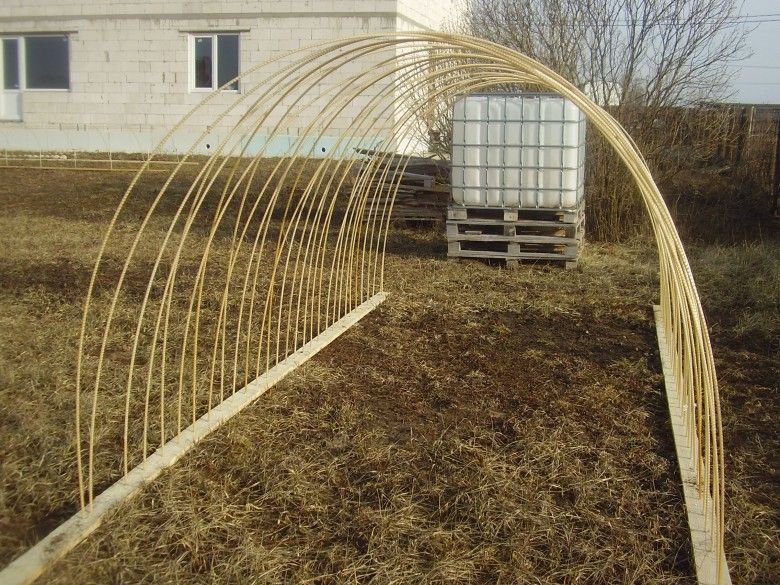
- fiberglass reinforcement (diameter 8-12 mm) – easy to install.
Coating
The selected material is attached to the erected frame:
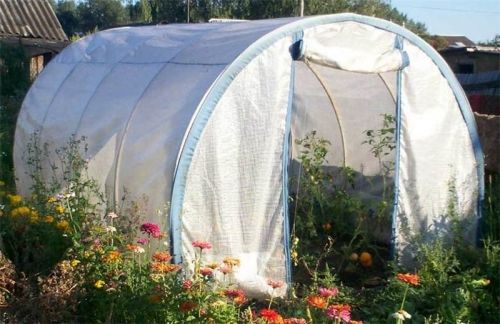
- film or spunboard - must be secured on top with twine or rope;
- Polycarbonate - the cut sheet is fastened using special self-tapping screws with thermal washers.
Additional information
Door:
- film - made with magnets (like a mosquito net);
- wooden frame;
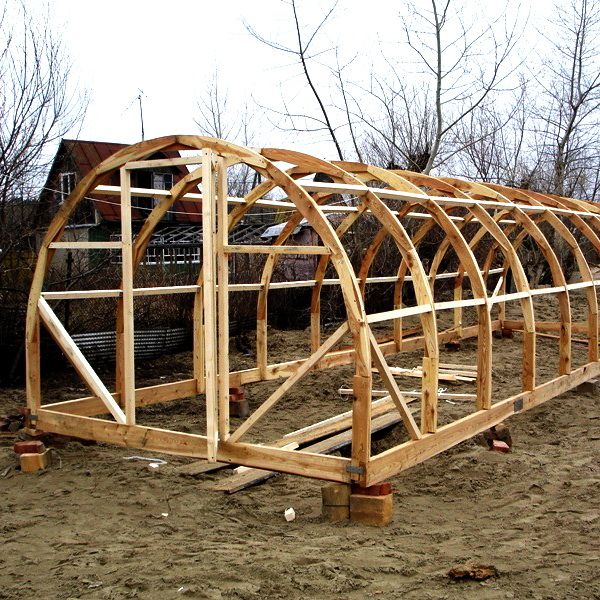
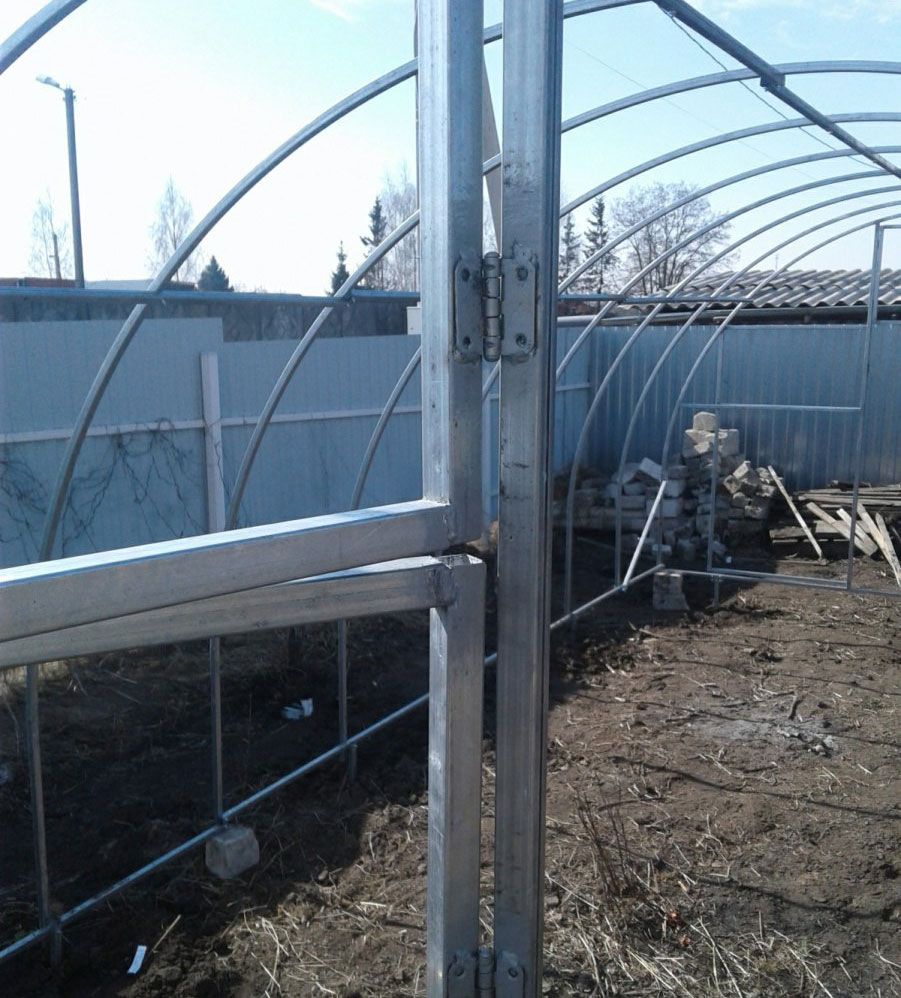
- metal pipe - fastened with hinges.
Ventilation windows:
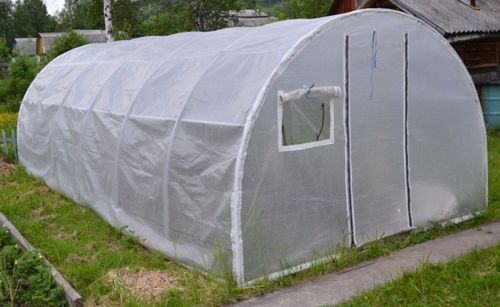
- in the film - holes are cut, any arrangement is possible;
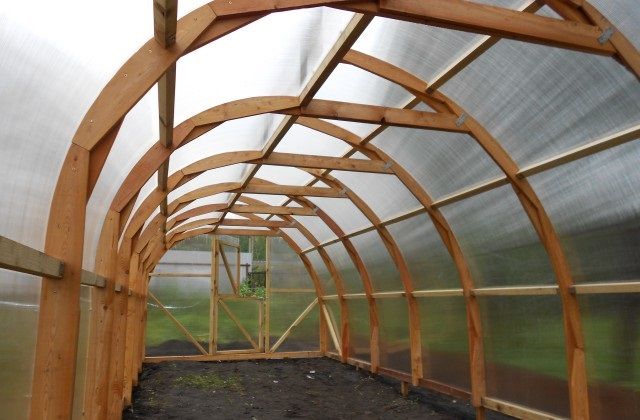
- wooden frame - can be opposite the door, in the roof, side walls:
- in a metal frame - a welded frame made of a corner, placed opposite the door or in the roof, or in the sides, depending on the design of the greenhouse.
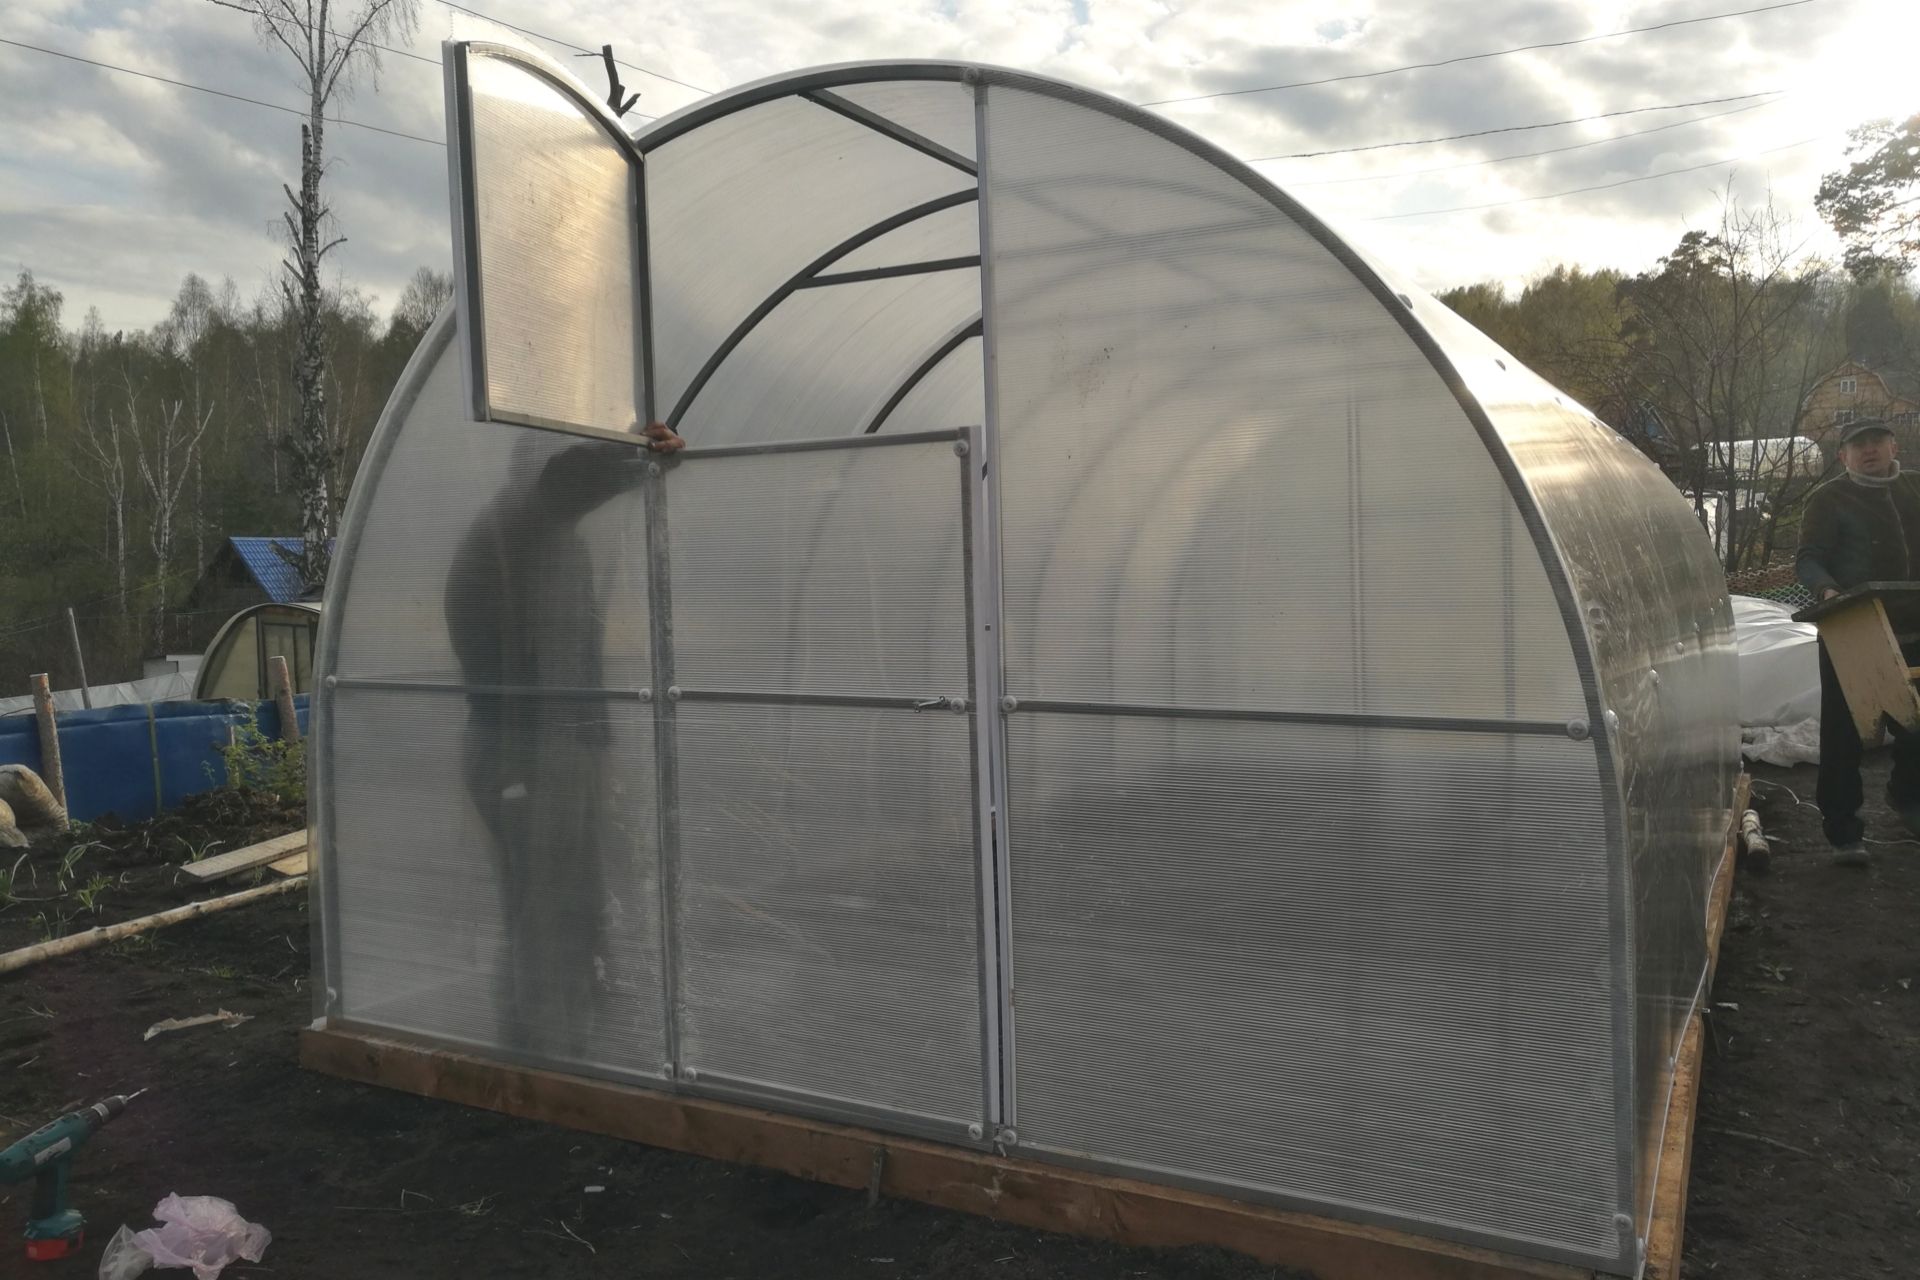
All of these options are wind-resistant and convenient for tying up plants. Greenhouses of any size can be built (miniature for seedlings, small, or large). Film greenhouses are a low-cost option and are used in industrial vegetable production and in gardening (they're great for growing tomatoes and cucumbers).
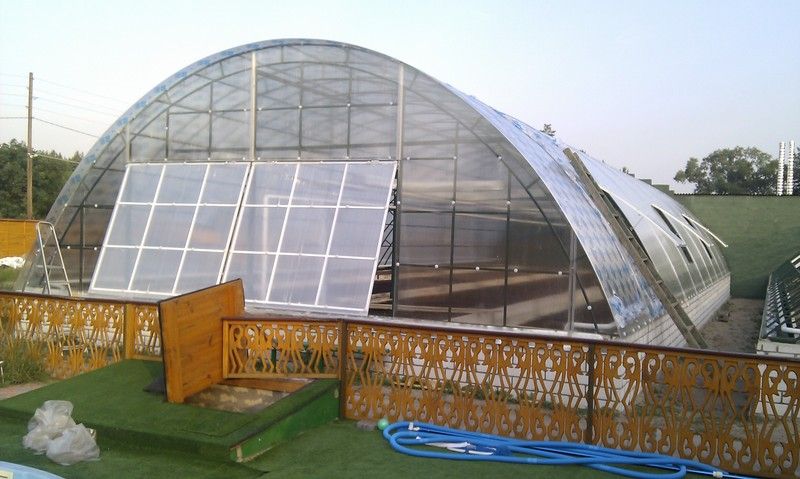
The most expensive and labor-intensive option is a metal arch frame and polycarbonate, but such a greenhouse will last longer and look more aesthetically pleasing.
Examples of the creation of various arched greenhouses
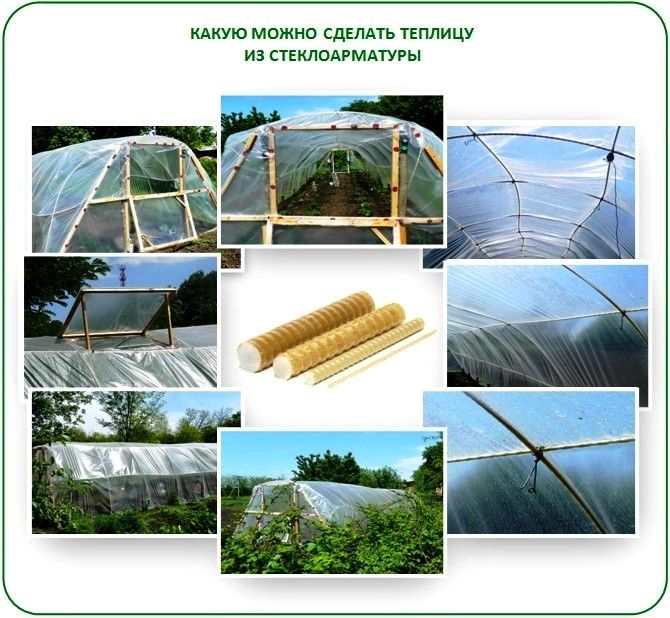
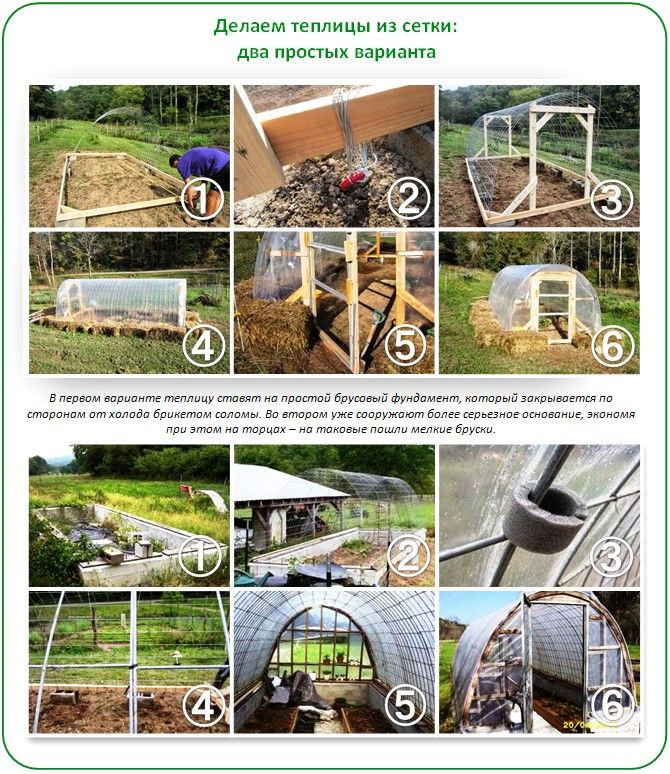
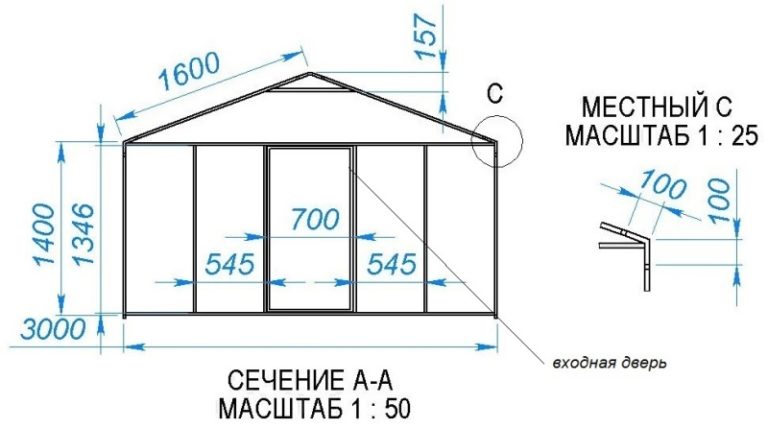
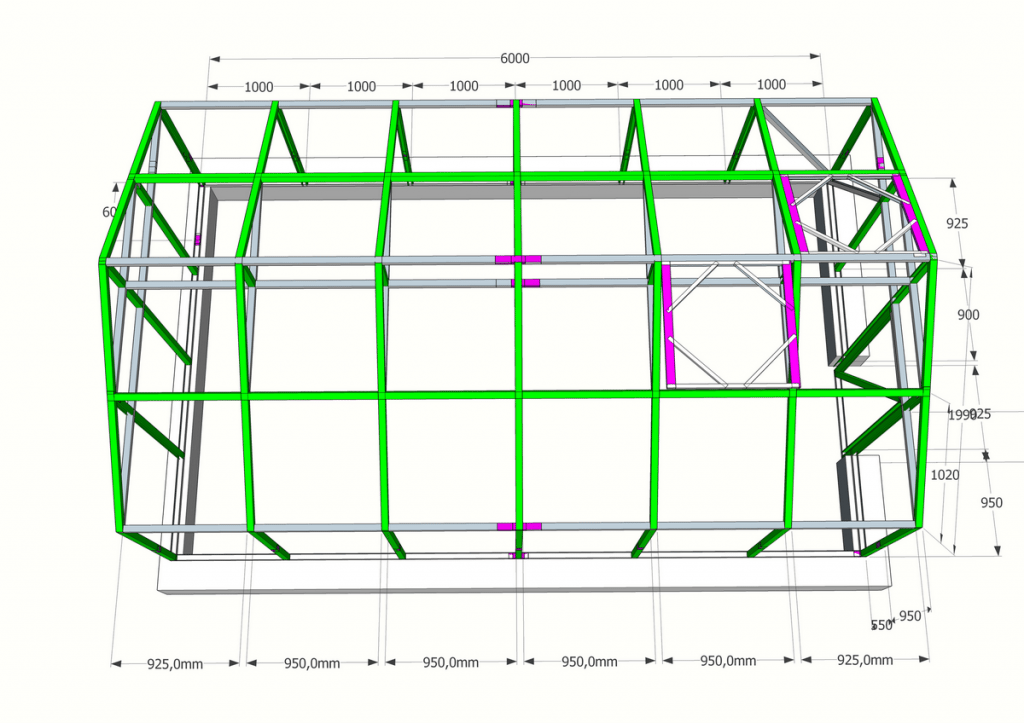
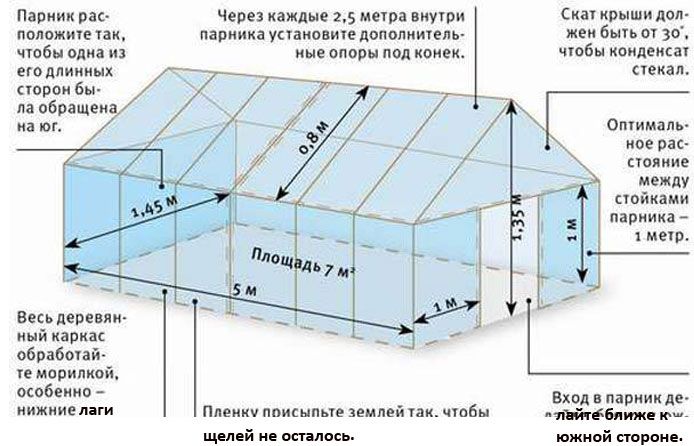
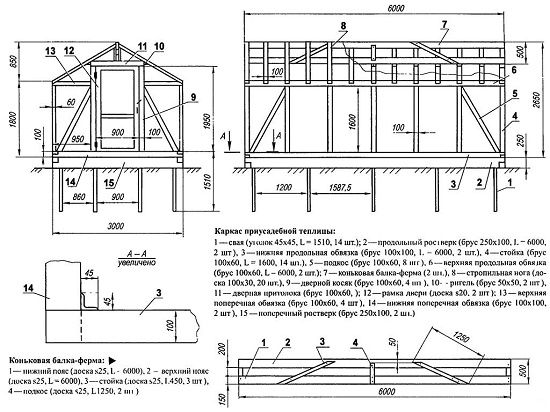
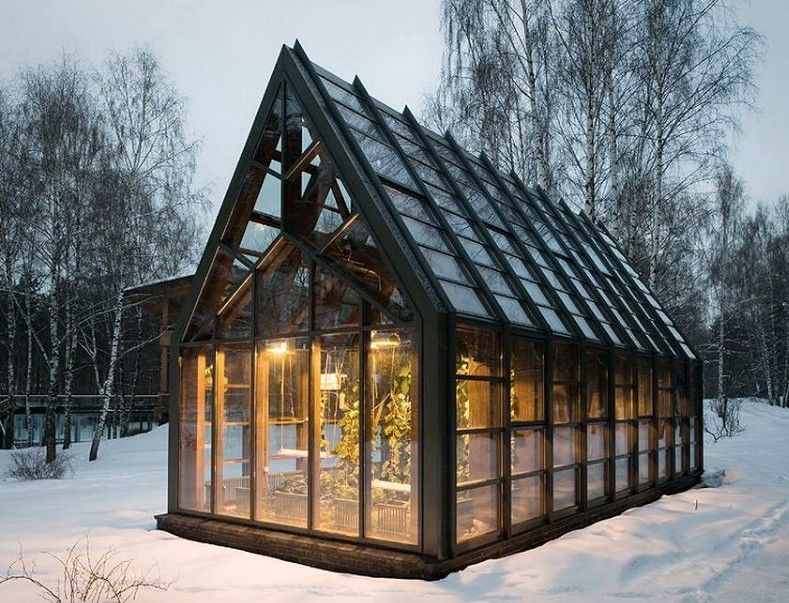
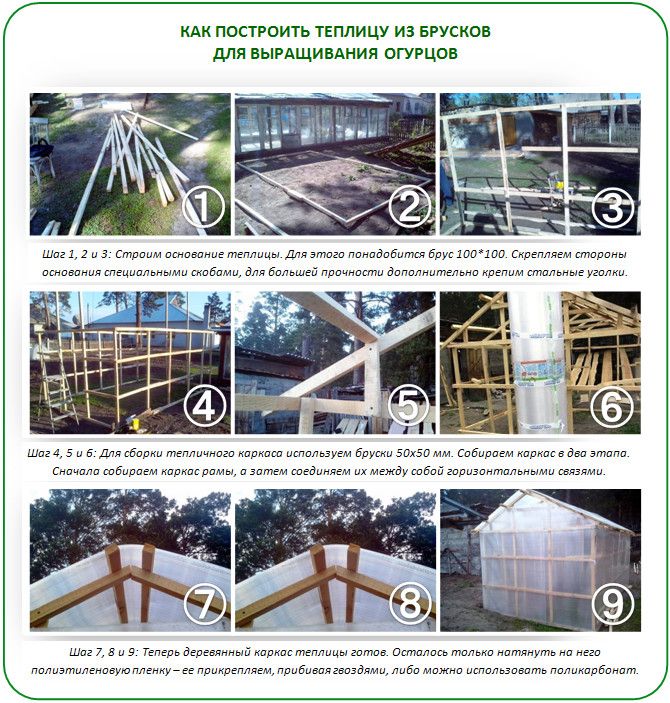
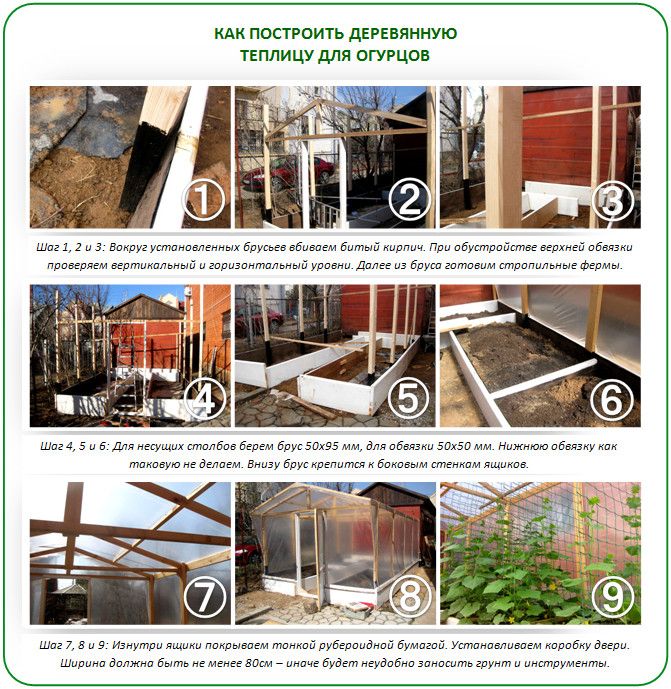
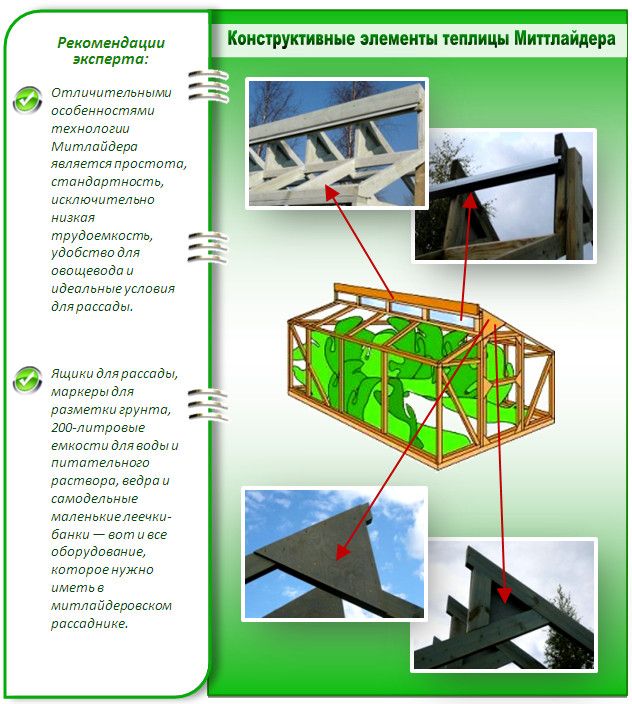
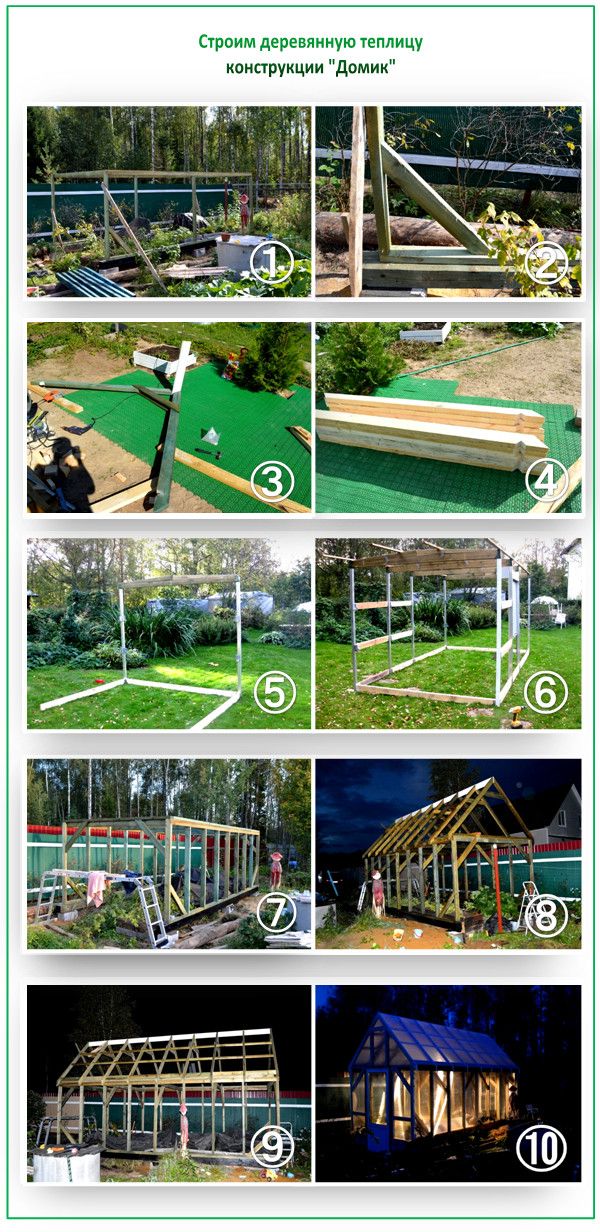
Greenhouse in the shape of a house
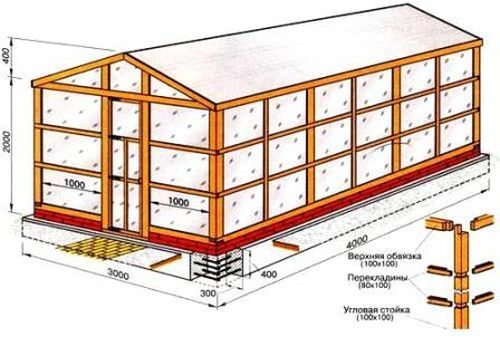
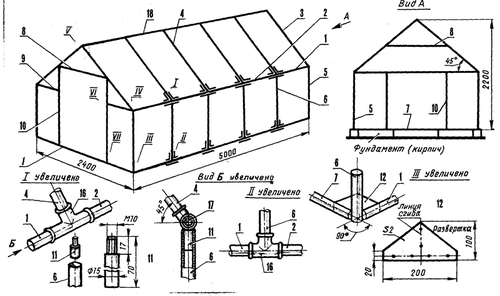
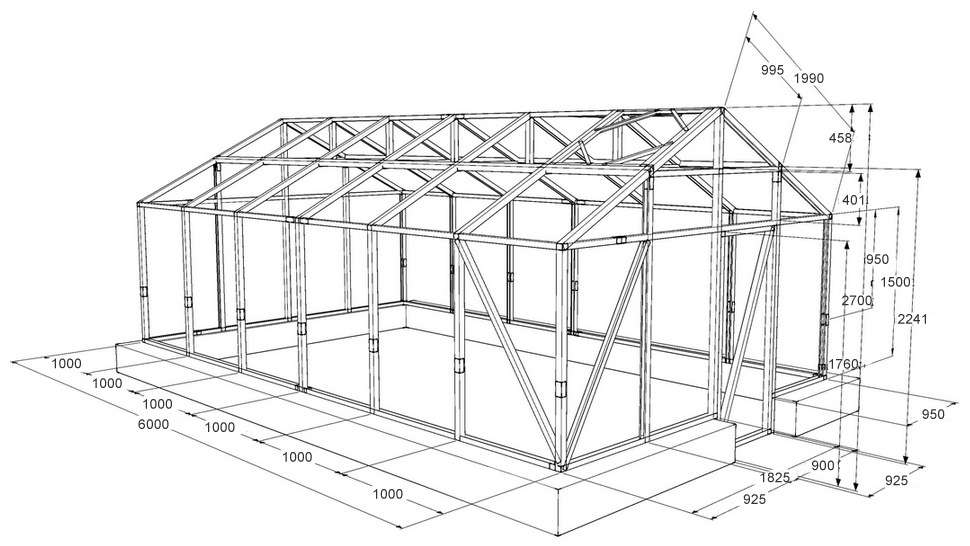
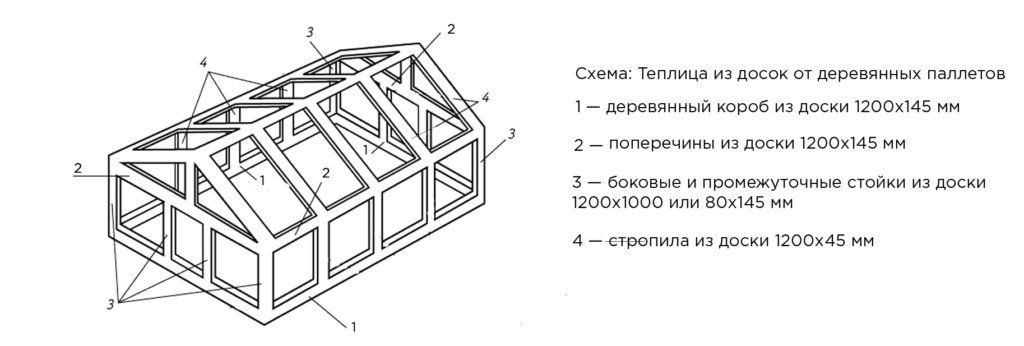
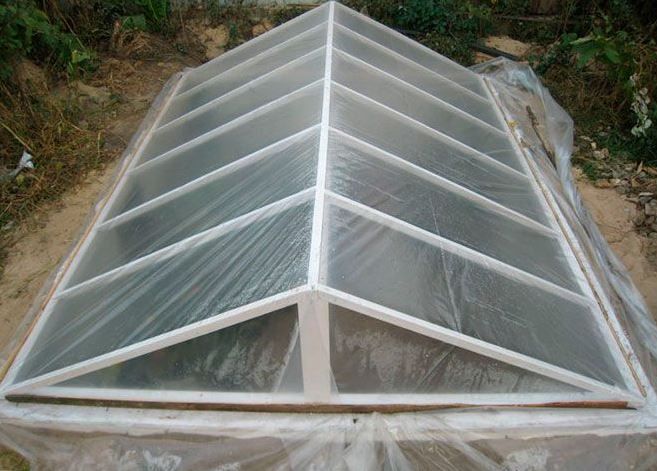
Another very popular roof shape is the gable roof.
Greenhouse house plans
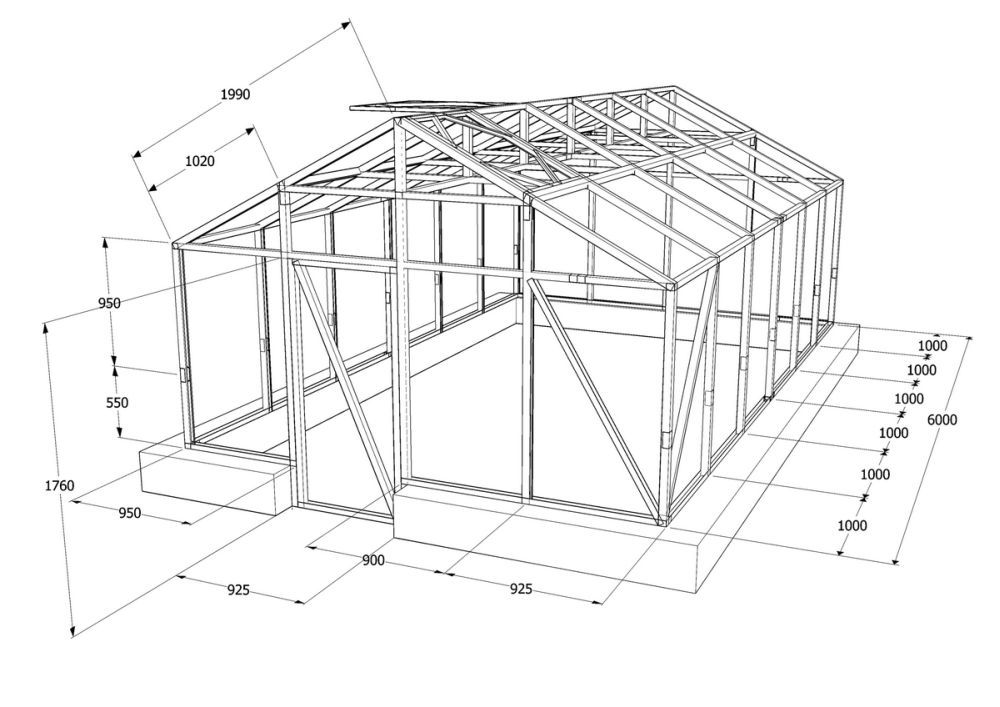
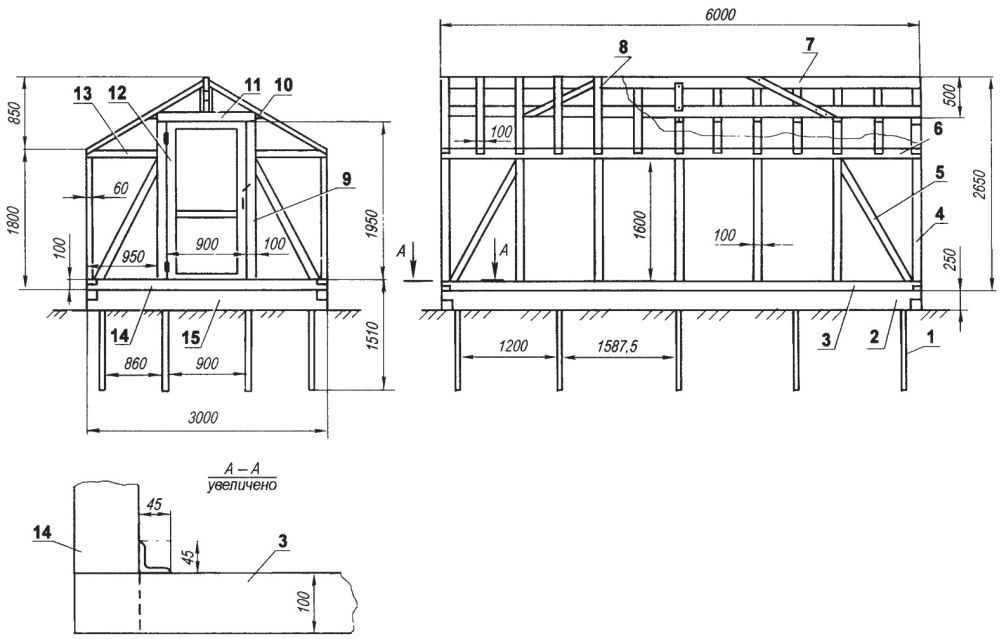
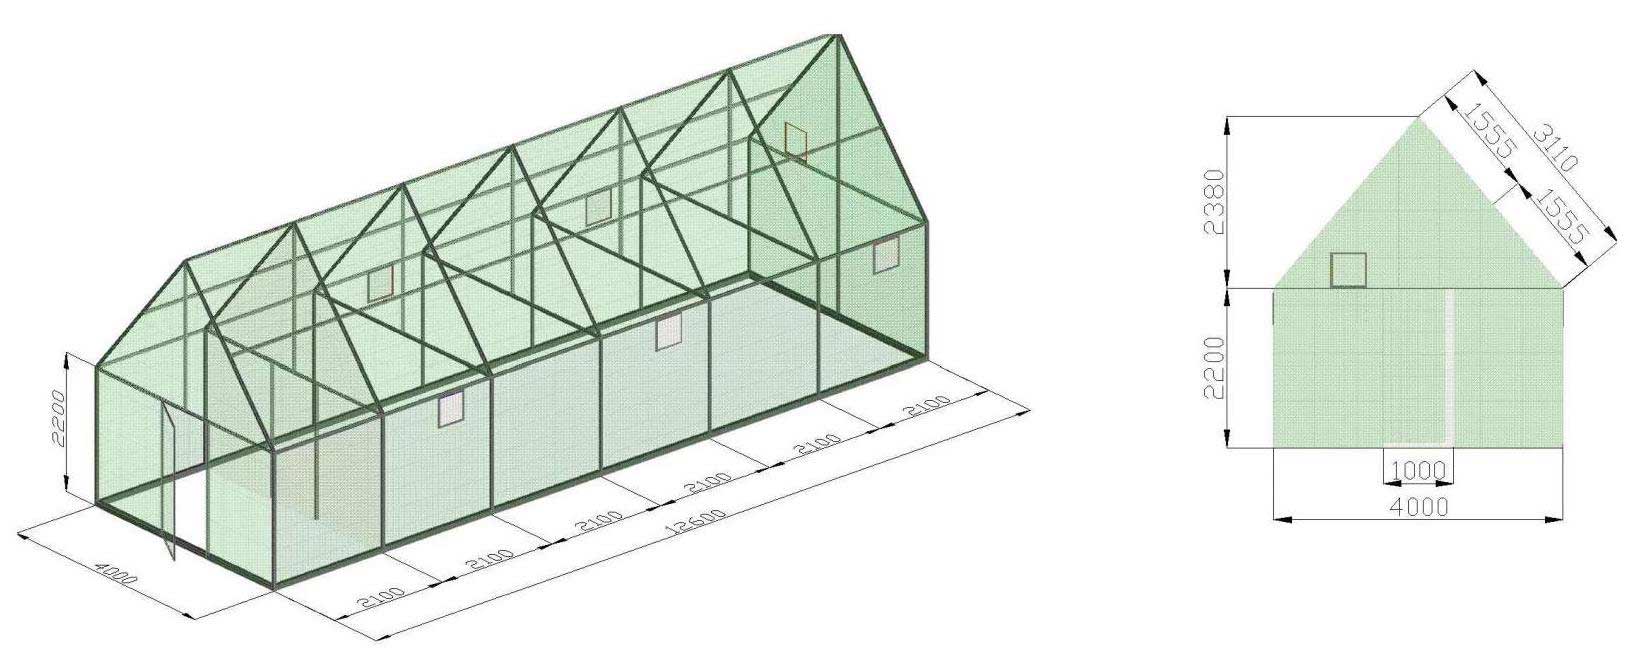
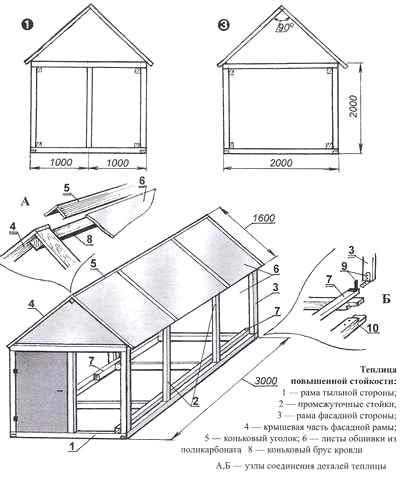
Foundation
The need for a foundation depends on the weight of the frame. If it's lightweight, a permanent foundation is not used, but rather:
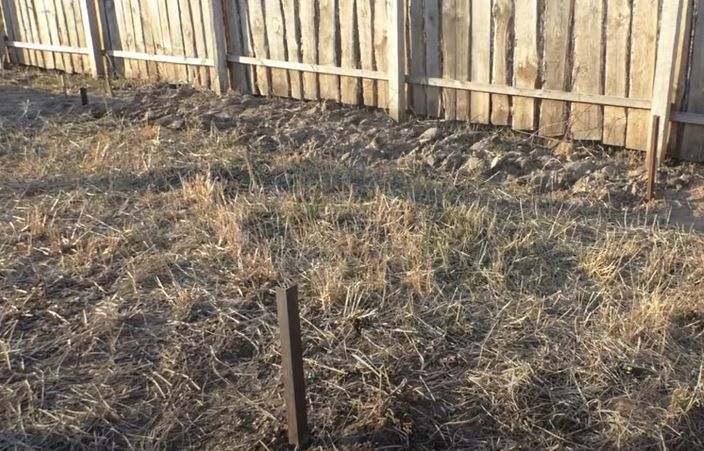
- 4x4 cm steel corners driven into the ground – holes are pre-drilled to attach the frame posts, painted or filled with bitumen.
- Wooden beams – the structure usually has dimensions of 3x6 m.
Frame
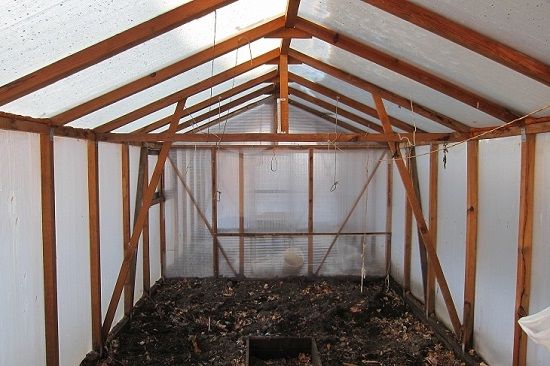
- The beams are used to secure the bottom frame, side panels, and roof. The corners are reinforced with additional sections. Sharp parts are rounded and wrapped in soft material.
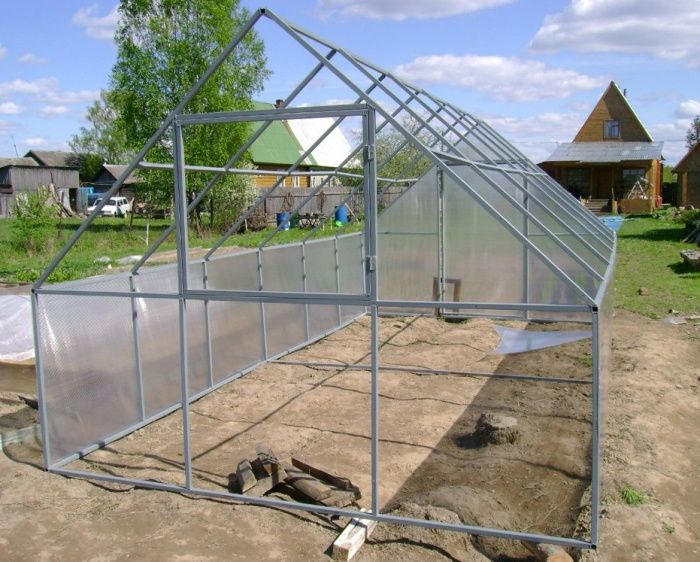
- Galvanized profile - assembled from ribs, tied together.
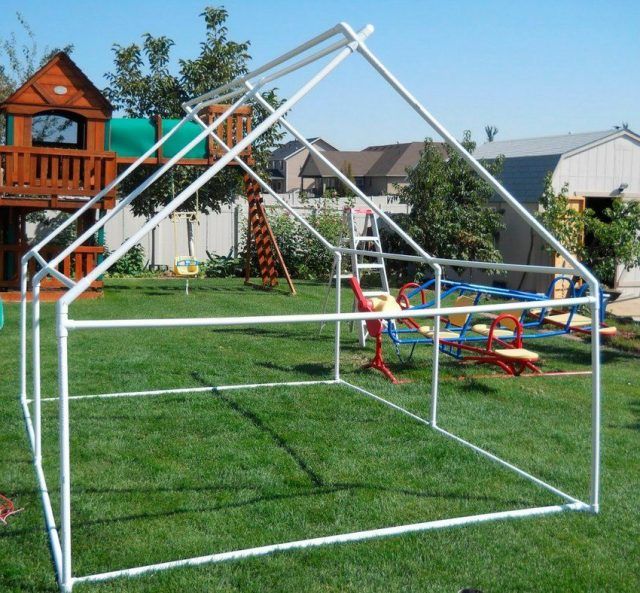
- Plastic polypropylene pipe, connected with fittings and adapters.
- Plasterboard profile – does not require additional processing, bends easily.
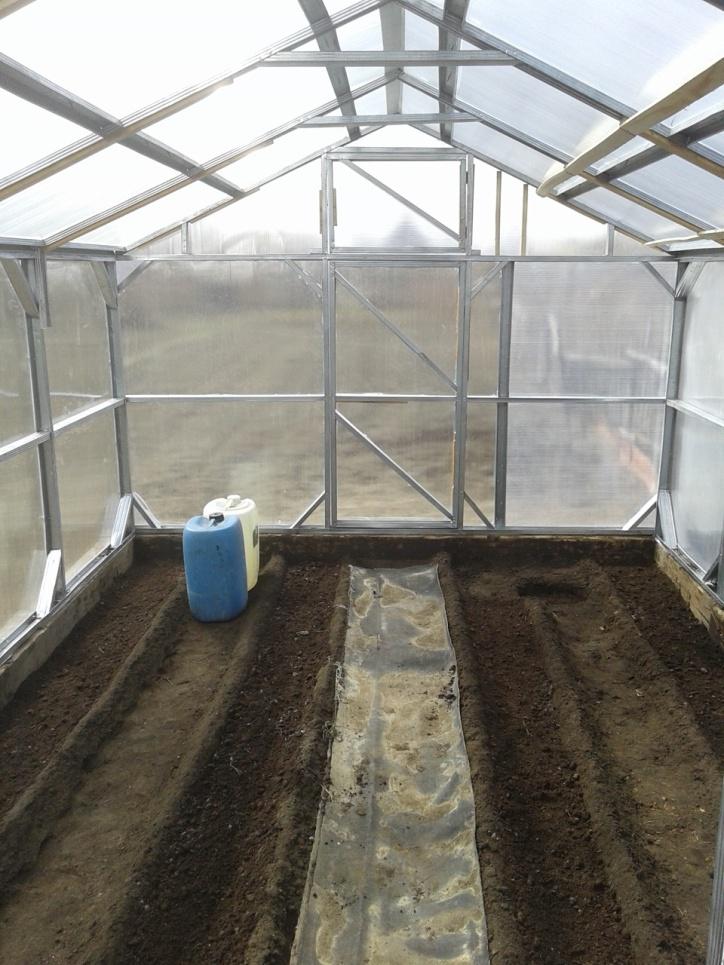
Covering material
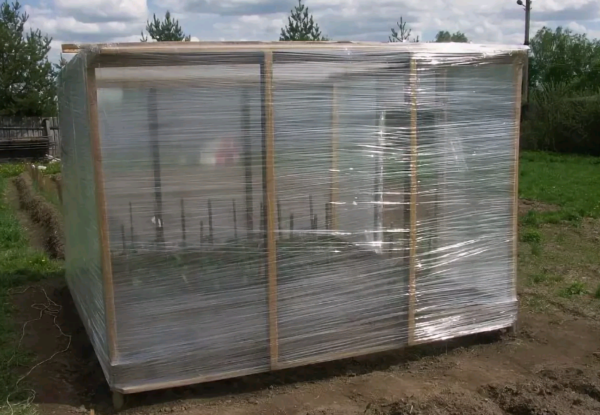
- Stretch film (like cling film, but thicker) – wrap the frame in several overlapping layers. Start with the gables, then the rest. Work from the bottom up to prevent rain from getting inside.
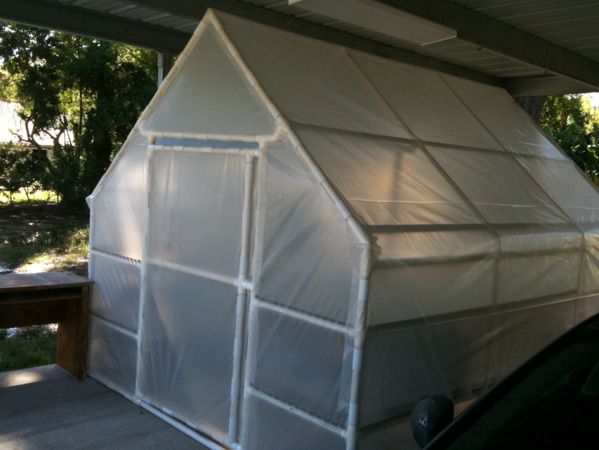
- Film or agrofibre - wrapped or glued.
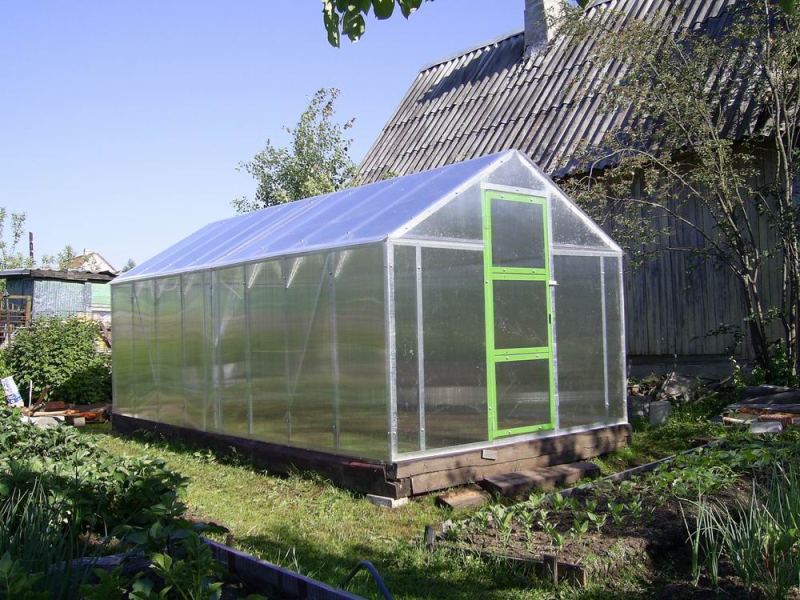
- Polycarbonate – fastened with special self-tapping screws with thermal washers.
- Glass, as a rule, for homemade greenhouses double-glazed windows are used.
Additional information
The door is hinged in the side wall. The film is wrapped, covered with glazing beads or strips, and cut. The window is made in the same way as the door. A heavy frame made of frames or metal will require a foundation. A strip foundation is usually used.
Step-by-step instructions for making a greenhouse house
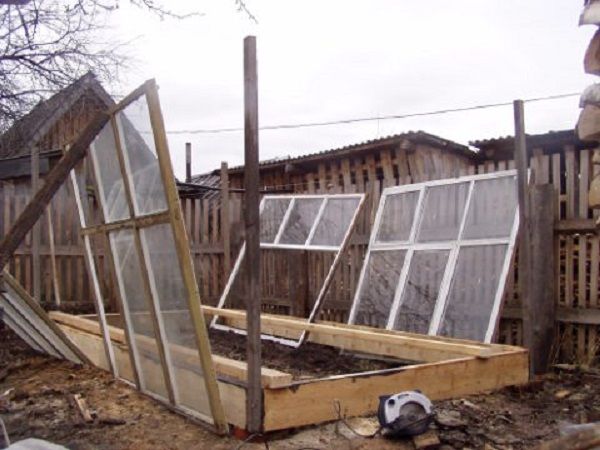
- Old window frames (almost a free option) – their size determines the size of the greenhouse. They are attached to the frame or posts. The cracks are caulked or boarded up.
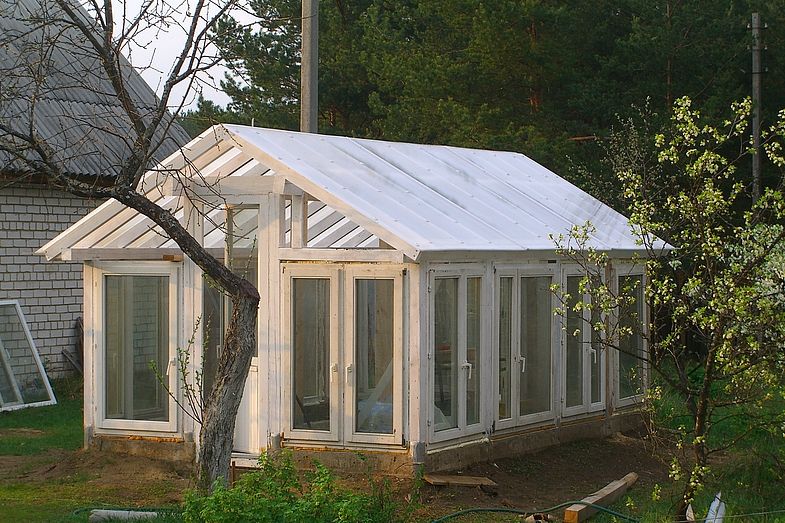
- The door is made using one of the frames or a balcony door. Ventilation vents will provide ventilation. It's better to stretch a film over the roof, as it reduces the weight of the structure. If you use frames for the roof as well, you'll need to reinforce the structure with supports.
- The metal frame is attached to bolts installed in the foundation before pouring. The frame is made from channel or double angle steel, to which posts (1.6-1.8 m) are welded and fastened together with sections. The roof is connected to the posts and, at the top, to the beam. A window is installed in the roof or opposite the door.
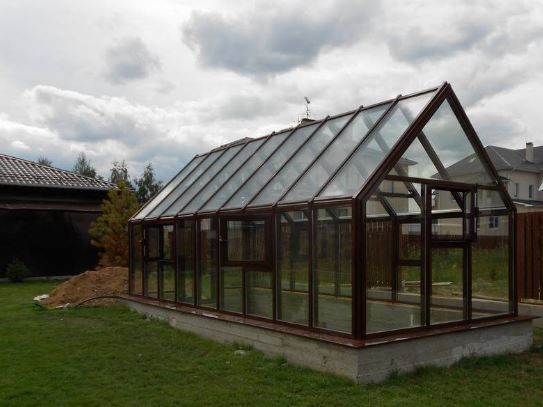
Glass is inserted into frames formed by double corners. Double-glazed windows are used to improve thermal insulation.
A glass and metal structure is an expensive and labor-intensive option, but it's durable. Various types of greenhouses can be built by combining available materials.
Examples of creating greenhouse houses
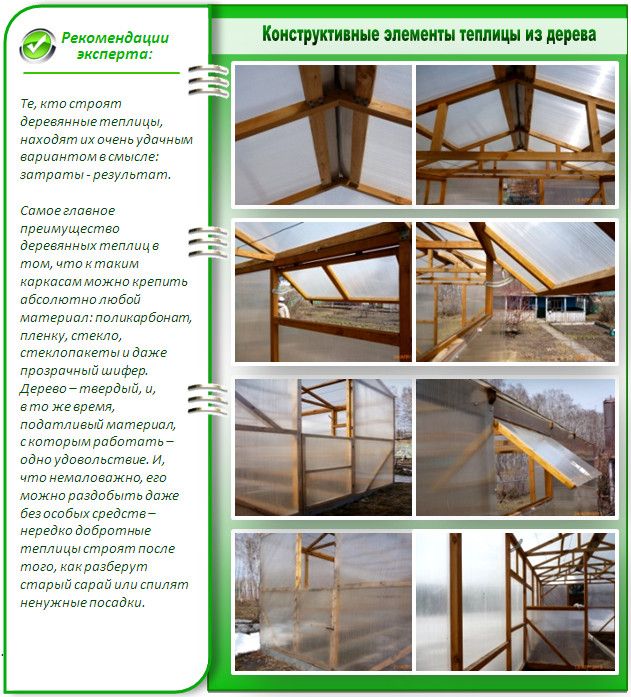
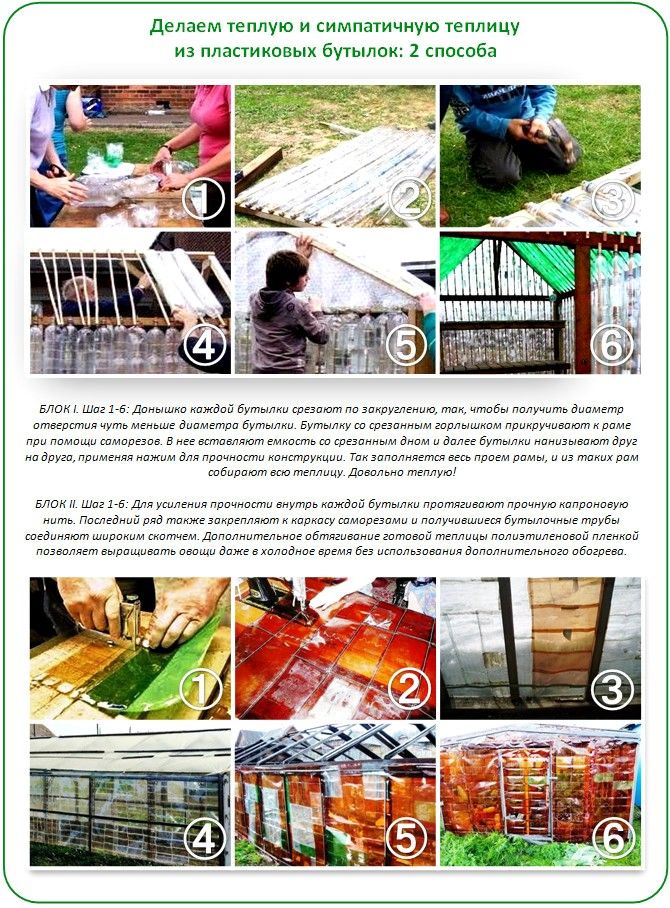
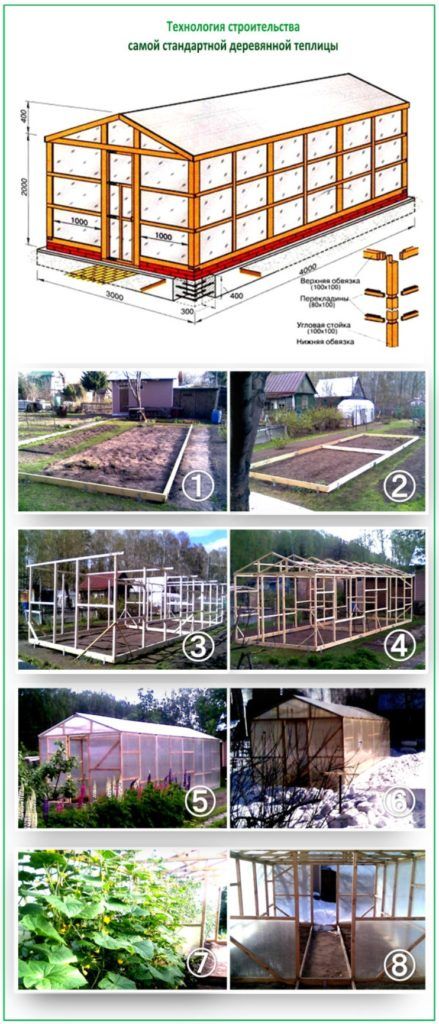
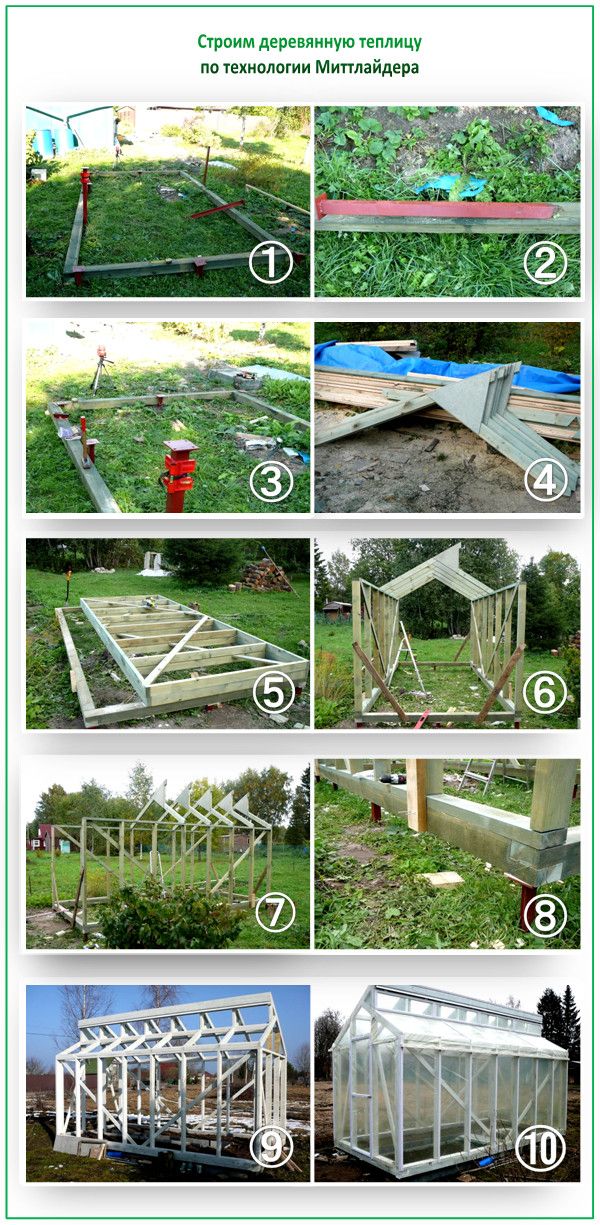
Dome greenhouse
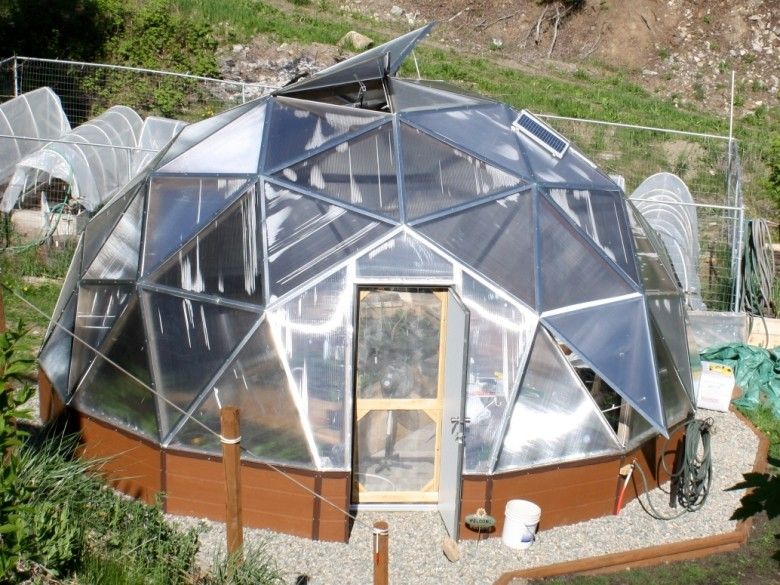
It consists of triangles and hexagons. A foundation is required. This is a rather complex project – difficult assembly, high cost, and labor-intensive calculations.
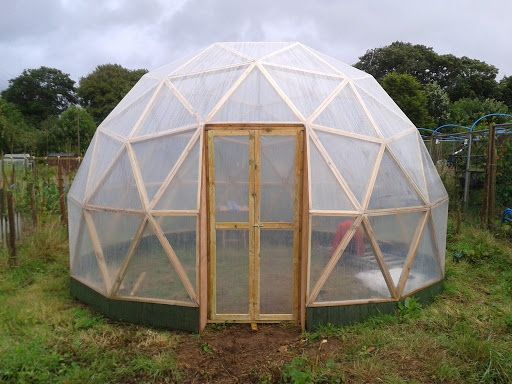
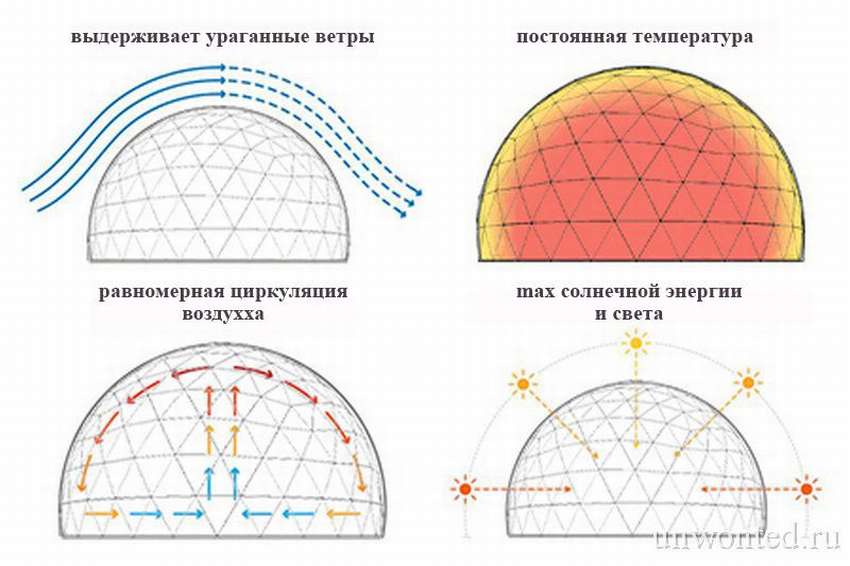
The advantage is durability + such a greenhouse lets light through well.
The frame is made of wood, profiles or pipes, covered with film, and glass or polycarbonate is inserted.
Dome greenhouse plans
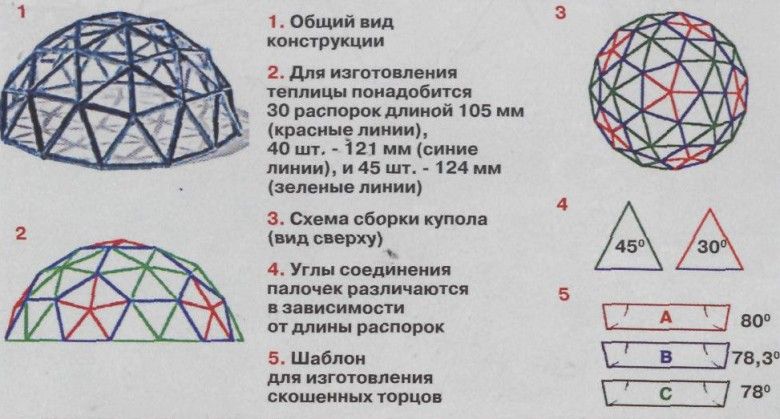
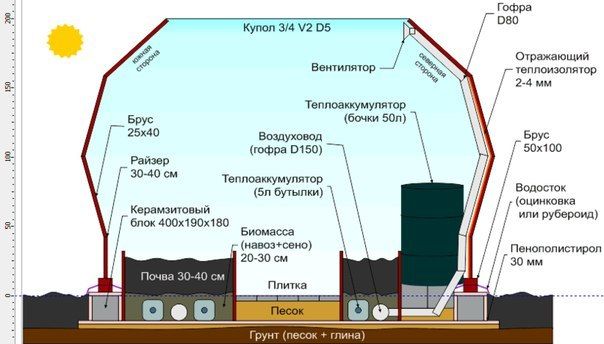
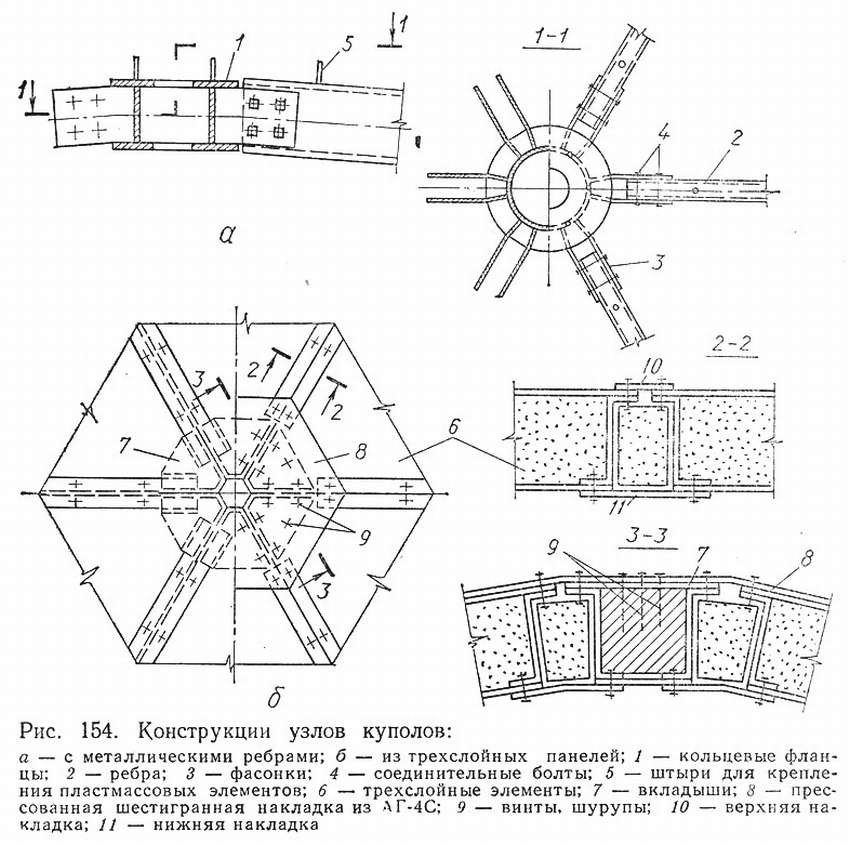
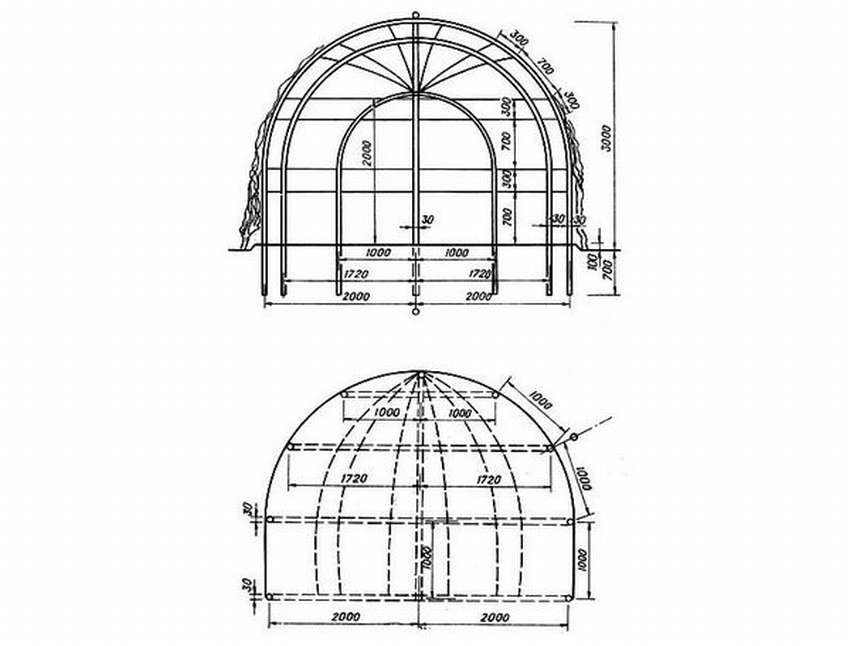
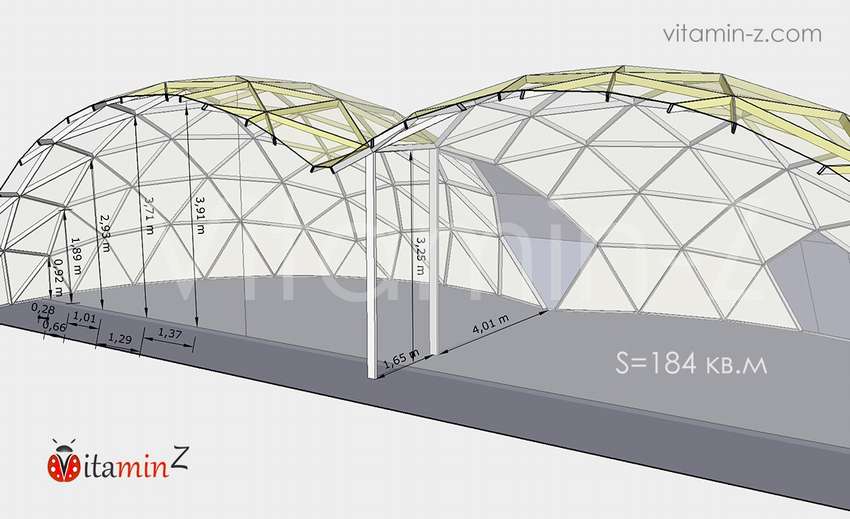
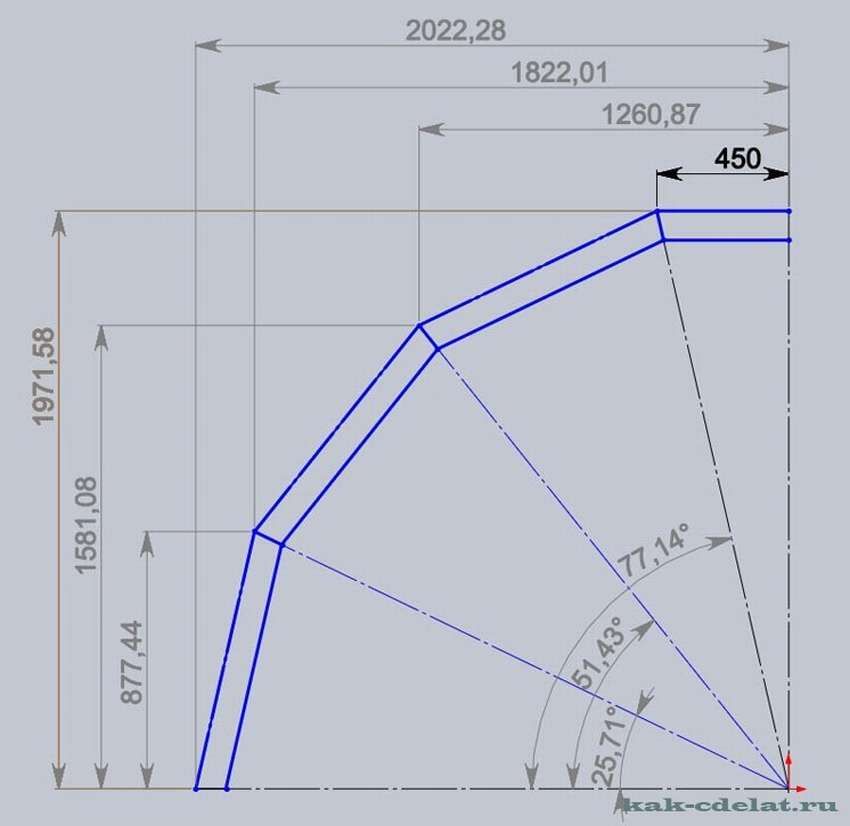
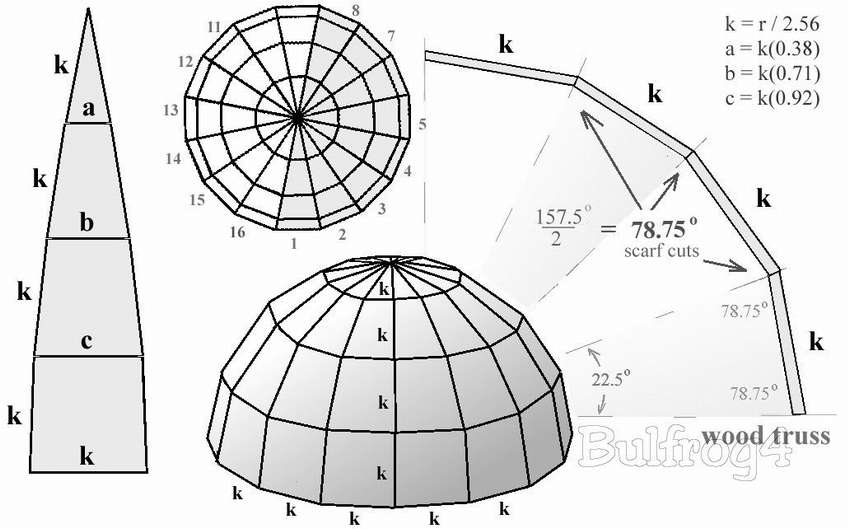
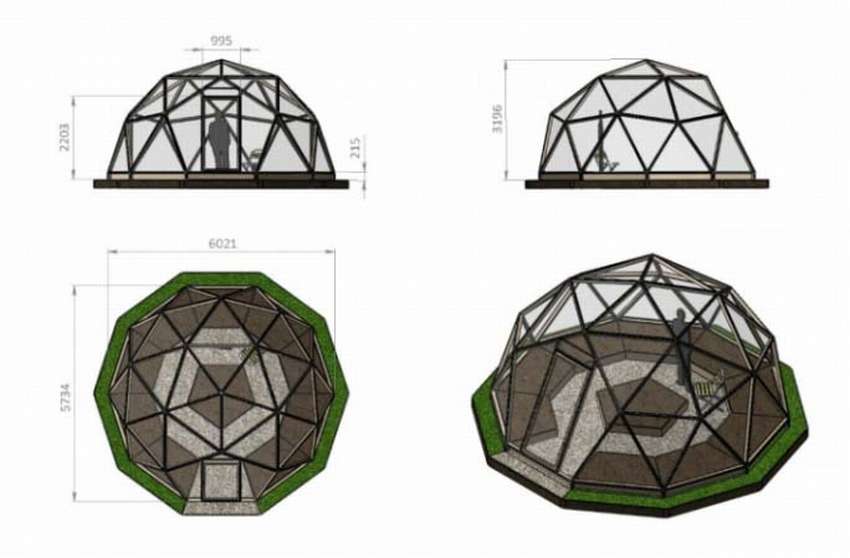
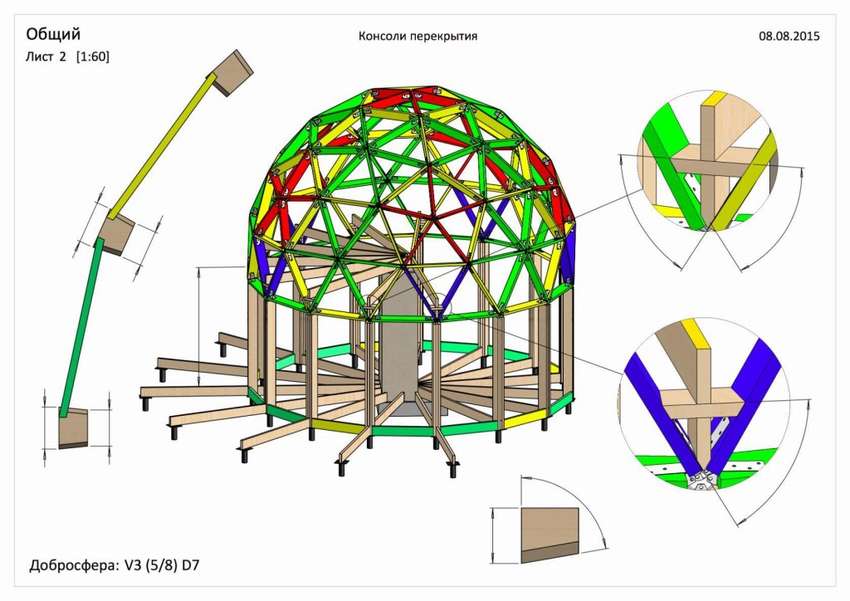
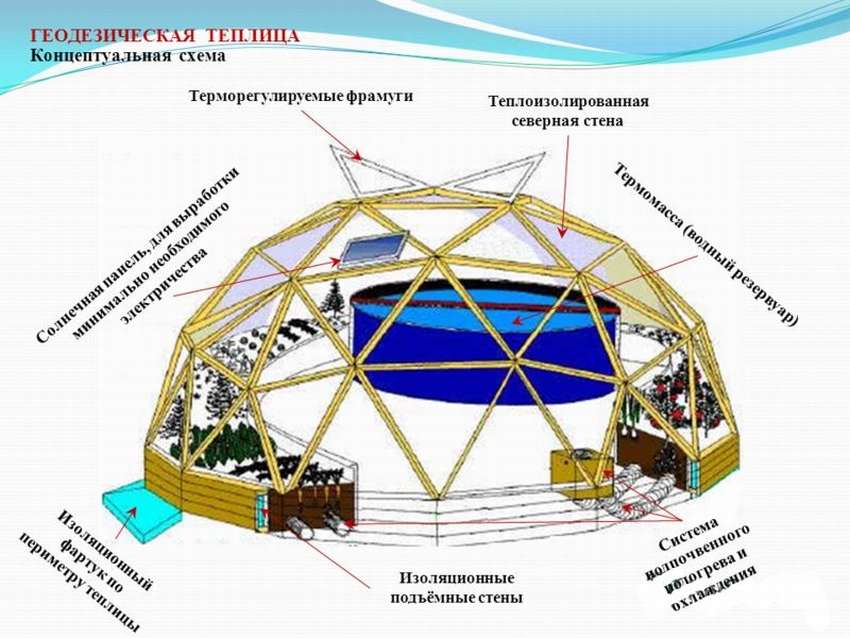
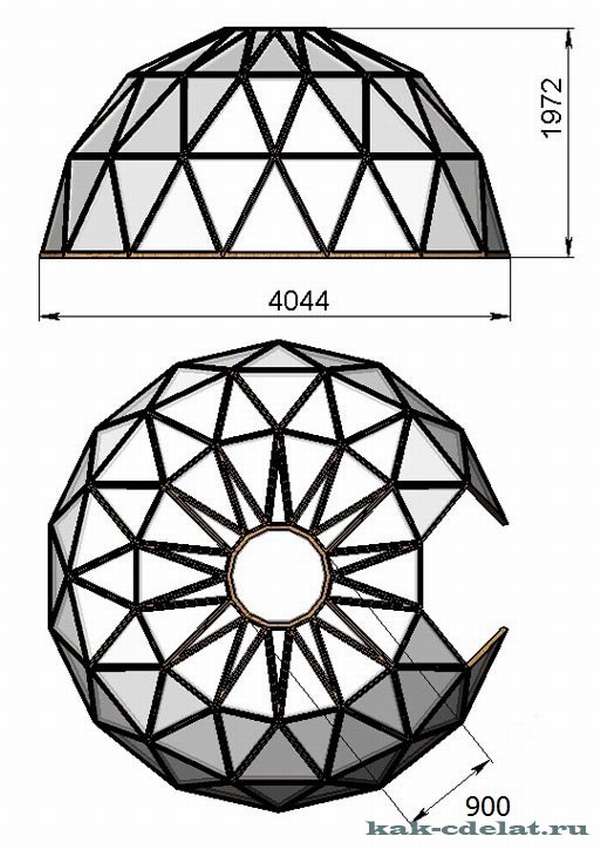
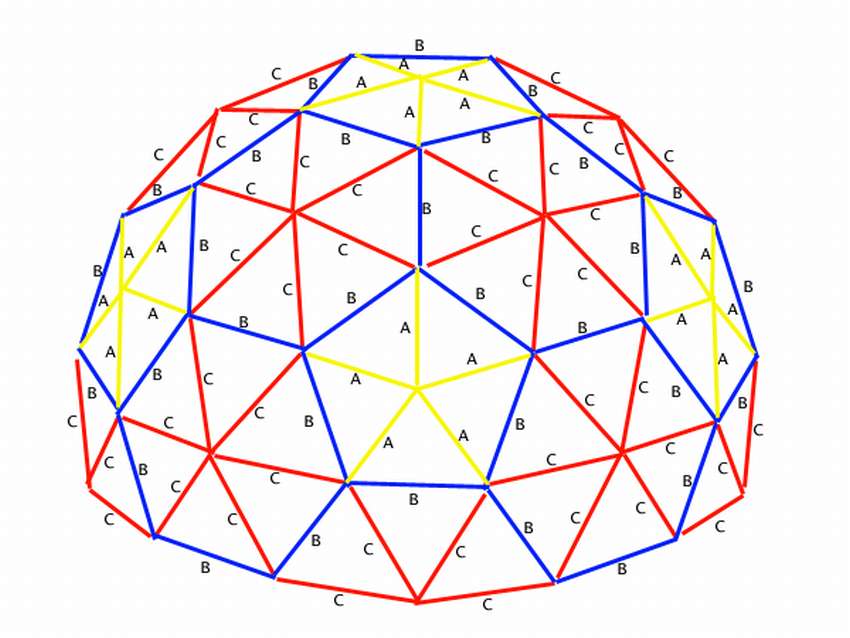
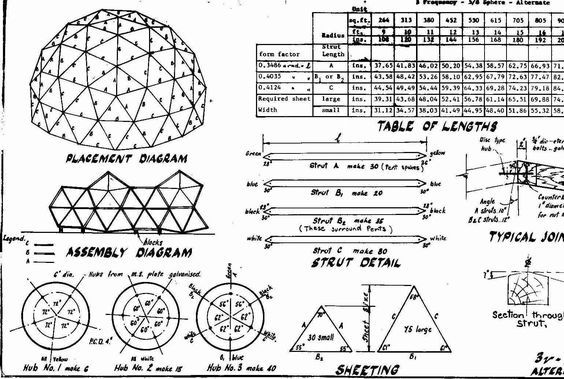
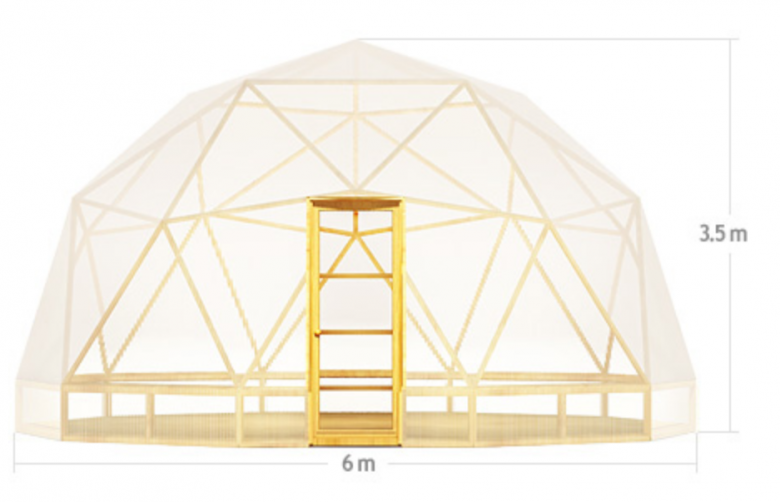
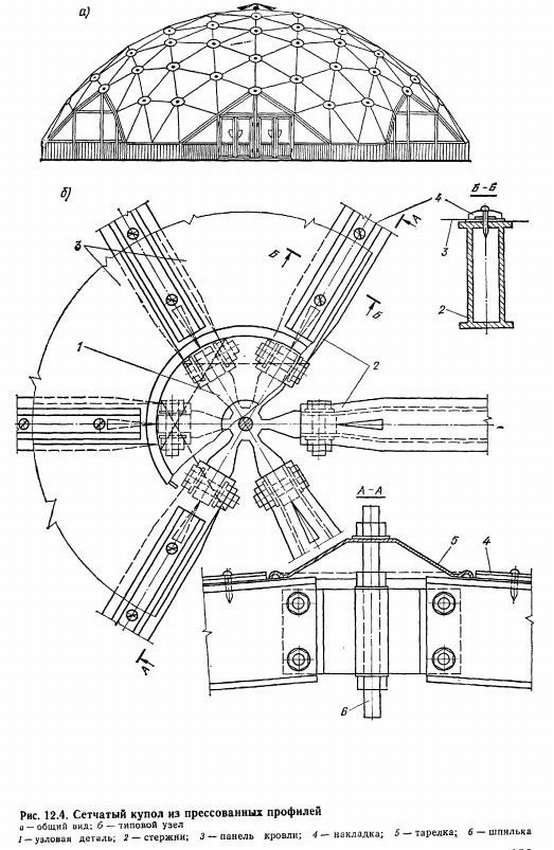
They are built using the following technology:
- prepare triangles;
- they are fastened with screws, forming a dome;
- assembly starts from the bottom - you will get the correct shape;
- the upper triangle is folding and provides ventilation;
- door – polygonal or regular shape;
- The film is stretched after assembly, which ensures an aesthetic appearance.
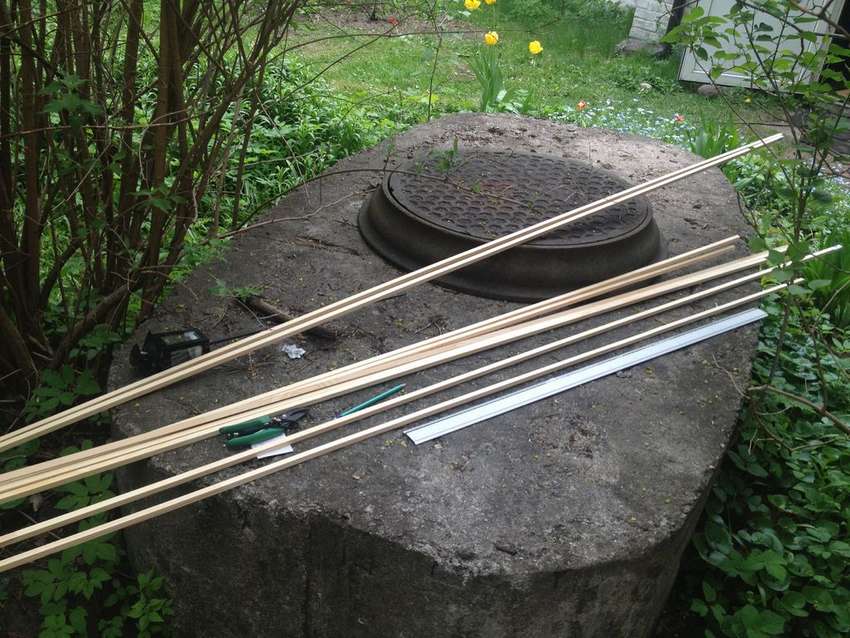
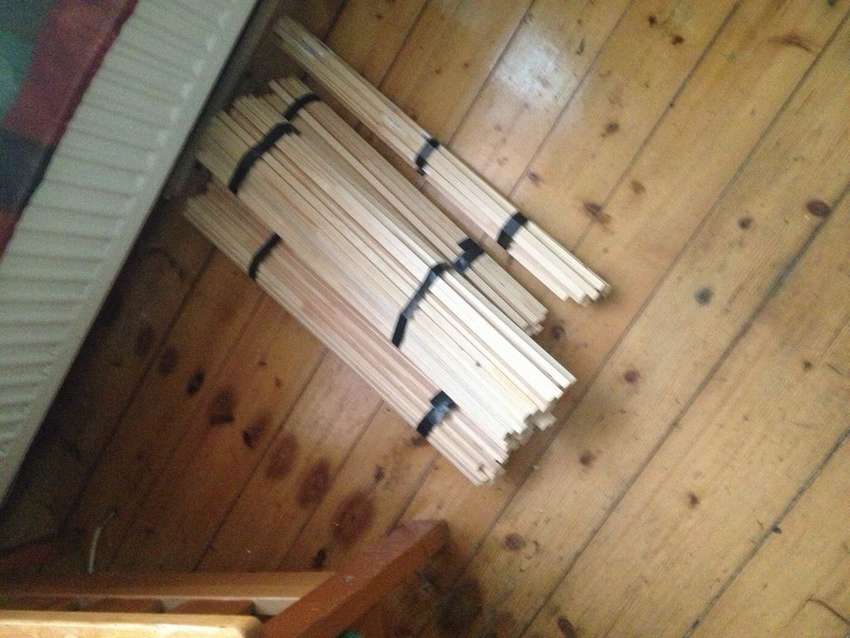
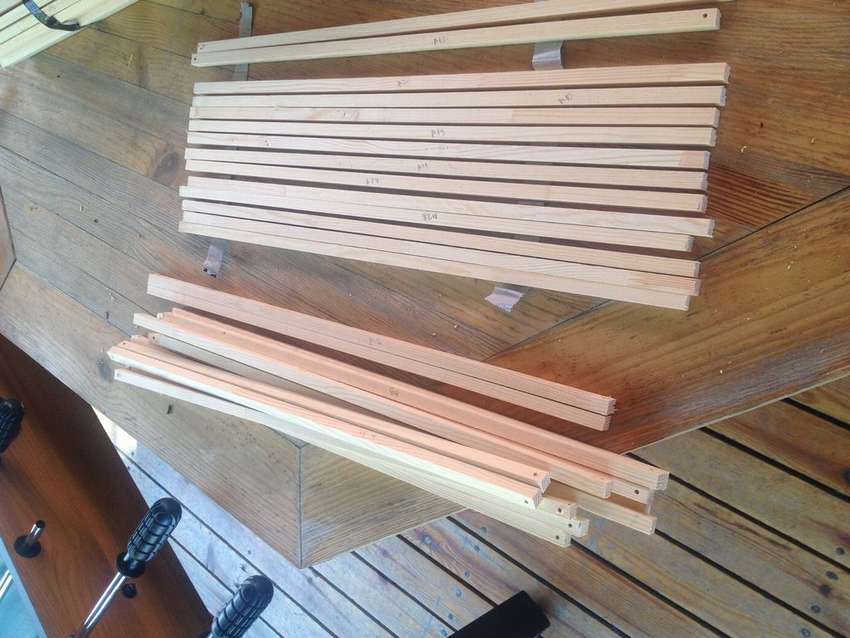
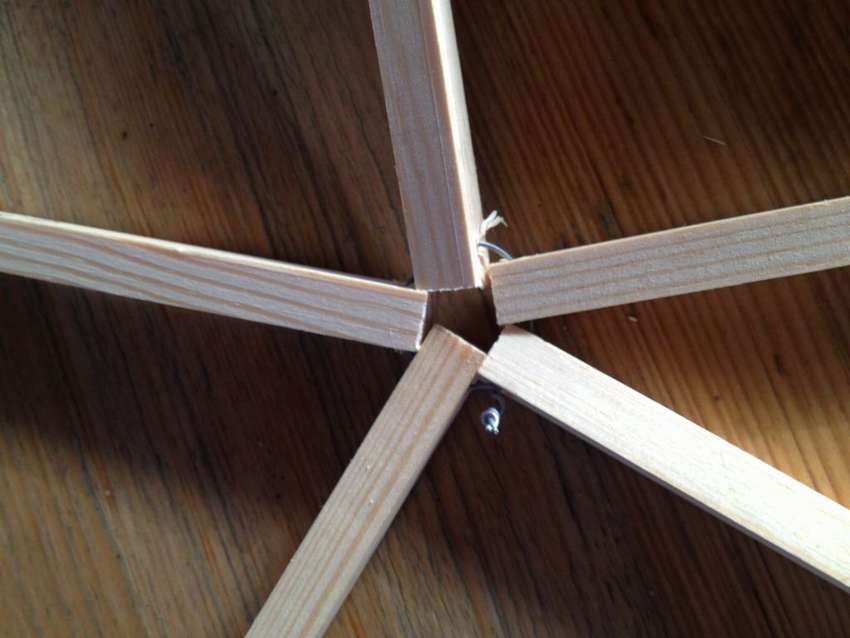
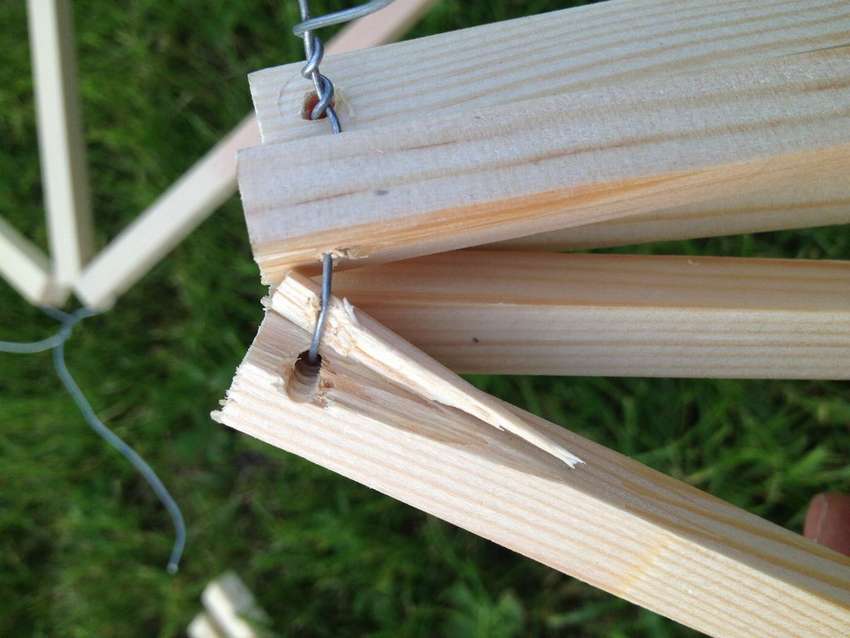
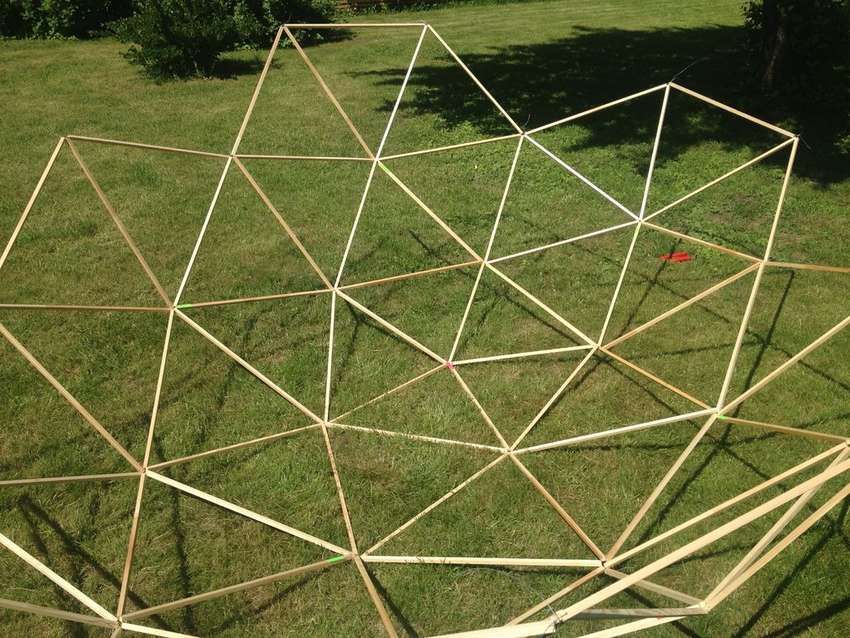
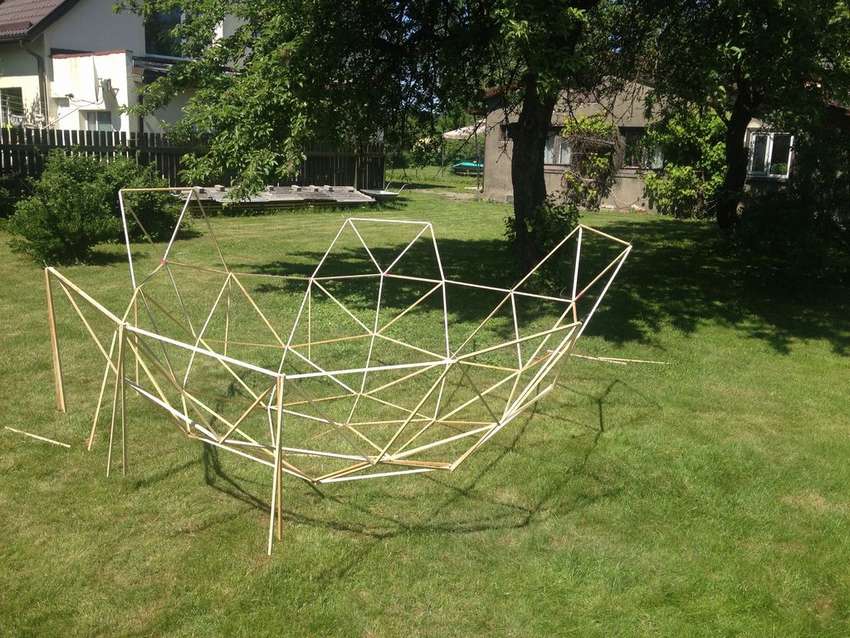
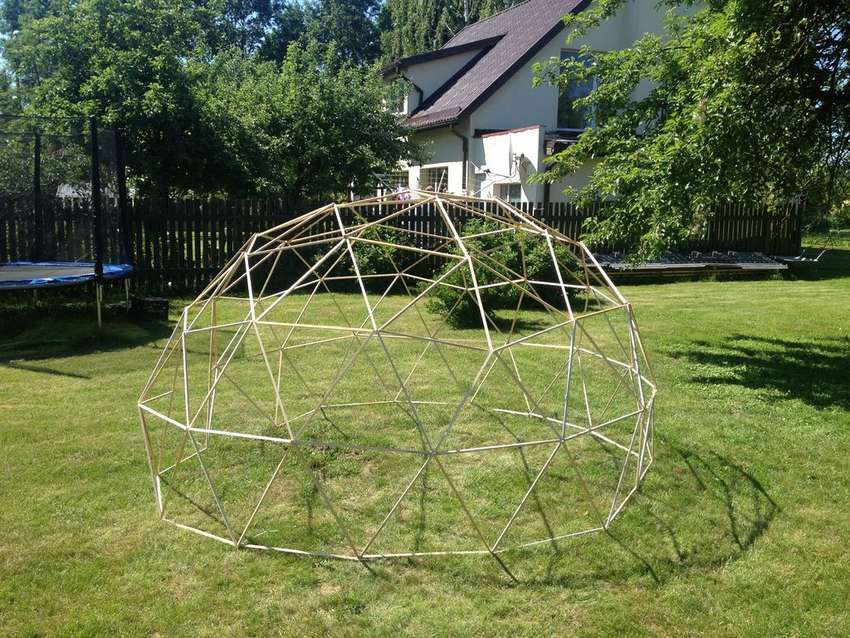
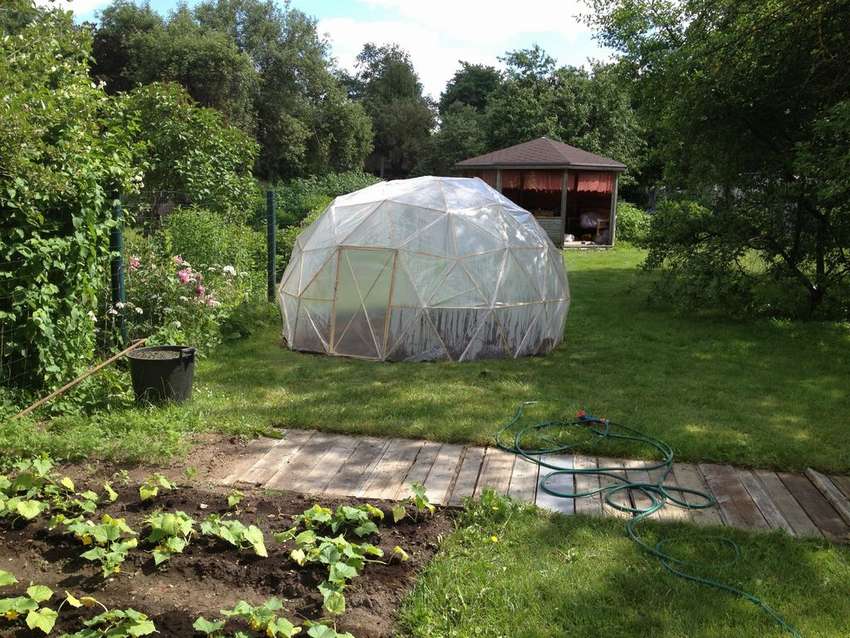
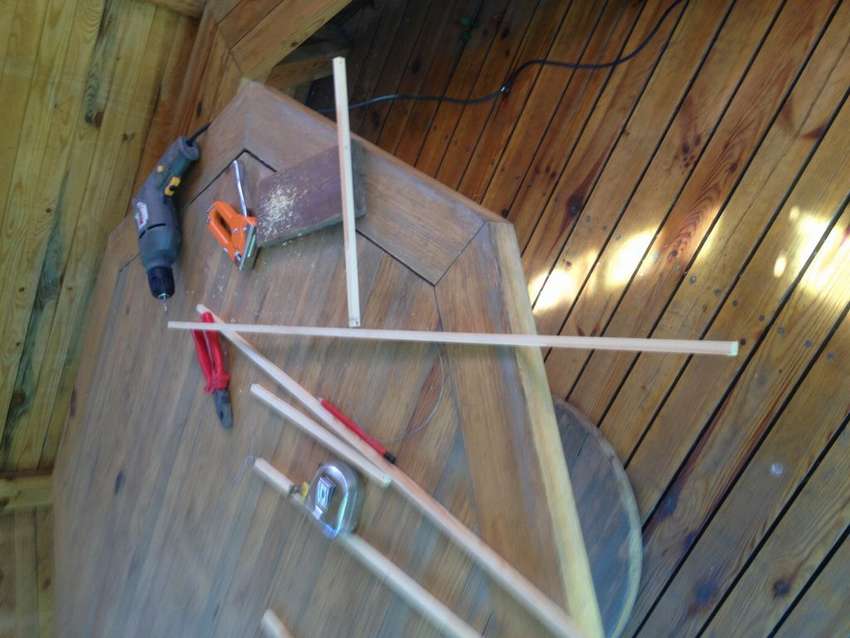
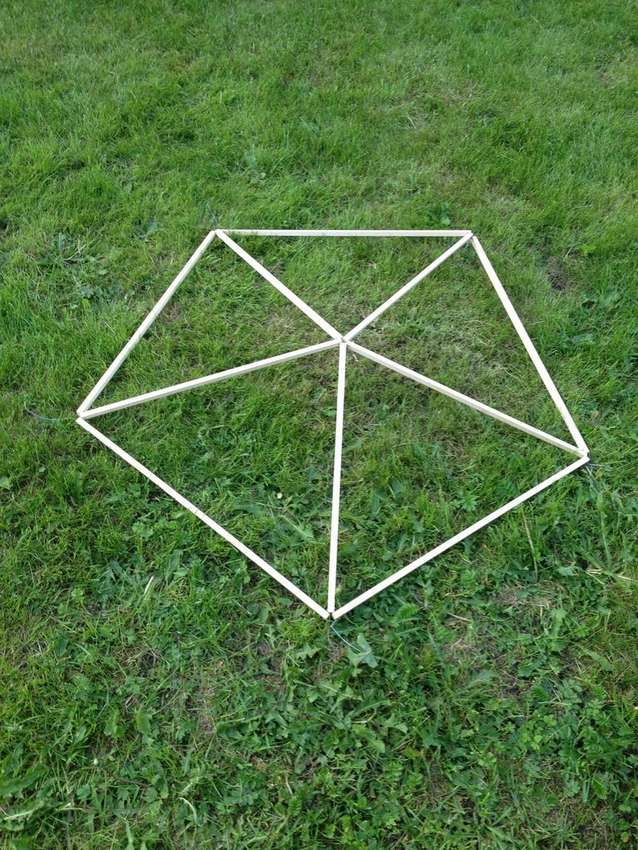
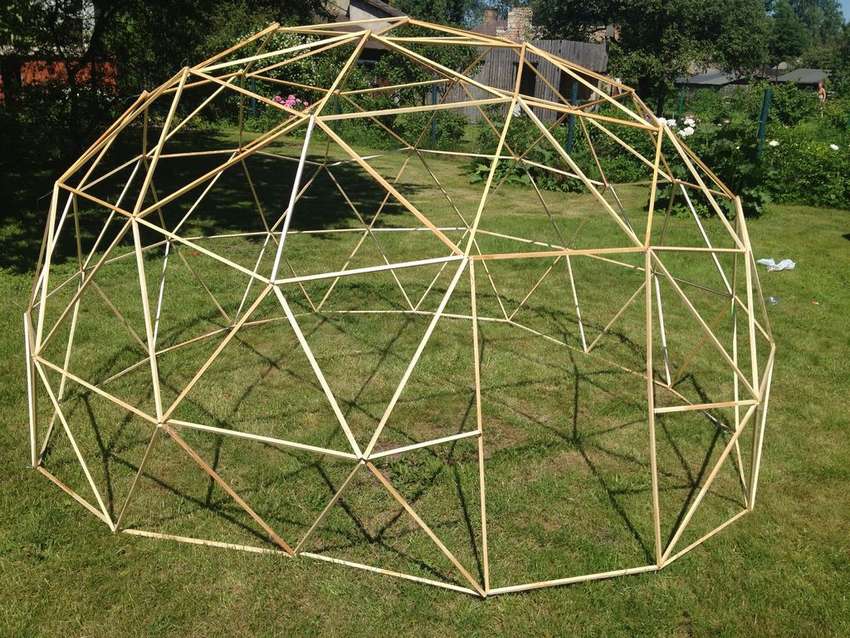
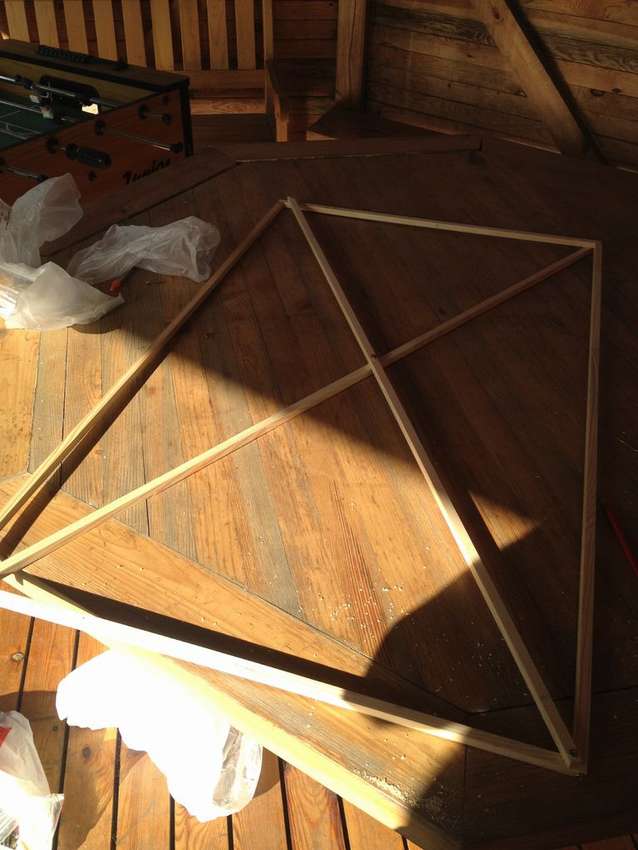
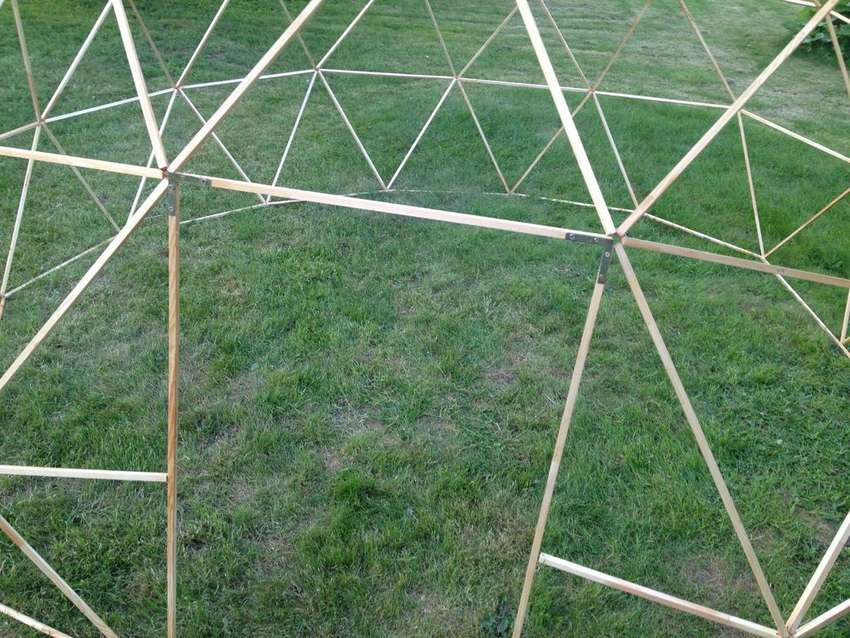
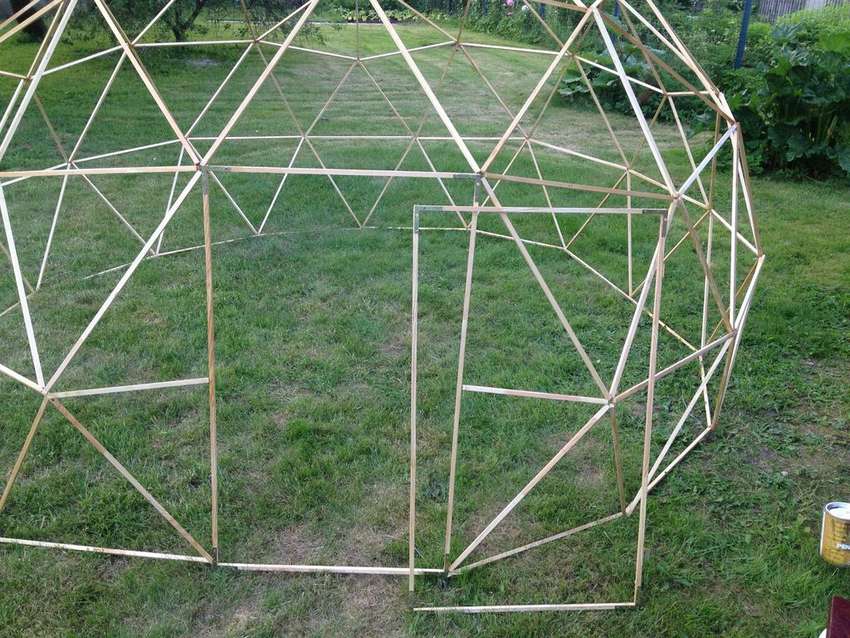
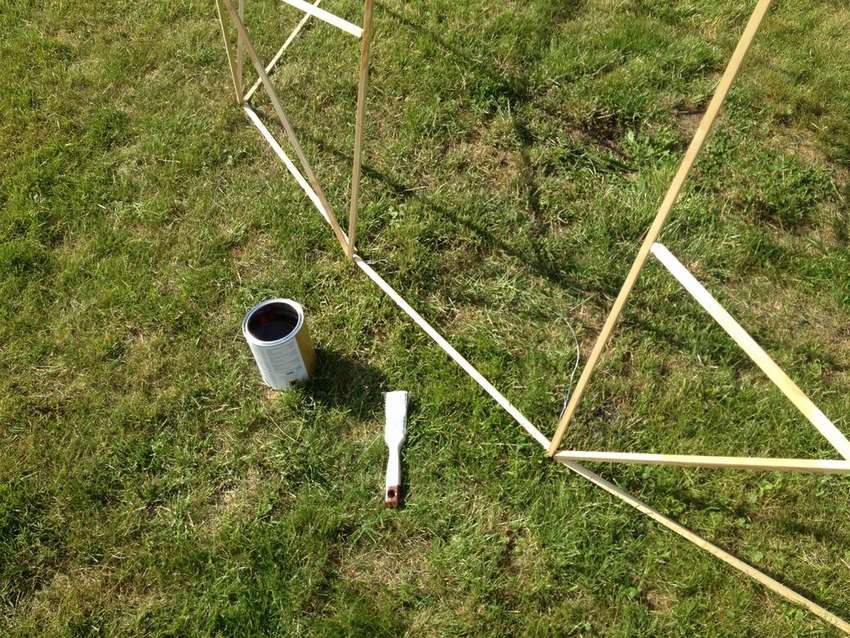
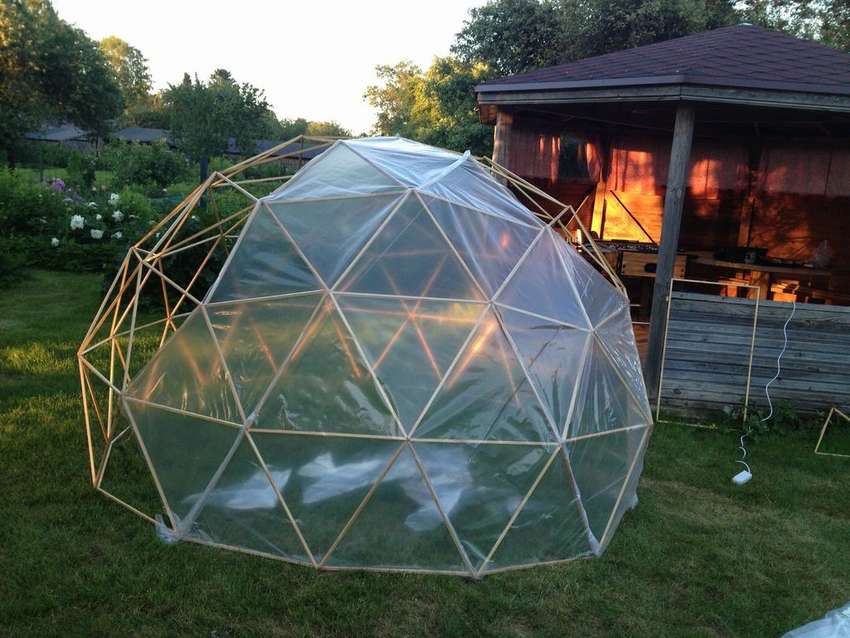
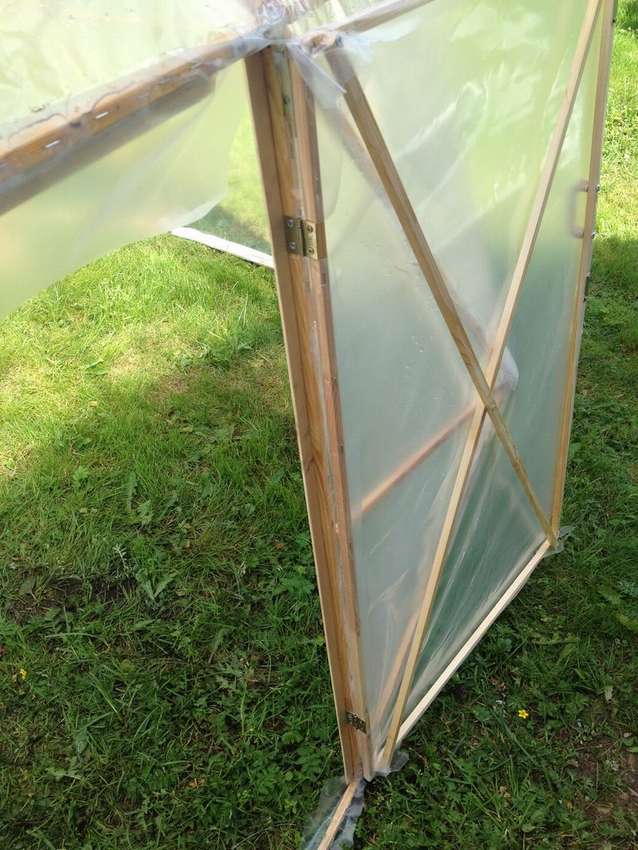
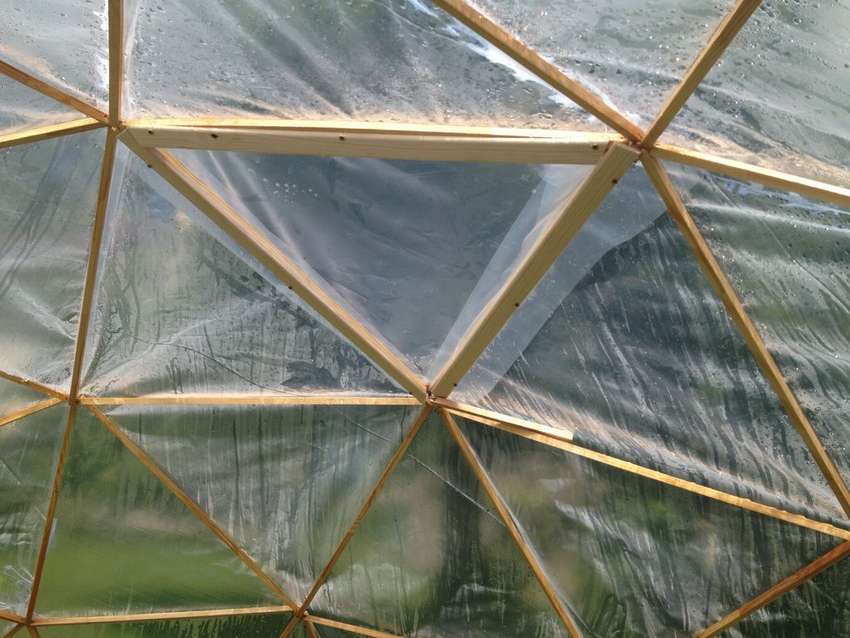
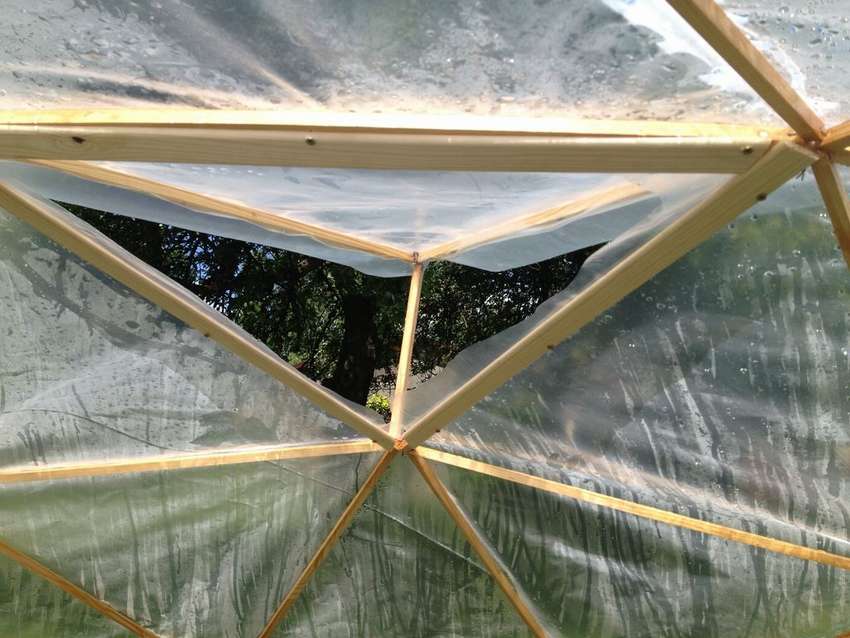
Examples of dome greenhouses
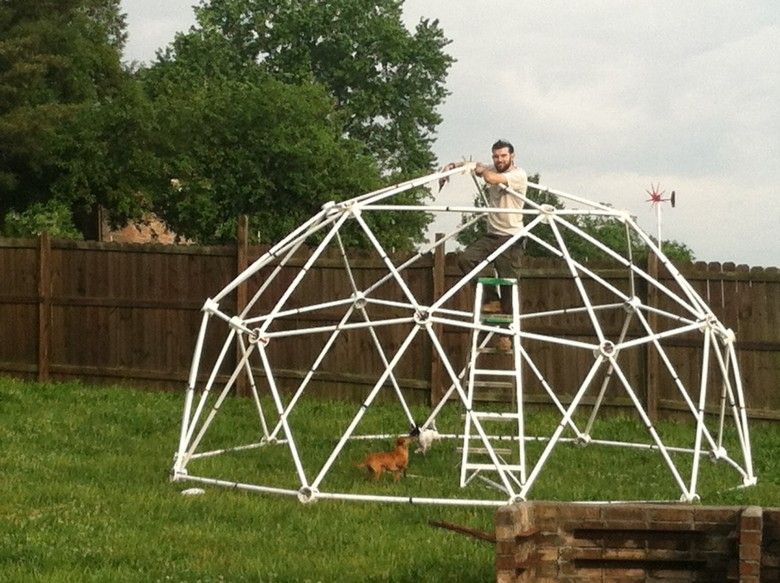
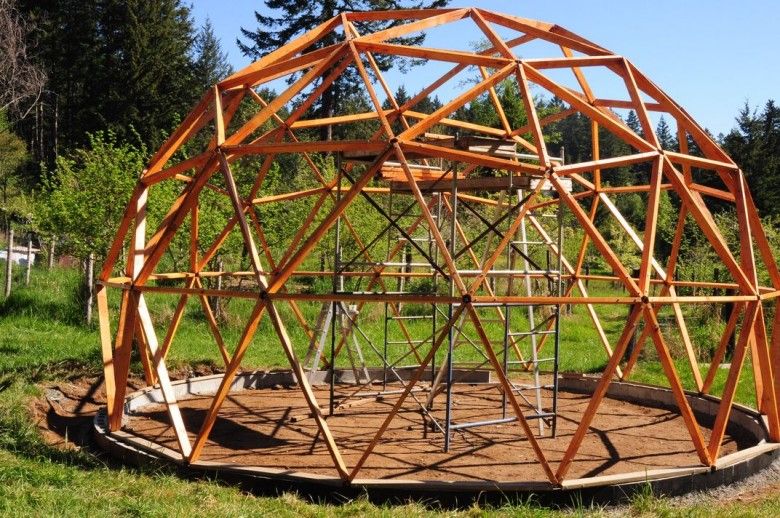
Thermos greenhouse
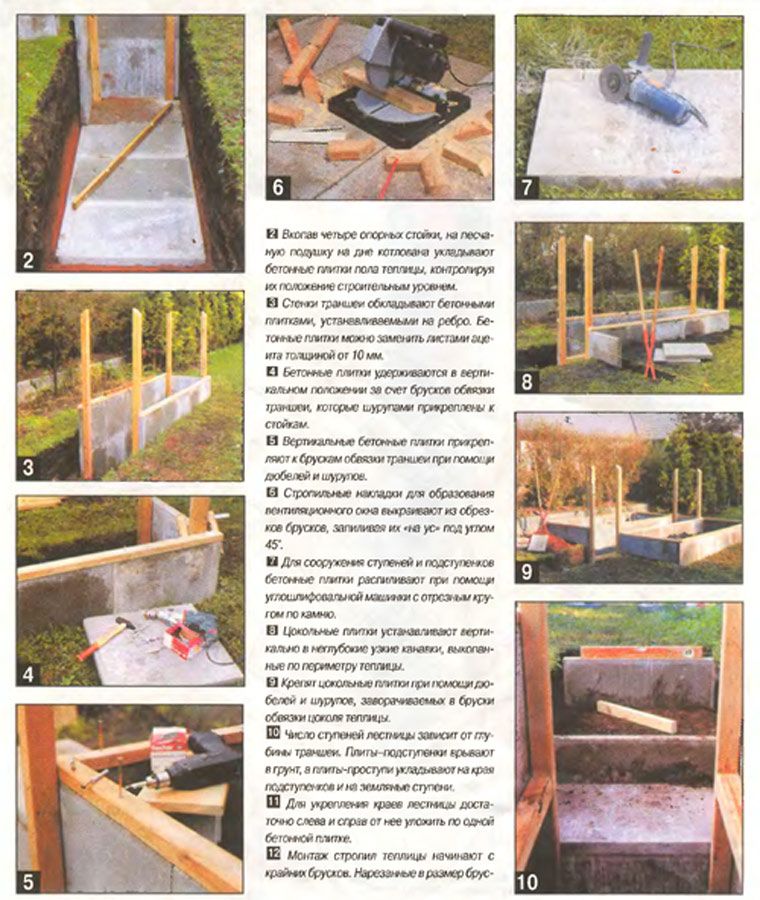
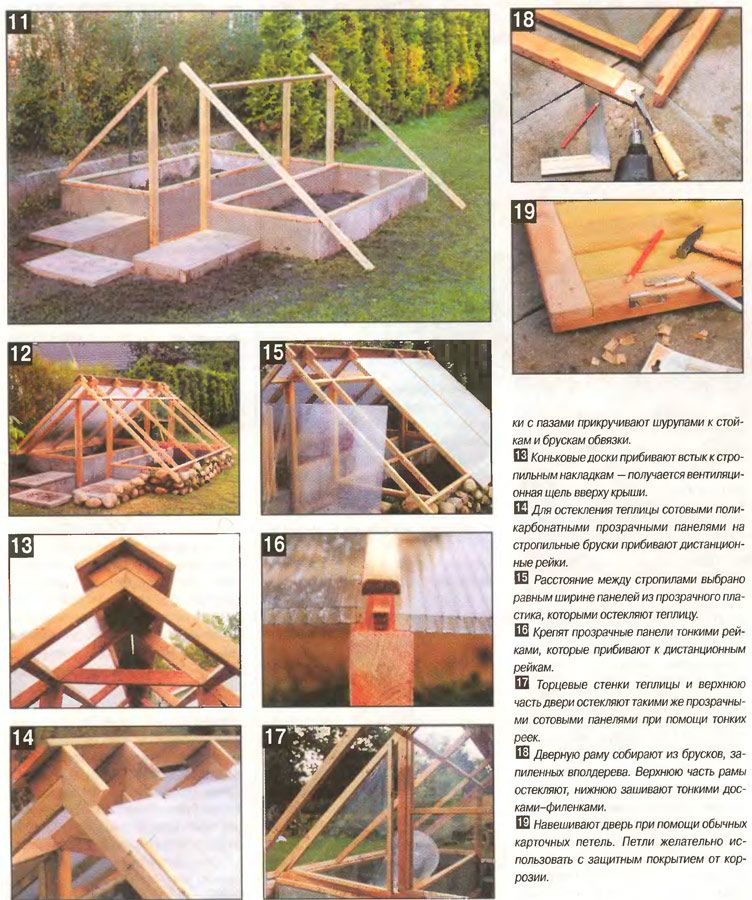
A thermos greenhouse (an underground structure) requires a deep pit—about 200 cm. Its overall height is 180 cm, and its width is 200-500 cm. A trench is dug along the bottom edge, and the walls are laid. A ramp for installing a ladder, air ducts, wall insulation, and waterproofing are included.
Estimate for a greenhouse with a wooden frame
The calculation is given for a wooden gable greenhouse with a width of 3 m, a length of 6 m, a wall height of 1.6 m, and a ridge height of 2.45 m.
Estimate for the frame
| Material | How much is needed? | Price |
|
Edged planed board for frame and roof 70 x 50 mm |
102 m |
≈ 80 rubles per linear meter. Total ≈ 8160 rubles. |
| Base beam 150 x 150 mm | 18 m | ≈ 3600 rub. |
| Edged planed board for roof reinforcement 20 x 40 mm | 18 m | ≈ 25 rubles per linear meter. Total ≈ 450 rubles. |
| Corner for fastening wooden structures 50 x 50 x 35 mm | 200 pcs. | ≈ 850 rubles |
| Piano hinges for doors and windows 500 mm long | 6 pcs. |
≈ 50 rubles each. Total ≈ 300 rubles. |
| Screws 35 mm long | 2 kg | ≈ 500 rubles |
| Antiseptic for wood treatment | 3 l | ≈ 300 rubles (for the cheapest one) |
Total cost without coverage ≈ 14,160 rubles.
Estimate for different types of coating
| Coating | How much is needed? | Price | Total cost of the greenhouse (frame + covering) |
| Set of 4mm thick glass | 96 m² | From 250 rubles per m². Total ≈ 24,000 rubles. | ≈ 38,160 rubles |
| Polycarbonate 4 mm thick | 8 sheets measuring 2 x 6 m | From 1200 rubles per sheet. Total ≈ 9600 rubles. | ≈ 23,760 rubles |
| Reinforced film with a strength of 100 g per m² | 1 roll measuring 6 x 25 m | From 8000 rub. | ≈ 22,160 rubles |
Estimate for a greenhouse with a steel frame
The calculation is given for a gable greenhouse made of a steel profile with a width of 3 m, a length of 6 m, a wall height of 1.6 m, and a ridge height of 2.45 m.
| Material | How much is needed? | Price |
|
Profiled steel pipe diameter 40 x 40 mm |
30 m |
From 100 rubles per linear meter. Total ≈ 3,000 rubles. |
| Steel angle cross-section 30 x 30 mm |
100 m | From 80 rubles per linear meter. Total ≈ 8,000 rubles. |
| Fasteners for mounting
metal profile |
200 pcs | ≈ 700 rubles |
| Piano hinges for windows and doors
500 mm long |
6 pcs | From 120 rubles per item. Total ≈ 720 rubles. |
Total cost without coverage ≈ 12,420 rubles
If we take into account the cost of the coating and the cost of the steel frame, we get the final cost:
- Glass – ≈ 36,420 rubles;
- Polycarbonate – ≈ 22,020 rubles;
- Reinforced film – ≈ 20,420 rubles.
Other expenses
This is only the main part of the costs, to which a number of other points need to be added:
- Since the floor in the greenhouse must be 50 cm below ground level, excavation work must be taken into account.
- Heating system equipment (if necessary).
- Installation of communications (if necessary: electricity - you will need an electric cable, sockets, light bulbs, switches; water supply for drip irrigation - pipes (metal, metal-plastic, polypropylene, etc.), fittings, taps, and if the greenhouse is for winter, the pipes should be located at a depth of at least 2.5 meters to avoid freezing.
- Shelves for placing plants in tiers (not always done; sometimes plants are placed directly in the ground on the floor).
- Hail protection (especially important for greenhouses with glass coverings; for this purpose, materials such as polystyrene foam, foam rubber, etc. can be used and should always be kept on hand).
- Tool if not available.
- If it is planned to involve specialists for some work.
- Project development (if necessary).
Let's look at some points that improve the performance of greenhouses.
Heating greenhouses
During harsh weather, plants need warmth. There are simple ways to do this:
- Solar – based on the greenhouse effect created by sunlight. Occurs in the summer during strong sunlight.
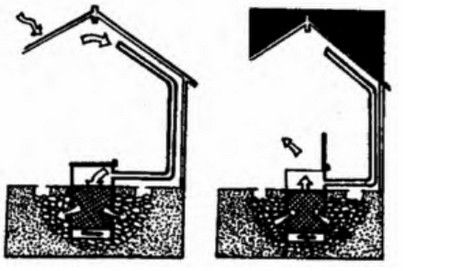
- Biological – a third of the racks are made up of manure or compost. The decomposition process warms the roots and serves as fertilizer.
The technical heating option has several subtypes:
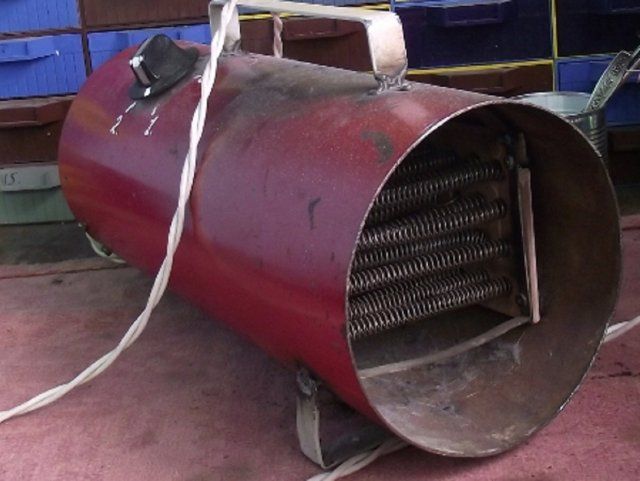
- Water heating – a double row of pipes is laid under the garden beds and connected to a boiler. If the boiler is located outside, it provides more uniform heating. Coal or wood are used for heating. Sometimes a heat generator is used.
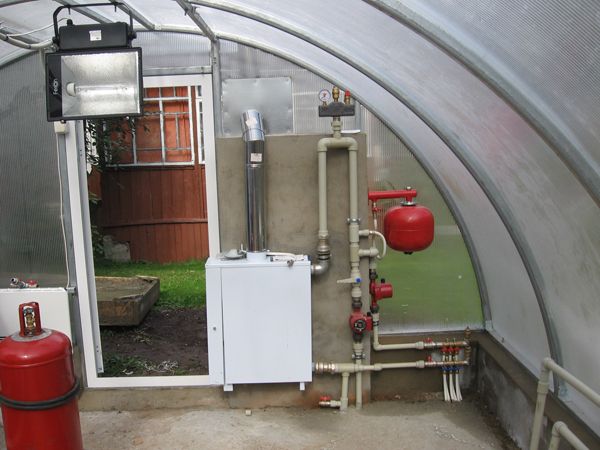
- Gas – burners or heaters. For small areas, gas cylinders are sufficient; otherwise, they need to be connected to the house's heating system. Fans are installed to ensure even heat distribution.
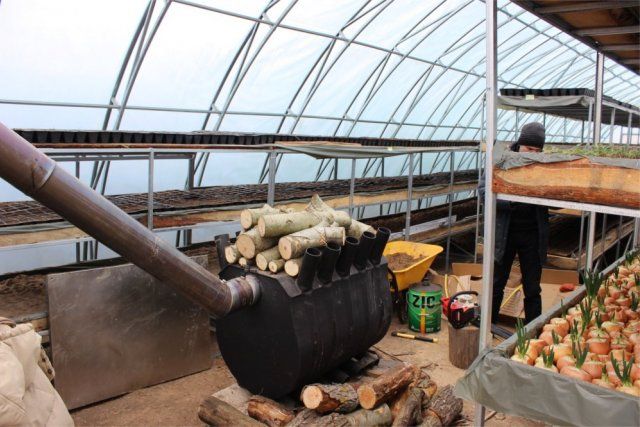
- A stove chimney is a flue made of horizontal pipes (metal, brickwork). The boiler is connected to a water tank – a water furnace. For a large area, two boilers are required. The chimney is raised 1.5 meters above the roof, and the passage is well insulated.
- Electric – a heating cable with a regulator to create the optimal temperature. Aluminum radiators or electric convectors (which circulate the air rather than dry it) are suitable. They are mounted on brackets and the desired temperature can be set. Timers can be used to adjust the temperature depending on the time of day. The power of the devices and their number depend on the size of the greenhouse. Infrared emitters are also used; they not only provide heat but also prevent plant diseases and create an optimal microclimate.
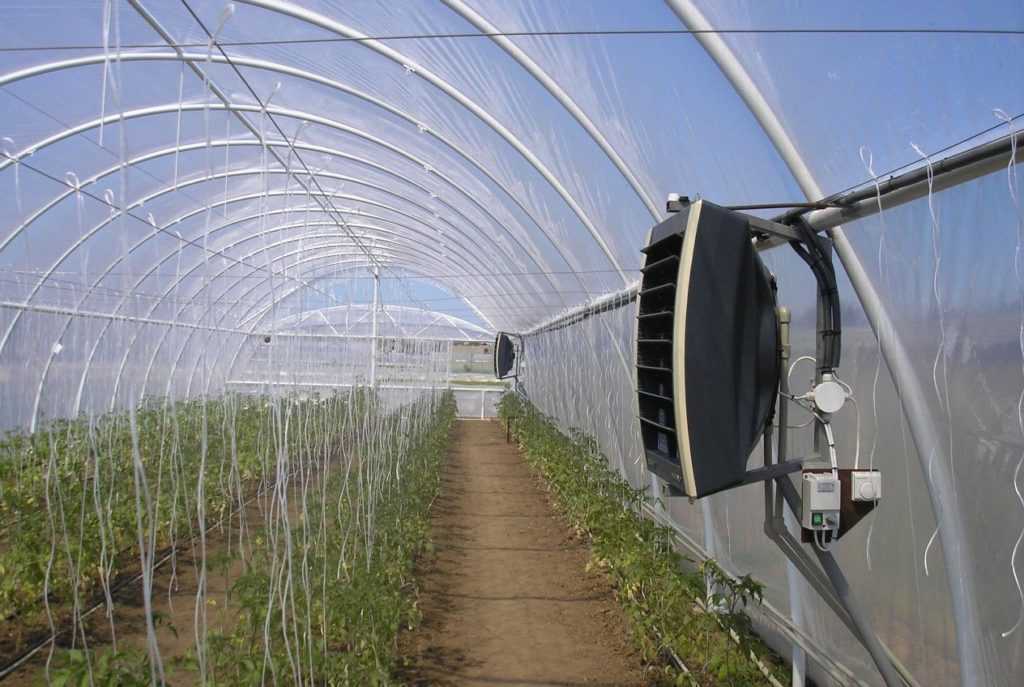
Pipes and heating devices are placed around the perimeter of the greenhouse.
Thermal insulation of the bottom is essential. Additionally, install:
- thermometers – determine the temperature of air and soil;
- thermostat – controls heating depending on the readings.
Read the article about the best greenhouse heating projects.
Lighting in a greenhouse
A year-round greenhouse requires additional lighting equipment, as natural light will not be sufficient.
Used by:
- Classic lamps – at the junction of the roof and walls or high on the side.
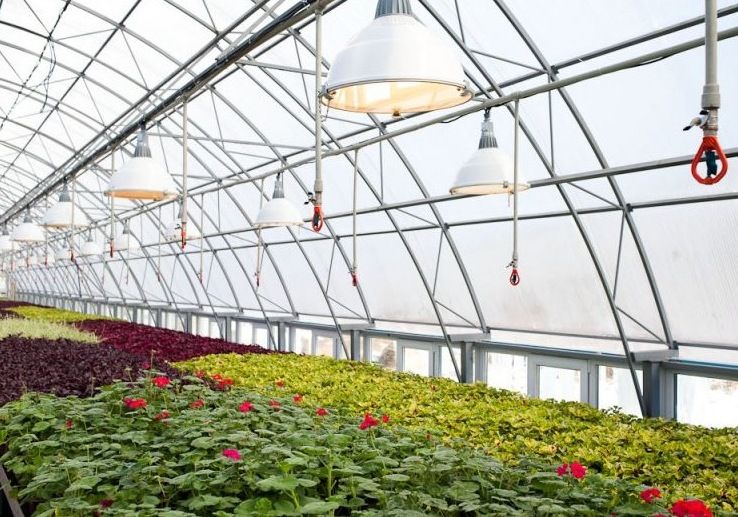
- LED lights are the ideal option for large areas (saving energy). They are durable and safe to operate. They are mounted at the highest point of the ceiling for maximum coverage.
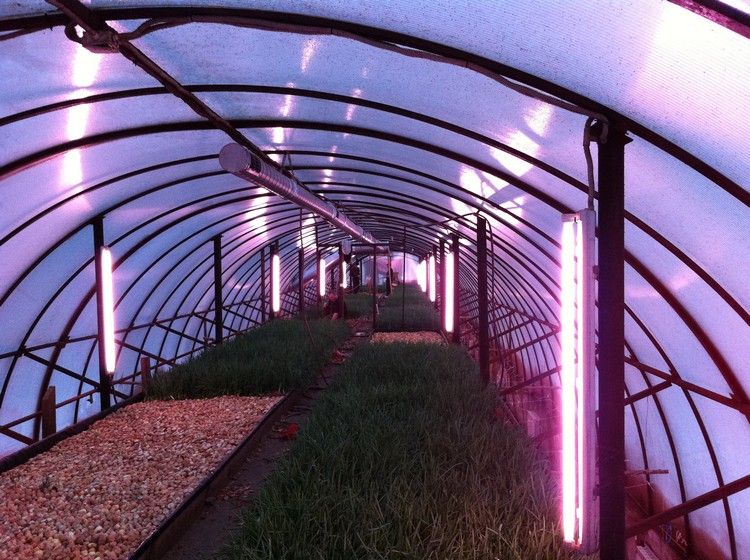
Automated switching – a timer unit. It creates comfort by simulating daylight hours, sending commands to the lights to start and stop operation. This greenhouse option is suitable for professionals growing vegetables, flowers, and exotic plants year-round, including in winter.
For seasonal construction, additional lighting is not required.