Building a greenhouse from a profile pipe yourself is quite simple. It won't take much time and will allow you to create a structure that's ideal for your specific site. Let's look at the most popular greenhouse and hothouse options made from profile frames and learn how to build them yourself.
Content
- 1 Advantages and disadvantages of greenhouses and hotbeds made of profile pipes
- 2 How to choose a profile pipe
- 3 Types of greenhouses and hotbeds made from profile pipes
- 4 Drawings of greenhouses and hothouses made from profile pipes, diagrams with dimensions
- 5 Step-by-step instructions for building a greenhouse from a profile pipe and covering materials
Advantages and disadvantages of greenhouses and hotbeds made of profile pipes
Homemade greenhouses and hotbeds made from profiles have the following advantages:
- withstand high mechanical loads;
- they transmit light well, so they are suitable for growing even light-loving plants;
- are characterized by a long service life (at least 30 years);
- non-flammable;
- are mobile (they can be disassembled, moved, reassembled, additional sections can be added, etc.);
- are affordable (profile pipes can be purchased at any hardware store);
- facilitate the installation of communications from inside the structure (automatic irrigation, heating, electricity supply).
However, such structures also have disadvantages:
- At the design stage, it is necessary to consider a reliable foundation, since the greenhouse frame made of profile pipes will be very heavy.
- The material does not bend well, which makes it somewhat difficult to create a structure of a certain shape.
- The profiles are not cheap, but they pay for themselves thanks to their long service life.
Read the article: The best DIY greenhouse projects.
How to choose a profile pipe
Profiles can be coated with polymer paint or zinc. The former is less expensive, but the top layer can peel over time. This will not only ruin the greenhouse's neat appearance but also lead to corrosion.
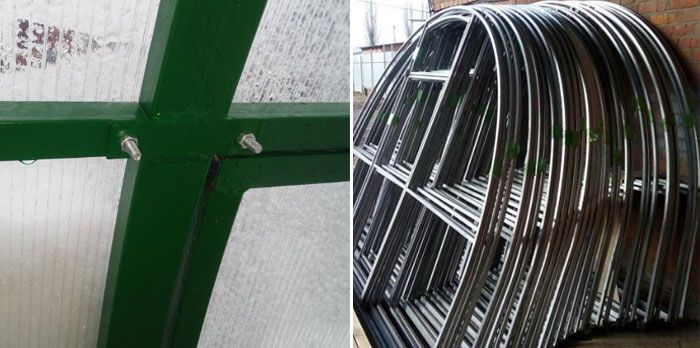
Thanks to their galvanized coating, the pipes will not rust and are resistant to sudden temperature changes. Therefore, when choosing profiles for a greenhouse or hothouse, it is recommended to choose these.
Types of greenhouses and hotbeds made from profile pipes
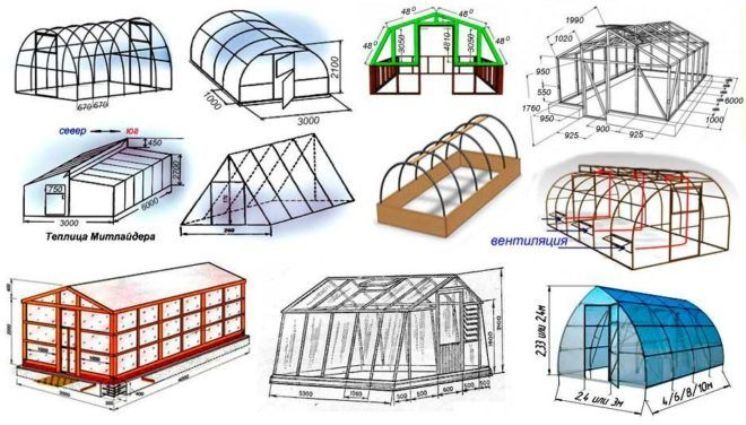
Let's look at some of the main ones:
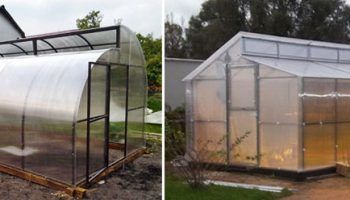
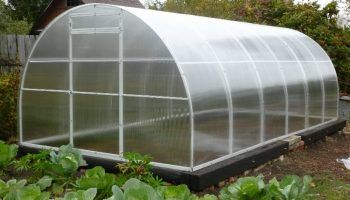
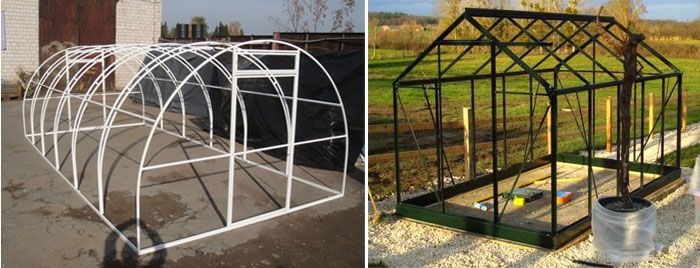
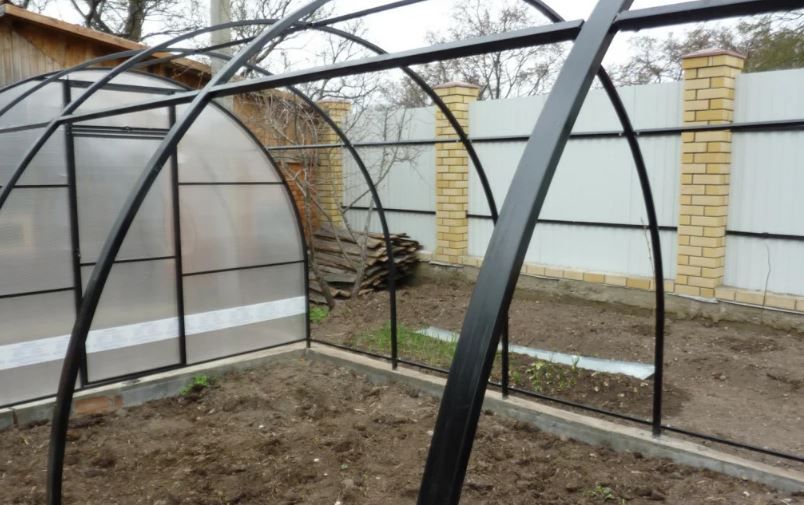
- Arched greenhouses are shaped like an arch. These greenhouses are quick to assemble and withstand strong gusts of wind. Their arched shape allows excellent light transmission and is suitable for growing sun-loving plants.
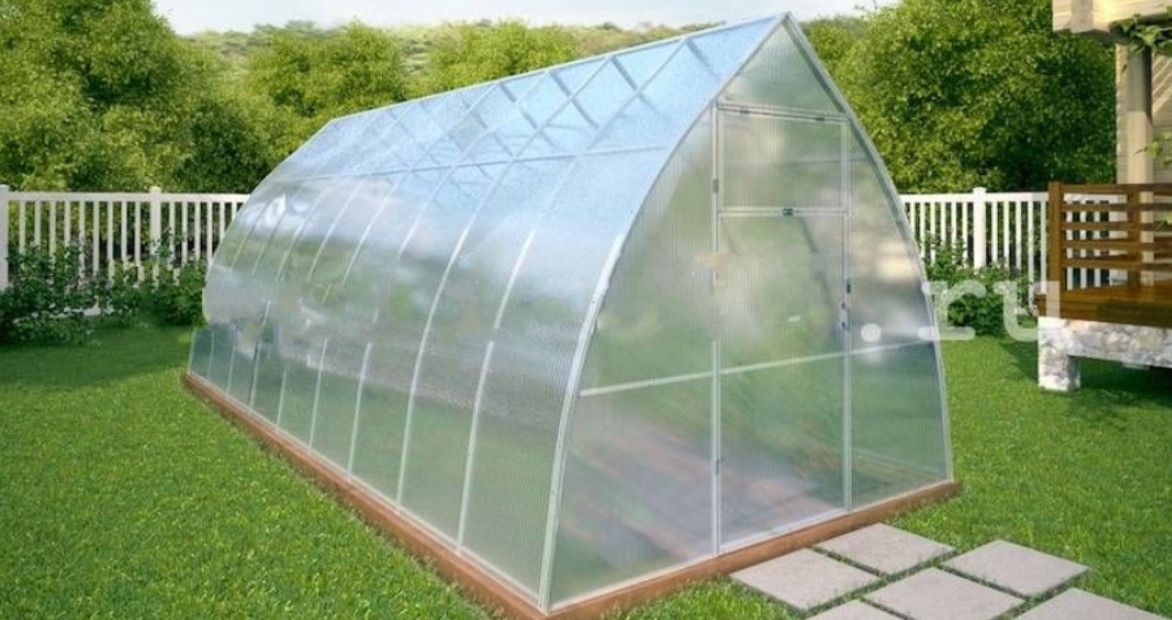
- Pointed (Droplet) greenhouses are similar to the previous type, but have a more elongated top with a pointed tip. These greenhouses are resistant to deformation and warping. The special roof structure allows snow to roll off immediately, preventing damage from its weight.
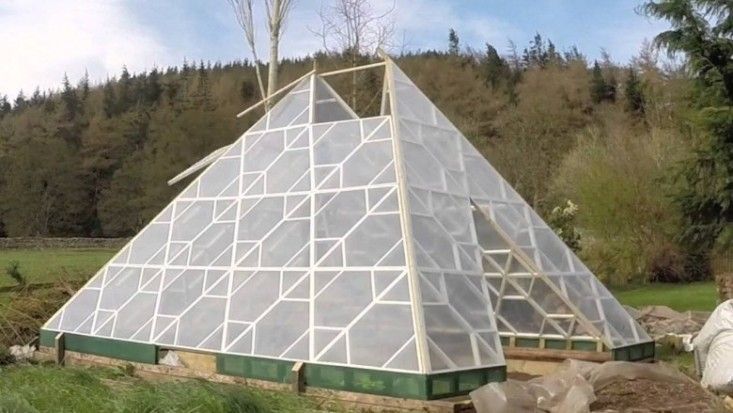
- Pyramidal. The walls are slightly inclined inward and joined at the top. This shape allows the structure to withstand strong gusts of wind, preventing snow from accumulating on the roof. In the morning and evening, sunlight penetrates well, and during the midday sun, the edges reflect it, preventing the plants from overheating.
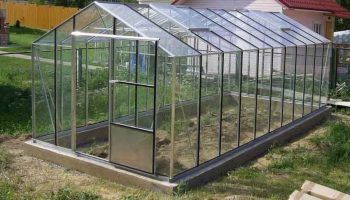
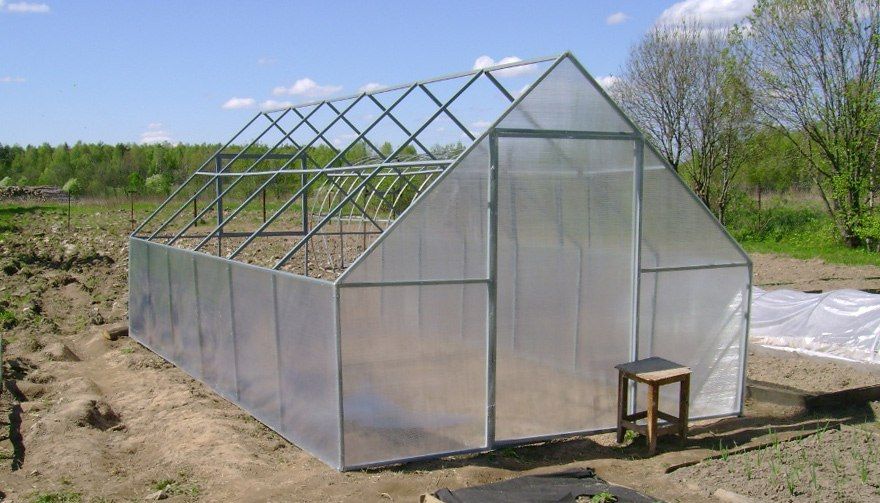
- Gable (or double-pitched) greenhouses. These structures have no curved parts, making construction easier. Their shape resembles a typical house with a ridge on the roof. Even tall crops can be planted in these greenhouses. Keep in mind that more material is required for construction. A hothouse can also be gable.
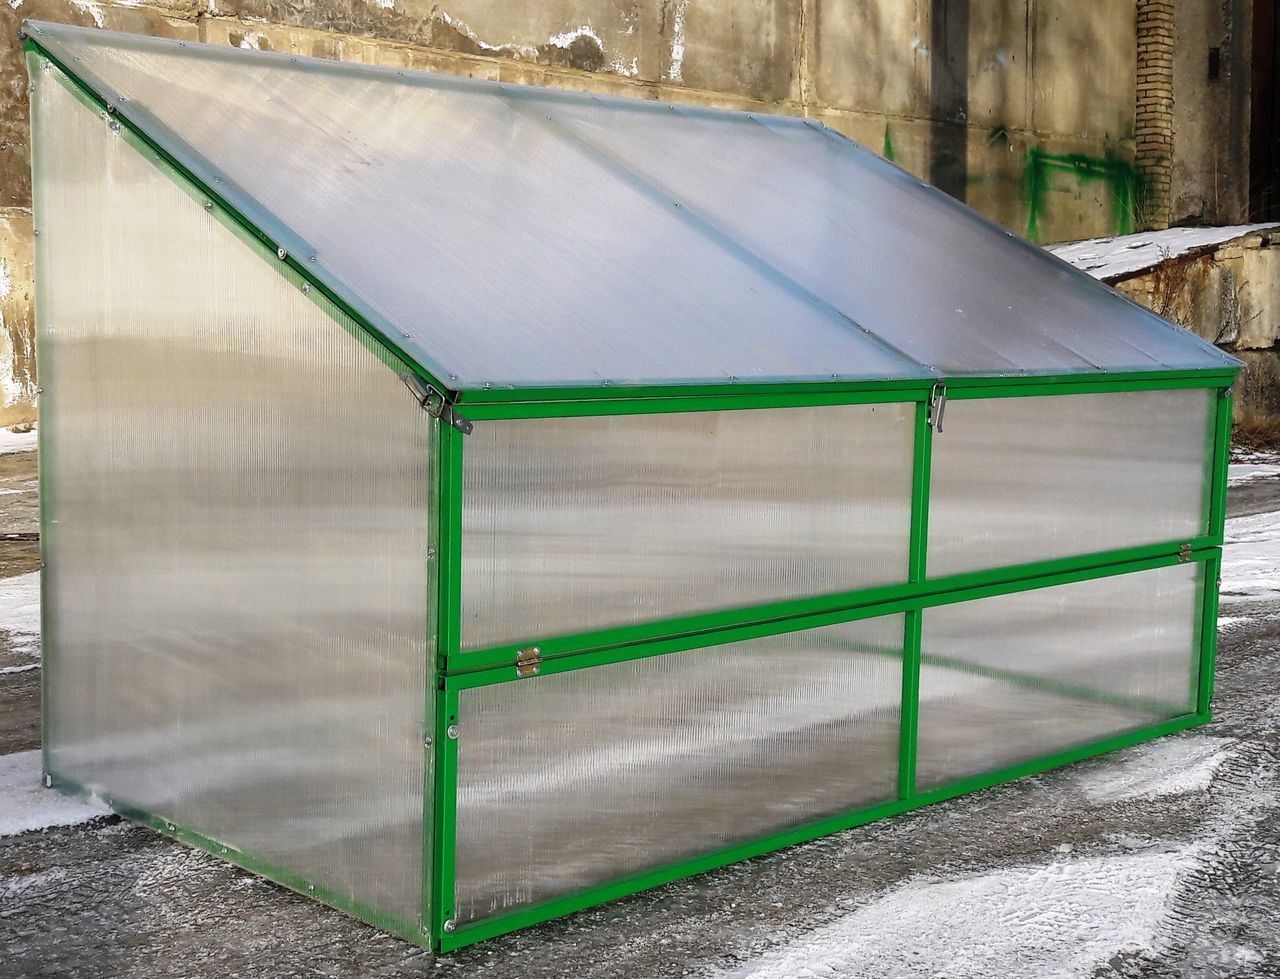
- Single-pitched. One side of this structure is higher, resulting in a sloped roof. Typically, these greenhouses (which are actually greenhouses, not hothouses) are attached to another structure, such as a house, gazebo, etc. This means one side is adjacent. This saves space and materials.
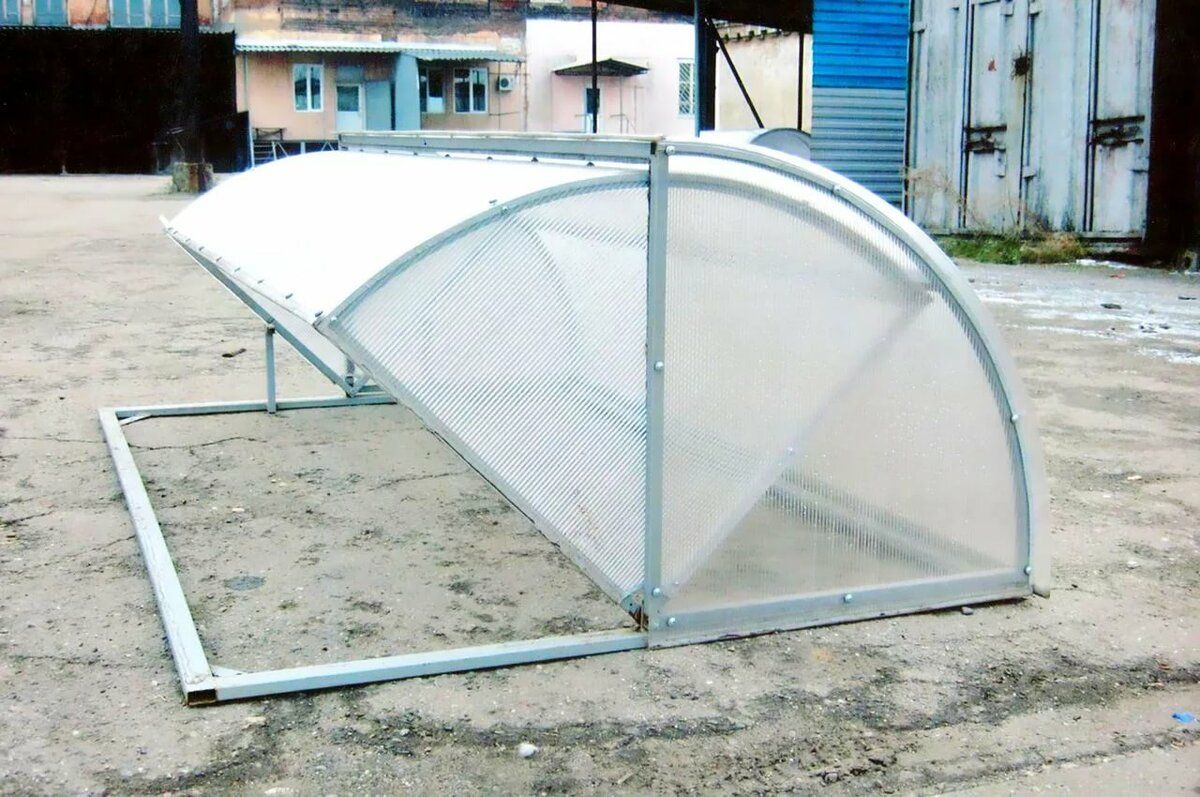
- Breadbin (Fedorov greenhouse). Designed for planting low-growing plants. The doors of this greenhouse open like a breadbin, hence the name. This allows for easy access to the crops.
Useful information! It's recommended to install arched structures in the spring and fall. In winter, snow can accumulate on them, causing damage. If the greenhouse is planned for year-round use, it's best to choose roof types that won't accumulate snowdrifts (such as pointed or pyramidal roofs).
Drawings of greenhouses and hothouses made from profile pipes, diagrams with dimensions
When drawing up a diagram of a greenhouse or hothouse from a profile, it is necessary to rely on its length.
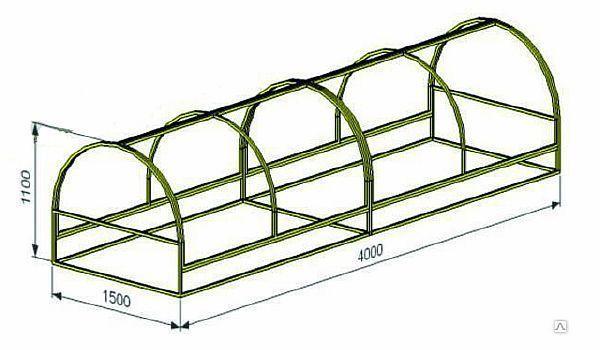
For example, the elements of an arched structure should be spaced 1 meter apart. Therefore, for a 3x6 square-pipe greenhouse, six arched profiles will be needed. The standard profile length is 6.1 m, creating a semicircle with a radius of 1.9 m.
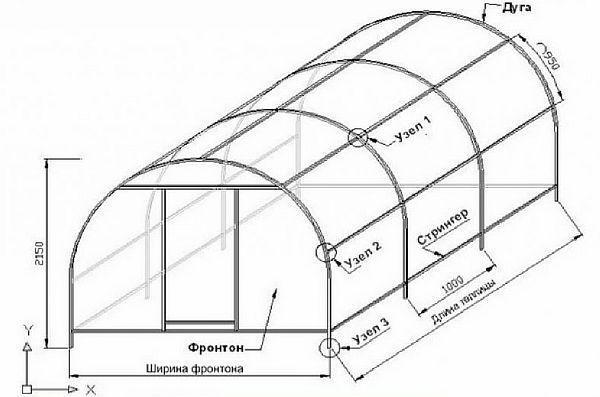
Useful information! If you plan to use cellular polycarbonate for the walls of the structure, it's best to choose a greenhouse height of 1.85-1.9 m with a lower width of 3.7-3.8 m. This will help save on materials, as standard sheathing sheets are 6 x 2.1 m.
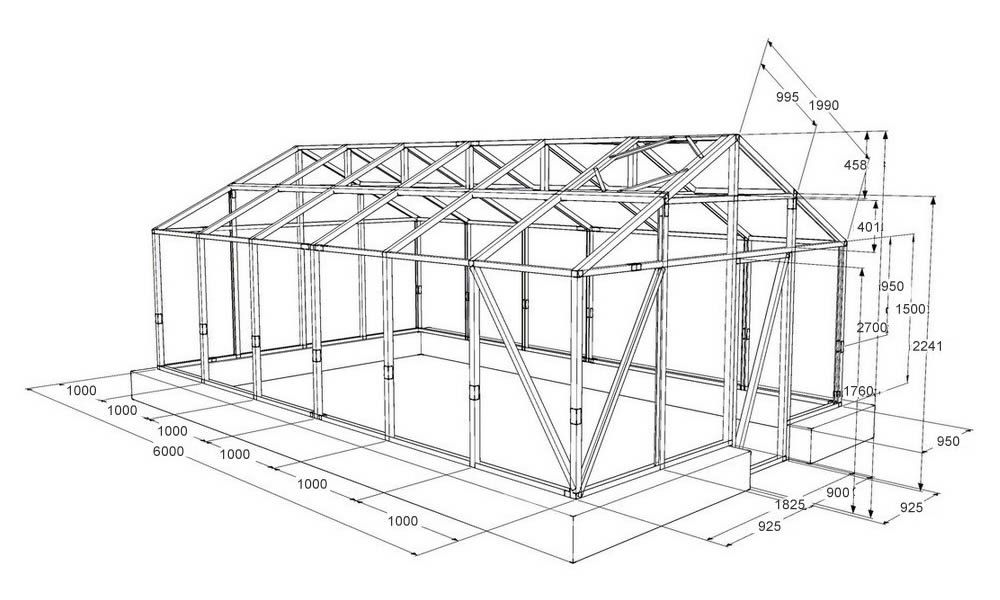
When constructing a greenhouse with a gable roof, the walls should be 1.7-2 meters high and 4 meters wide (for a 30-45 degree slope and 2.25-2.45 meters long). Crossbars on this type of structure are installed at the top of the arches and in the middle of the slopes (two on each side). The rear wall should be secured with a pair of crossbars. An opening for the door is placed on the façade. The amount of additional material required is calculated based on this opening.
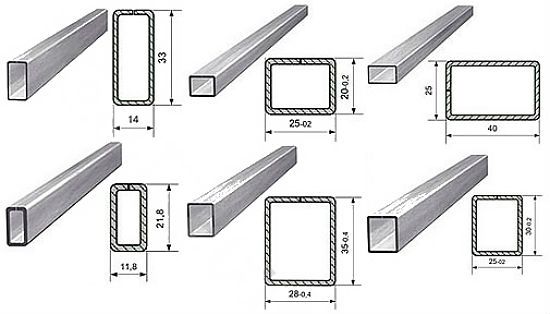
The best profile for a greenhouse is one with a wall thickness of at least 2 mm, with a cross-section of 4 x 2 cm or 4 x 4 cm. This profile is highly durable. For horizontal ties, pipes with a thickness of 1-1.5 mm are suitable.
The drawing must include precise dimensions—length, width, and height. Without precise measurements, it will be impossible to build a high-quality and durable structure.
Based on the dimensions, the required amount of materials is purchased. It's important to keep in mind that pipes should always be purchased with a 10% reserve (in case they are damaged during transportation or installation). First, a drawing must be drawn up, then the required amount of materials for the construction can be calculated.
Step-by-step instructions for building a greenhouse from a profile pipe and covering materials
Let's look at how to build the simplest arched structure. Before building a greenhouse, it's important to consider the necessary tools. You'll need:
- shovel for leveling the area;
- drill for installing posts;
- grinder for cutting pipes;
- screwdriver for installing fasteners;
- pliers and a hammer;
- measuring instruments (square, level, tape measure);
- welding machine;
- a hacksaw, if the walls are planned to be made of polycarbonate;
- wooden stakes and rope to mark the area.
It's recommended to install the greenhouse on sandy, dry soil to prevent moisture stagnation. The long side of the structure should face south to ensure maximum light exposure for the crops. It's also important to consider the design features when installing it. For example, for gable-roof and arched greenhouses, the longitudinal axis should run north to south, with a 15-20 degree deviation. If you decide to build a simple greenhouse with a pitched roof, for example, the slope must face south.
The selected area should be marked using pegs and rope. A trapezoidal trench should also be dug and filled with biofuel to quickly warm the soil.
Foundation
For a greenhouse made from a profile, a columnar foundation will be sufficient:
| Illustration | Actions |
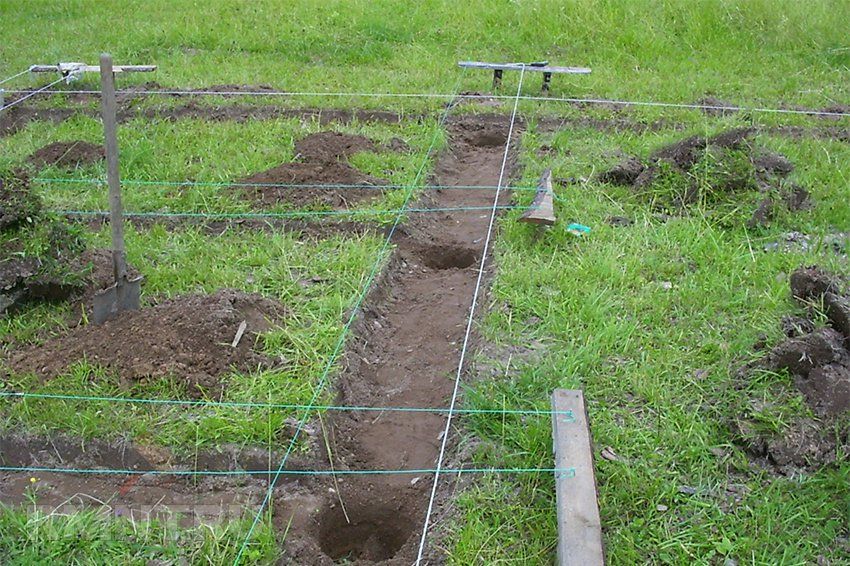 |
Drill holes in the ground at regular intervals. Their diameter should be 1-1.5 cm larger than the circumference of the posts. |
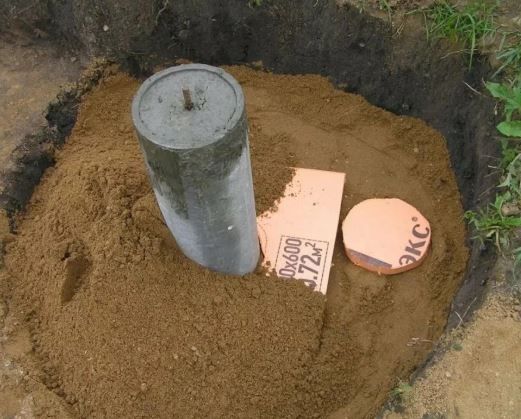 |
Place asbestos pipes inside. Fill the space between the posts and the ground and compact it with a sand and gravel mixture. |
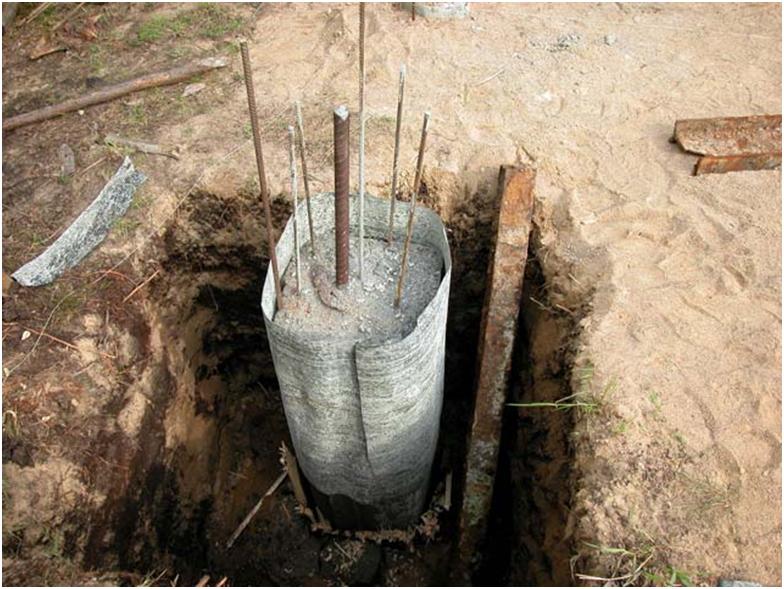 |
Pour cement into the pipes, ensuring there are no voids. Place a metal plate or piece of rebar into the concrete. These will later serve as the connecting link between the foundation and the frame. |
For an arched greenhouse, you can also make a strip foundation, but this will take more time.
Cold and hot pipe bending step by step
To bend pipes into an arc shape, you can contact specialized companies; they will bend them using special equipment.
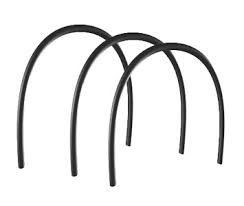
There are several ways to do this yourself. One technique is called cold bending. Cold bending uses a spring with a diameter that can be inserted into the profile. The spring's properties allow the cross-section to be changed and the shape altered.
If the profile is less than 1 cm thick, no filler is required. If the pipe is thicker, rosin or sand should be added. In winter, water can be added and allowed to freeze.
Another method is called hot bending, as it involves heating the profiles. It can be used year-round and is recommended for thicker pipes. A manual, factory-made, or stationary pipe bender is required.
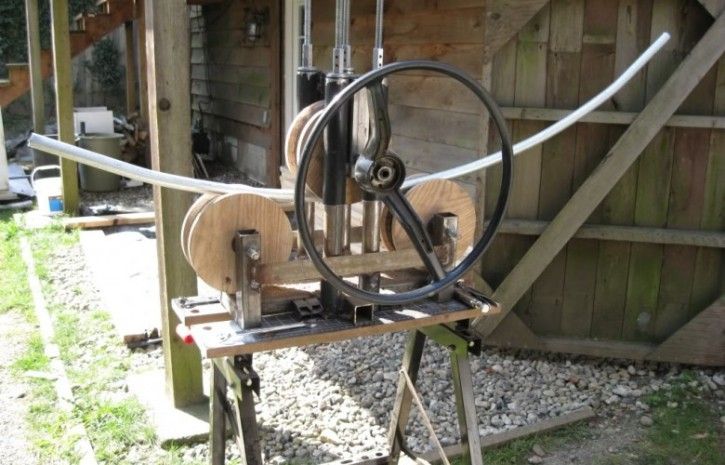
Step by step actions:
- Make a pair of end caps for both ends of the profile. Their length should be 10 times greater than the base width. The wide end should be twice the circumference of the pipe opening.
- In one plug, make grooves for gas to escape when heated.
- Heat the bend of the pipe.
- Sift and dry river sand. Heat it on a sheet of metal at 150 degrees Celsius until the moisture has completely evaporated.
- Install a plug without grooves on one side of the profile.
- From the other end, pour in calcined sand, periodically tapping on the walls to compact it.
- Secure the second plug.
- Mark the fold point with chalk.
- Fix in a vice, placing it on the template.
- Heat the metal until it is red and bend it with a smooth, precise movement.
- Compare with the template, if everything is correct, you can remove the plug and shake out the contents.
Please note! If the profile has welded seams, this line should be positioned to the side after bending. It is not recommended to bend along this line.
Installation of arches
If the greenhouse is planned to be disassemblable, it is recommended to use bolts for fastening. They are also used to secure the doors (incidentally, they are often used for greenhouses, such as the Butterfly or Breadbox design). If the structure is permanent, it is better to weld its elements.
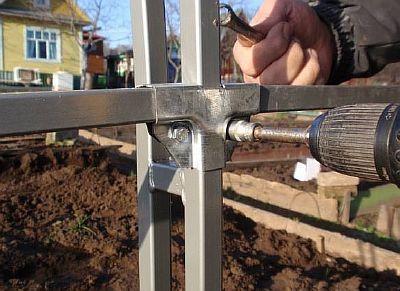
The posts to which the arches will be attached must be cut. Strips will also be needed to connect the bent pipes. The joints are secured with crampons or a welding machine. The frame is placed on the foundation and secured to metal plates or rebar.
Useful information! If there are welds, it is recommended to seal them with primer. This will make the structure more reliable.
Sheathing
The following materials can be used for cladding:
| Type of coating | Advantages | Flaws | Cost of materials |
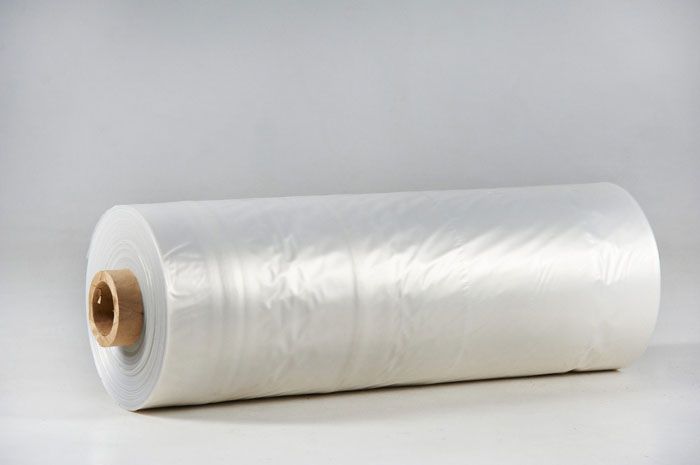
| Polyethylene film
|
It's cheap
Easy fastening. Quick replacement. Light weight. Fits perfectly on zigzag profile. |
It quickly becomes unusable (lifespan is about 2 years). It deteriorates under the influence of ultraviolet rays and tears easily.
It transmits light poorly and provides poor thermal insulation. |
From 30 rubles per linear meter or from 3000 rubles per roll (1 m * 100 m) |
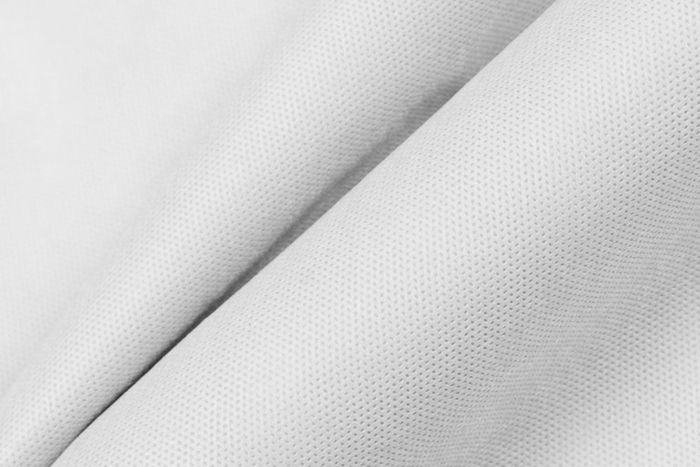
| Non-woven fabric
|
The service life is longer than that of film, about 5 years. Allows sunlight and moisture to pass through well, protecting crops from the aggressive effects of the environment. |
It tears easily, for example, under strong gusts of wind. | 20-150 rubles/running meter (depending on thickness) |
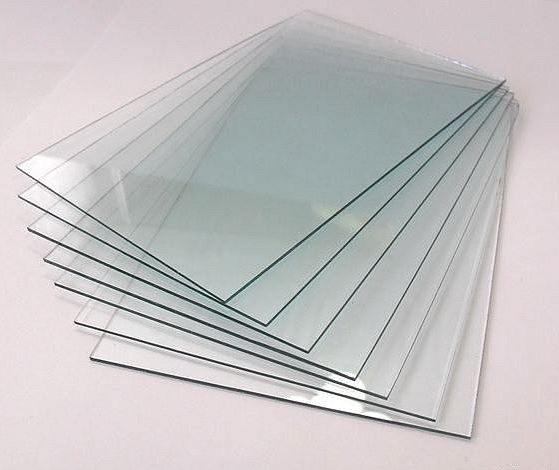
| Glass
|
Available in many areas after renovation.
It lets in plenty of sunlight, protects against frost, and retains heat. Tomatoes, cucumbers, peppers, and other vegetables grow well in this greenhouse. Fire resistance (for those structures that are additionally heated). Low sensitivity to temperature changes. Easy to care for. |
Difficulty of installation.
High fragility. In hot weather it lets in too much light, and in cool weather it cools the greenhouse too much. Heavy weight. |
Window glass – from 800 rubles per square meter. |
| Polycarbonate
|
A solid polymer with high strength and low weight.
Provides diffused light, retains heat well, is fairly easy to install, fire-resistant, and durable. Provides excellent protection against UV rays. |
High cost. Thermal expansion rate. |
From 1000 rub. per sheet |
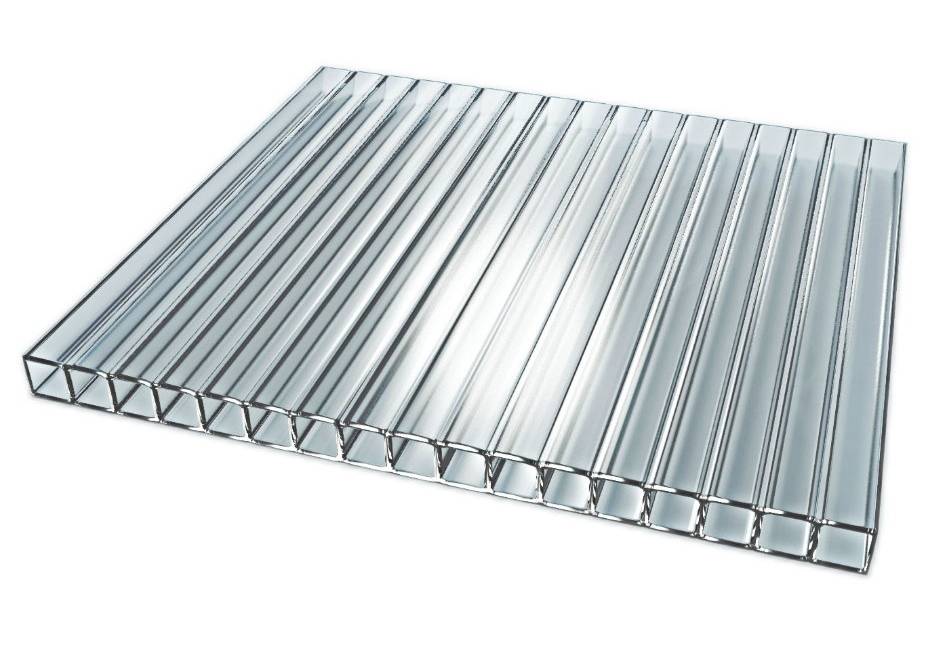
Please note! If the structure will remain in place during the winter without a canopy, it is recommended to use polycarbonate sheets for the cladding, as they can withstand the weight of snow.
Fastening to the frame
Let's consider several options for attaching various materials to the greenhouse frame.
For example, fastening with a galvanized Zig-Zag profile has now become very popular for film:
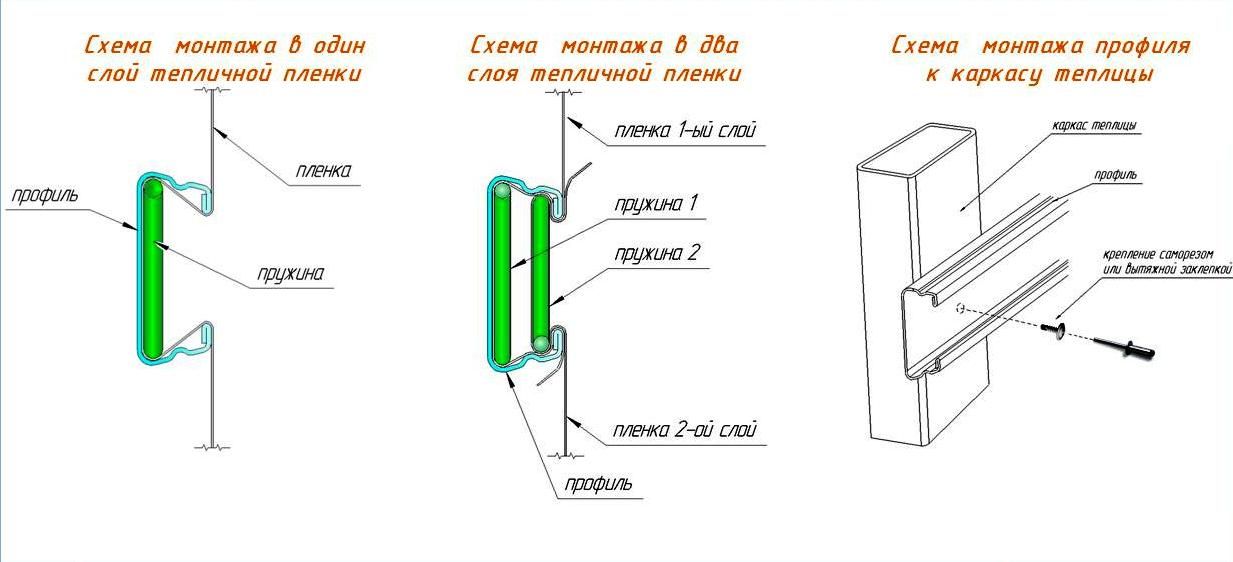
This fastening consists of two elements: the profile itself and a steel spring.
Advantages of the mounting method:
- Easy and quick installation;
- Resistance to wind loads;
- Possibility of fixing the film on arched sections, sections of greenhouses with side openings;
- Possibility of attaching a second film.
Read the article on how to do it DIY polycarbonate greenhouse.
Let's consider the fastening method using polycarbonate as an example:
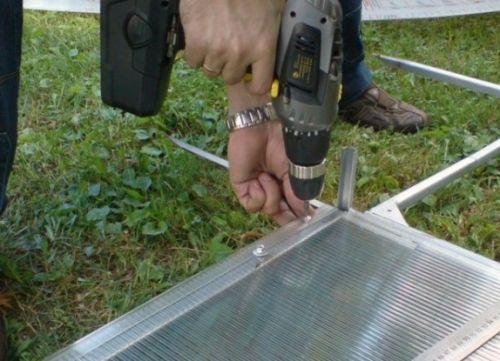
- Install the sheet so that the film is facing outward. Seal the joint between the cladding and the frame with sealing tape or tape.
- Use a drill at low speed to drill holes for the fasteners. They should be approximately 1 cm in diameter and spaced 10-15 cm apart. Attach the sheet with bolts at all corners. To prevent the bolts from chipping, leave a 3-4 cm gap from the edge.
- If the polycarbonate sheet is wider than the distance between the studs, it needs to be trimmed so that the joint is exactly in the middle.
- Installation can be done using a special profile. Then, the fasteners should be secured to the frame with screws, and only then should the polycarbonate sheets be placed into the resulting openings. The sheets should be installed end-to-end. The gaps should be sealed or a damping pad, such as rubber, should be installed.
- After installation is complete, remove the protective film.
A homemade greenhouse or hothouse made from profile pipes will help you save money, as such structures are quite expensive in stores. To ensure perfect results, it's important to create a precise drawing with all the measurements and follow it precisely. Profile structures don't require a solid foundation, like a gazebo or house, so construction won't take long.