Imperial fritillary, or fritillaria, propagates from bulbs; growing from seed is labor-intensive. However, even with the first method, the babies don't appear immediately. It's preferable to plant imperial fritillary outdoors in the fall. The key is to choose the right planting time.
If you do this too late, the plant won't have time to take root and will simply freeze in winter. If you do this too early, the fritillary will begin to grow, weakening it or even dying in winter.
Content
- 1 When to plant hazel grouse in open ground in autumn
- 2 Selection and preparation of planting material for imperial fritillary
- 3 Choosing a location for planting hazel grouse in autumn
- 4 Preparing the soil for planting fritillary in autumn
- 5 Step-by-step planting of imperial fritillary in autumn
- 6 Method of planting in containers (baskets)
- 7 Caring for hazel grouse after planting in autumn
- 8 Tips from gardeners on growing fritillaries
When to plant hazel grouse in open ground in autumn
When choosing a time, there are some things to consider:
- there are at least 14-21 days left before frost;
- the soil temperature at a depth of 15 cm is +7…+10 °C;
- daytime air temperature +10…+15 °C, nighttime air temperature +5°C.
Such conditions are considered the most favorable for carrying out work.
Deadlines by region
Planting hazel grouse in the fall takes place from late summer to mid-autumn, depending on the region. The approximate timing is as follows:
- central Russia, including the Moscow region - mid-September, when the weather is warm, then until October;
- Siberia, the Urals, Leningrad region - the last days of August - the beginning of September;
- Southern regions - end of September - first days of October, in warm weather - the entire first ten days.
In any case, it's important to take the weather into account. Work should be carried out at optimal soil and air temperatures.
When to plant hazel grouse in the fall according to the 2023 lunar calendar
The lunar calendar for 2023 will help you determine the most suitable day for planting:
| Month | Favorable days | Unfavorable, prohibited days |
| August | 7 (from 09:24)-14 (until 13:35), 19 (from 14:53)-21 | 1,2, 15 (from 12:38 p.m.), 16, 17 (up to 12:38 p.m.), 30,31 |
| September | 1 (until 16:25), 3 (from 18:00)-5 (until 23:05), 8 (from 07:59)-10 (until 19:35), 13, 16-20 (until 17:06), 22 (from 23:00) 21m.)—24 | 1 (from 16:25)-3 (until 18:00), 14, 15,25-26,28, 29,30 |
| October | 1-13 (until 20:55), 16, 20-22 (until 09:06), 30 (until 18:07). | 14,15,28,29 |
Read the articles:
- Lunar calendar for the gardener for 2023.
- Lunar calendar for the gardener for August 2023
- Lunar calendar for gardeners for September 2023.
- Lunar calendar for the gardener for October 2023.
Selection and preparation of planting material for imperial fritillary
Planting imperial fritillary correctly in the fall alone isn't enough. Successful cultivation also depends on choosing high-quality bulbs.
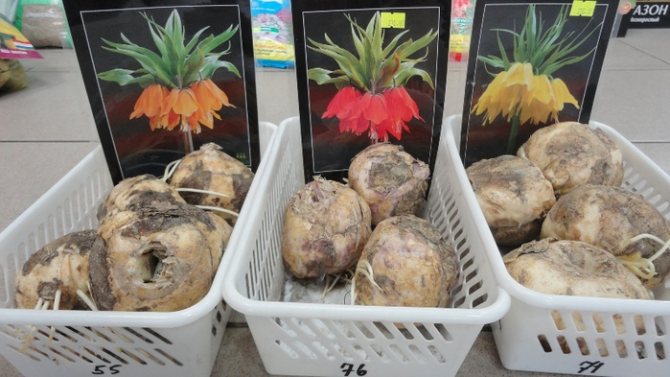
The characteristics they must meet are:
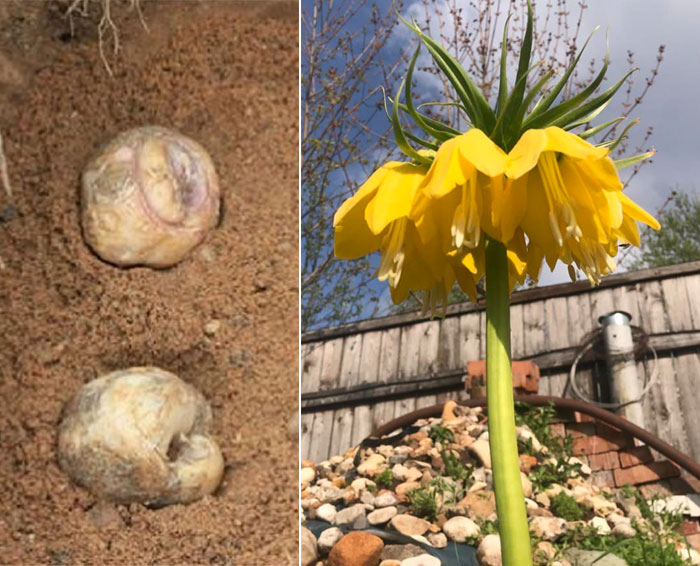
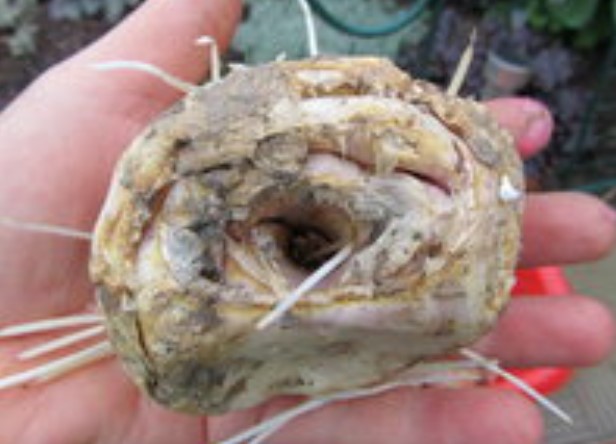
- A distinctive feature of this flower's bulb is its hole, which remains from the previous year's stem. In the fall, buds form within it, and from these, new shoots emerge in the spring.
- It has the appearance of a flattened ball.
- The circumference is 8-10 cm. In this case, flowering can be achieved as early as the following season. If the circumference is less than 6 cm, flowers will appear later.
- There is no damage, cracks, stains, ulcers, mold, wilting, or rot.
- Scales and dry roots are not a reason to refuse the purchase. This is a completely natural phenomenon.
- A distinctive aroma, which some may find pungent and unpleasant, always accompanies healthy bulbs. It repels insects and moles. However, moldy or rotten odors should not be present.
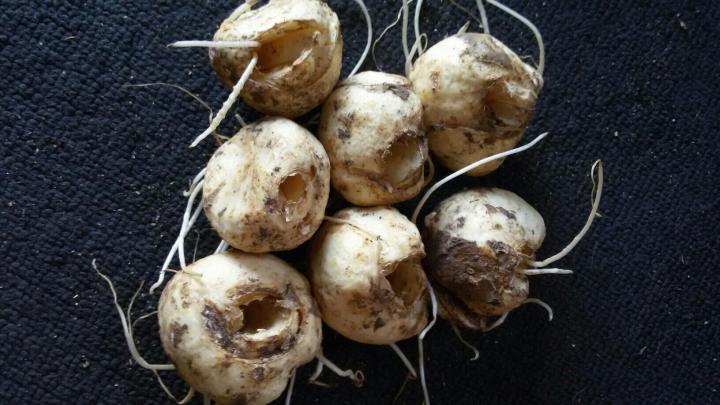
Important! Due to their distinctive aroma, fritillary corms should not be stored with other plant corms. This may negatively impact them.
Handle the bulbs with extreme care. Accidental damage to the scales will weaken them, make them susceptible to infection, and may even kill them. This applies to succulent and fleshy scales. It is recommended to remove old and dry roots before planting the imperial fritillary in the fall. To prevent diseases and pests, soak the bulbs in a fungicide.
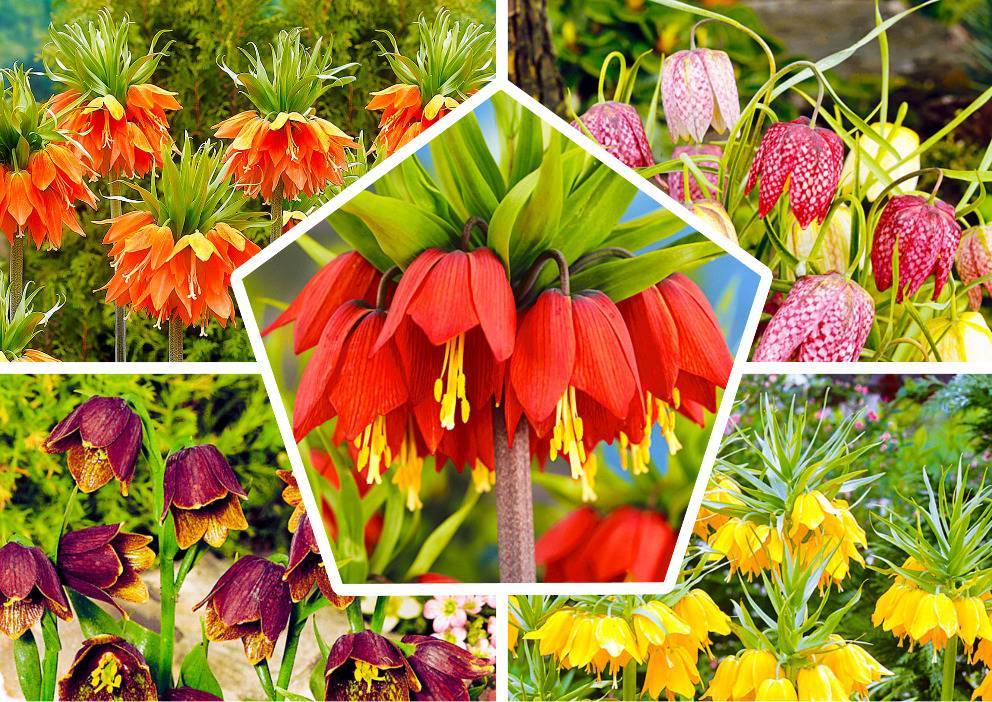
Read more about hazel grouse and its varieties in the article Fritillary flowers: description, types, planting, care.
Choosing a location for planting hazel grouse in autumn
When choosing a seat, you need to consider the following:
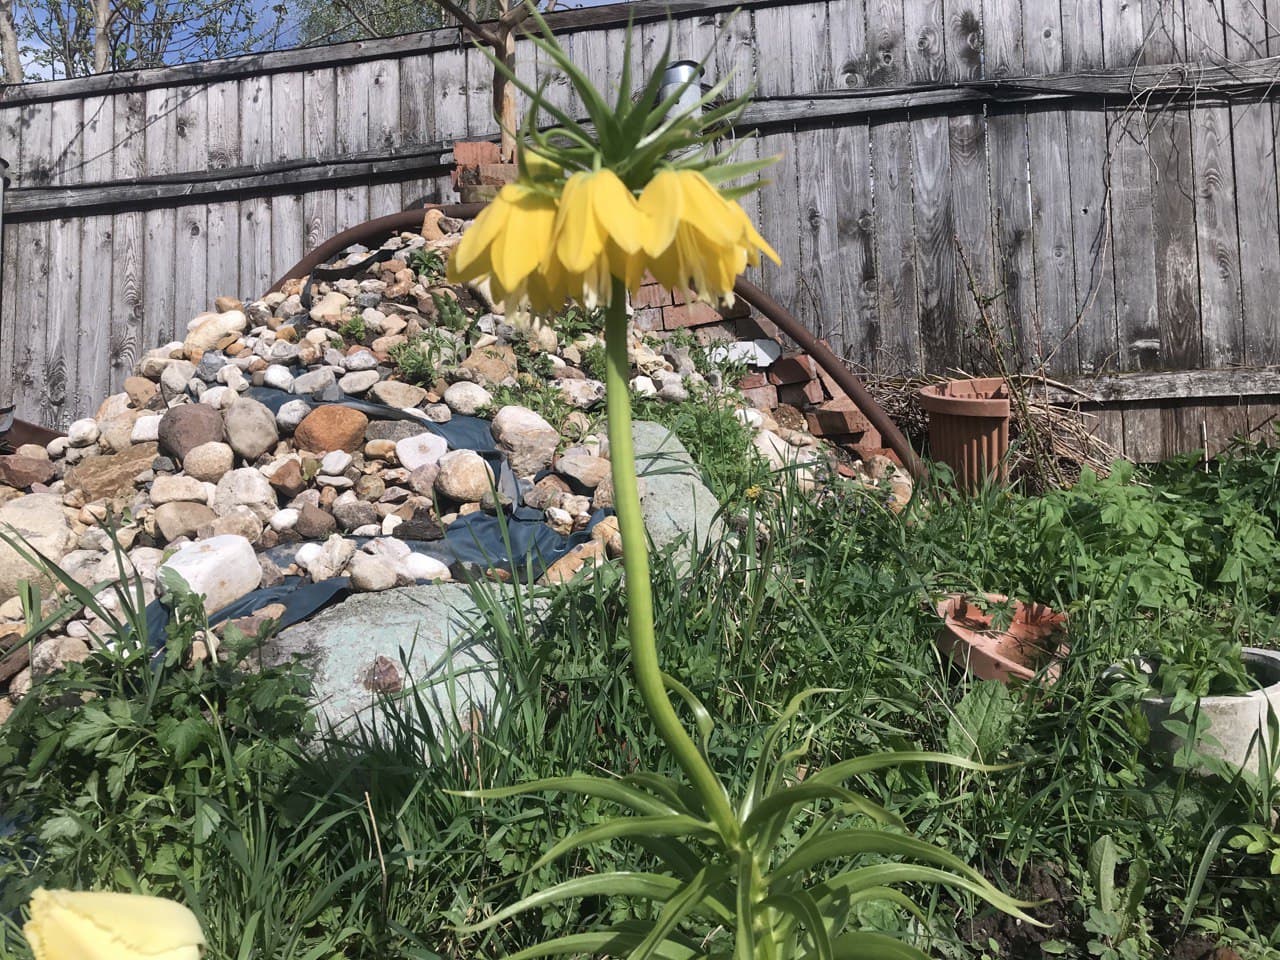
- The area should have good drainage to prevent moisture accumulation. Avoid low-lying areas and marshy areas, otherwise the bulbs will rot. If moisture does linger, you can create an artificial mound.
- Sunny areas are preferable. Although fritillaries can be grown in partial shade, the main thing is that the garden location is well-heated.
- An elevated position is ideal for planting.
- The area is protected from cold winds.
- Loose, nutritious soil with a neutral acidity level (pH 6.6) is preferable.
Choosing a location requires extreme care. Otherwise, the plant will refuse to bloom, become susceptible to infection, and may even die.
Preparing the soil for planting fritillary in autumn
Pre-planting soil preparation will allow you to grow a strong and healthy plant that will delight you with lush and long-lasting flowering.
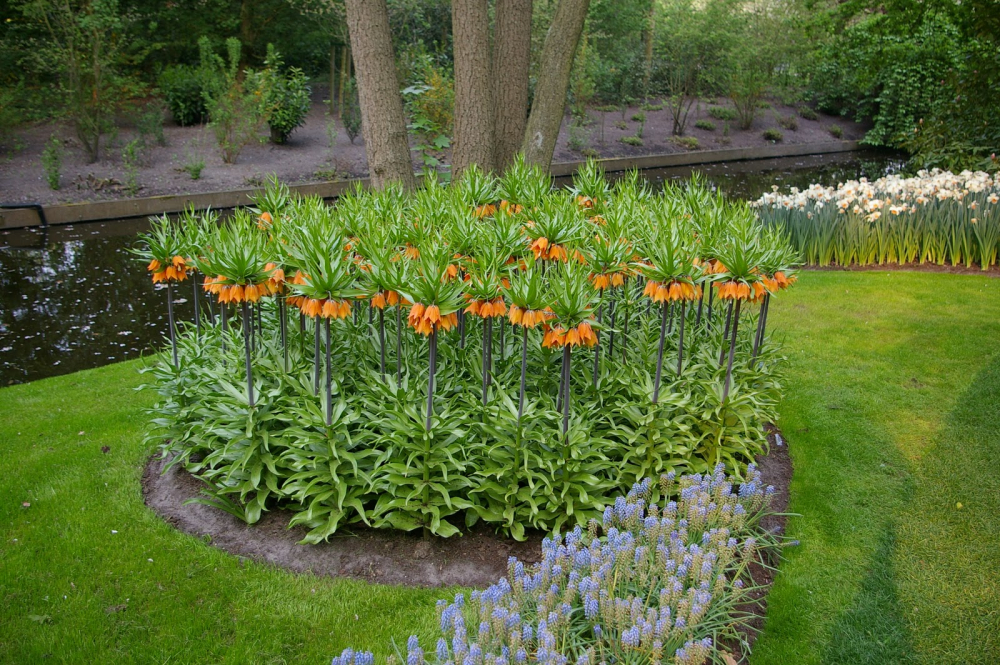
This is especially necessary in cases where the site does not meet the required specifications. What needs to be done:
- Dig the area to a depth of 0.5 m.
- Add fertilizers in the form of humus/compost (10 l), superphosphate (30 g), potassium chloride (15 g), ash (200 g) per square meter.
- If the soil is clayey, add sand. If it's light and sandy, add peat (10 liters) or sod (one bucket) per square meter.
- Dig the soil again. Loosen and level it.
For your information! Begin preparing the site one month before the intended planting date. At the latest, 14-21 days, but no later.
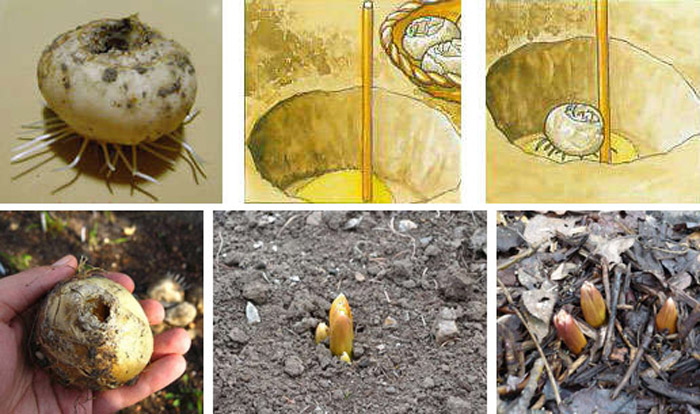
Step-by-step planting of imperial fritillary in autumn
Step-by-step instructions:
- Dig a hole large enough to accommodate several bulbs at once. Its width is 40 cm. To calculate the planting depth, multiply the bulb's height by 3. This figure will indicate the depth of the planting material.
- Place a five-centimeter layer of coarse sand on the bottom. This will serve as drainage.
- Place each bulb upside down, resting it slightly on its side to prevent rotting. Space adjacent bulbs 0.4 m apart.
- Cover with sand.
- Add nutrient-rich soil. This can be made from garden soil and humus/compost in a 3:1 ratio, adding a handful of wood ash. You can also use a store-bought soil mix for flowering plants.
Important! Don't forget to water the bulbs. If the soil has settled too much, add more soil.
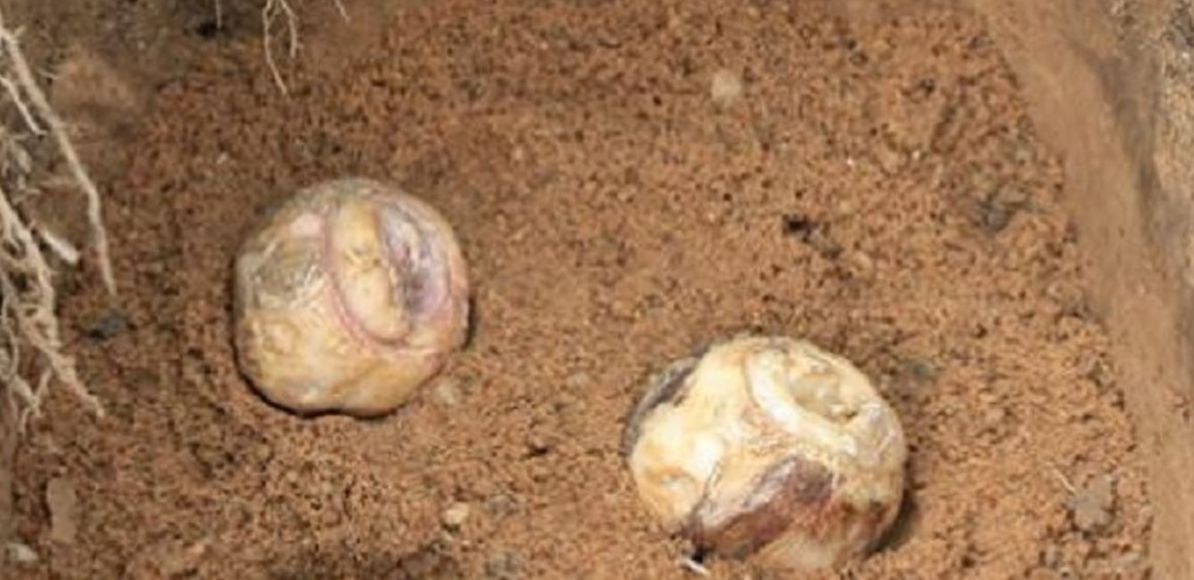
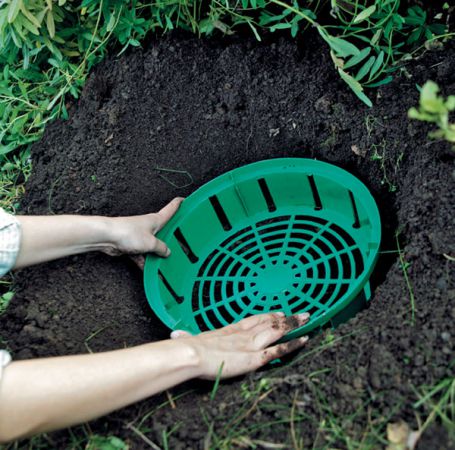
Method of planting in containers (baskets)
Although bulbs have a pungent odor, you can't be 100% sure they won't be attacked by moles and rodents. Therefore, it's recommended to plant them in special baskets for bulbs. These baskets also make digging easier.
The planting pattern will be standard. Only the bulbs are placed directly into baskets.
Caring for hazel grouse after planting in autumn
Caring for the imperial fritillary after planting is as follows:
- Water the bulbs. This is necessary not only to settle the soil but also to ensure good rooting. This activates the bulbs' vital forces.
- Once the liquid has been absorbed, mulch the plants. For example, use humus, compost, peat, or sawdust. Apply a 7-10 cm thick mulch. This will protect the bulbs from freezing in winter and retain nutrients and moisture in the soil longer.
- In cold areas, cover the bulbs with additional spruce branches or dry leaves. As soon as snow falls, pile it on top. In the spring, once temperatures stabilize, remove the covering and mulch.
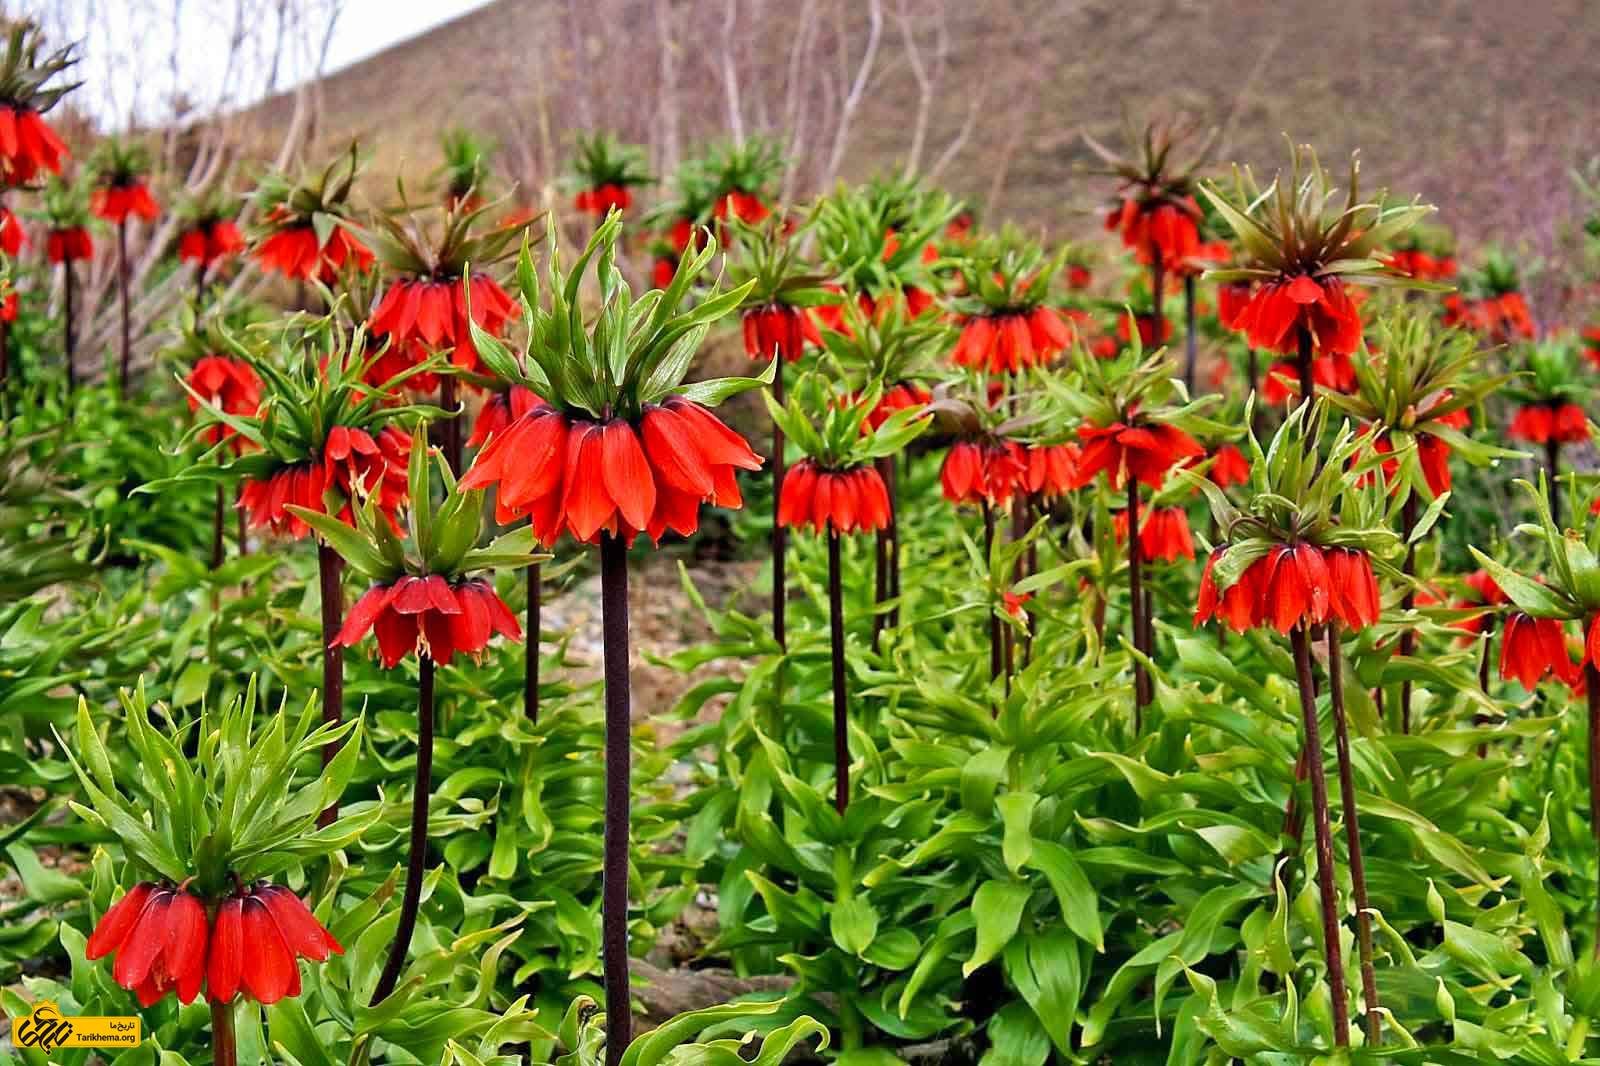
Finally, I'd like to add that the corms of the fritillary should be dug up annually. This is done after the foliage has yellowed. Dry the corms in a warm, well-ventilated place and store them at 27°C until autumn. Following all these guidelines will allow you to grow beautiful flowers that will fit perfectly into any landscape design.
Tips from gardeners on growing fritillaries
I'd like to plant a fritillary imperial in my garden. I'm new to gardening and wasn't familiar with this plant before, but I was drawn to its unique appearance. There's a lot of conflicting information about fritillary imperial in literature and on various websites. Could you clarify a few questions?
1. What's the best time to plant? I can't plant the bulbs right now. The earliest I'll be back at the dacha is September 7th. What's the best way to store the bulbs until then?
2. Should the bulb be positioned at a 45-degree angle in the hole, as some gardeners recommend? I heard the same thing today at the store where I bought the bulb.
3. Should I treat the bulbs before planting? If so, what should I use?
4. What should I do with the roots that have already appeared? Will the plant suffer significant damage if they break off during transportation?
5. Do I need to cover the plant for the winter?Plant when roots appear, usually in mid-August. Position the bulb however you like, but the soil must be well-drained. The idea behind the slanted position comes from the bulb's having a depression (often a hole) where water can stagnate. To prevent this, plant it on its side. I often plant it on its side when the roots are long, to avoid digging a wide trench. Planting depth is 25-30 cm. I've never treated the bulbs with food preservatives—I haven't noticed any diseases. Please preserve the roots. Place it in a milk carton—by September 7th, they'll be about 15 cm long; you'll definitely break everything. It doesn't require any special cover. The main thing is drainage—the plant doesn't like stagnant water. By the way, if you bought it in a store, it most likely won't bloom—the bulbs they sell there are too small and often overdried. A normal diameter is 8 cm or more (for yellow ones, 6 cm or more).
Fritillary is a rather finicky crop. It should be planted sometime in August. Later, it doesn't always have time to develop its root system before the frost. Furthermore, new roots begin to grow in August, and if you delay planting, they'll break off, which will also affect flowering later. Secondly, you might have been sold a non-flowering bulb. Non-flowering in the sense that the owner didn't bloom it because they didn't follow proper cultivation practices. This applies to its reluctance to bloom in the first year after planting.
Fritillaries need to be dug up every year. Only Ulitka in Kherson doesn't have to dig them up. The ground there warms up well in summer. In all other regions, fritillaries must be dug up. They require a period of dry, hot dormancy. The bulbs need to be kept at 30-35°C for two months. This applies to your fritillary's reluctance to bloom in subsequent years. Besides, it could be in the shade. Fritillaries only tolerate light shade. Generally, they should be planted in full sun. They bloom very early, along with yellow daffodils. So, dig them up as early as June. You're too late this year. Wait until next year. If it hasn't bloomed for three years, it should survive a fourth.
Digging advice: The bulb is deep. If you use only a shovel, you could damage it. A shovel blade won't reach that deep. So, first remove the soil from the top, and then use a shovel to dig it up.
But I can't tell you where to get temperatures of 30-35°C for two months. I have a room (I live in a private house) that gets heated by the sun to exactly that temperature in the summer. And at night, it doesn't drop much. Of course, you can open a window, and then the temperature will be normal. But I need this room specifically for the bulbs. I keep hyacinths, tulips, and bulbous irises there. They all need high temperatures (just for different durations) to initiate flower buds.
Oh, I almost forgot. The size of the bulb doesn't tell you anything. Imperial fritillary bulbs can weigh up to half a kilogram. One of mine weighs 350 grams, and that's after a month of drying at temperatures above 30°C. And there's another variety of fritillary—I can't remember the name—that bulb weighs almost a kilogram! I can't even imagine such a thing. That's the size of a rather plump melon.
Agricultural technology for growing hazel grouse
The time to plant fritillary bulbs is determined by the bulbs themselves. Bulbs stored in a warm place begin to sprout tender white roots by late August to early September, indicating they are ready to be planted. Therefore, fritillary bulbs are planted in late August to early September.
Choosing a planting site. Since fritillaries prefer open, sunny locations in their native habitat, they should also be planted in a bright, sunny spot in the garden. However, cultivation experience has shown that in direct sunlight, their flowering period is shorter and the flowers fade quickly. While this isn't as important in the wild, for gardeners, the longevity and vibrancy of their color are paramount. Therefore, experienced gardeners grow fritillaries in slightly shaded areas.
As is well known, fritillaries are very demanding of soil, so it's best to plant them in prepared large holes. The holes are made at least 30 cm deep and filled halfway with humus with 15-20 g of Kemira Universal added. Mix the soil and compact it lightly. A layer of washed river sand (1 cm) is added to this layer, and a small mound is made from it. Place the bulb on top, spreading the roots evenly. Cover the bulb with another centimeter of sand, and only then fill the hole with soil. The bulb should be nestled in a layer of sand at least 15-20 cm deep. Instead of sand, some gardeners wrap the bulbs in sphagnum moss, pre-soaked in mineral fertilizer (flower fertilizer), before planting. Sphagnum moss has excellent disinfectant properties and, like sand, protects the bulbs in the ground from rotting.
Fertilizing during the growing season. If the bulbs were planted in holes well-filled with an organo-mineral mixture, this fertilizer will usually last the entire growing season. If they were planted without fertilizer or were under-fertilized, then as soon as the bulbs begin to grow, they should be given nitrogen by scattering 15-20 grams of urea around the bushes. Subsequently, during flowering, they should be fed twice with a floral or complex fertilizer.
Time to dig up and dry the bulbs. As soon as the leaves turn yellow and begin to wilt, carefully dig up the plants, clean the soil from the bulbs, and place them in a box or cardboard box in a warm place to dry for 4 to 6 weeks. The stems are cut off only after the bulbs are completely dry. I personally place the box in the attic of my summer house. After 4 to 6 weeks of drying, the box with the bulbs is moved to a cooler place and stored at a temperature of 17 to 20 degrees Celsius (63 to 68 degrees Fahrenheit) until roots appear, which begin to emerge around mid-August. They are planted according to the rules from late August to September 10. With this growing method, imperial fritillaries bloom profusely every year.
Reasons for the lack of flowering. Fritillaries are plants native to warm climates, where they bloom in the spring and summer while the soil retains moisture. Then the scorching summer sets in, the soil moisture quickly disappears, the green foliage withers, and the plants wilt and dry out, managing to grow, flower, set seed, and complete their growing season in this short time. In summer, the scorching sun warms the soil deeply, and the fritillary bulbs remain warm all summer, receiving good warmth. In winter, the opposite is true. This means that after the end of the growing season, the fritillary bulbs undergo two opposing dormant periods: the first is warm, the second is cold. In our conditions, the bulbs, buried at a depth of 12-15 cm, do not receive this warmth, and therefore do not experience the warm dormancy necessary for fritillaries to bloom. This is the main reason. To ensure it blooms every year, it must be dug up annually and the bulbs exposed to artificial air heating. If these conditions are met, the fritillary will bloom annually.
This weekend I planted hazel grouse, I had to plant them in the rain, I was late with the planting, it should have been done back in August.
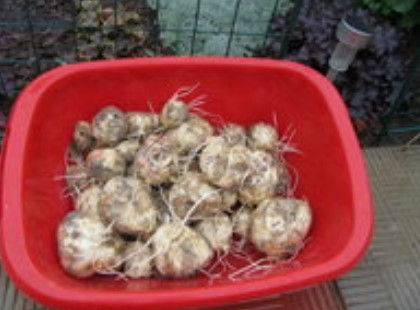
These are the roots... No wonder, it's September.
These are the roots... No wonder, it's September.
I place the bulb on the area shown in the photo, below the bulb near the little finger.
I lay them on a barrel (“platform”)
This is what I tried to show in the last photo.
They grow well, and in my opinion, they don't require any special care. Once they fade after flowering, dig them up, let them dry thoroughly, and when they take root, plant them in a raised bed. I tried to photograph the planting process, but it rained heavily and I only managed to capture the bed. I quickly dug them into the ground and headed home... That's where the photo session ended.
They bloom every year, I've been planting them in the same spot for several years now; there's simply no other option. And the colors are the usual... orange, yellow, and red.

I planted a Fritillary grouse in the fall. I read that it should be planted 10-15 cm deep (specifically, the Fritillary grouse, not the imperial grouse). I came to the dacha on the weekend and saw that the tulips and daffodils (also planted then) had sprouted, but the Fritillary grouse hadn't. Did I plant it too deep? How can I save it now? Should I dig it up or wait? I read that it blooms in April, but it hasn't even come out of the ground.
The checkerboard blooms in May. It's a problem-free plant; a depth of 10 cm is fine unless your soil is too deep. (For the imperial, a depth of 20-30 cm is ideal.)
It's probably just too early. I also planted it at a depth of 15 cm. It's growing without any problems.
It still has to sprout. My Aphrodite variety hasn't emerged yet, but the species one is already budding. It's time to wait and not dig.