Planting potatoes from seed isn't the most common practice among gardeners. More often, ready-made tubers are used for planting, allowing for a harvest within a few months. However, only seeds produce "clean," productive, and healthy seed tubers, which can rejuvenate plantings and initiate a new harvest season lasting 5-7 years.
Content
- 1 Why grow potatoes from seeds?
- 2 Advantages and disadvantages of growing potatoes from seeds
- 3 Timing of sowing potato seeds for seedlings
- 4 Lunar calendar for sowing potato seeds for seedlings
- 5 Popular potato varieties for growing from seed in a table with descriptions and photos
- 6 Step-by-step instructions for sowing potato seeds
- 7 Different methods of sowing potato seeds
- 8 Growing and caring for potato seedlings at home
- 9 Planting potato seedlings in open ground
- 10 Top.tomathouse.com warns: mistakes and problems when growing potatoes from seeds
- 11 Real reviews from gardeners about growing potatoes from seeds
Why grow potatoes from seeds?
Many gardeners have a reasonable question: why bother growing potatoes from seeds if they grow just fine from tubers?
Indeed, tubers are used to produce a harvest. Typically, gardeners harvest them year after year after digging at the end of the season. But over time, the planting material becomes depleted, its nutrients diminish, and the tubers become small. In this case, it's necessary to replant. Super-elite or elite tubers can be purchased for this purpose, but they are not cheap, and unscrupulous sellers selling low-quality goods are numerous. Often, when ordering elite planting material online, gardeners receive tubers that are two or three years old.
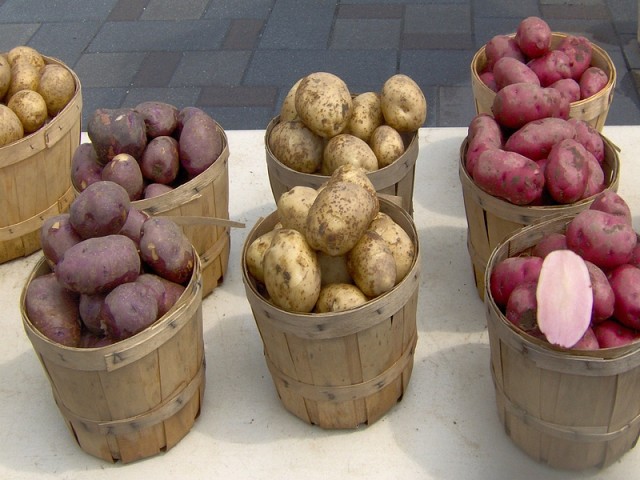
The only guaranteed way to obtain the highest-quality material is to grow it yourself from seed. These seedlings have excellent immunity, resulting in uniform, healthy, and strong tubers. Potatoes grown from seed produce a bountiful harvest, are less susceptible to disease, store better, and are more resilient to various adverse conditions.
Advantages and disadvantages of growing potatoes from seeds
Growing potatoes from seed has a number of advantages and disadvantages. These are listed in the table below.
| Advantages | Flaws |
|
|
Timing of sowing potato seeds for seedlings
When planning seed sowing, allow an additional 7-10 days for germination. After germination, seedlings typically gain strength within 60 days and are ready for planting outdoors. However, this is only possible if soil temperatures remain above 11°C and the risk of night frosts is minimized.
In different regions, the start dates for sowing work vary depending on weather conditions and the characteristics of the spring period:
- Central Russia (including the Moscow region)You should start sowing seeds in the first ten days of March, as you can plant potatoes in the garden as early as the first days of May.
- Siberia and the UralsIn these regions, the soil warms up only by early June, so the work schedule shifts. Potato seeds are sown in early April, with the seedlings ready to be planted in the ground during the first ten days of June.
- Leningrad OblastSpring typically arrives late in this region, with the soil only fully warming up by the end of May. Therefore, it's best to sow the seeds no earlier than this time, so that the potatoes can be planted in the garden by the end of spring.
- Southern regionsDue to favorable spring conditions, work begins in April, so you can begin sowing potato seeds as early as late or mid-February.
Lunar calendar for sowing potato seeds for seedlings
According to the lunar calendar, the following dates are considered favorable for sowing potato seeds in 2023:
| Month | Favorable days and hours |
| January | 13-19 (until 22:12) |
| February | 16-17, 24 (from 11:28 a.m.) - 26 (until 6:46 p.m.) |
| March | 1-3 (until 18:16), 8 (from 17:43 pm) - 17 (until 17:24 pm), 23 (from 21:41) - 25 |
| April | 7 (from 09:29 a.m.)-13 (until 23:42 p.m.), 21-22 (until 13:11 p.m.) |
Popular potato varieties for growing from seed in a table with descriptions and photos
| Seed variety | Productivity | Description | Price |
| Farmer
|
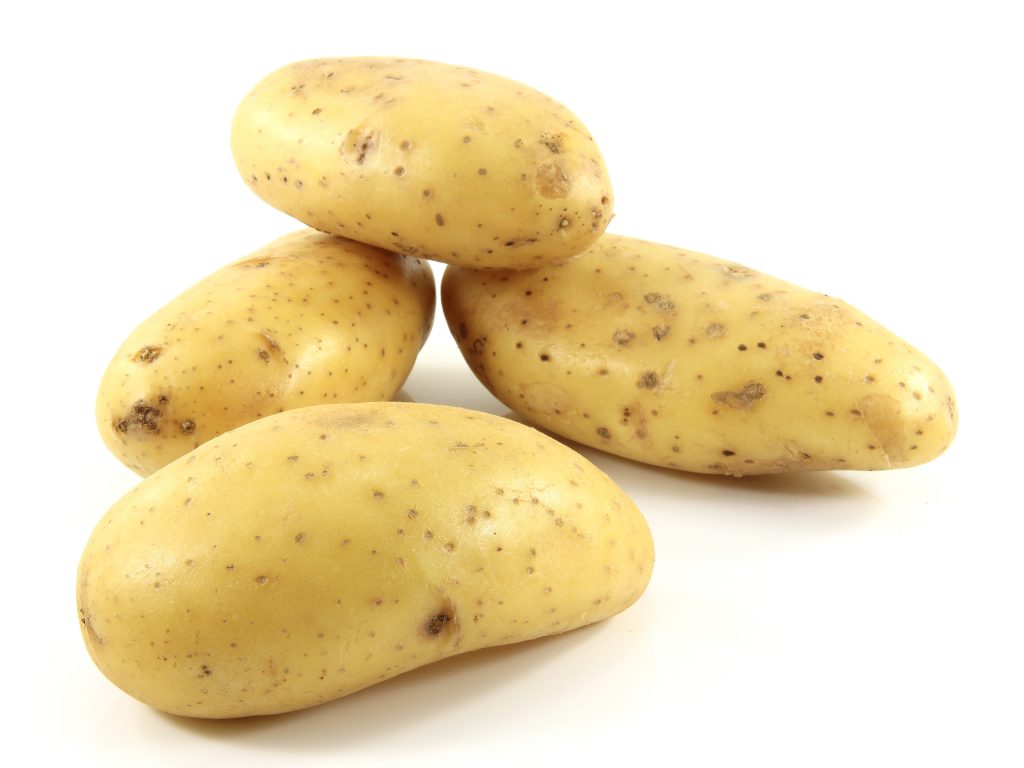
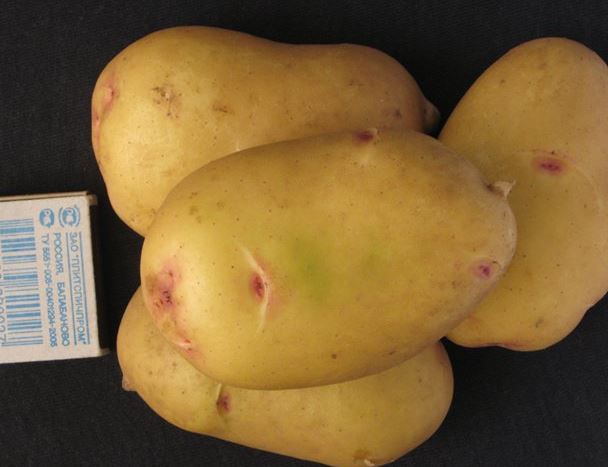
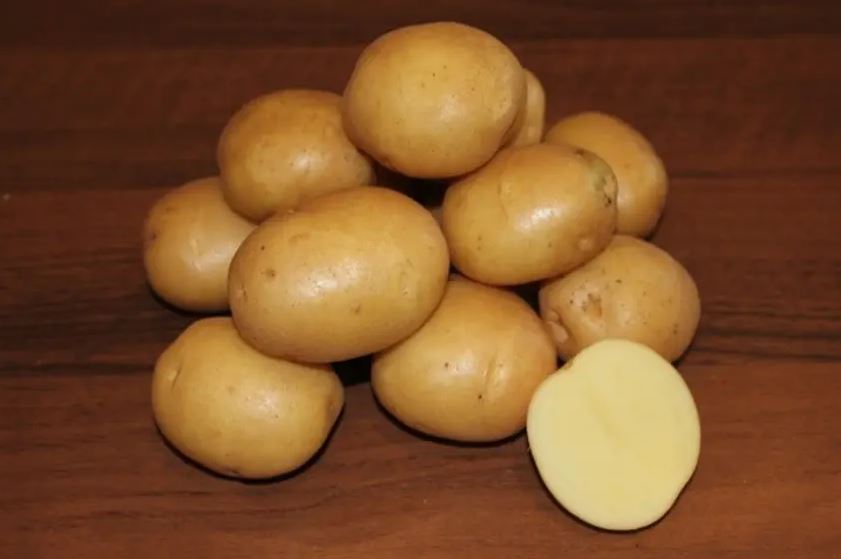
200-230 c/ha (centners per hectare). | An early-ripening variety (40-60 days). It is characterized by high yield. The tubers are oval and slightly elongated. The skin is yellow, with a small number of eyes on the surface. The flesh is light yellow and has a high consumer rating. The Farmer variety is highly resistant to nematodes and has excellent shelf life, allowing it to be stored for a long time. Its versatility allows it to be used in a variety of dishes, from soups to mashed potatoes. Germination is required before sowing; seedlings do not require picking. | 0.02 g (30-40 seeds) from 17 rubles. |
| Empress
|
up to 400 c/ha | An early-ripening variety (55-65 days). It is characterized by high yield. The tubers are oval-elongated. The skin is yellow, with virtually no eyes. The flesh is yellow. The Empress variety is highly resistant to scab, nematodes, viruses, and late blight, and has a fairly long shelf life. It is a versatile table potato. It is used in a variety of dishes and does not crumble during cooking. The seeds have a 50% germination rate.
This variety produces two harvests from a single plant. The plants are very compact, so when planting seedlings or tubers, you can leave 15 cm between them. |
0.02 g from 15 rubles. |
| Sarpo Mira
|
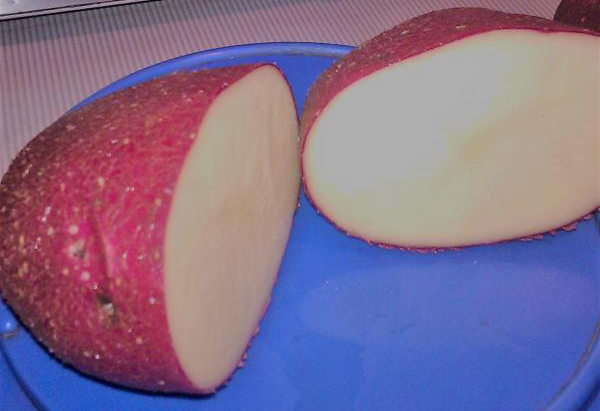
350-360 c/ha | A late-ripening variety (95-115 days). Its main advantage is its resistance to late blight. Plants can easily grow in blight-infected soil, even with signs of the disease on leaves or shoots, yet the tubers remain healthy and continue to develop normally. It tolerates temperature fluctuations and short cold spells well. The tubers are quite large, often above average in size. The skin is pink, and the flesh is white. When cooked, it softens, making it ideal for mashed potatoes and casseroles. The yield is high, and the tubers have a long shelf life under the right conditions. To obtain seedlings, seeds are sown in April, and direct seeding can be carried out in early June. This is an older variety, developed by Hungarian breeders in the 1950s. | 50 seeds 160 rub. |
| Milena
|
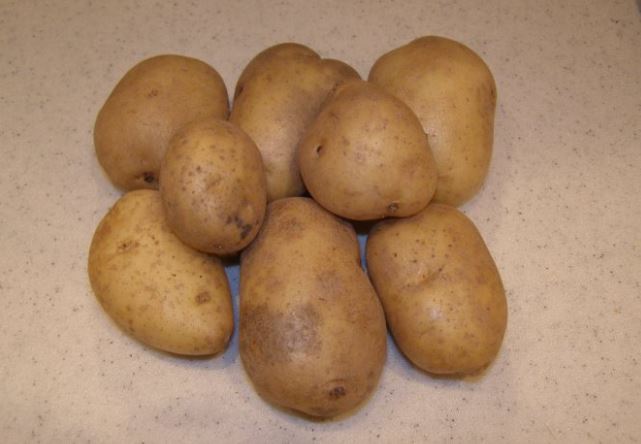
450-600 c/ha | A mid-early variety (70-90 days). The bush is not very large, but spreading. The potato is intended for table use. The tubers are round-oval, the skin is yellow-white, and the flesh ranges from pale yellow to white. There are few eyes, located on the surface. Consumers note the excellent taste, and gardeners value Milena for its resistance to late blight, nematodes, and viruses. The yield, as well as the marketability, are very high. Before planting, the seeds must be pre-germinated by soaking. Young potatoes can be affected by aphids, thrips, Colorado potato beetle. | 0.02 g from 13 rubles. |
| Beauty
|
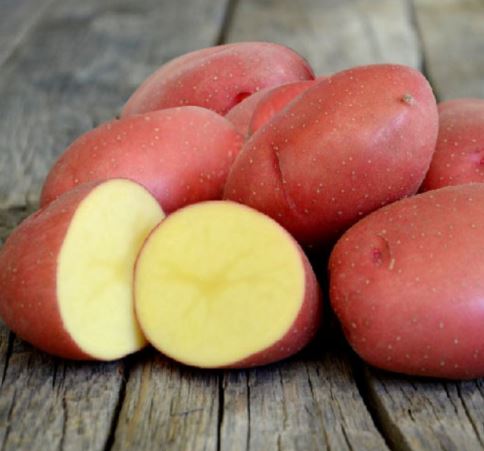
400-450 c/ha | A mid-late variety (80-100 days). The bushes are distinguished by strong, upright shoots. Each produces 6 to 8 tubers, each weighing over 250 g. They are oval-shaped, covered with red skin and slightly indented eyes. The flesh is light yellow. Krasa is considered a table variety with excellent flavor. It exhibits high resistance to various fungal and viral diseases. It has good marketability and shelf life. Germinated seeds, pre-soaked, are used for sowing. | 0.025 g from 16 rubles. |
| Fairy tale
|
300-400 c/ha | A mid-early variety (70-85 days). Widely used commercially due to its high yield and excellent tuber quality. They have a round shape, light yellow flesh, and yellow skin. The taste is excellent. Growing Skazka from seed produces super-elite tubers of the highest quality, which have excellent immunity, capable of resisting all potato diseases. These qualities persist for several years after the tubers are first used, and then decline. Sowing begins in April; seeds are placed in the soil 2 cm apart at a depth of no more than 50 mm. | 0.025 g from 29 rubles. |
| Kolobok
|
150-250 c/ha | A mid-season variety (90-110 days). Sowing and growing characteristics are similar to those of the Skazka variety described above. The tubers are round, with a yellowish skin and slightly lighter flesh. The potatoes contain a relatively high concentration of starch and are suitable for table use. They cook well without darkening. They have a long shelf life and a very pleasant flavor. They tolerate waterlogged soil well. | 0.025 g from 24 rubles. |
Step-by-step instructions for sowing potato seeds
Growing potatoes from seeds is a painstaking and complex task, but it is entirely doable. The seeds themselves are small and flat. 1,000 potato seeds weigh only 0.5 grams, and the consumption per hectare (ha) is 3.9 tons. Of course, such large-scale plantings are not possible at home, but you need to purchase a large amount of seed: only 3-4 seeds from a single packet will germinate.
The main "trick" when growing is to properly prepare the seeds and soil and provide the seedlings with proper care.
Selecting potato seeds for sowing
For maximum results, purchase potato seeds from a reputable, specialized store. The manufacturer typically processes the seeds properly, making them much easier to grow.
But if you're growing a productive variety that you want to rejuvenate, you can collect the seeds yourself. To do this, select a vigorous, tall plant that hasn't had any problems this season. At the end of summer, when the potato plants finish flowering, small round berries will form where the buds once were. Select the largest berries, carefully cut them, wrap them in cheesecloth bags, and place them in a warm, bright place to ripen.
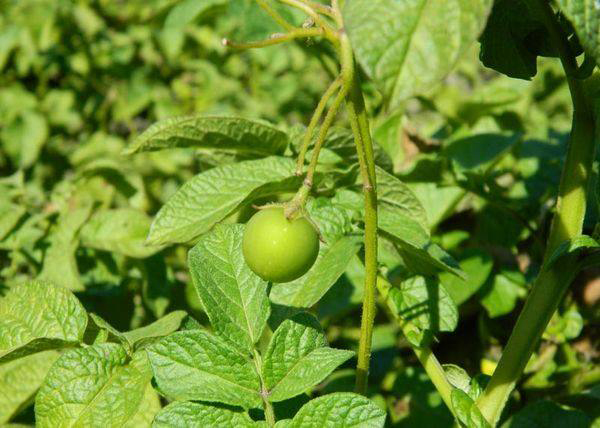
Once their color becomes noticeably lighter and the shell softens, you can begin extracting the seeds. The pulp is carefully cut open, the seeds are separated from it, washed, and spread on paper to dry.
Interesting! Potato seeds are considered to be among the smallest of all vegetable crops.
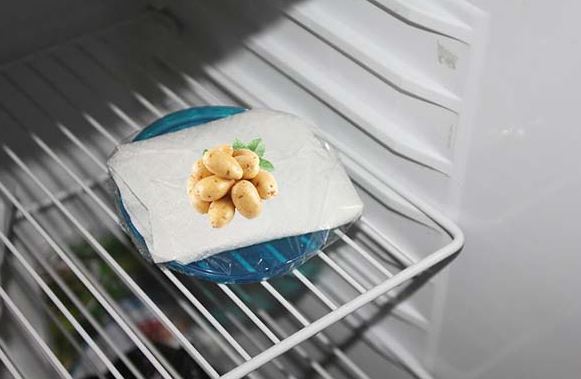
Once they've dried, place them in paper bags and store them in a cool place. They can easily last for 2 to 4 years in this condition. It's best to store them in the refrigerator, as this will provide additional stratification.
Important! Potato seeds don't have a consistent germination rate, so always buy at least twice as many as you plan to grow.
Pre-planting preparation of potato seeds
Preparing potato seeds for planting is essential to increase disease resistance and speed up germination. This process involves several steps:
- SelectionTo do this, experienced gardeners not only inspect and select the largest seeds but also test their viability using a concentrated salt solution. Dissolve 1 tablespoon of salt in a glass of water, then pour in the seeds. Any seeds that float to the surface after 30 minutes are set aside—they most likely won't germinate. However, you can try to germinate them later.
- HardeningFor three days, dry seeds are placed in the refrigerator overnight and removed during the day, placing them in a room with room temperature.
- DisinfectionThe seeds must be soaked in a weak solution of potassium permanganate for 30 minutes, then rinsed thoroughly.
- SoakPlace the seeds in a thin cloth, place them on the bottom of a deep plate or other suitable container, and then completely cover with room-temperature water. They will remain in this state for another week until sprouts appear.
- StimulationBefore planting seeds, some gardeners soak them in growth-stimulating preparations (Kornevin) or use seed dressings (Prestige).
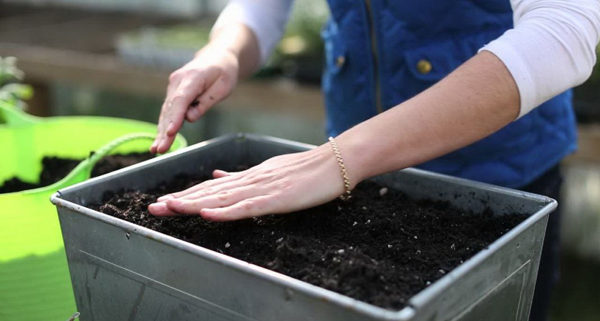
Soil preparation
You can plant seeds in a ready-made potting mix for growing seedlings. Tomato or pepper soil is suitable. If this isn't available, but you have the necessary ingredients on hand, you can prepare your own soil:
- Take peat, soil (from the garden), sand, and humus in the proportion 3:2:1:1.
- Wood ash is added to the mixture at a rate of 1 glass per 10 liters of prepared soil.
- The soil mixture is disinfected by watering with a solution of Fitosporin or potassium permanganate.
Different methods of sowing potato seeds
Potato seeds, like other crops, can be sown in a variety of ways. We'll discuss each method below.
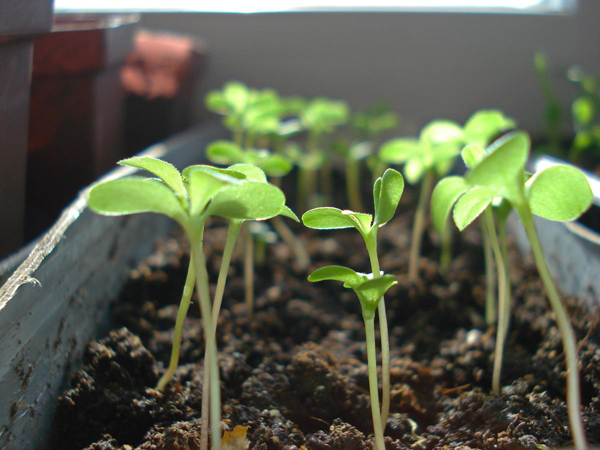
Planting in boxes
- Take a box and a container with holes for draining liquid.
- It is filled 2/3 with prepared soil, after which furrows 1 cm deep are made on the surface of the earth at a distance of 7-9 cm from each other.
- Seeds are placed in them at intervals of 2-3 cm, which are then covered with a small layer of soil and sprayed from a spray bottle.
- The container is covered with film and placed in a warm place until sprouts appear.
Germination in peat tablets
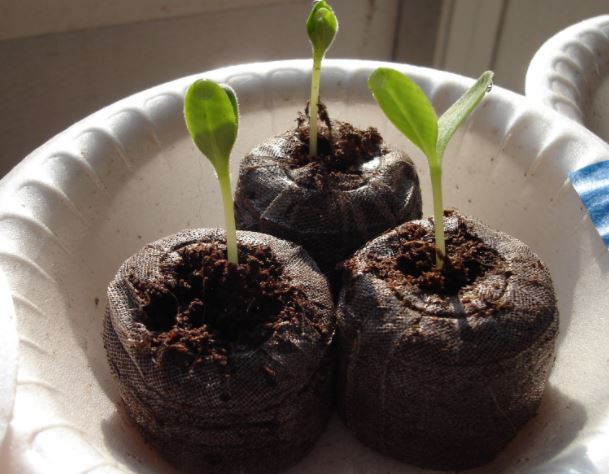
This method is considered one of the most convenient, as it requires little soil preparation, as the tablet itself provides a balanced nutrient medium. The main advantage of this technique is that the tender seedlings do not need to be transplanted or pricked out, significantly reducing the risk of damage to the shoots.
Step-by-step instructions:
- Take a deep container and place peat tablets in it with the opening facing down.
- Boiling water is poured on top, covering their surface.
- After about 10-15 minutes the water will be absorbed, another portion of boiling water is added for 5-10 minutes.
- When the tablets have swollen sufficiently, they are moved to another deep container, but placed with the opening facing up.
- On the surface of each peat tablet, 3 holes are made, 1 cm deep.
- One seed is placed in each hole and the container is covered with film until germination.
- If all the seeds are viable and have sprouted, only the strongest should be left. It's best not to uproot the remaining ones, but to carefully pinch them off to avoid damaging the surrounding roots.
In the film
A very simple and completely inexpensive method for germinating seeds. It's carried out in several stages.
- Take a piece of plastic film the width of toilet paper.
- A strip of toilet paper is placed on top of it and carefully moistened with a spray bottle.
- Seeds are laid out along the top edge.
- The roll is rolled up and secured with tape or a rubber band to keep it from losing its shape.
- The finished roll is placed in a container with water in a 2 cm layer with the seeds on top, covered with a plastic bag and placed in a warm place for 3-5 days.
- After the first four leaves appear, the shoots are transplanted into separate containers.
In the snail
Another method is the snail, it flows smoothly from the technique described above and is as follows:
- When the first leaves appear in the roll, the seedlings are not removed, but sprinkled with a 1.5 cm layer of soil and moistened.
- After this, the roll is rolled up again and placed back into the container.
Some gardeners initially spread soil on a thin layer of toilet paper. This method is convenient because the sprouted seedlings can be easily pulled toward the bottom edge of the snail when unrolling, allowing more of the stem to be used for growth, creating a hilling effect.
In individual containers
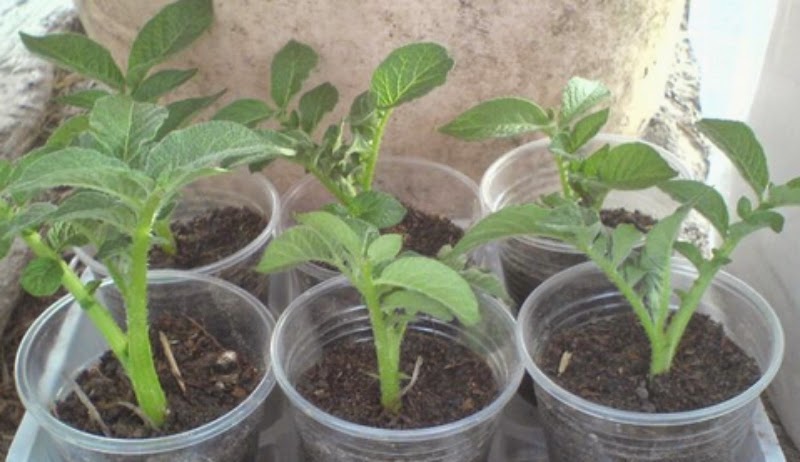
For this planting method, use small plastic cups with a capacity of no more than 200 ml. They are filled two-thirds full with soil, into which 4-5 seeds are then planted. The seeds are then gently misted with a spray bottle.
There is no need to pick the seedlings after two leaves appear; they are carefully sprinkled with loose soil, and when they grow a little more, they are transplanted into more spacious containers, for example, cut-off parts of plastic bottles.
In a diaper
This unconventional sprouting method has become a favorite among gardeners for its simplicity and versatility. It's done as follows:
- The baby's diaper is thoroughly moistened with water.
- After swelling, it's cut in half, after which all the granules are removed and mixed with soil. This soil mixture will retain moisture and provide space for the future root system.
- The mixture prepared in the above step is poured into plastic cups to about a third of their volume, the prepared seeds are placed on top of it, and lightly sprinkled with a layer of soil mixture.
- The containers are covered with film until germination.
- As the plant grows, it is necessary to add prepared soil so that only the top of the shoot remains on the surface.
Growing and caring for potato seedlings at home
Properly prepared seeds germinate within a week of planting, though a two-week wait is acceptable. Typically, even the weakest seeds will sprout by this time. Let's look at the techniques for growing potatoes from seed.
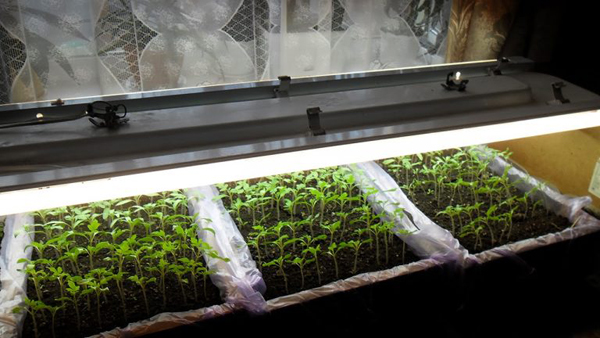
Supplementary lighting
Potato seedlings require plenty of light for normal growth. From February to April, daylight hours are short, and the sun may appear infrequently, with cloudy weather, which also impacts the quality of light. Therefore, additional lighting will be needed to ensure at least 10-12 hours of daylight. A regular lamp can be used for this, but it's better to purchase a specialized one from a gardening store. Without lighting, the stems will be thin, elongated, and have few leaves.
Watering
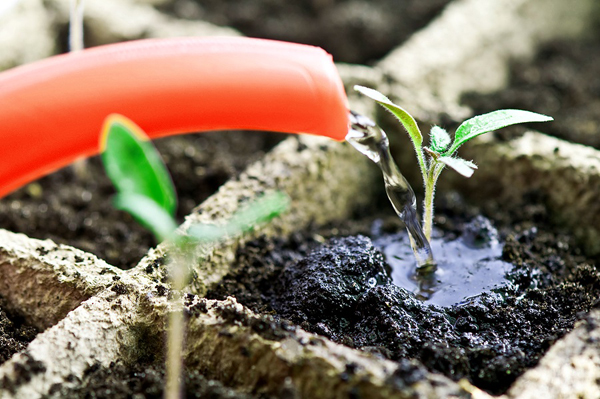
Proper watering promotes root development, which in turn helps shoots grow stronger and faster. It's recommended to use settled, room-temperature water. Avoid allowing moisture to stagnate in the cups and trays. Water regularly but moderately.
Avoid using a watering can or bottle to avoid damaging the developing roots. It's also best to avoid allowing any liquid to come into contact with the shoots.
Top dressing
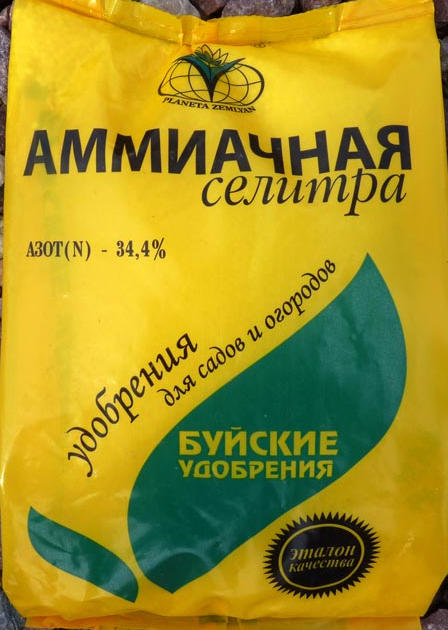
Once shoots emerge from the soil, it's recommended to fertilize with a nitrogen-containing fertilizer. To do this, dissolve 10 grams of urea or ammonium nitrate in 10 liters of water and water using a spray bottle to avoid damaging the delicate stems. This fertilization will help accelerate vegetative growth and increase the plant's resistance to external factors. Repeat the application after two weeks.
Picking
This is only necessary if a large number of seeds have sprouted, and the chosen container is too small. Pricking out (in other words, transplanting with the trimming of a portion of the central root) is performed after two full-sized leaves have emerged. If the shoot is weak and you're unsure whether it will survive the procedure, you can transplant the seedlings along with a clod of soil instead of pricking out.
Pricking out is necessary to stimulate the growth of lateral roots, which prevents the shoots from stretching for a long time, but allows them to gain root mass, which helps them better adapt after planting in the garden bed.
Planting potato seedlings in open ground
Before finally planting the seedlings in the garden bed, it's important to allow them to gradually acclimate to the new conditions. To do this, take the boxes outside for about a week, increasing the time spent outdoors daily. The key is to keep the air temperature above 9°C.
Gardeners commonly believe that potato seedlings can be planted outdoors once the seedlings from the tubers have emerged. This indicates that the soil has warmed sufficiently.
An exception is potatoes grown in a greenhouse to produce super-elite tubers – they can be planted from the beginning of April, without regard to the weather outside the structure.
To plant the seedlings, prepare holes 30 cm apart and up to 10 cm deep. To support the seedlings, it is recommended to add 250 g of well-rotted compost. The planted bushes are covered with a layer of soil, after which the soil around the roots is moistened with a spray bottle. The distance between rows is approximately 70 cm.
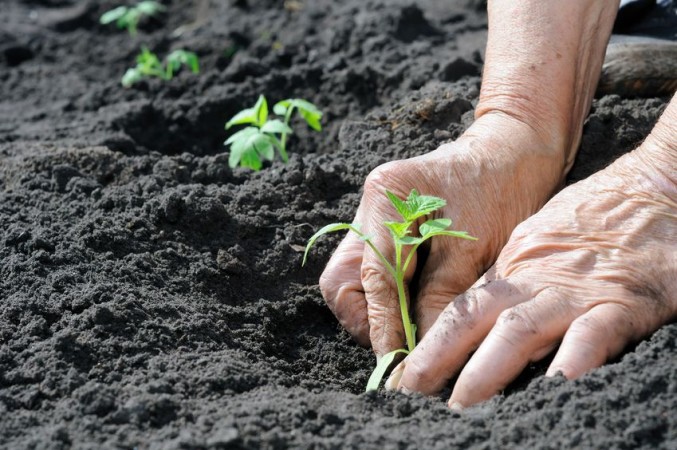
After 2 weeks, the first hilling can be carried out, which is repeated during the budding period.
Be sure to remove weeds—they not only draw nutrients and moisture from the soil, but also attract numerous pests.
Top.tomathouse.com warns: mistakes and problems when growing potatoes from seeds
Our portal http://top.tomathouse.com asks you to pay attention to common mistakes when growing potatoes from seeds:
- The shoots are stretching outThe main reason for this plant behavior is insufficient light. Be sure to provide light to the plants to ensure at least 10 hours of daylight.
- The leaves turn yellow and witherThere may be several reasons for this behavior of seedlings:
- The temperature regime is violated; the seedlings are located near heating devices or exposed to drafts. The optimal indoor temperature for growing is +20°C.
- The air in the room is very dry. For normal growth, seedlings need a humidity level of at least 60%, especially if the heating system is on.
- The stem has darkened and the foliage is withering.Potato seedlings often fall prey to fungus and blackleg. Maintaining a proper watering schedule will help prevent this—avoid stagnant moisture in the container. Furthermore, the room temperature should not drop below 18–20°C.
- The roots lack nutrients from the soil.If you didn't prepare the soil mixture initially, but used soil from your garden, it may not contain enough nutrients.
- A disease or pest has appearedSigns of disease or insect pests are usually noticeable upon careful inspection of plantings. In the early stages, diseased seedlings are removed from healthy neighbors and treated with special products. If the disease has become advanced, the plant is destroyed.
Real reviews from gardeners about growing potatoes from seeds
As gardeners who have grown potatoes from seeds note, this is a very painstaking process and is only worthwhile if you want to rejuvenate an expensive or rare potato variety.
Ukraine, Kherson
Growing potatoes from seed is a relatively new and interesting method that allows you to obtain healthy seed. So, I decided to experiment a little with the new "Farmer" variety.
I ordered potato seeds by mail last year. The amount of seed in one package is way too small. Therefore, for anyone who wants to grow not just for fun, but to get a substantial number of tubers and develop a new variety as quickly as possible, I recommend purchasing at least five packages.
Planting potatoes with seeds
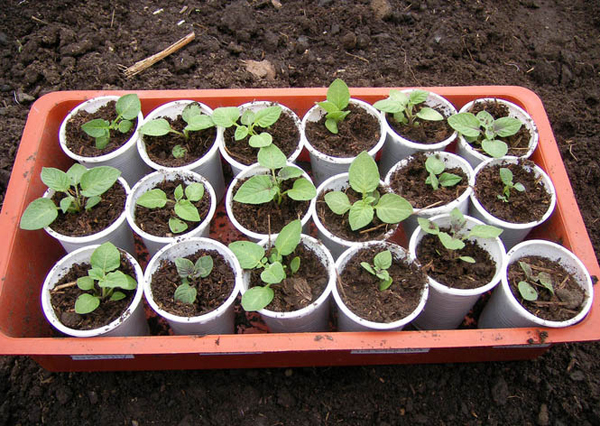
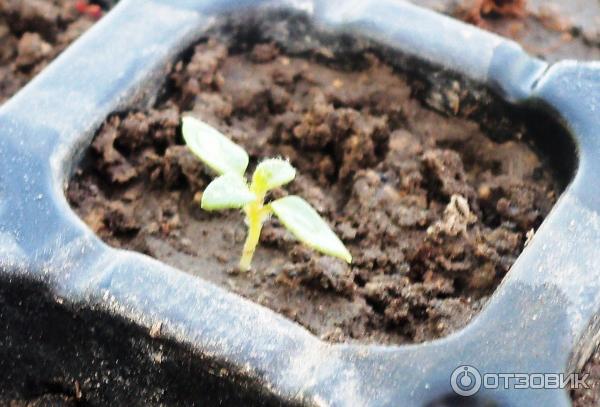
I planted the "Farmer" potato seeds in special trays without sprouting them first. The seedlings began to emerge after about two weeks, and after about another week, my plants looked like this:
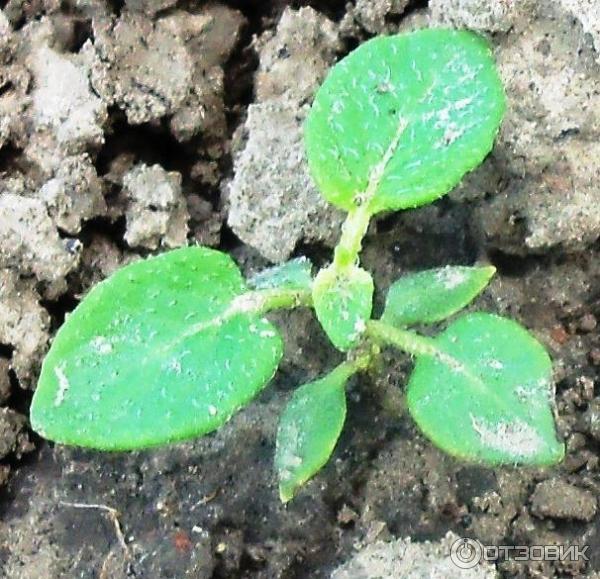
I hardened off my seedlings the traditional way. I took the bushes outside on sunny days and brought them back in the evening. In mid-May, I planted them in open ground. In the open air, the plants began to grow quite quickly:
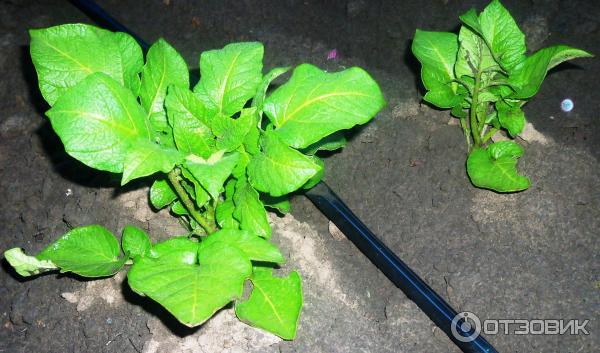
Over time, the "Farmer" potato seedlings grew stronger and began to resemble the potatoes we're used to. The plants reached a height of about 15-20 cm, and some plants almost reached full size:
Unsuccessful "happy ending"When the crop started to wilt, I went to dig up the "harvest." Frankly, I was disappointed. The tubers under the bushes turned out wilted... Of all the dug-up plants, only a few were healthy. This was probably due to the scorching summer heat we had in 2015. Perhaps I overdid it with the watering and simply "cooked" the entire crop... One thing is certain: the "Farmer" potato seeds are healthy, and they are clearly not the cause—after all, the plant grew and formed ovaries...
So, feeling so frustrated, I fed everything to household utensils and didn't save a single tuber for planting next year. So, unfortunately, I can't say anything about the variety's future development...
And for those who want to buy potato seeds and experiment (like me), I suggest you look at my review of the Assol potato.
Russia, Topki
I've already written about my attempt to buy seeds online. I was completely satisfied with Gusev's Pomidom as an online store. In addition to cherry tomato and pepper seeds, I also ordered potato seeds from there, with the exotic name Sarpo Mira.
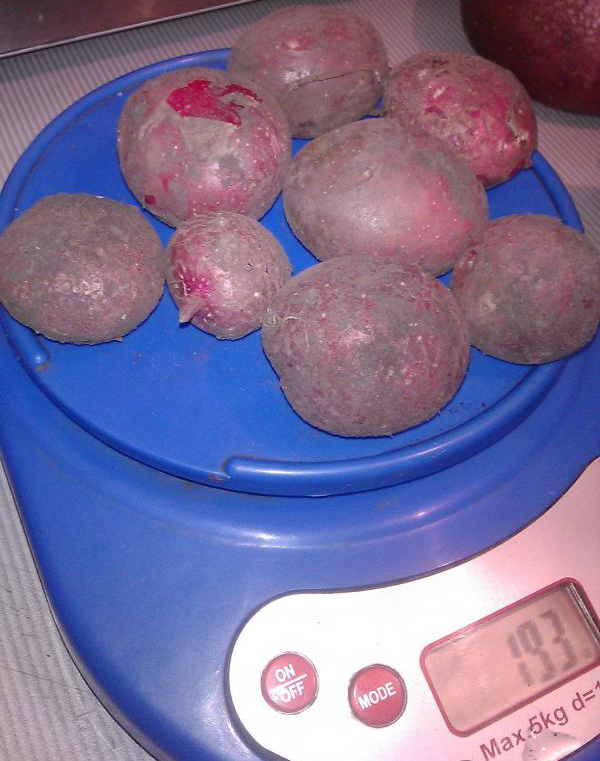
I hadn't grown potatoes from seed before, but the prospect of growing blight-resistant potatoes was intriguing. That was three years ago. My first attempt was a near-failure. The tiny potato seeds, which had sprouted quite well, produced equally tiny sprouts, which were quite difficult to keep track of. Furthermore, I'd sown the seeds in peat pellets, which dry out very quickly. By the time I planted them, only half of the two dozen or so seedlings were still alive. They died in the garden bed in midsummer, for reasons I don't even know. Only one solitary plant survived, yielding eight lilac-burgundy mini-tubers. I carefully dug them up and placed them in a cardboard box to overwinter in the coolest place in the house (I didn't dare hide this "jewel" in the cellar with the rest of the potatoes). In the photo, unfortunately, the tubers are not the same, but they were approximately the same (and their photo “disappeared” along with my husband’s previous phone number).
Since I'm quite stubborn and there were still half a packet of seeds left, I tried again the following year. The germination rate was again impressive: almost all the remaining ones sprouted, 12 sprouts survived until planting, and eight of the mini-tubers from the bushes were harvested. At the same time, I also planted eight of the previous year's tubers, which together fit in the palm of my hand. This bed really pleased me. The bushes grew very vigorously, remained green all summer, and I dug them up last, when almost all the dried tops of the other potatoes were gone. The harvest, compared to what had been planted (eight quail eggs), was simply enormous—an entire bucket of potatoes, mostly medium and large in size, with very few small ones. We liked the taste of the potatoes: lilac-burgundy on the outside, yellowish on the inside, they were quite crumbly and didn't take long to cook.
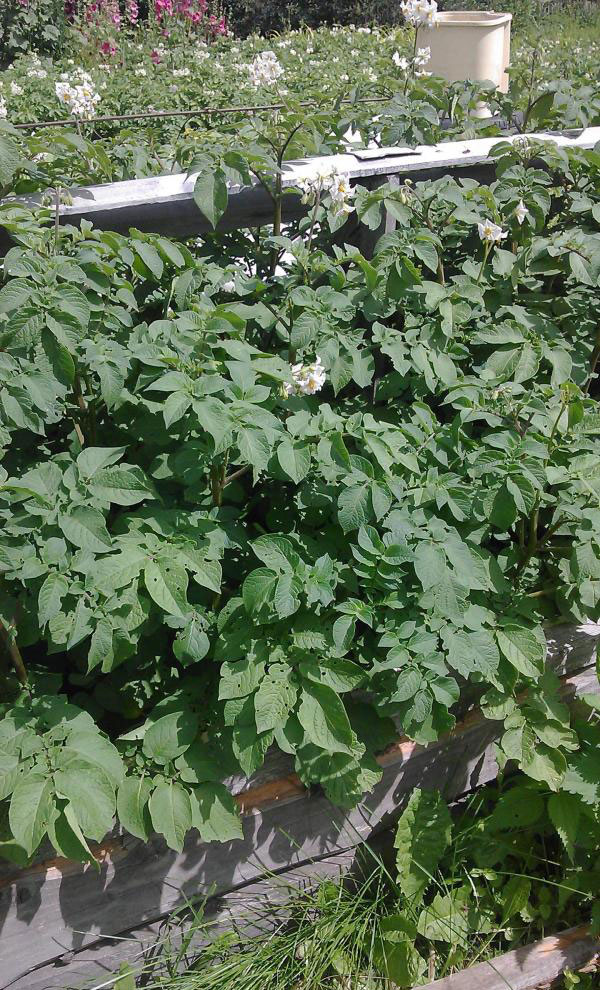
This year, I planted this variety separately in a warm bed and had high hopes for it. The bushes grew to a stunning height: vigorous, green, and bloomed with white flowers all summer long. (I tried to pluck them, but it was useless; they immediately bloomed again. Then I read online that this variety is distinguished by the fact that it continues to grow until late autumn, which can cause cavities in the tubers.)
However, around midsummer, I discovered a couple of wilted bushes, which, upon closer inspection, turned out to be eaten by mice. Basically, my hopes for a big potato harvest in the Sarpo Mira region began to fade away, because once mice have taken up residence in a garden bed, it's hard to get them out. It's a shame to poison them—my cats, even though they're of little use with mice swarming right under my nose. Last year, our Muryska passed away after thirteen years, and the remaining idiots turned out to be absolutely useless at catching mice.In short, due to the uninvited guests who really enjoyed these potatoes, the harvest was far from as good as expected. Although most of the potatoes were large, some of the harvest was left with nothing but skins.
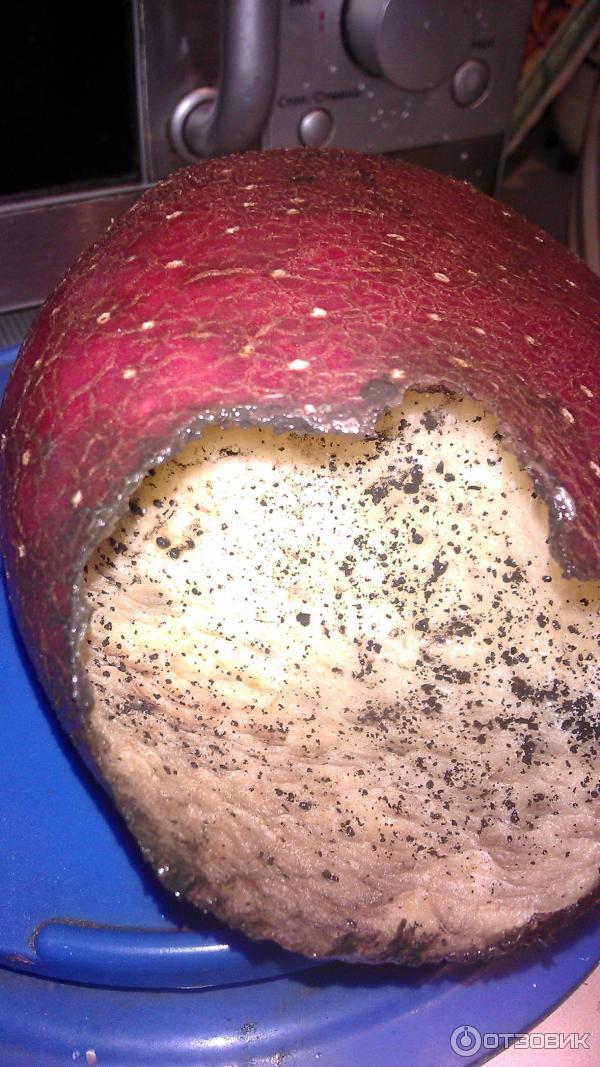
By the way, we haven’t yet found any voids (except for mouse work), even in the largest potatoes.Next year I'll definitely plant Sarpo Mira potatoes, but among regular potatoes, where mice don't make such a fuss as they do in a warm, boarded, multi-layered bed. We've really enjoyed this variety, so I recommend other gardeners try it, especially if late blight is a frequent problem. The tops were still vigorous and green when I dug them up, showing no signs of this affliction.
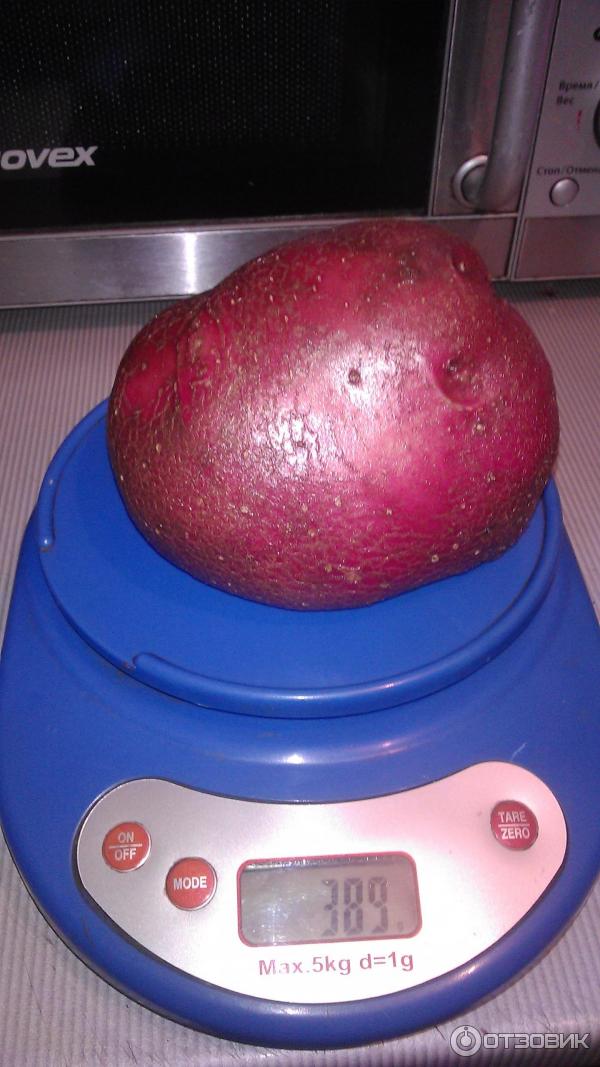
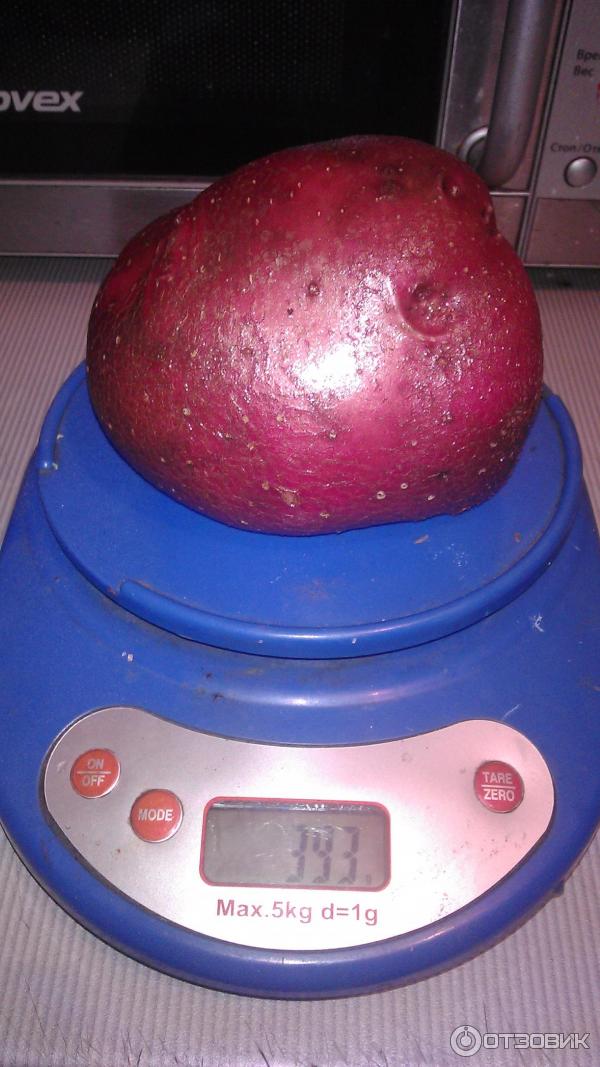
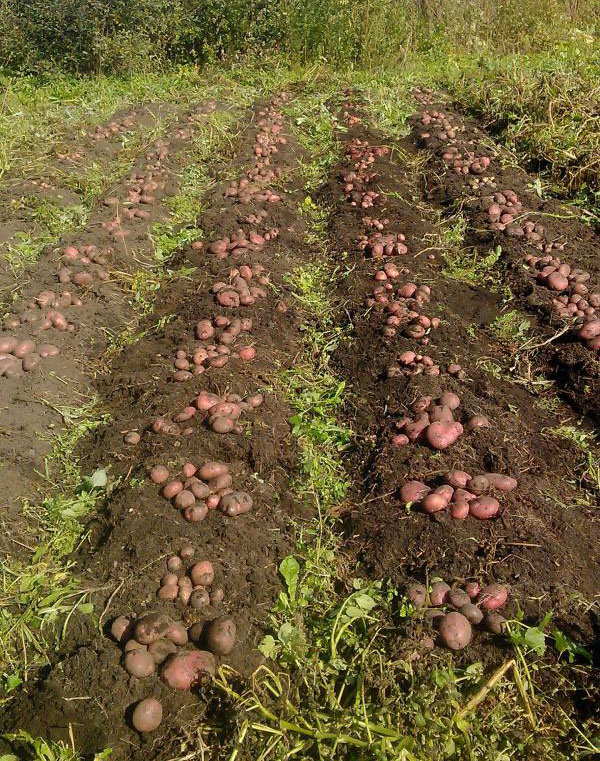
I'm adding a photo from 2019 to my review. This is now a full harvest, and we were very pleased with it. And the whole saga began with just a packet of seeds :-).
There is a downside, though. The very large ones (about a sack's worth) do have some holes inside. Large and medium-sized potatoes are fine, without this drawback.
Russia, Kursk
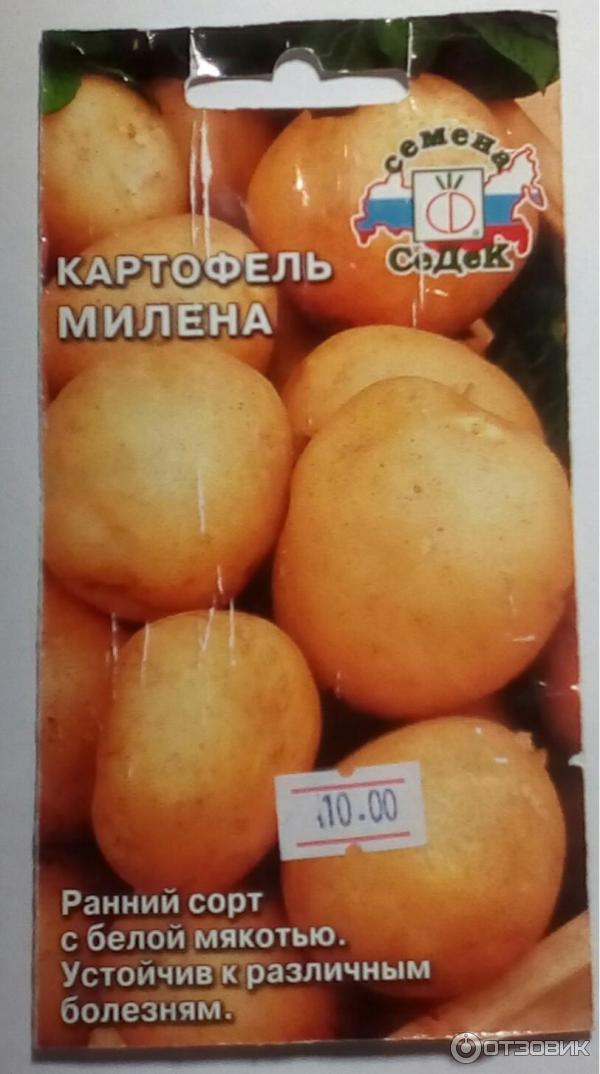
I bought potato seeds for the sake of experimentation, and the price of 10 rubles was attractive. Since buying good, high-quality seeds in tubers can be expensive, I decided to try growing my own. I didn't spend much time choosing, but bought the first variety I saw, "Milena."
These are seeds from the SeDeK company. They come in a paper bag. On the front is a photo of the potato, along with its name, characteristics, and the company logo.
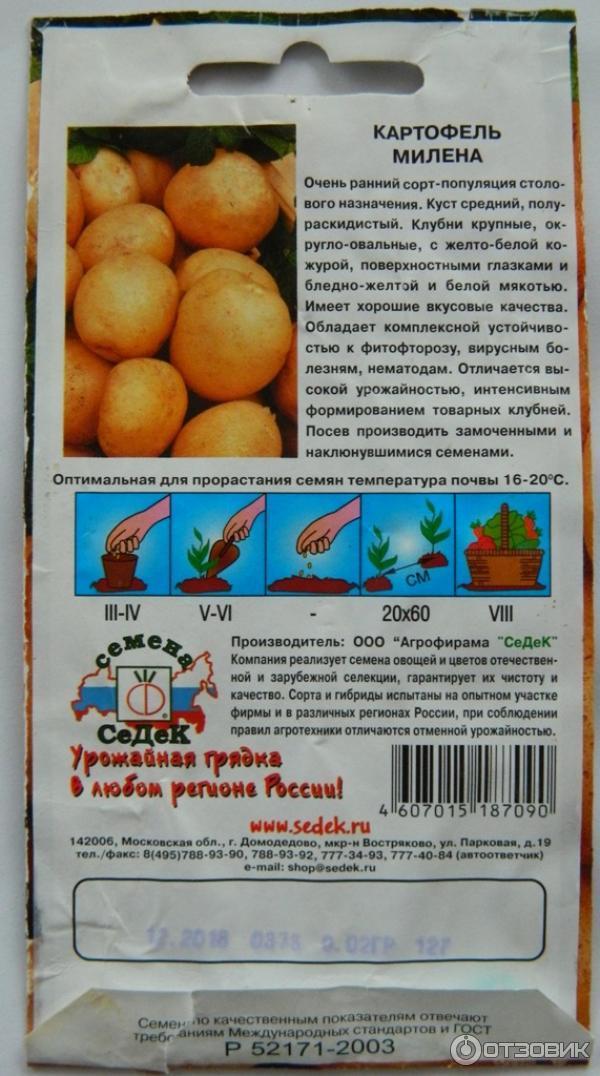
On the back of the package is all the necessary information about the variety.
Little information is available about sowing the seeds; I would have liked more. It only says that they should be planted after they've sprouted. To determine the planting time, refer to the diagram provided. According to the information, potato seeds are sown in March-April, seedlings are planted outdoors in May-June, and the harvest is in August. Important information is also printed in an additional window at the bottom of the packet.
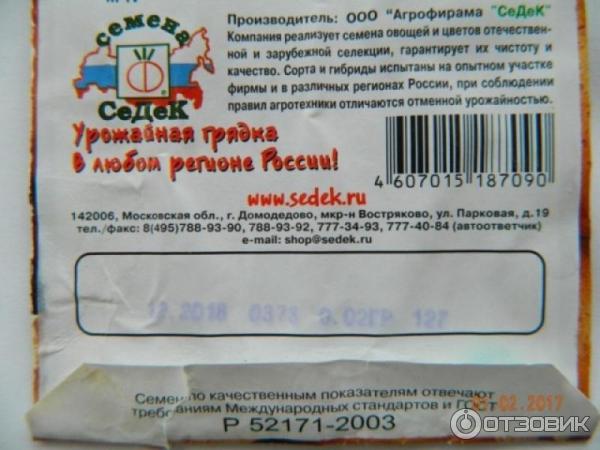
The expiration date, lot number, and seed weight or quantity must be indicated. Our seeds are fine; the expiration date is December 2018 and the weight is 0.02 grams.
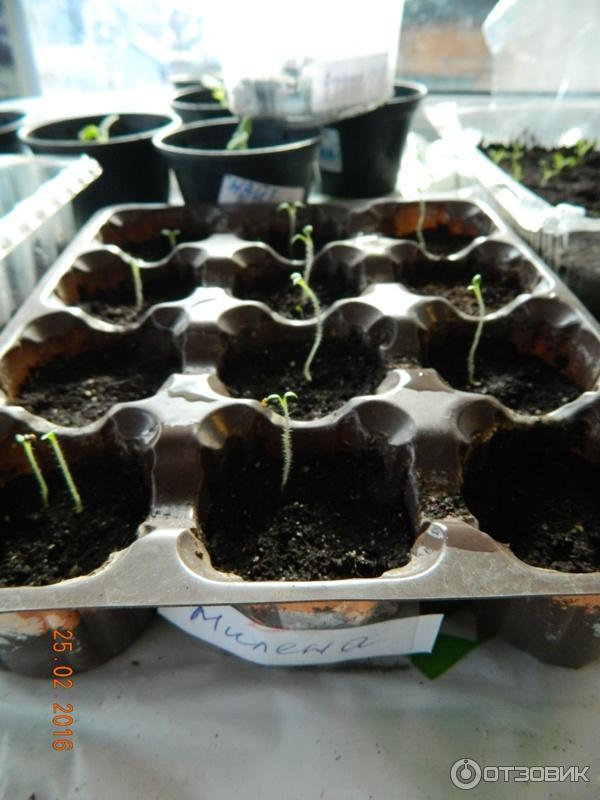
So, I started my experiment in mid-February, even though the package said March. I couldn't wait to see what these potatoes from seed were like, but I later regretted planting them so early, as the seedlings ended up stretching out too much, and several plants were lost.
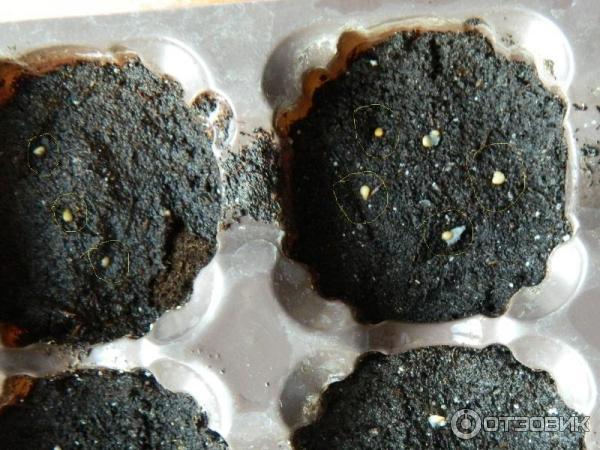
The potato seeds themselves are very small, and planting them required painstaking care. The photo below shows just how tiny they are.
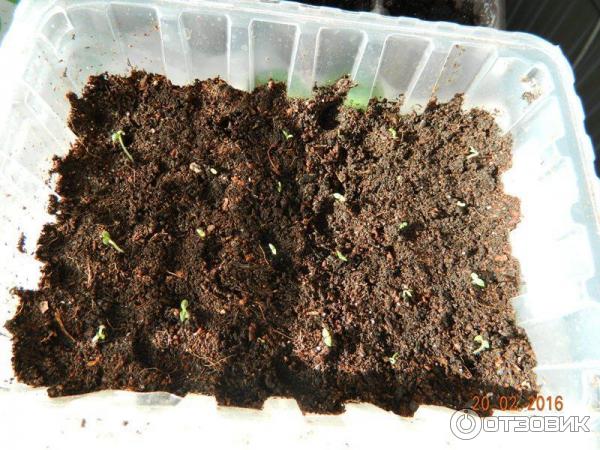
The seeds germinated fairly quickly and began growing rapidly upward. To prevent this, additional lighting is needed, of course, which is why it's best to plant the seeds in mid-March.
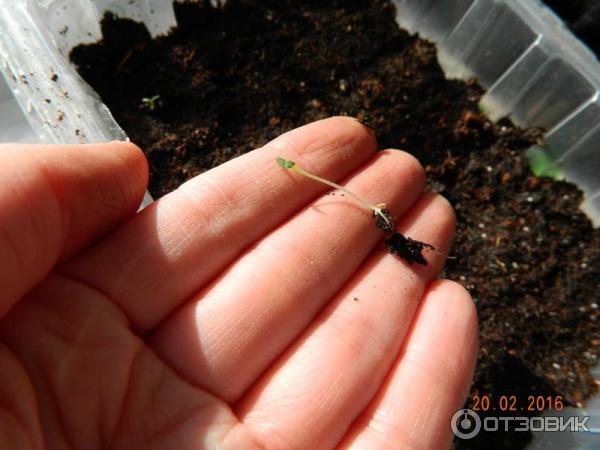
At the end of February, I transplanted the seedlings. This process requires extreme caution. The sprouts are very thin and their root system is very weak.
As a result of picking, approximately 30 percent of seedlings usually die.
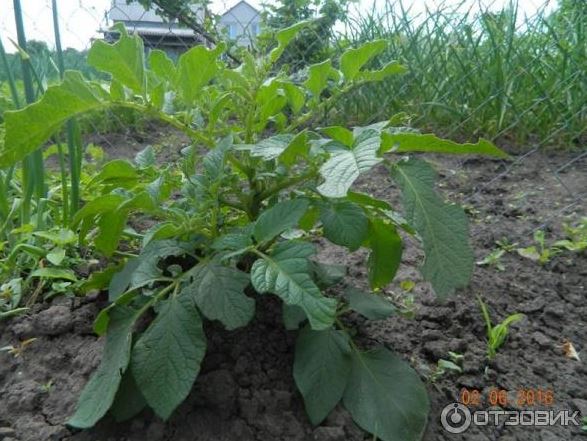
I won't describe the entire seedling growth process, but I will say one thing: keep them in a sunny spot, preferably out of direct sunlight. And be sure to feed them with a water-soluble fertilizer twice a day.I transplanted the seedlings into open ground in mid-May, and by the beginning of June I was already delighted with fluffy bushes.
True, one scourge that did destroy another fifty percent of the harvest was Colorado potato beetles. They simply took a liking to the young potato sprouts. I collected them practically all summer, and even poisoning only helped for a short time. Overall, it was bad luck.
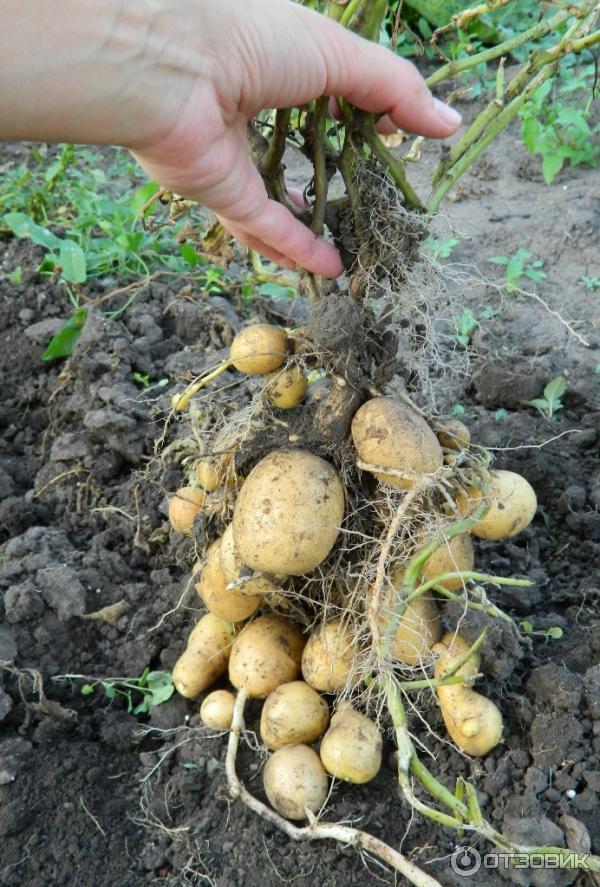
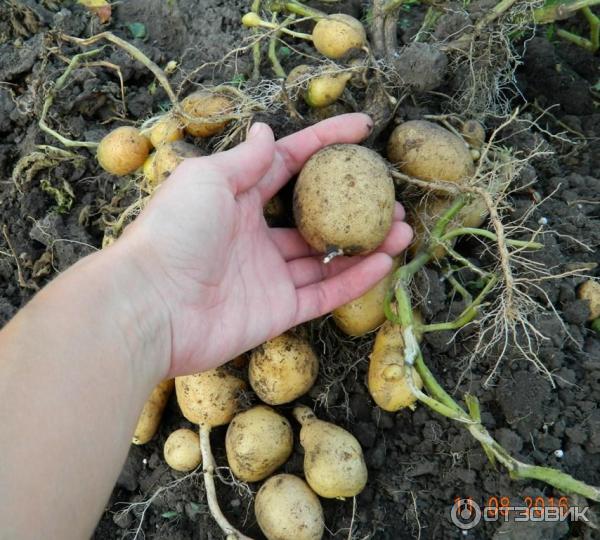
Even though I couldn't wait until autumn, I finally decided to check my potato harvest in early August. The results exceeded all my expectations.
The potatoes were just like the picture on the package. Just as round and yellow. And their sizes were simply astonishing. From a goose egg to the size of a thumbnail. I collected up to 25 tubers from each bush, although I didn't collect the very small ones, and I didn't count them. In the end, I managed to get half a bucket of seed potatoes from one 10-ruble packet of seeds.
I'll definitely be planting it again next season, especially since it's held up remarkably well to this day, six months later. I'll definitely report on the harvest this fall.
I also want to say that I didn't leave this harvest without trying it, and I really liked the taste of the Milena potatoes. They're moderately starchy and cook well.
I recommend these seeds to anyone who enjoys experimenting in their garden. They truly grow into full-fledged potato plants with an excellent yield.
Good luck to everyone!!!