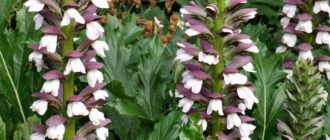
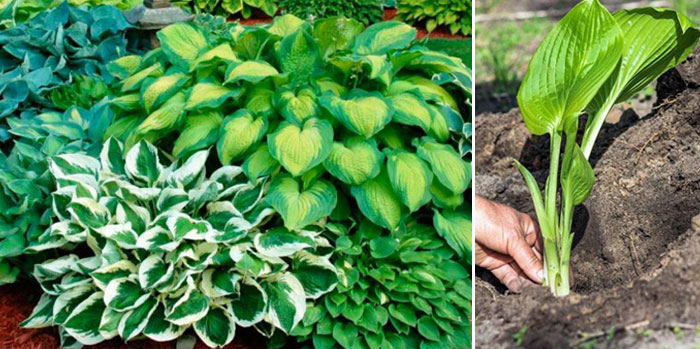
Hosta is a beloved, easy-to-grow plant that will grace any garden. Thanks to their wide variety of shapes and colors, hostas fit perfectly into any landscape design and mixed borders.
In this article, we will look at all the intricacies of planting and replanting hostas in the fall or spring.
Content
- 1 When is the best time to plant hosta: spring or fall?
- 2 When to plant hosta in open ground in autumn and spring
- 3 How to choose a good hosta seedling
- 4 How to properly plant hosta in open ground
- 5 Caring for hosta after planting in autumn
- 6 Top.tomathouse.com warns: possible mistakes when planting hostas in the fall
- 7 Preparing hosta for winter
When is the best time to plant hosta: spring or fall?
Hostas can grow in one place for a very long time, up to 10 years. However, they grow quite quickly, so after just a few years, the need for replanting arises. In spring, replanting begins in late April or early May. In autumn, replanting is done in late August or early September, allowing the plant time to establish roots before the onset of cold weather.
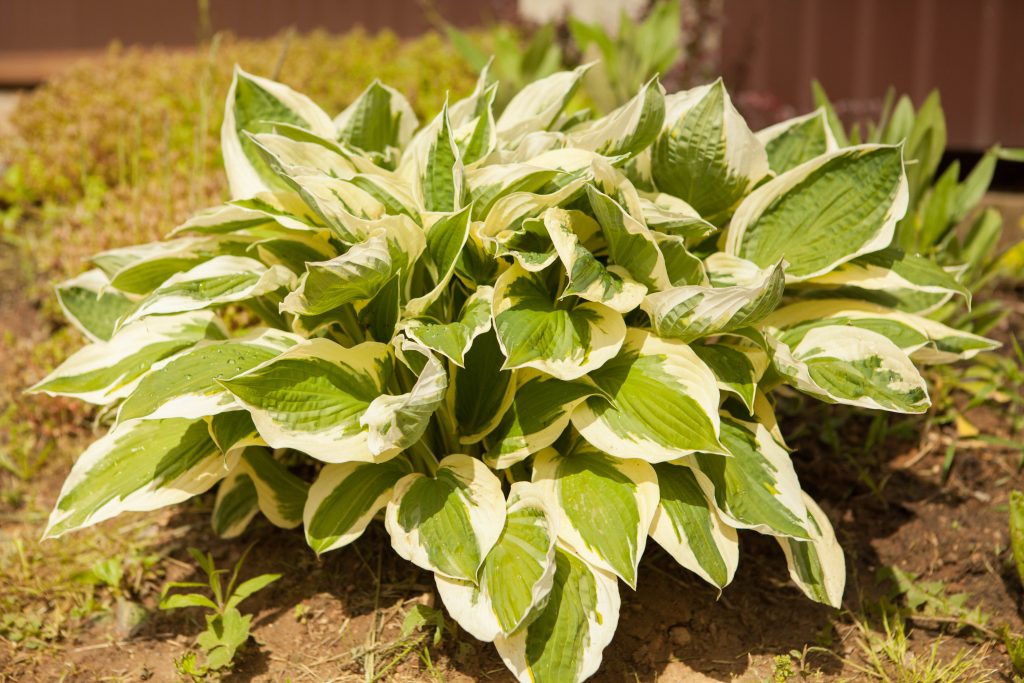
If the bush is weak, it is best not to touch it in the fall.
When planting a plant for the first time, you can choose either autumn or spring.
The advantage of autumn planting is that at this time of year, the plant is no longer growing vegetative mass; all its energy is devoted to forming new roots (hostas bloom in August). Therefore, the chances of a hosta taking root are much higher than in the spring. The main thing is to plant at the right moment, before night frosts or prolonged rains.
When to plant hosta in open ground in autumn and spring
The timing of hosta replanting varies depending on the growing region.
Optimal timing by region
- In southern Russia, hostas can be planted in October, as the weather is warm and night frosts are still far away. If in spring, then in April.
- In temperate climates (including the Moscow region), planting is done in late August to early September, before the onset of daily rainfall. In spring, planting is done in late April to early May. Depending on the temperature, these dates may shift by a week.
- In Siberia and the Urals, work begins in the first ten days of August. In spring, it begins in late May.
Hosta planting dates according to the 2023 lunar calendar
Many gardeners try to follow the lunar calendar's recommendations. They are listed in the table below.
| Month | Favorable days | Unfavorable, prohibited days |
| April | 7 (from 09:29 a.m.)-9 (until 15:57 p.m.), 11 (from 20:33 p.m.)-13, 16-17, 21 (from 7:13 a.m.)-22 (until 13:11 p.m.), 24 (from 21:58 p.m.)-27 (until 9:00 a.m.) 29m.), 29 (from 21.59m.)-30 | 1, 2 (until 13:58), 5 (from 7:34), 6, 7 (up to 7h 34m),19 (from 7:13 a.m.),20 |
| May | 1-4 (until 17:31), 7-8, 9-10, 13 (from 07:39 a.m.)-15 (until 10:56 a.m.), 17 (from 15:26)-19 (until 21:46), 22-24 (until 17:34), 29 (from 17:50)-31 | 5, 6, 11, 12, 15 (from 10:56 a.m.)-17 (until 15:26 p.m.), 19, 20 |
| August | 3-4, 7 (from 09:24)-9 (until 16:05), 12-14 (until 13:35), 17 (until 12:38)-21, 26 (from 14:04)-28 (until 17:31) | 1,2, 15 (from 12:38 p.m.), 16, 17 (up to 12:38 p.m.), 30,31 |
| September | 3 (from 18:00)-5 (until 23:05), 8 (from 07:59)-10 (until 19:35), 13, 16-20 (until 17:06), 23, 24 | 1 (from 16:25)-3 (until 18:00), 14, 15, 25-26, 28 (from 12:58 p.m.), 29, 30 |
| October | 1-3 (until 08:02), 5 (from 15:32)-7, 10 (from 15:02)-13 (until 20:55), 15 (from 14:04)-17 (until 22:36), 20-22 (until 09:06), 24-26 | 14,15,28,29. |
Read the articles:
- Lunar calendar for the gardener for 2023.
- Lunar calendar for the gardener for August 2023
- Lunar calendar for gardeners for September 2023.
- Lunar calendar for the gardener for October 2023.
- Lunar calendar for the gardener for November 2023.
How to choose a good hosta seedling
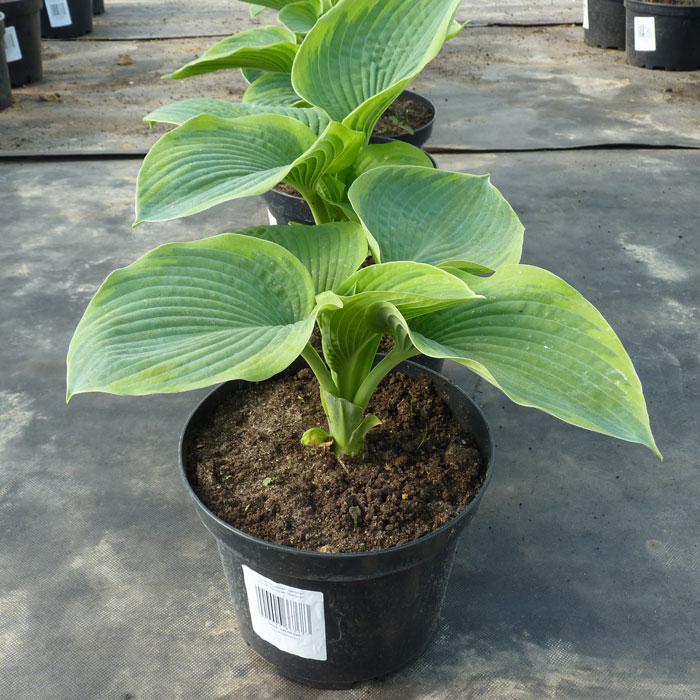
- It's best to purchase seedlings from reputable garden centers to avoid buying low-quality plants. Hostas are typically sold with the nutrient mixture they're planted in after division.
- Carefully inspect the roots. They should have at least one growth bud. Two or three are better.
- The roots themselves must be alive, elastic, without signs of rot or other diseases.
- Avoid plants with overgrown roots. The optimal length is 12 cm.
- Be sure to check with the seller which regions the variety you have chosen is intended for.
- After purchasing, place the hosta in a cool room with a temperature of 5 to 10 degrees, if you do not plan to repot it in the coming days.
Also read the article about planting hostas from seeds indoors and outdoors on our website Top.tomathouse.com.
How to properly plant hosta in open ground
Success in planting hostas largely depends on choosing a good location, following agricultural practices, and proper subsequent care.
Choosing a location
Hostas are shade-tolerant plants. They lose their appeal in bright sunlight, so the main lighting requirement is that the plant be kept in the shade during periods of intense sun.
There are varieties that prefer more light and can be planted outdoors. However, even with these hostas, it's best to avoid areas with intense sunlight.
Determining a hosta's sun requirements is easy, even without knowing the variety. The brighter and more varied the leaf hues, the more light the plant can tolerate.
In a shaded area, the hosta will grow a little slower, but its leaves will be larger, juicier and brighter.
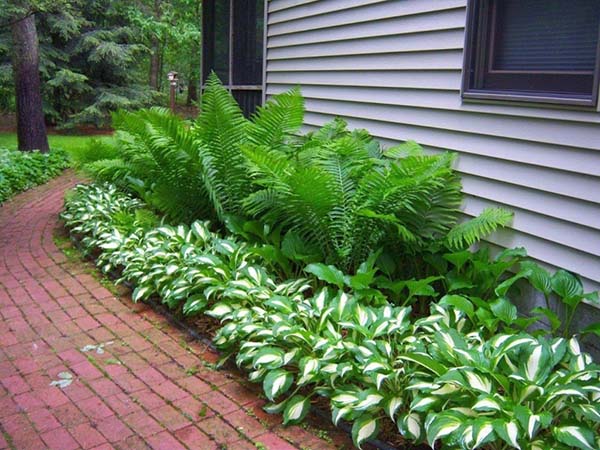
Plants with leaves in uniform, cool tones can only be planted in the shade. They will simply burn in the sun.
Hostas absolutely do not tolerate drafts, so the location should be protected from the wind.
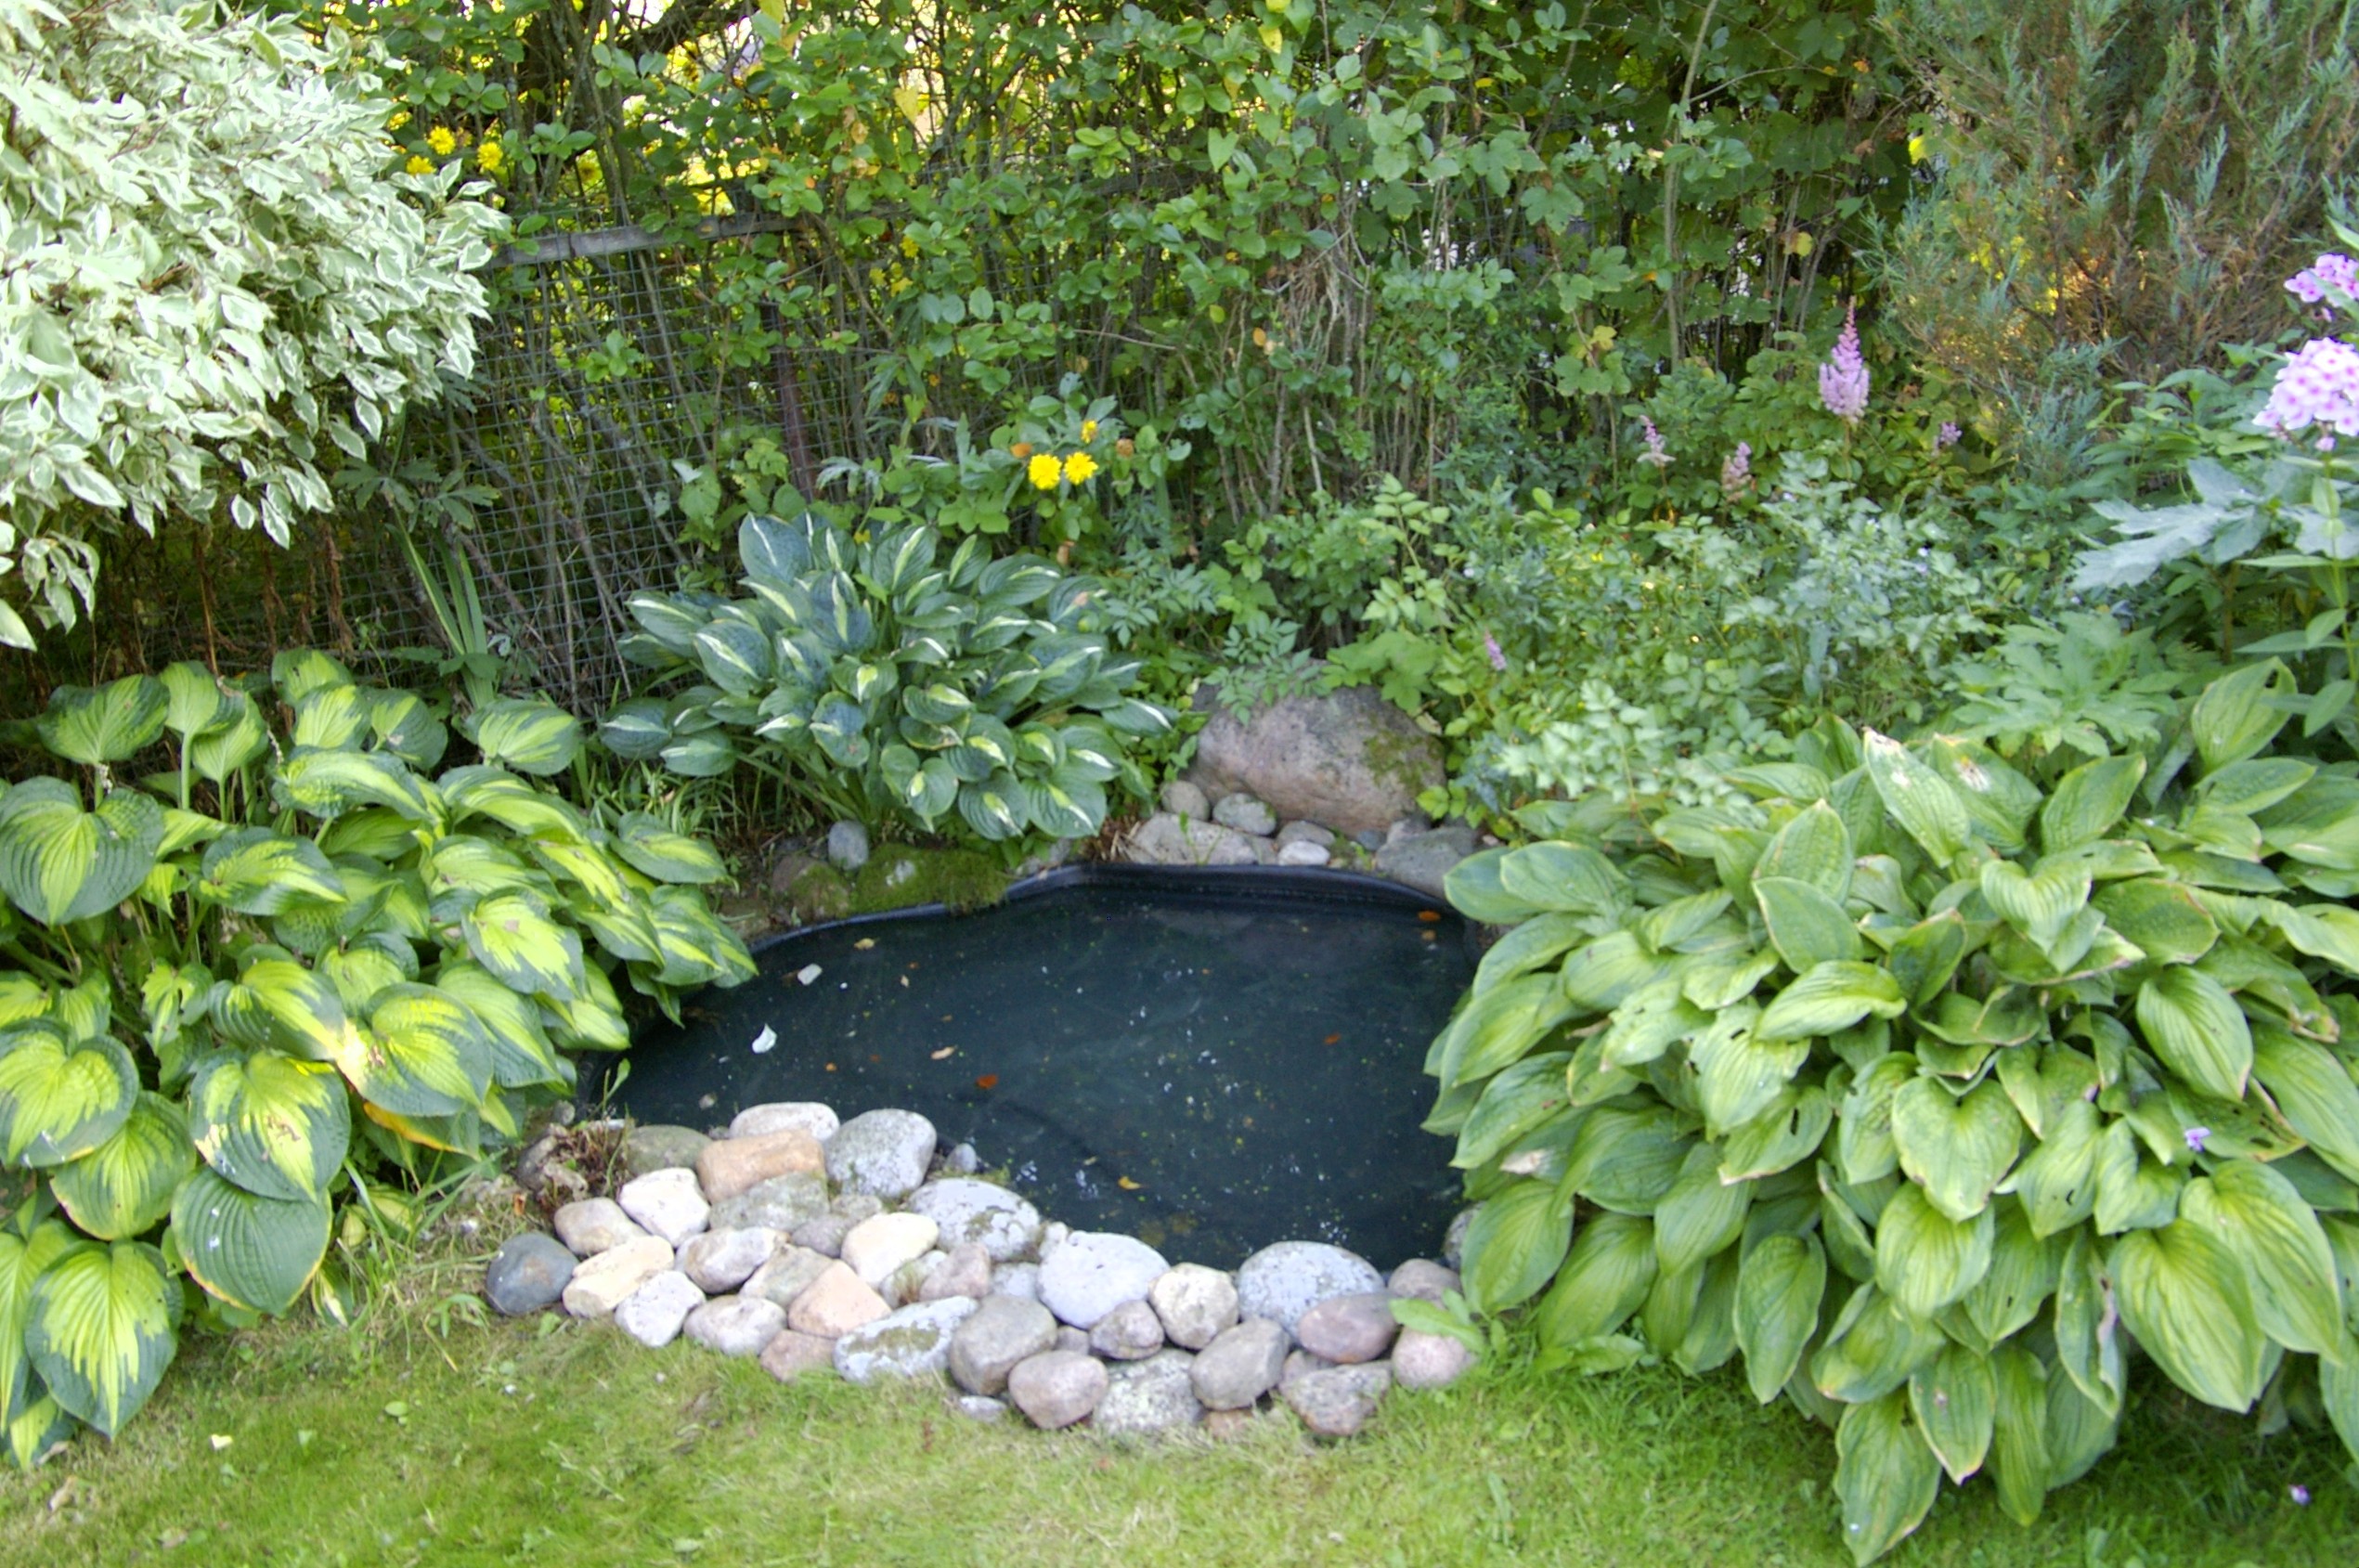
Flowers thrive on moisture, as they naturally grow on the banks of bodies of water. Therefore, the soil should be sufficiently moist. However, there should be no stagnant water around the roots, otherwise root rot will occur.
Selection and preparation of soil
Despite their low maintenance, hostas are demanding when it comes to soil quality. It must meet the following characteristics:
- acidity from 6.5 to 7 pH;
- good air permeability;
- sufficient level of humidity;
- nutritional value and humus content.
Avoid planting in low-lying areas or areas where water accumulates. In highly alkaline soil, plants may experience yellowing and curling of leaves.
Preparation of the flowerbed begins at least 10 days before planting:
- The selected location is dug to a depth of 40 cm.
- A layer of compost or humus is laid on top at the rate of 1.5 buckets per square meter.
- Heavy soil is diluted with a bucket of sand.
- A bucket of peat is added to soil that is too light.
- Alkaline soil needs to be acidified with special products that are sold in garden stores.
- After this, the flowerbed is dug up and the soil is leveled with a rake.
Hosta roots are located on the surface, so preparation should be based on the width of the flowerbed, not its depth.
Preparing hosta rhizomes for planting
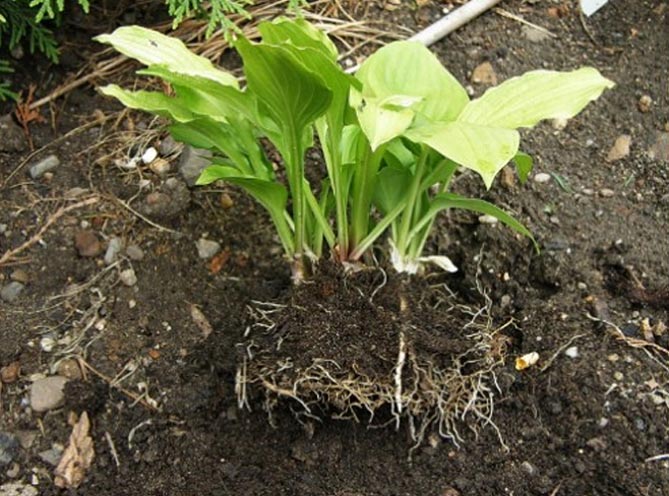
Before planting, remove all dry and damaged root sections. Afterward, it is recommended to soak the rhizomes in a special solution (Epin, Kornevin, etc.). Dilute the solution according to the instructions, which also specify the soaking time.
Step-by-step planting instructions
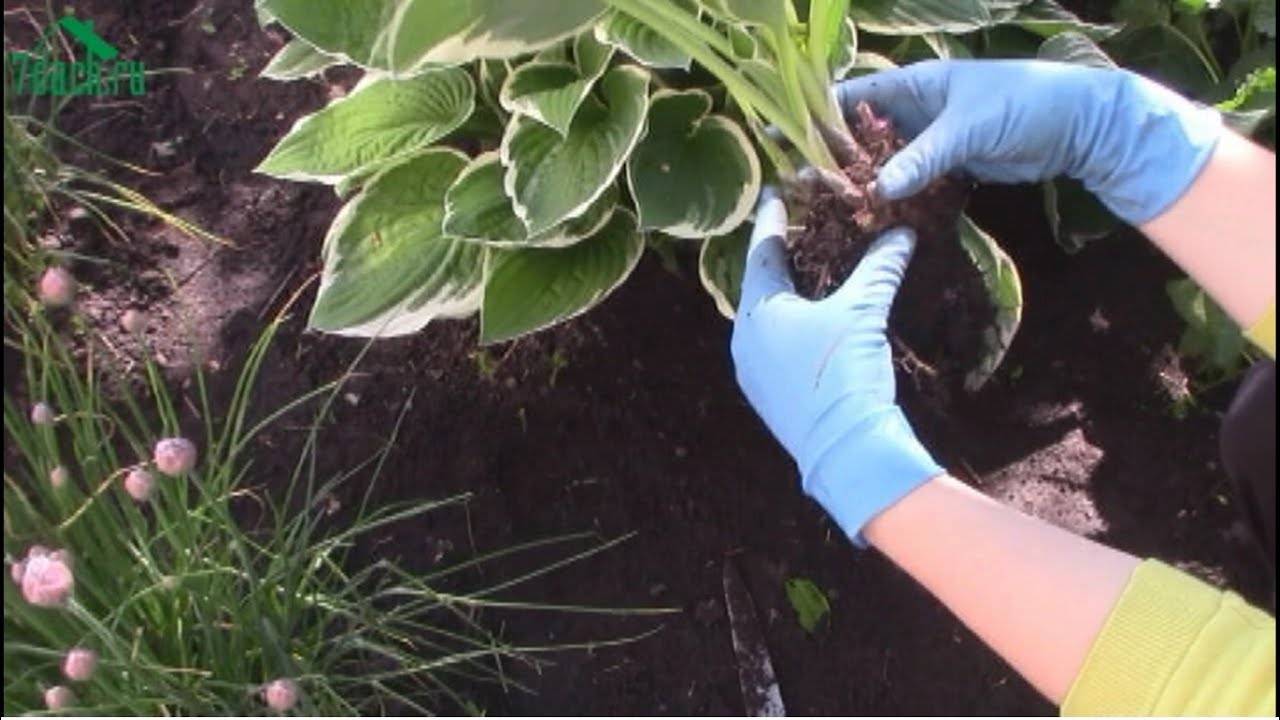
Planting hosta is carried out in several stages:
- The planting hole is being preparedIts size should be twice the size of the planting material. If multiple hostas are being planted, the distance between them ranges from 20 cm (for dwarf varieties) to 70 cm (for tall hostas).
- Filling the pitIt's recommended to place a thin layer of drainage material at the bottom to improve aeration. If the soil hasn't been prepared in advance, peat or humus should be added at this stage.
- WateringIt is carried out approximately 60 minutes before the start of work.
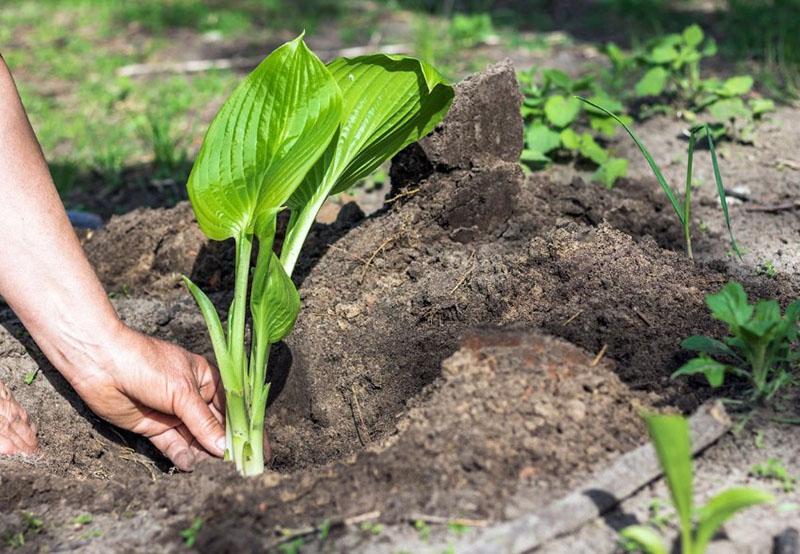
- LandingBare-root hostas are planted in a pre-prepared mound 15 cm high. Concealed-root hostas are planted in a hole. Soil is added on top and lightly compacted by hand.
- Another wateringAfter planting, all that remains is to water the plant at a rate of 3 liters per bush.
Important! When planting hostas, it's crucial that the root collar remains above ground. Therefore, planting the plant deeper is not recommended.
Caring for hosta after planting in autumn
Autumn care does not require any special efforts from gardeners.
After repotting, the plant needs daily watering to keep the soil slightly moist. This should be done during warm, dry weather.
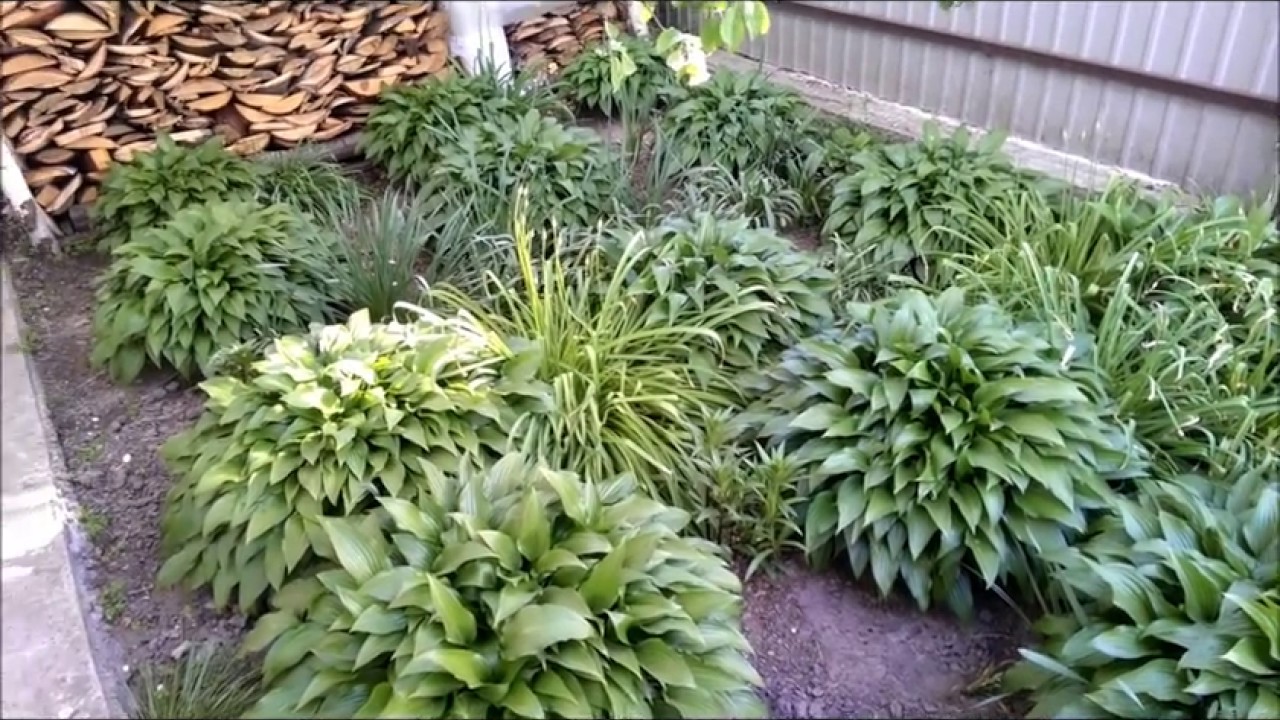
To protect the roots, it is advisable to mulch the soil surface with a 7 cm layer.
After the soil has settled, it must be added to the required level without covering the root collar.
Top.tomathouse.com warns: possible mistakes when planting hostas in the fall
- Violation of watering rulesHosta loves moist soil, so even in autumn it's important to provide it with regular watering.
- Deepening of the root collarIn this case, the plant begins to rot and growth slows down.
- Inappropriate timingDon't delay planting hostas in the fall, otherwise night frosts can ruin the plants.
- Incorrectly selected varietyOften, a favorite variety is unsuitable for the growing region, which often leads to poor plant adaptation in a new location.
Preparing hosta for winter
And finally, let's look at how to properly prepare your hosta for winter so it can survive it easily.
Depending on the region
The specifics of preparing hosta for winter will depend on the growing region.
- In the south of Russia, there is no need to cover plants, unless there are prolonged frosts in winter – then you can think about insulation.
- In the middle zone, hosta often needs to be covered with non-woven material, especially if frost comes before snow falls.
- In northern regions, hostas are always covered for the winter. Additionally, they are covered with an additional layer of snow or spruce branches.
Pruning hosta
For a long time, flower growers have been debating whether to prune hostas for the winter or not.
It's safe to say that leaves should only be removed once they've fallen over and turned yellow. This is because they contain a large amount of nutrients that need to be absorbed into the root system. Pruning too early increases the risk of plant disease.
When the foliage has drooped and changed color, it's acceptable to trim it back, leaving 5-10 cm stems. Alternatively, you can leave the leaves on the plant entirely; they'll provide additional cover during the winter.
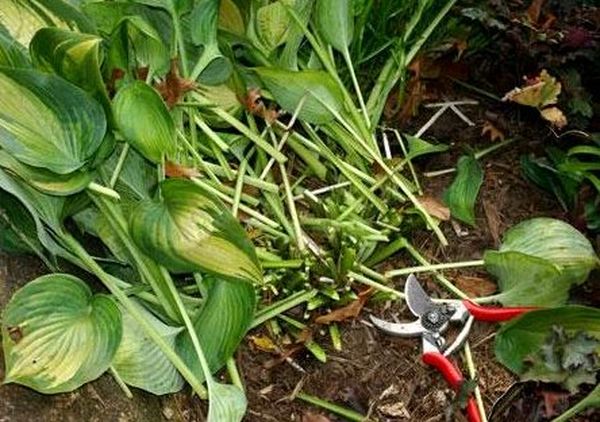
The only thing that is absolutely essential to remove are the existing flower stalks. These should be removed immediately after flowering.
By the way, if you don't like the way your hosta blooms, you can remove flower stalks as they appear. This will encourage new foliage growth.
Hosta shelter
Hostas tolerate winter well and are frost-resistant. However, if snowfall is limited and severe cold weather is expected, it is recommended to insulate the plant with non-woven material.
Spruce branches provide excellent frost protection. They are laid over the cut plant and then covered with snow.
If the weather isn't offering any winter surprises, you don't need to cover the hosta; simply apply a layer of mulch around its roots. It's best to use grass or bark as mulch, but not sawdust, as it absorbs a lot of moisture and can rot and decay during a thaw.
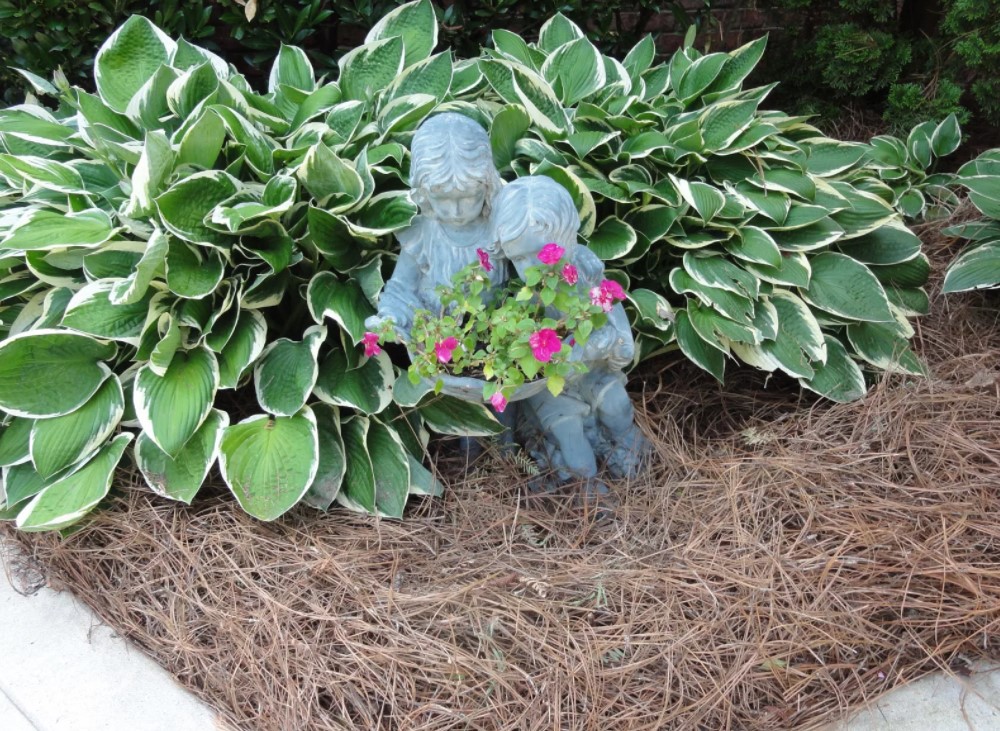
The main rule of mulching is not to cover the hosta's leaves. This should only be done after they've been cut.
The optimal thickness of the mulch layer is 7-10 cm.
Fertilizing hosta
The last nitrogen fertilizers are added to the garden bed no later than mid-July, otherwise the plants will begin to grow instead of preparing for winter.
Autumn is the time for phosphorus-potassium fertilizers. These can be specialized (purchased at gardening stores) or organic (ash, bone meal).
Mineral fertilizers are applied in liquid form, while organic matter can be scattered on top of the soil around the perimeter of the root circle.