Digging up potatoes is no less important than planting them. The harvested crop directly depends on proper harvesting and timing. If you harvest too early, the potatoes will be small, won't store well, and won't be very enjoyable to eat. If you miss the recommended deadline, the tubers can rot in the ground, making them easy prey for pathogens. Even timely harvested tubers must be properly processed and prepared before storage. We'll explain all the nuances to consider when harvesting potatoes.
Content
- 1 Formation of potato tubers
- 2 When can I start digging up new potatoes?
- 3 What are the dangers of early or late potato harvesting?
- 4 When to dig up potatoes for storage
- 4.1 When to dig potatoes depending on the variety
- 4.2 When to dig potatoes depending on the region
- 4.3 When to dig potatoes depending on the weather
- 4.4 When not to harvest potatoes
- 4.5 Favorable days for harvesting potatoes in 2023
- 4.6 Influence of the Zodiac Signs
- 4.7 Is it possible to determine the harvest time by the appearance of potatoes?
- 5 How to dig potatoes
- 6 Top.tomathouse.com advises: how to prepare potatoes for storage
- 7 Methods for storing potatoes at home and in the cellar
- 8 When to weed potatoes before digging
- 9 How to fertilize potatoes in summer and after harvesting
Formation of potato tubers
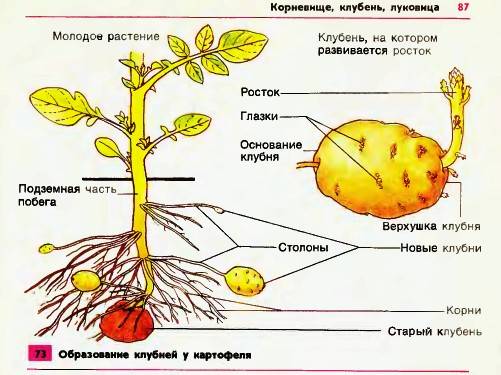
Potato tubers begin to form when the bushes begin to bloom. For late-ripening varieties, the main development of the potatoes begins after the flowers have fallen, while for early varieties, this period occurs when the first ovaries open. At this early stage of development, the potatoes are very small in size, their texture is watery, and their flavor is not very pronounced. But over time, the tubers gain mass, and this continues as long as the vegetative parts of the bush remain green and healthy.
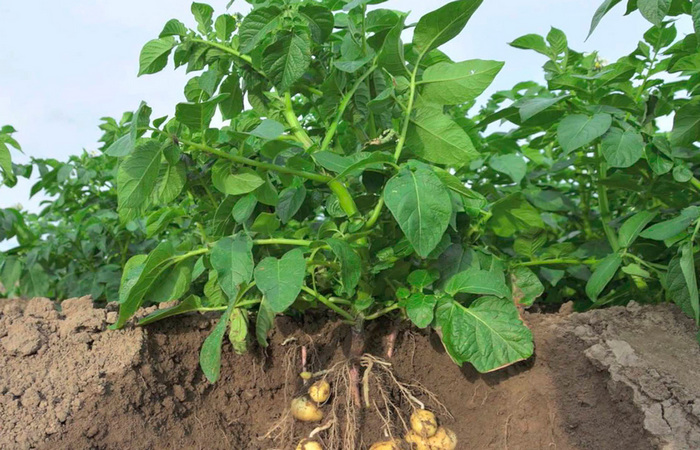
If your potato plants are drooping and turning yellow, this indicates that the tubers' growth is slowing. While their growth has slowed, other processes are intensifying. These processes are aimed at forming a thick skin, which extends the shelf life of the vegetables. Once the tops die back, the potatoes are ready to harvest; they will definitely not become any tastier or larger.
Read about it, How to plant potatoes correctly and with what fertilizers.
When can I start digging up new potatoes?
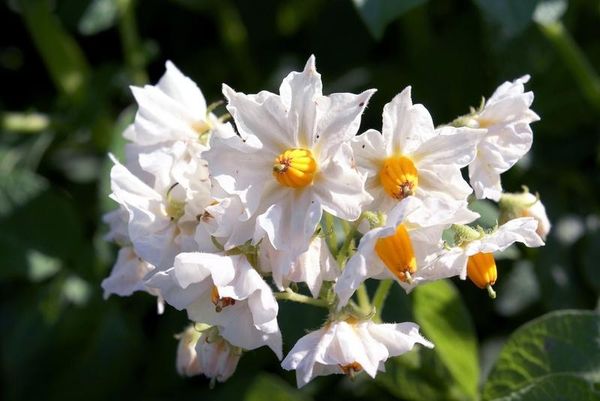
Each variety has its own growing period. But every gardener wants to try new potatoes as soon as possible. Some begin digging up the plants as early as six weeks after the seedlings emerge. But such a harvest is unlikely to be very tasty. Experienced gardeners know to use the flowers as a guide – as soon as they fall, you can try digging up the young tubers.
Sometimes this timeframe can be shortened slightly by starting to dig up the tubers already at the flowering stage. This is usually how gardeners check the quality and maturity of the future harvest, which is already beginning to emerge. To do this, you don't need to dig up the entire plant; simply use a shovel to scoop it up from different sides, carefully select the largest potatoes, and replace the smaller ones with soil. This should be done extremely carefully, literally by touch, to avoid damaging the root system. It's best to carry out test digging in cool weather, with the soil sufficiently moist.
However, the difficulty with this procedure lies in the fact that some new varieties do not flower. Therefore, the appropriate time for digging can only be determined based on these approximate dates:
- From the very early potato varieties, the first harvest can be collected within a month after the seedlings appear.
- From early ones - after 35-40 days - this is how long it takes for ordinary varieties to begin flowering.
- Late potatoes can be tried 45-50 days after emergence.
For flowering varieties, from the beginning of flowering until the tops wither, it takes about 4 weeks for early-ripening potatoes and about 6 weeks for late-ripening ones.
Read about it, How to get rid of Colorado potato beetles on potatoes using folk remedies and separately about all methods of struggle (including how to spray with chemicals and biological preparations).
What are the dangers of early or late potato harvesting?
Experienced gardeners know that potato storage directly depends on the timing of their harvest. If the tubers are dug up too early, they won't keep for long; they'll spoil and are unlikely to survive until spring in their original condition. Besides becoming deformed, the potato's flavor deteriorates, and its nutrient concentration decreases.
Potatoes can't ripen off the bush. If they're harvested too early, they won't have time to develop a thick skin, and the necessary amount of starch won't form inside the tuber. This can lead to damage during digging and transportation, introducing pathogens that can cause rot.
If you harvest the tubers ahead of schedule, don't expect them to be large or of excellent quality. If a test harvest reveals that the tubers are not yet ripe, leave them in the ground to ripen.
But you shouldn't delay harvesting either. The tubers won't grow larger than expected, given the variety's characteristics. However, they can cause quite a few difficulties. Once the tops wither and rot, finding the plantings becomes extremely difficult. Sometimes, you even have to do it intuitively. This method of digging is dangerous because the tubers can be damaged and chopped by a shovel or other tool.
Moreover, by the end of the season, the weather in many regions of the country deteriorates, with frequent prolonged rains. Harvesting in such conditions is highly undesirable, as the dug-up tubers need to dry out and breathe. Ideally, this should be done outdoors. Potatoes left in damp soil for too long lose their flavor and become vulnerable to various fungi and bacteria. Dry soil also doesn't benefit the tubers; they begin to lose moisture from within, becoming soft and porous. Such a harvest will not have a long shelf life, even under all the necessary conditions.
When to dig up potatoes for storage
For regions located in the temperate zone, harvesting traditionally begins in late August and continues until the first half of September. These timings are not strict and depend on several factors, including planting time, variety, weather conditions, and so on.
For those who love young potatoes, early-ripening varieties are ideal. The harvest can be harvested as early as late July, but these potatoes won't keep for long and are best eaten immediately.
Late-ripening varieties are planted for winter storage. Harvesting is recommended from the first weeks of September until the end of the month. It's important to ensure the ripening period is at least 110 days.
Gardeners who have been growing potatoes for many years know how to determine the right time to dig them up based on various factors. But if you're still unsure, be sure to consider the variety's characteristics, the weather and climate, and the soil and care requirements.
Tip! If you're unsure whether you can dig up your potatoes for storage, try a test. Dig up two or three potato plants with tops in varying degrees of desiccation. If the skins on all the tubers are firm and not hanging like rags, and especially if most of the potatoes have already separated from the plant, then the harvest is ready. However, if the plants with still-green tops appear unripe, it's best to leave them for now, usually until the second or third week of September.
When to dig potatoes depending on the variety
For each variety, producers have predetermined the digging times that must be followed to obtain a good harvest:
| Potato variety | Number of days from emergence to maturity* |
| Ultra-early (Forty-day) | 40-50 |
| Early | 55-70 |
| Mid-early | 75-90 |
| Mid-season | 90-100 |
| Mid-late | 105-120 |
| Late | 120-140 |
*If you are interested in how long it takes for potatoes to grow from planting to harvest, then add another 10-14 days to the indicated timeframes.
About different potato varieties for the Moscow region, Siberia, purple, crumbly, early and ultra early. How to choose them. Possibility of growing from seedsAll this is on our website Top.tomathouse.com.
To ensure optimal harvest timing, take notes, noting the planting time and the date the first shoots emerge. All the above figures are relative and may vary depending on the region, weather, and soil quality. Even if you think the potatoes can sit in the ground for a while, dig them up before the first frost.
When to dig potatoes depending on the region
In our country, weather conditions directly depend on the region, so the same potato variety may be dug up at different times in different regions.
- In southern Russia, the harvest begins earlier. Sometimes, as early as late July, a trial dig reveals ripe, large tubers. These can be harvested and stored. However, gardeners in southern regions most often begin large-scale digging in early August.
- For residents of the central zone, the most optimal time for harvesting potatoes is considered to be the period from the second half of August to the second half of September.
- Siberian and Ural gardeners dig up potatoes in August, but it's very rare to do so in September, depending on weather conditions.
When to dig potatoes depending on the weather
Towards the end of the potato ripening period, it's time to start monitoring the weather forecast. It's best to harvest on a dry, sunny day. These tubers will keep longer and their flavor will not deteriorate. Furthermore, digging in damp soil is much more difficult, and the storage area must be dry; carrying buckets and sacks directly indoors is both inconvenient and cumbersome.
If the weather forecast is bleak, rains are protracted, and the harvest deadline is pressing, waiting can have a detrimental effect on the potatoes. If the tubers are left in damp soil for too long, their shelf life will be impaired. Therefore, digging up the potatoes in the rain is a better solution than leaving the harvest in the ground indefinitely.
When not to harvest potatoes
The taste of potatoes depends directly on their internal juice content. If they contain too much moisture, they become watery and tasteless, and they won't keep well in storage.
That's why all gardeners try to follow the recommendations of the Lunar Calendar. When the Earth's satellite enters the constellations Pisces or Virgo, an influx of water begins, which is why it's best to postpone harvesting.
After a rainy day or night, even if the weather forecast is favorable, it's best to hold off on digging. The damp soil will stick to your garden tools, and clumps of soil will remain on the tubers. To make digging easier, it's best to wait 2-3 days after heavy rain or hail; this is how long it will take for the tubers to dry out in the garden bed.
Favorable days for harvesting potatoes in 2023
The effectiveness of the lunar calendar's recommendations has long been proven. It's used by gardeners around the world, helping not only to successfully plant crops but also to reap a bountiful harvest. There are also favorable and unfavorable days for harvesting potatoes, depending on the phase of the moon:
When can you dig up potatoes in 2023 according to the lunar calendar:
| Month | Variety | Favorable and possible numbers and hours |
| July | Early | 2 (from 20:20)-6 (until 20:32), 8 (from 10 p.m. to 6 p.m.)-10, 11 p.m.-30 p.m. |
| August | Mid-early and mid-season |
1-2, 5-15 (until 12:38 pm), 19 (from 14:53 pm)-30 (until 16:56 pm) |
| September | Mid-late and late |
1 (from 16:25)-13 (to 08:17), 15 (from 20:44)-18 (to 07:58), 20 (from 17:06)-24
|
Influence of the Zodiac Signs
Gardeners who have long recognized the effectiveness of the lunar calendar in assisting with gardening know that not only the Moon can influence plants, but also the zodiac signs. It takes the Moon about two days to transit through one zodiac sign. At each stage, fertility indicators for a given period will vary. This should be taken into account when planning potato digging.
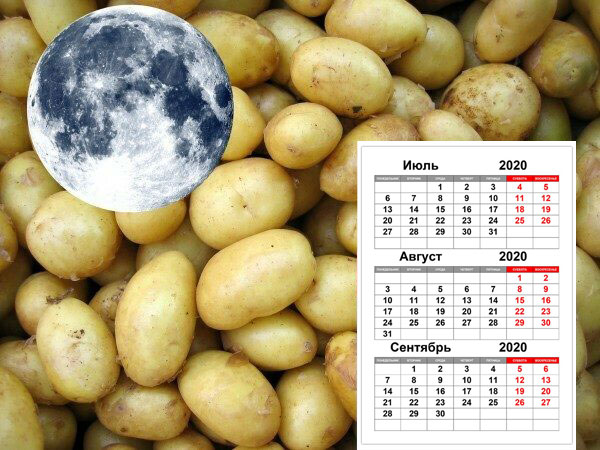
When is the best time to dig potatoes according to the zodiac signs?
- The Moon passes through Capricorn, Aries and Leo – crops harvested during this period will be stored for a long time and will retain all their beneficial properties.
- The Moon is in Pisces or Virgo – during this period, no harvesting work can be carried out, as it will be susceptible to rot, will not be able to last long, and will quickly become moldy.
The table below shows the periods of the waning Moon and the Zodiac Signs in which it is located at this time:
| July | August | September | |||
| Waning Moon | Zodiac sign favorable, neutral, adverse for cleaning | Waning Moon | Zodiac sign favorable, neutral, adverse for cleaning | Waning Moon | Zodiac sign favorable, neutral, adverse for cleaning |
| 2 (from 8:20 p.m.) - 4 (until 8:29 p.m.) | Capricorn | 1-2, 28 (from 17:31)-30 (until 16:56) | Aquarius | 1 (until 16:25), 27-28 | Fish |
| 4 (from 20:29) - 6 (until 20:32) | Aquarius | 3-4, 30 (from 16:56)-31 | Fish | 1 (from 16:25)-3 (until 18:00), | Aries |
| 6 (from 20:32 pm) - 8 (until 22:18 pm) | Fish | 5-7 (until 09:24) | Aries | 3 (from 18:00)-5 (until 23:05) | Taurus |
| 8 (from 10 p.m. to 18 p.m.) - 10 | Aries | 7 (from 09:24)-9 (until 16:05) | Taurus | 5 (from 23:05)-8 (until 07:59) | Twins |
| 11-13 (until 10:25) | Taurus | 9 (from 16:05) - 11 | Twins | 8 (from 07:59) - 10 (until 19:35) | Cancer |
| 13 (from 10:25 a.m.) -15 (until 20:12 p.m. | Twins | 12-14 (until 13:35) | Cancer | 10 (from 19:35)-13 (until 08:17) | Lion |
| 15 (from 20:12) - 18 (until 07:39). | Cancer | 14 (from 13:35) - 16 | Lion | 13 (from 08:17) - 15 (until 20:44) | Virgo |
Is it possible to determine the harvest time by the appearance of potatoes?
Gardeners who have been planting potatoes for years can almost infallibly determine the harvest time. Simply by looking at the potato plant, they can tell when it's time to harvest. If its vegetative parts begin to yellow, wilt, and dry out, they can confidently assume the tubers in the garden are ripe enough. To verify the accuracy of their conclusions, they can dig up a single potato plant and inspect the quality of the produce. If the tubers are large, firm, and have a thick skin, they're ready to harvest.
But there are potato varieties that deviate from this rule. Their tops don't turn yellow and continue to green even after the tubers are ripe. It's good to know this in advance. Then you only need to know the exact ripening times specified by breeders. If you observe seed formation after flowering, you can begin checking the crop for readiness for harvest. Typically, with these varieties, both the above-ground and underground parts ripen at the same time.
How to dig potatoes
The dug-up tubers are lightly cleaned of any adhering soil clods and placed in any suitable container. This could be a bucket, bag, or basket. Some gardeners spread plastic on the ground and place the entire harvest there for sorting later, while others find it easier to do it all at once, separating tubers of different sizes into separate bags. Plan ahead and prepare a place for the potatoes to dry; take the containers there as they fill with potatoes. Just avoid storing the harvest in a greenhouse, as it can introduce late blight into the soil, infecting future plantings.
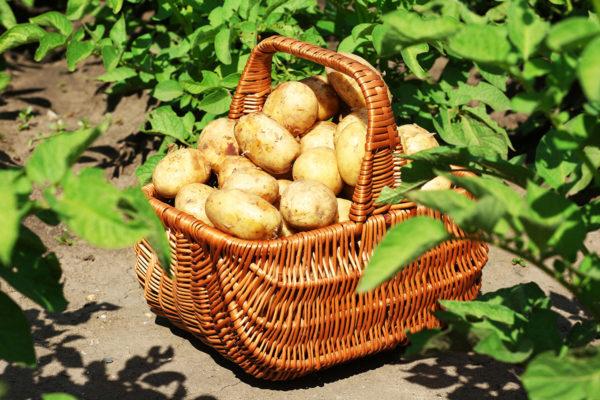
If your plot is large and you've planted a lot of potatoes, sorting the tubers right away will be very difficult and time-consuming. Therefore, it's best to leave them where they were dug. This will not only save time but also allow you to evaluate the yield from different varieties and parts of the plot. In good weather, you can leave all the potatoes lying on the ground to dry in the sun, while you leisurely select the right-sized tubers for storage and future planting.
Important! The tubers will last longer if they are disturbed less during harvesting. Avoid moving them, turning them over, or mixing them.
In dry weather or drought, it's recommended to leave the potatoes out in the open air for a couple of hours. In southern regions, this time can be reduced to 1 hour. If the weather is sunny and extremely hot, don't leave the potatoes out for too long, as they may develop sunburn spots and the insides will begin to turn black.
Do I need to trim the tops of my potatoes before harvesting?
Many gardeners recommend cutting off all the tops above ground before harvesting. This is done approximately seven days before harvesting. However, it's a mistake to think this is done to promote tuber growth. In fact, this helps the potatoes develop a thick skin faster. This is done only when it's time to dig up the potatoes, and the tops have not yet wilted.
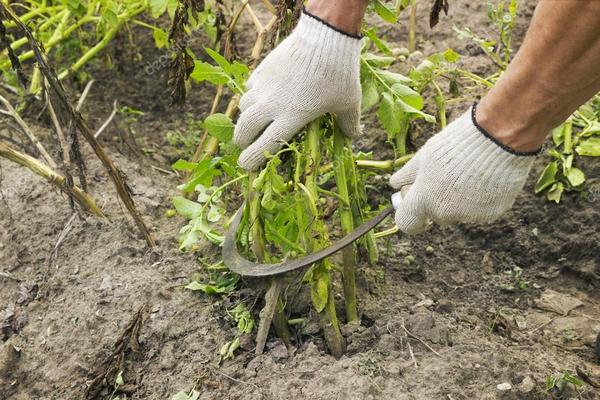
Another reason pruning is recommended is the risk of late blight. Symptoms of the disease can appear on the leaves and later spread to the tubers. In this case, the bush is cut back and burned to prevent the spread of the disease. If it's too early to dig up the potatoes, they can remain in the ground for about three weeks without losing their flavor.
In fact, removing (tearing off) all the tops is only necessary when using an automated potato harvester. Leaves and stems will get caught inside the mechanism, increasing the harvesting time. Otherwise, the tops will wilt on their own.
What's the best way to dig potatoes: a shovel, a pitchfork, or a walk-behind tractor?
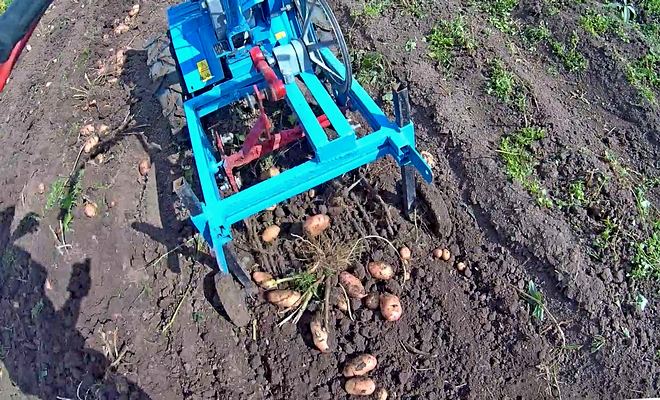
Each gardener decides for themselves what tools to use for harvesting. For large-scale plantings, mechanized equipment can be used.
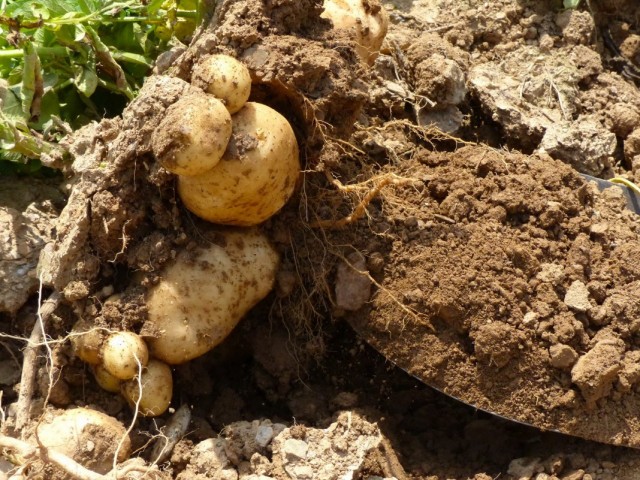
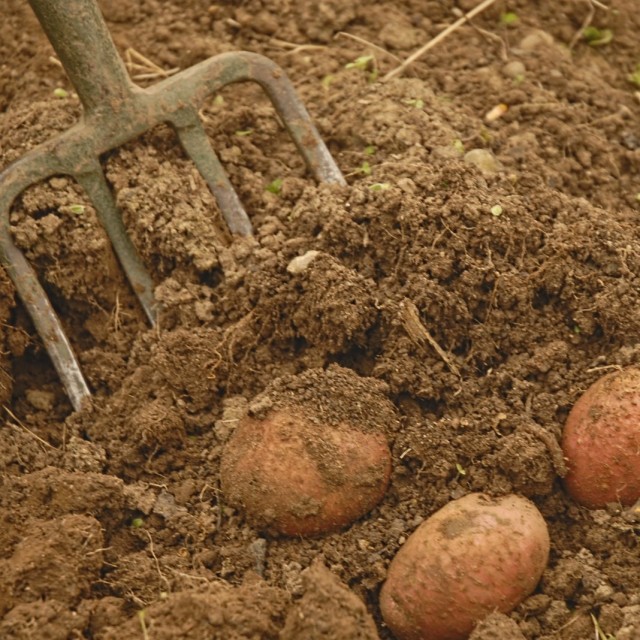
For the average garden, a shovel or pitchfork will be quite sufficient. Both have their advantages and disadvantages.
- A pitchfork is easiest to use for harvesting from beds where the soil is damp and heavy. However, this can damage the tubers; deep punctures can cause them to become damaged and should be eaten immediately.
- A shovel is ideal for working with dry, sandy soil. Care must be taken to avoid cutting the potatoes from underneath. This is especially important in areas with a bountiful harvest. Small cuts will dry out, the wound will heal, and the damaged tuber can be stored. Under the right conditions, it won't spoil, but it will need to be eaten first.
Digging potatoes doesn't require any special knowledge or skills. It's easiest to do it row by row. Each potato plant is lifted with a shovel or pitchfork, pulled by the tops, and pulled out. Afterward, the soil is shaken off, and the tubers are harvested. The hole should be checked manually to ensure no remaining potatoes remain. After this, the potatoes are placed in a prepared container. The tops are piled and burned.
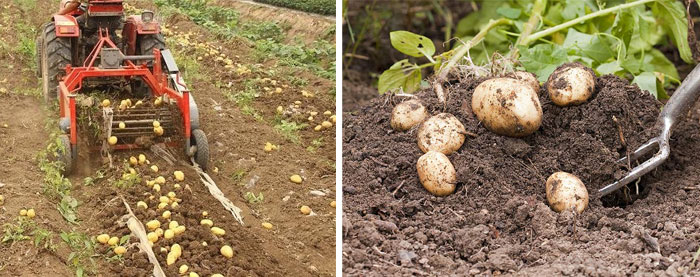
If your potato plot is large, harvesting the tubers with a shovel can be difficult and tedious. Typically, the whole family pitches in, but not everyone has the resources. Therefore, it's best to consider finding a walk-behind tractor in advance. It will make the job much faster; digging up the tubers shouldn't take more than two days.
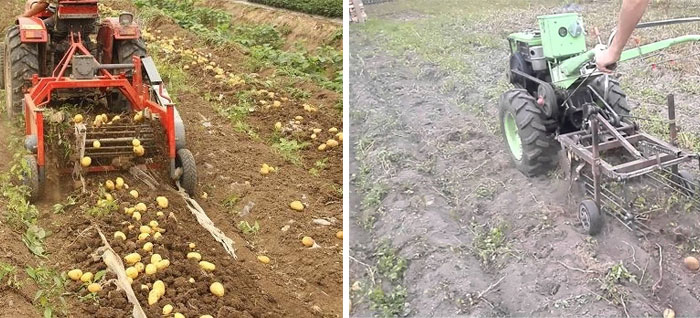
The tiller should be used when the potato tops are completely removed. These can be removed immediately before digging, but it's best to do so a few days beforehand to allow the stems to dry. Sometimes it's necessary to remove the tops up to 20 days before harvesting, for example, when signs of late blight appear on the leaves.
For clay soils, a walk-behind tractor should have a special plow. Otherwise, a regular potato digger will suffice. It's best to decide on the tool you'll use in advance, even during the planting process. If you're definitely using a walk-behind tractor, you should plant the potatoes in the soil, passing them every other row. You can also harvest potatoes with a mini tractor.
Read about it, How to make a homemade potato digger, there you will also find an overview of purchased models with prices (for Neva, Oka, Kaskad and other walk-behind tractors, Rusich, Chuvashpiller and other tractors).
Top.tomathouse.com advises: how to prepare potatoes for storage
Our portal http://top.tomathouse.com recommends: all potatoes dug out of the ground should be dried before storage. If weather permits, they can be left outside. Two hours is enough for potatoes to dry. If the weather is hot and the sun is very strong, this time can be reduced to one hour. Exposure to sunlight can cause potatoes to turn green. However, if we are talking about the portion of the harvest that will be used for sowing next season, this is not a concern.
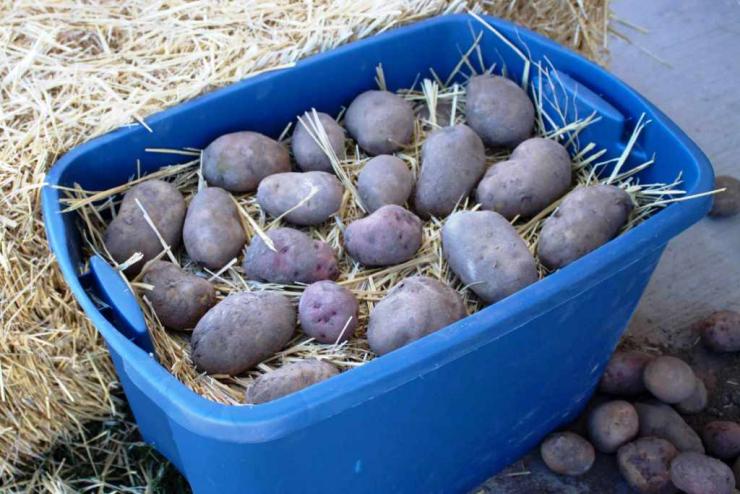
If it rains, plan ahead for a place to dry the potatoes. It should be a well-ventilated area protected by a canopy.
The next step is to sort all the potatoes. First, any that were damaged during digging or show signs of disease are set aside. It's best to remove these at the digging stage.
After potatoes have dried, it's not recommended to immediately store them in the cellar. It's best to let them sit in a dry place for 2-4 weeks. During the first month after harvest, potatoes continue to ripen. Their skins become rougher, the flavor improves, and minor wounds heal. At the same time, diseases that you might not have noticed during the sorting process can progress. A single infected tuber can ruin a large portion of the harvest. So, if you want to improve the shelf life of your potatoes, don't skip this stage. The key is to create suitable conditions in the storage area—the temperature should be 15–16°C, and the humidity level should be 90–95%.
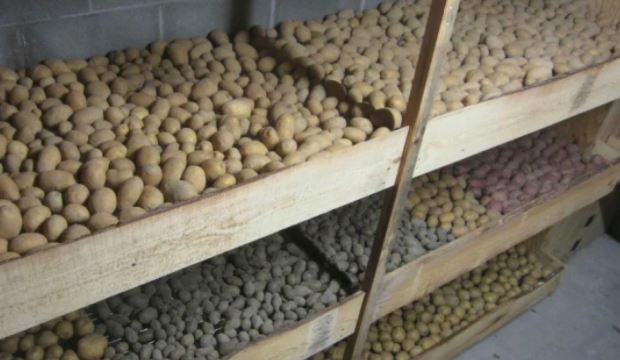
After the potatoes have rested, they can be stored permanently. It's best to have a basement, cellar, or crawlspace set up for this purpose. It's best to store the tubers intended for seed separately from those intended for consumption. It's best to store the potatoes in a single day rather than spreading the process out.
A little trick: don't wash potatoes before storing them. While they'll be more enjoyable to use, their shelf life will be significantly reduced. Washing can damage the skin, introducing infection. Instead of neat, clean potatoes, you'll end up with a black, rotting mass this winter. Therefore, remove any excess soil only at the digging stage. If the soil is too clayey and difficult to remove, leave it as is; it won't harm the potatoes.
Important! Harvest quality depends not only on the variety chosen and growing conditions, but also on the recommended harvesting times. Knowing the exact variety will help you accurately calculate the recommended harvest time. Don't forget to take weather conditions into account. Properly dug and prepared potatoes will last until spring without deforming or losing their quality.
Methods for storing potatoes at home and in the cellar
It's no secret, but it's best to choose late or mid-late varieties for winter storage. Early potatoes won't keep for long; they should be eaten within the first 2-3 months after harvest. Avoid storing potatoes immediately in the cellar, as they will be exposed to sudden temperature fluctuations and may lose flavor. It's best to gradually lower the temperature, adapting the crop to future wintering conditions.
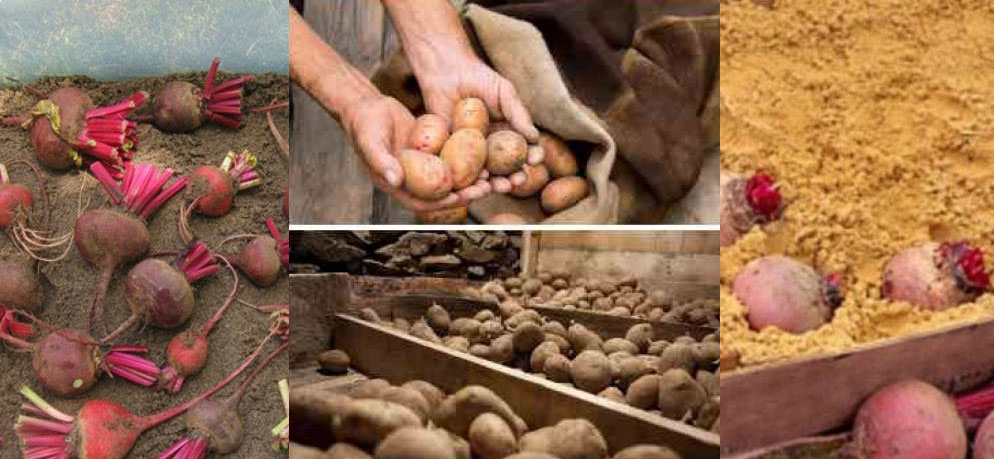
The optimal temperature range for storing vegetables is considered to be 85% humidity and a temperature of +2…+5°C. When the air in the cellar is too dry, the potatoes begin to lose moisture and dry out. In this case, place containers of water there. If the humidity is too high, there is a risk of rot. To prevent this, place a box of charcoal next to the potatoes, changing the contents periodically as it becomes damp. Experienced gardeners intersperse potato rows with beets. If there is a risk of freezing, the crop should be additionally covered with spruce branches or dry straw. Fine-mesh netting will help protect the potatoes from rodents.
You shouldn't store potatoes next to other vegetables unless they are beets.
If storing the harvest in a cellar isn't possible, you can place it on an insulated balcony. In this case, place the tubers in boxes with ventilation holes, layer them with newspaper, and cover them with a warm blanket or old jackets.
For eating, it is best to store potatoes in the refrigerator on the vegetable shelf.
Read more in the article, How and where to store potatoes: timing, methods, and mistakes.
When to weed potatoes before digging
Potatoes, like all other crops, need to be weeded in a timely manner to reduce the risk of pest-borne diseases.
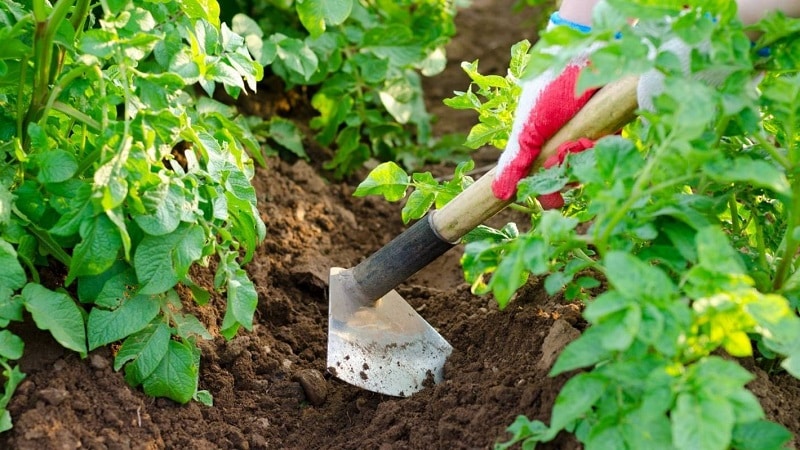
In small areas, weeding is done manually; in large plantations, mechanical or chemical means can be used.
As a rule, you need to remove weeds from potato beds at least twice per season:
- The first weeding is done when the sprouts reach 4 cm in length. This occurs approximately 3-4 weeks after planting.
- It is recommended to remove weeds for the second time after the potato stems rise 20-30 cm from the ground.
Weeding a potato bed is usually combined with hilling. However, if unsprouted tubers were planted, weeds can overwhelm the bed before the first shoots emerge. In this case, you'll need to manually remove the weeds.
The second weeding should be done before the first flowers appear on the bushes. Once the potatoes bloom, care is reduced to a minimum.
When choosing a weeding tool, you need to focus on the size of the area, your own strength and capabilities.
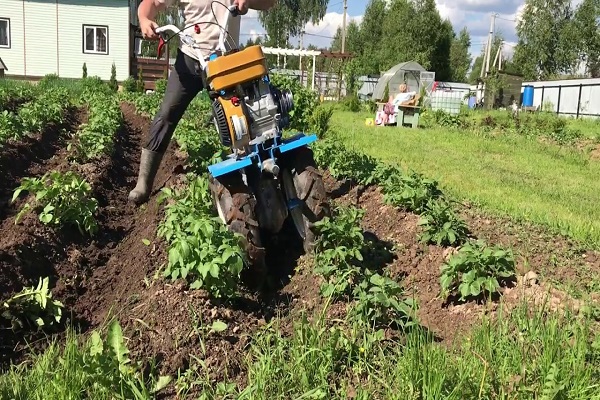
All garden tools used can be divided into several groups:
- A simple hand tool that includes a hoe, a chopper, a flat cutter, etc.
- Motoblock.
- Cultivator.
How to fertilize potatoes in summer and after harvesting
It's best to start preparing potato beds in advance. However, if for some reason you weren't able to apply fertilizer in the spring, nutrient deficiencies may occur. This will affect the growth of the plants. In this case, fertilizing can be done during the establishment phase, but it's recommended to do so in the first half of summer. Otherwise, fertilizer will stimulate abundant growth of tops, while the tubers will develop slowly.
All work related to fertilizing plantings must be carried out after watering or rain.
Root feeding in summer
First time It is necessary to feed potatoes before the first hilling.
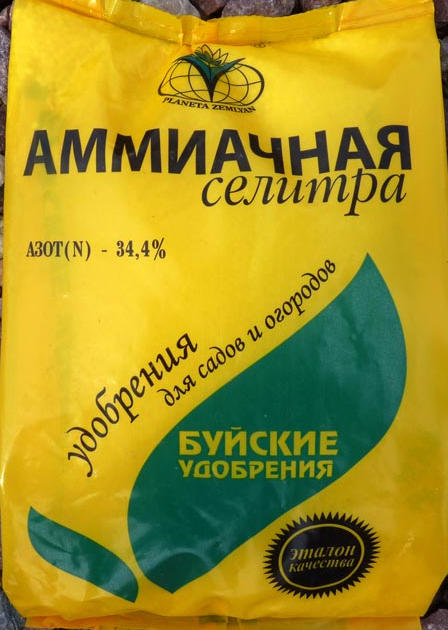
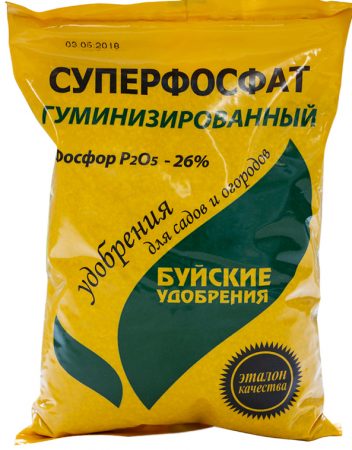
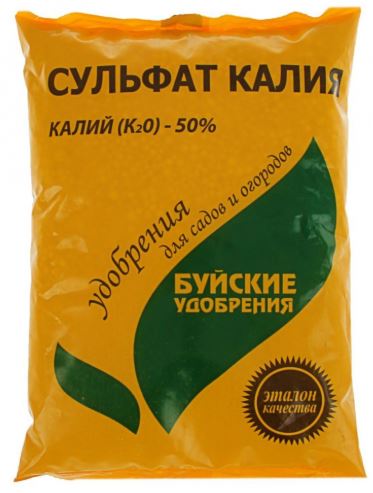
This is necessary when the bushes are weak and pale in color. You can use different types of fertilizer:
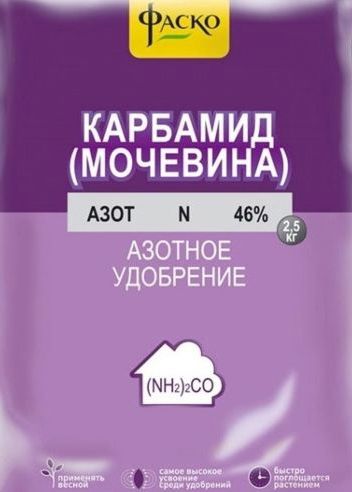
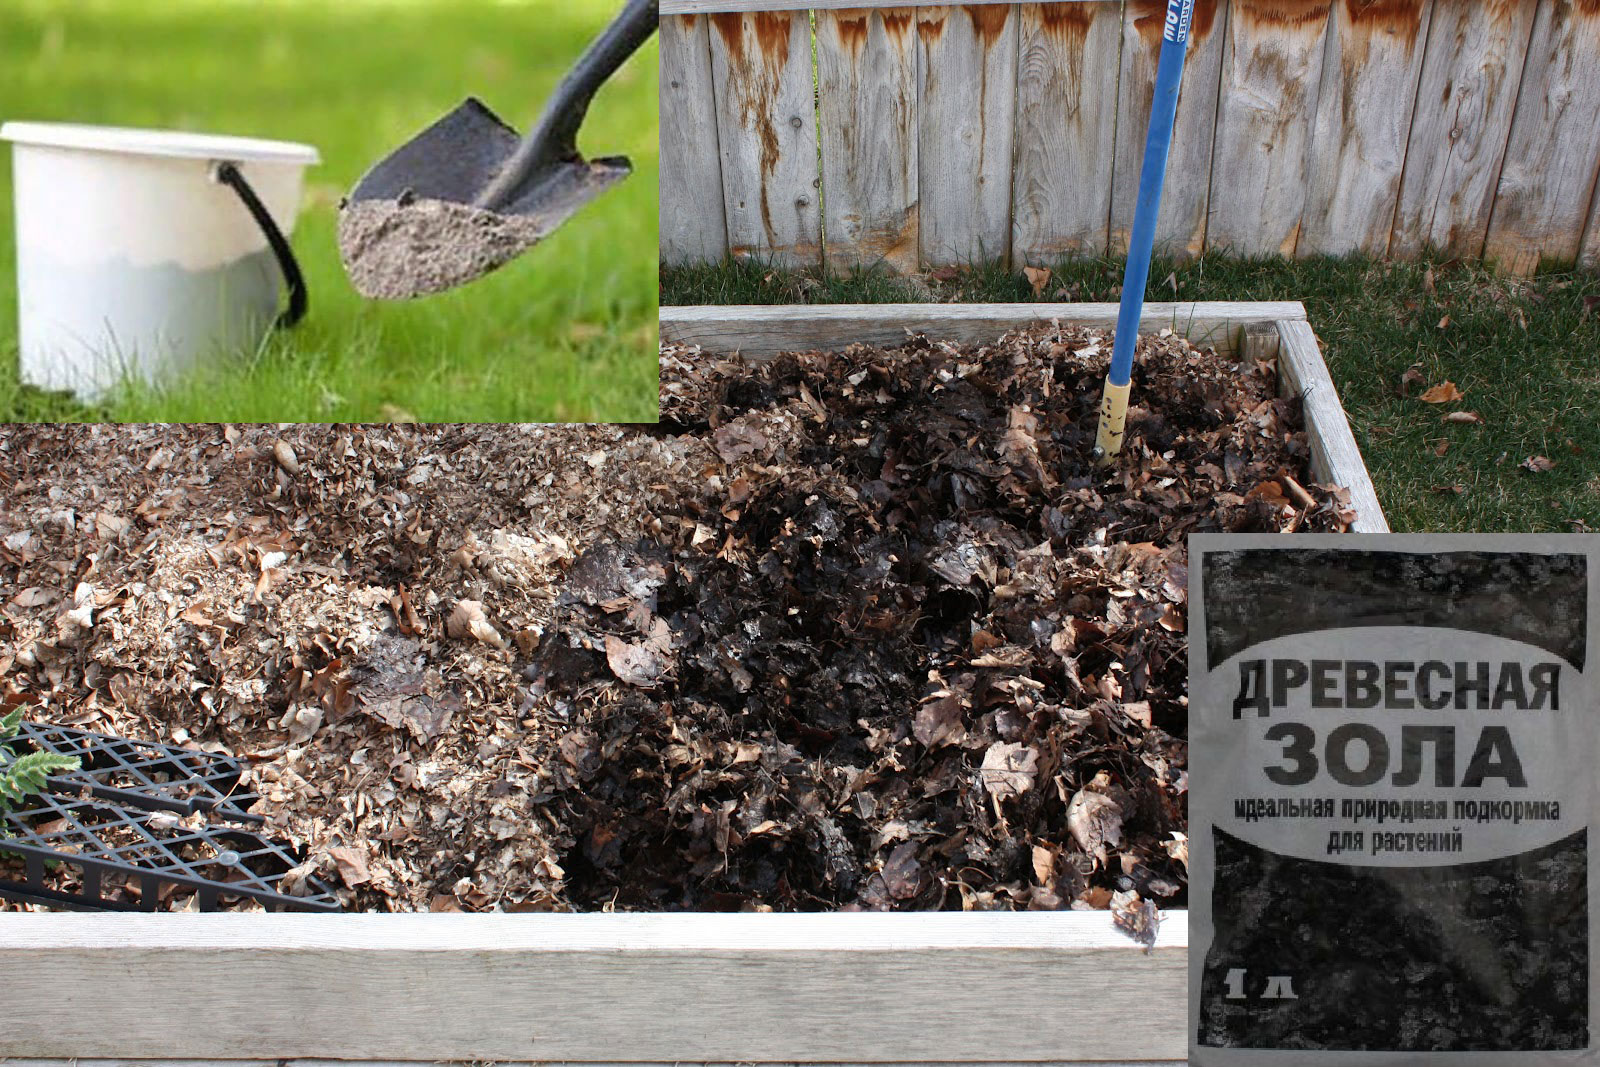
- Ammonium nitrate or urea (1 teaspoon) mixed with humus (1.5 cups). This amount is enough for 1 meter of planting.
- 3 g of superphosphate and potassium sulfate must be mixed with 2 g of urea (can be replaced with ammonium nitrate) and added under each potato bush.
- Dissolve 1 tablespoon of urea or 20 g of ammonium nitrate in 10 liters of water. One plant requires 0.5 liters of solution.
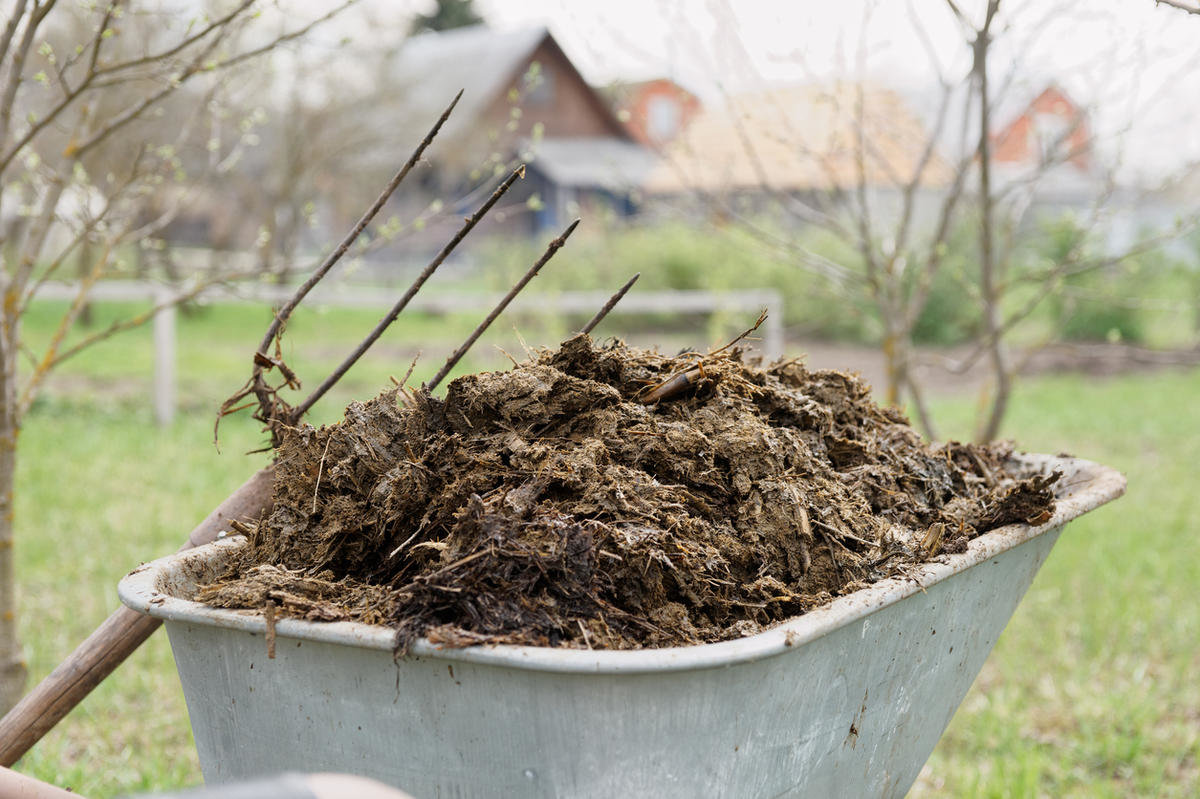
- Dilute 1 liter of rotted cow manure (mullein) in 10 liters of water and use for watering the spaces between rows.
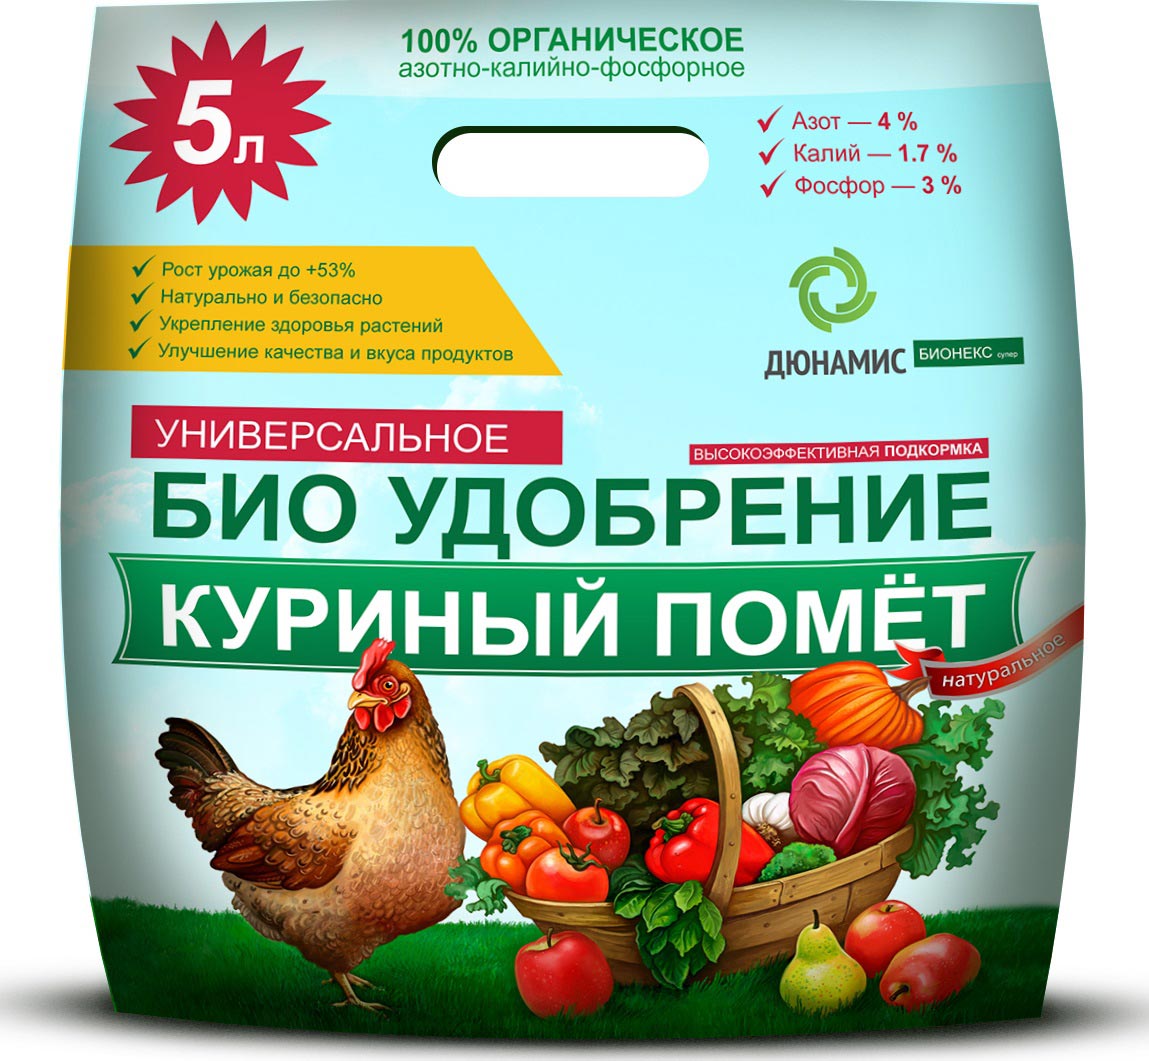
- An infusion of chicken manure, diluted in a 1:1 ratio, is used to water the furrows between rows.
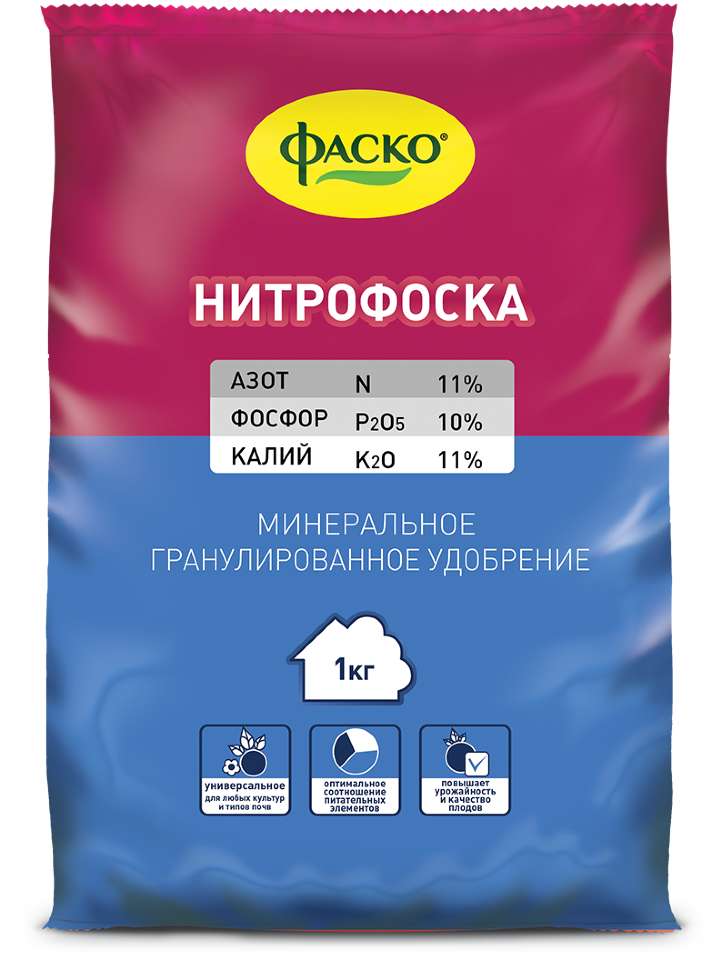
- Add 10 g of dry manure or 10 g of nitrophoska under each potato bush.
- Add 2 handfuls of humus to the soil under the bush.
- Water the plantings with an infusion of weeds.
There are many fertilizer options, all of which are effective and improve plant growth. Every gardener can choose their own based on the availability of the required ingredients.
Second feeding It is carried out at the stage of bud formation and its action is aimed at accelerating the flowering process.
For this you will need potassium fertilizers:
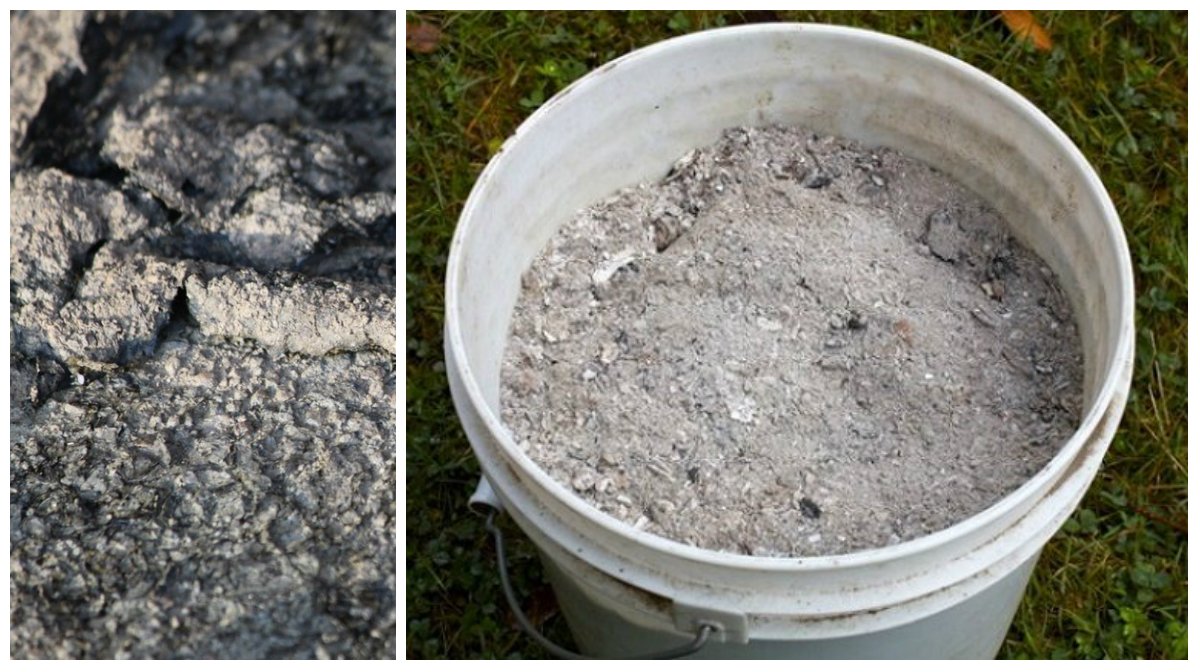
- Each meter of plantings is fed with a mixture of 3 tablespoons of ash and 1 teaspoon of potassium sulfate.
- To treat 10 square meters, you will need 10 liters of water, in which you need to dissolve 30 g of potassium sulfate.
- 2 handfuls of ash and the same amount of soil are mixed together and poured under each bush.
Third time Potatoes need to be fed during the active flowering period to help the tubers grow and develop. For this, you can use the following solution recipe:
- Dissolve 1 cup of mullein and 2 tablespoons of superphosphate in 10 liters of water. Use 0.5 liters of the infusion for each bush.
Foliar feeding in summer
Foliar feeding, applied by spraying the leaves, has also proven effective. This method allows the nutrient mixture to be applied directly to the plant, where it is quickly absorbed and begins to work, activating metabolic processes in the vascular system.
Nitrogen-potassium fertilization
This type of fertilizing can be done no sooner than two weeks after the seedlings emerge. Prepare a solution by adding 200 g of urea, 300 g of monopotassium phosphate, and 5 g of boric acid to 10 liters of water. Optionally, you can add 1 g of any micronutrient, such as manganese, copper, or boron. Repeat treatment, if necessary, is carried out two weeks after the first. Fertilizing can be continued until flowering begins, maintaining a two-week interval.
Fans of organic fertilizers can spray potatoes with an infusion of fermented weeds or a humate solution.
Phosphorus fertilization
To support the tubers, accelerate their development, and stimulate starch production, spray them with a solution of 10 liters of warm water and 20 grams of superphosphate, left to infuse for two days. This is done after the bushes have finished flowering. One liter of fertilizer is sufficient for one hundred square meters.
Fertilizing potatoes for the winter
It's best to begin preparing the soil for planting in the fall. It's not always easy to do this in the spring, and some fertilizers, such as superphosphates, need to sit in the soil for a while to transform into easily digestible forms.
Even manure should lie in the ground to have time to properly rot; it should not be added directly to the hole before planting.
Potatoes respond very well to organic matter in the soil. In the fall, it's a good idea to dig over the potato plot, adding 5-10 kg of fresh manure or humus per square meter, as well as 30 g of superphosphate and 15 g of potassium sulfate.
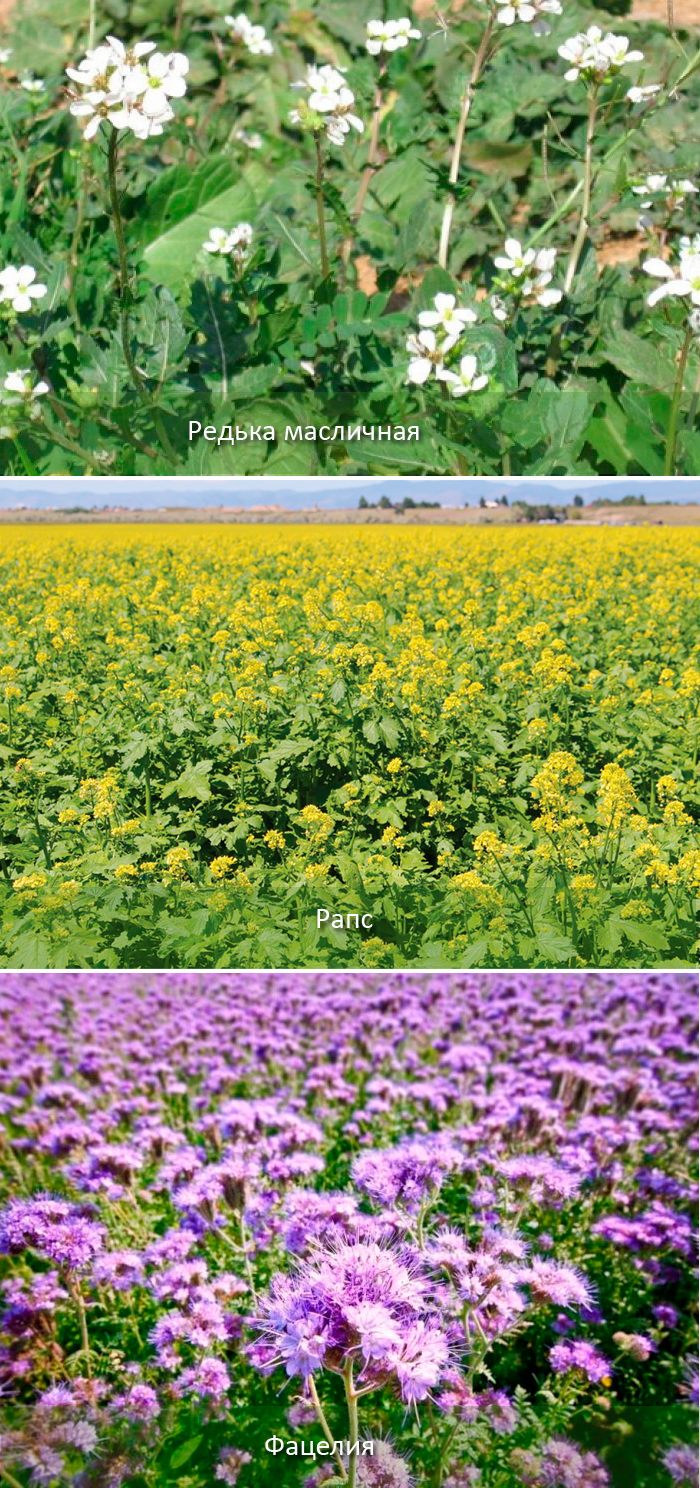
If you don't have any compost or manure, green manure can be a great option. At the end of the season, the entire bed is planted with it; it will have time to grow before the onset of critical cold weather, and in the spring, its organic remains will be buried in the soil, providing excellent fertilizer. Any cruciferous plants, such as oilseed radish, are excellent green manure for potatoes. On an industrial scale, the potato field is sown with rye, which is also ideal as an organic fertilizer for potatoes.
For those who like mineral fertilizers, there is an option to add 2 kg of potassium sulfate and 1 kg of superphosphate to each hundred square meters.