The Meteor potato variety has recently become increasingly popular among gardeners. The harvest is characterized by excellent taste, large yields, and excellent shelf life. Meteor grows well when grown according to the growing guidelines we'll share with you today.
Content
- 1 The history of the Meteor potato variety
- 2 Characteristics of the Meteor potato variety in the table
- 3 Advantages and disadvantages of the Meteor potato variety
- 4 Meteor variety planting site requirements
- 5 Planting dates for Meteor potatoes
- 6 Preparation of planting material
- 7 Soil preparation
- 8 Step-by-step instructions for properly planting the Meteor potato variety
- 9 Caring for the Meteor potato variety
- 10 Harvesting and storage
- 11 Tips from Top.tomathouse.com
- 12 Comparison of the Meteor potato variety with other varieties in the table
- 13 Real reviews from gardeners about the Meteor potato variety
The history of the Meteor potato variety
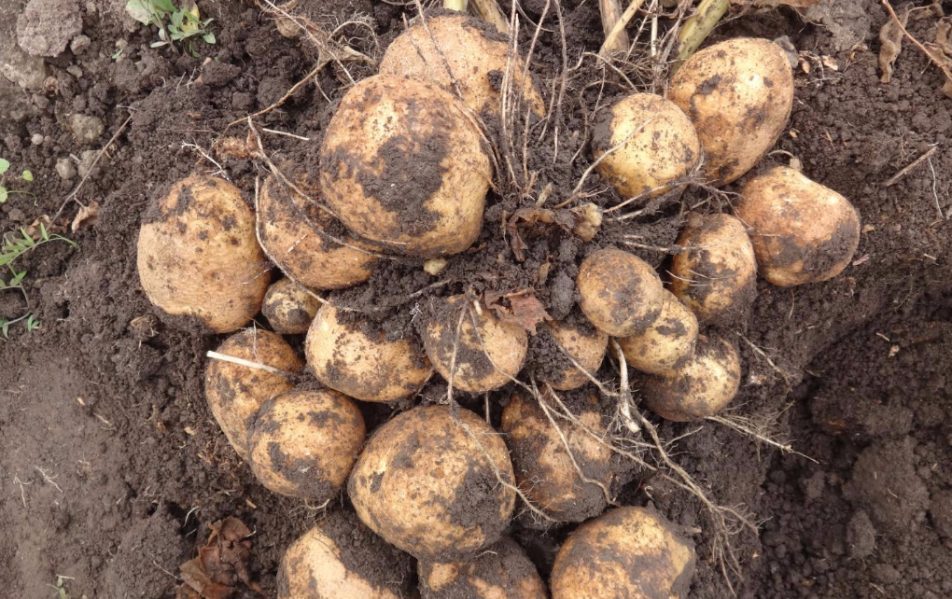
The Meteor variety was developed at the Federal Potato Research Center named after the renowned Soviet breeder Alexander Georgievich Lorkh. This occurred in 2008, but it took another five years to prove its excellent qualities and identify its key characteristics. In 2013, it received official "Approved for Use" status and was included in the State Register of Breeding Achievements.
Characteristics of the Meteor potato variety in the table
| Parameter | Characteristic |
| Ripening period | Early maturing. From 50 to 65 days, the first digging can be done after 45 days. |
| Starch concentration | From 10% to 16% |
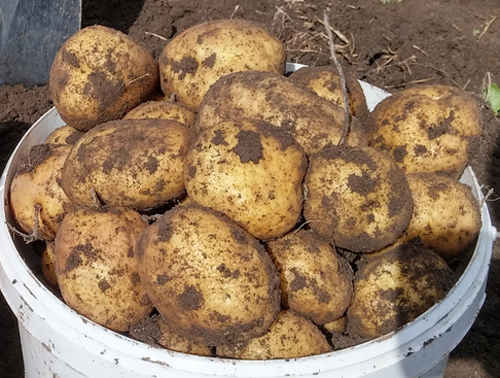
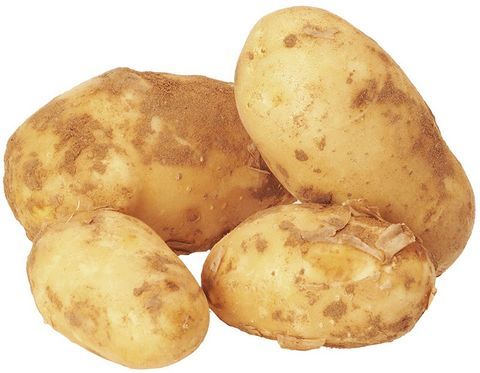
| Average weight of tubers | From 100 to 150 g |
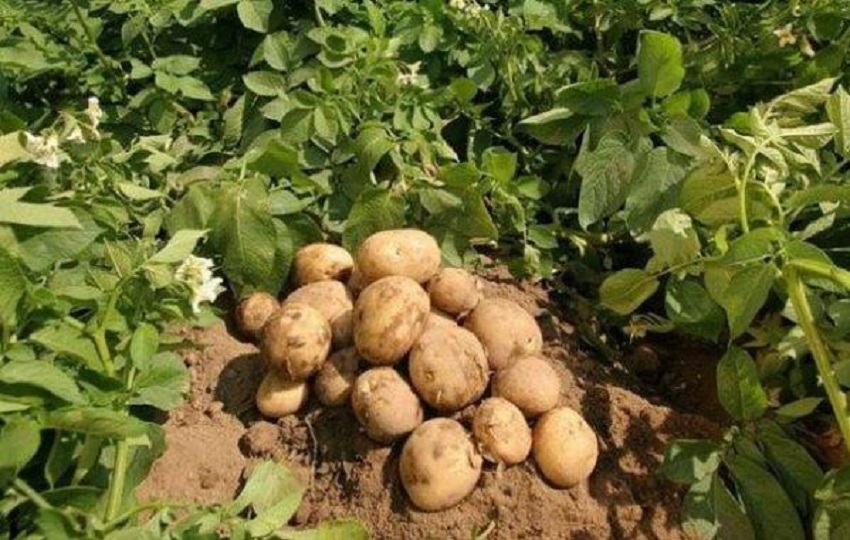
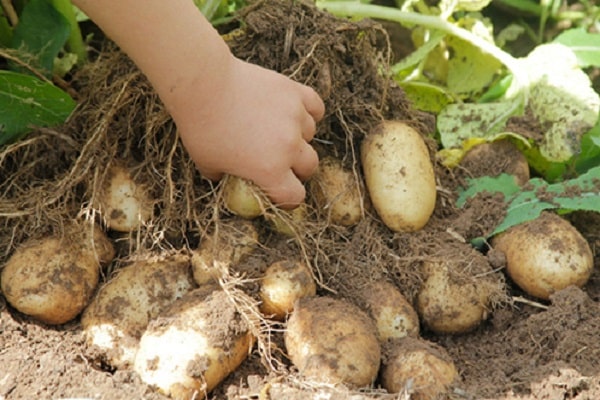
| Number of tubers per bush, pcs. | 10-12 |
| Productivity | 210-405 c/ha |
| Taste characteristics | The potatoes have a pleasant taste and are suitable for frying and baking; they do not crumble during cooking, but can be boiled well if necessary. |
| Marketability of tubers | From 88% to 98% |
| Shelf life | 95% |
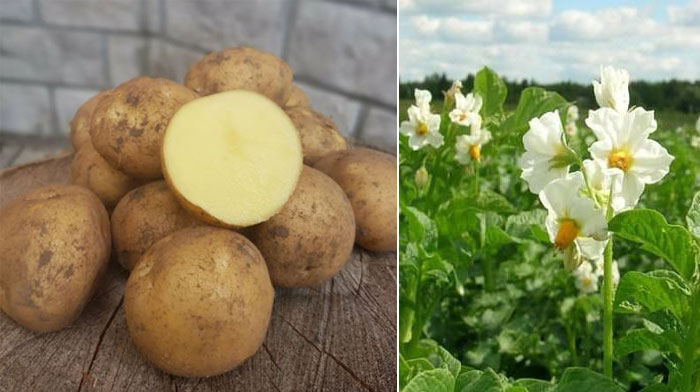
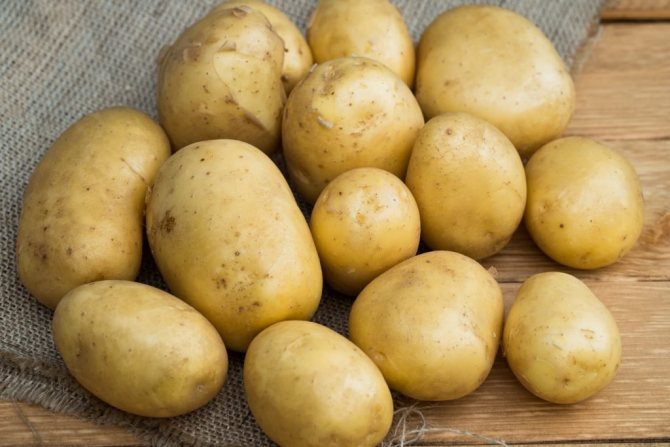
| Appearance of the bush | The bush isn't too spreading, but it's quite tall. The medium-sized leaves are succulent, hold their shape well, and are a rich green. Blooms aren't particularly profuse, with small inflorescences and white petals. |
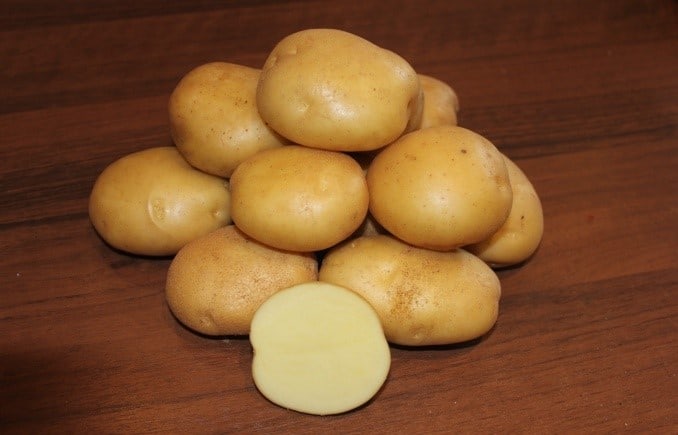
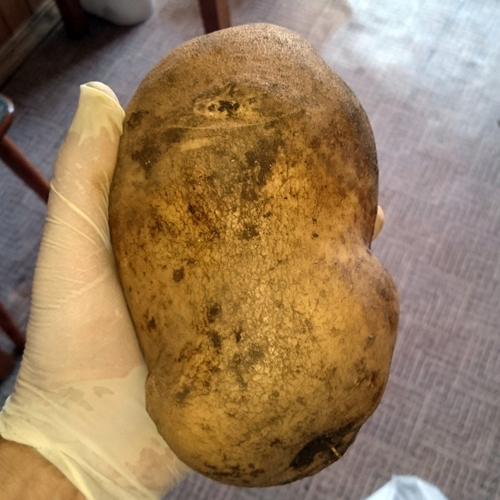
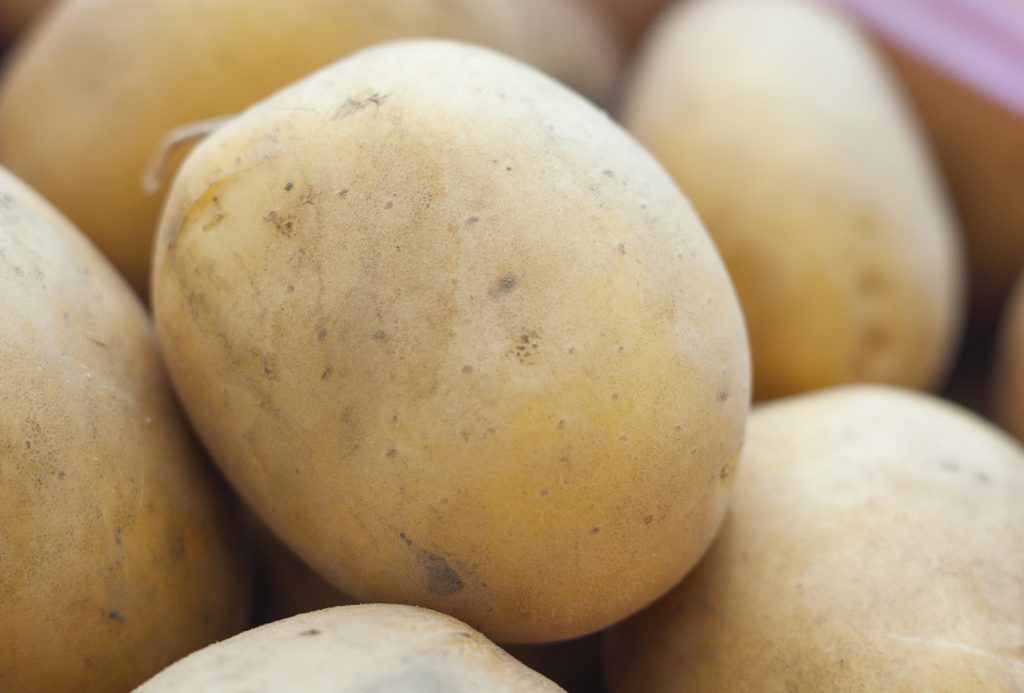
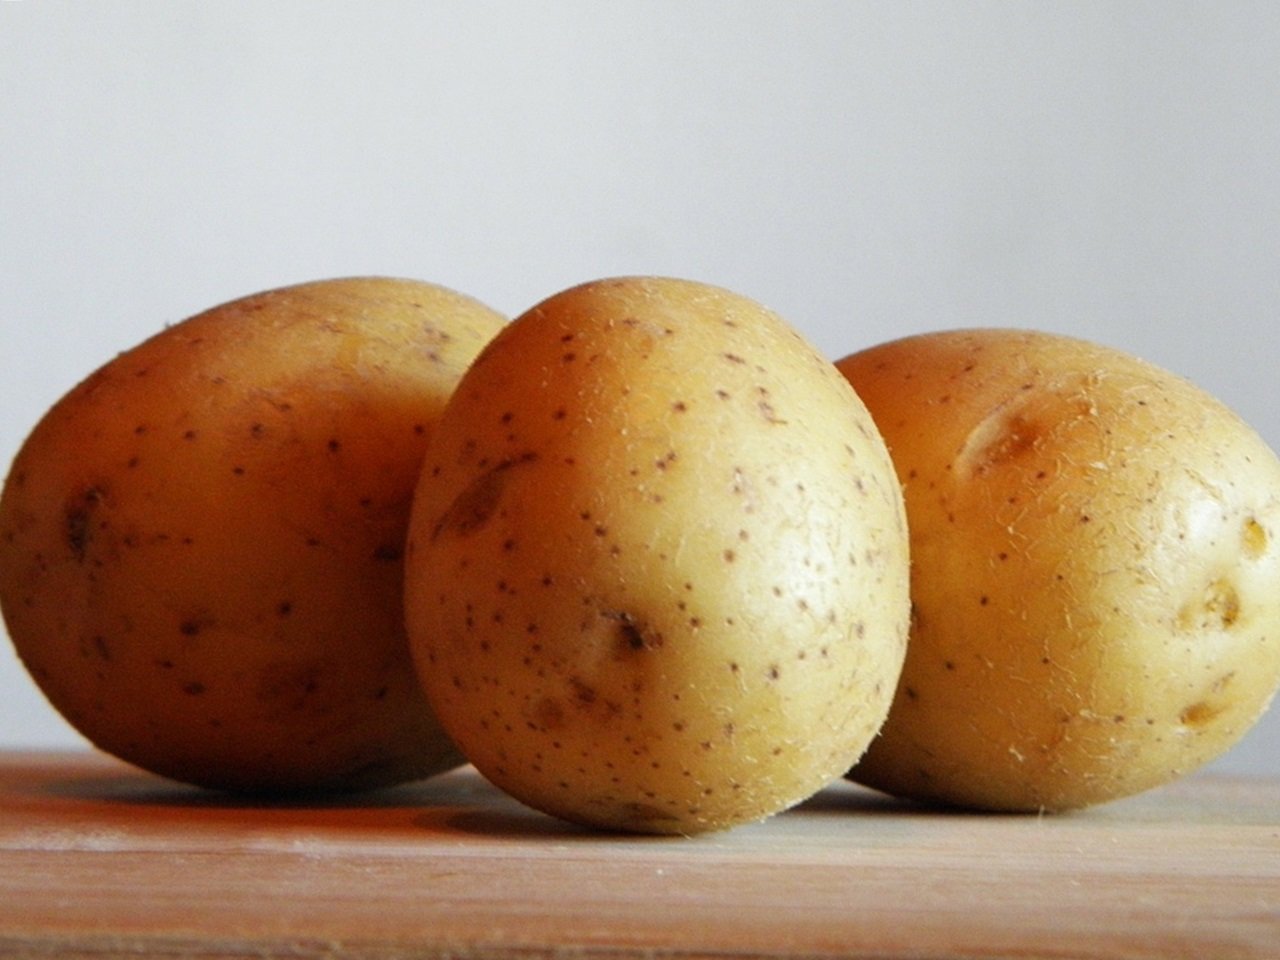
| Skin color | Cream |
| Color of pulp | Yellowish |
| Eye depth | Average |
| Suitable regions for growing | Central, Volga-Vyatka, Central Black Earth, West Siberian. |
| Disease resistance | Resistant to potato cancer, golden cyst nematode, moderately resistant to late blight, slightly affected by scab, rhizoctonia and rot. |
| Agrotechnical requirements | Potatoes can adapt to almost any growing conditions and tolerate dry summers well. |
Advantages and disadvantages of the Meteor potato variety
Like any other variety, Meteor has its strengths and weaknesses.
Its advantages include:
- High yield.
- Fast ripening of fruits (from 60 days after planting).
- Universal use.
- Pleasant taste.
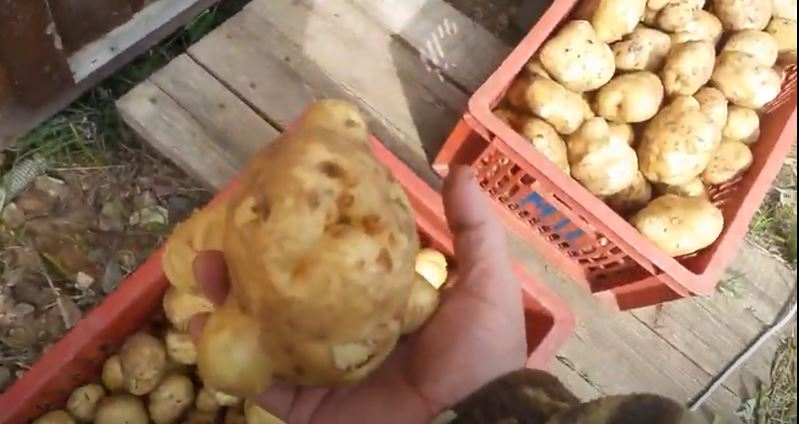
- Long-term storage and good transport tolerance due to the density of tubers.
- Resistance to drought and moisture.
- Unpretentiousness to soil quality.
- Resistance to some common diseases.
Among the disadvantages, the following features can be highlighted:
- Juicy leaves attract various pests, especially Colorado potato beetle, which becomes a frequent “guest” at the plantings.
- Potatoes can be susceptible to diseases such as late blight, striped mosaic and alternaria, so it is necessary to carry out preventive measures in a timely manner.
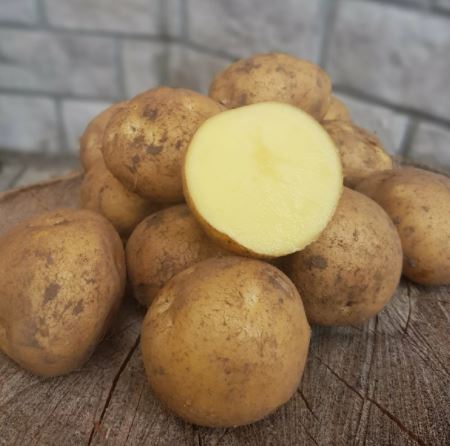
There are two very important points when eating potatoes:
- It is strictly forbidden to use green potatoes for cooking. This color clearly indicates a high concentration of corned beef, which can lead to serious poisoning.
- The Meteor variety should not be consumed in large quantities by people suffering from diabetes, obesity or low gastric acidity.
Meteor variety planting site requirements
Despite the Meteor variety's low maintenance, for the best yield, it's recommended to plant it in well-lit areas. Ideally, the area should be free of stagnant moisture and avoid waterlogging due to precipitation or close groundwater.
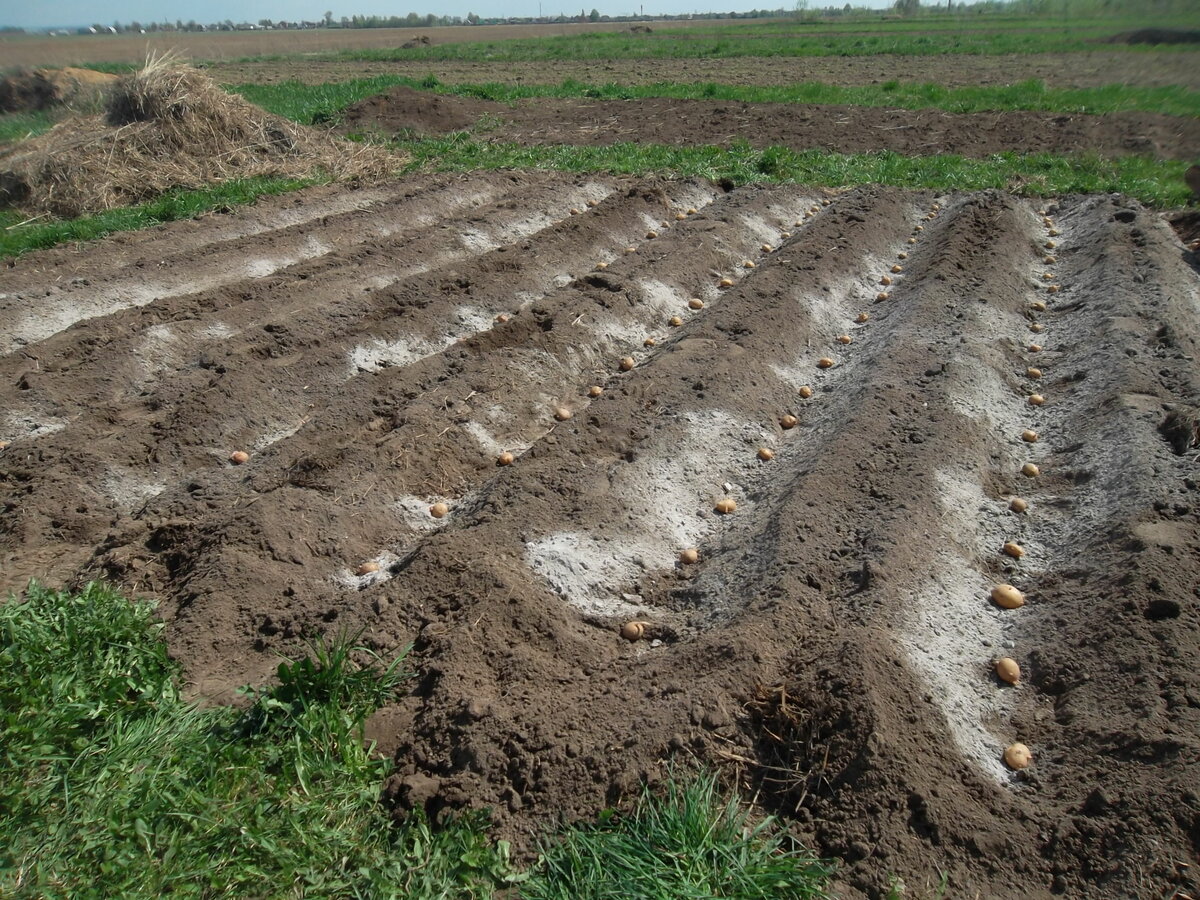
To ensure that tubers grow large and tasty, it is necessary to increase soil fertility by saturating it with fertilizers during the land preparation stage before planting.
Light soils and loams are ideal for Meteor. If your soil is predominantly clayey and heavy, adding sand will help improve the situation. If, on the contrary, the soil is too dry, the rows will need to be thoroughly watered before planting.
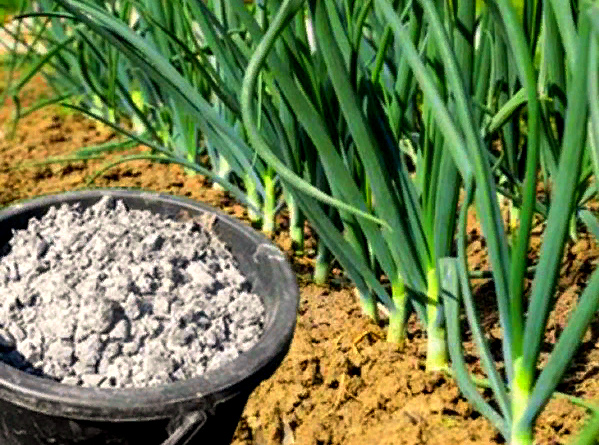
Tip! Always add wood ash to the soil when digging. It will not only enrich the soil but also repel stick insects, which are often found among potato crops.
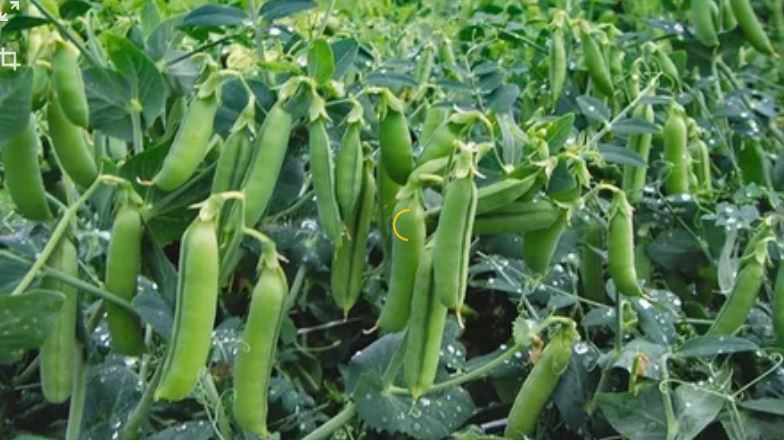
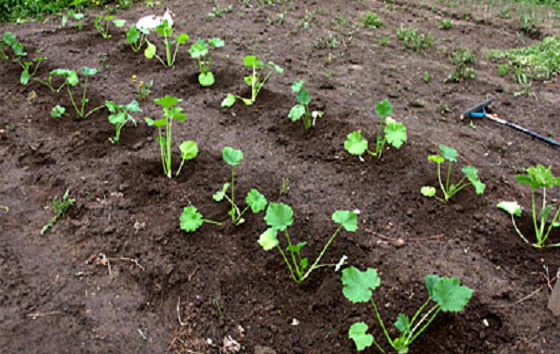
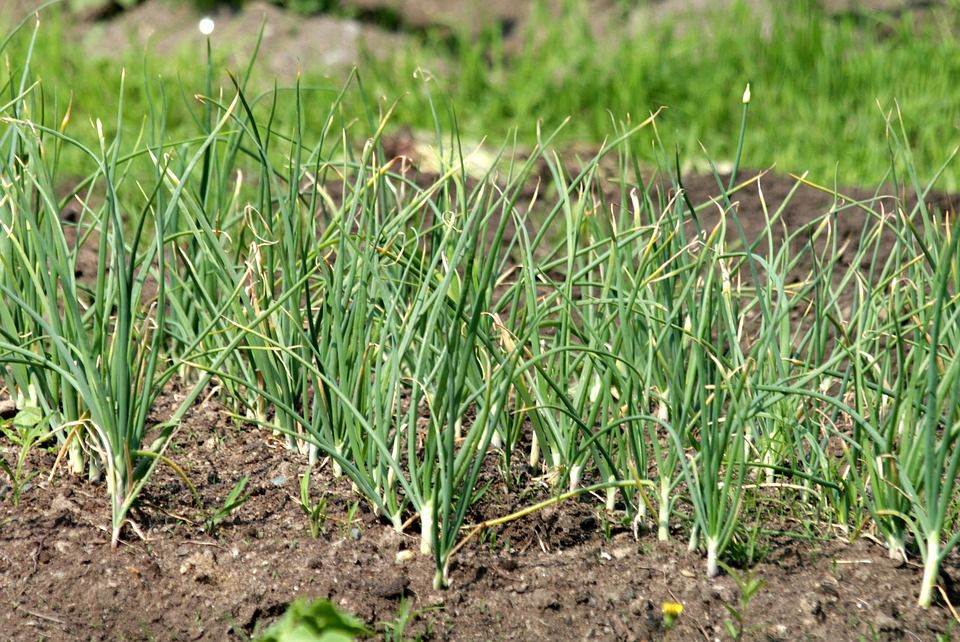
To achieve a bountiful potato harvest, it's crucial to follow crop rotation rules. For example, good predecessors for Meteor include beans, onions, garlic, pumpkin, rye, and even melon and watermelon. They leave behind nutrients essential for potato growth and absorb any excess. This is in contrast to peppers, tomatoes, eggplants, and sunflowers, which are poor predecessors for potatoes and leave behind soil unsuitable for this crop.
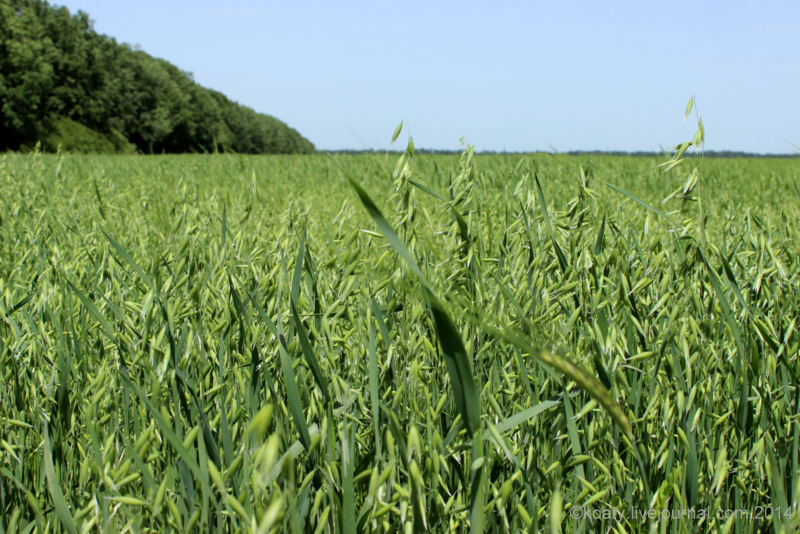
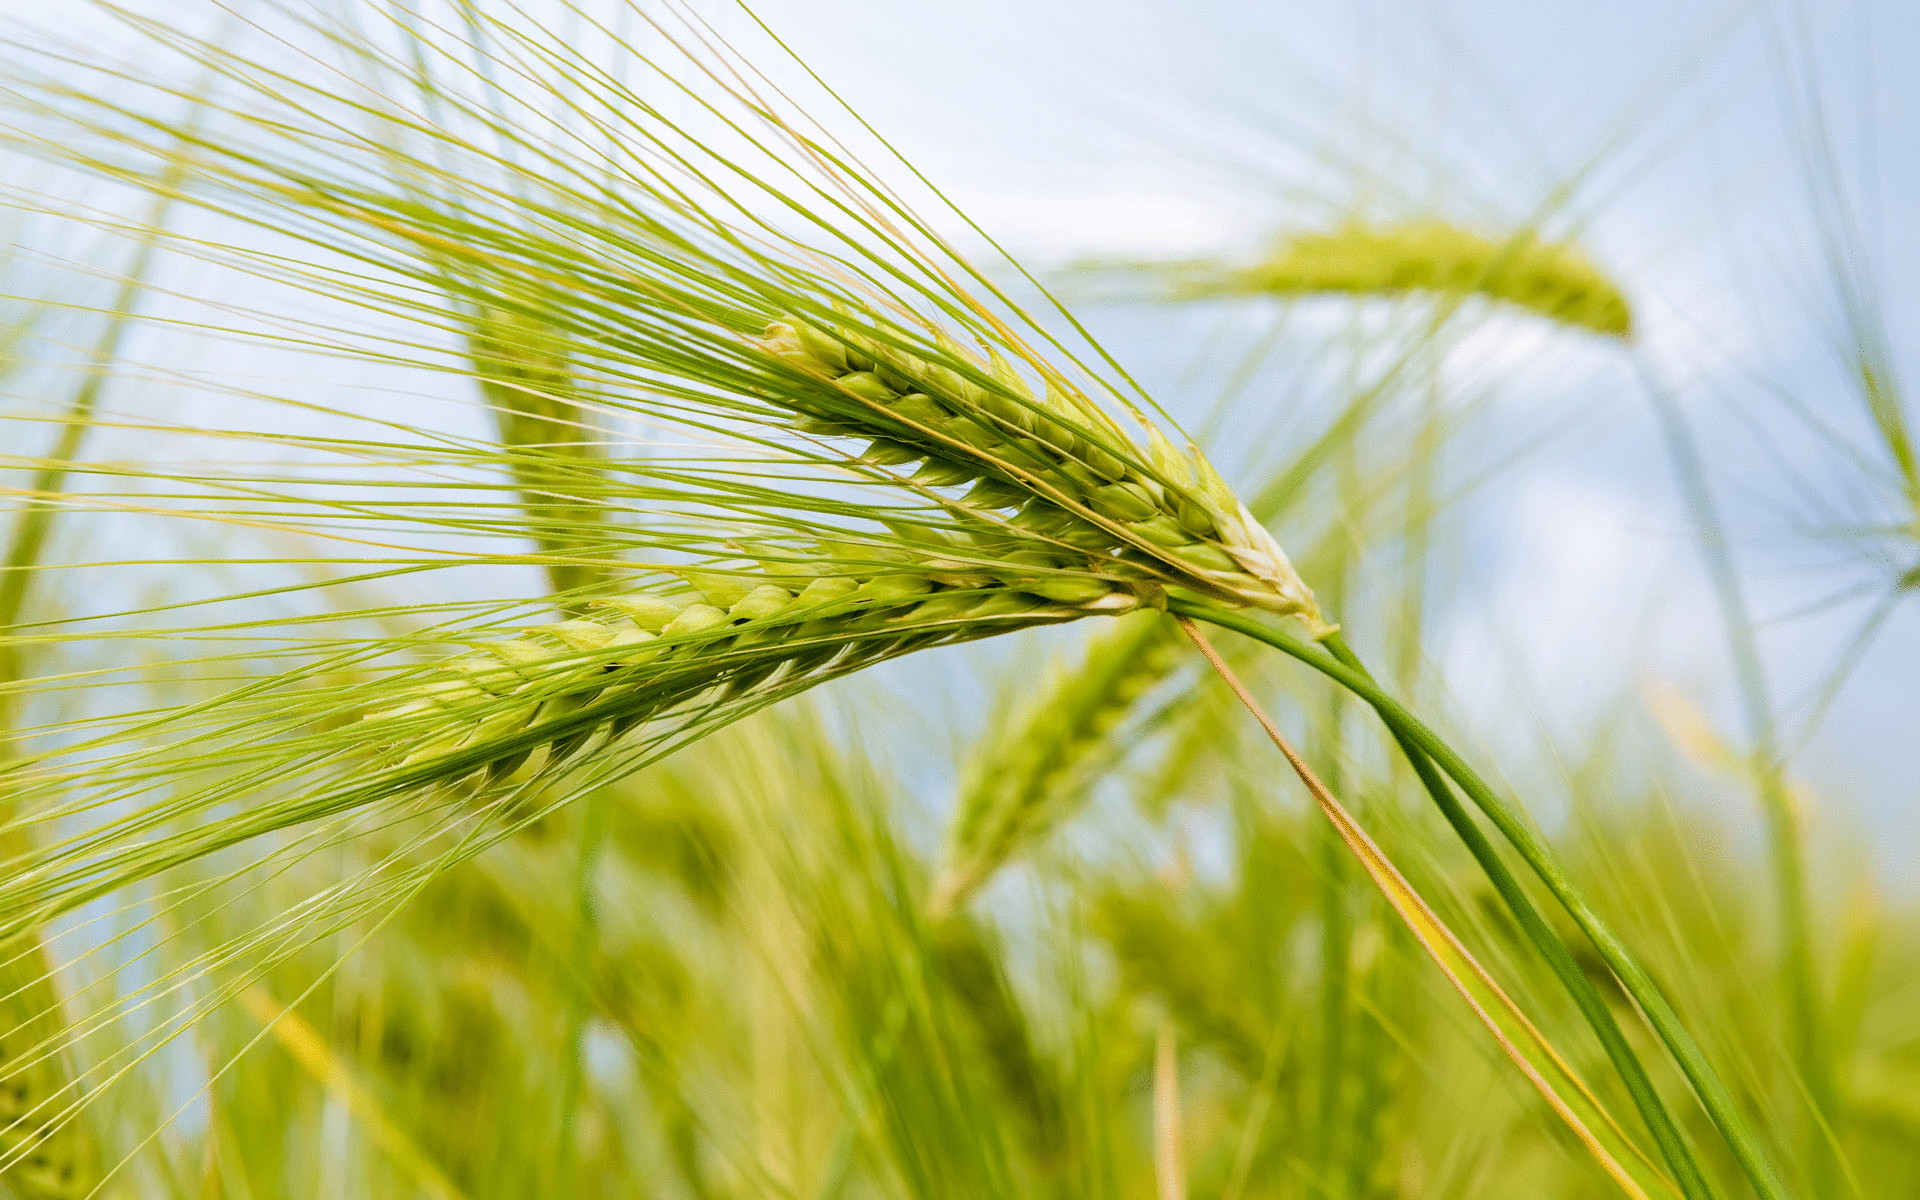
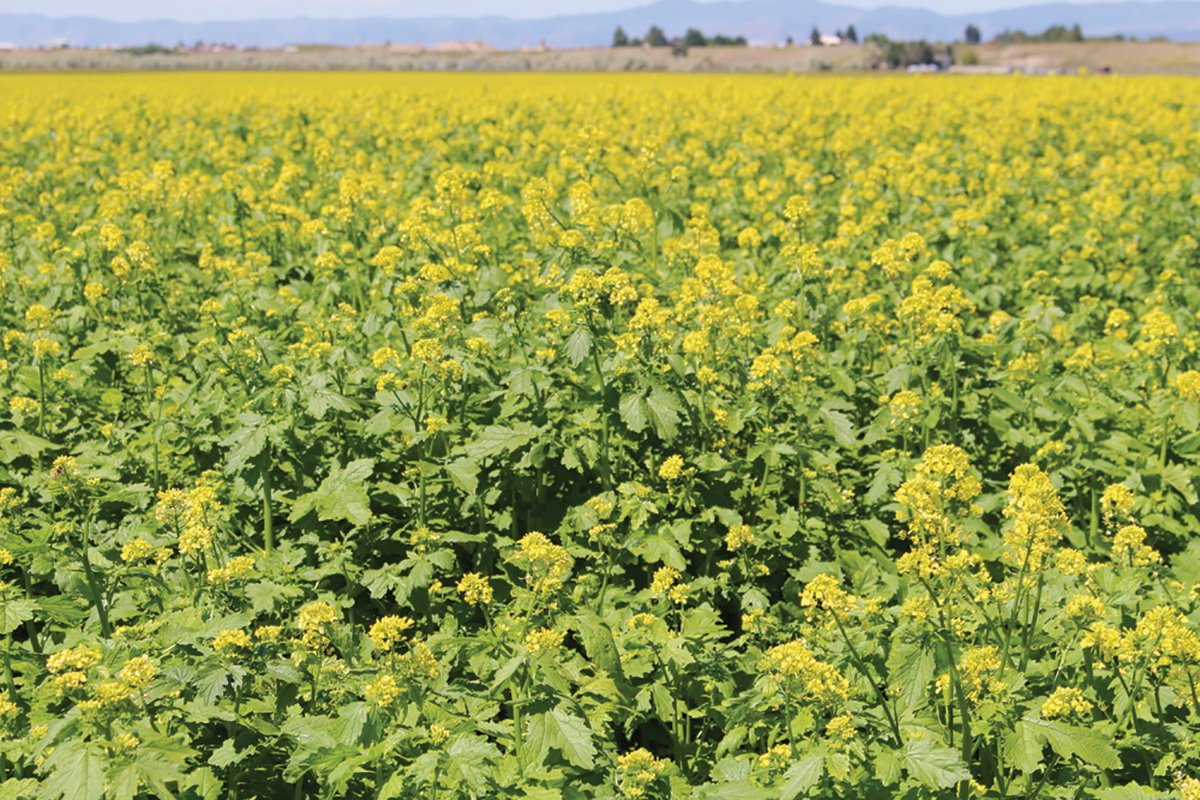
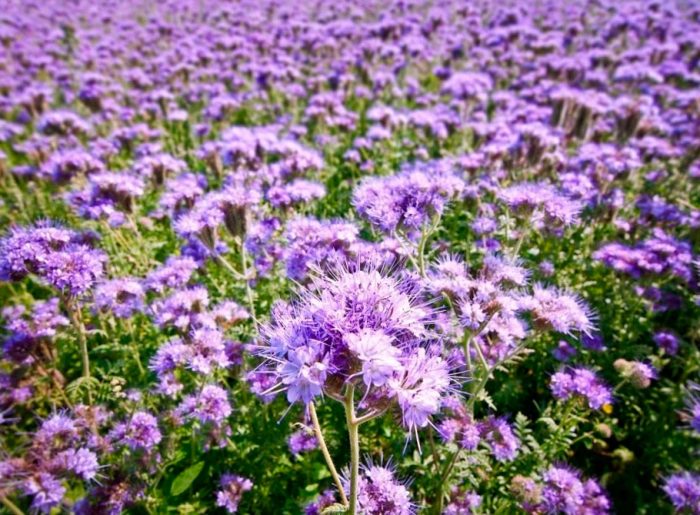
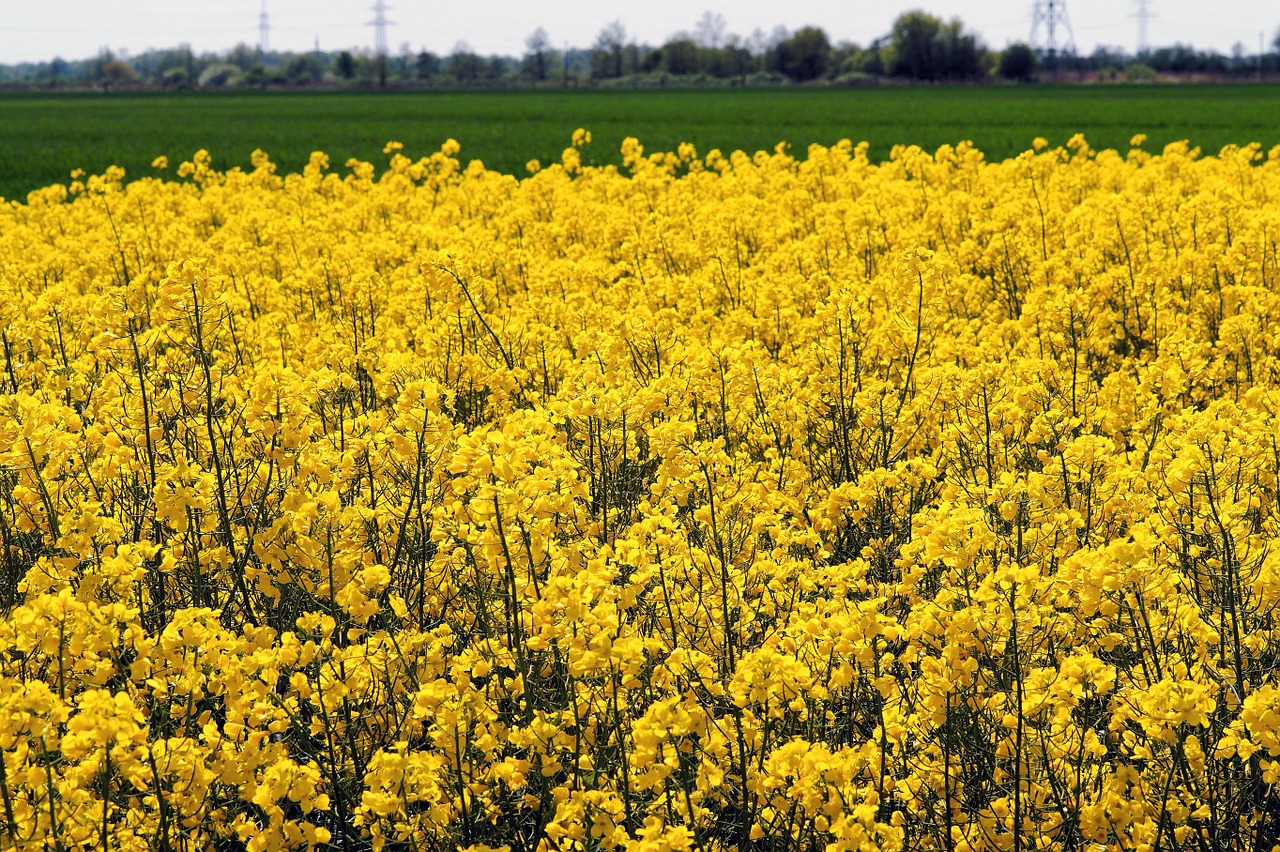
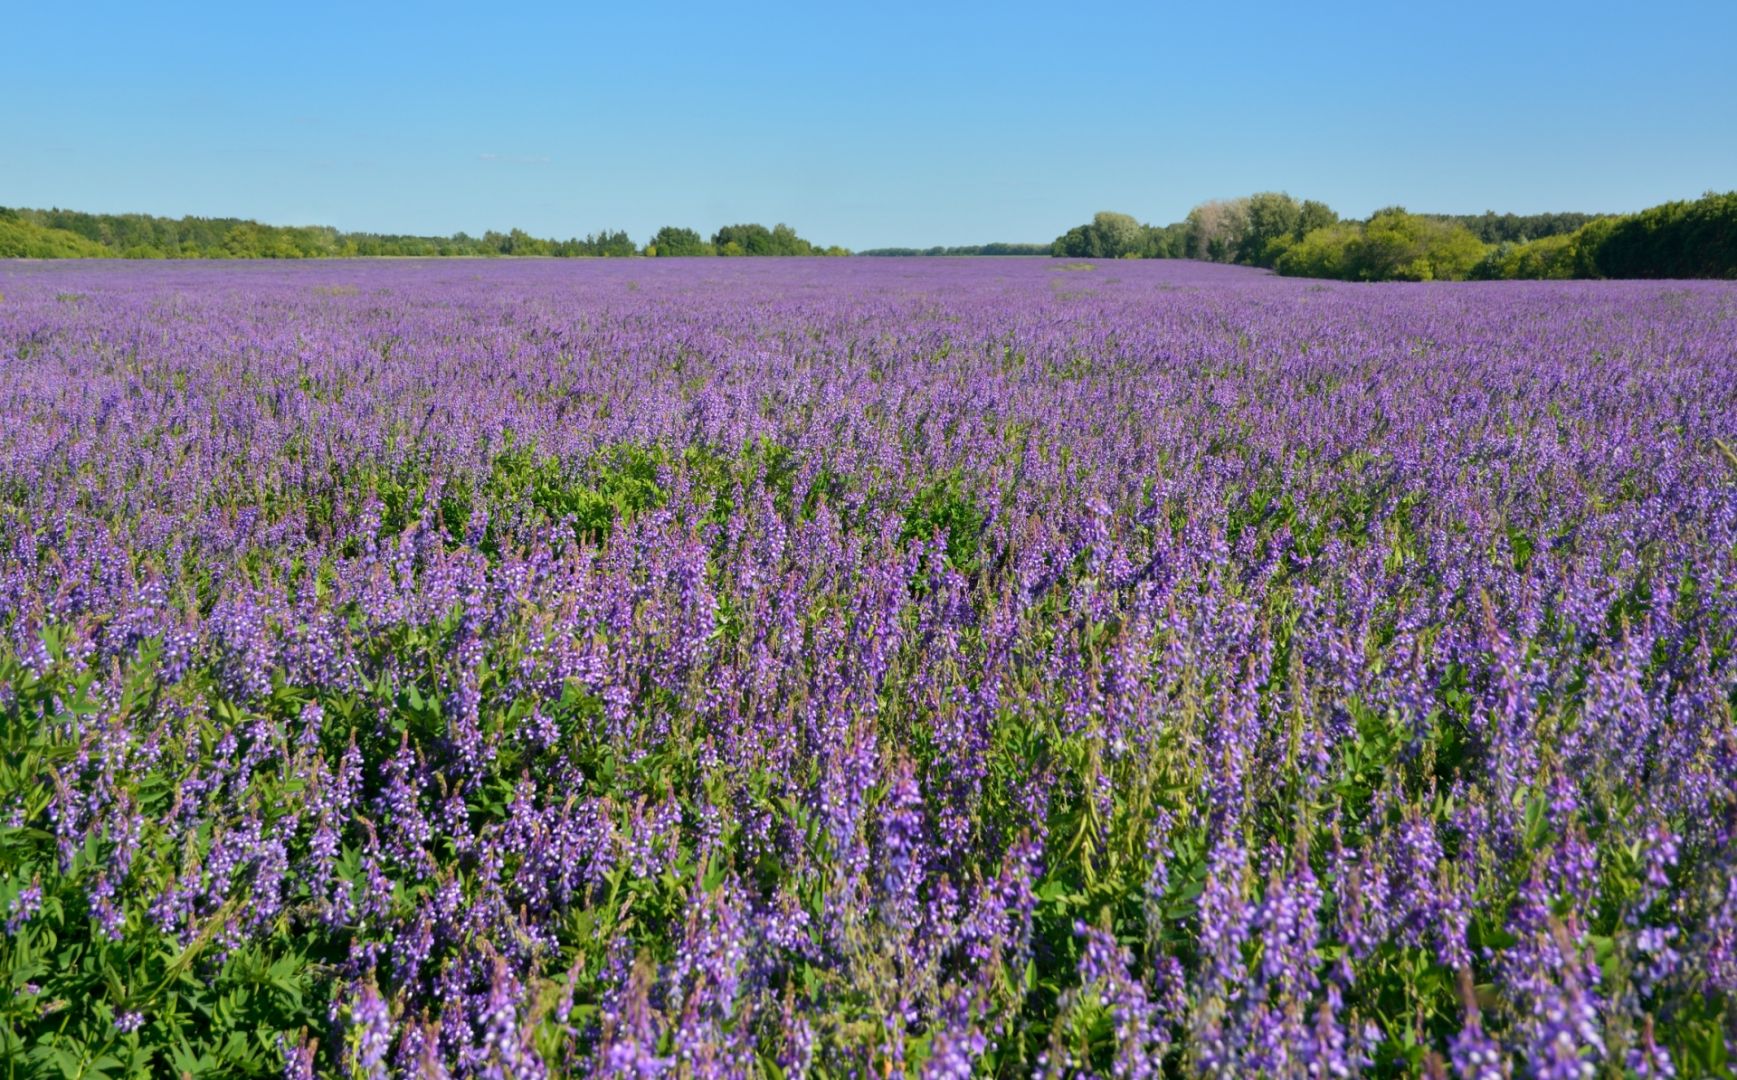
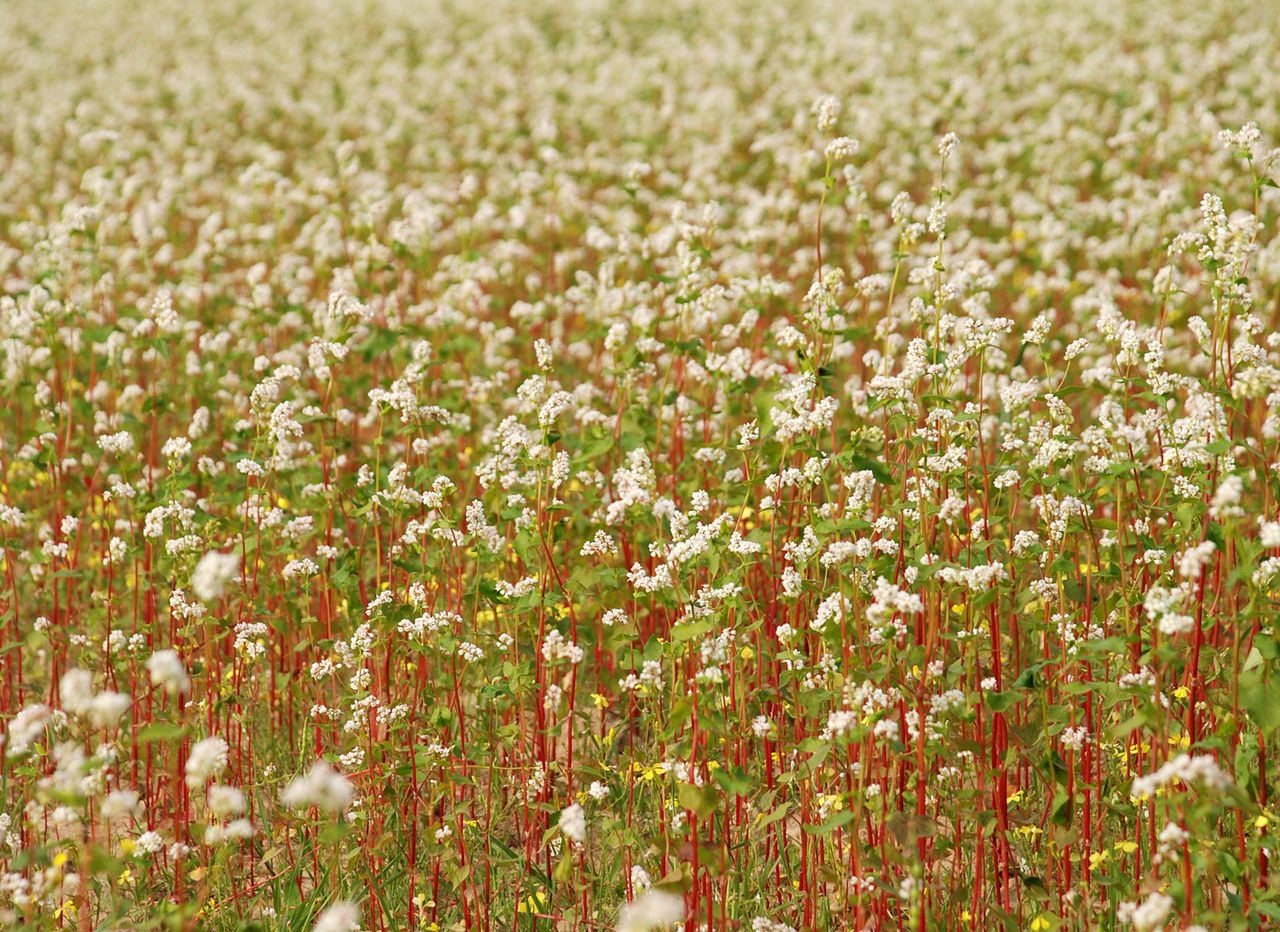
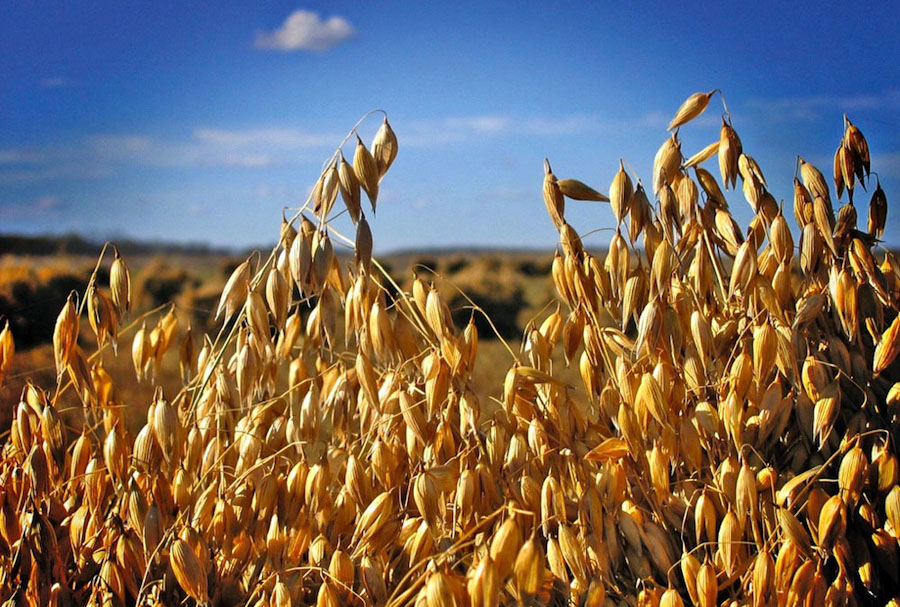
At the end of the season, many gardeners sow their fields with green manure (buckwheat, mustard, rye, oats, alfalfa, rapeseed, or phacelia). These crops enrich the soil for the following season.
It's not recommended to plant Meteor in the same spot for more than two years. If space doesn't allow for planting potatoes in a new plot, use a trick from experienced gardeners: alternate planting in rows and between rows.
Planting dates for Meteor potatoes
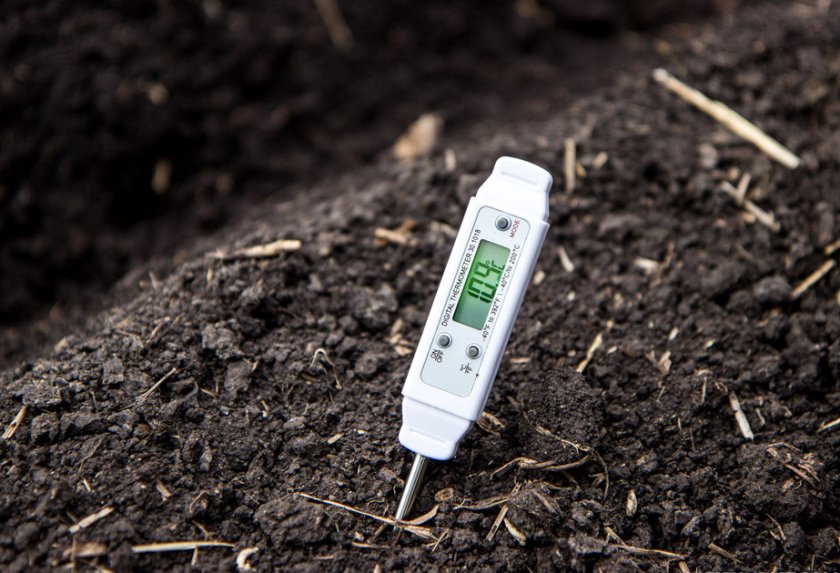
The exact planting time depends on the region and its weather conditions. You can judge the soil's readiness for planting potatoes by inserting a thermometer 10 cm into the soil and measuring the temperature. If the reading is 10°C or higher, you can begin planting.
There's a folk wisdom that's been used by gardeners in our country for decades: as soon as birch tree leaves reach the size of a dime, it's time to plant tubers. Another sure sign is the blooming of bird cherry trees. As soon as the first flowers bloom, you can begin planting.
But you'll still need to rely on weather forecasts. If prolonged frosts occur after planting the tubers, they will freeze or rot.
Preparation of planting material
Before planting potatoes, the tubers should be sorted, removing any damaged or weak ones. To stimulate growth, it is recommended to treat them with growth stimulants. Specialized products are available, but some gardeners use the following recipe: dissolve 1 kg of wood ash in 10 liters of water, add 40 g of urea, 60 g of superphosphate, and 10 g of boric acid. Soak the tubers in this mixture for approximately 30 minutes. This will reduce the risk of various diseases and initially repel insect pests.
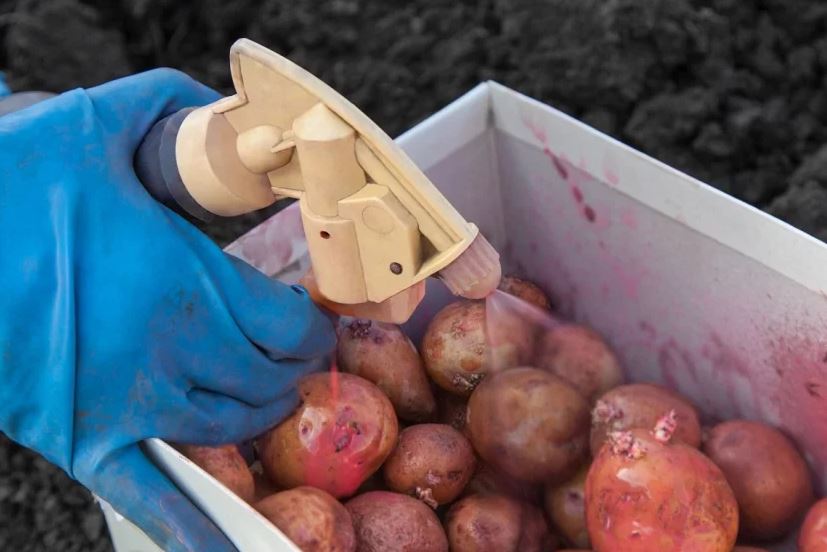
Next, begin sprouting. This should be done approximately 3-4 weeks before planting. The tubers are left in a well-lit area with a temperature of 30°C for three days, after which they are moved to a cool place with a temperature of 15°C.
If you missed the sprouting window, don't worry. There's a quick method that can speed up the sprouting process. It's called the "wet method," and involves placing the tubers in a wooden or plastic container and covering them with damp compost or peat.
Some gardeners who don't have time for preparatory work simply treat potato tubers with growth stimulants (Epin, Poteytin, Bioglobin) a few days before planting. This way, the sprouting process can be skipped.
Soil preparation
To ensure your potatoes grow well and enjoy a bountiful harvest, prepare the soil for planting in advance. It's crucial to remove all weeds to prevent pests, after which you can apply the necessary fertilizer.
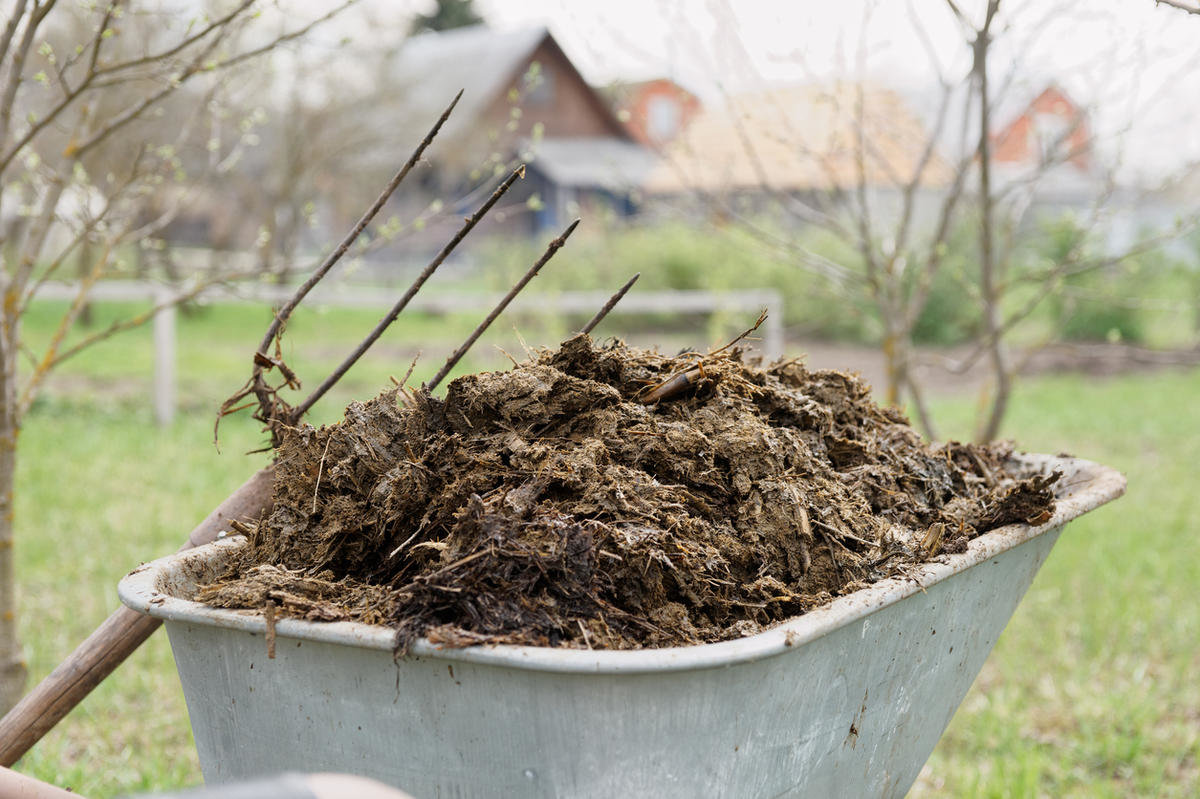
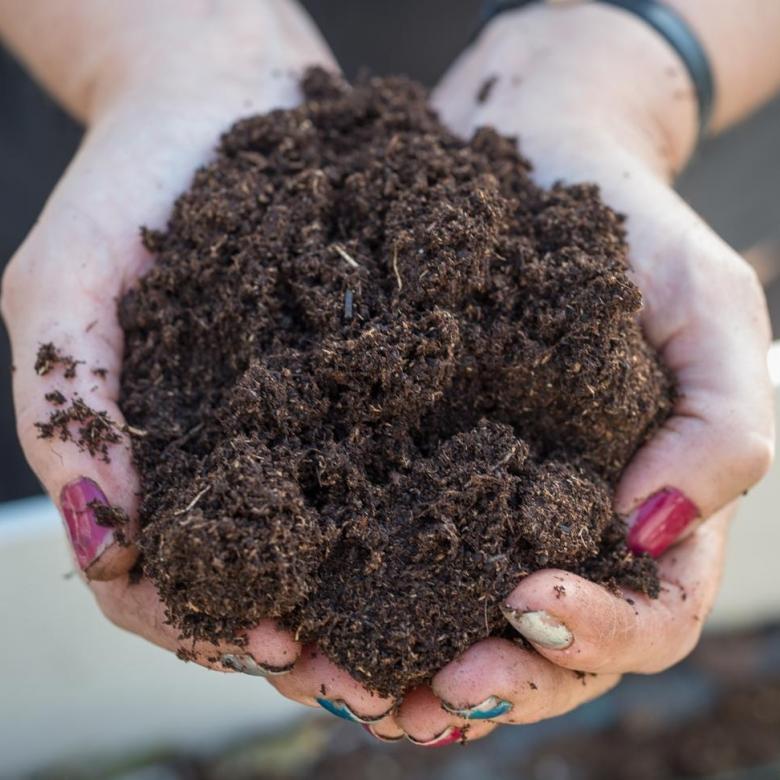
First, add organic matter to the soil. For every square meter, you'll need 10 kg of manure or 5 kg of compost. These should be added in the fall, and in the spring, all that's left to do is re-dig.
Mineral fertilizers containing nitrogen, phosphorus, potassium, magnesium, iron, sulfur, and calcium will enrich the garden bed with the necessary substances.
Step-by-step instructions for properly planting the Meteor potato variety
Meteor potatoes are suitable for planting in rows, which are spaced 55-65 cm apart. It is recommended to leave a 30 cm gap between the holes. Their depth should be approximately 10 cm. Add 700 g of dry humus and 5 tablespoons of wood ash to each hole. Some gardeners add 1 tablespoon of nitrophoska and half a cup of bone meal.
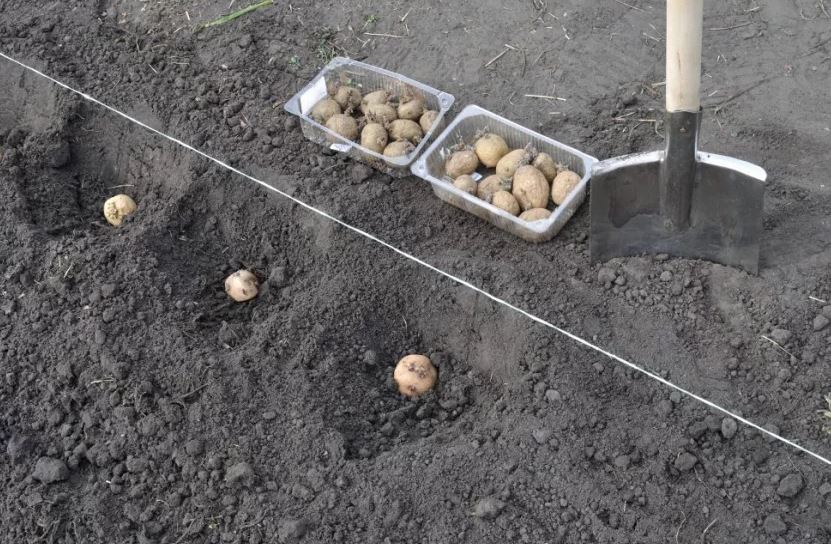
If you don't have the time or inclination to prepare various mixtures, you can purchase Kemira. The composition varies, and each gardener chooses it based on their soil conditions. This product increases the yield of the variety and improves the shelf life of the tubers.
Next, 2-3 potatoes are placed in the hole, after which it is buried.
To ensure the best possible harvest, it is necessary to follow basic care rules: loosening and hilling, especially after prolonged rains.
Important! Suitable for swampy areas and low-lying areas. ridge planting method Meteor potatoes.
This method doesn't require any special techniques. The tubers are laid out in a row on the ground, spaced 25 cm apart. There's no need to plant them deep. Then, add a 30-40 cm layer of soil on top of them. The optimal ridge width is 60 cm, and the distance between them should be at least 90 cm. The main difficulty is that after rain, you'll always have to rake the soil up a bit, otherwise it will simply be washed away.
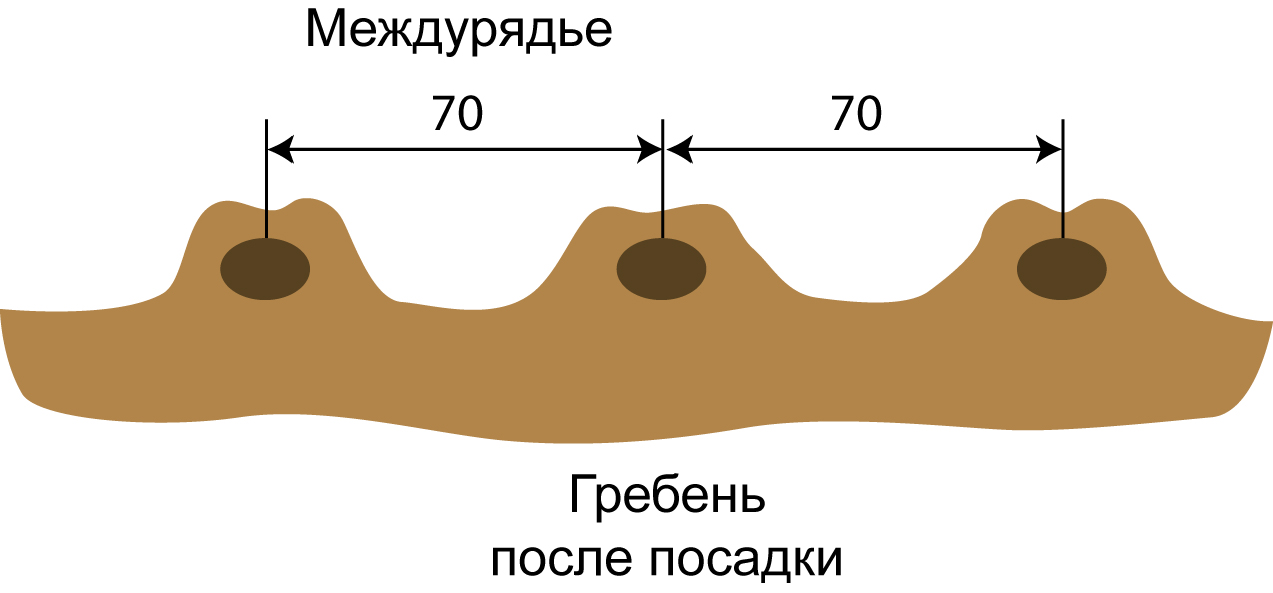
Harvesting will be much easier; you just need to rake the soil at the top of such a bed.
Caring for the Meteor potato variety
Although the Meteor variety is relatively easy to care for, it is important to follow a number of rules when growing it.
Watering
Meteor potatoes are drought-tolerant, but that doesn't mean they don't need moisture. The recommended watering frequency is once every 10 days. This frequency is quite approximate and may increase or decrease depending on the growing region.
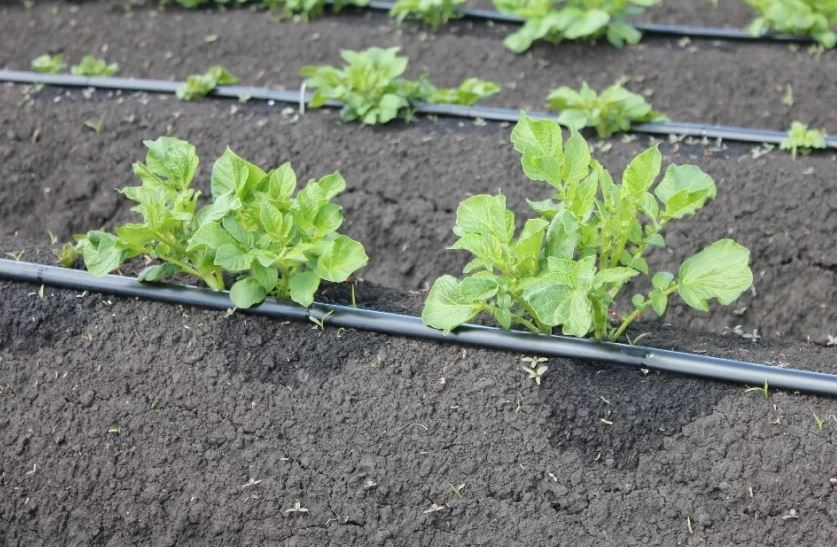
It's important to ensure that the moisture doesn't just spread between the rows, but penetrates deep into the hole. The former will negatively impact not only the crop's flavor but also its resistance to diseases and pests. The soil should be moistened to a depth of 40 cm.
Signs of water deficiency include drooping foliage and leaf shape changes. If possible, drip irrigation is best. This will ensure moisture reaches the roots and prevent a dense crust from forming on the soil surface.
Loosening, hilling, mulching
Once a week has passed since planting the potatoes, you can safely carry out the first weeding, combining it with light loosening. Avoid digging too deeply into the soil, otherwise you risk damaging the tubers.
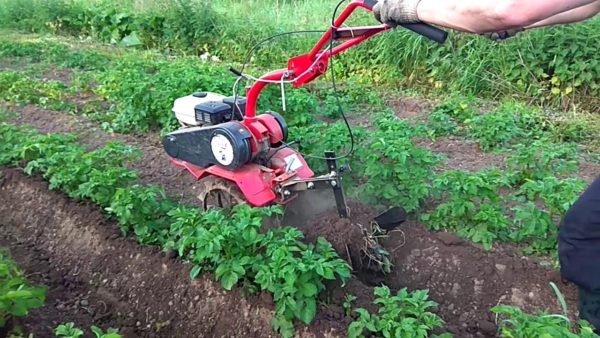
The Meteor variety is hilled twice per season. The first time is when the bushes reach 15 cm in height, and the second time is four weeks later.
Hilling is especially important in cool climates; it helps protect the tubers from freezing. If the weather is warm, hilling may be unnecessary; the key is to water the plants regularly and remove weeds.
Top dressing
Fertilizing of Meteor potatoes is carried out depending on the growth stages.
There are three main vegetative periods:
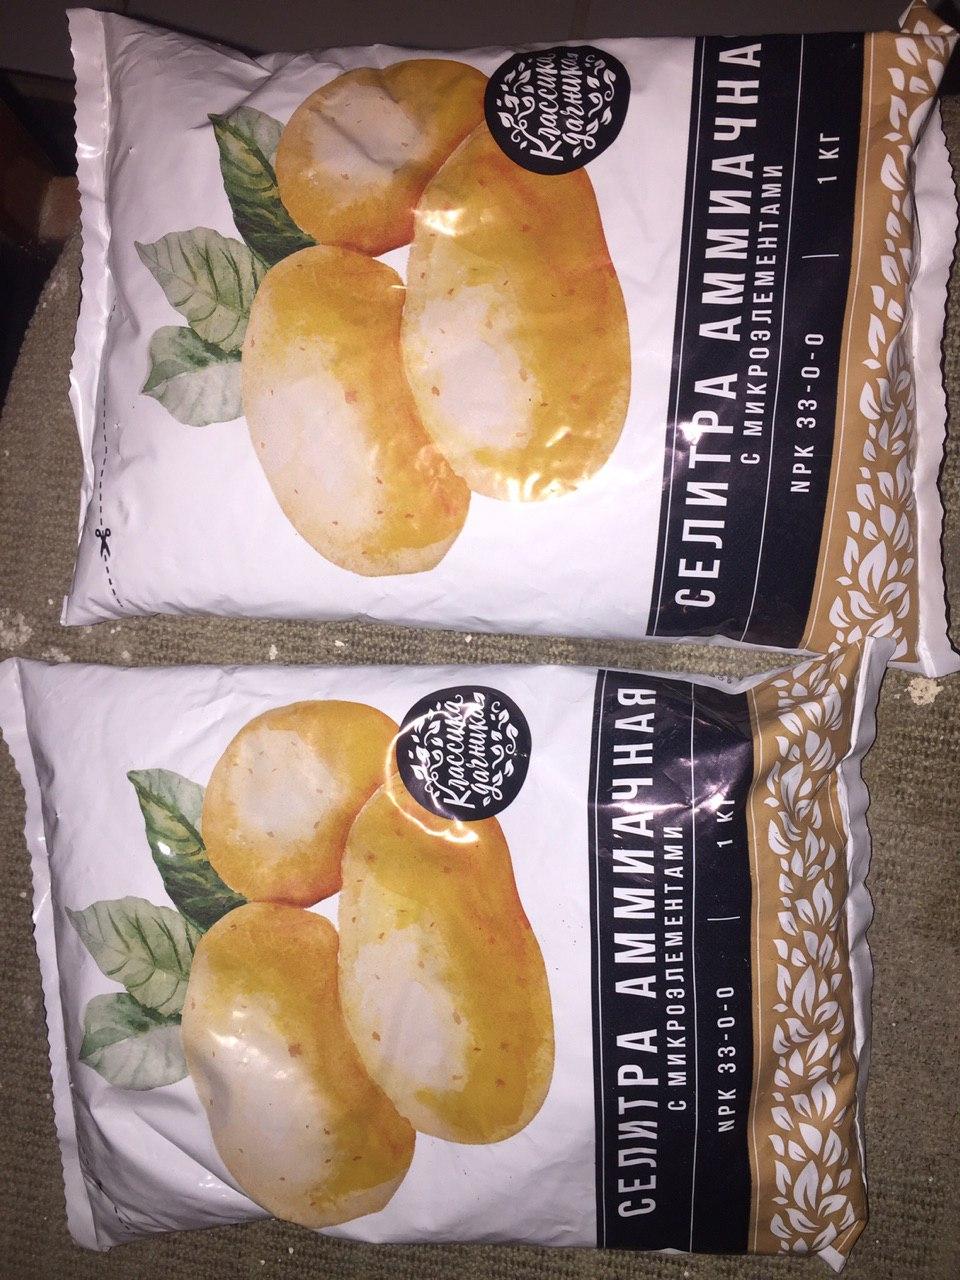
- The first stage lasts approximately 25 days, from the time the tubers sprout until the bushes begin to bloom. During this time, it is recommended to add ammonium nitrate and urea to the plantings, which promote active growth of the foliage and tubers.
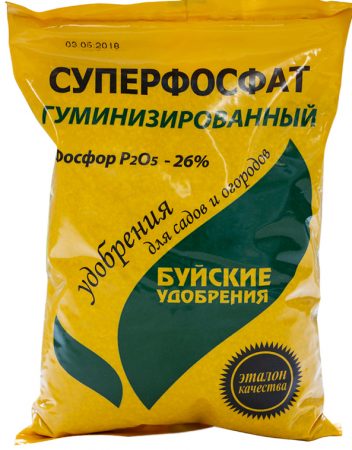
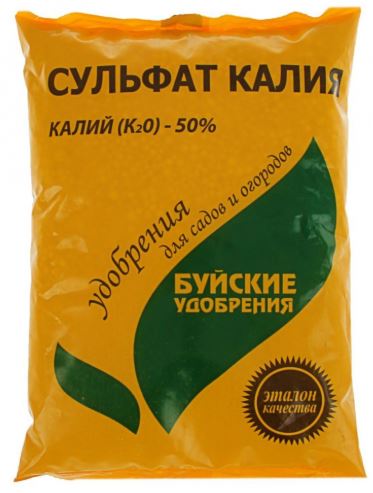
- The second period lasts approximately 26-28 days, from the beginning of flowering until the foliage wilts. This period is considered the most important, as it is during this time that the tubers begin to grow and gain strength. Superphosphate or potassium sulfate is essential for their development at this stage.
- The third period begins after the green mass has completely wilted. The tubers continue to gain weight and develop flavor, but much more slowly. At this stage, you can feed the potatoes with a solution of rotted manure or superphosphate.
As soon as the tops have completely withered, you can begin digging up the harvest.
Properly applied fertilizers help gardeners grow tasty potatoes in areas where favorable conditions are not available.
Did you know that there are devices that can help you dig up potatoes? Potato digger You can not only buy it, but also make it yourself.
Protection from diseases and pests
The Meteor variety is highly resistant to many common potato diseases. Therefore, periodic preventative measures are sufficient to provide additional protection for the plants. These include spraying with insecticides and treating with fungicides such as Flint, Uvadris, or Infinity.
| Disease or pest | Degree of stability (+++ high, ++ relatively high, + average) |
| Golden cyst nematode |
+++ |
| Cancer
|
+++ |
| Late blight
|
+++ (tubers)
+ (leaves and stems) |
| Mosaic
|
++ |
| Scab
|
+++ |
| Rhizoctiniasis
|
+++ |
| Rot (various types)
|
+++ |
| Alternaria
|
+ |
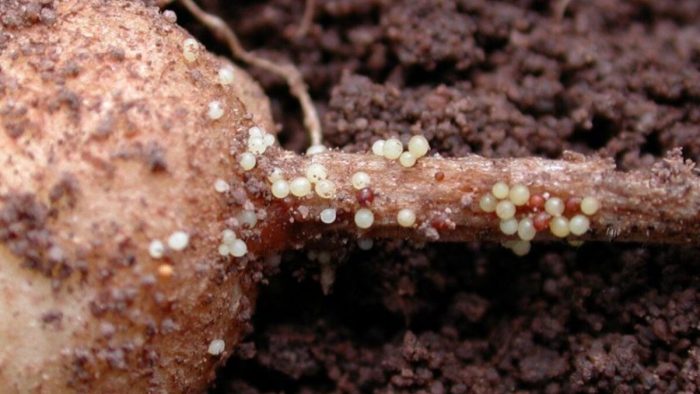
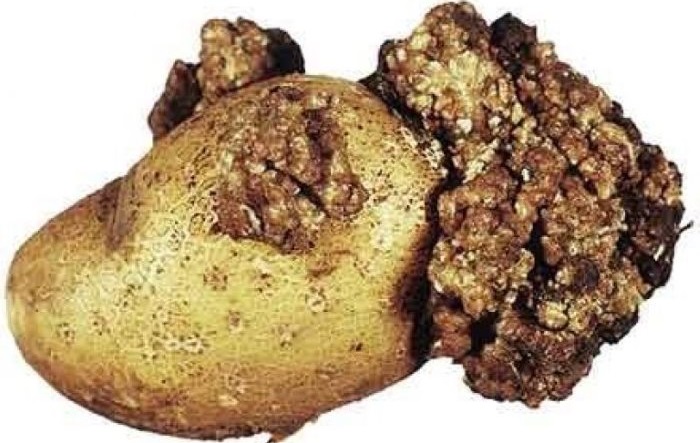
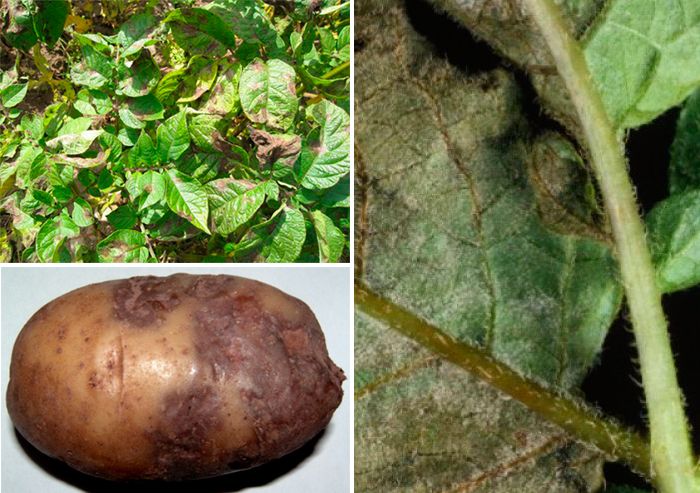
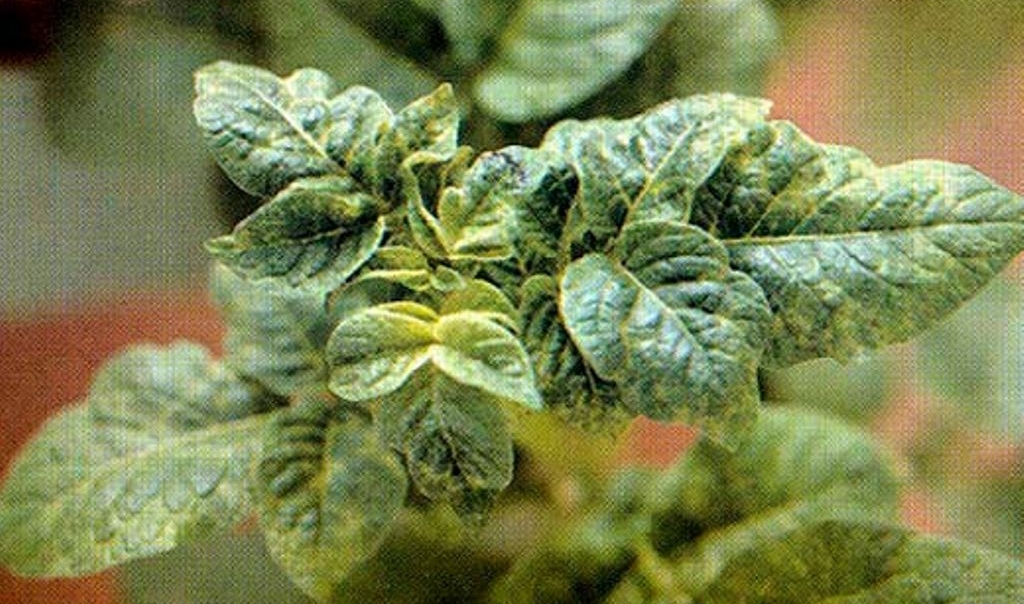
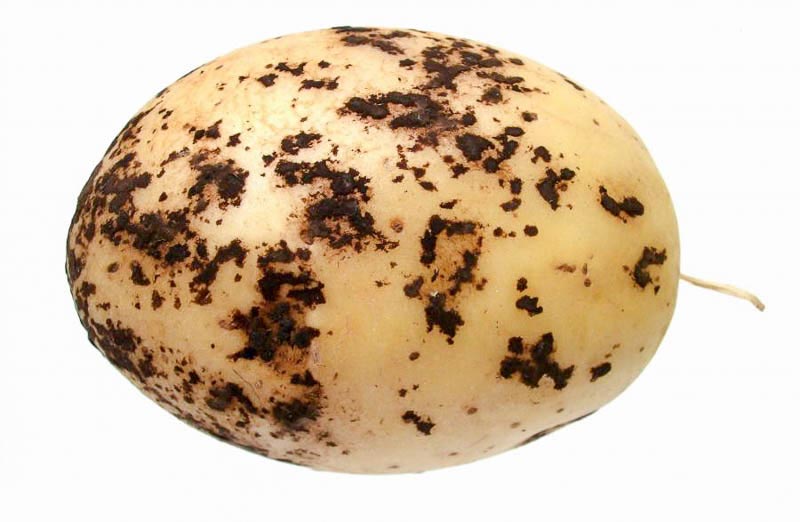
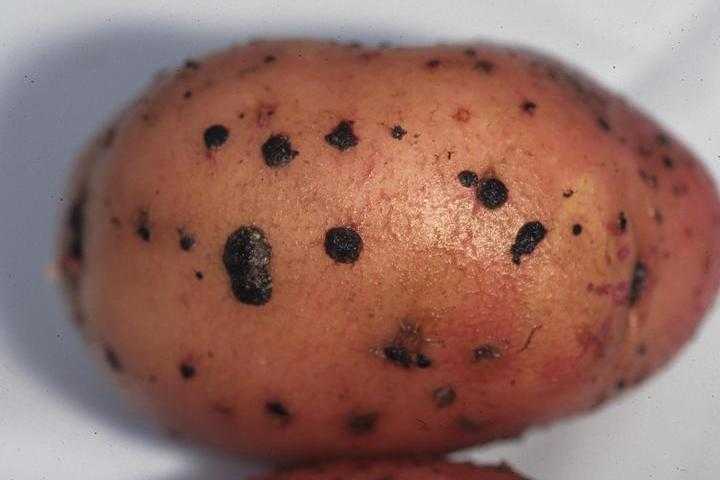
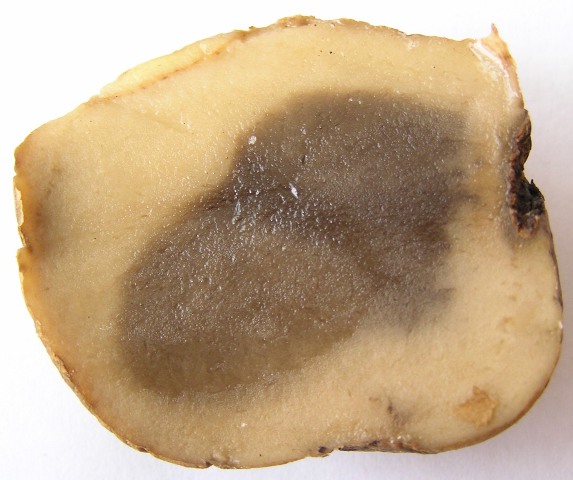
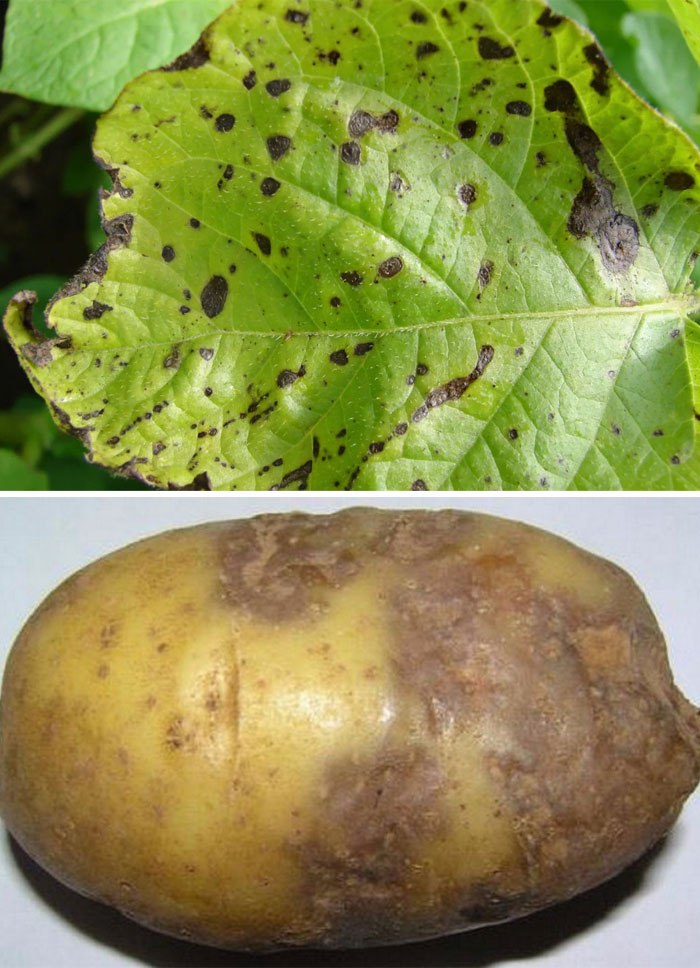
But even on Meteora, pests can sometimes be detected that require immediate control. Control methods are listed in the table below.
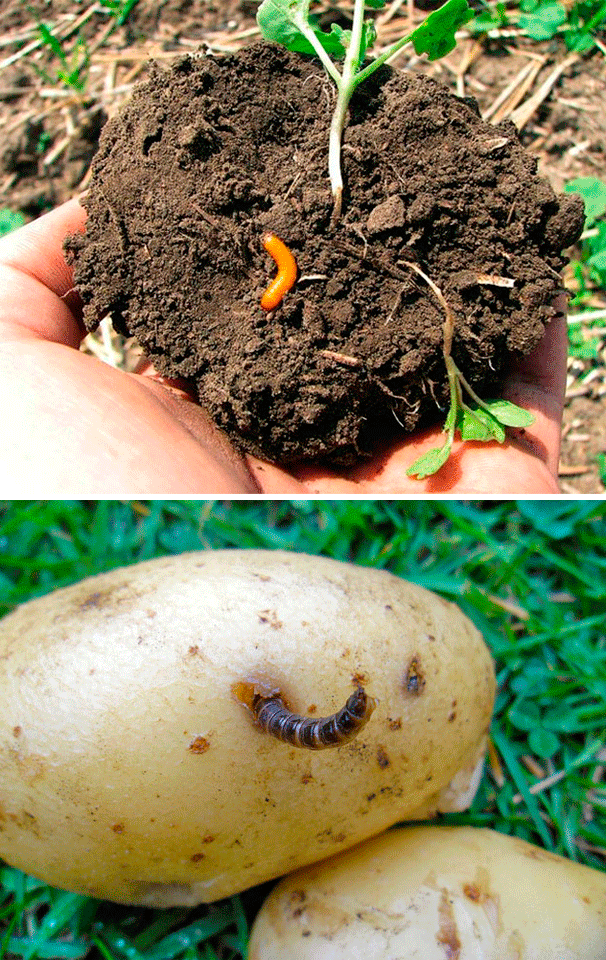
| Name of the pest | Control and prevention |
| Wireworm
|
Traps made from chopped vegetables are dug into the rows. Weeds are removed promptly, especially near couch grass and sow thistle, which attract wireworms. The plantings are dusted with wood ash. |
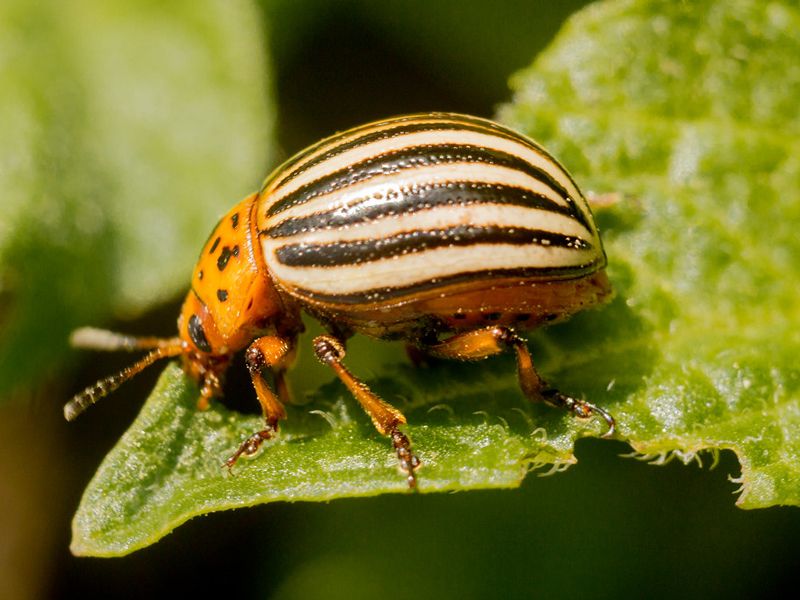
| Colorado potato beetle larvae
|
Regularly inspecting leaves can help identify the pest's presence—the female Colorado potato beetle prefers to lay her eggs on the undersides of leaves. Adults can be found anywhere on the bush. Hand-picking the pests is most effective, but if time is short, you can spray the plants with specialized pesticides (Prestige, Antizhuk, Karate, and others) or sprinkle them with wood ash. |
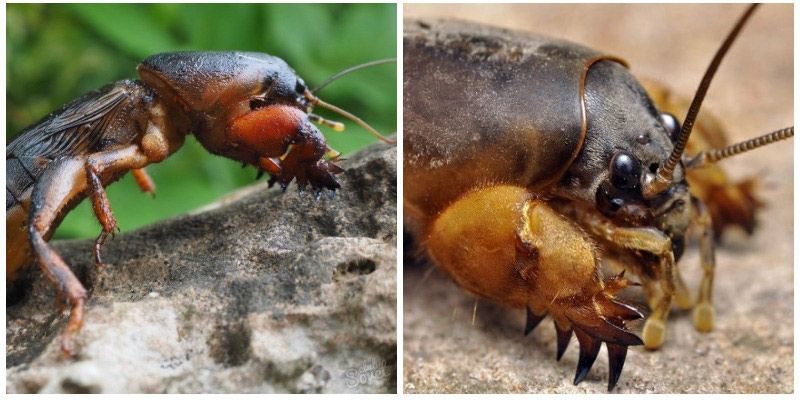
| Mole cricket
|
You can catch mole crickets using pre-prepared vegetable traps. Treat your crops with Medvetox. |
| Field mouse
|
The only way to get rid of field mice is to scatter poison over the field. |

Harvesting and storage
If you follow all storage recommendations, the Meteor harvest will last for a very long time, right up until the next season.
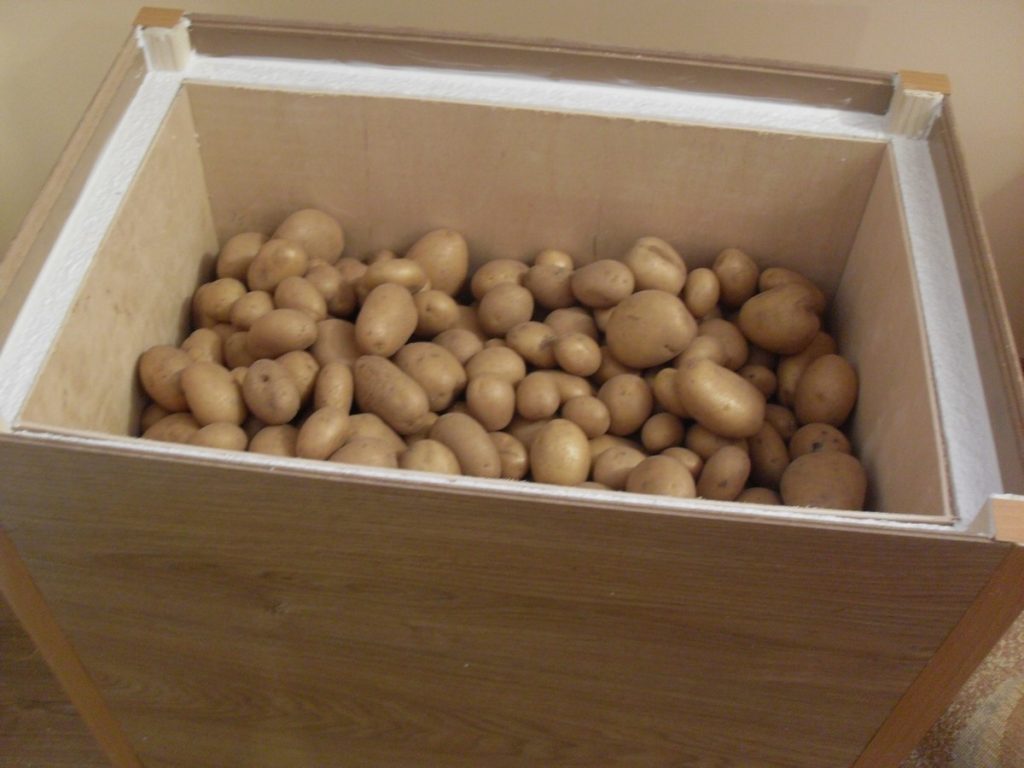
- The first step is to inspect and sort the tubers. It's important to prevent damaged or rotting potatoes from being added to the pile.
- Next, the tubers are cleaned of any soil and placed in a cool, well-ventilated area for approximately 2-3 weeks. After this period, they need to be sorted again.
- Next, the potatoes are moved to a permanent storage location, where they will remain throughout the winter. This could be a basement, cellar, or balcony. The main requirements are a temperature of +1…+6°C and a humidity of around 75%. Read about it. How to properly store potatoes and methods.
In winter, it is necessary to periodically inspect potatoes for the presence of spoiled tubers.
https://www.youtube.com/watch?v=cSJT7GD4w2Y
Tips from Top.tomathouse.com
To improve the quality of care for your Meteor, here are a few additional tips to help you remember:
- Always add wood ash when digging the soil – it will act as a deterrent to wireworms.
- Planting material should absolutely not be disinfected with chemicals if you plan to eat young potatoes from the bush.
Comparison of the Meteor potato variety with other varieties in the table
| Variety | Ripening period (number of days to maturity) | Starch (%) | Yield (c/ha) | Weight of tubers (g)
Number of tubers per bush |
Shelf life (%) |
| Meteor | Early ripening* | 10-16 | 210-405 | 100-150
10-12 |
95 |
| Explosive | Early ripening* | 16-17 | 156-240 | 110-150
8-14 |
95 |
| Elizabeth | Mid-early** | 13-18 | 290-400 | 80-140
up to 10 |
93 |
| Ilyinsky | Mid-early | 15.7-18 | 176-346 | 55-160
8-13 |
93 |
| Impala | Early ripening | 10-15 | 180-360 | 90-160
15-21 |
95 |
| Colombo | Early ripening | 11-15 | 230-450 | 100-130
12-14 |
95 |
| Queen Anne | Mid-early | 12-16 | 393-457 | 80-150
6-16 |
92 |
| Labella | Early ripening | 12-15 | 176-342 | 78-102
13-16 |
94 |
| Manifesto | Mid-late*** | 11-15 | 165-410 | 105-145
11-15 |
94 |
| Memphis | Mid-early | 14.2-16.7 | 330-610 | 80-160
9-11 |
94 |
*Early ripening – 50-65 days.
**Mid-early – 65-80 days.
***Mid-late – 95-110 days.
Real reviews from gardeners about the Meteor potato variety
Let's look at reviews from gardeners and summer residents about the Meteor potato variety.
User Lyudmila
We've loved the Meteor variety for three years now. It also received excellent reviews from our family agronomist, a veteran of Sakhalin's harsh conditions, and our grandmother. It's an early-ripening, large-fruited, and delicious variety. Thanks to the grower!
User Alexander
Good afternoon! I received the seeds in the spring. I planted them, watched them grow, and in the fall I got a wonderful harvest, both in quality and quantity. The tubers are large and uniform. But most importantly, we were surprised by the taste of this variety. Thank you! I recommend this variety to everyone.
User Andrey
I tried this potato last year. I was surprised by the size of the young tubers when I first dug them. The taste was excellent! I even set aside a few mature plants for seed. They're growing great!
User n., 3 years ago
I planted them for two years. You can try digging them up 40-45 days after germination; you can often dig up enough for the first feeding, but not too big. But then they grow significantly larger. Mine grows enormous. The flavor isn't very good, and there's often a hole in the middle. That's why I gave up.
User Elena Kovtun
It's tasty in my soil, though not very soft. It's a very good variety, productive, and early (more like mid-early; there are earlier varieties). It tolerates drought and high temperatures well and grows without watering (we get some rain here, though not often).
User Ia
I forgot to write a review about the potatoes: I ordered the SuperSuperElite Meteor variety (super early)
As the producers promised, it ripened quickly, and we were already eating a little by July. But no one liked the taste. We tried frying, boiling, and roasting it in a fire.Tasteless.